

Mincers scraps
Scrap briar or not I still enjoy the look of Mr.Dobbs pipes. Deeply carved and chunky. There’s no mistaking who made this line of pipes.
( As Received)

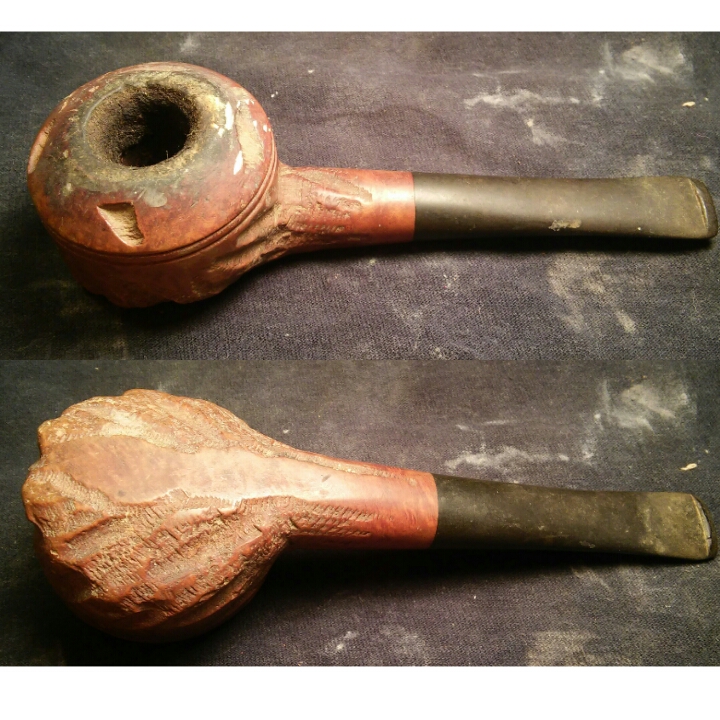

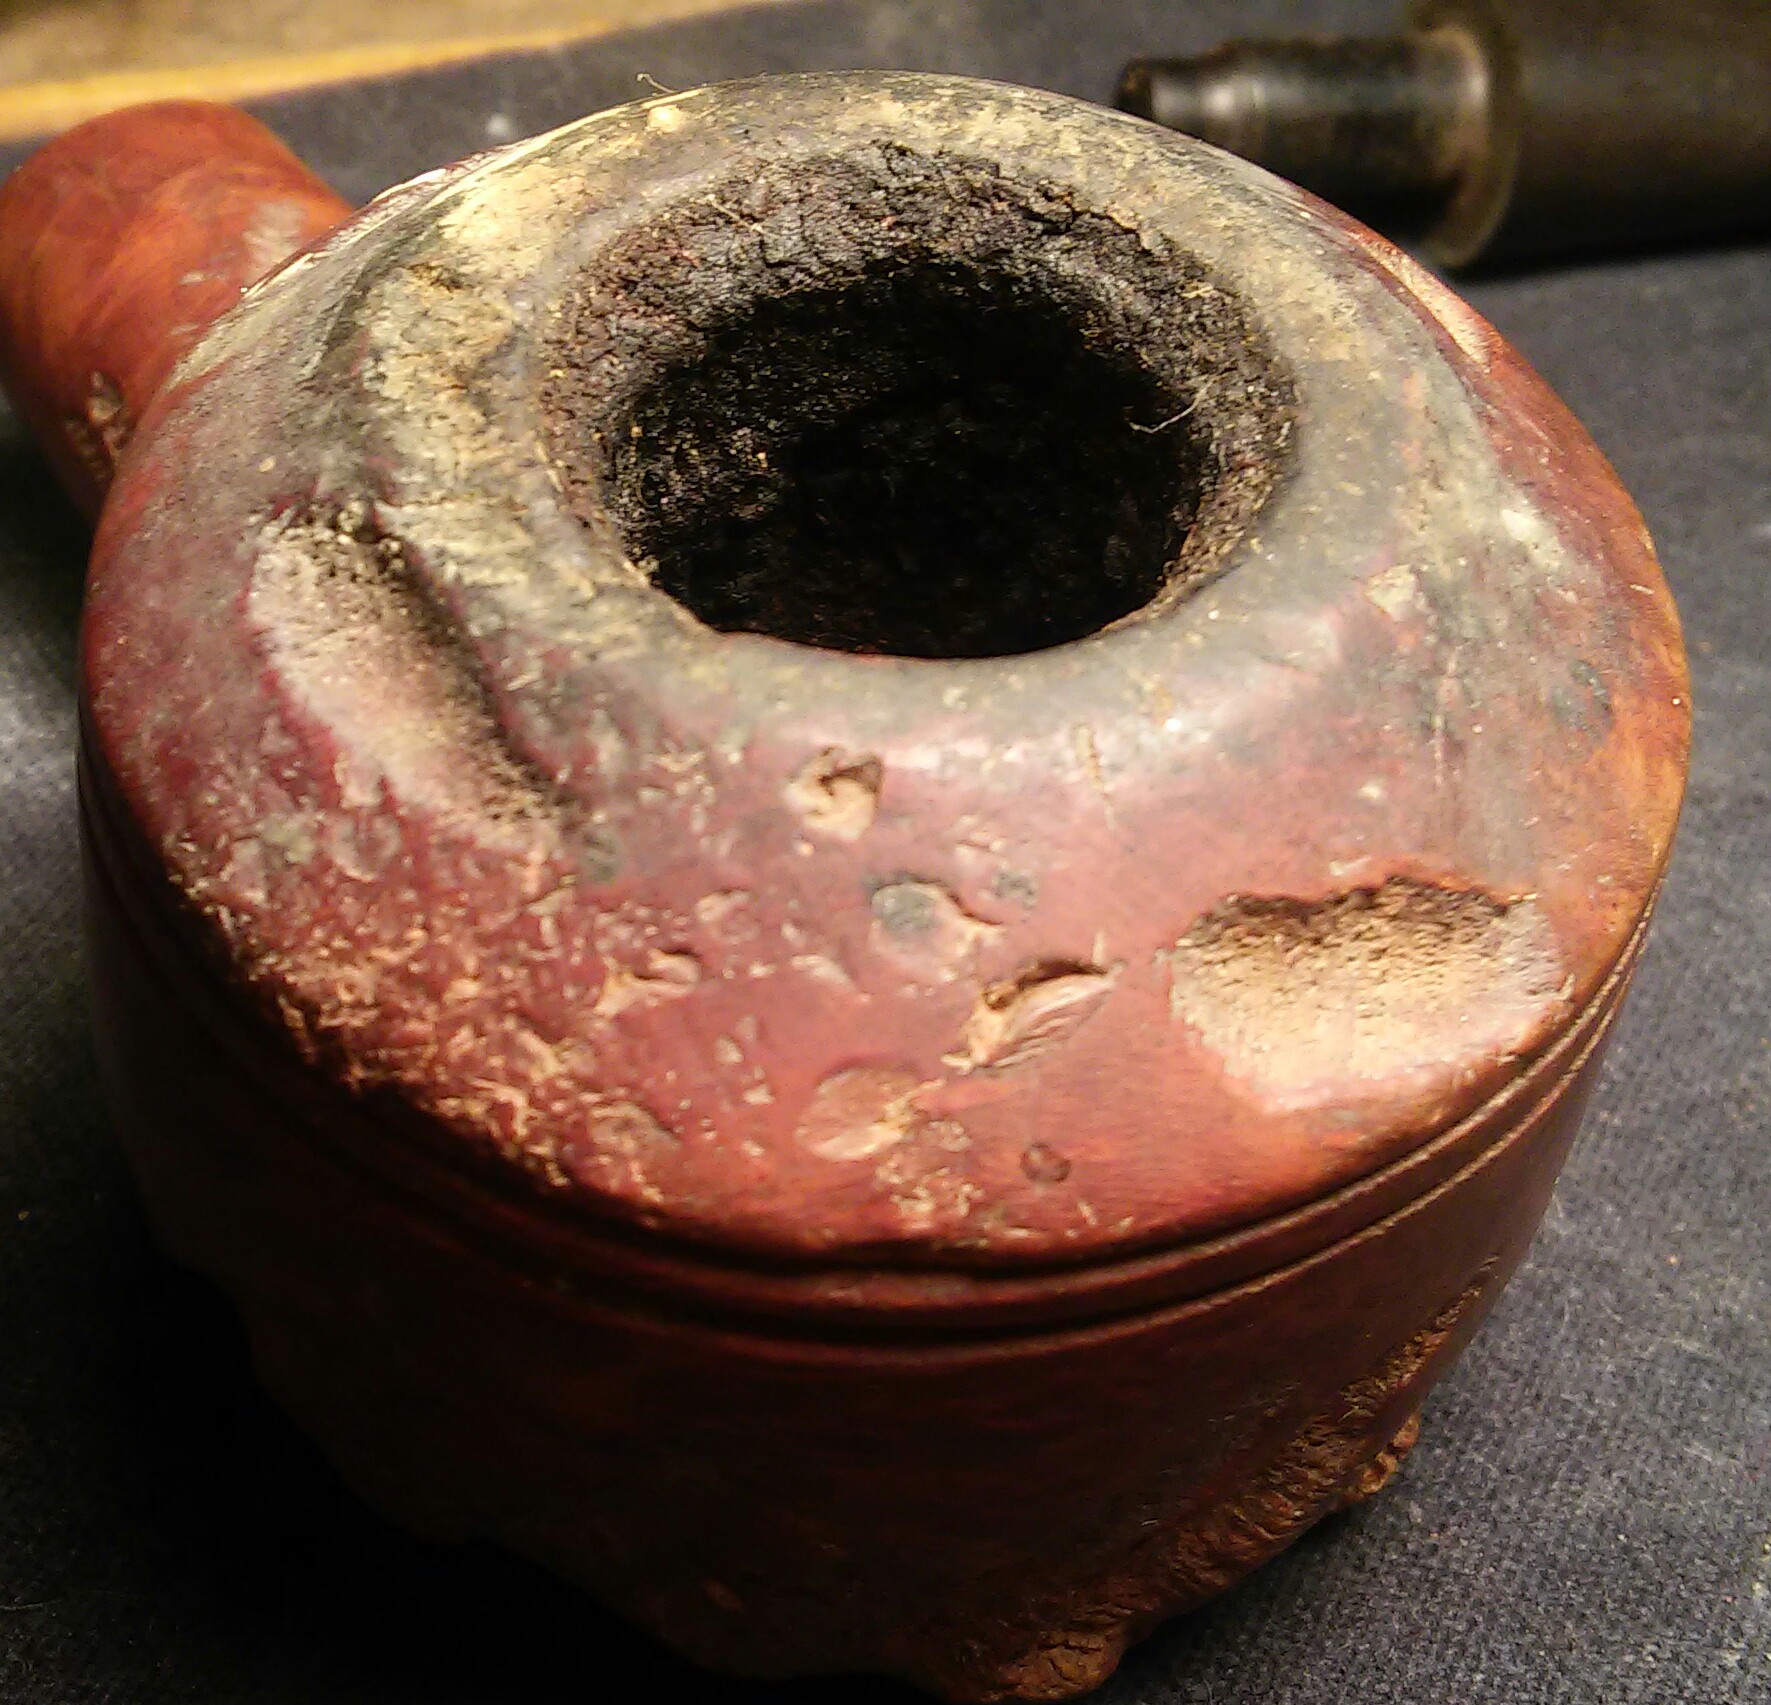
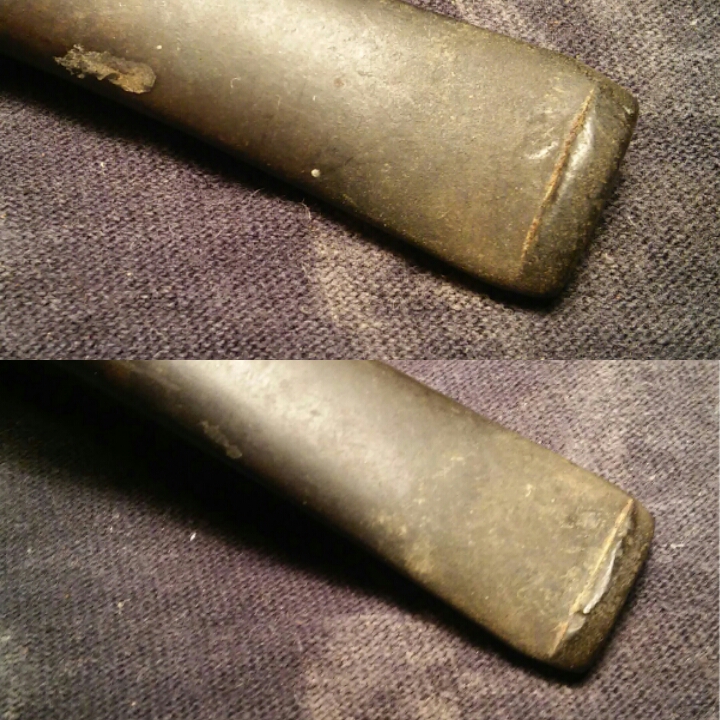
Well loved Mr.Dobbs has been sitting in a box for some time now. Made in the 1950s using scrap briar and sold at reasonable price for the average joe, it has all the look and feel of a Custombilt with the exception of the briar quality. There were many imperfections most notably the top of the bowl. It had a thick cake, worn button and what I think is paint or maybe spackle spread across the exterior of the pipe. I received this pipe in a lot a few months ago among other Custombilt lines .

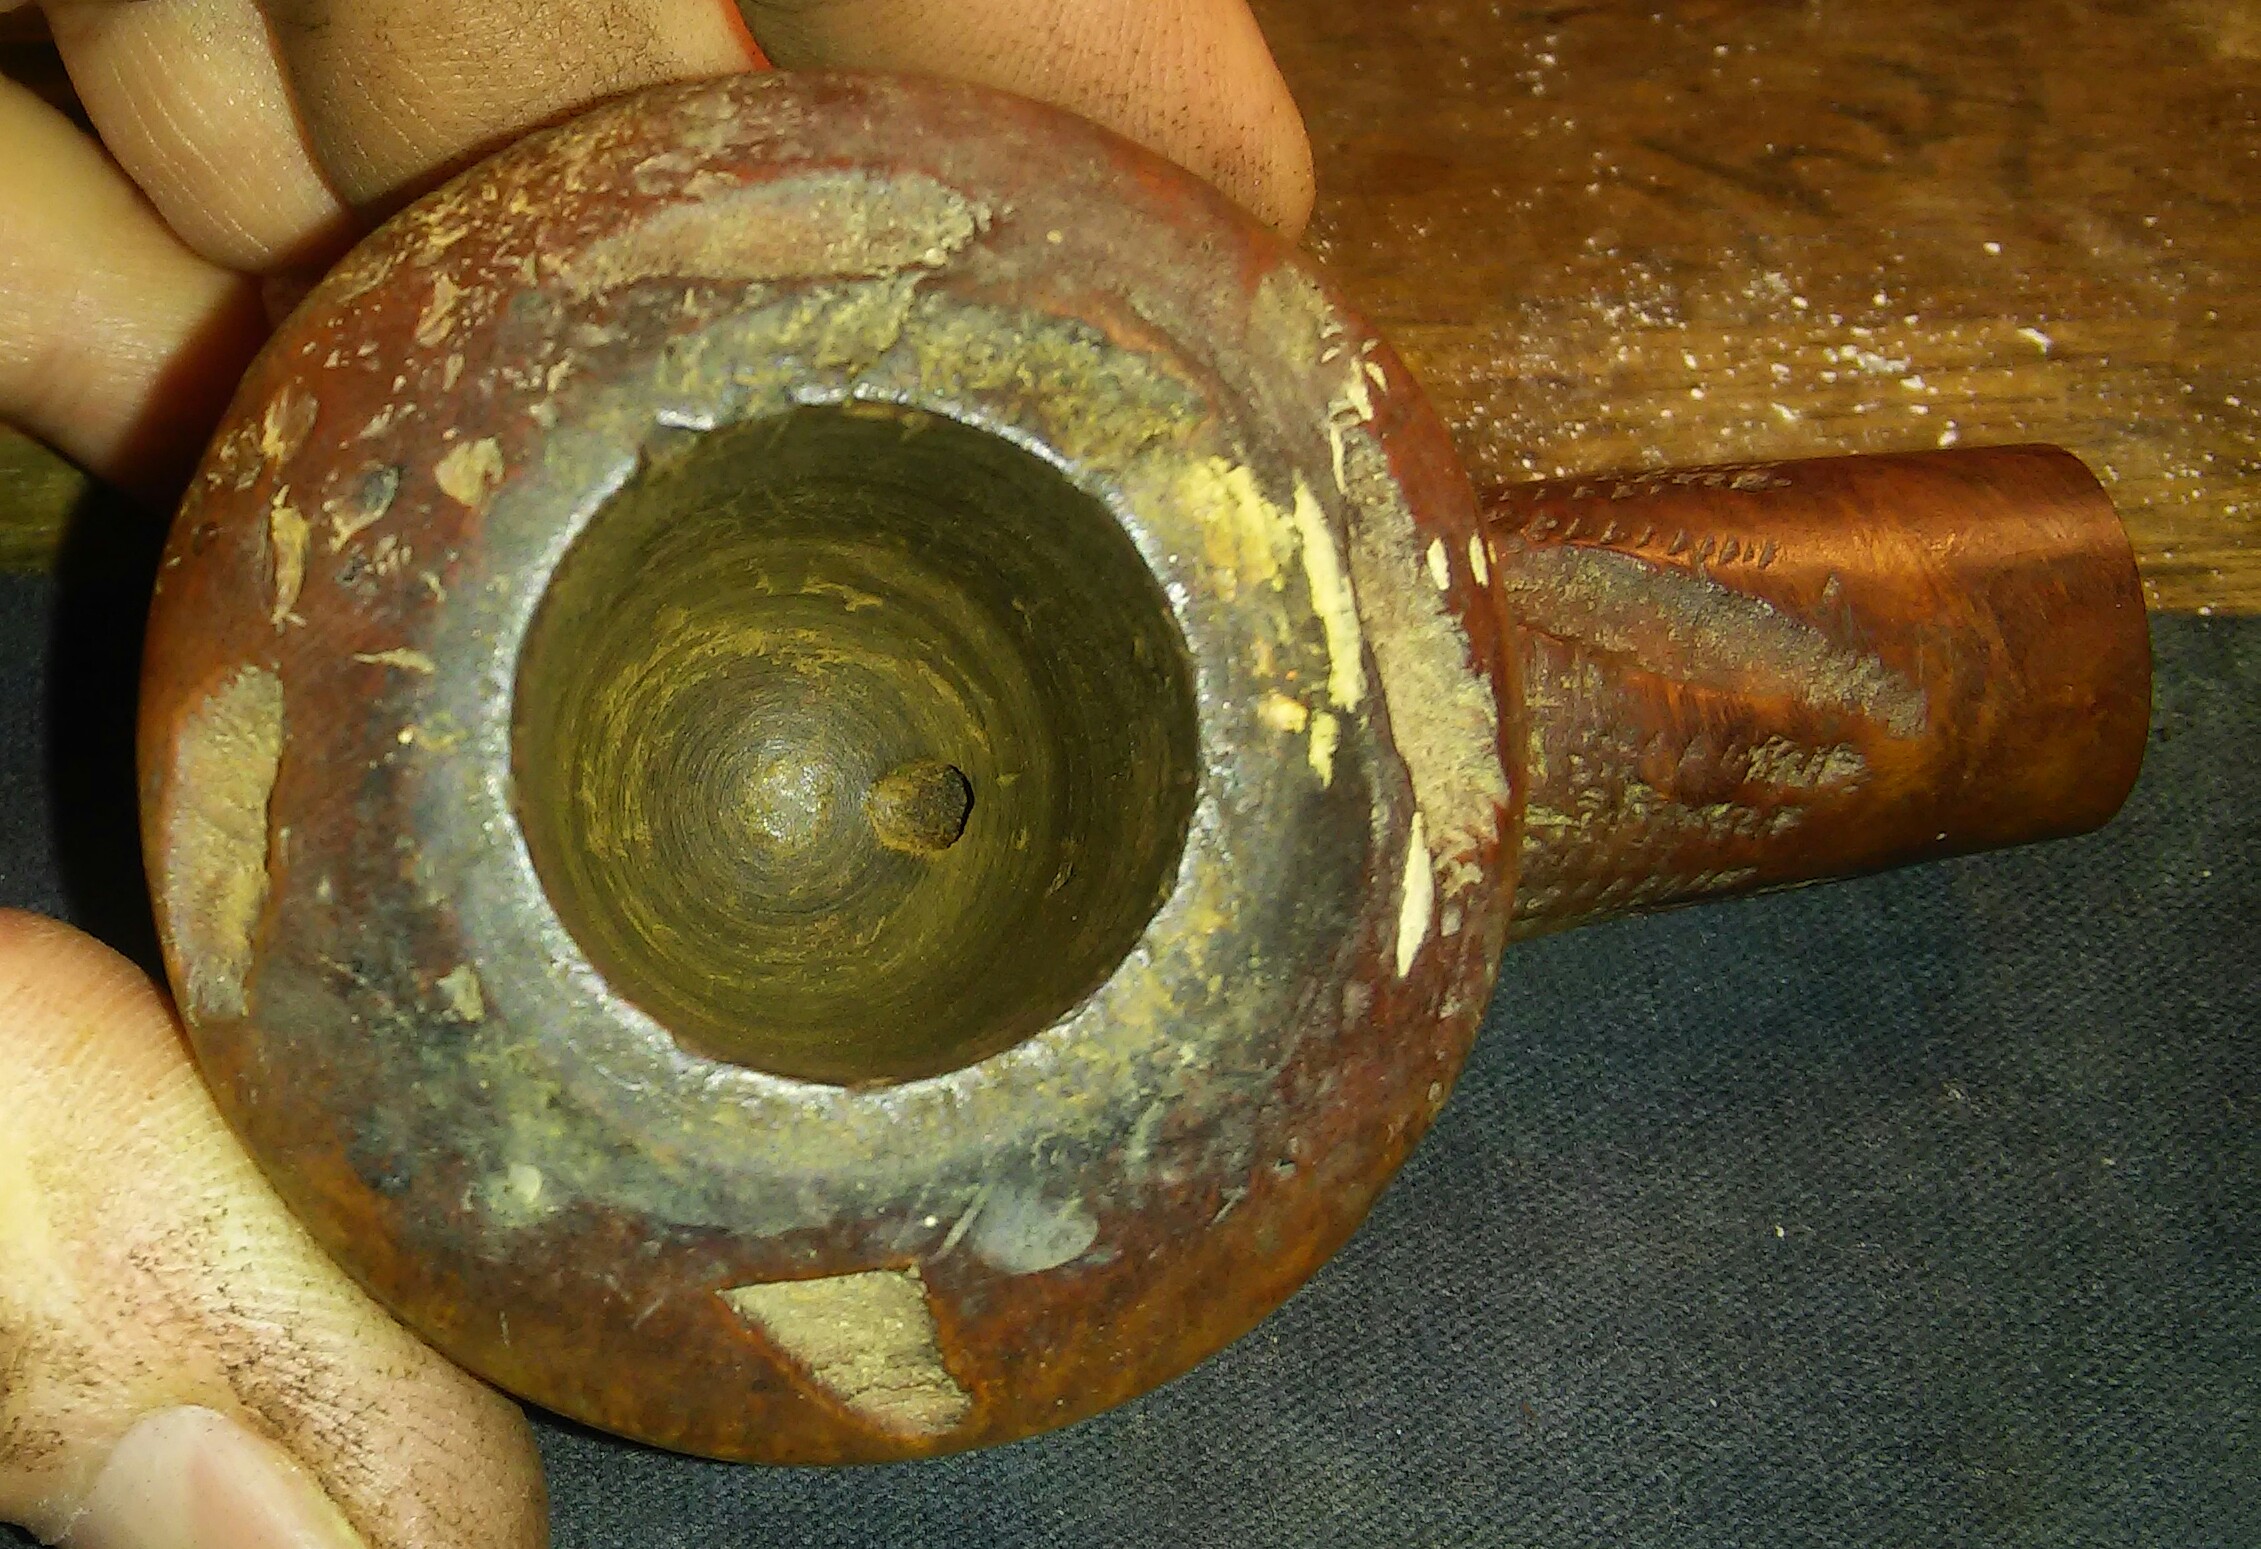
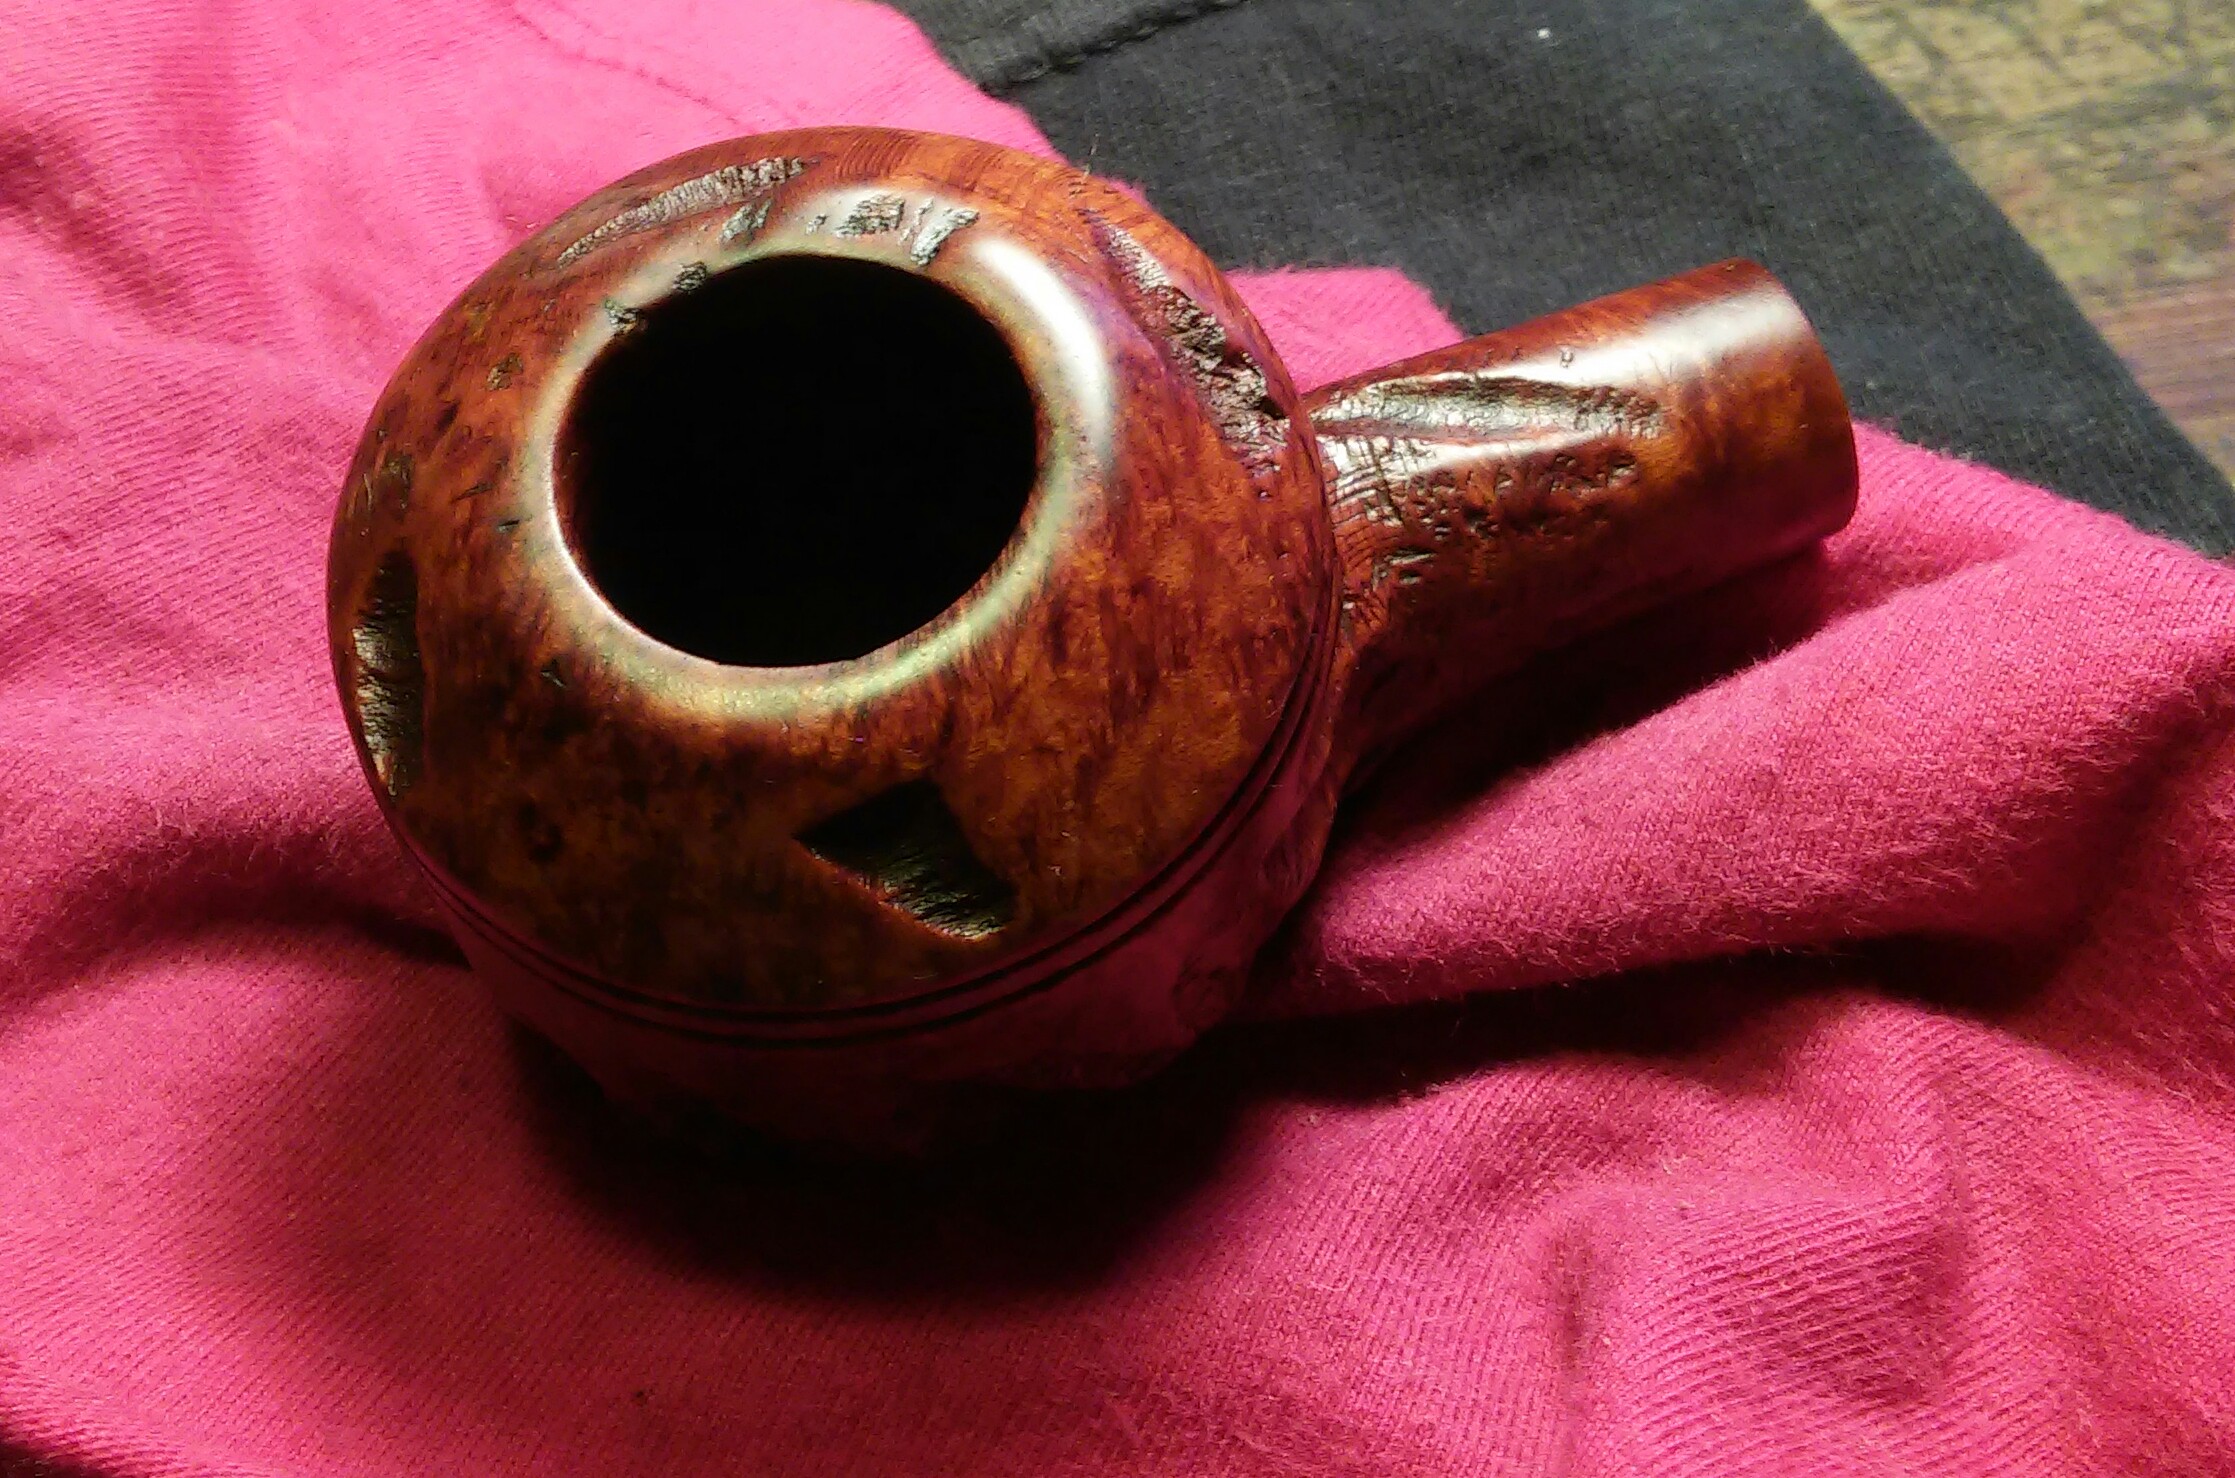
I began with the chamber and my Castleford reamer, starting with the smallest and working up to the largest. Finishing with 400 grit paper wrapped around a finger.
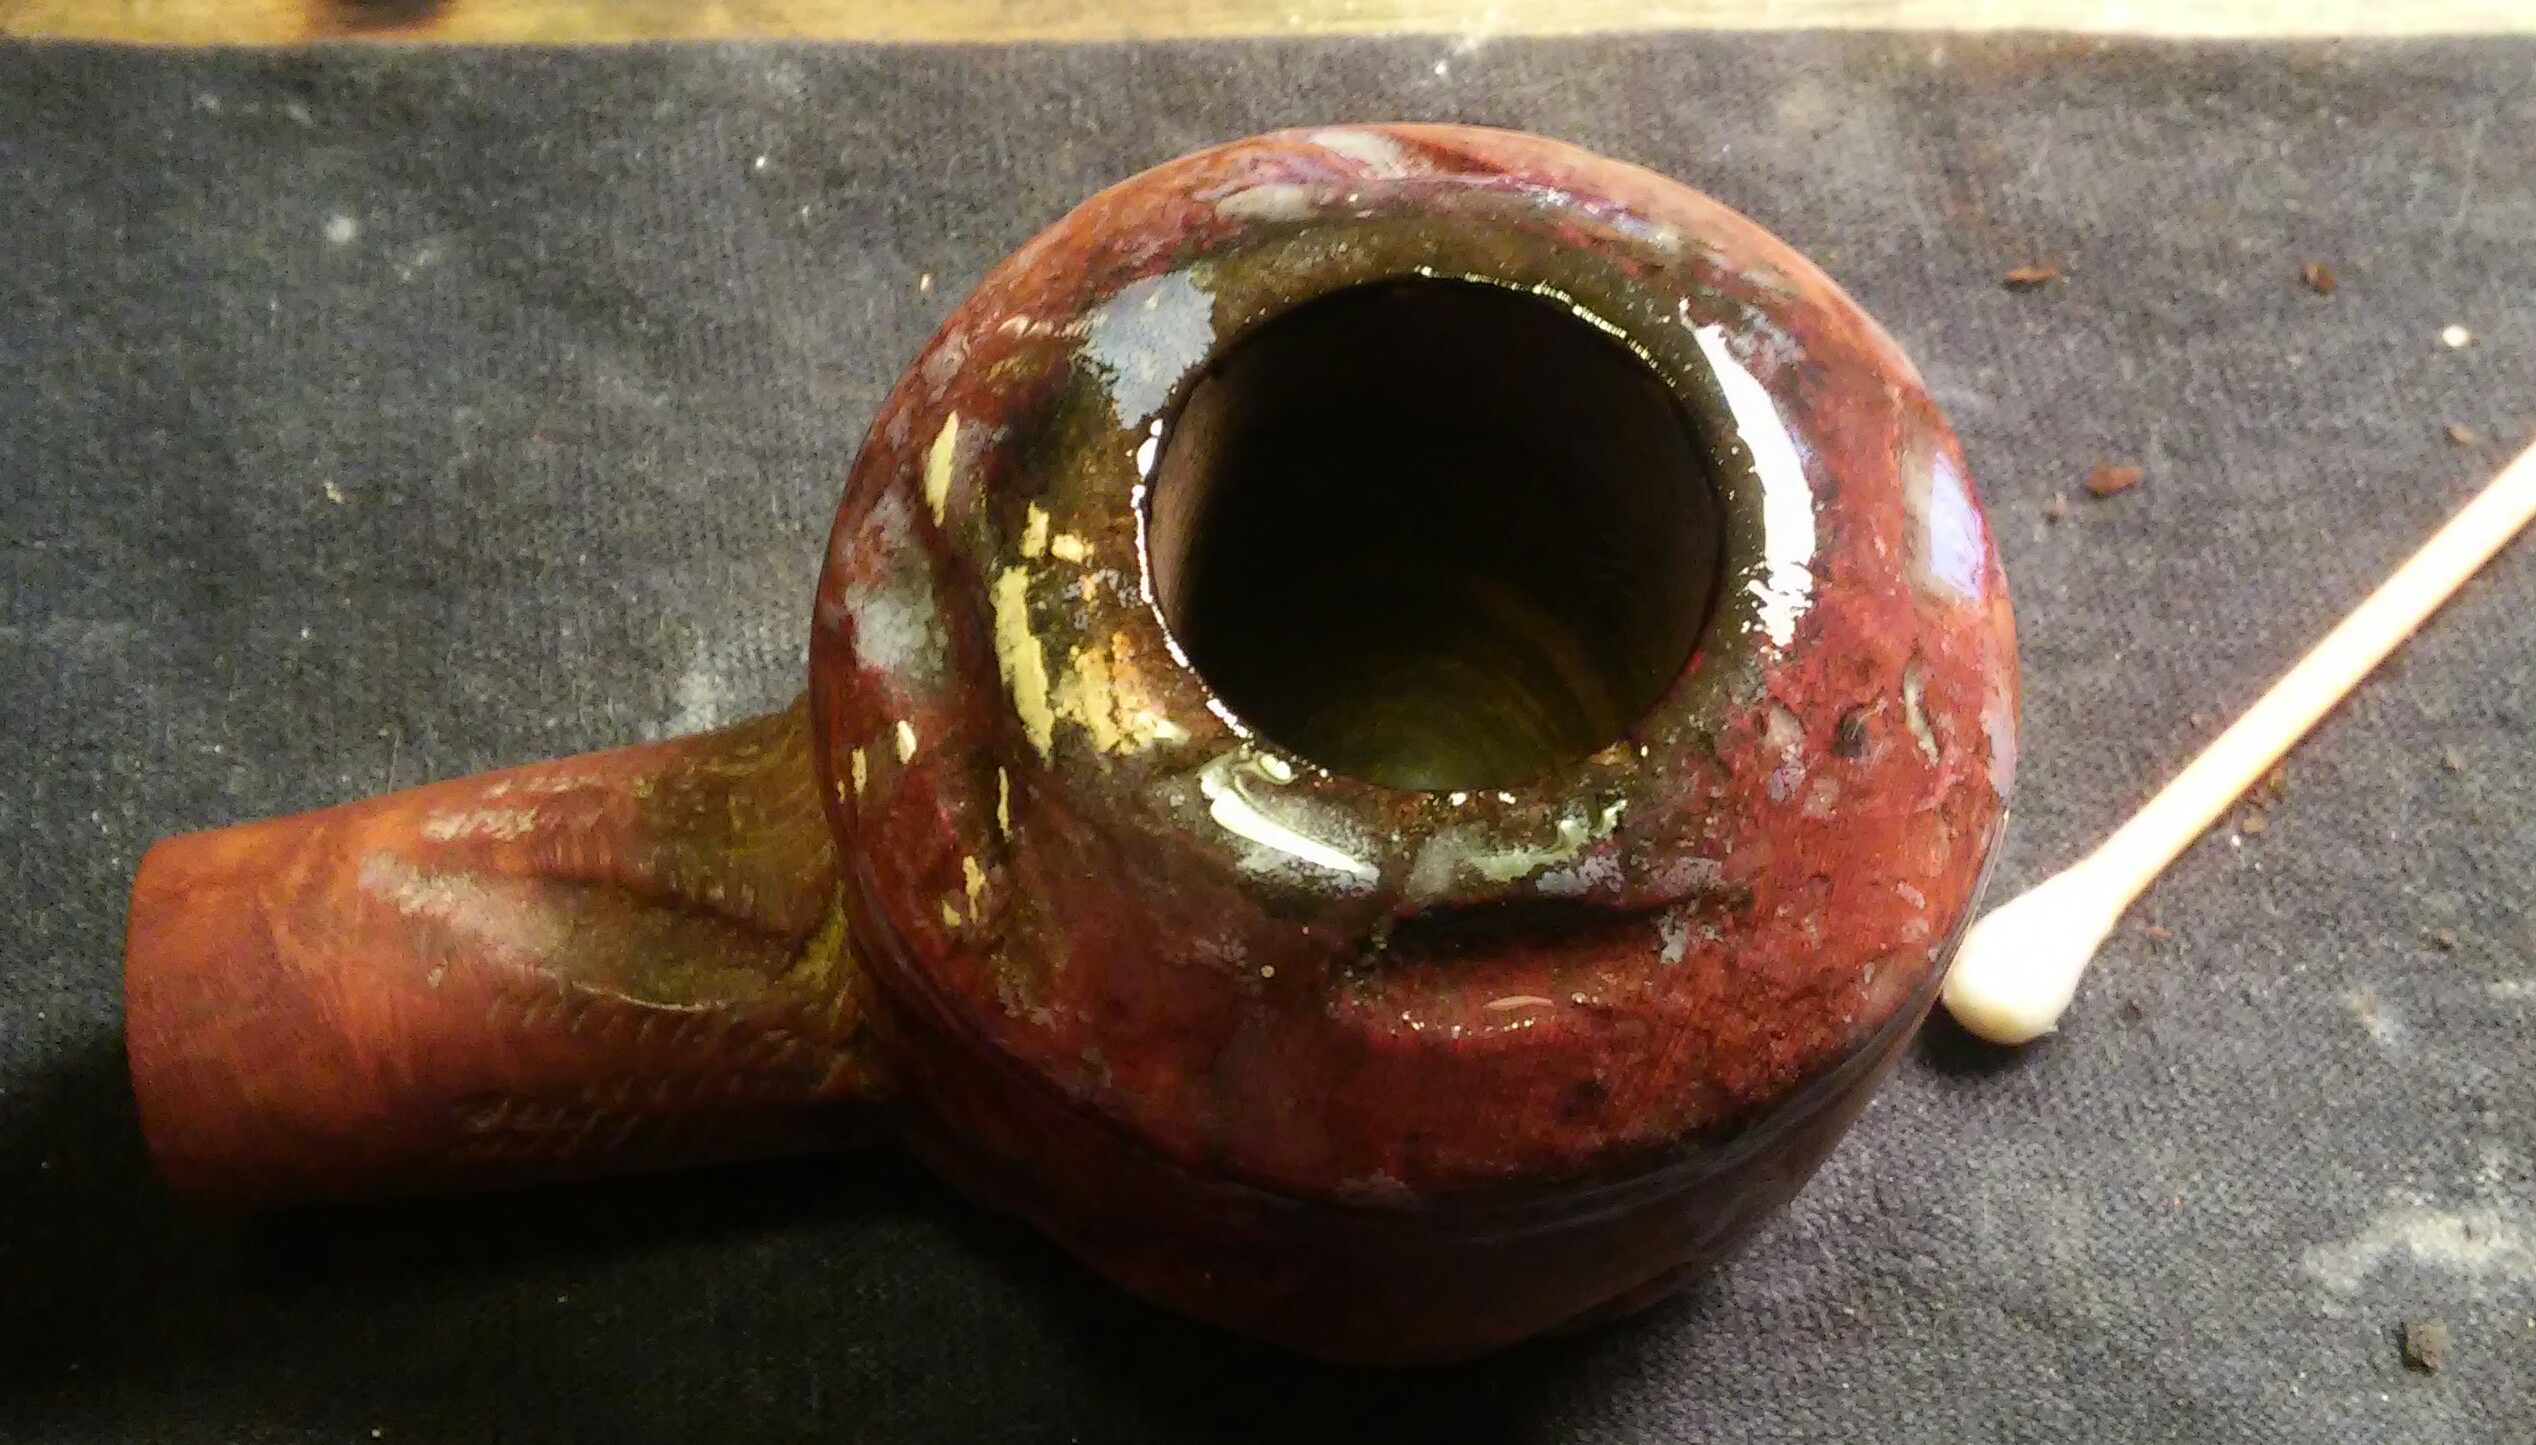


With the chamber reamed I moved to the rim. The rim was heavily caked with spots of paint mixed in. I applied Method wood for good polish to the rim and left it aside to soak. After soaking for 20 min I used a toothbrush to break up some of the residue, I would have to repeat this process a few times and move to Q-tips, make-up pads and a pick to complete it. At this time I cleaned the exterior of the pipe as well with the wood polish,toothbrush and make-up pads. I used a pick to clean the paint and debris out of the carving of the bowl.

The right side of the bowl and bulldog ring had spots where someone may have smacked the bowl against a hard surface to empty the chamber. I first attempted steaming out some of the dents. With no luck, I instead filled in the indentations with thick superglue and briar dust. I sanded the area with micro mesh until the repair was even.

The chamber looked as if someone may have used a pocket knife in the past to remove the cake from it the edges were gouged . Using 220, 400 and 1000 grit paper around a finger I worked carefully at the top of the chamber to remove the gouging,

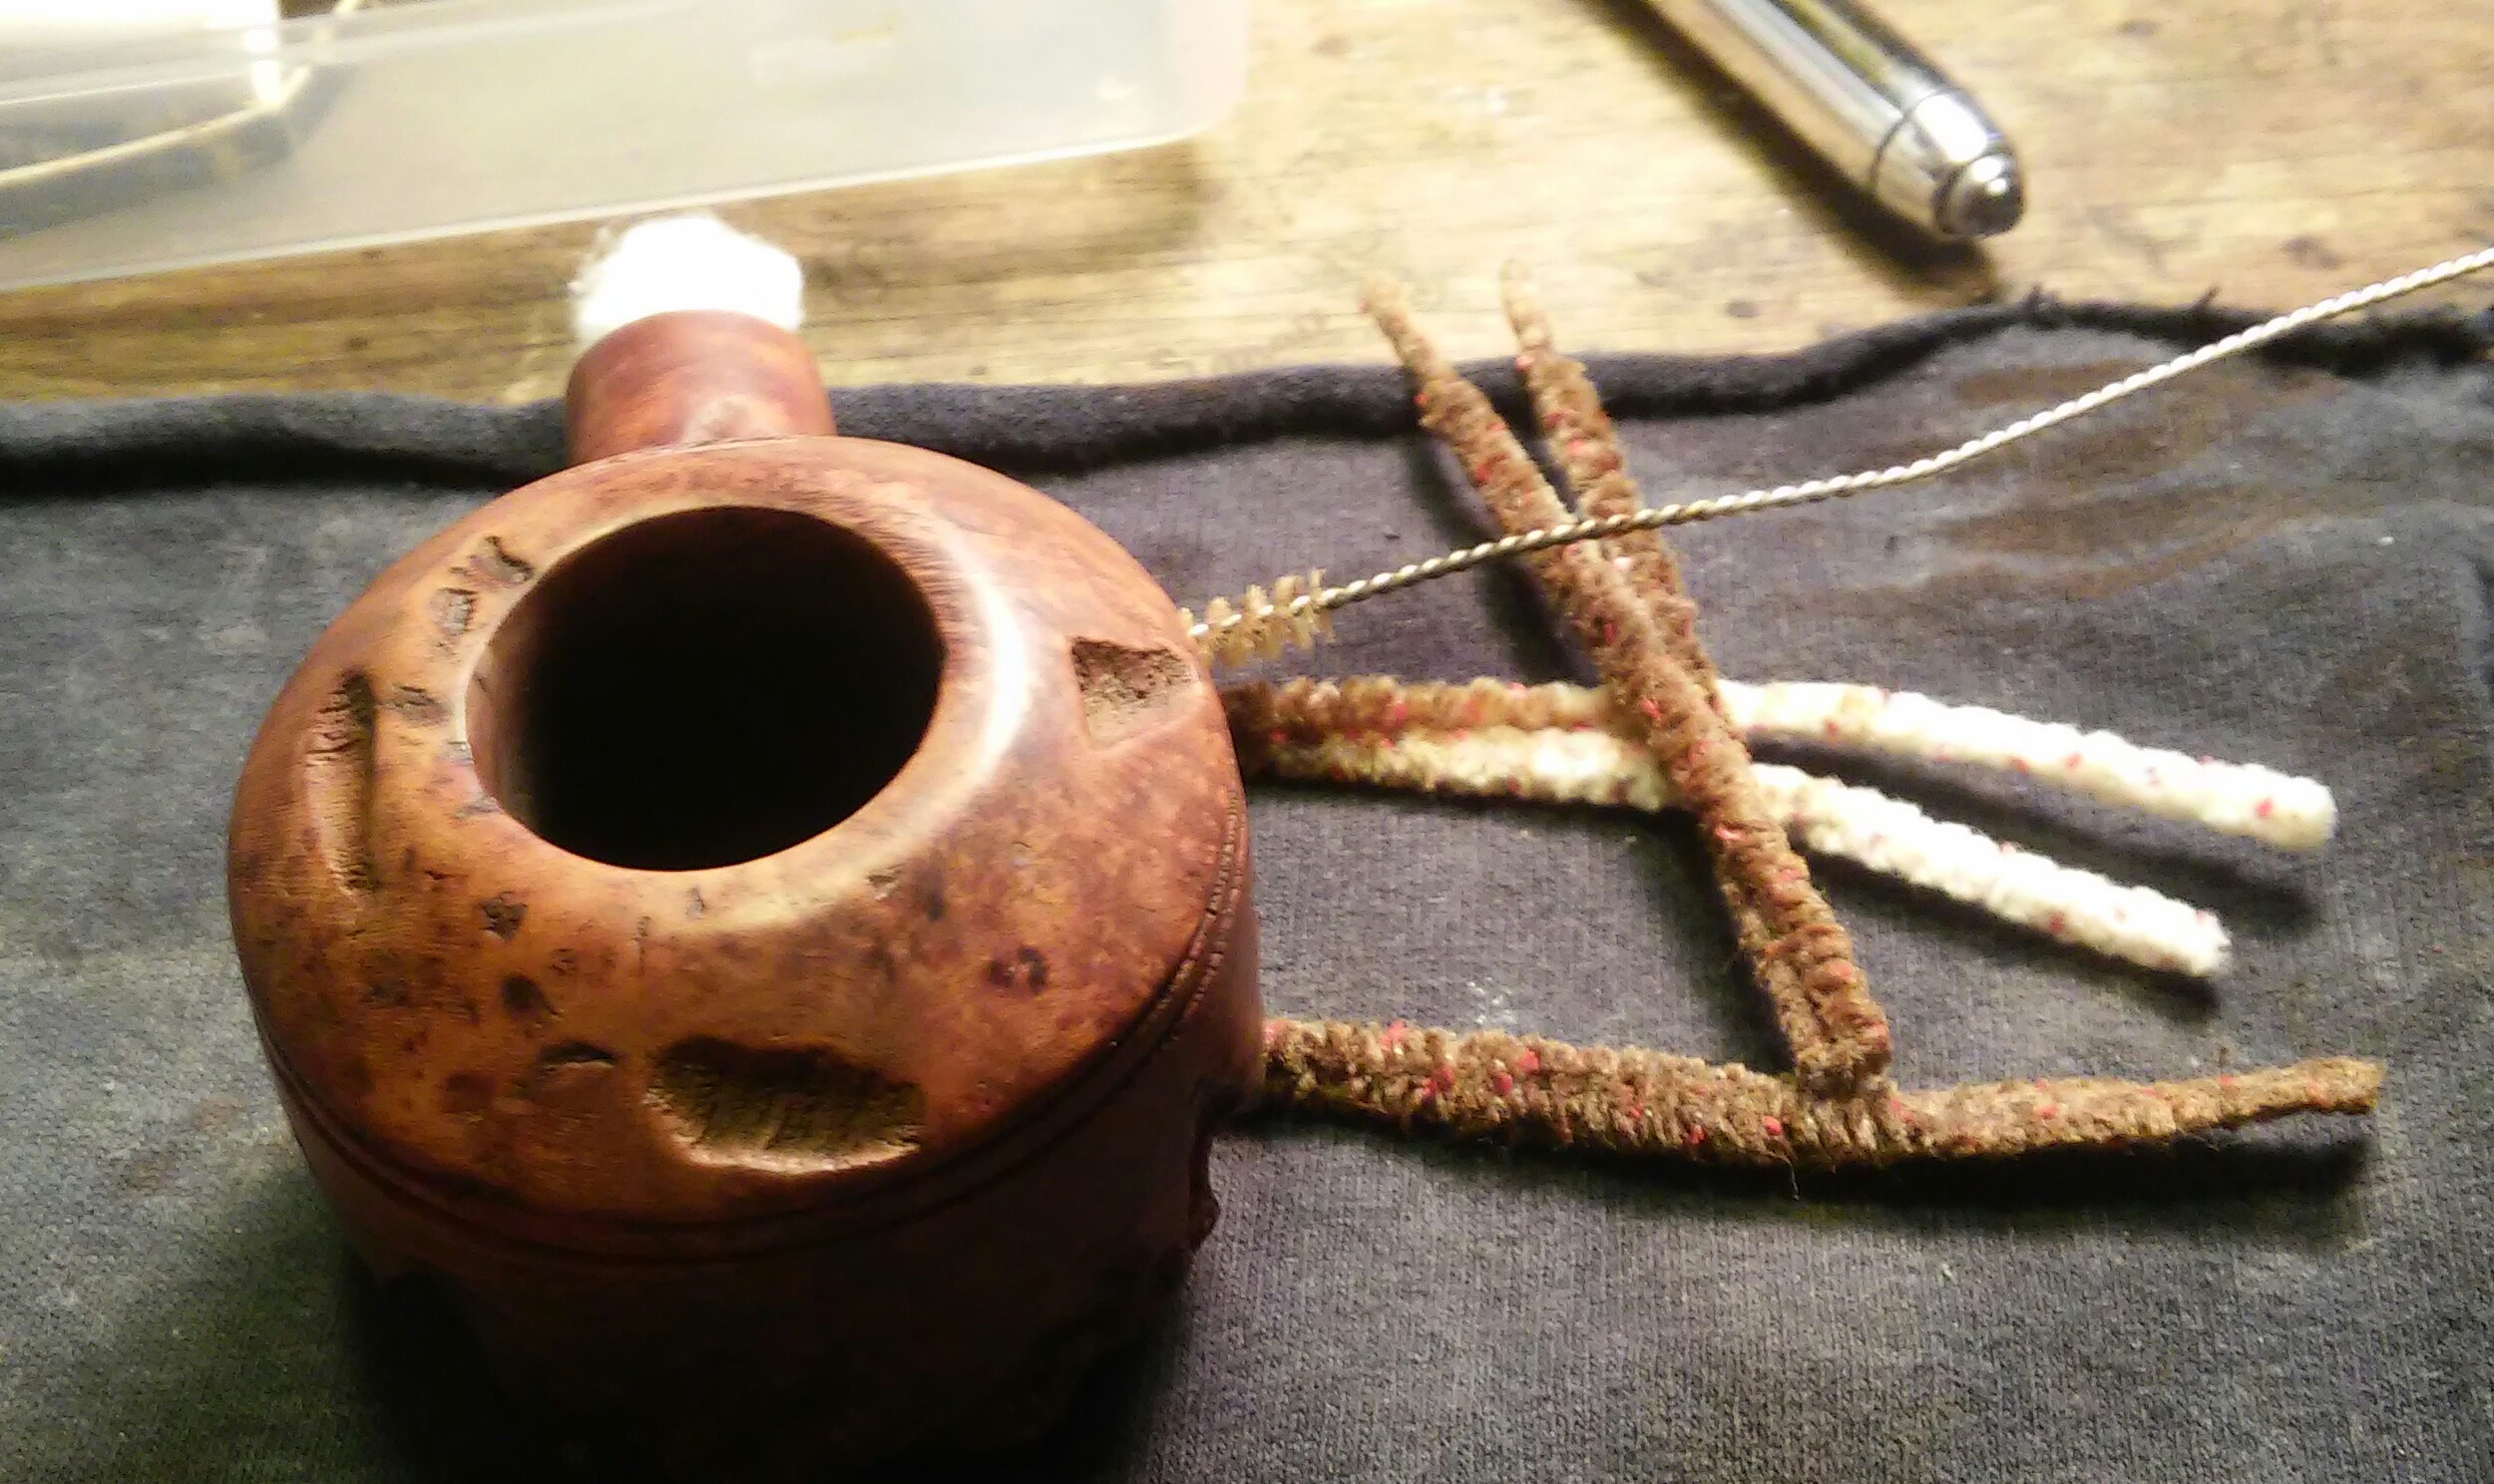
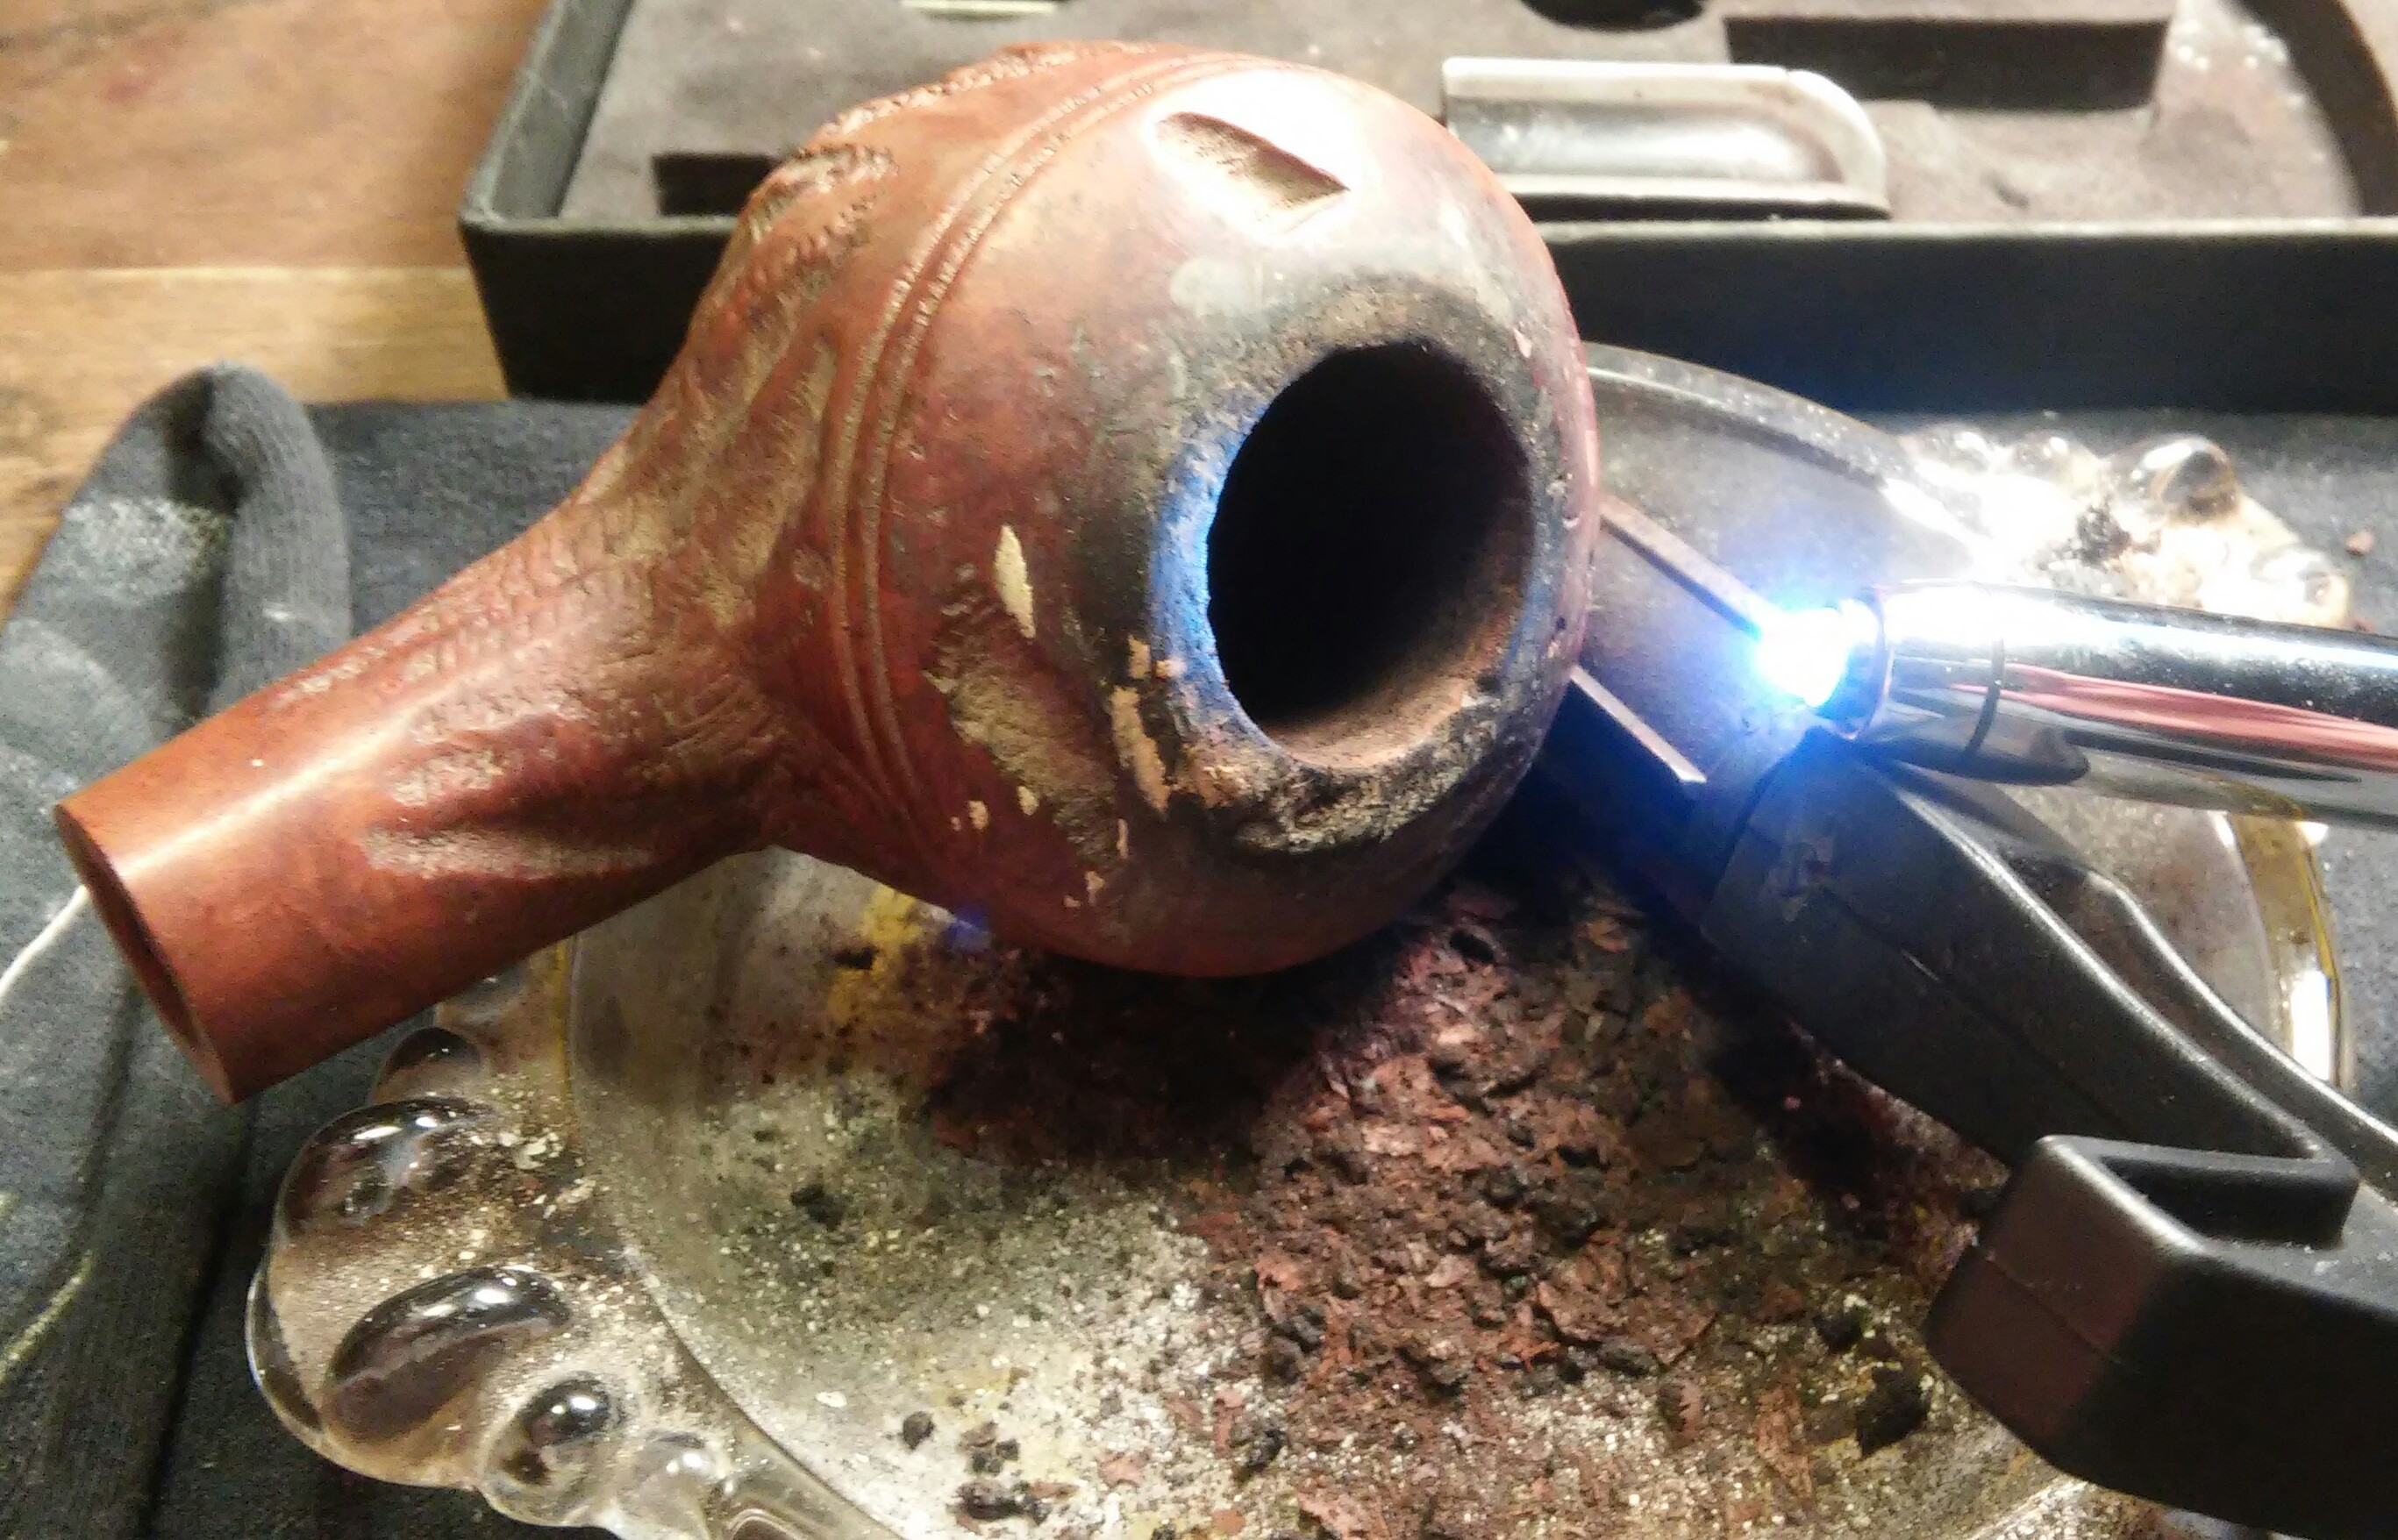
The mortis and draft were heavily caked with tars and old tobacco it would need to be cleared before going any further. I un-rolled cotton balls and twisted them together to form a long swab. Using the swab I turned it tightly into the mortise and then filled the chamber with a little EverClear and waited for the alcohol to be absorbed. Letting it soak for a bit, I removed the swab and cleaned the mortise / draft with stiff pipe cleaners and shank brush until the draft was clear.


With the draft cleared it could now receive a retort . I cleaned the internals one last time after the retort with Q-tips, cotton swabs and stiff / soft pipe cleaners.

With the bowl ready for a buff I moved to the stem, starting with non-bleach Soft Scrub . I scrubbed the stem vigorously with cotton balls and a rag until the oxidation was removed.
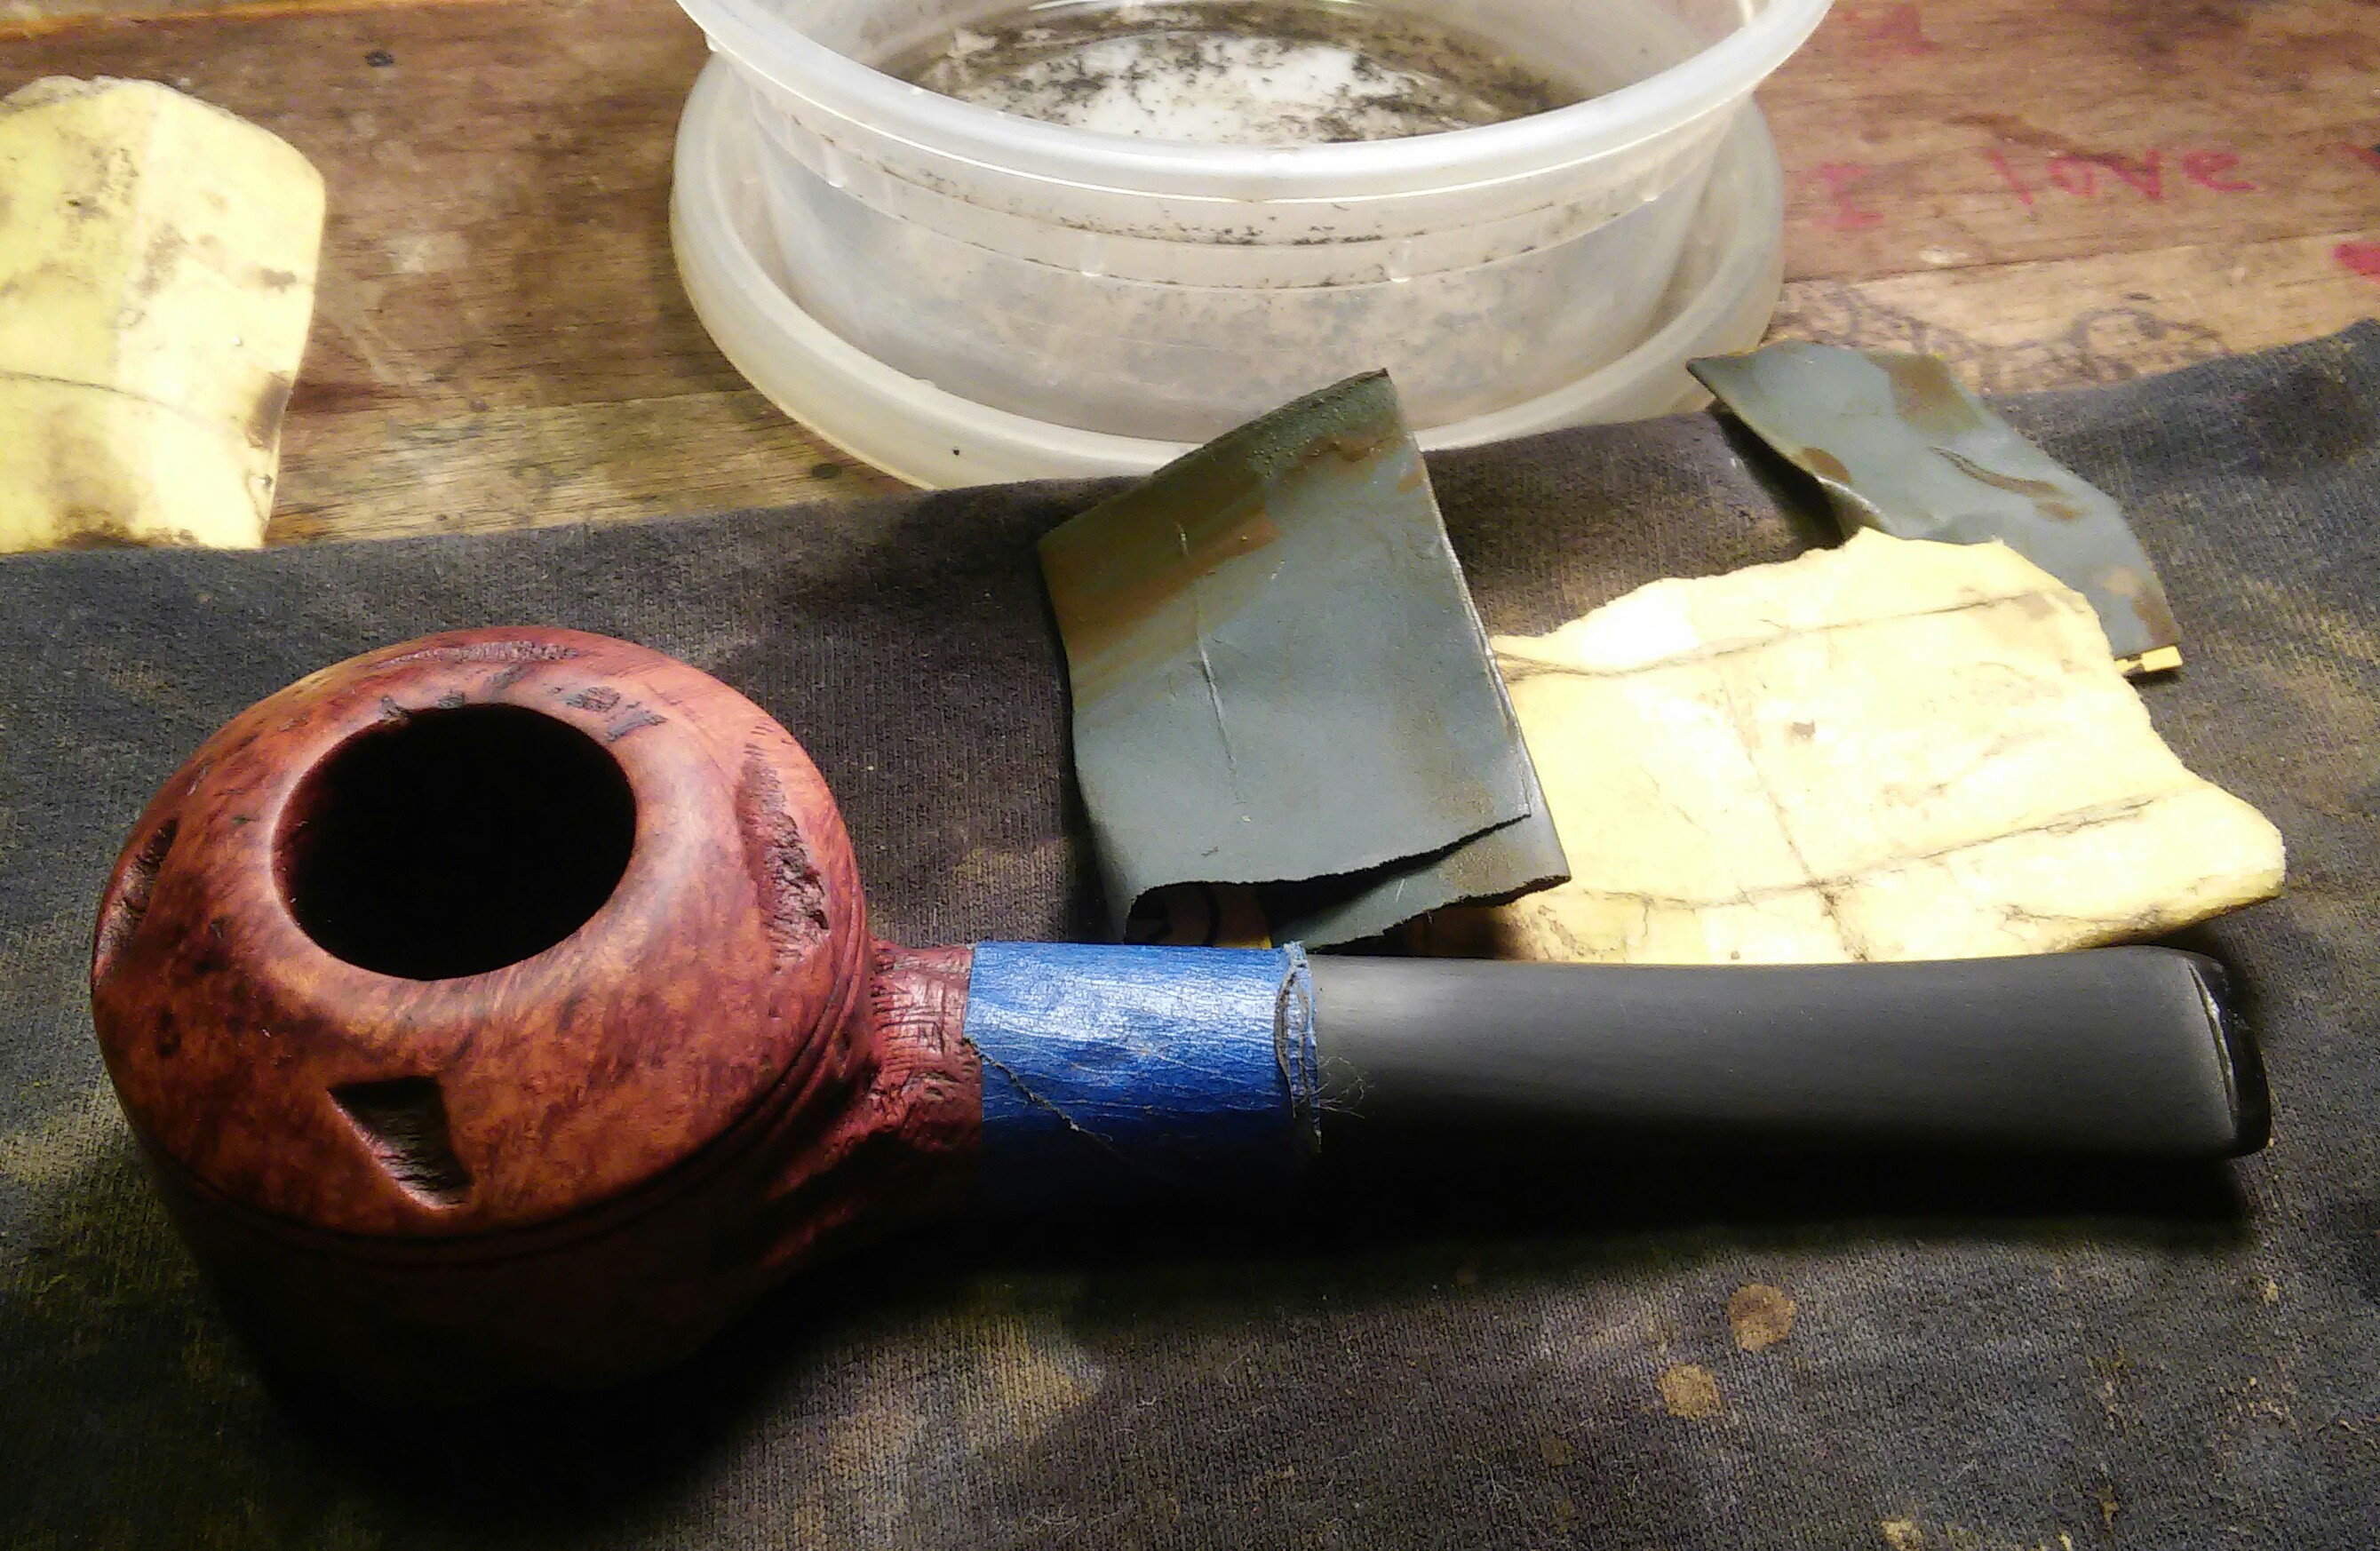

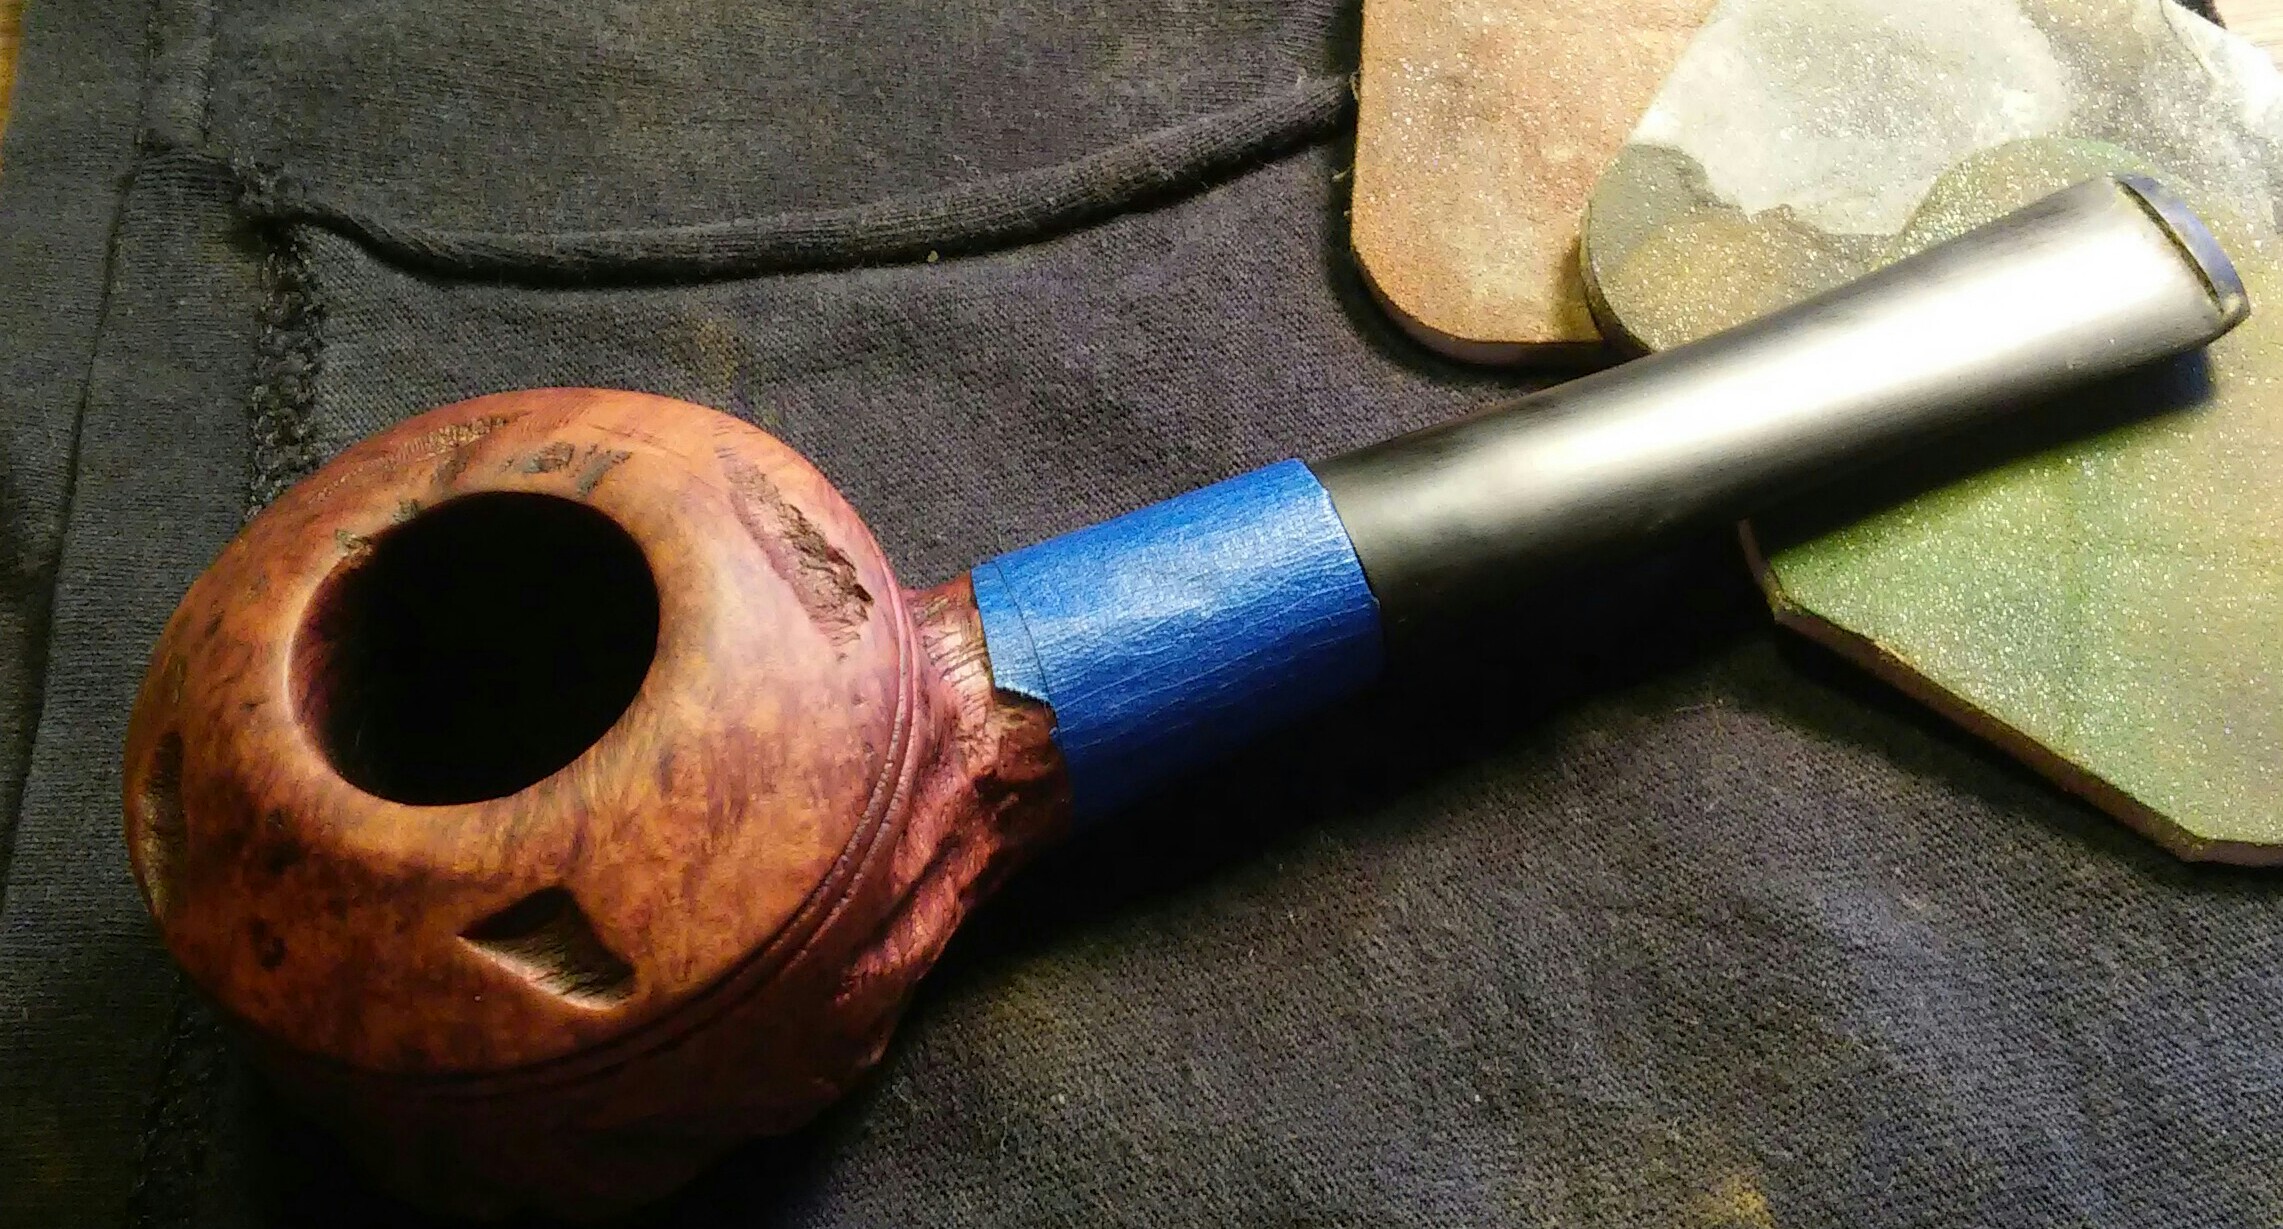
I tapped off the shank so I wouldn’t disturb the finnish with my sanding . Starting with a 400 grit wet sand, I sanded the bit/ lip area to remove some of the tooth impressions and to rough up the surface so the CA glue repair would have a good hold . I then wet sanded the entire stem with 1000 grit paper and then wiped down the stem with alcohol . I would repair the worn button first by first tapping off the area of the repair. I mixed thick black CA glue and activated charcoal powder into a paste and applied it to the button spreading it evenly across the surface. I let it setup for a few minutes, then I removed the painters tape and sprayed the repair with accelerator.

I now filled in one stubborn impression on the bit with the paste and sprayed it with accelerator . I left it overnight to cure.
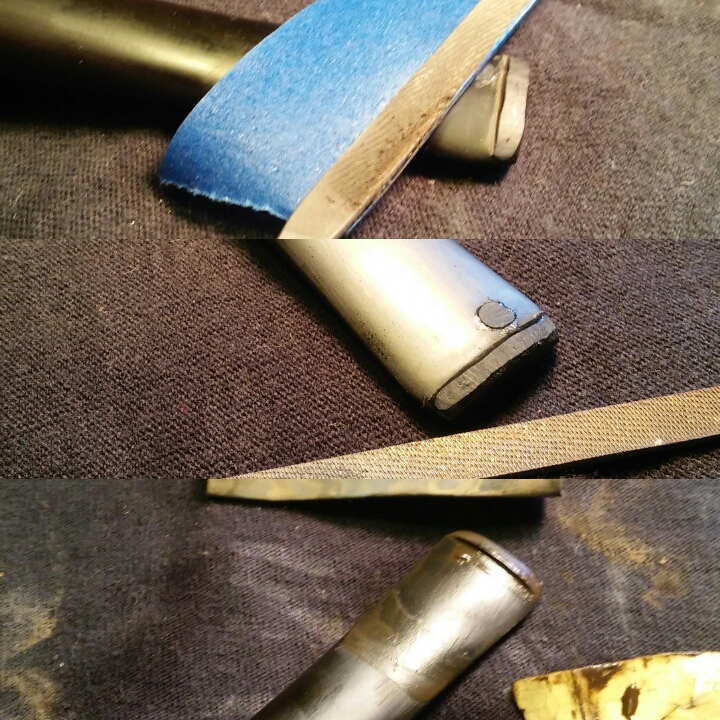
The following day after curing overnight I began forming the new button, using needle files and 400 grit sandpaper. I tapped off the bottom side of my needle file so I could get the file flush against the new button. I then sanded the stem with 1000 grit sandpaper to remove the file marks.

I worked though the various micro mesh pads.

Next I gave the bowl a quick sand with worn micro mesh to bring out the final shine. I applied a little Howard’s butcher block conditioner with a rag working it into the nooks and crannies and letting it soak for a few minutes, removing the excess with a clean rag.

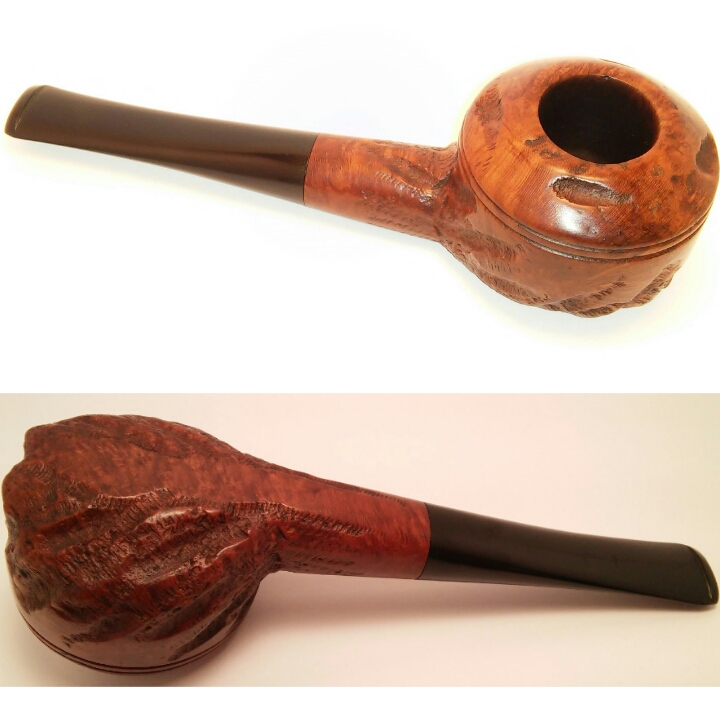

Final buff with white diamond, carnauba and a micro fiber hand buffing.

If I hadn’t just seen the pictures, I’d have never believed that this is the same pipe. Great job! You’ve got some interesting techniques, too.
LikeLiked by 1 person
Great job on that one. Well done.
LikeLike