

The scoundrel Pipes
Two down one to go it seems fitting to keep plugging away at the pipes I received from fellow blogger Pipe Scoundrel.

Custombilt Eugene Rich Years.
1946-1952
My original impressions of Custombilt pipes was anything post Mincer was not worth my time or efforts but I’ve been wrong before. The change of hands did not necessarily mean a change in quality, yes the dash was eliminated and the rustication was not quiet as deep but big , thick and chunky they still are. I now have four in my ever-growing collection drilled perfect and not one ounce filler to be found. Eugene J Rich INC definitely did the Custombilt name justice.
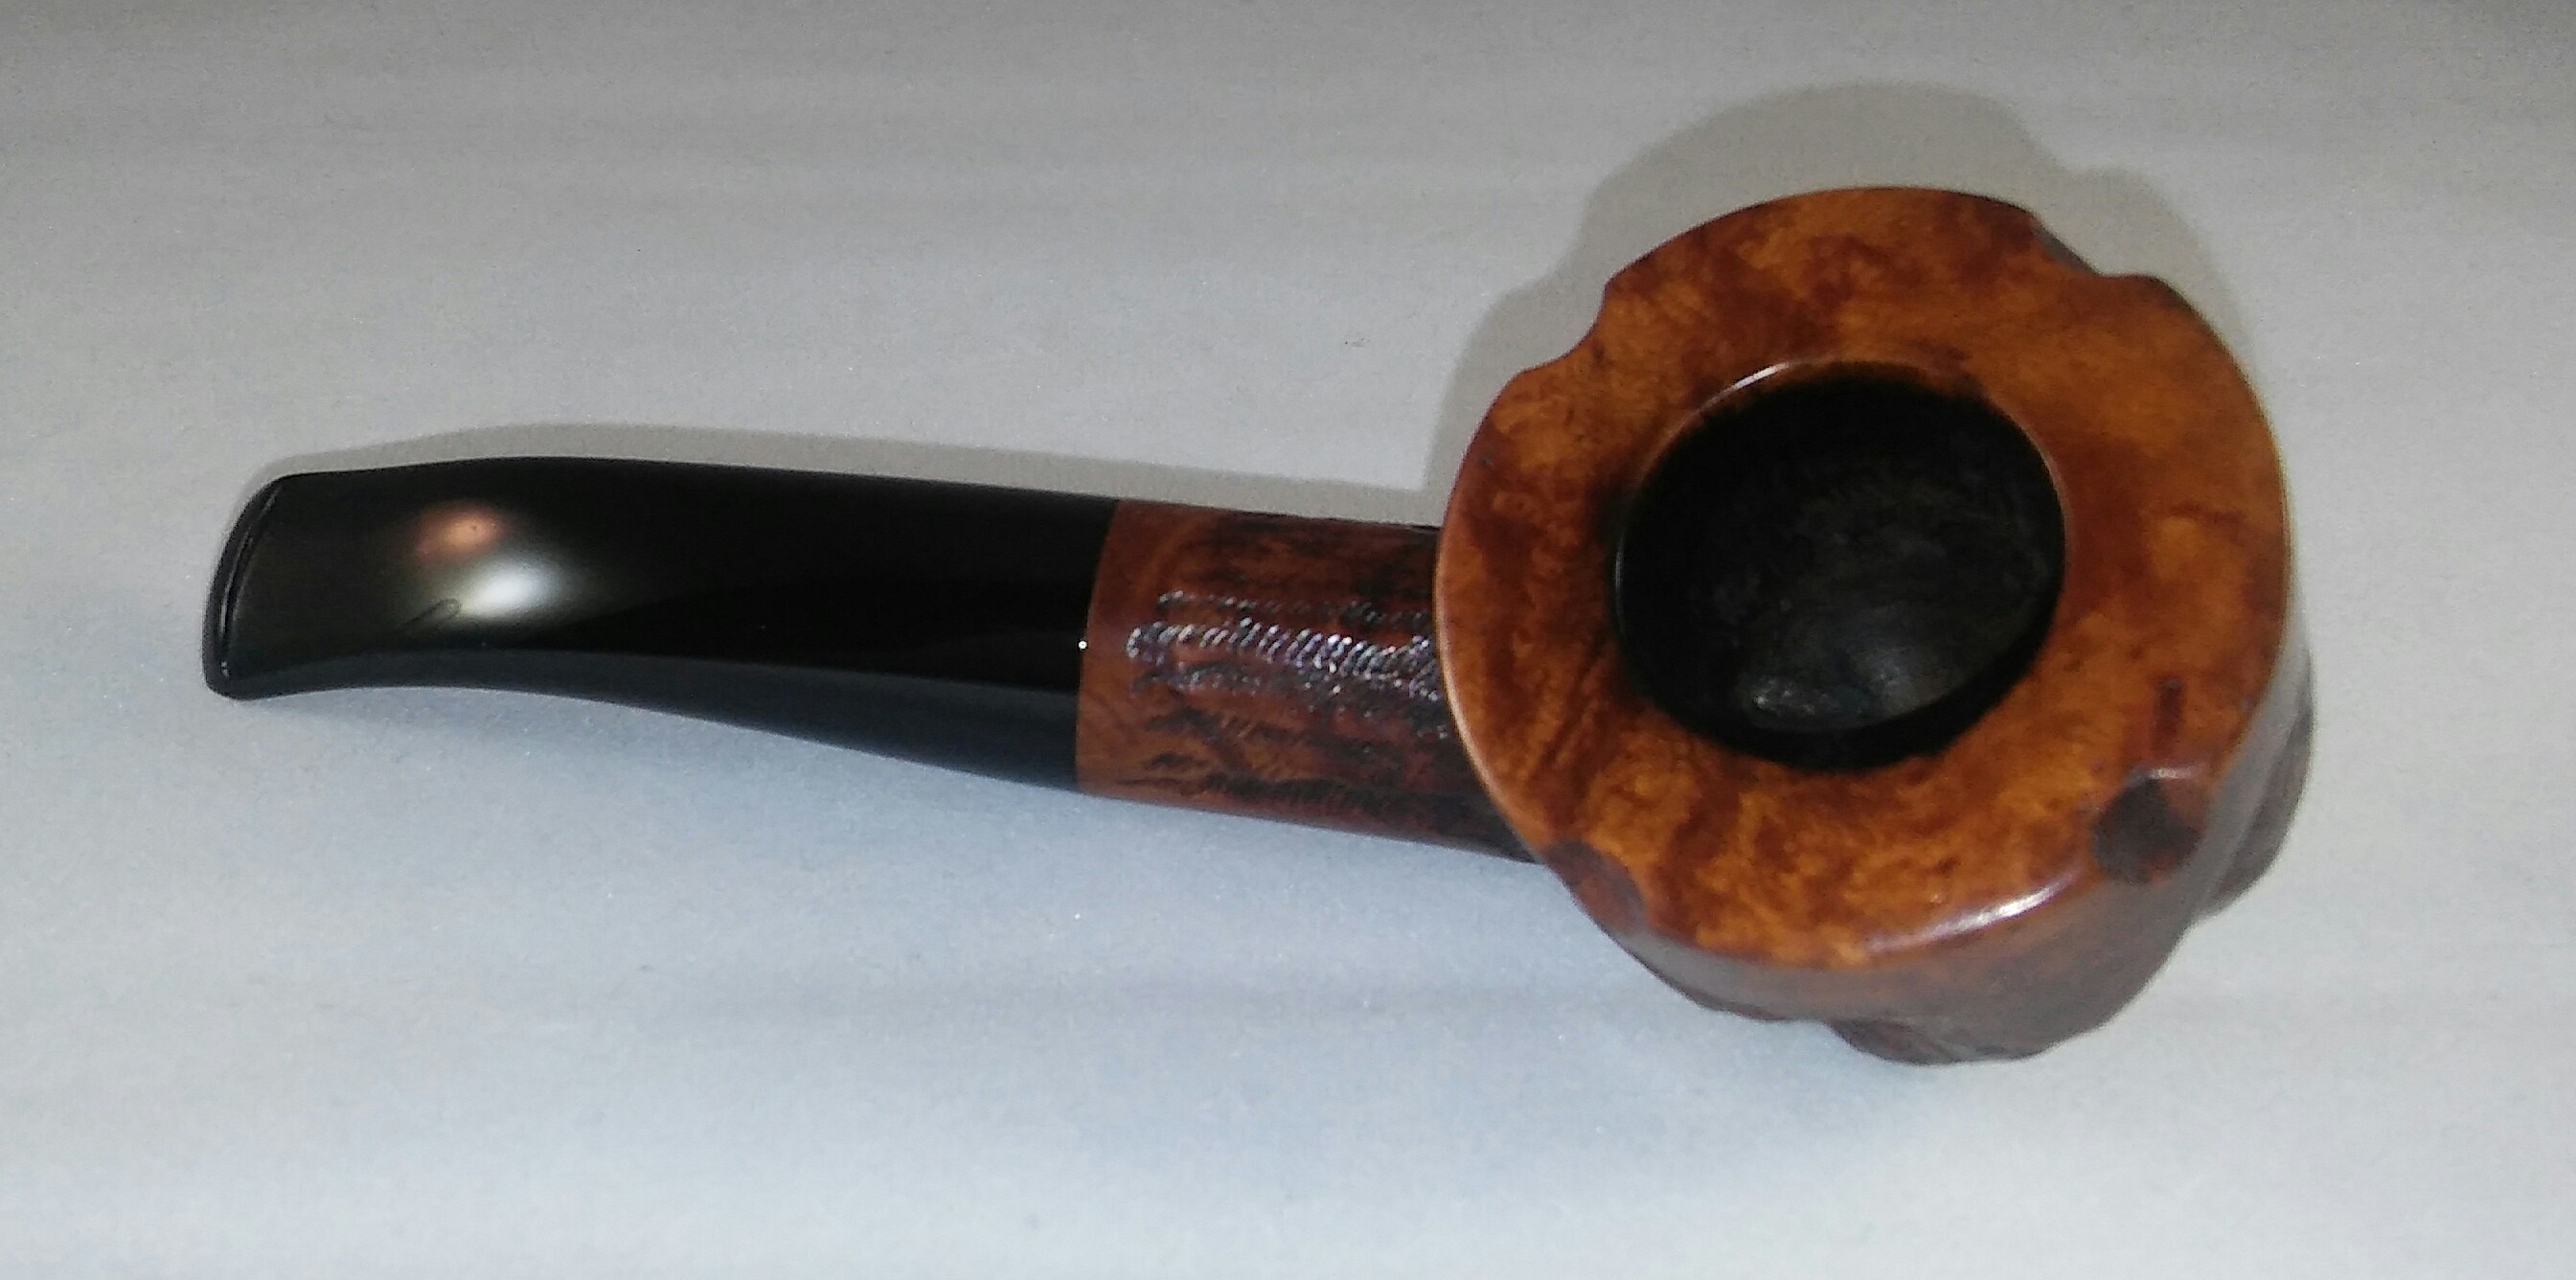
Pipe As Received

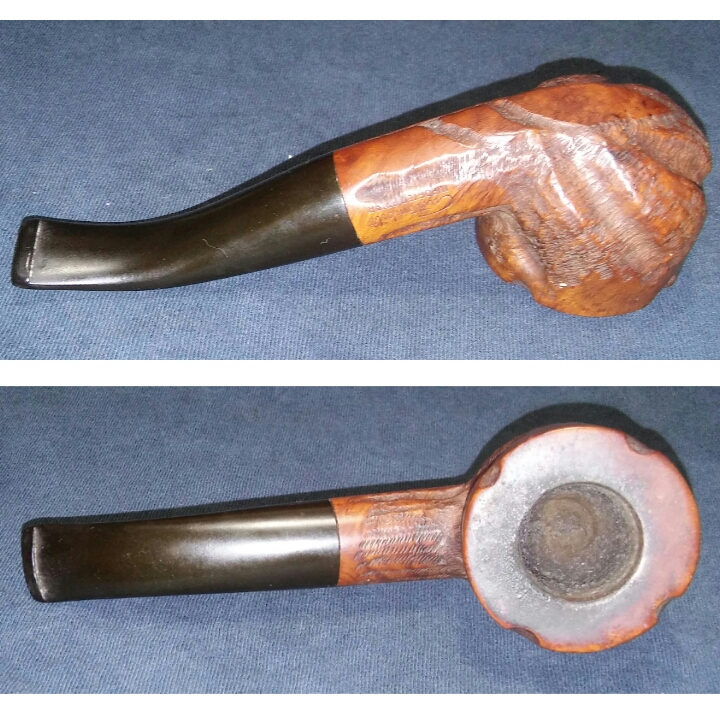
The next was in beautiful used condition and unlike the first was lacking any paint which would make for an easier start. A Little rim tar&char , thin cake and light stem chatter.

I started with my Castleford reamer working from the smallest attachment to the largest that the chamber would accept, in this case it would accept the largest. I brought the chamber back to briar to be able to see the start of a burn out, I found only slight pitting on the inner wall on one side. After reaming I sanded the chamber with 400 grit paper until the pitting smoothed out. I could now work on the build up on the rim. I applied a generous amount of Method Good For Wood Polish with a Q-tip to the rim and left it aside to penetrate the tars.

The build up on the rim was quite thick towards the shank and would need more time to sit. I applied another helping of Method polish to the rim and left the stummel upside down on a makeup pad for 20 minutes. After sitting the 20 minutes the rest of the build up was easier to remove. I was now left with a little rim darkening.
Using worn micro-mesh I was able to fade most of the darker spots.
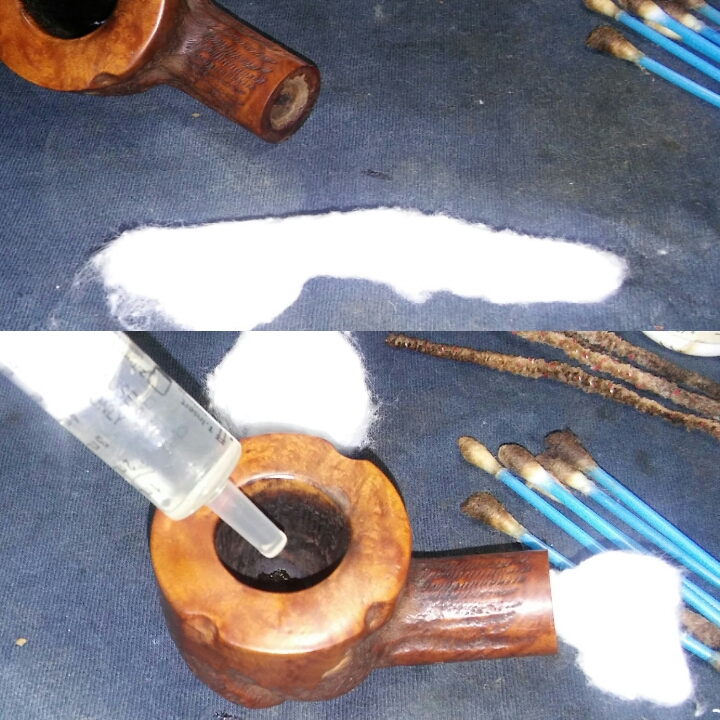
With the chamber and rim free of crud I could now move on to the internals. I did a quick clean of the mortise and chamber with EverClear soaked Q-tips to loosen up the residual residue. Next I rolled two cotton balls, twisted them together to form one long swab and twisted it tightly into the mortise. With the swab inserted in the mortise I filled the chamber a quarter of the way with EverClear and allowed the swab to absorb the alcohol.
Once the swab absorbed the EverClear I filled the chamber with two cotton balls and added EverClear to the chamber until the cotton balls are saturated. I left the stummel aside now so the cotton balls can absorb the tars and any ghosting.
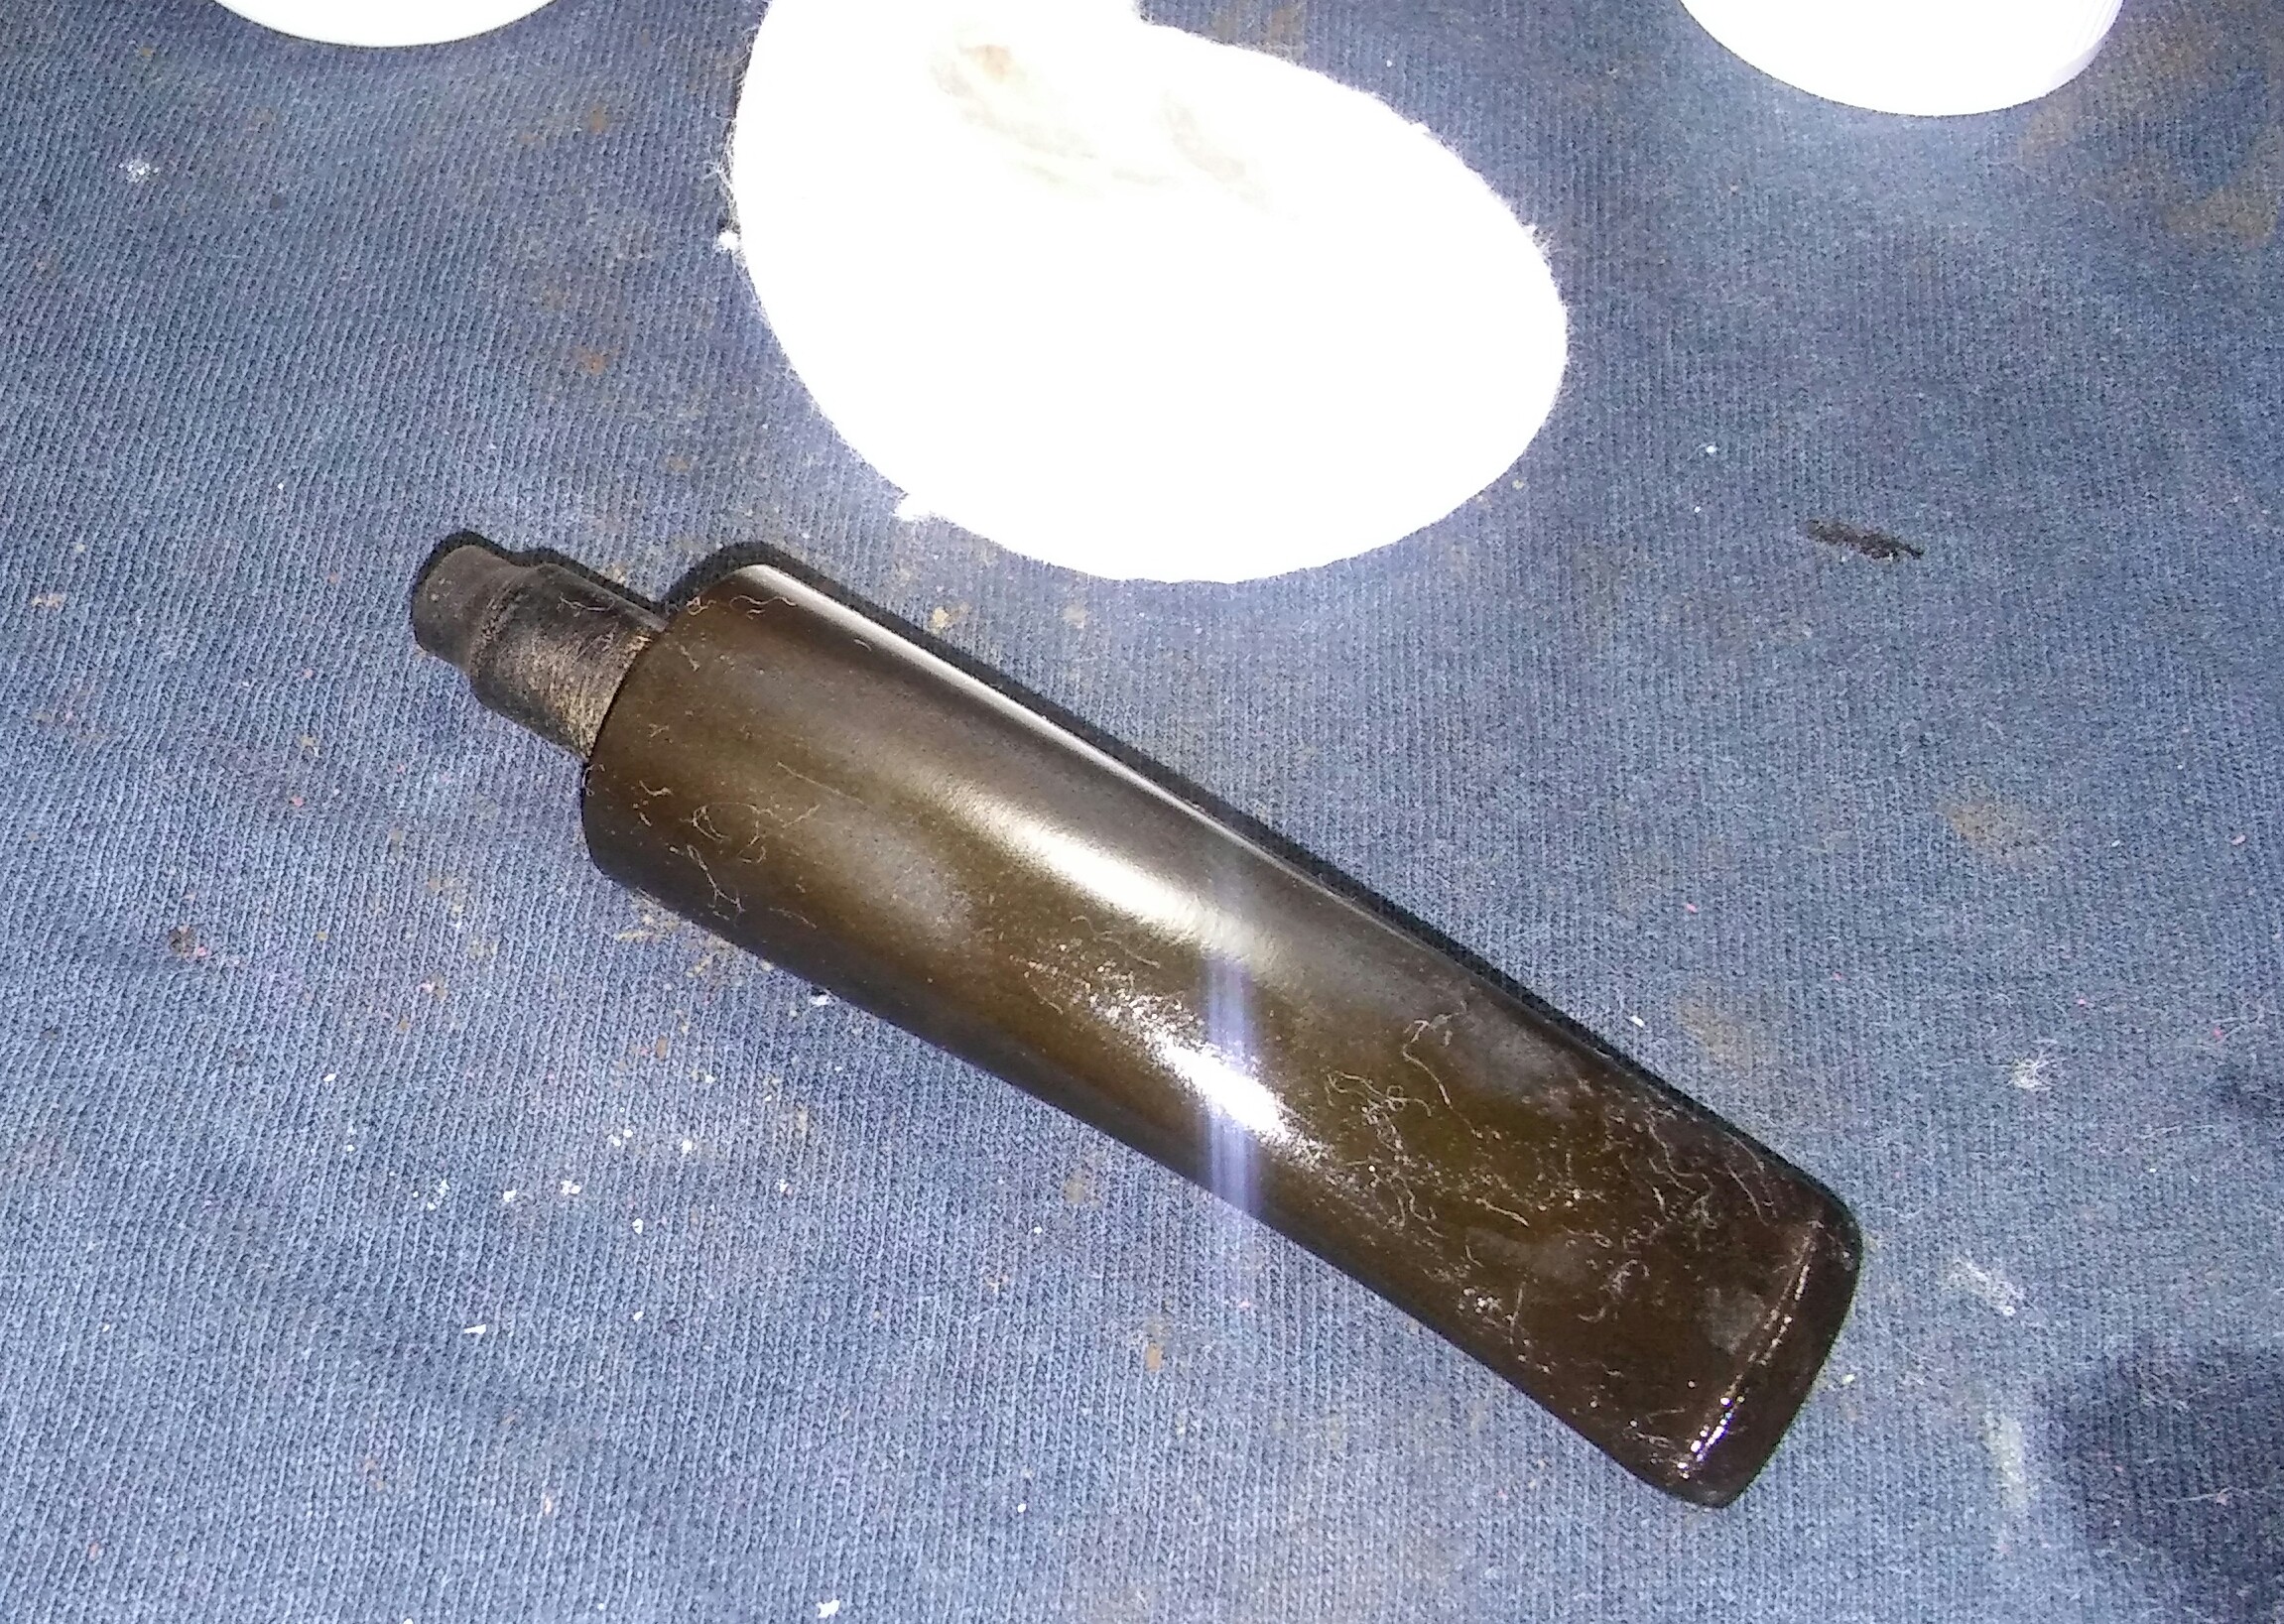
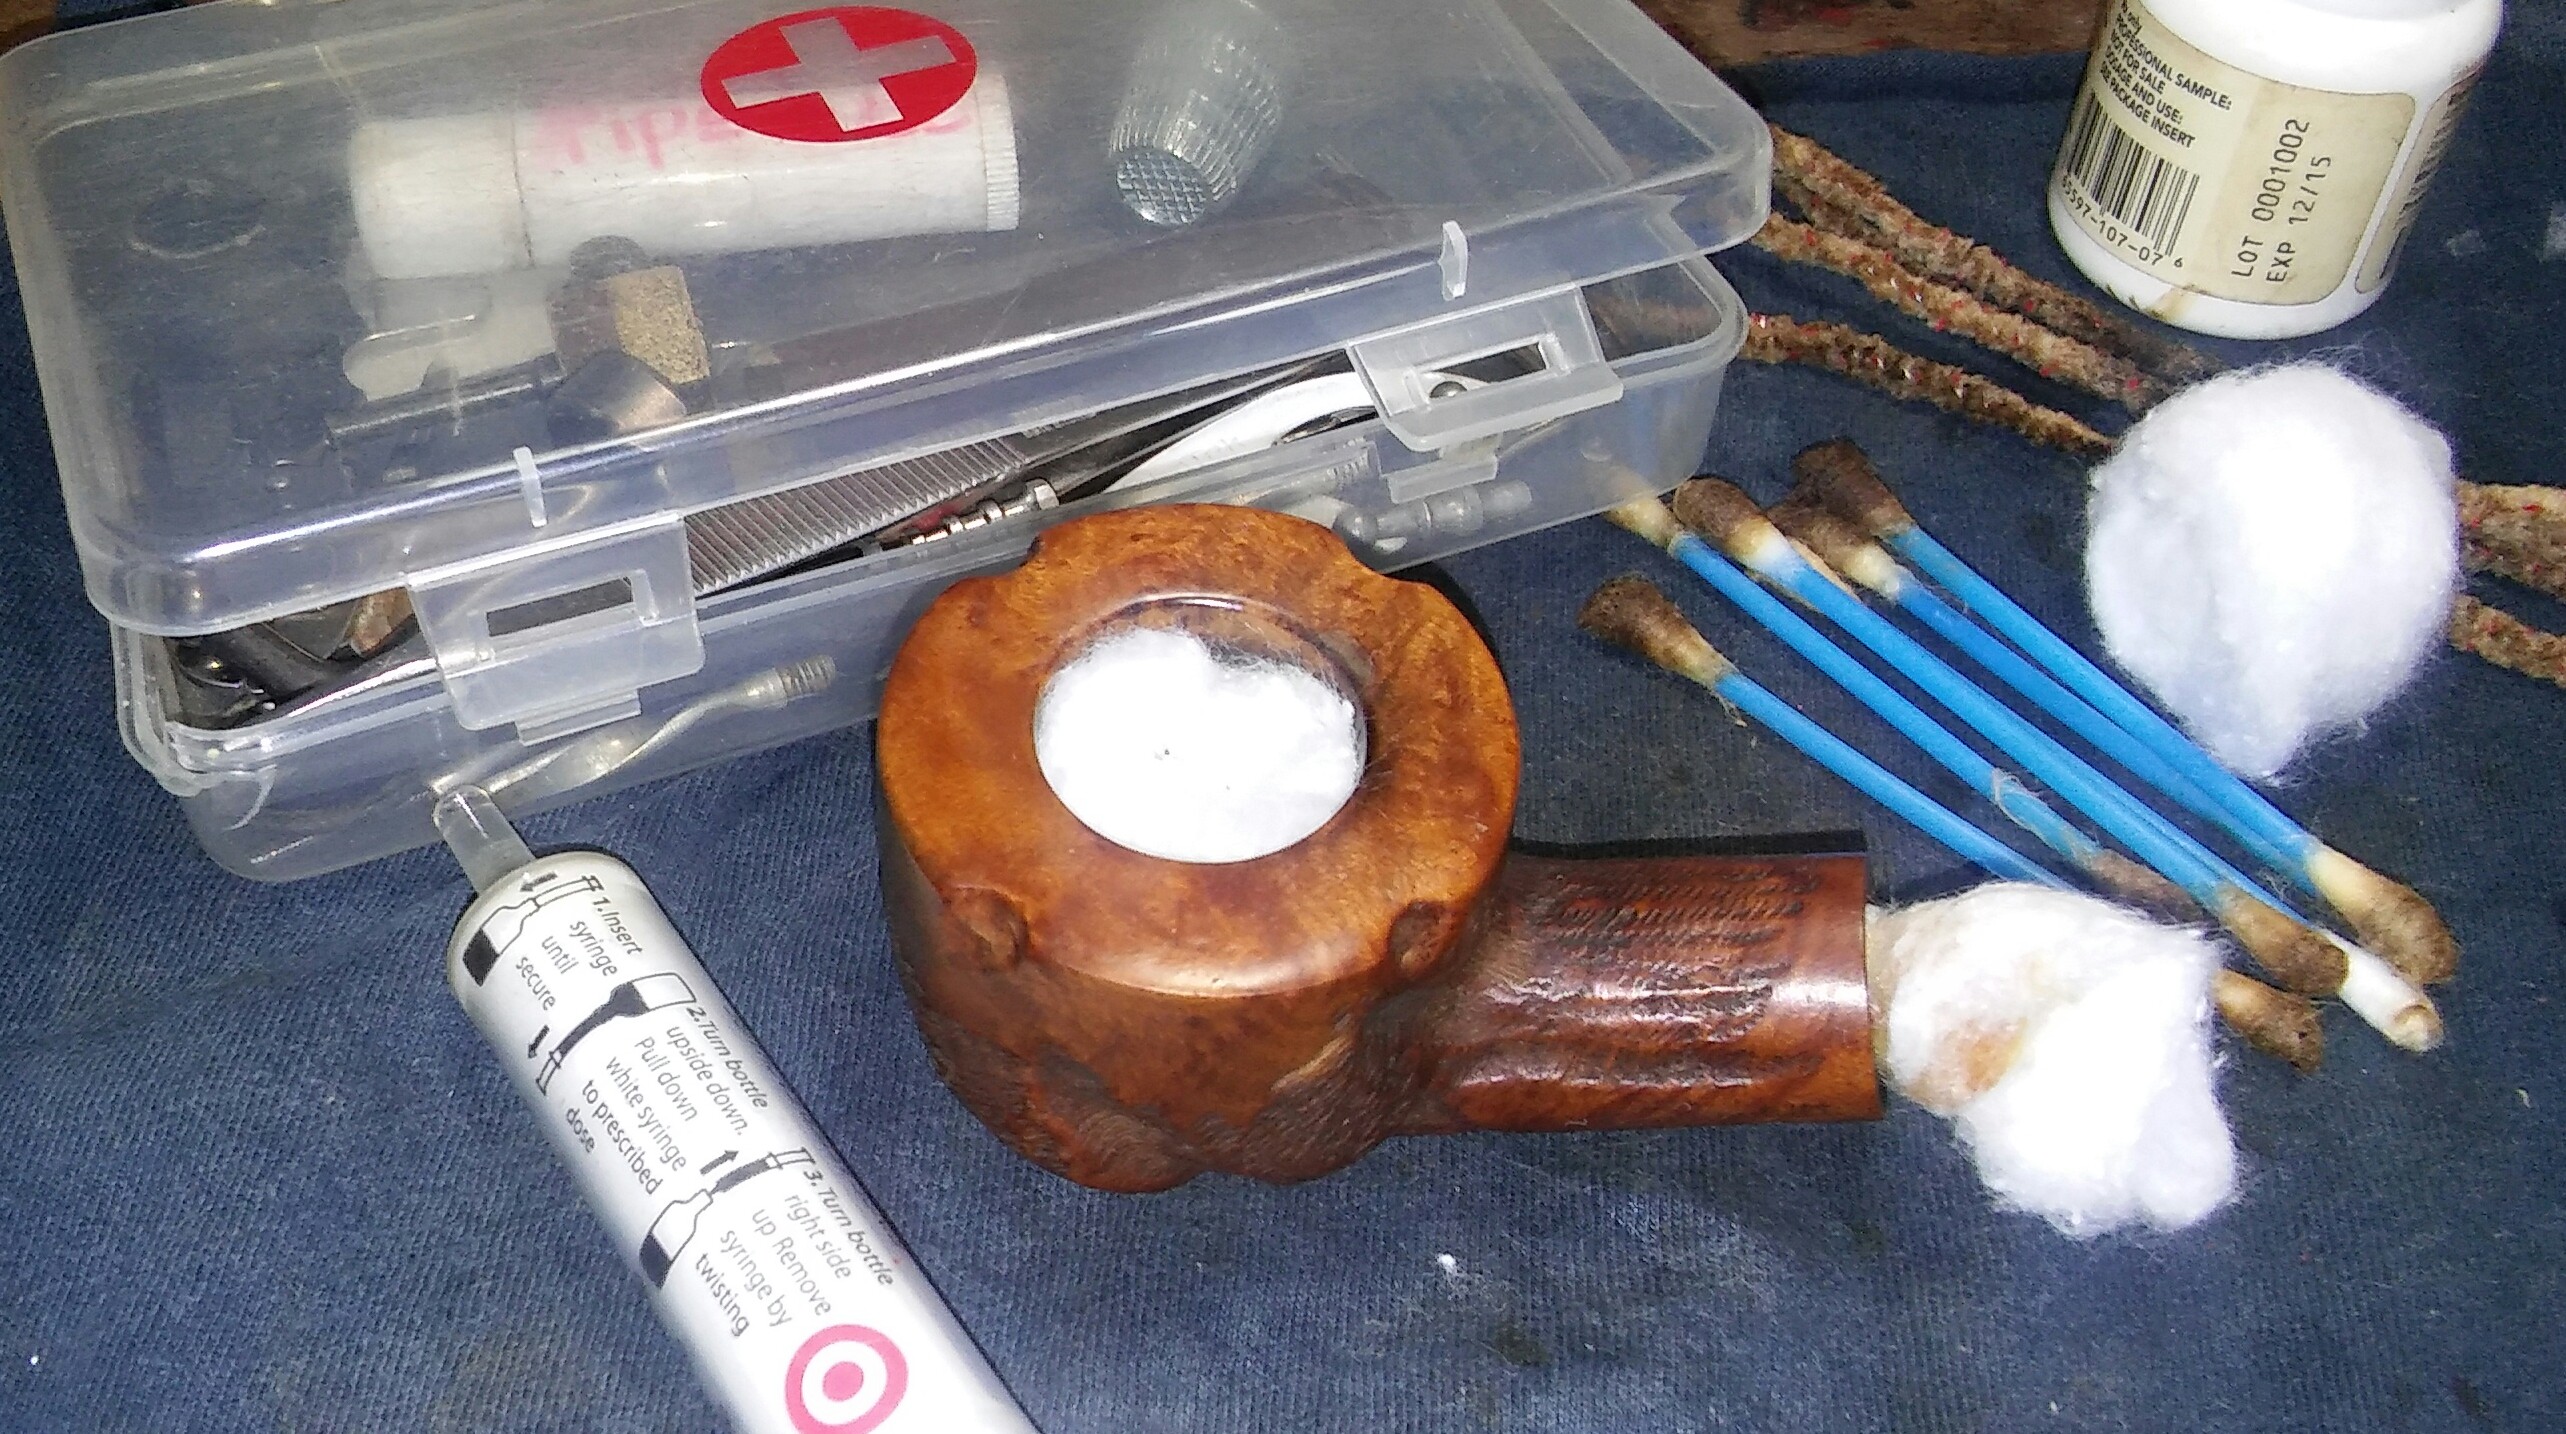
With the stummel set aside I moved to the stem, first cleaning the externals with EverClear and makeup pads.

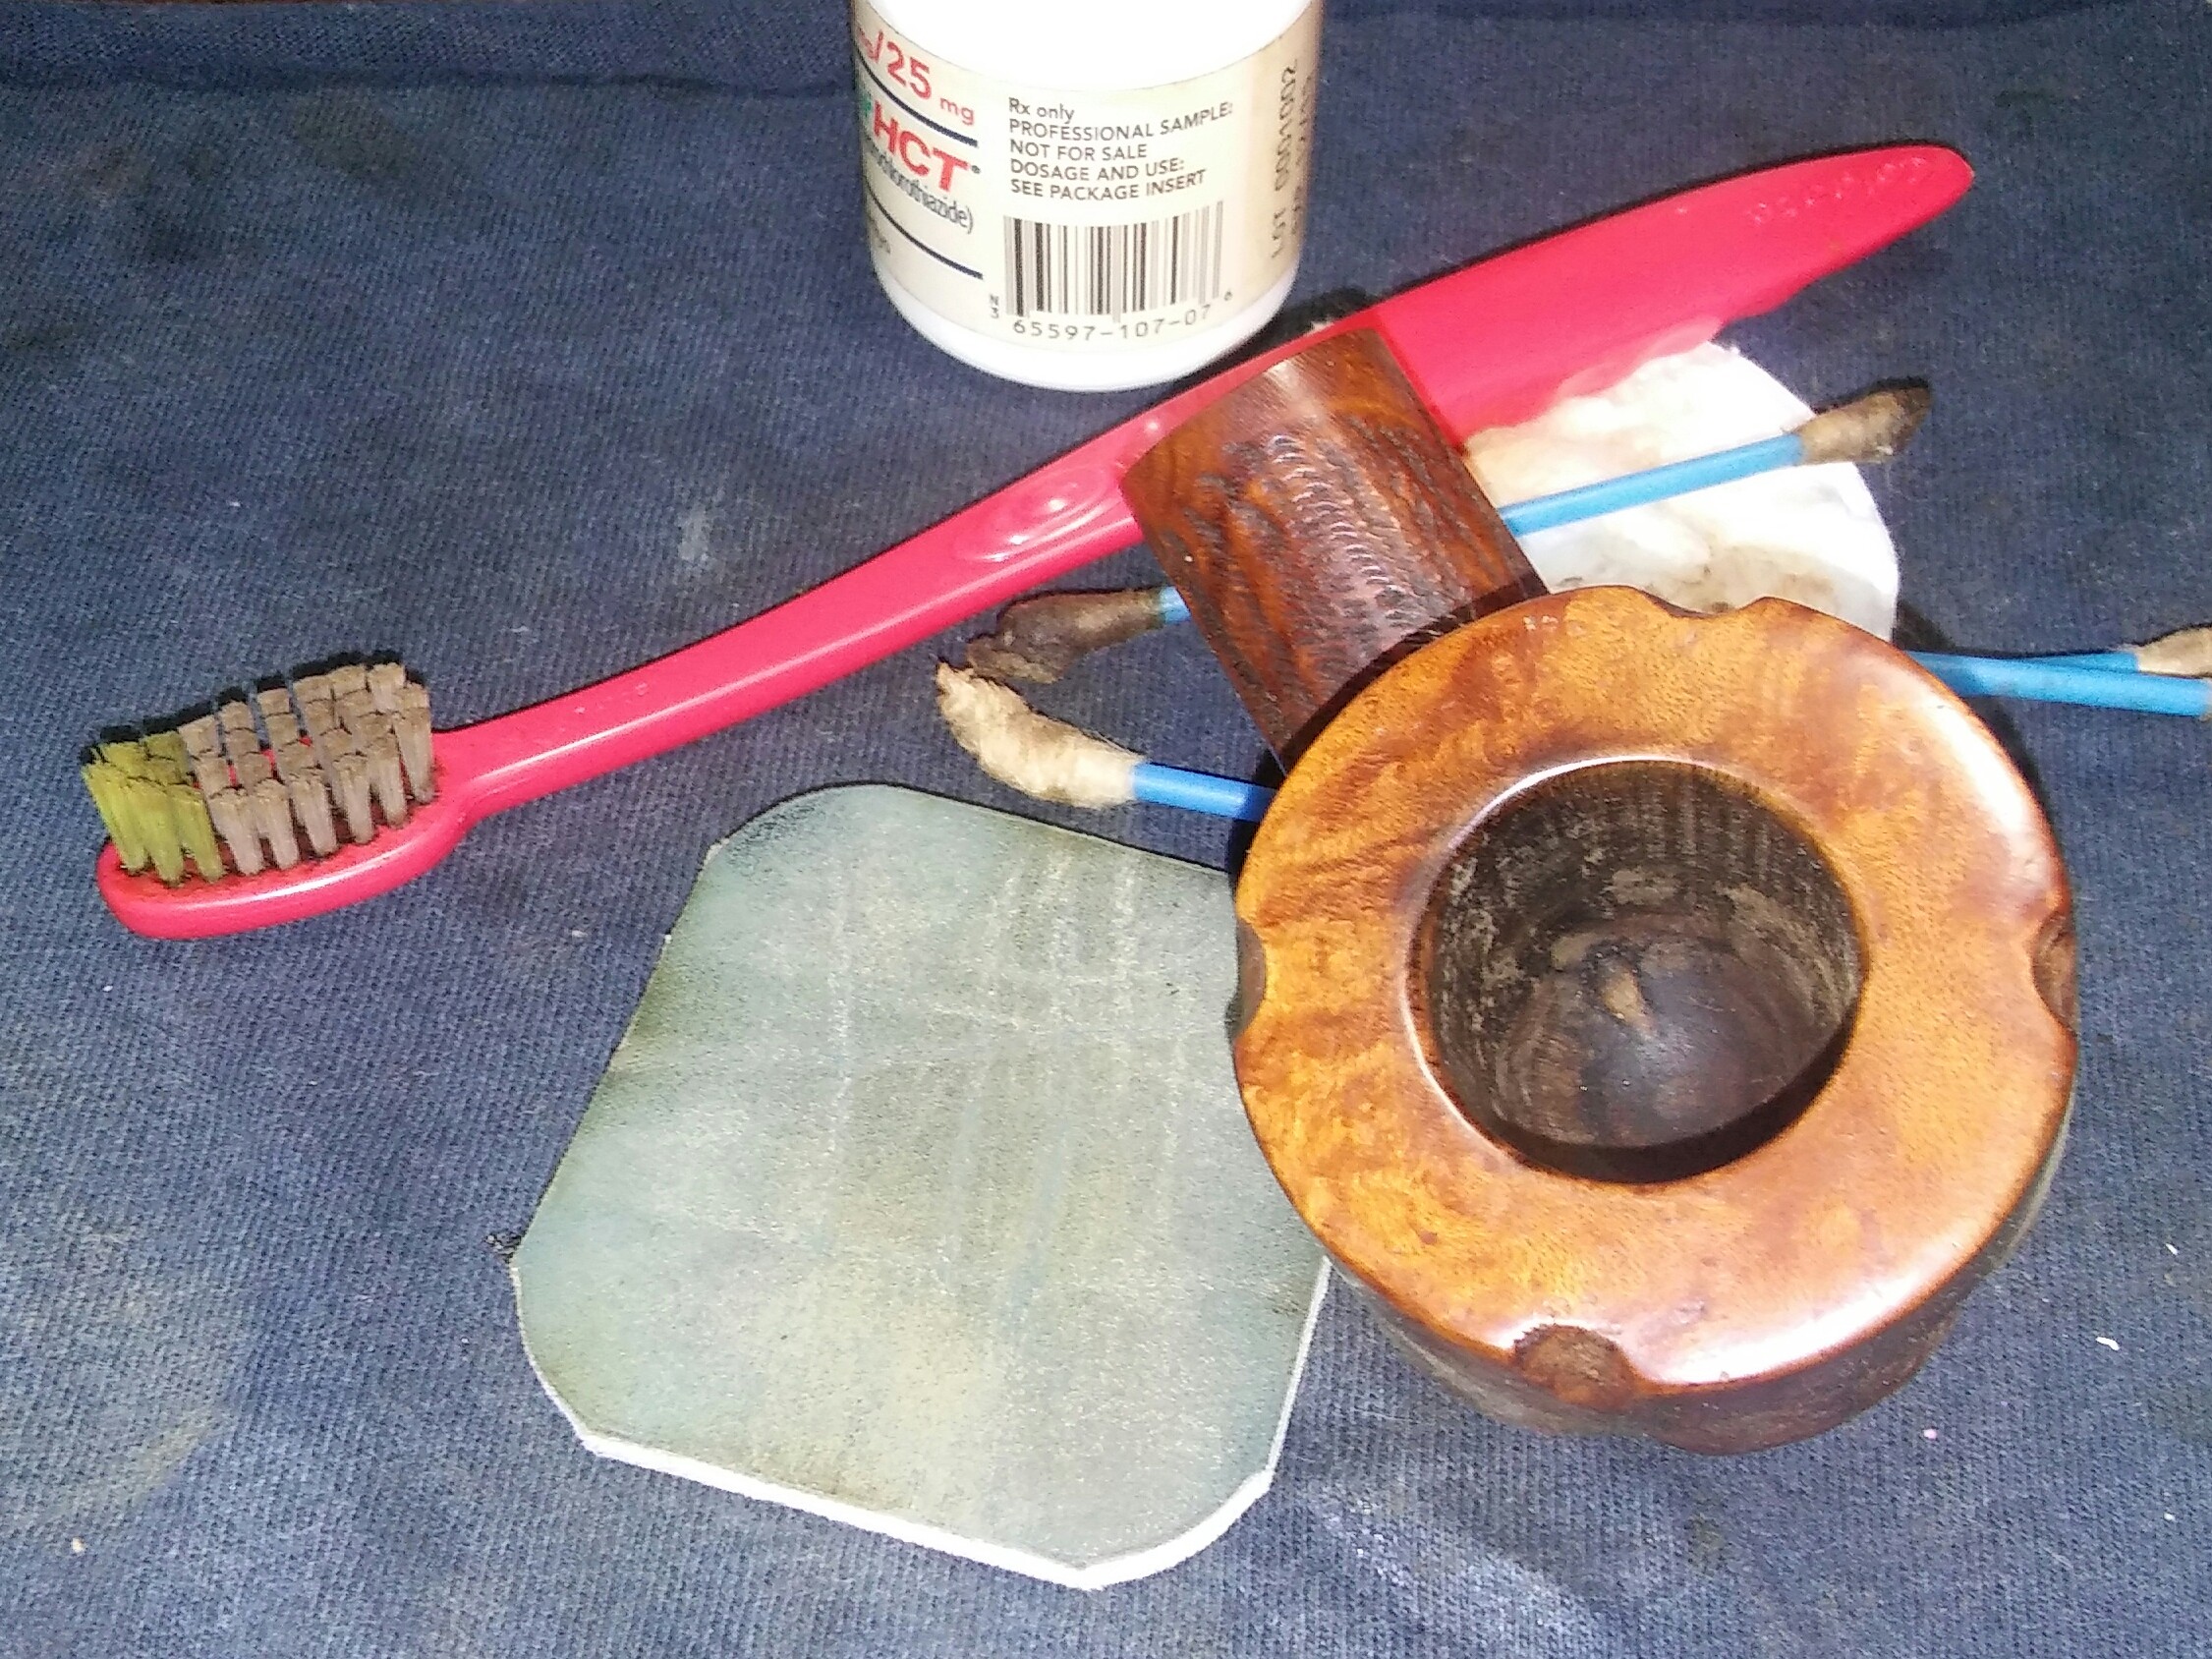
Now I applied non-bleach Soft Scrub to the stem with a children’s toothbrush and left it so the Soft Scrub could work its magic on the oxidation. I allow the Soft Scrub to turn from white to a brownish color before scrubbing vigorously with a rag. From the photo above you can see it removed 90% of the oxidation. I now used a damp Magic Eraser to remove the rest. The surface of the stem was left with a rough texture and would still need to be sanded. Before moving on I cleaned the internals of the stem with EverClear and stiff/soft pipe cleaners until the last pipe cleaner came as it went in.

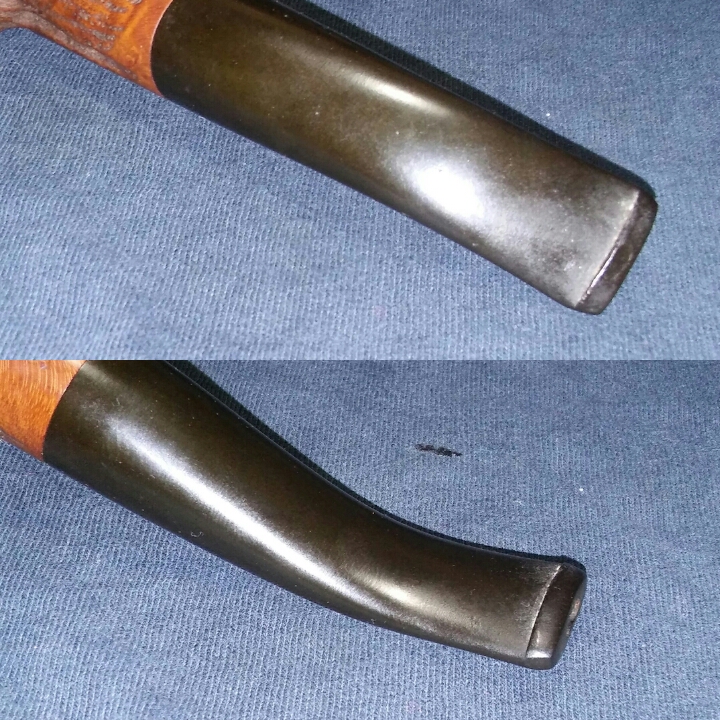
There were shallow tooth impressions at the bit/button area that raised a bit by heating the area with a Bic lighter (moving the flame at all times never leaving it in one spot too long). The stem was now ready for sanding.

I sanded the stem first with 1000 grit wet sandpaper then 1800, 2000, 2400 wet moving on to the dry 3200-12000. Ready for the buffing wheel.

Moving back to the stummel, after sitting while working on the stem it had time for the EverClear and cotton balls to pull the tars and old tobacco out of the mortise and chamber. I gave it a good cleaning now with EverClear, Q-tips, cotton balls and stiff/soft pipe cleaners, cleaning until the last pipe cleaner came out as it went in.

I now cleaned the exterior of the stummel with Method Good For Wood Polish and allowed it to dry.
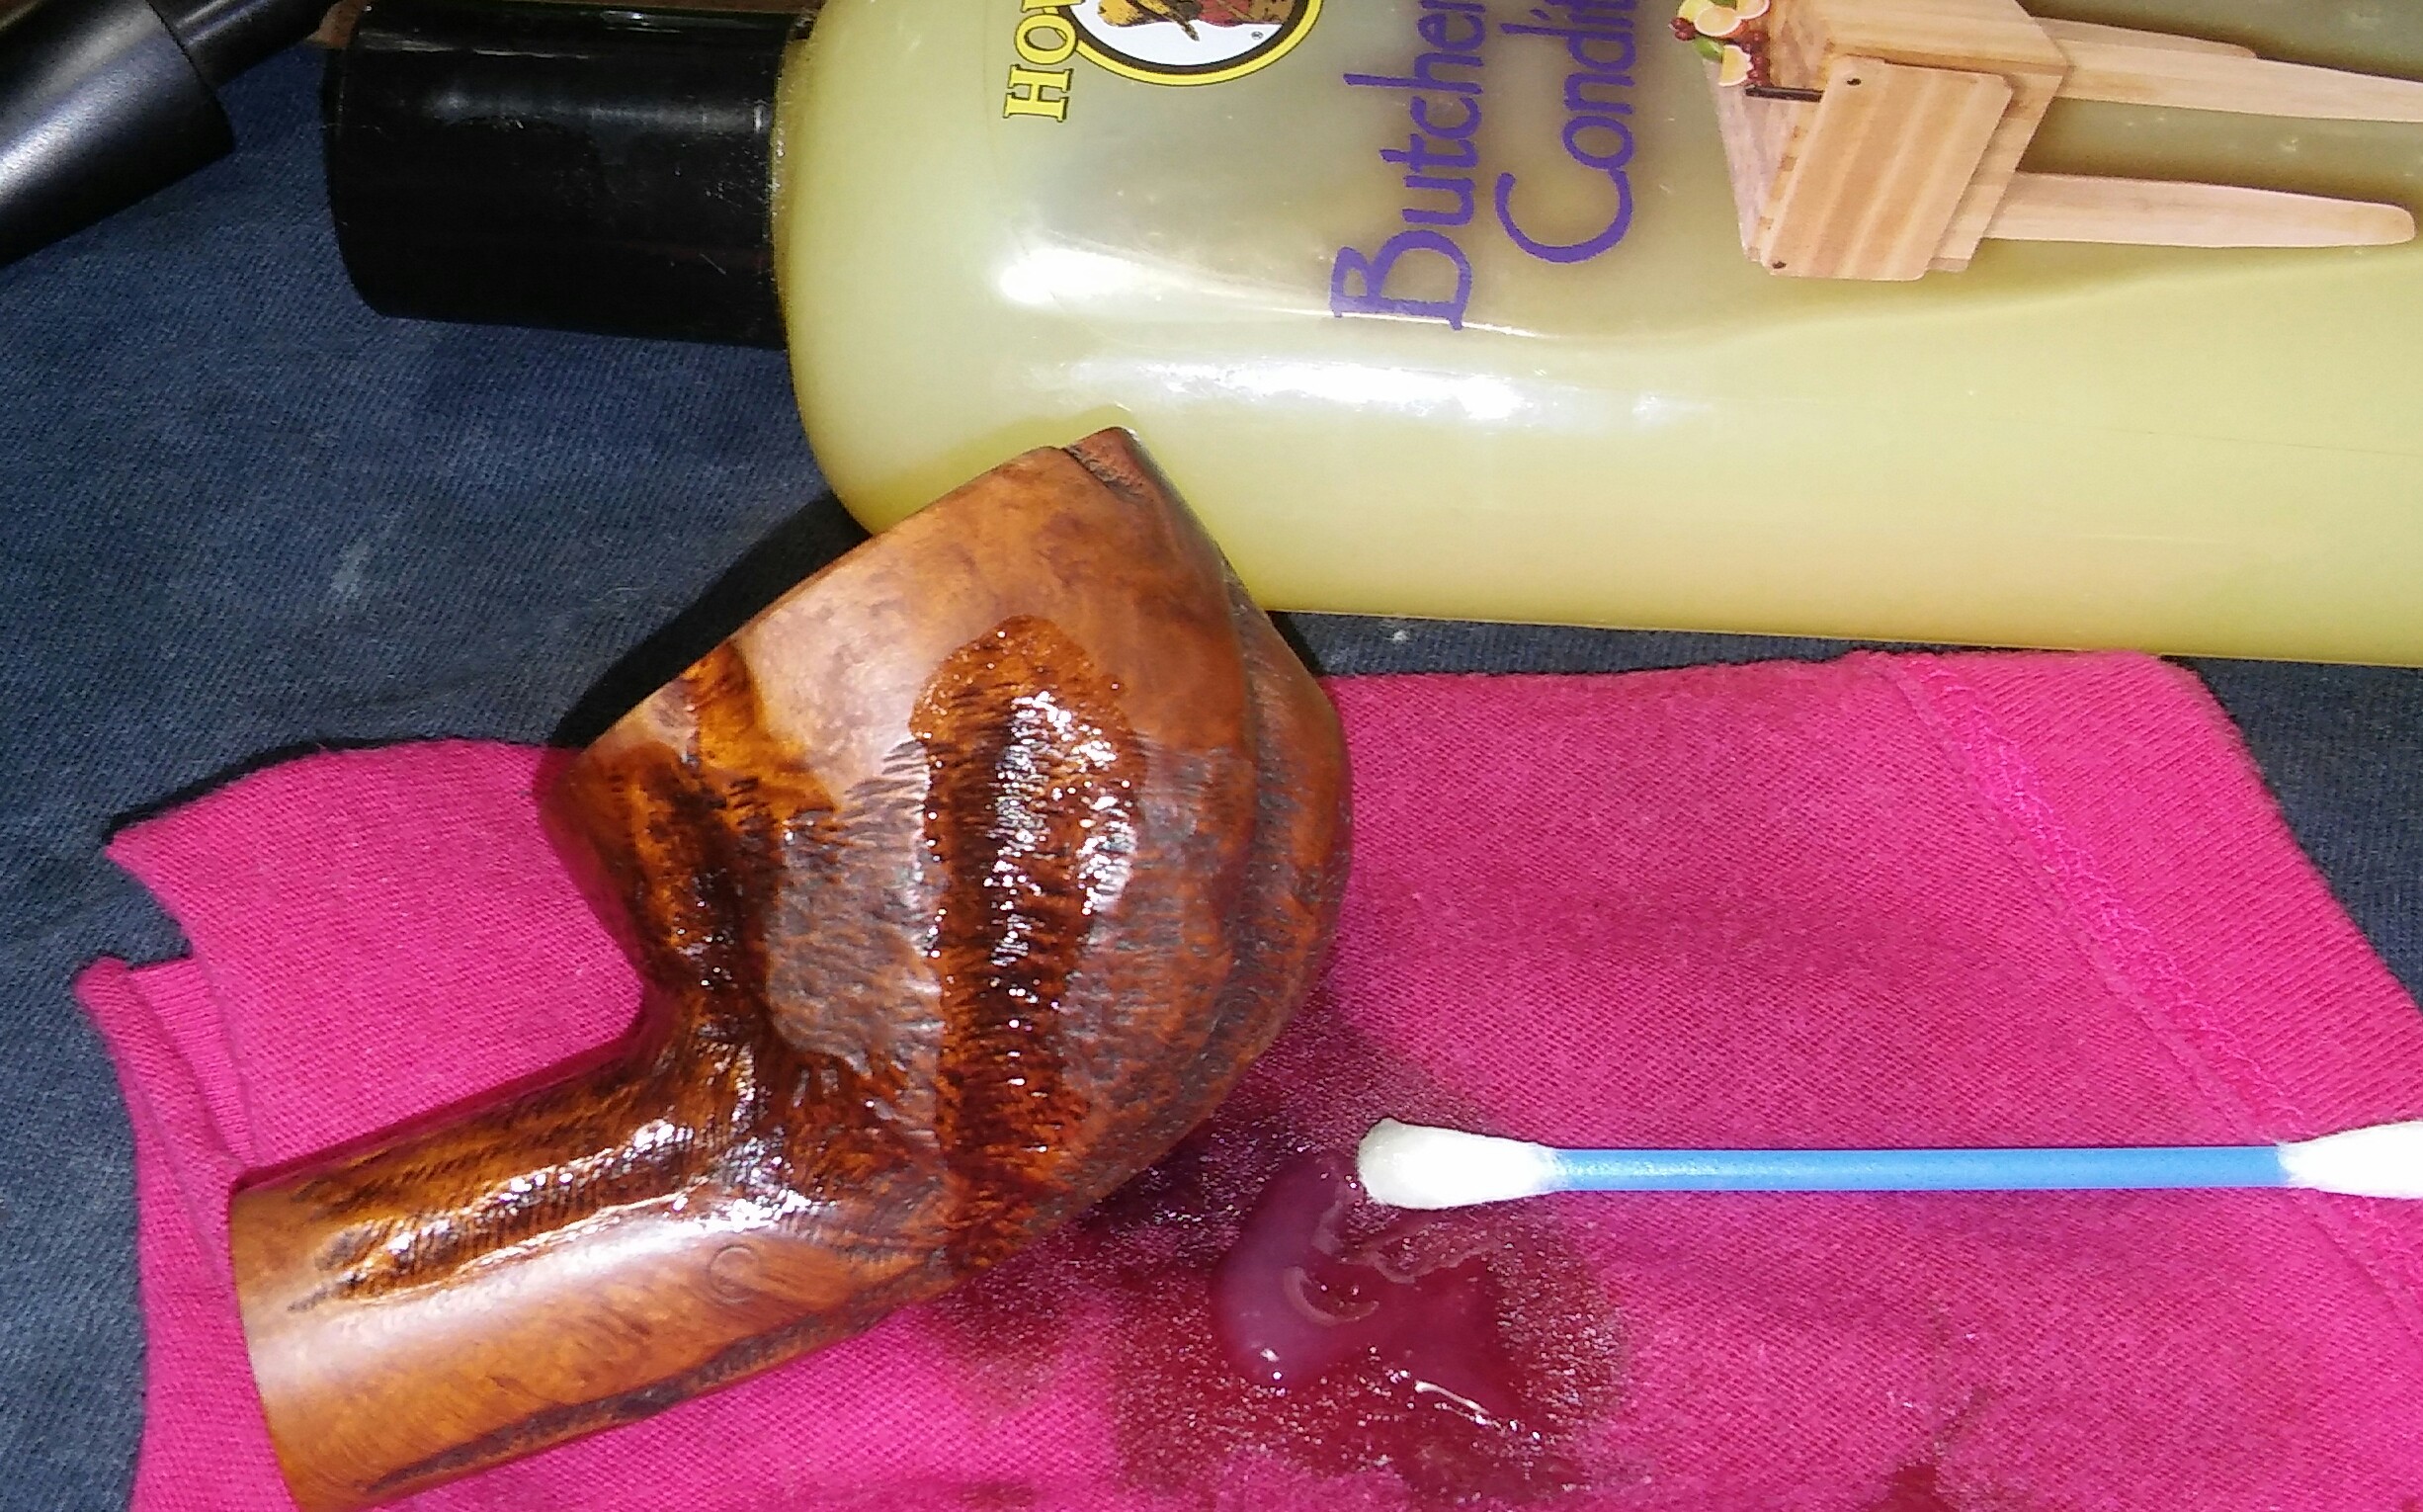
With all my CustomBilts I add a little Howard’s butcher block conditioner just before the final buffing on the wheel. I used a Q-tip to get the Howard’s into the deeper crags

I then apply Howard’s to the whole stummel and allow it to penetrate for a few minutes and hand buffing off the excess. She could now receive a final buffing.
Complete
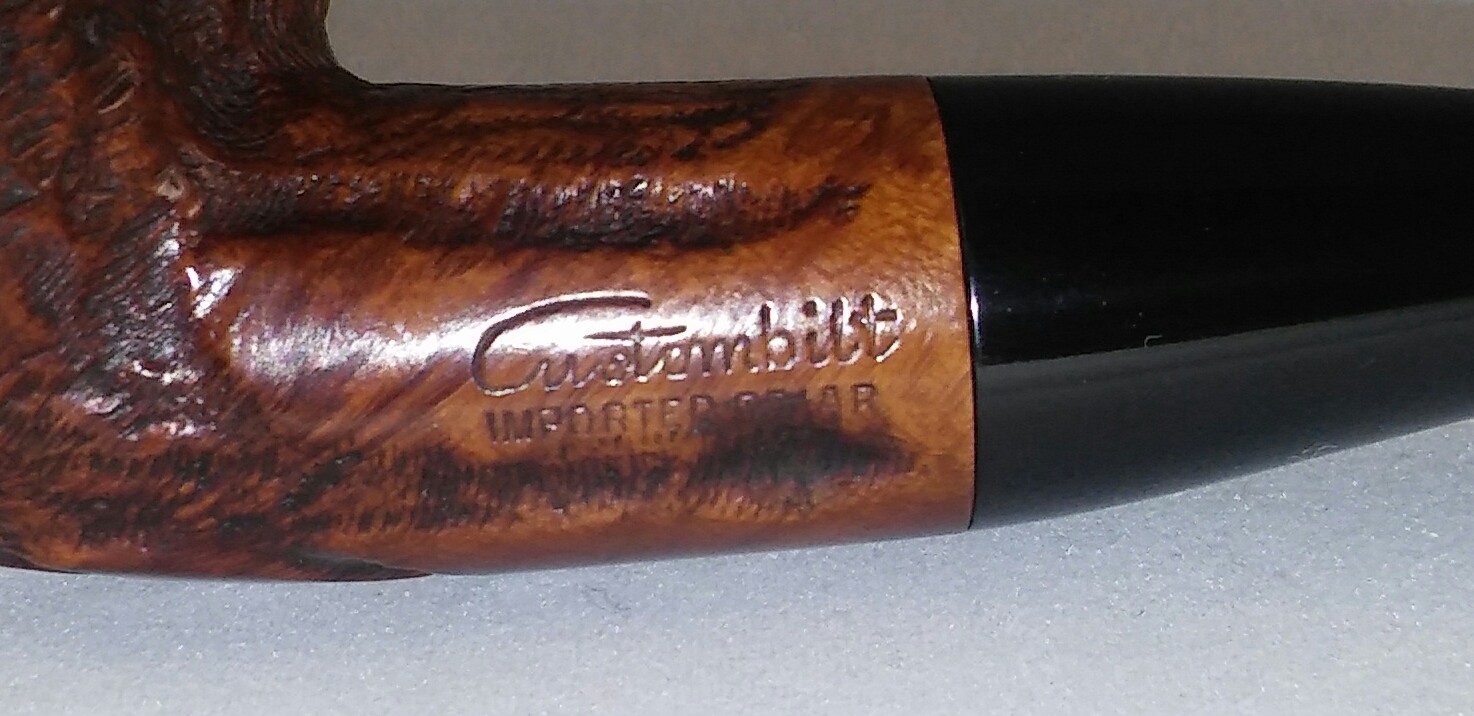


I finished her up on the wheel with white diamond, a few coats of carnauba and a microfiber hand buffing.

Reblogged this on rebornpipes and commented:
Great job again. got to love those old CB pipes. They are great smoking machines. Well done
LikeLiked by 1 person
Thanks Steve.
I enjoy them more and more as new ones pass though my hands. They definitely produce a long cool smoke.
LikeLike
You are making quick work of those bad boys! This one looks just as good as the other if not better. Reblogging to show off your amazing skills! Excellent work as always.
LikeLiked by 1 person
Thanks Clint.
Shes one of my new favorites , very comfortable in hand.
LikeLiked by 1 person
I am partial to Custombilts and think you’ve done an amazing job on this restoration. I like how you treated the stummel, and will have to try the Soft Scrub on a stem. I have a BBB stem sitting in front of me now that I Oxycleaned, but it needs more work. Might give the SS a go on it.
LikeLike
Thank you Al.
The Soft Scrub and Magic Eraser seems to do the trick for me, its worth a try.
Tim.
LikeLike