


My ever-growing collection of Custom-Bilt pipes, it has indeed outgrown it’s display case. Originally meant to house my small Tom Howard and Custom-Bilt collection has turned into an overflowing collection of Custom-Bilt pipes alone. Before my knowledge of the company and it’s founder Tracy Mincer, I was intrigued by these large and ugly pieces of briar. They seemed like misfits in a sea of smooth,small and manicured pipes of it’s time.
Custombilt pipes are not all created equally which I soon found out. My first Custom-Bilt purchase three years ago was more of an accident, an older woman the owner of an antique shop in Troy N.Y. had listed a pipe in her EBay shop, poor photos and little information let it slip by unnoticed , I decided to pull the trigger. I was surprised upon receiving the pipe it was big, bulky and roughly carved but comfortable in the hand. On the underside of the pipe was the words Imported Briar and Custom-Bilt I instantly fell in love with the pipe. Now the research began, I found the company founder was Tracy Mincer and the name Custombilt later changed hands multiple times and with the change of hands came the change in quality. I own only a couple of the un-hyphenated examples there rustication and use of filler is unappealing to my eye. My focus is on the Mincer era 1934-1946 pipes (Custom-Bilt)I have found zero filler in these.
Last month thanks to my wife and Jeff of the NASPC I received a copy of Bill Ungers book- As Individual as a Thumbprint: The Custom-Bilt Pipe Story. A whole new world opened, the information in Bills research and writings is priceless to a collector. I now know much more then I did three years ago.
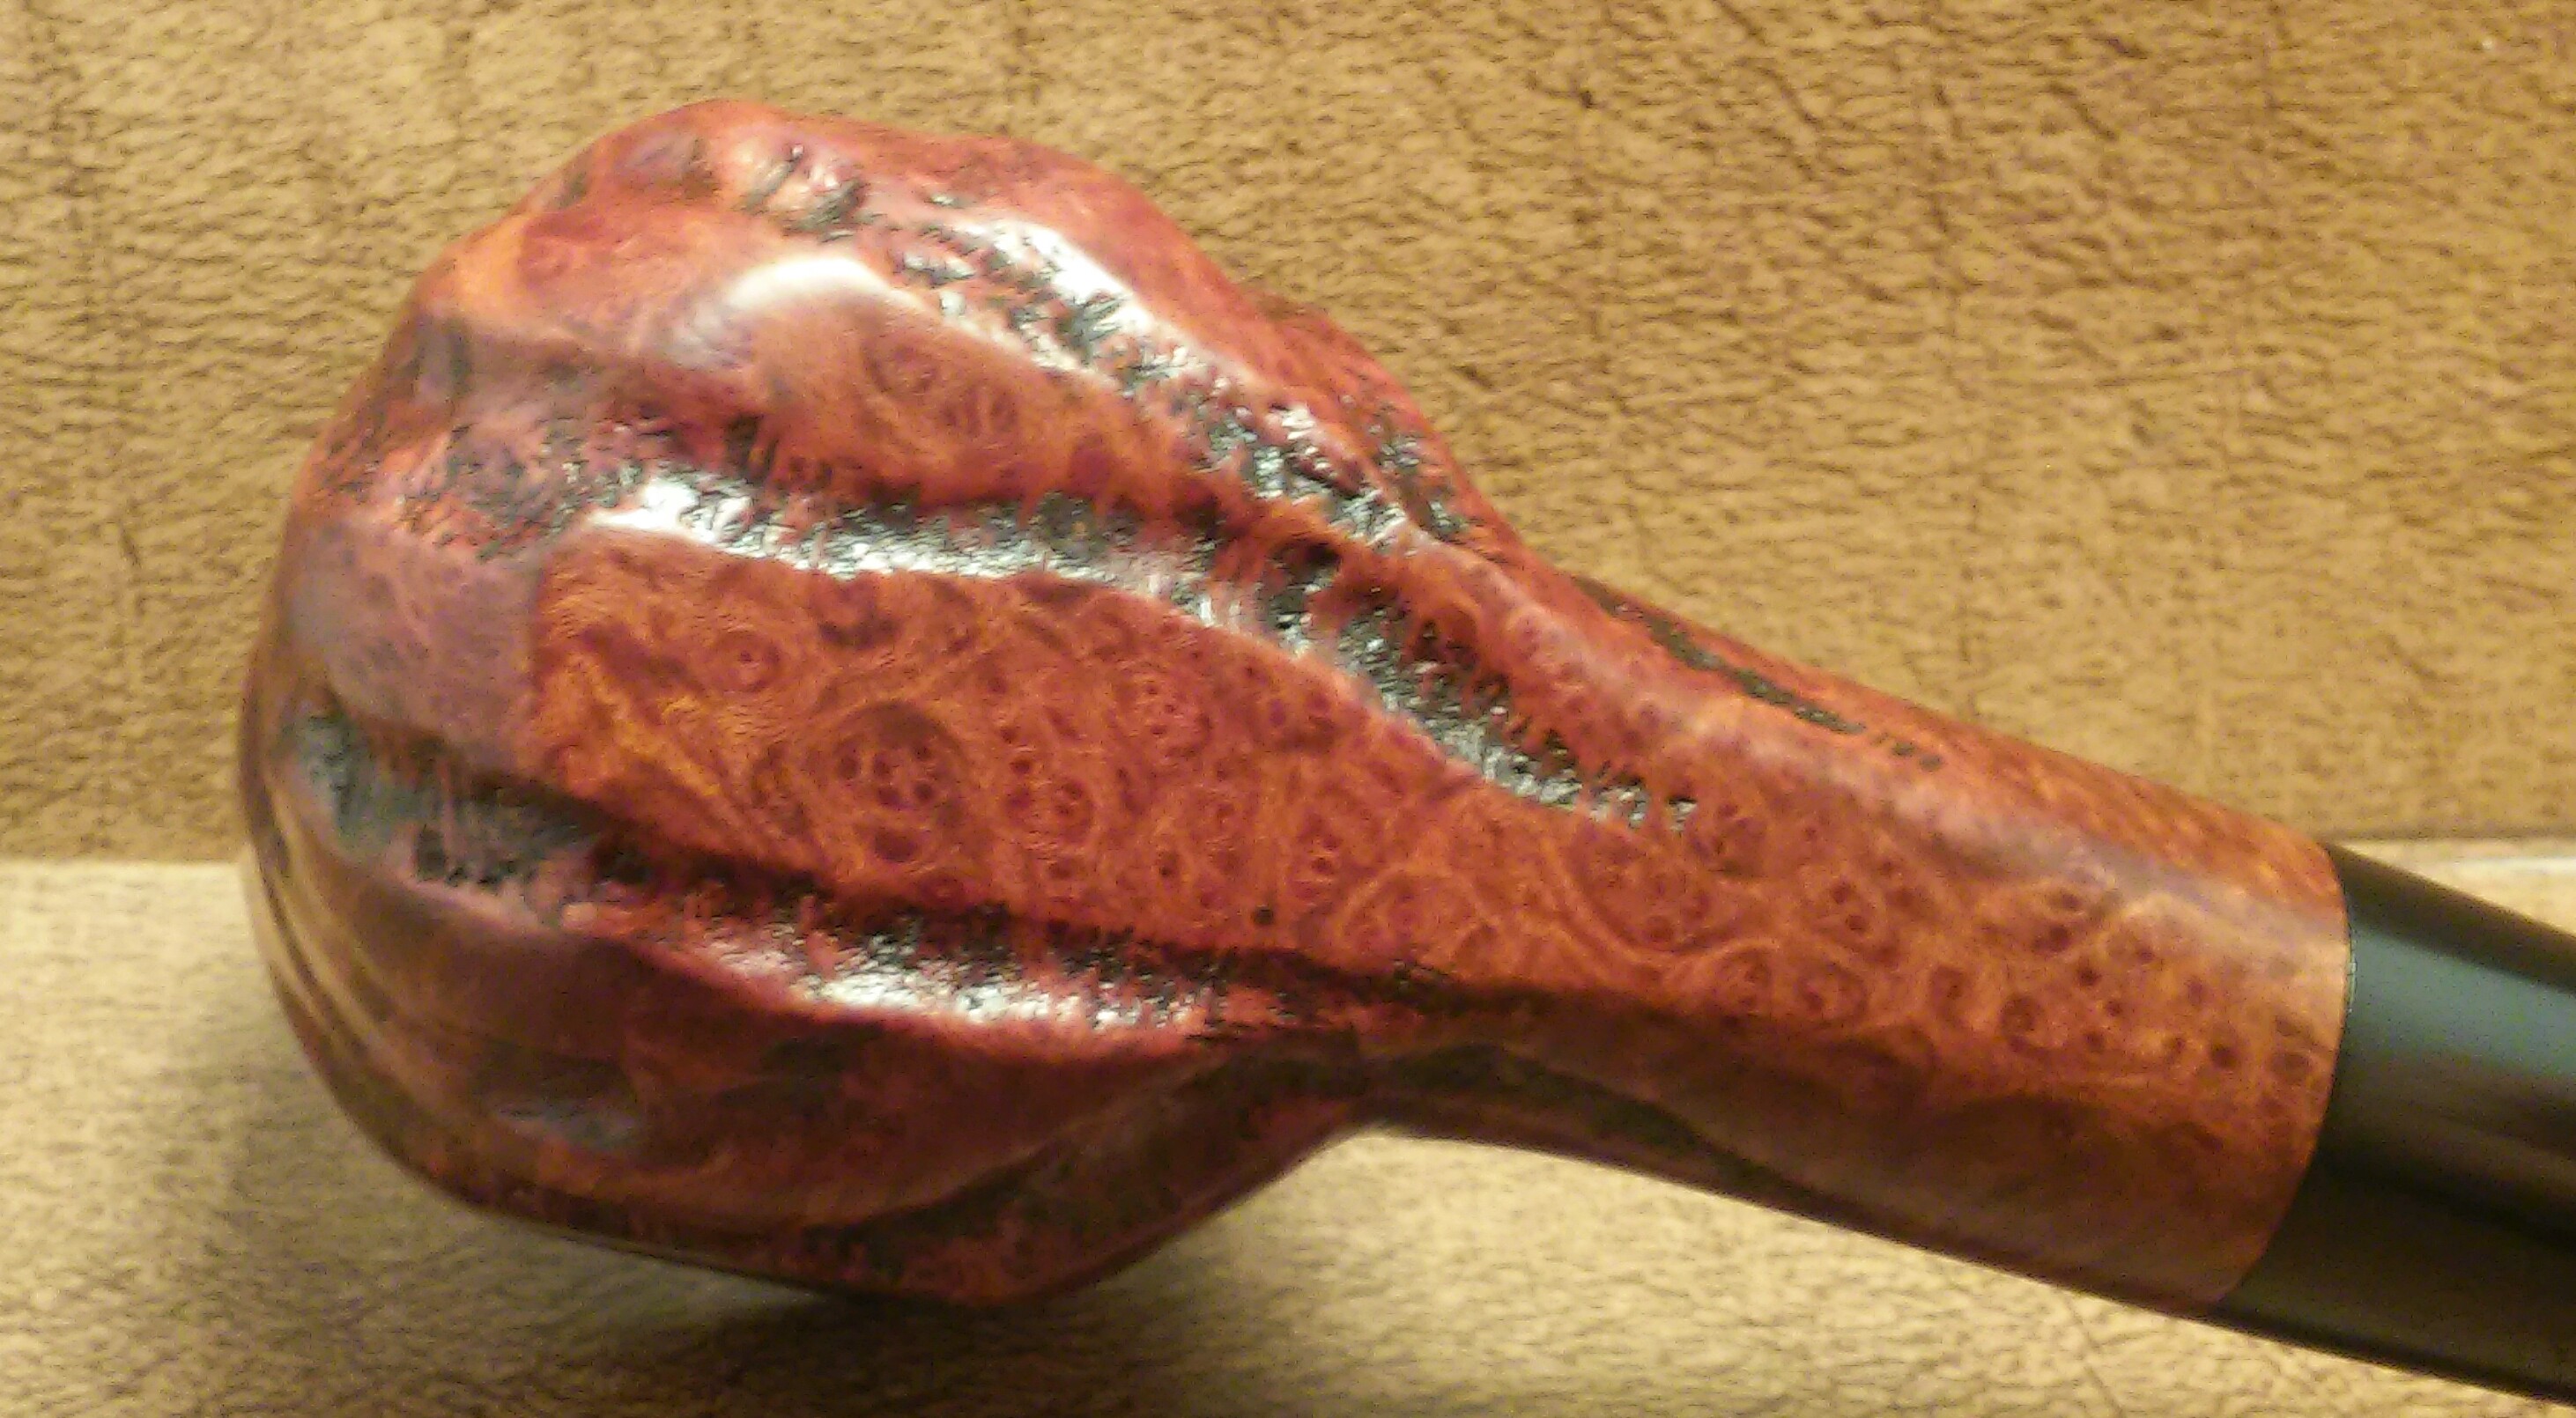
My latest purchase via EBay is no different thick, bulky and beautiful with the exception of a small rubber filter insert which I have two others in my collection one with it’s insert and one without. I have become addicted to finding these oddities, the filter inserts were usually misplaced or simply tossed but this one is complete.
The pipe when received.

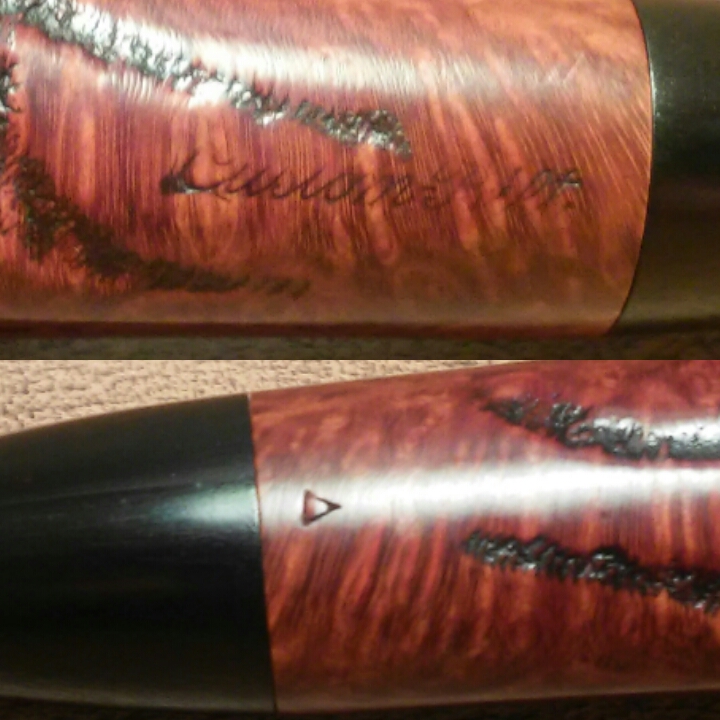
Custom-bilt was stamped on the left side, on the right side a triangle and there was no evidence of Imported Briar having been stamped anywhere . The same is true with the two others in my collection.
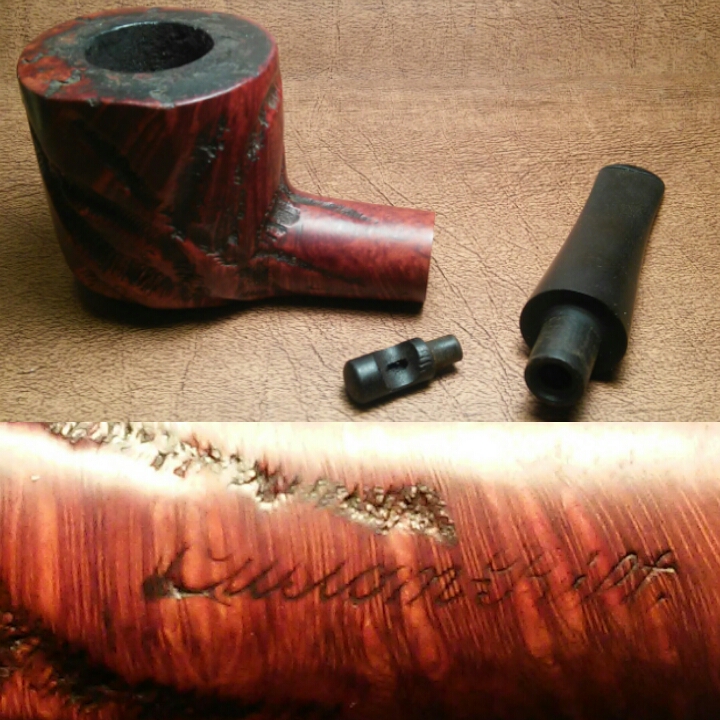
Custom-Bilt was lightly stamped or worn over time. From my experience it’s common in Pre-1946 pipes.


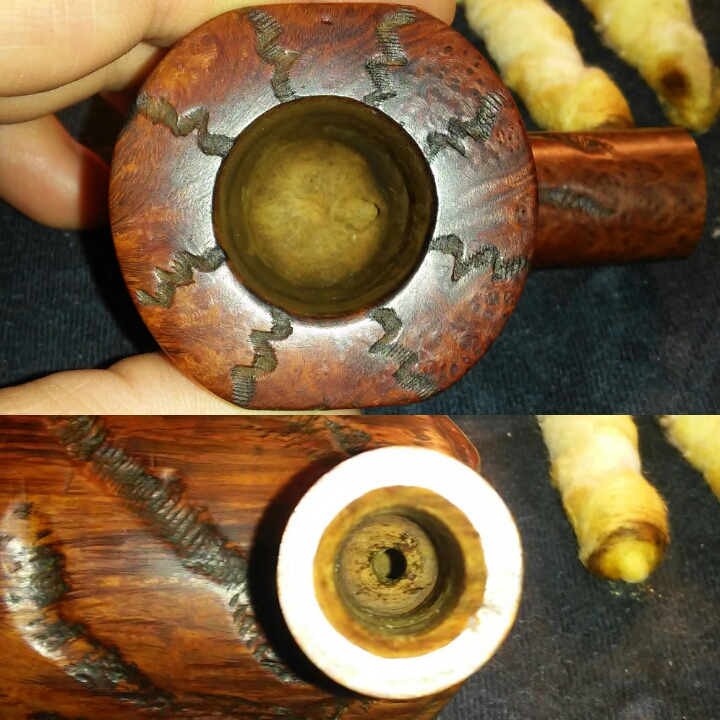
It appeared untouched by someone like myself which is always a good start ,it seems everyone on EBay is refurbishing now and not always for the good of the pipe . Overall she was in good shape upon receiving, a bit of fossilized cake, build up around the rim and only faint chatter/ oxidation on the stem. The button was worn and would need attention as well. Now the fun could begin.

After looking over and disassembling the pipe I set aside the stem to come back to later. I started with the bowls chamber and my Castleford reamer , beginning with the smallest reamer always keeping it centered and working up to the largest that the chamber would accept,in this case it would accept the largest. Finishing up with 400 grit sandpaper wrapped around a finger. I always take my estates back to briar to be able to see the start of a burn out/damage , the chamber was free of burning or cracks.

Next my attention turned to the caked rim.

I started by applying a generous amount of Method wood for good polish with a Q-tip and letting it penetrate the build up . I let it sit from 15min/30min depending on the severity. After letting it penetrate I used a children’s toothbrush to break up some of the tars.

Next I used makeup pads, Q-tips, the toothbrush and kept working at the area until the build up was removed. At this time I cleaned the exterior of the bowl with the wood polish ,toothbrush and Q-tips as well.

Next the internals. The draft and mortise were plugged with tars and old tobacco. It would need to be cleared before receiving a retort.

Using a pick set, shank brushes, stiff bristle pipe cleaners ,Q-tips and EverClear I cleared the blocked airway. Next I unrolled cotton balls and then twisted them together to form a long cotton swab.
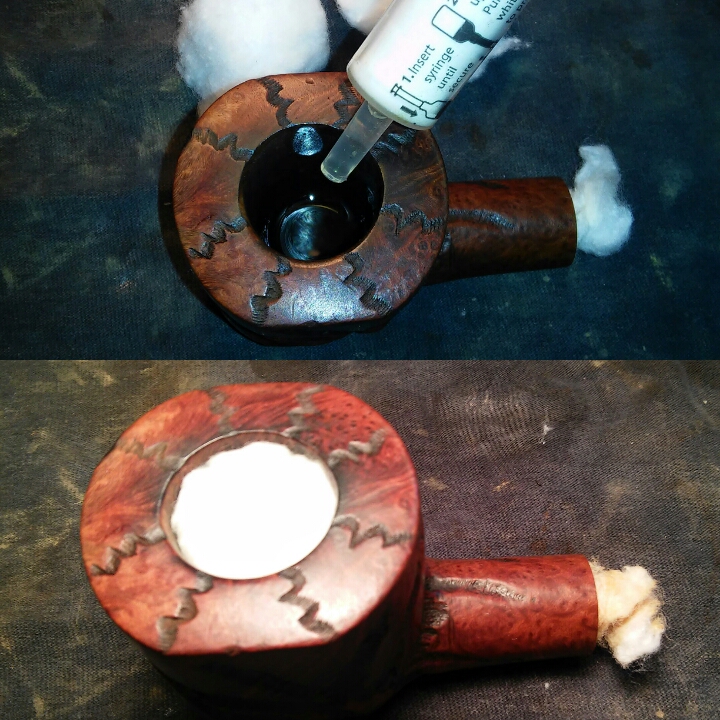
Using the twisted cotton swab I turned it into the mortise tightly. I then filled the chamber with a little EverClear and waited for the swab to absorb the alcohol. Then I filled the chamber with three cotton balls and soaked them with EverClear. I would set the bowl aside to let the alcohol and cotton balls absorb the leftover tars/ghosting.

With the bowl set aside I moved on to the stem. I Cleaned the interior and exterior using EverClear, cotton balls, small shank brush and stiff/soft pipe cleaners. I worked the interior until the pipe cleaners came out as they when in.

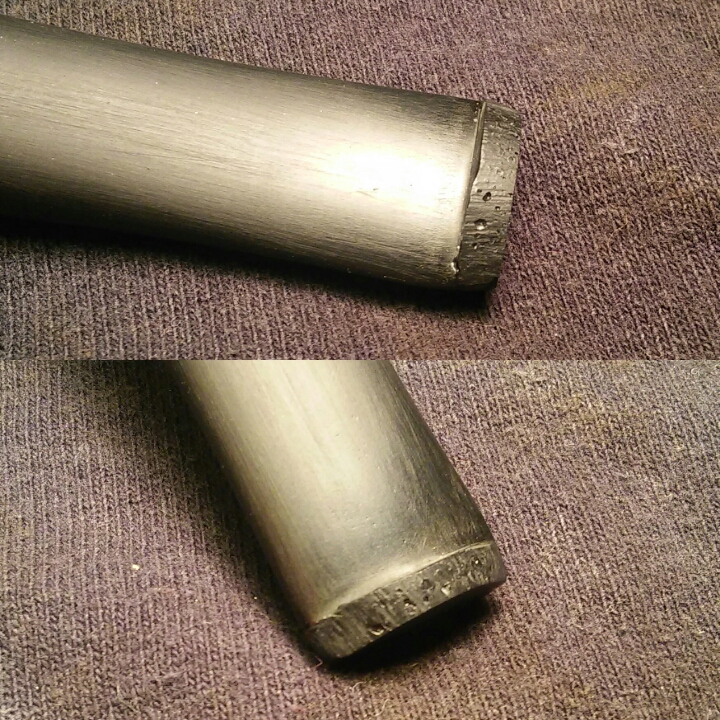
It appeared that the filter end at one point was removed using pliers there were deep grooves imbedded in the rubber. Using a Bic lighter I carefully heated the area until the indentations were all but gone. I will finish it up later on with micro mesh.

Using a children’s toothbrush I applied non-bleach Soft Scrub and let set for 10min as it soaks into the oxidation the Soft Scrub turns from white to a brown color. Now comes the elbow grease.
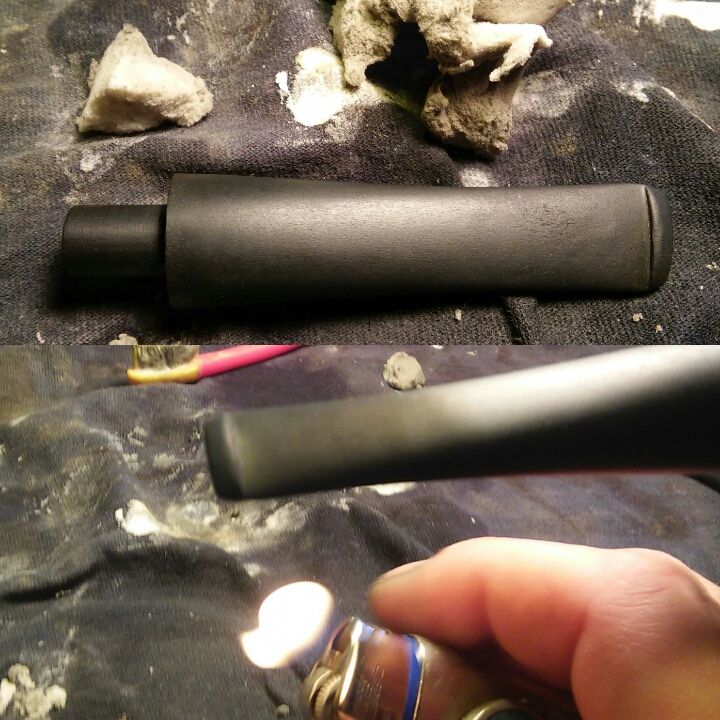
After the Soft Scrub had time to work into the oxidation, I scrubbed the stem with a Magic Eraser and a rag until the oxidation was removed. I then heated the stem with a bic lighter (moving the heat source at all times never leaving it in one area too long) at the bit/lip area to raise some of the tooth impressions (I also use a heat gun) .

After the Soft Scrub and heat the stem was left with a rough surface, some of the impressions had risen but the button would still need work.

I was now able to concentrate on the worn button. I roughed up the surface of the stem by wet sanding with 400 grit sandpaper I tapped off the shank of the pipe so I wouldn’t round the edges of the stem. ( I will also use a washer in between the shank and stem.)

After sanding I wiped down the stem with alcohol. I then made a paste by mixing thick black CA glue and activated charcoal powder. With a toothpick I applied the paste to the button trying to keep it as even as possible. Once I was happy with the shape I sprayed it with accelerator.

With the paste now hardened I used a needle file to begin forming a new button. I tapped the underside of the file so I could get the file flush against the button to form a sharp edge without cutting into the bit.
As I began removing the surface of the new button I uncovered holes where bubbles had formed. The process of mixing the paste and applying it would have to be repeated.

After reworking the button and finding a suitable thickness I moved onto the stem itself . Wet sanding with 1000 grit sandpaper then moving through the various grits of micro mesh. Now it was ready for the buffer.

I allowed the bowl to soak for a few hours. The chamber looked good but I would repeat the process on the mortise several times until the cotton swabs came out clean.
The chamber and mortise were free of the visual residue but the ghost still remained . The previous piper was a fan of aros.

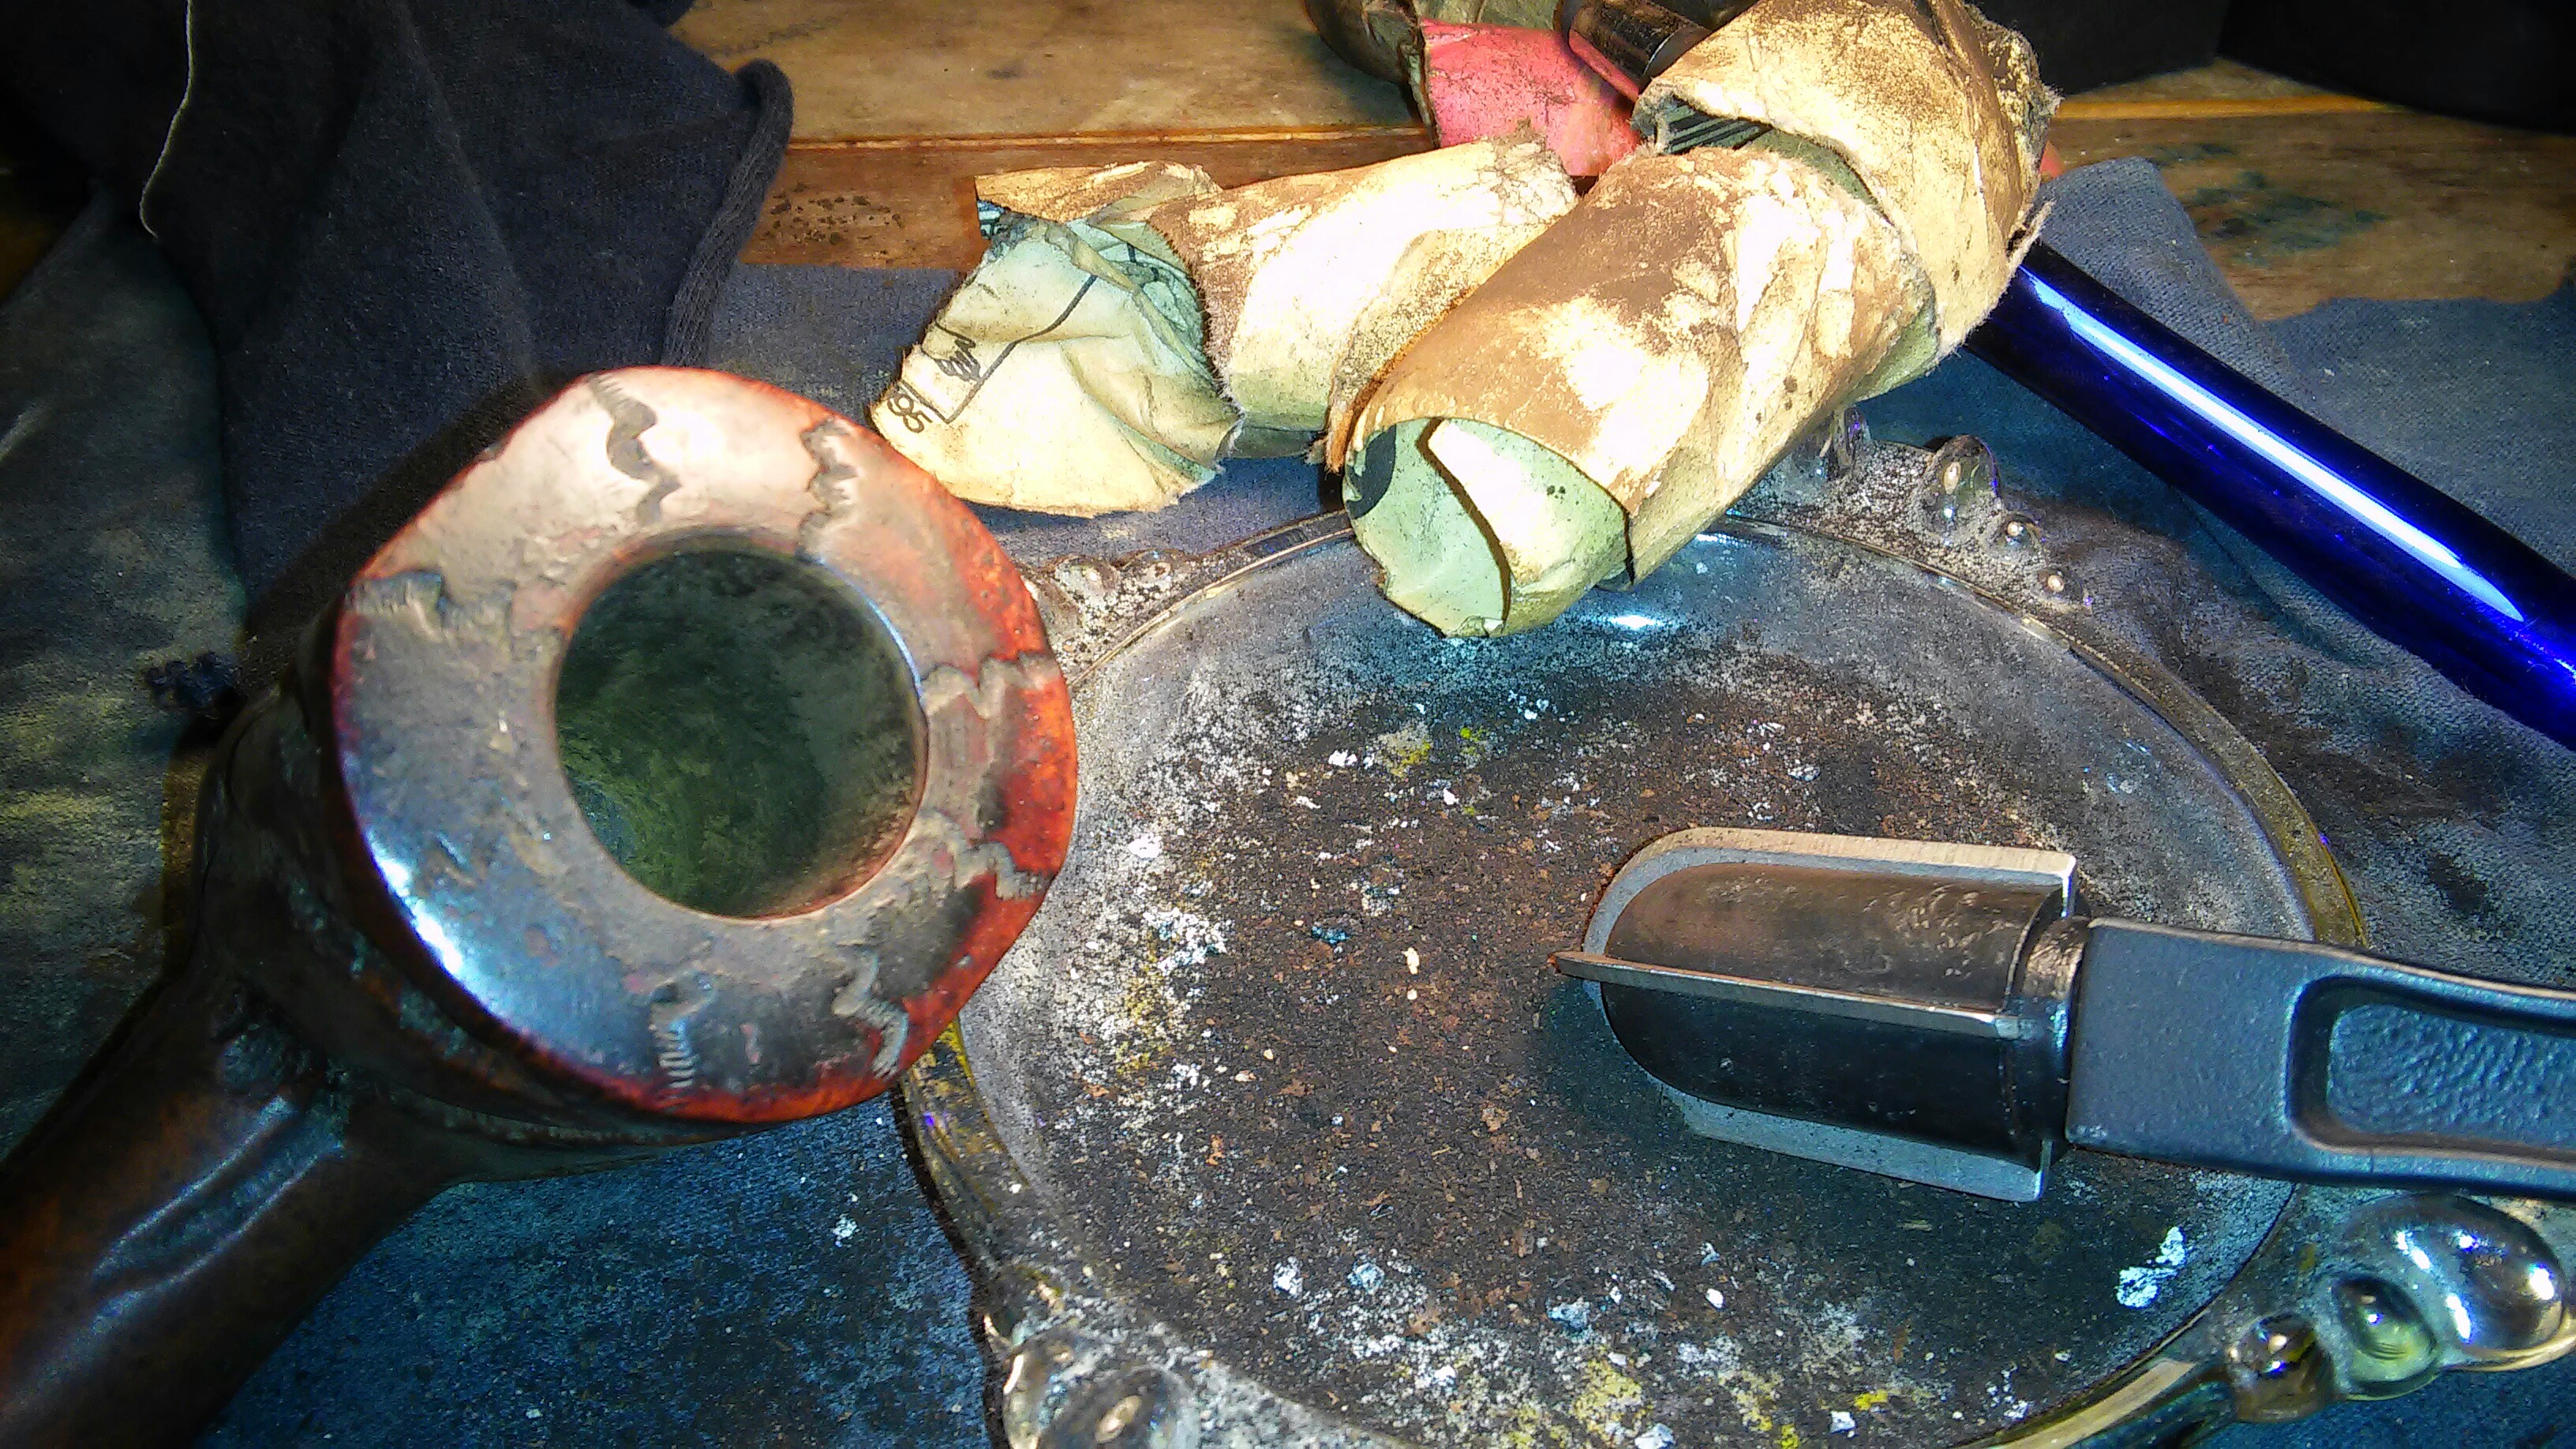
I ran it through a retort to remove the ghosting . I have adapted my retort to fit the bowl alone, there was no need to include the stem as my previous cleaning removed the ghosting from it. This also comes in handy with stems that maybe damaged by the alcohol.

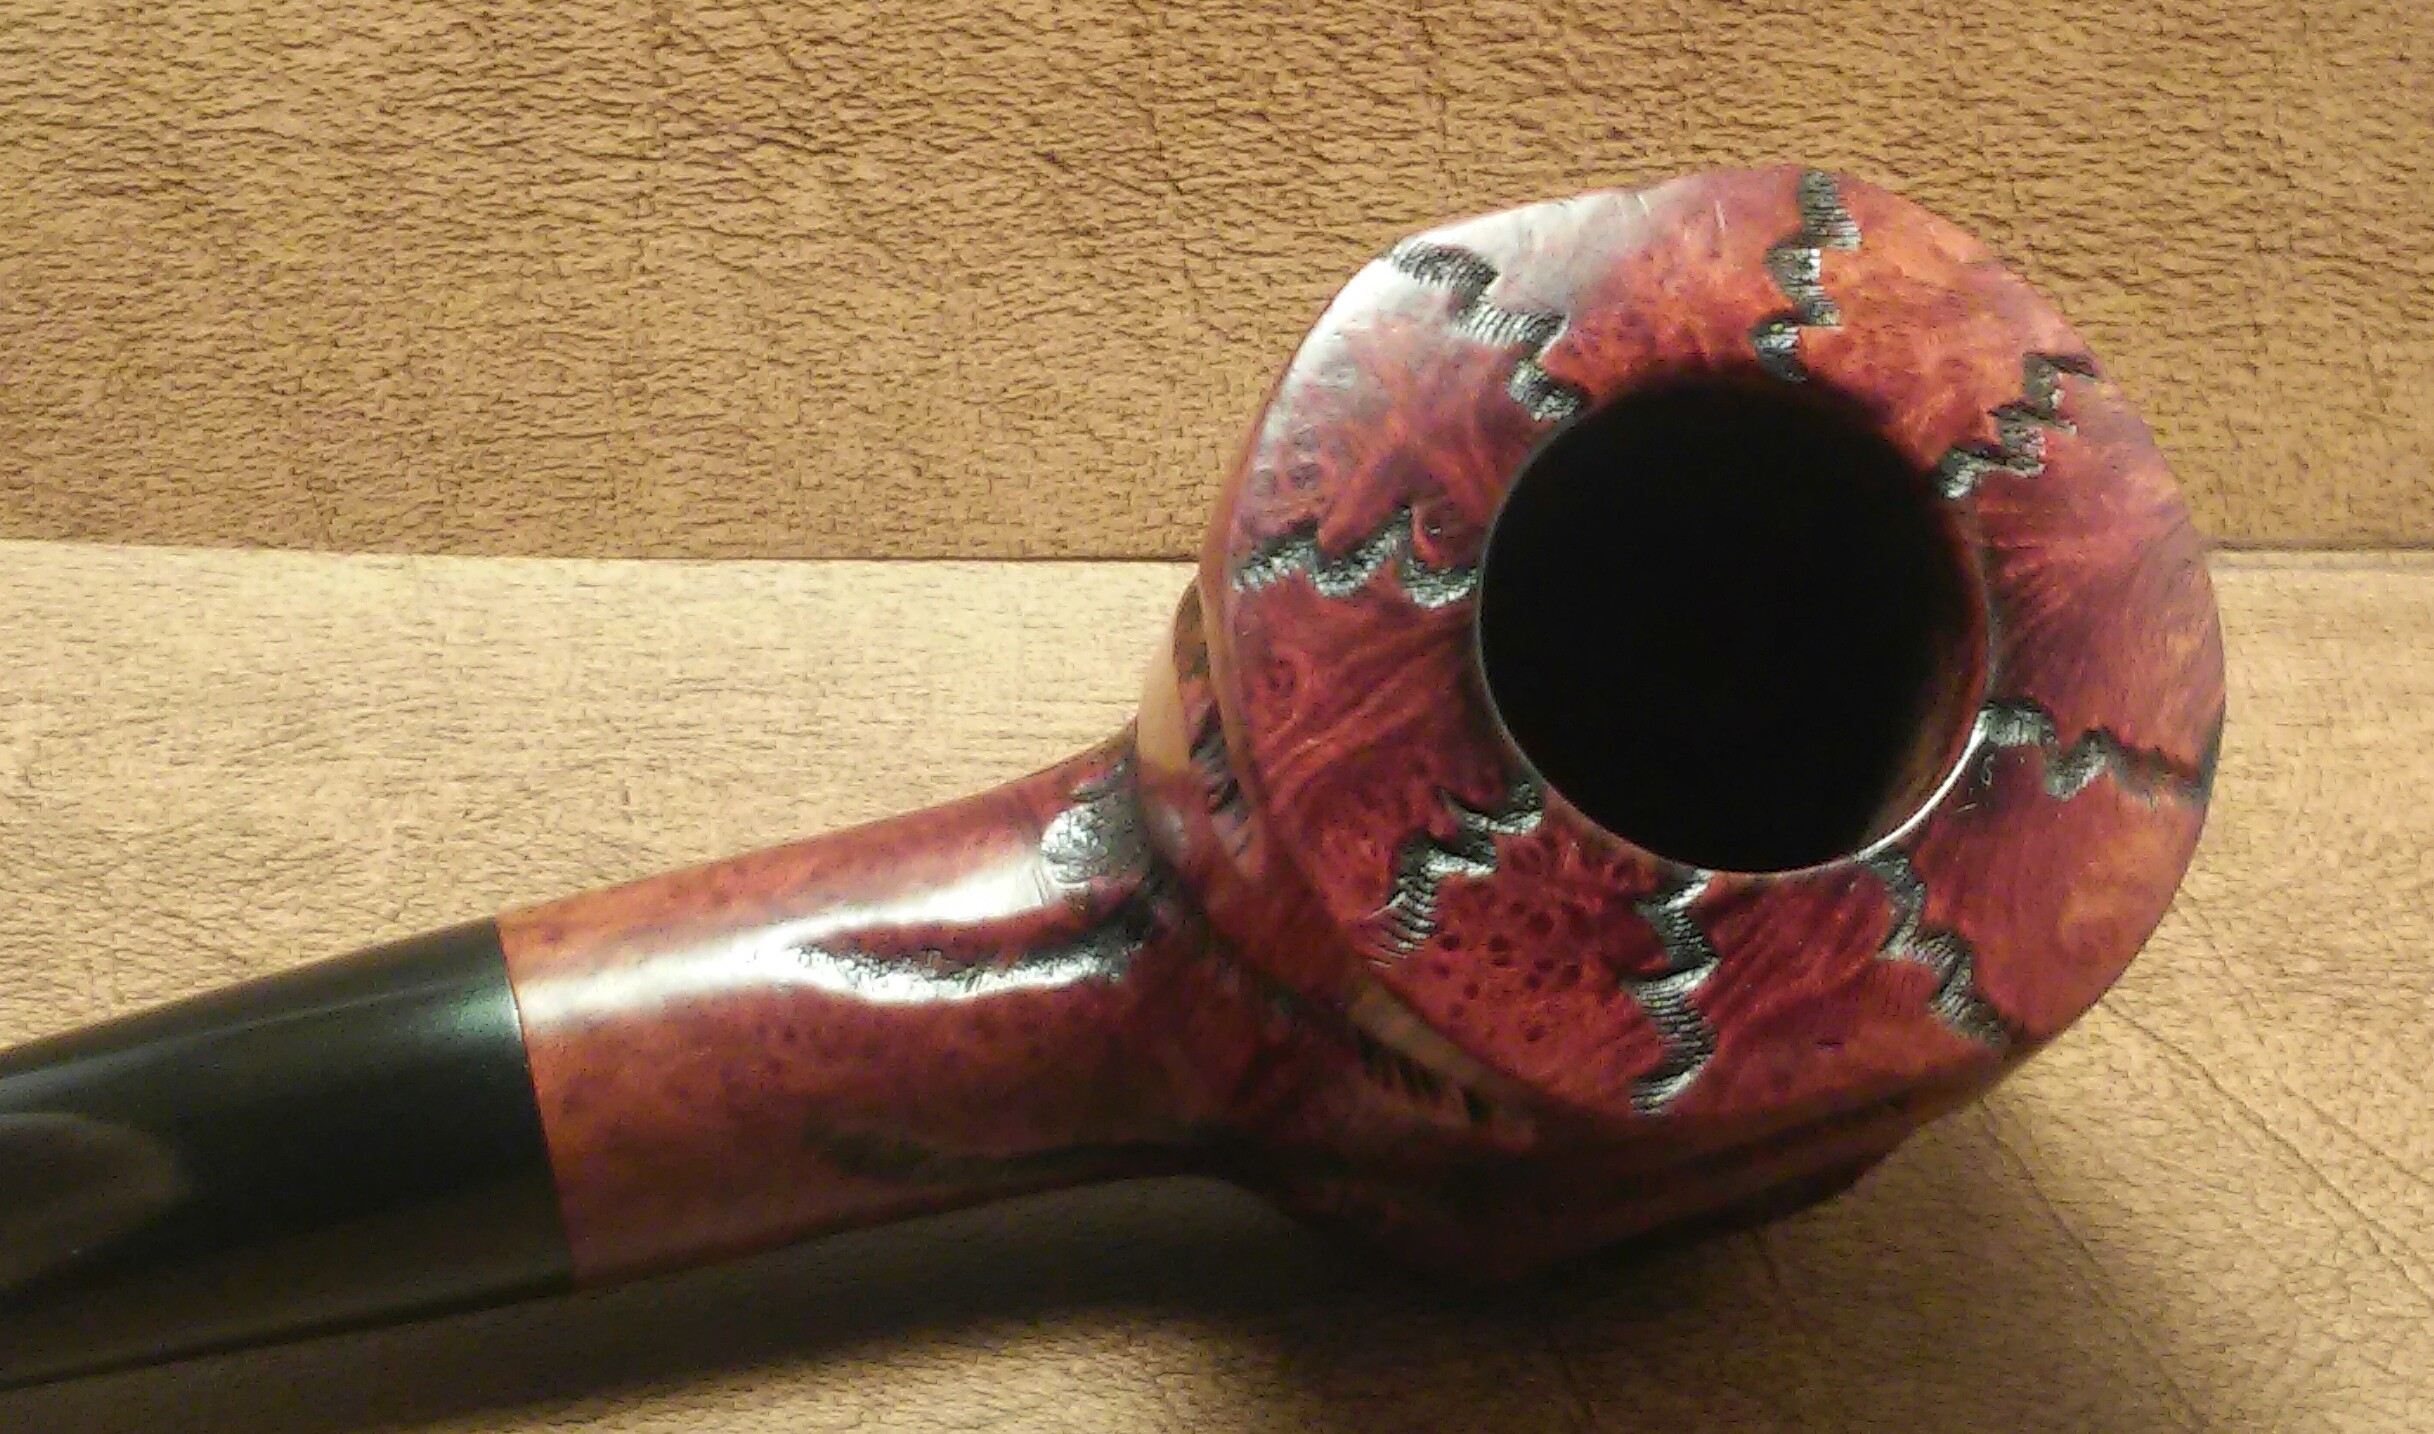
The rim was darker towards the shank ,I used a worn micro mesh pad to remove some of the darkening. With all my Custombilt, BP Jum, Marxman and Tom Howard pipes I apply a small amount of Howard’s butcher block conditioner. I work it into the deep grooves and the pipe itself with a rag and let it soak in for a few minutes.I remove the excess with a clean rag and give it a quick hand buff.

It was now off to my makeshift buffer, a hand drill clamped in a drill press vice with a drill mounted buffing kit. My original bench buffer burnt out three years ago,out of necessity I came up with this, the results met my expectations. I started with white diamond, than a few coats of carnauba and finishing up with a micro fiber hand buffing.
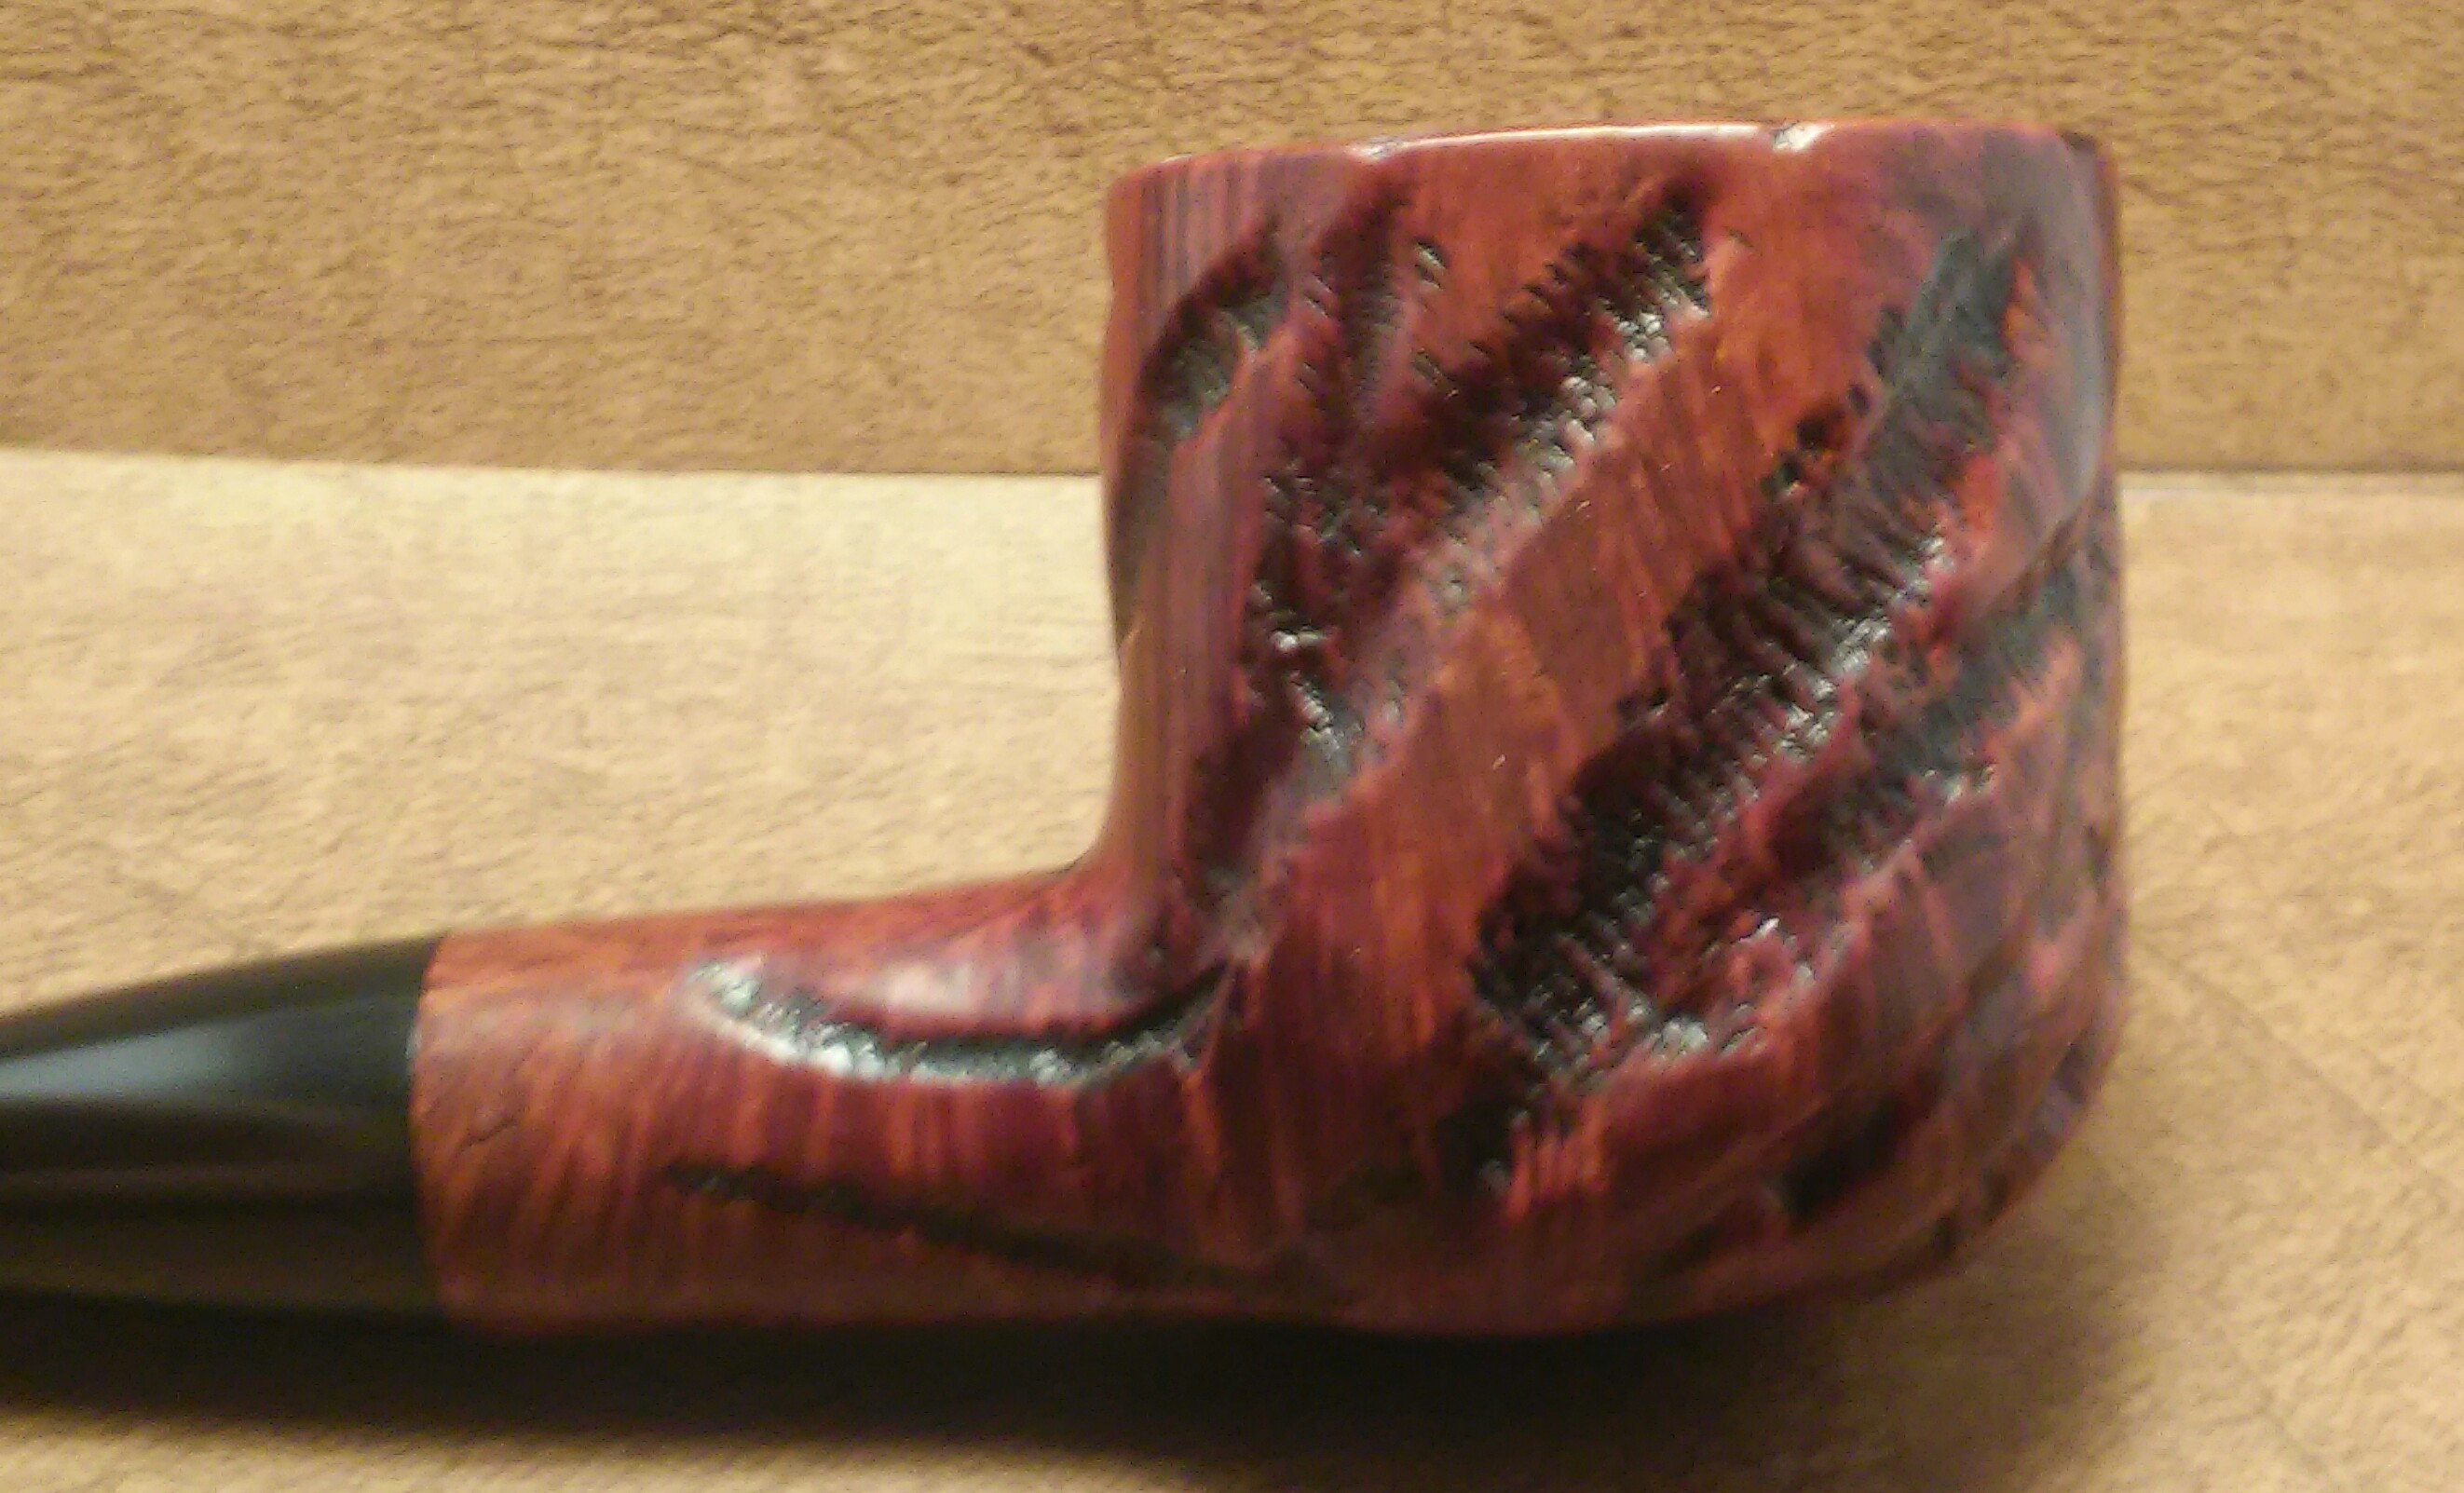
Here she is.


Reblogged this on rebornpipes and commented:
I am a big fan of Custom Bilt and Custombilt pipes ever since I read Bill Unger’s book on the Custombilt story. I have about 7-8 of them in my collection. This is a great piece of pipe history. Thanks Tim.
LikeLike
Awesome work on that one. I think I need a Custom-Bilt in the stable.
LikeLike
Very nice job! I’m down to two Custom bilt pipes having sold a few. My favorite is the Mincer era Bulldog I paid too much for. At one time the eBay bidding wars were crazy on these. It’s nice when you can find an unrestored one in the wild.
LikeLike
Nice work and lots of great tips in your write-up. Thanks for posting!
LikeLike