I am thankful for my beautiful and understanding wife for my daughter who’s humorous antidotes keep me smiling and a father who will drop all to help in anyway. Thank you to Steve of Reborn Pipes for sharing my posts and to readers who enjoy reading my blog. A huge thank you to my friend Clint ,a fellow blogger and piper. I love reading his no bull, straight forward tobacco reviews at Pipes Scoundrel , he covers a wide variety of topics on his blog it’s never boring definitely worth checking out .Recently Clint contacted me and asked if I would be interested in a few Custombilt pipes that didn’t fit his style of smoking and new that they would be right at home here and appreciated. I received the pipes at the end of last week in the midst of a medical hiccup. For three weeks I have been unable to work on my pipes .I will begin refurbishing and writing as soon as I recover. Below are the three beautiful Rich era Custombilts that I can’t wait to get my hands on. Thank you again Clint, Happy and safe Holidays to you and your family.
Monthly Archives: November 2015
Ben wade selected grain #188
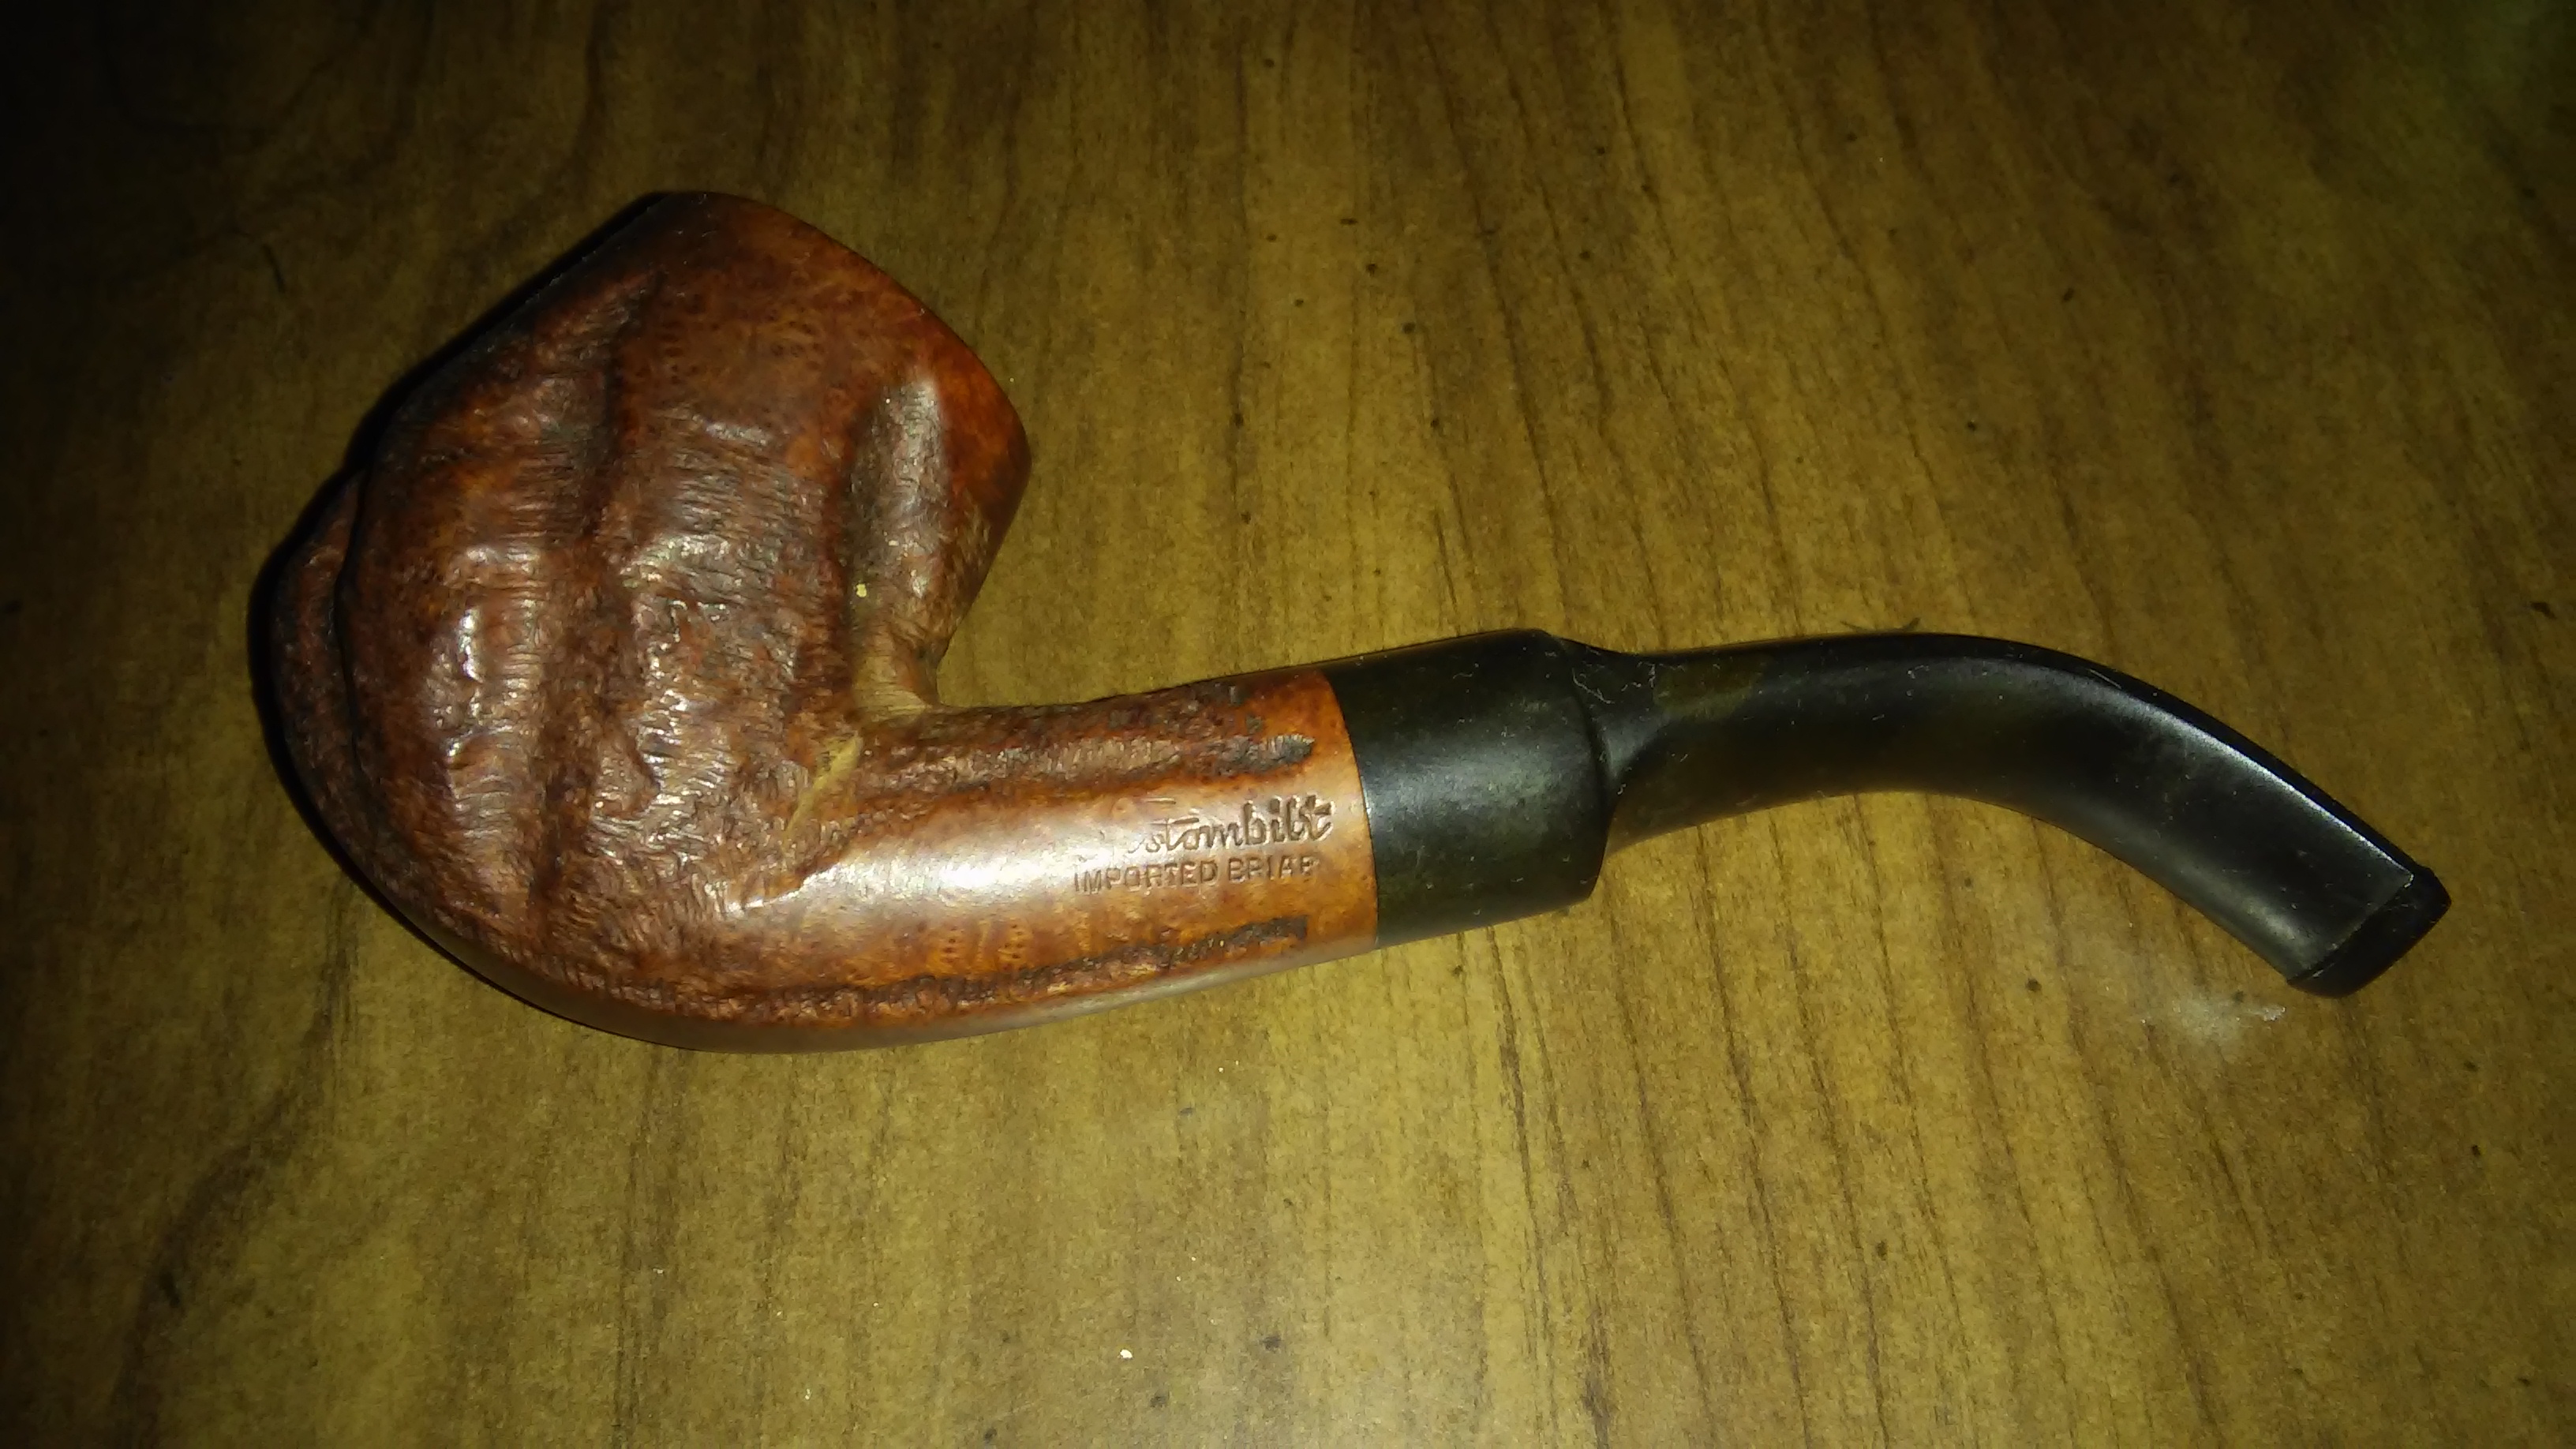
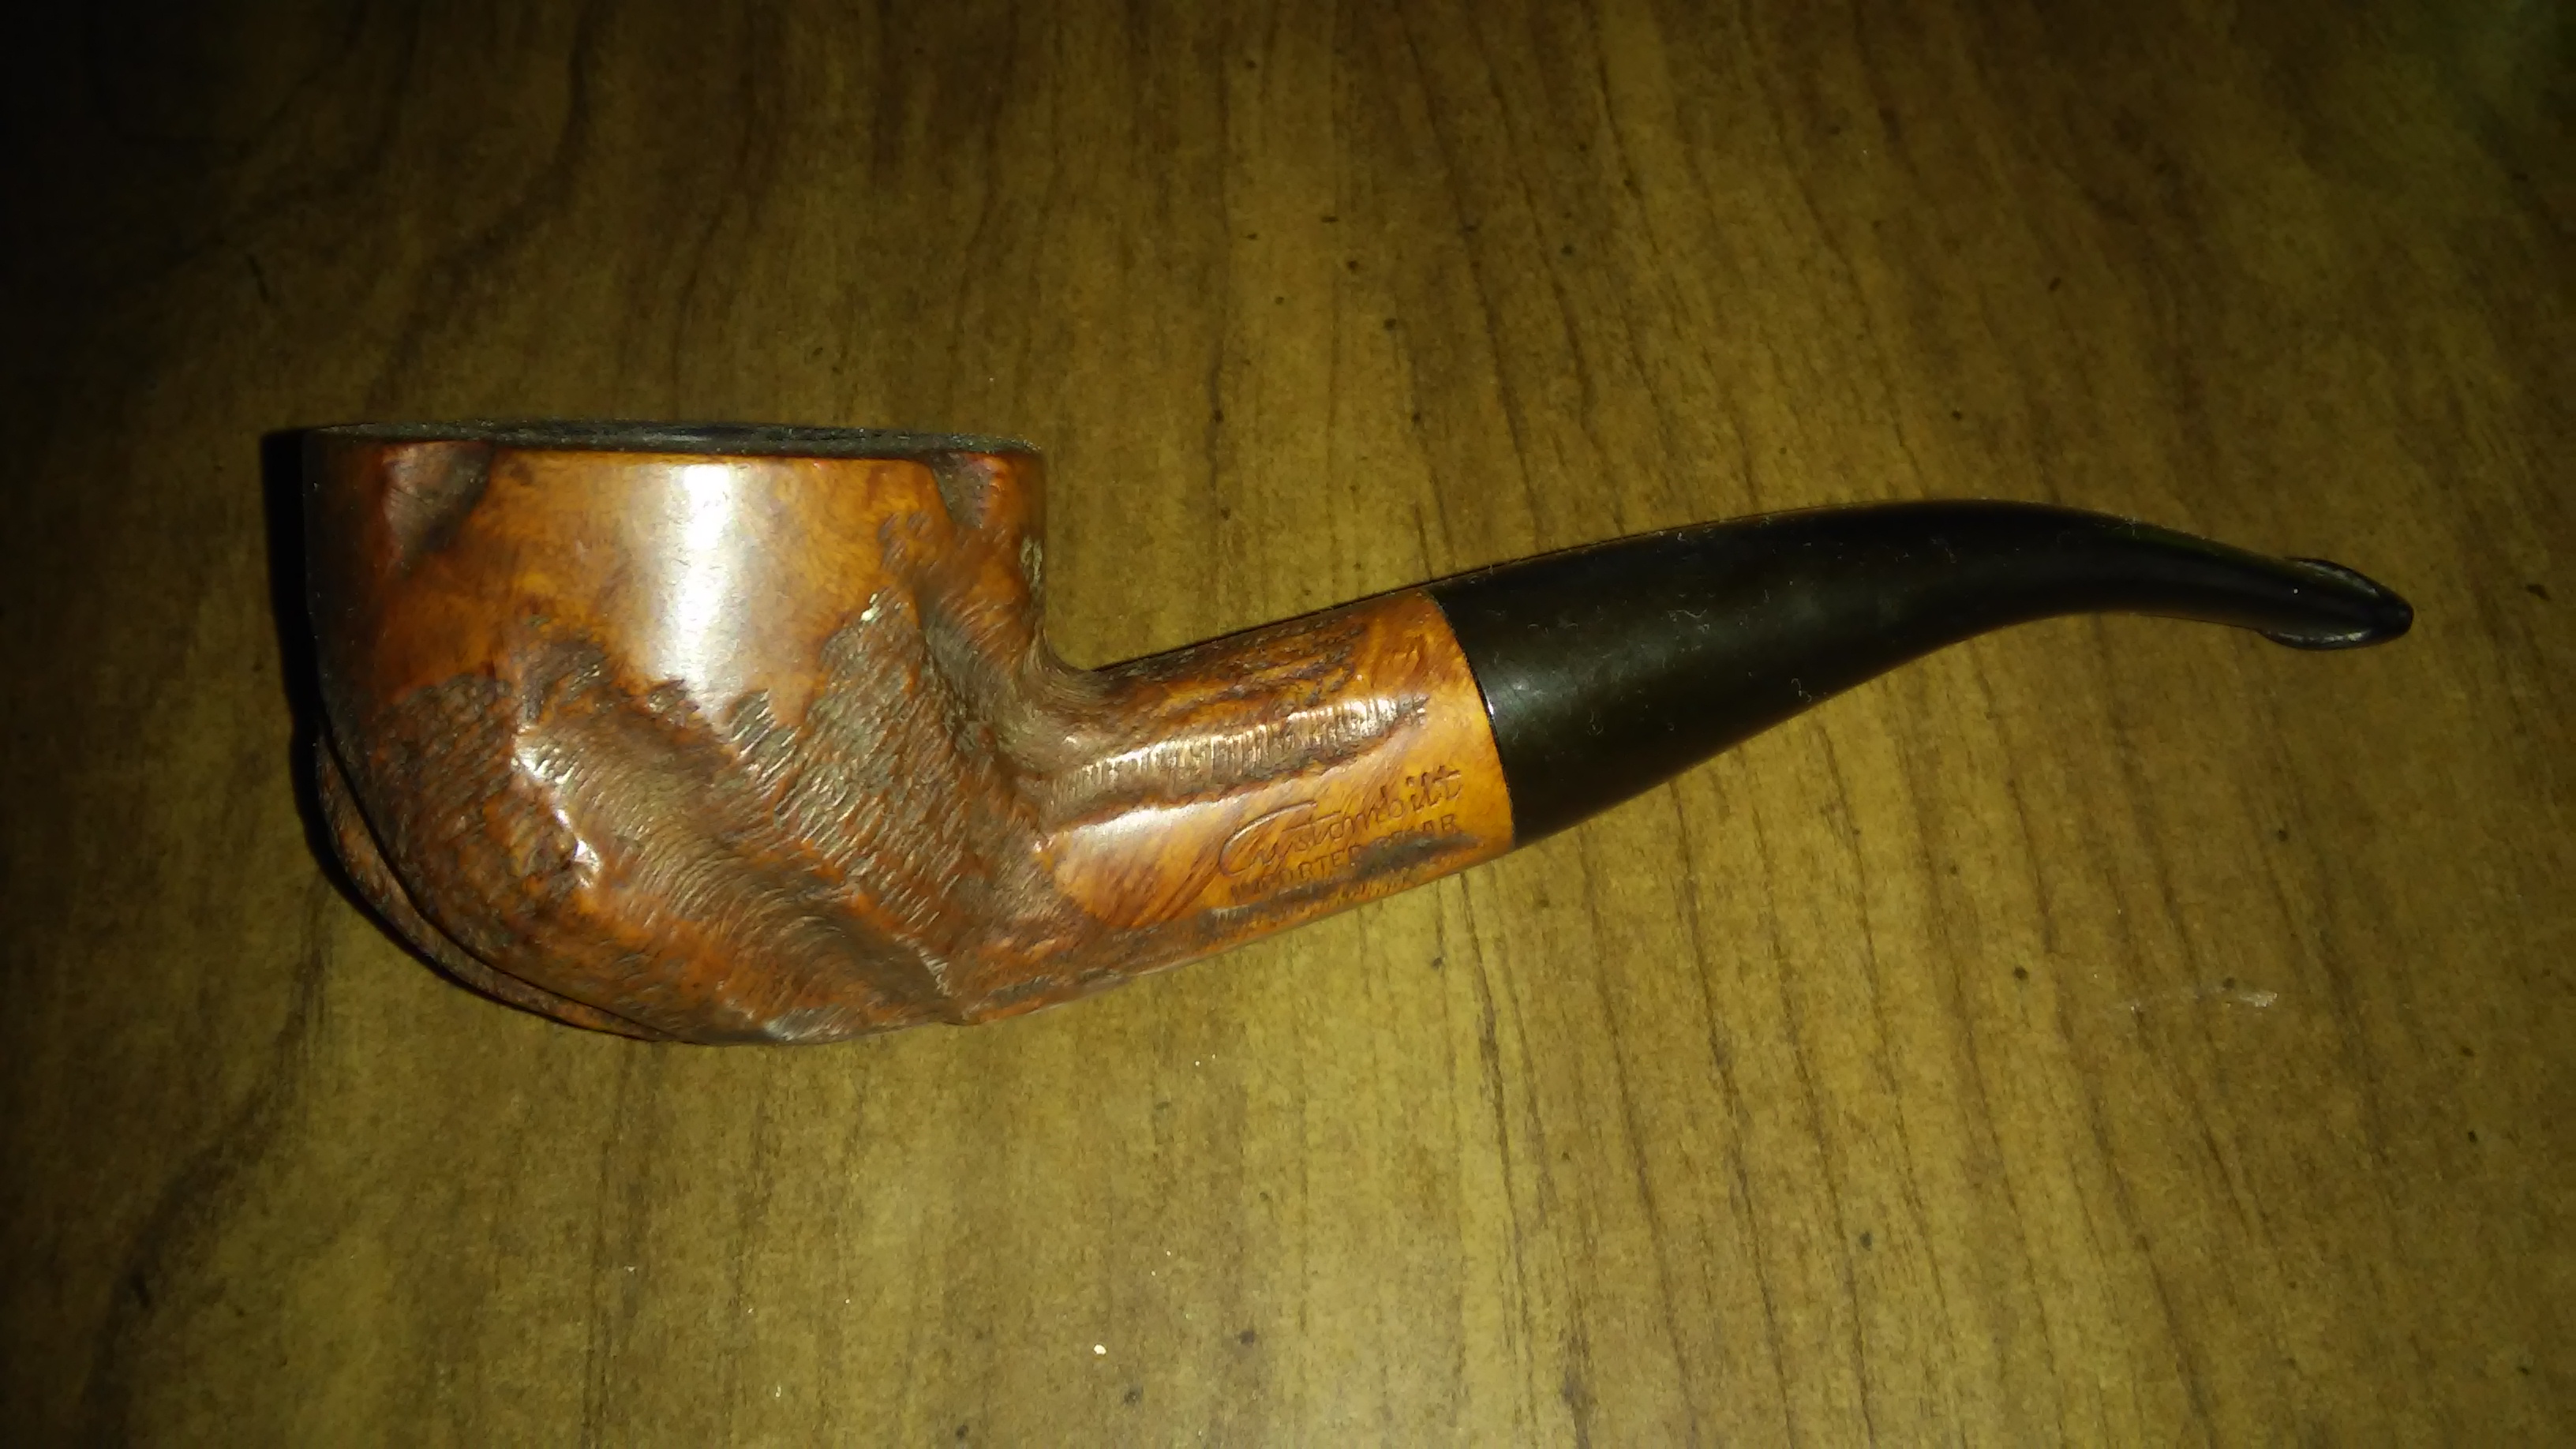
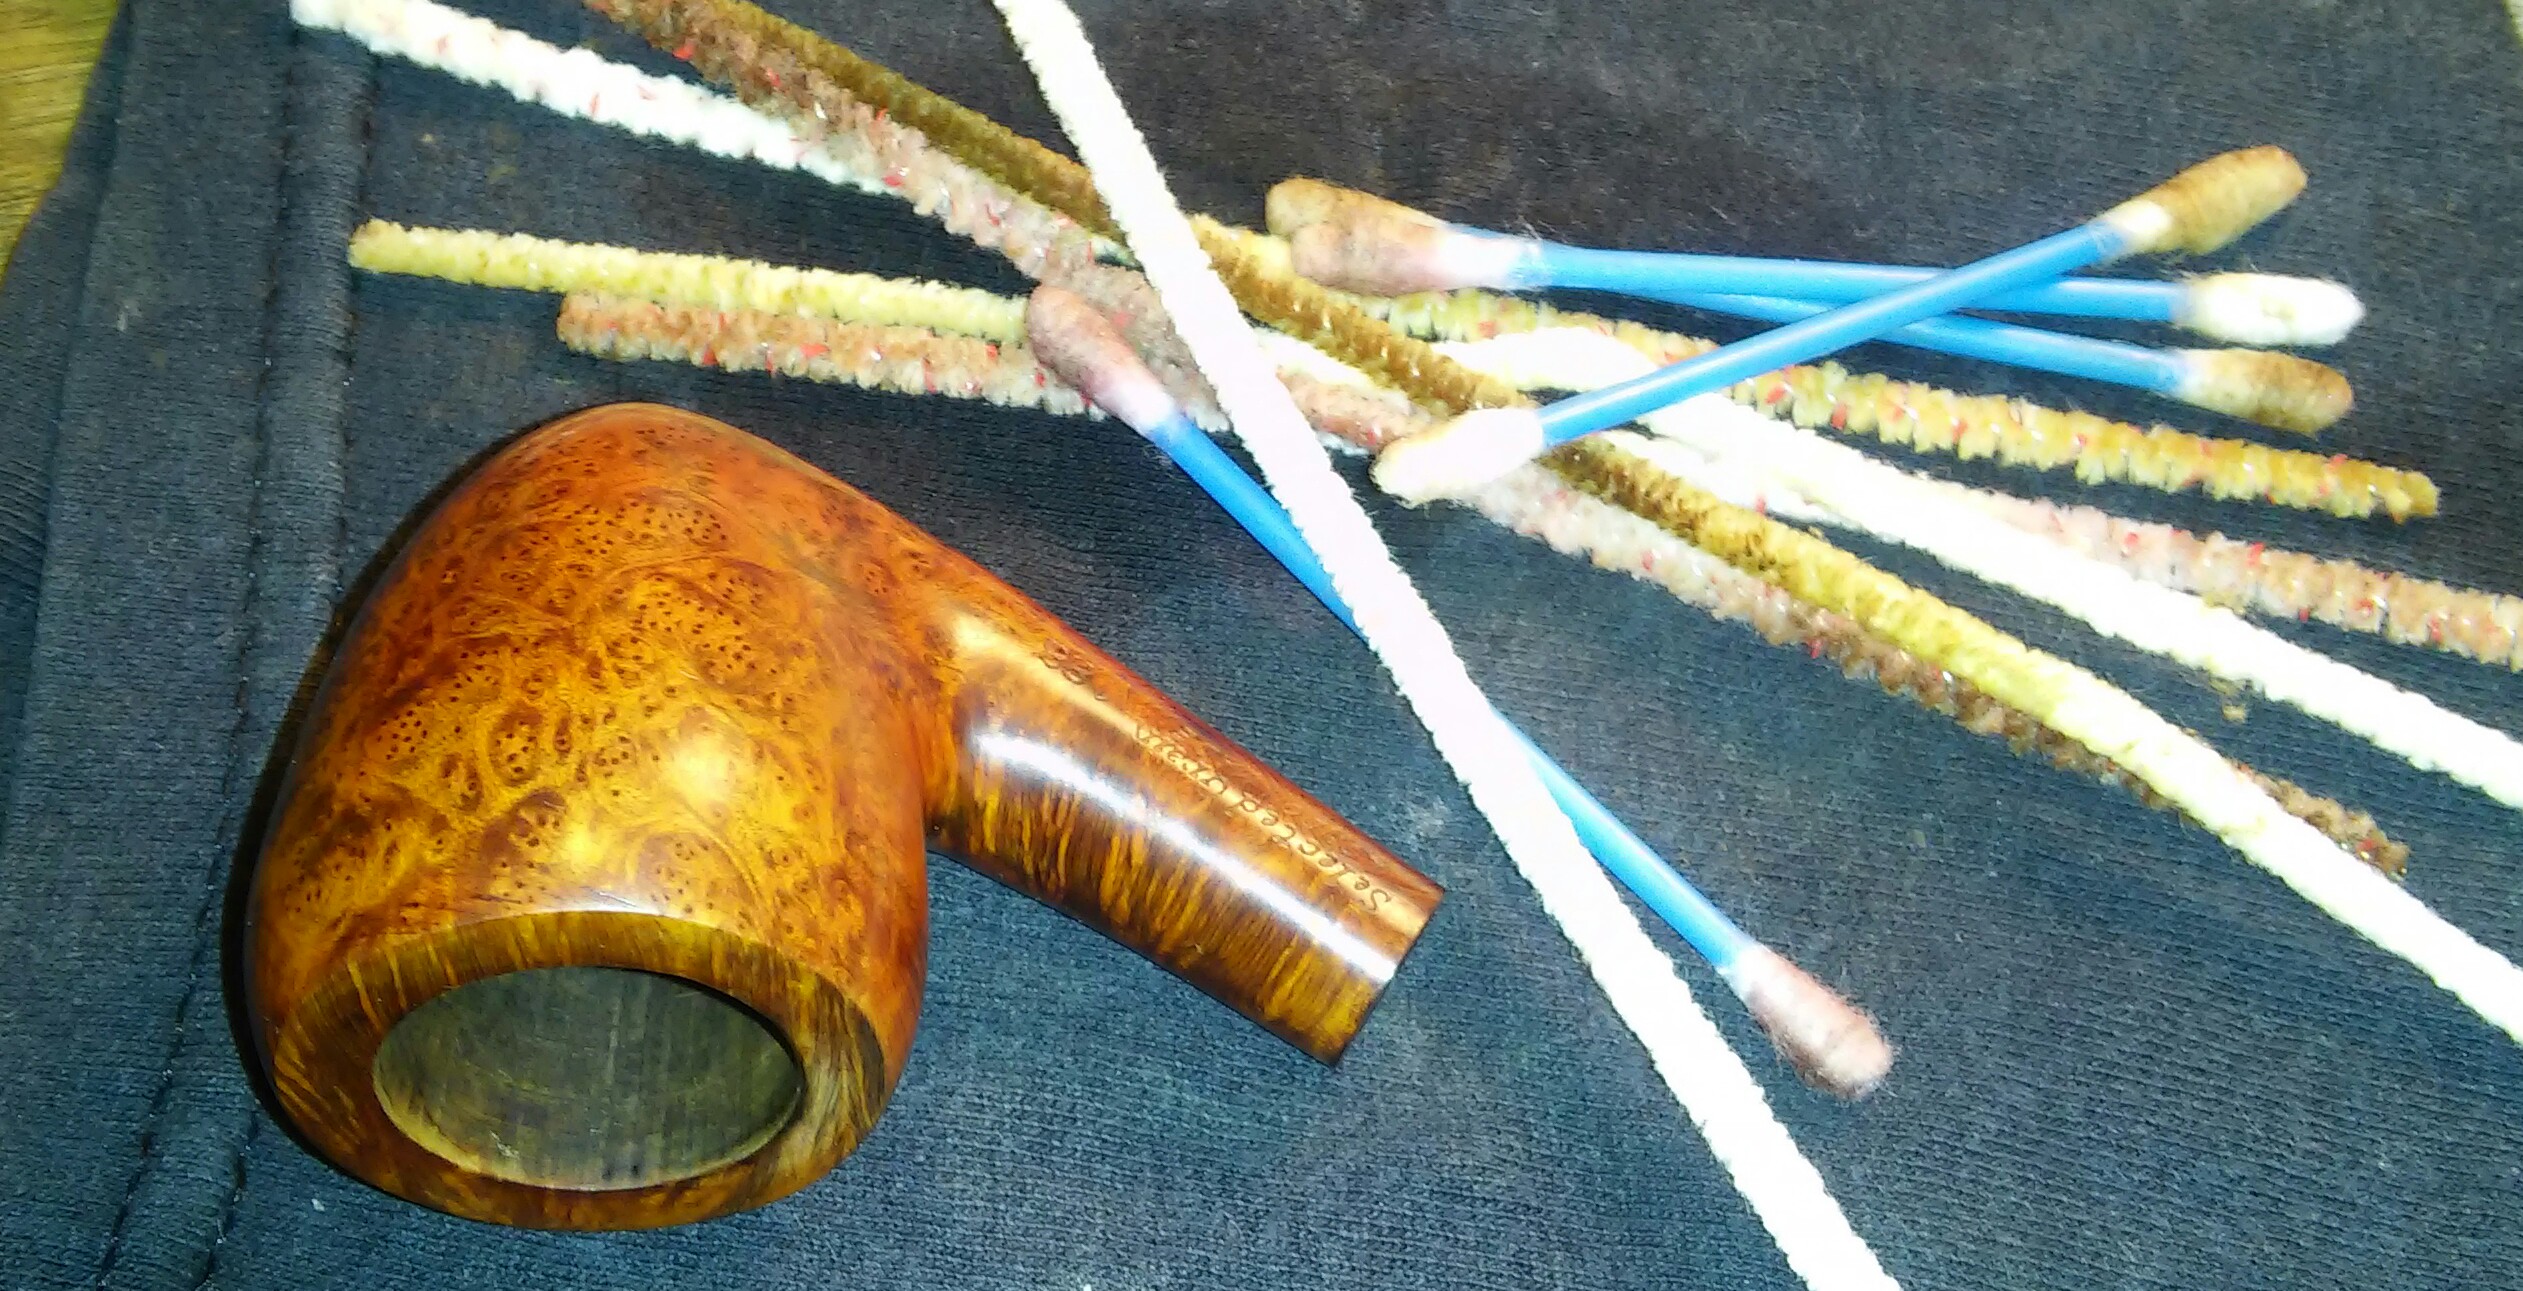
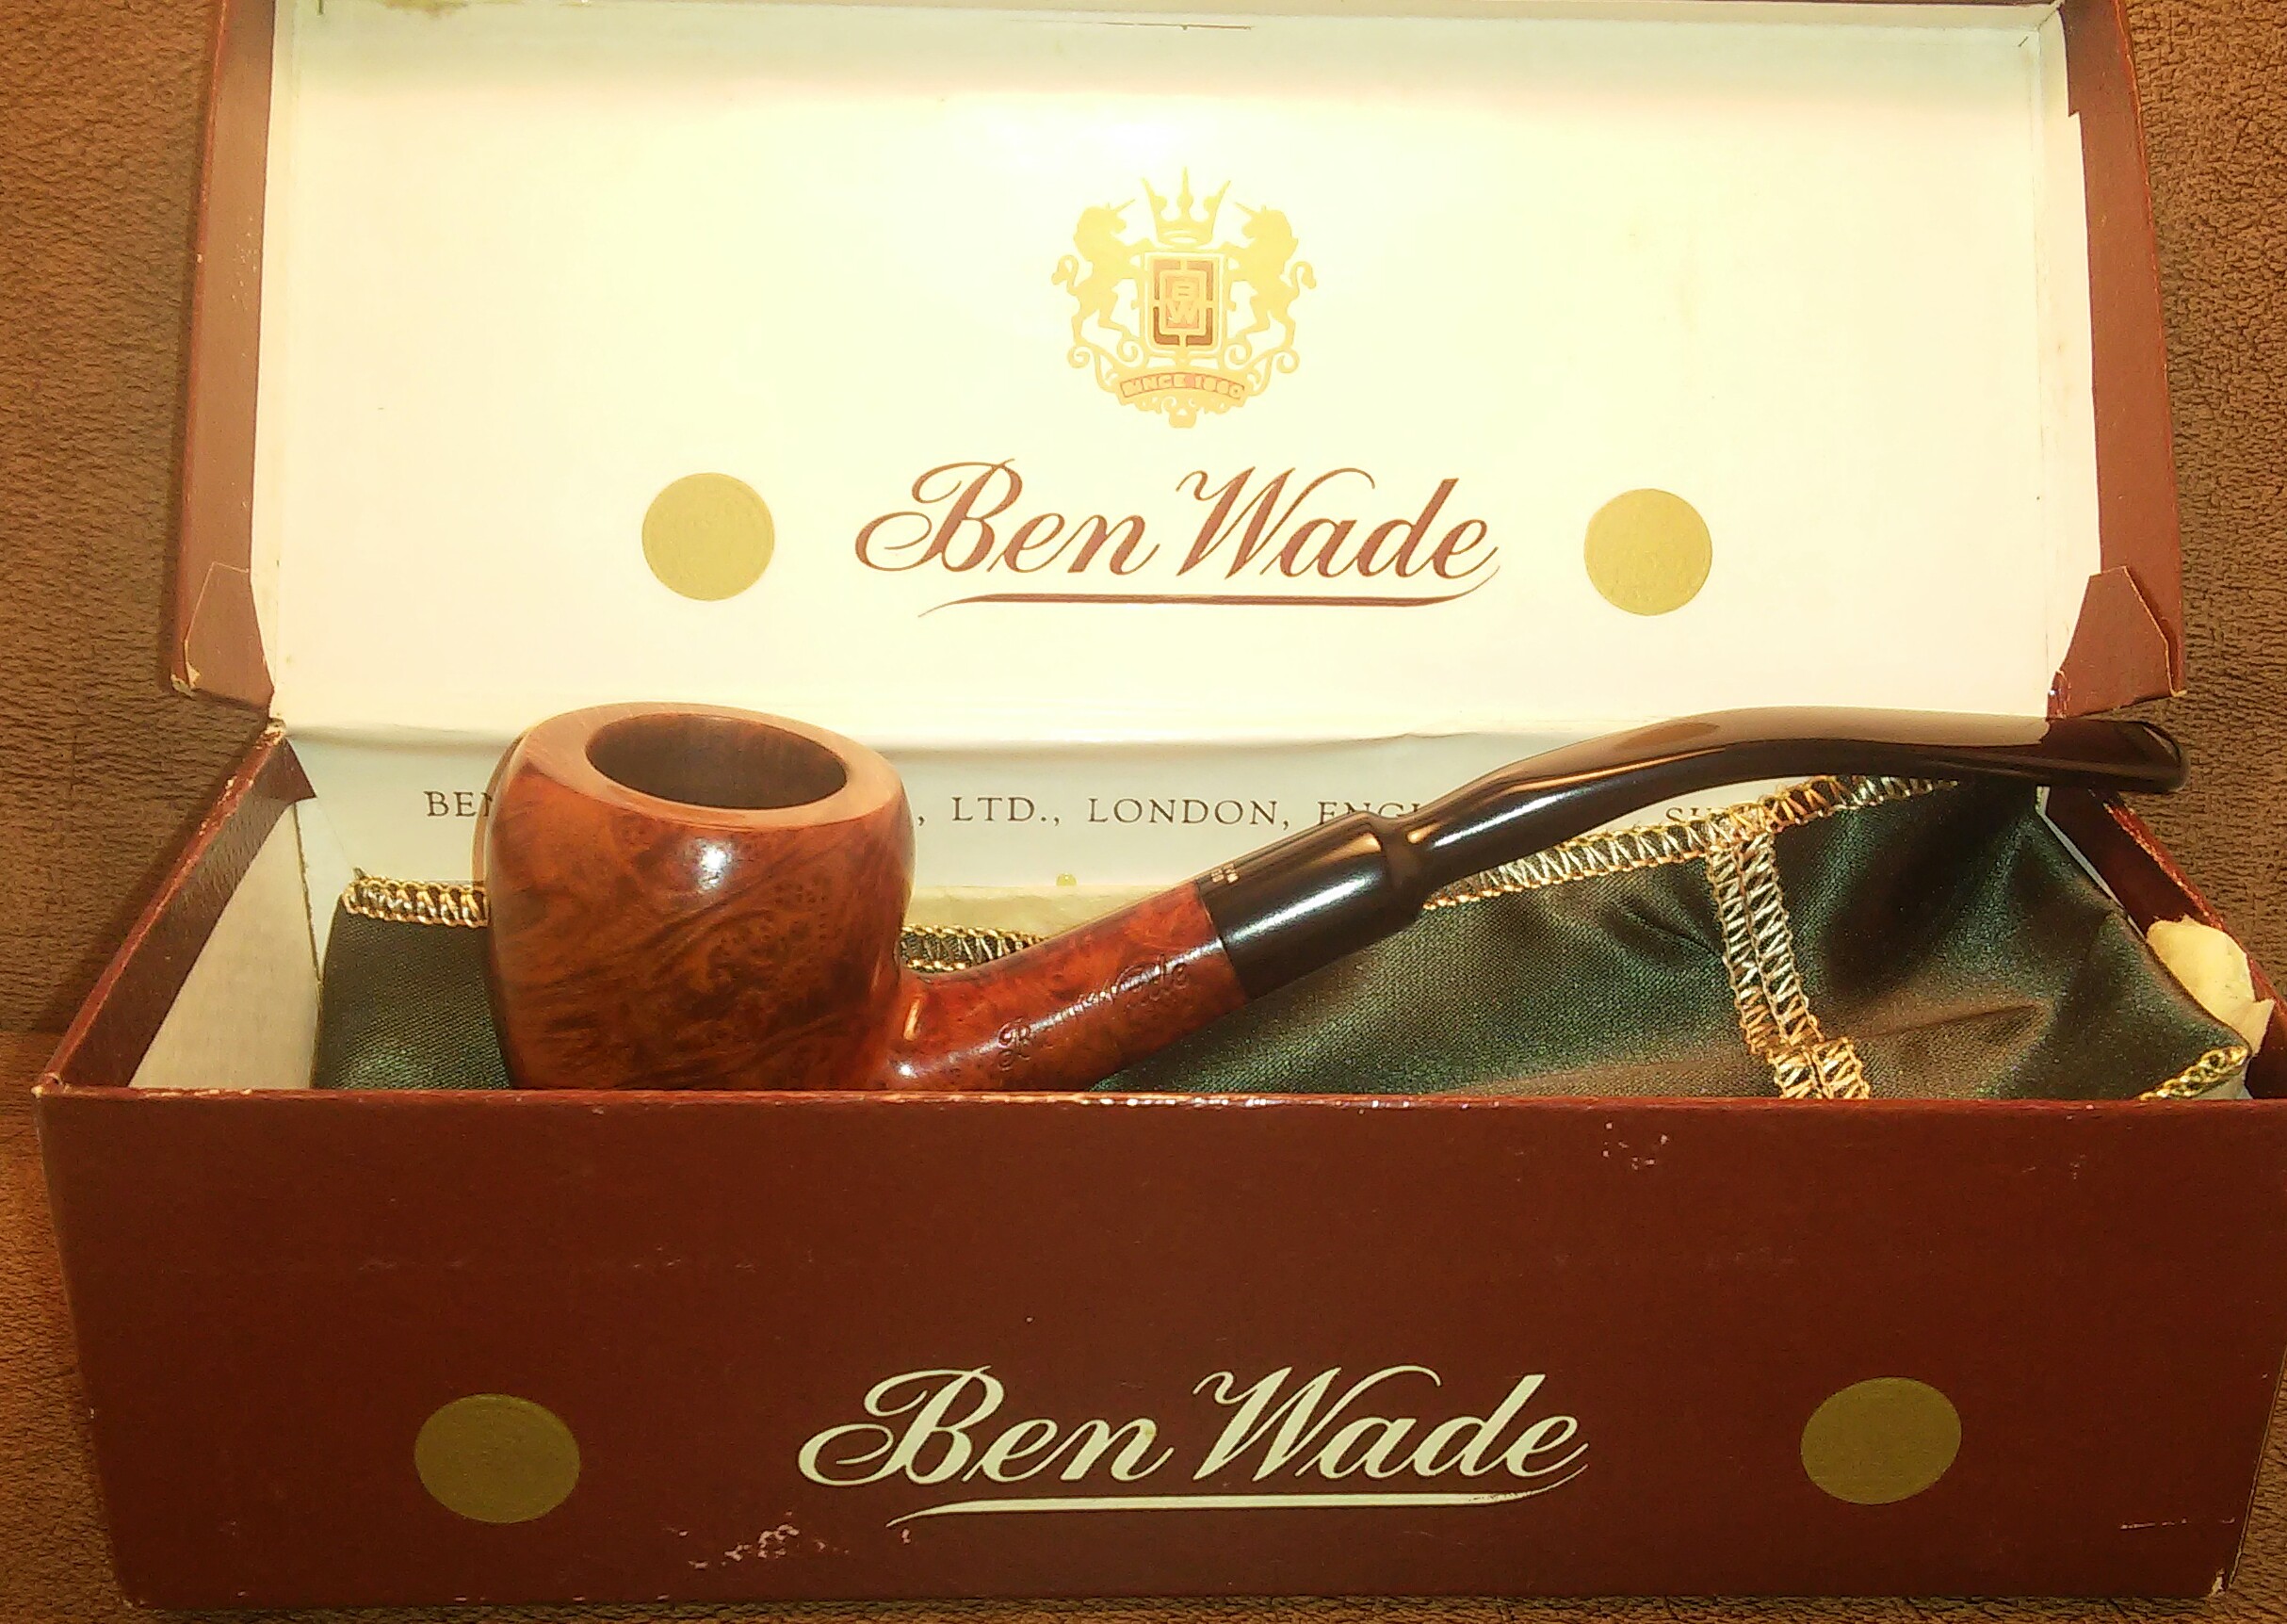
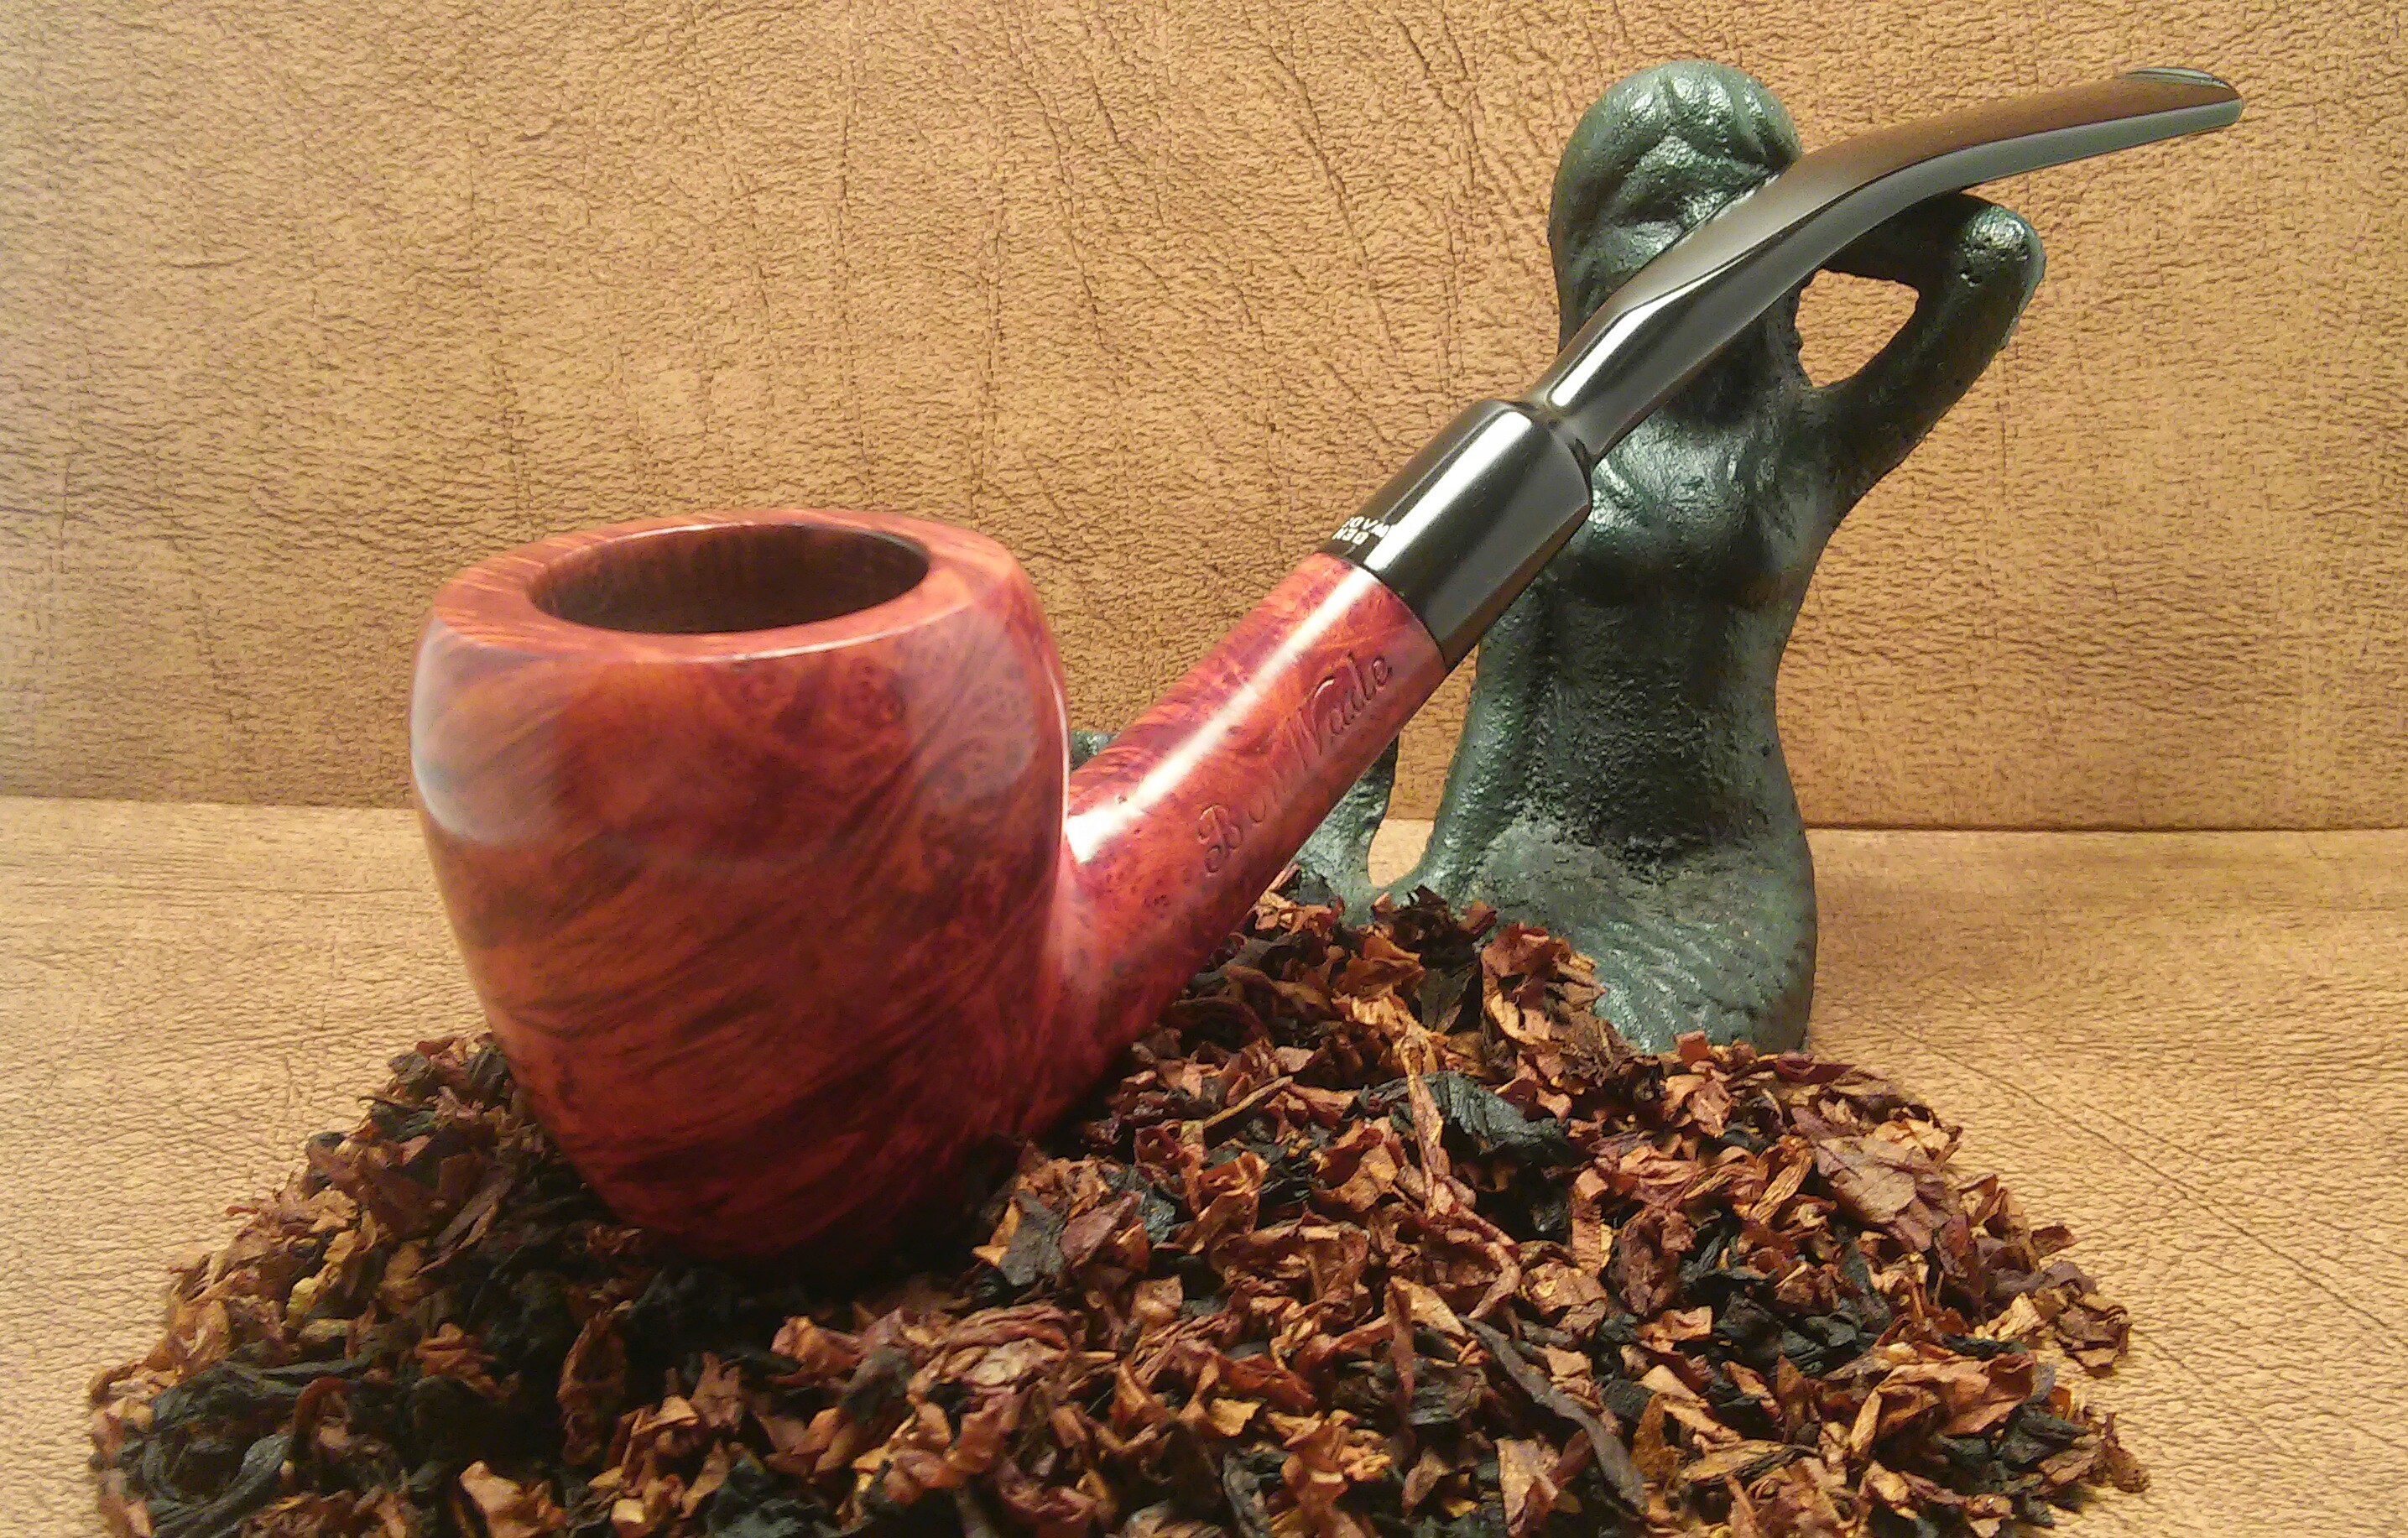
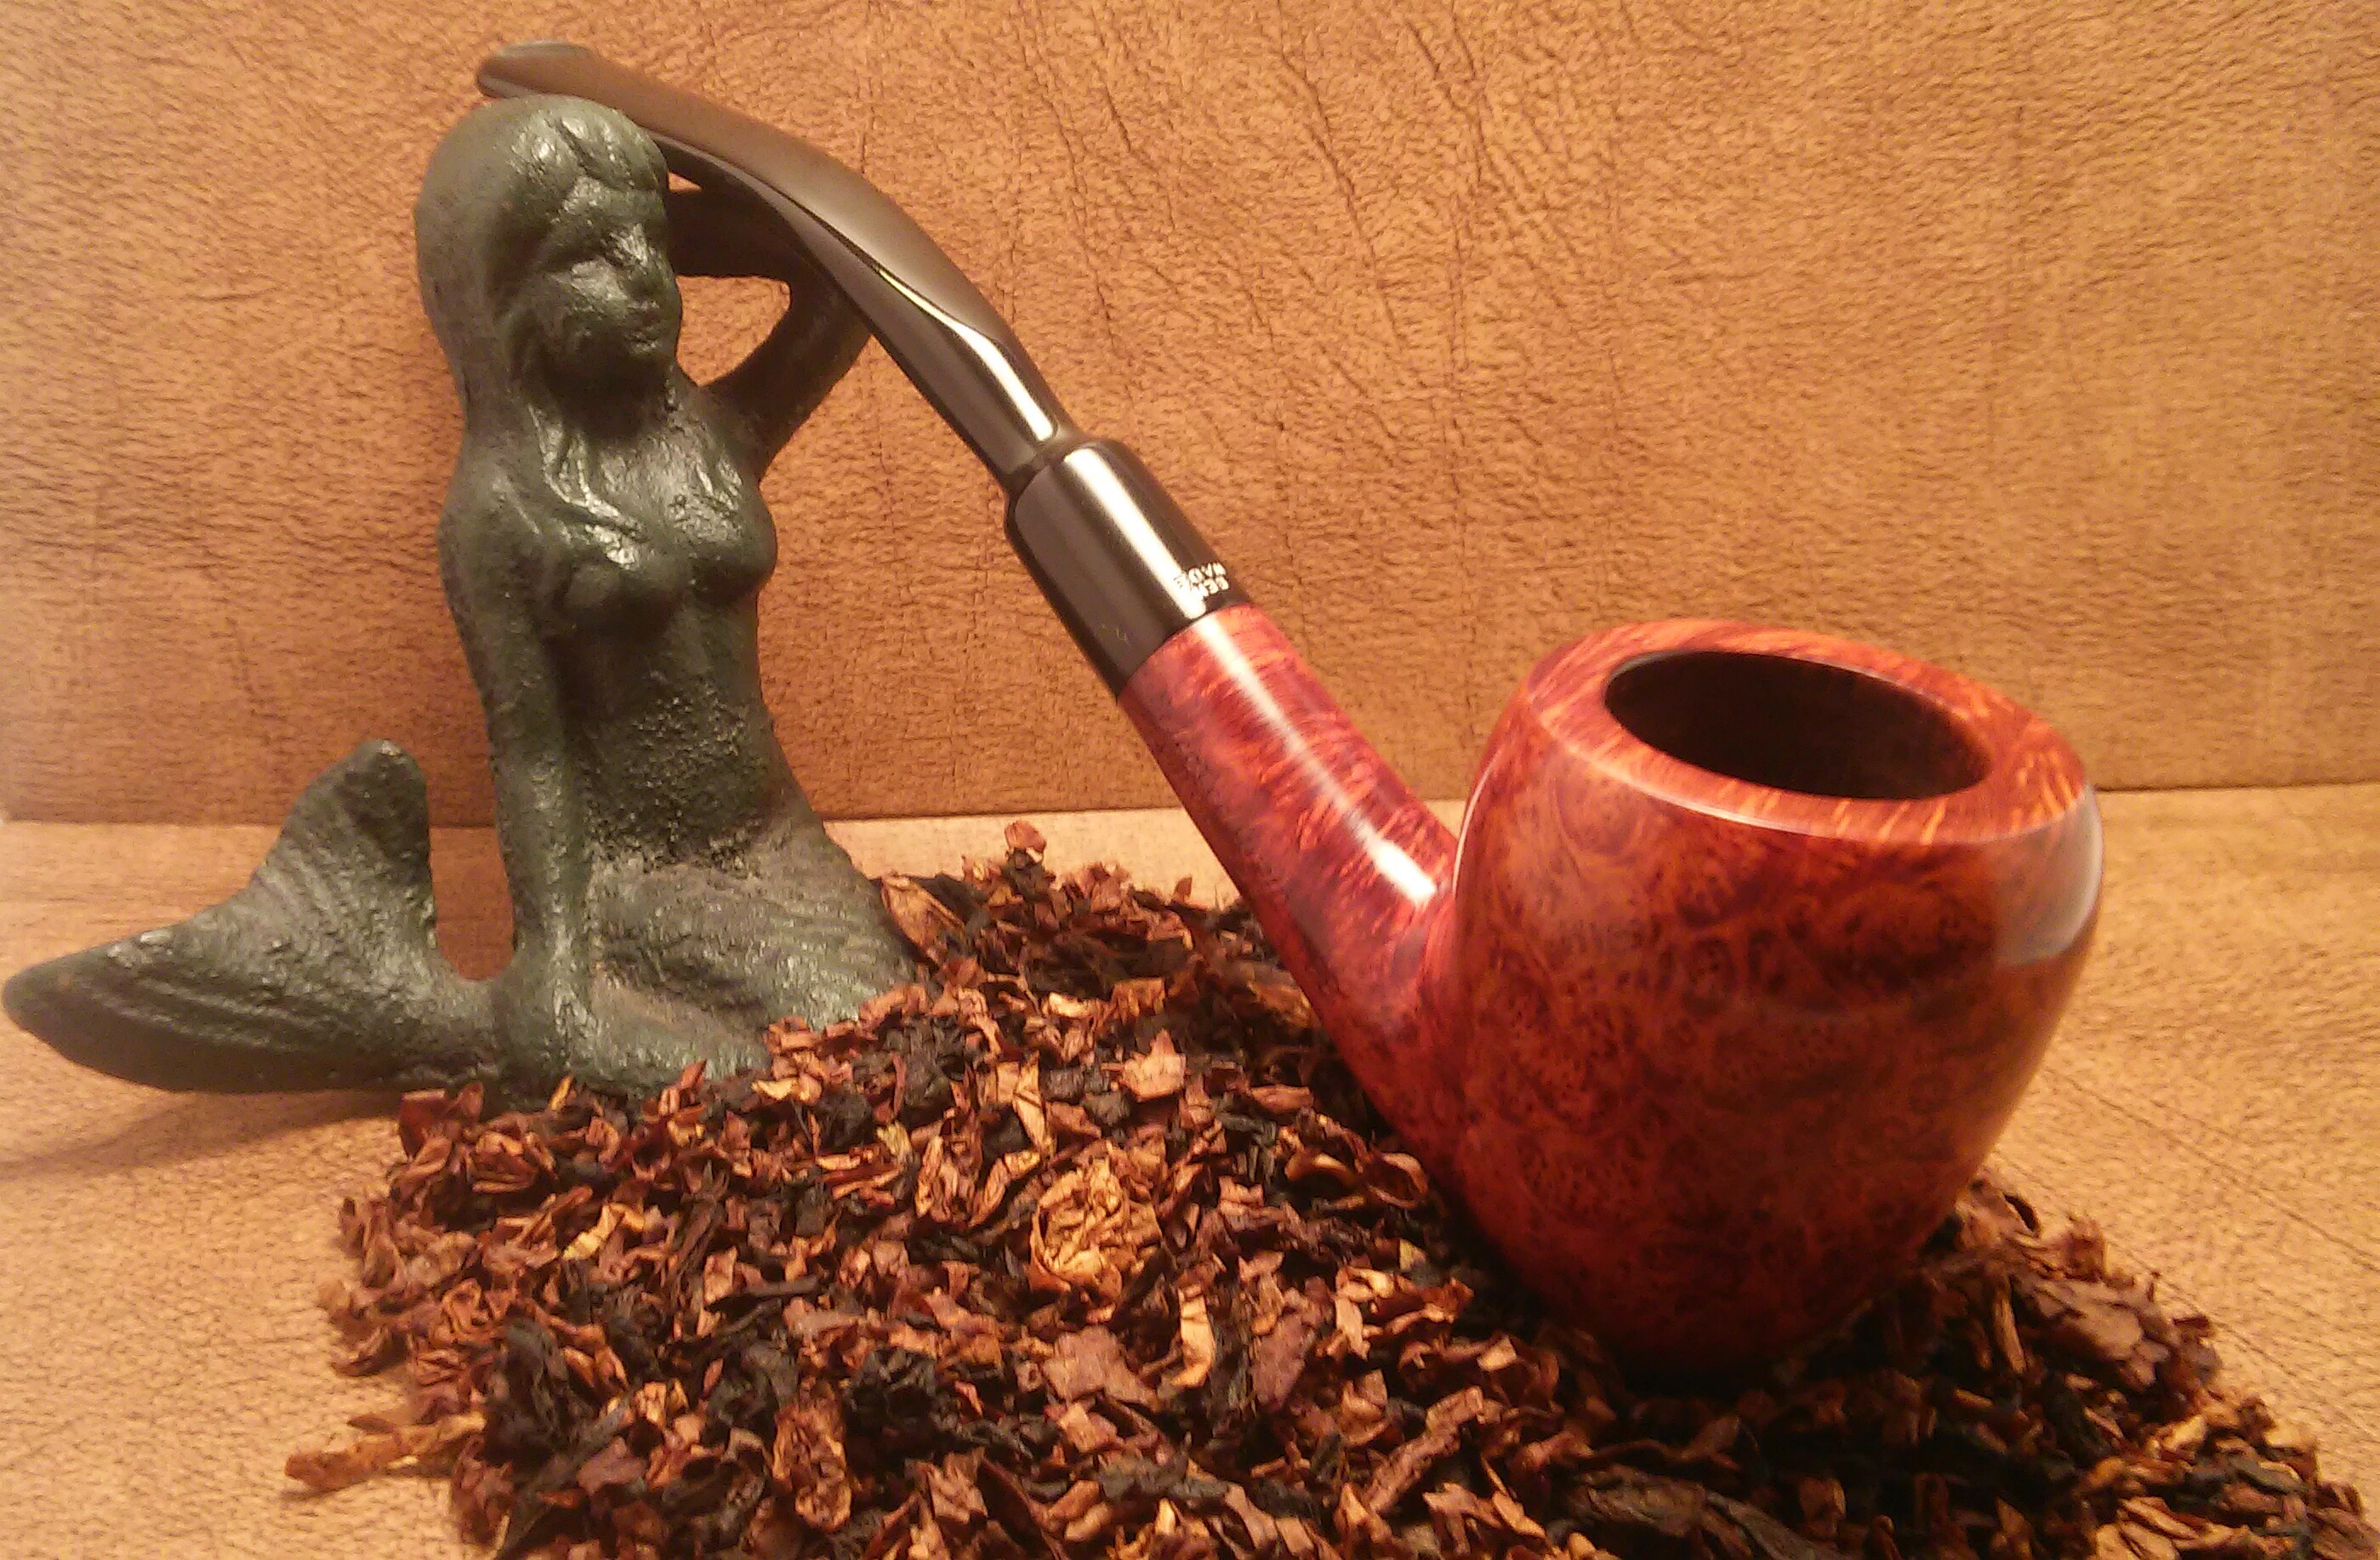
A few years ago I purchased a collection of pipes from a friend who’s father had passed. I had talked with him about cleaning up old pipes and he thought I would appreciate the collection. Back then I was more or less just getting my feet wet with the whole refurbishing thing and luckily I had put a few away for a later time. Recently I stumbled across the box I had stowed away. One of the few that caught my eye was a Ben Wade selected grain No. 188 London Made, it’s acorn shape and birds eye made it an easy pick. Most of the pipes in the collection were from the 70’s and 80’s era ,I believe this Wade falls somewhere in and about this area.
Overall she was in good condition. The chamber was pre-reamed ,its been packed away for so long I can’t remember if it was myself or the previous owner ,a scorched area on the rim ,light chatter/oxidation and would need a good buffing.
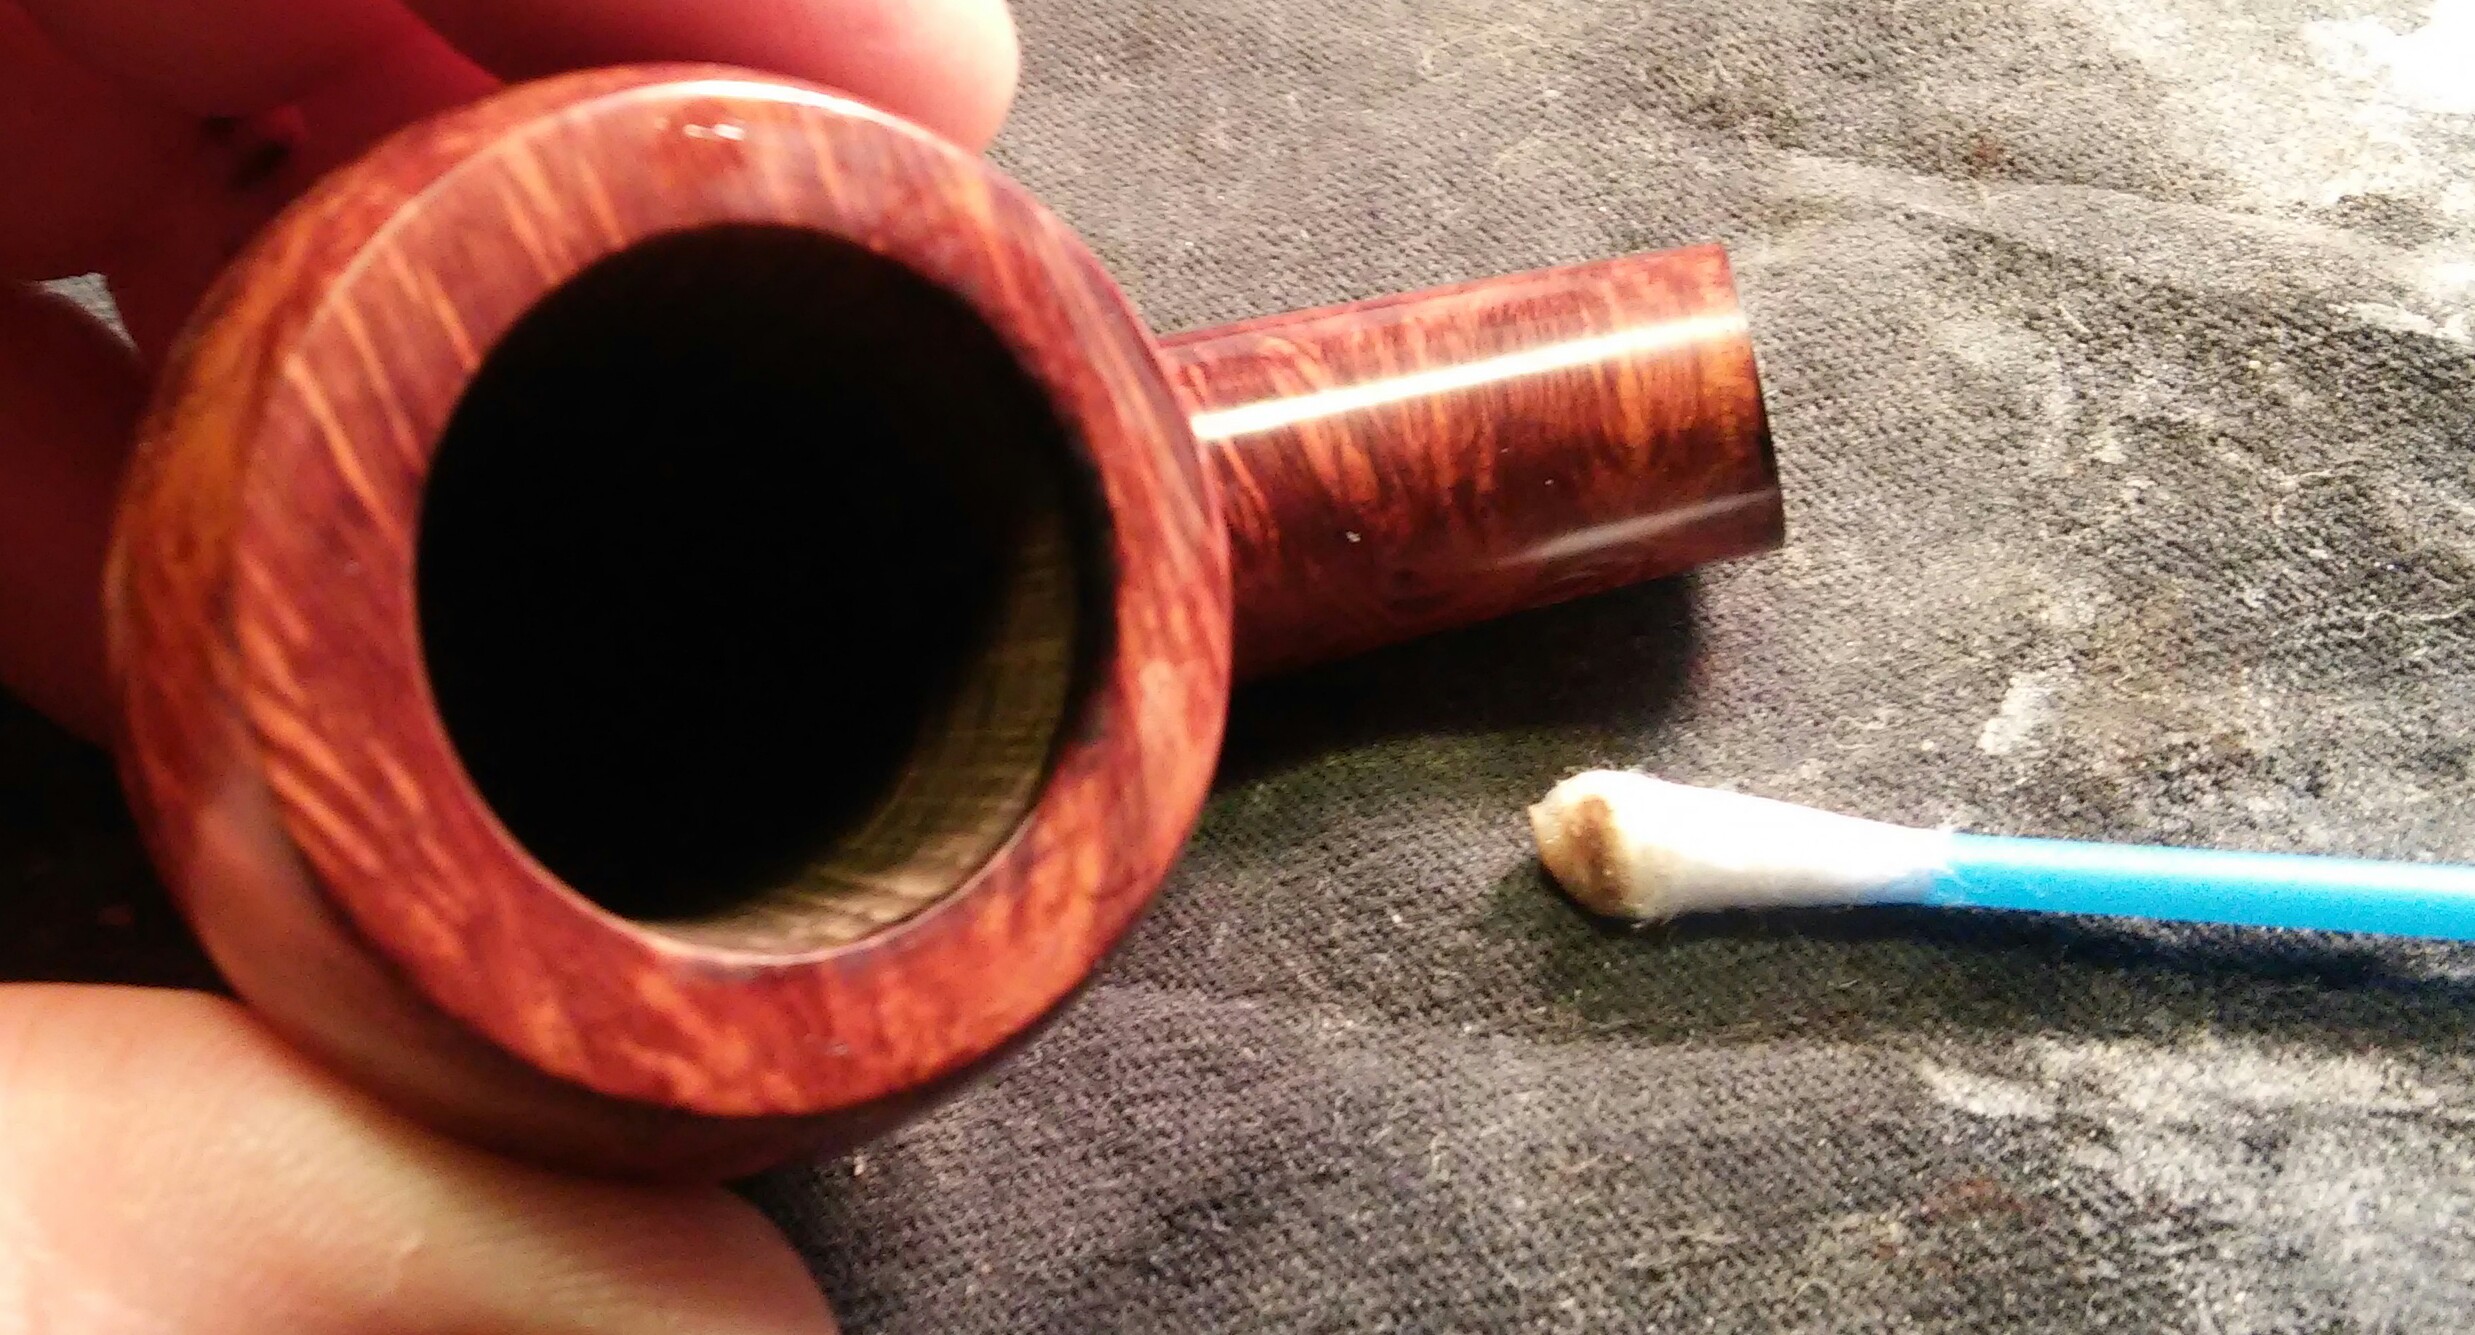
The pipe had been reamed but left rough, I lightly sanded the chamber with 400 grit paper wrapped around a finger until smooth.
Next I worked the scorched area on the rim, I applied Method wood for good polish to the rim and left it to soak for a few minutes. I worked the area with Q-tips scrubbing vigorously until the darkened area had faded. I finished up with a worn 3600 mesh pad. There was still a little discoloration left but the final buff would take care of this.
I cleaned the internals with EverClear,Q-tips and soft pipe cleaners, working until till the pipe cleaners came out as they went in.
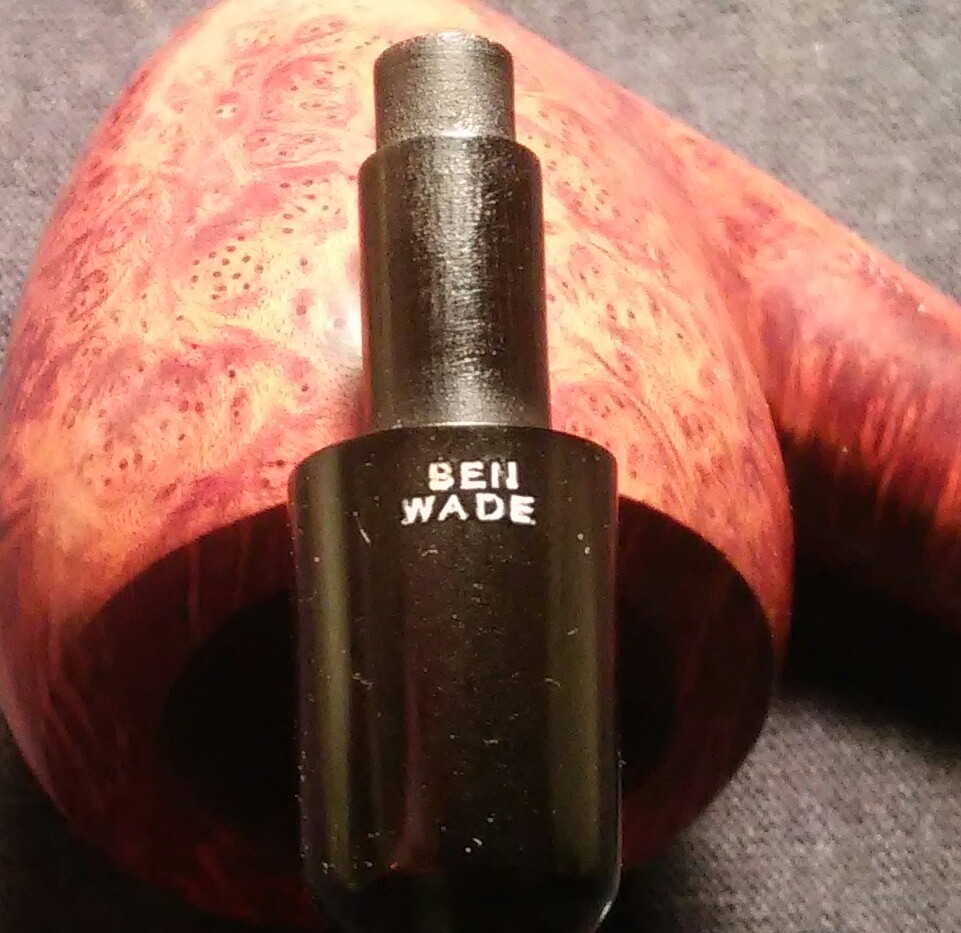
I cleaned the internals and externals of the stem using EverClear,pipe cleaners and cotton balls. Working carefully around the stem logo, so not to accidentally remove it.
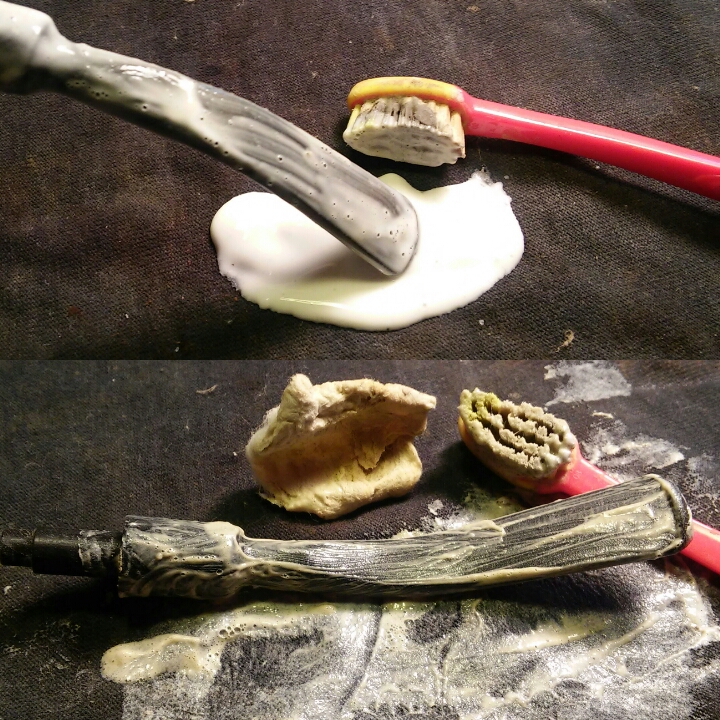
There was light oxidation on the stem, I applied non-bleach Soft Scrub with a children’s toothbrush and let it sit for 10min. After sitting I scrubbed the stem vigorously with cotton balls and a rag until the oxidation was removed.
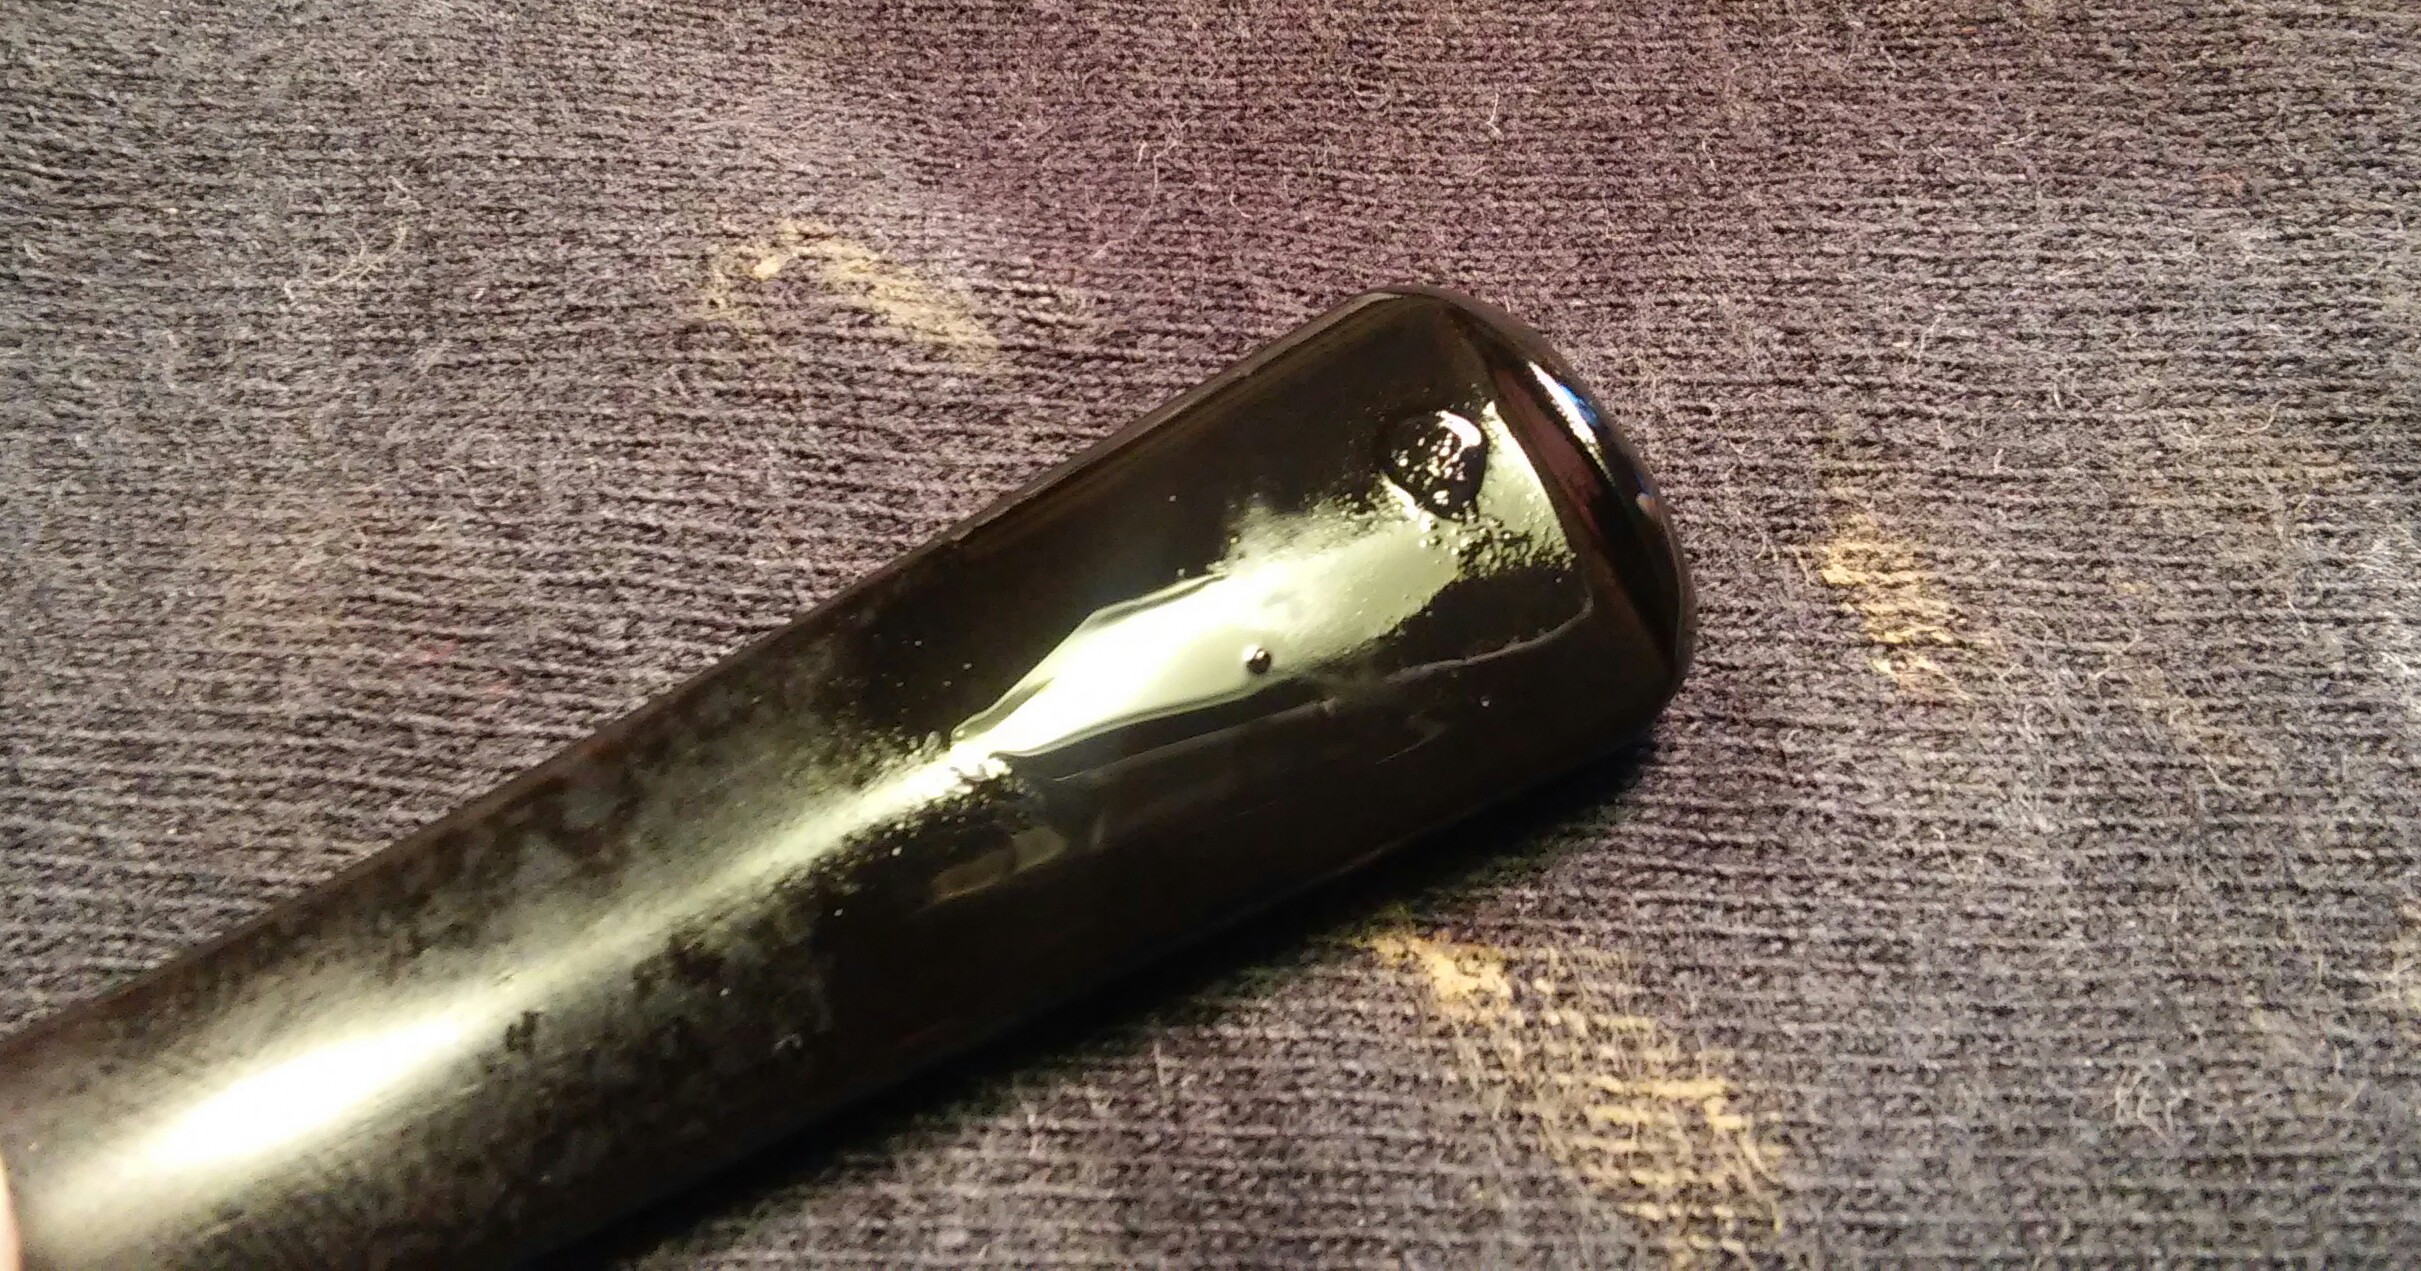
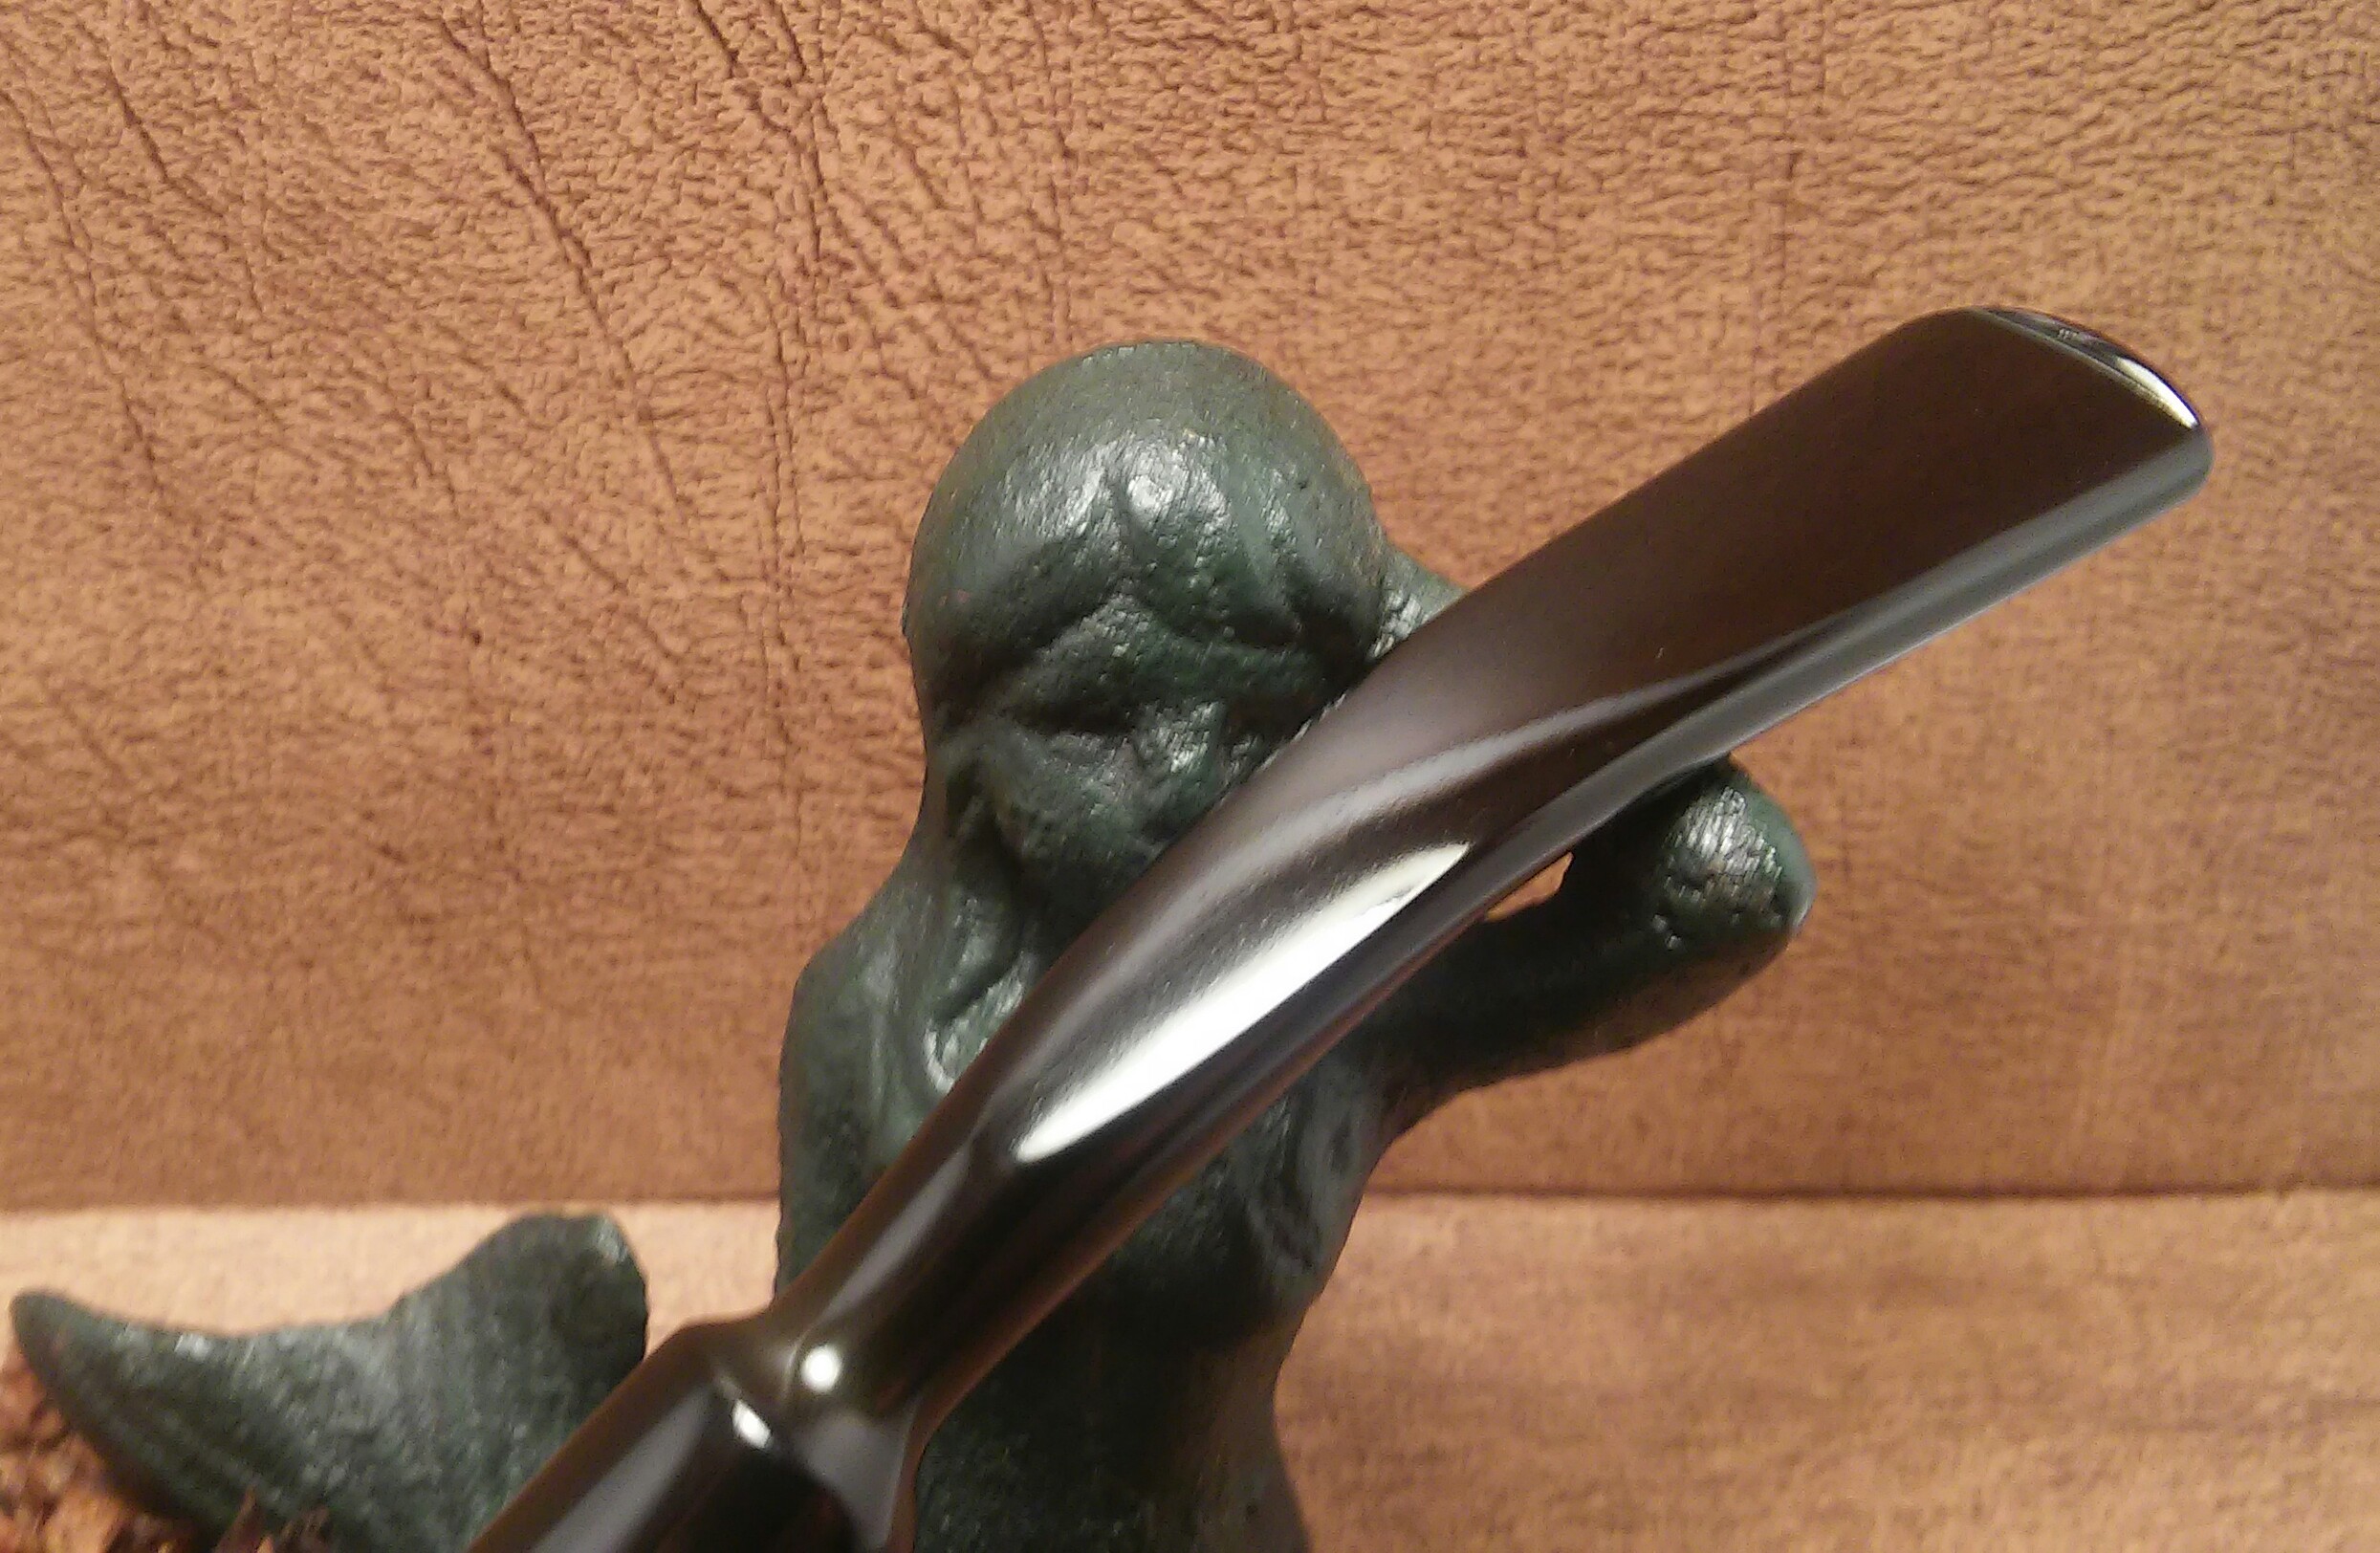
With the oxidation removed I moved on to the chatter, most of the impressions were shallow. I wet sanded the bit area with 1000 grit paper and removed all but one of the tooth impressions.
With the bit area already roughed up from my sanding it was ready for filler ,I mixed thick black CA glue and activated charcoal powder together with a toothpick to form a paste .
I applied a small dot of the mixture to the impression and sprayed it with accelerator, I then immediately pushed the mixture into the indentation before it set to make sure it filled the impression completely. I left it overnight to cure.
With the stem set aside I addressed the rim , my previous work removing the scorched area left a small part of the rim lighter then the rest. I used touch up markers on the lightened area and left it to dry. After drying I wiped the excess with an EverClear damp rag.
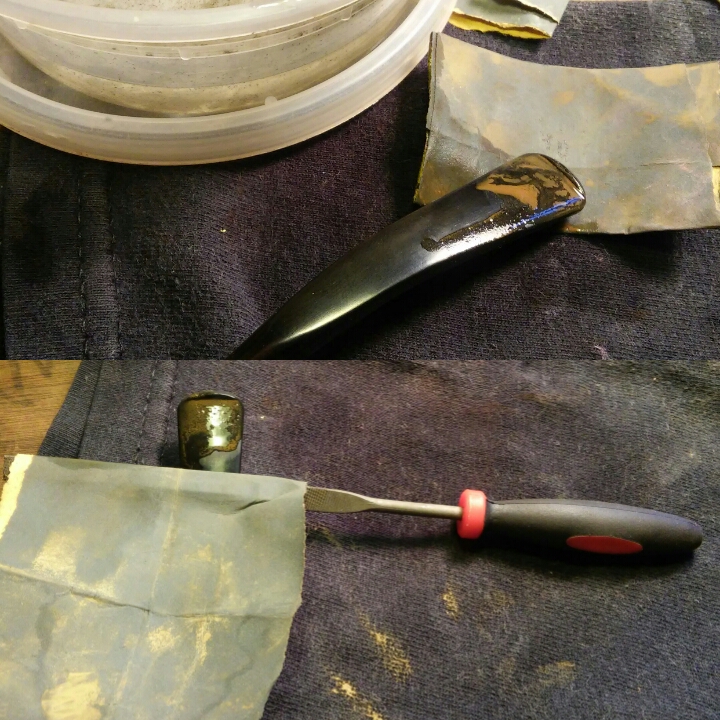
The next morning after the stem fill had time to set up I began working the area of the repair. I wrapped 1000 grit paper around a flat needle file and sanded the area flush.
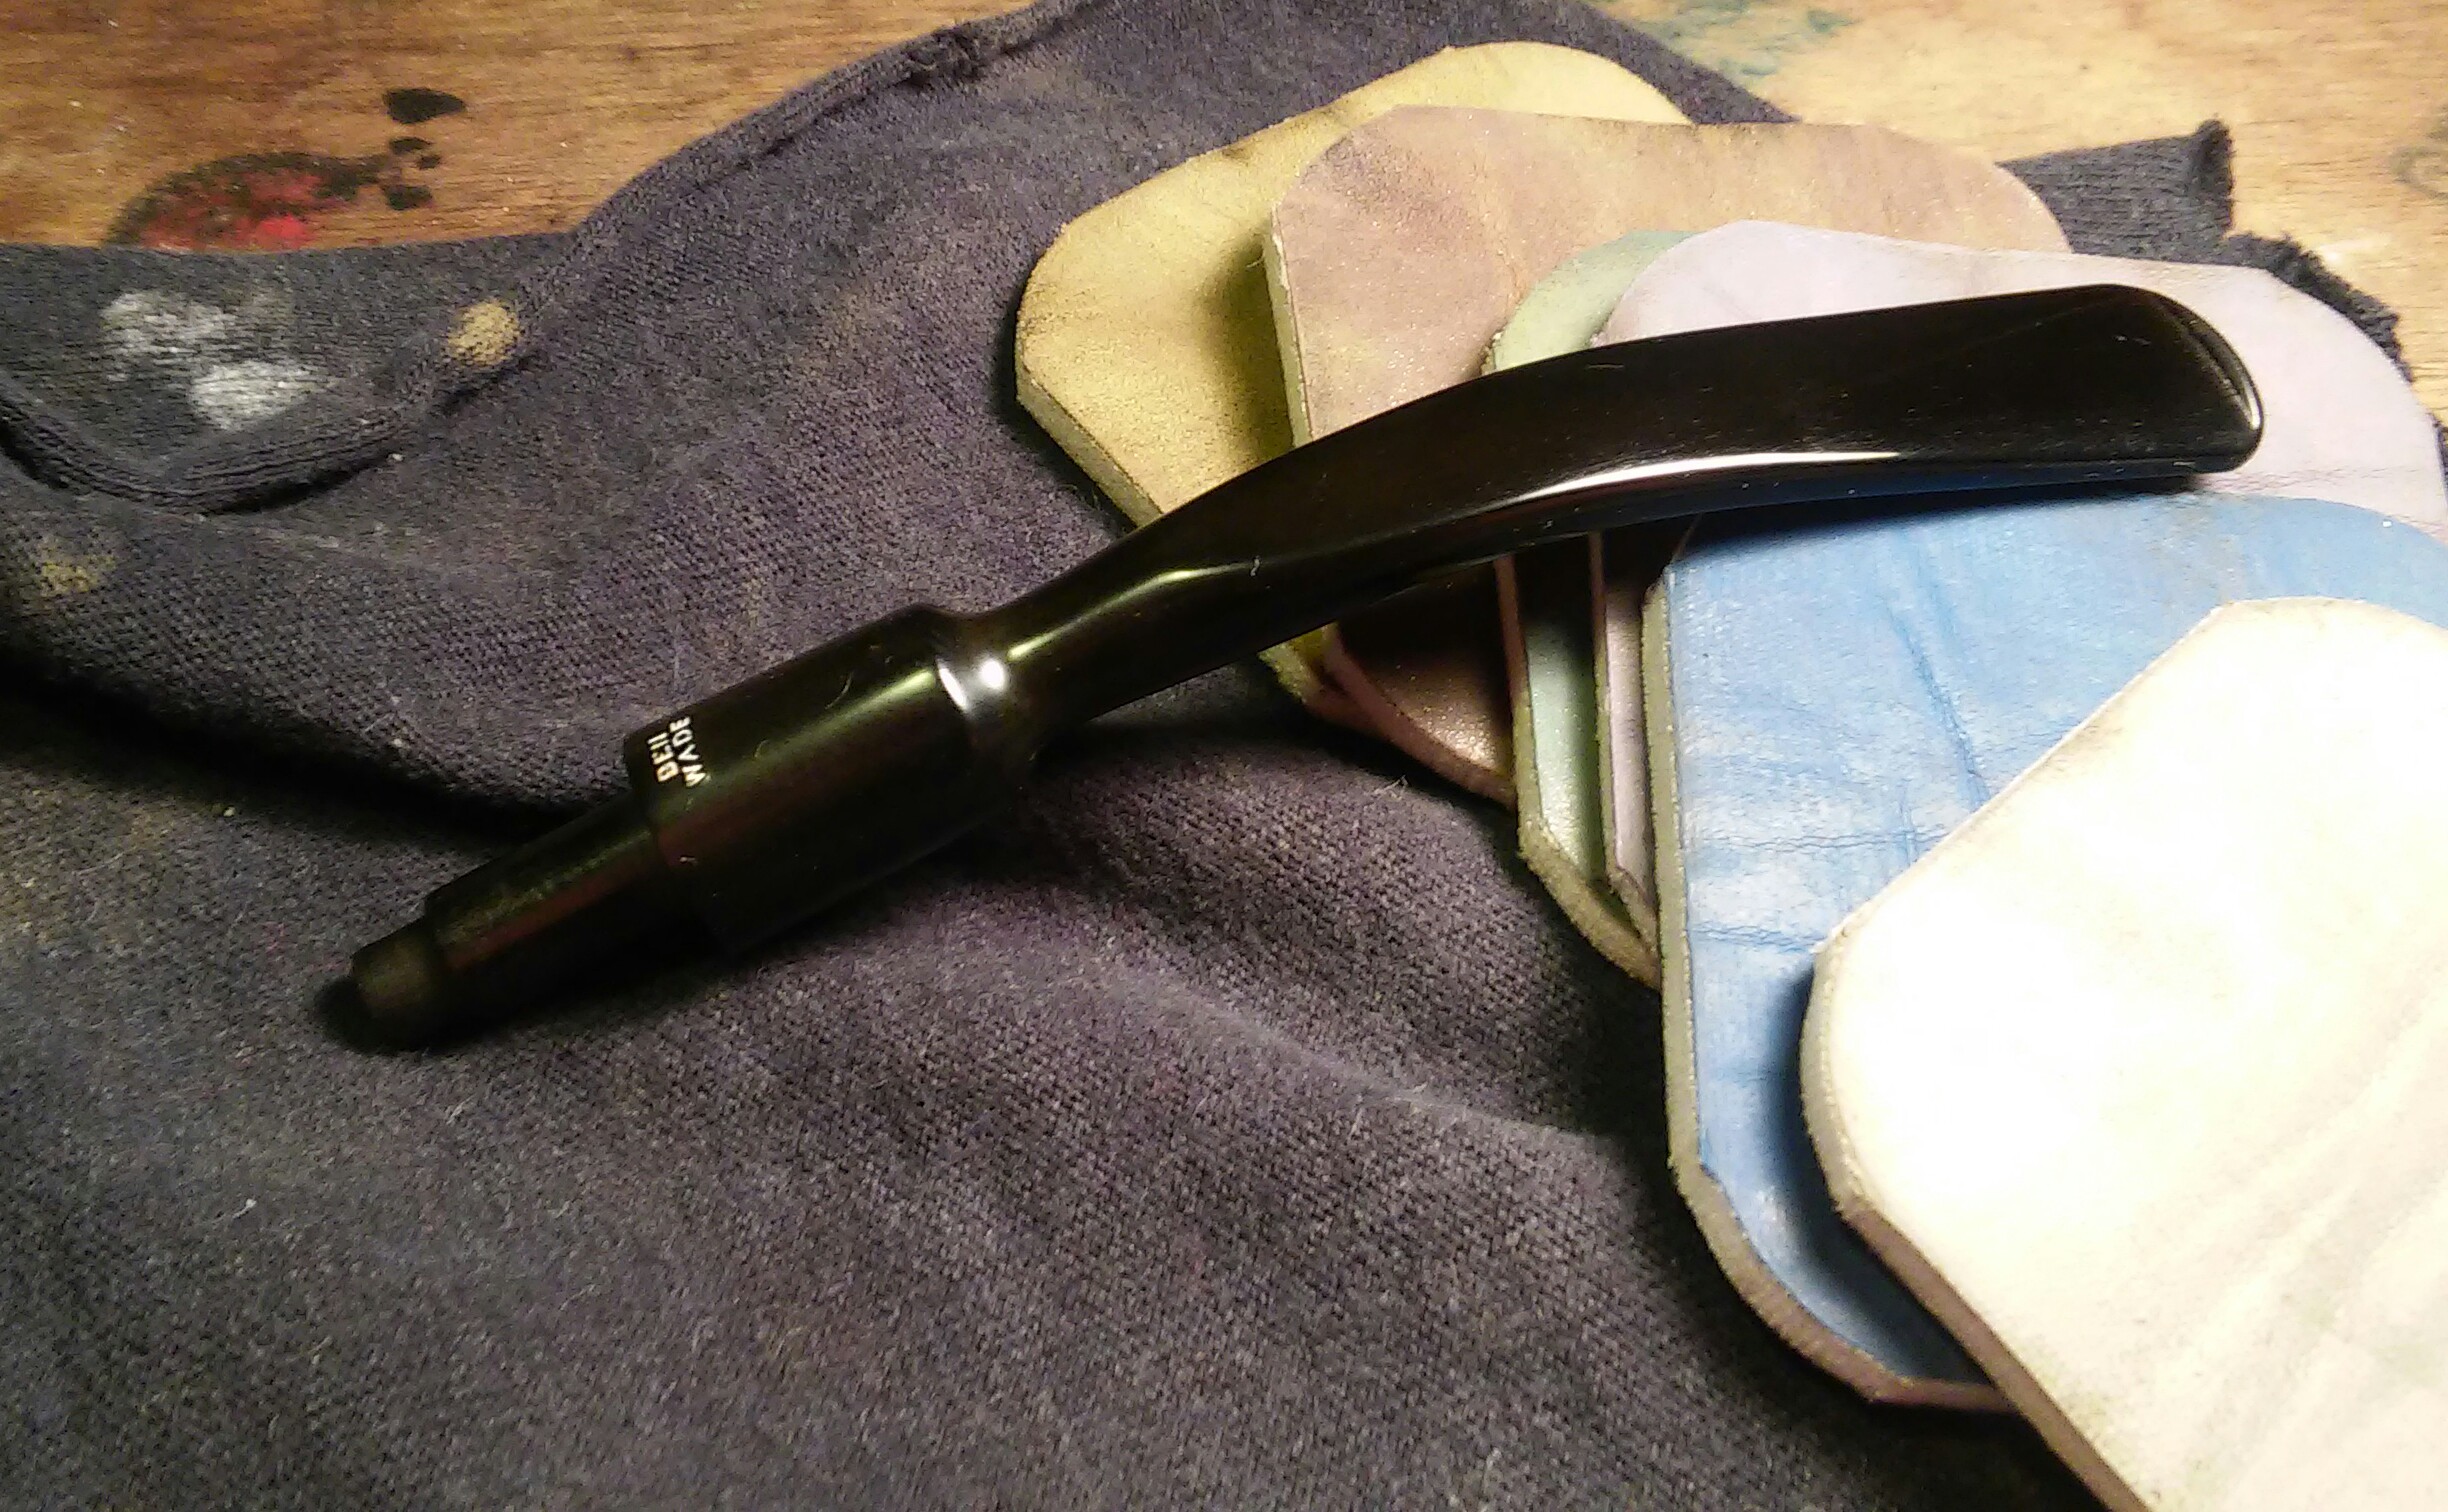
I tapped off the bit with painters tape so my sanding would remain in the area of the damage, the rest of the stem looked good and would not need as much work. I sanded the bit area with 1500-2400 wet and 3200-6000 dry.
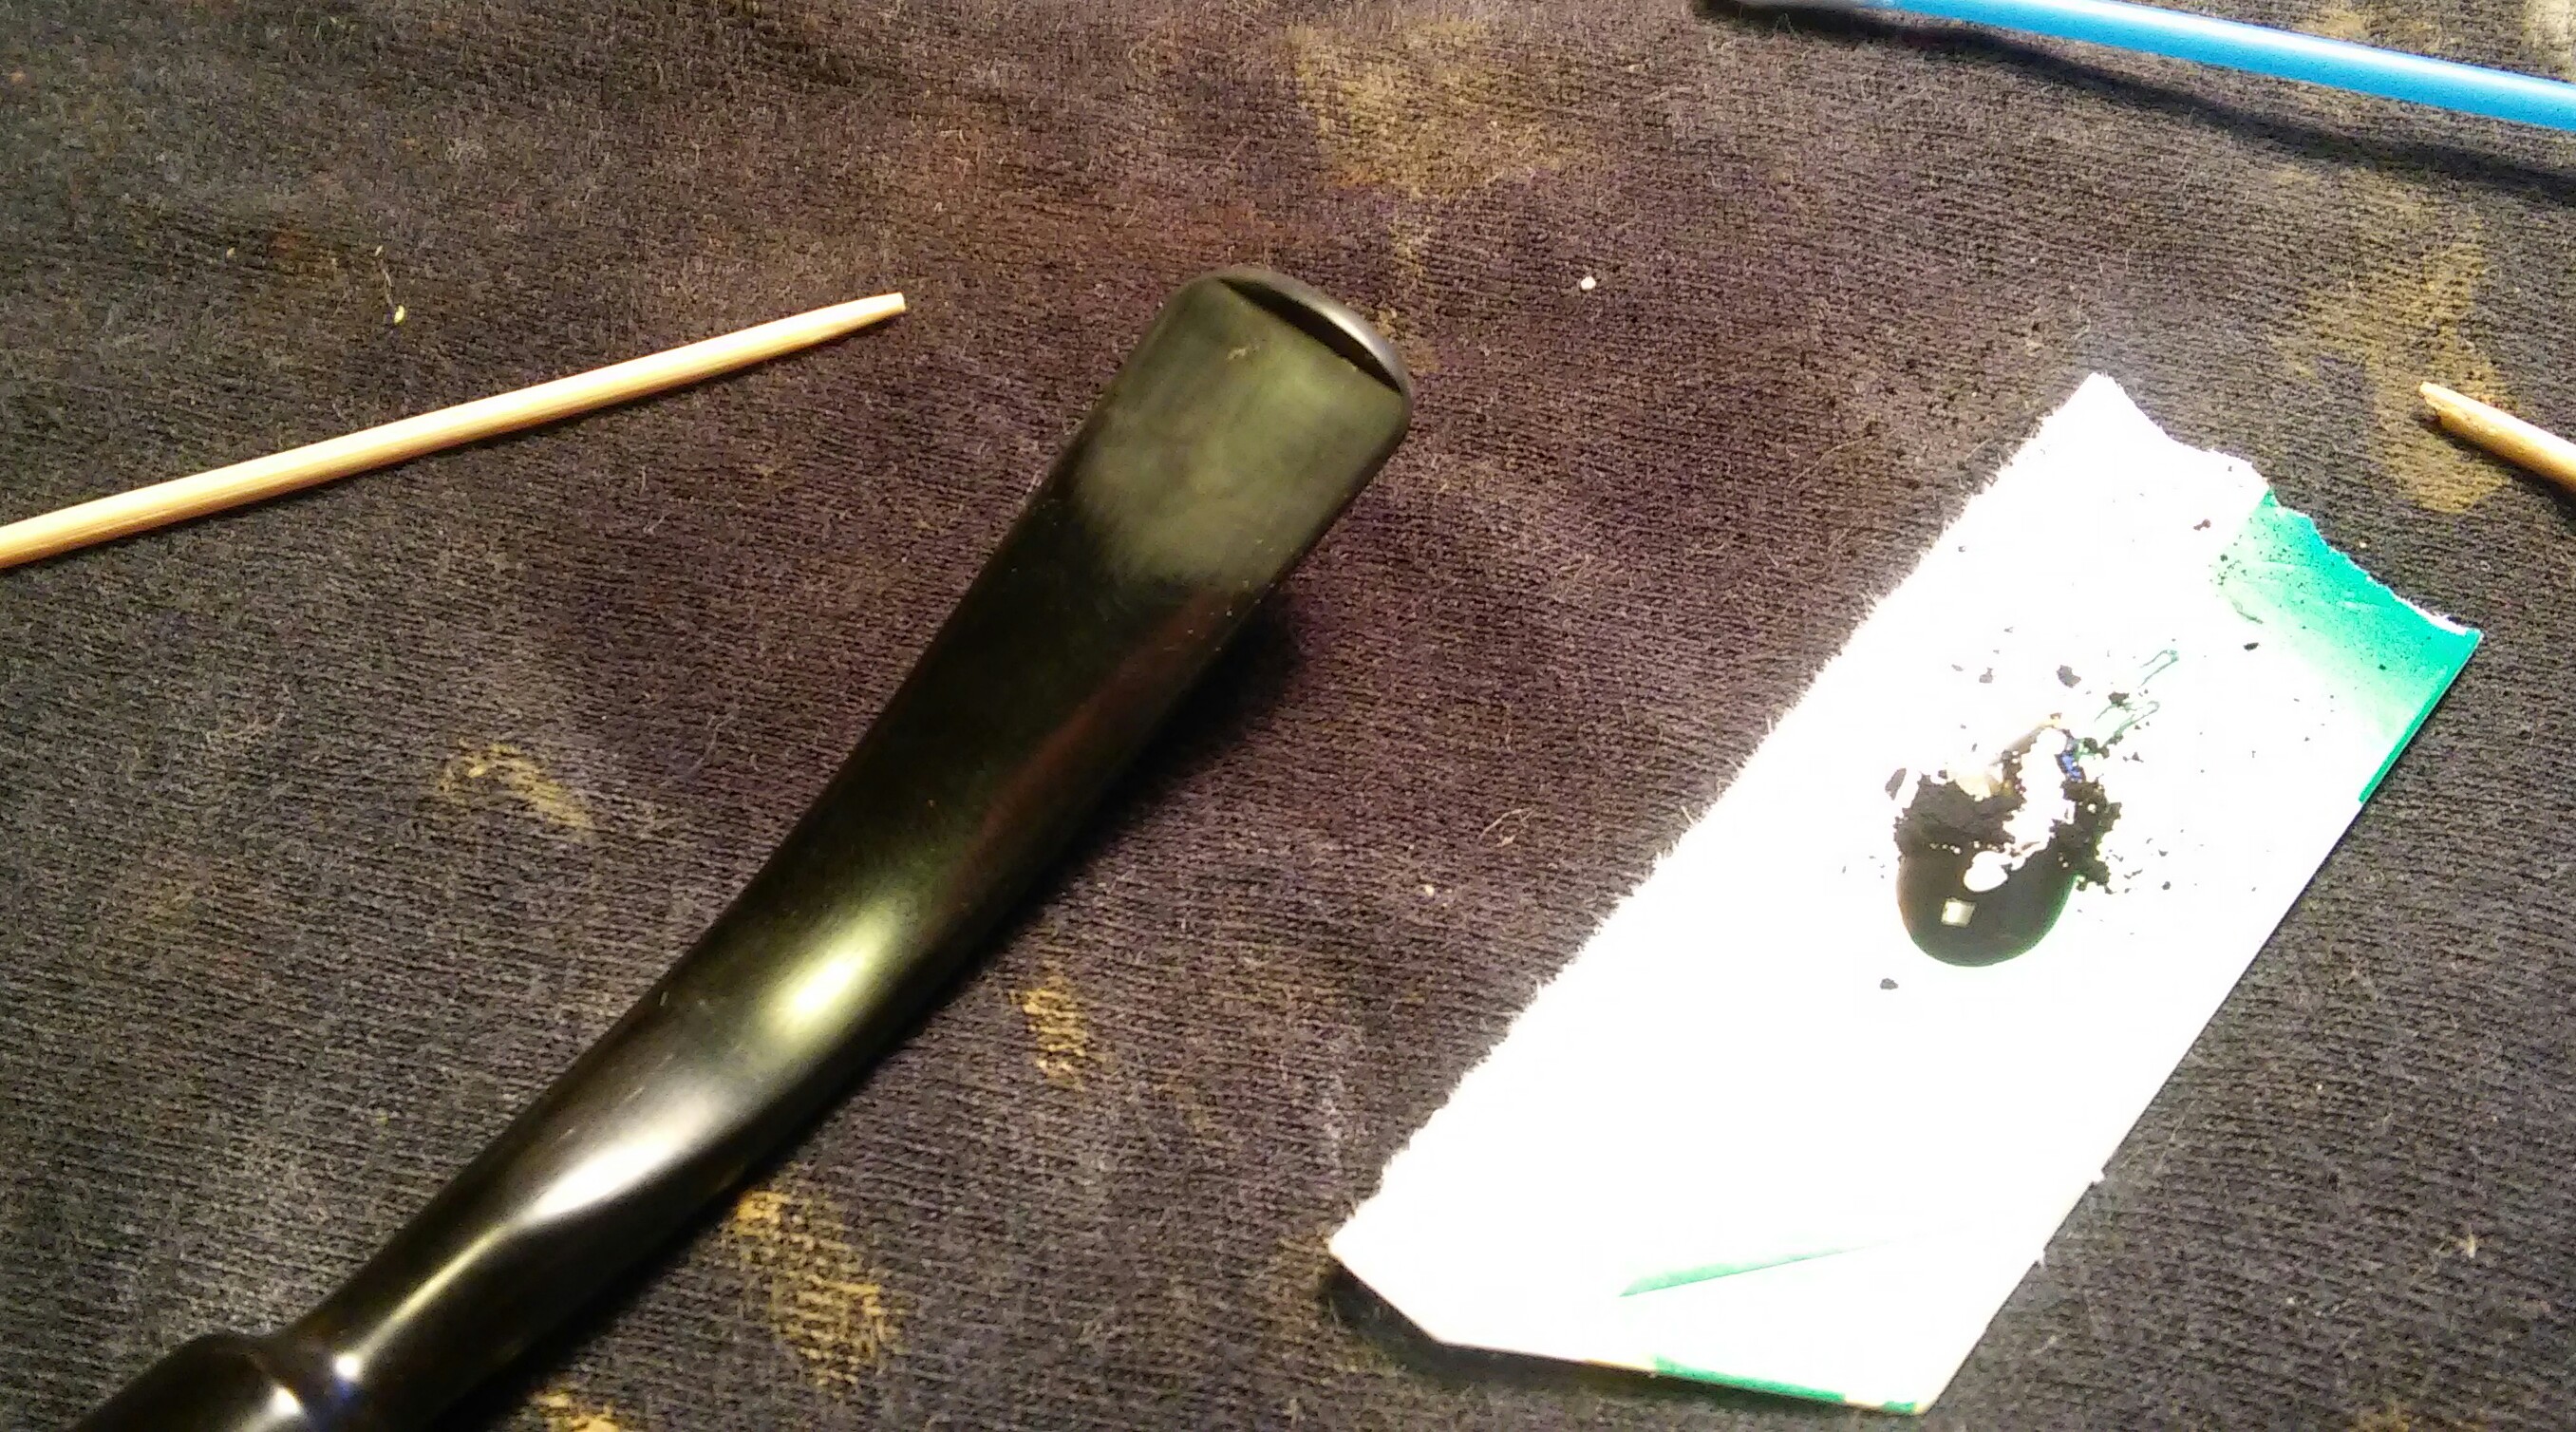
I removed the painters tape for last two micro mesh pads and sanded the entire stem with 8000 and 12000.
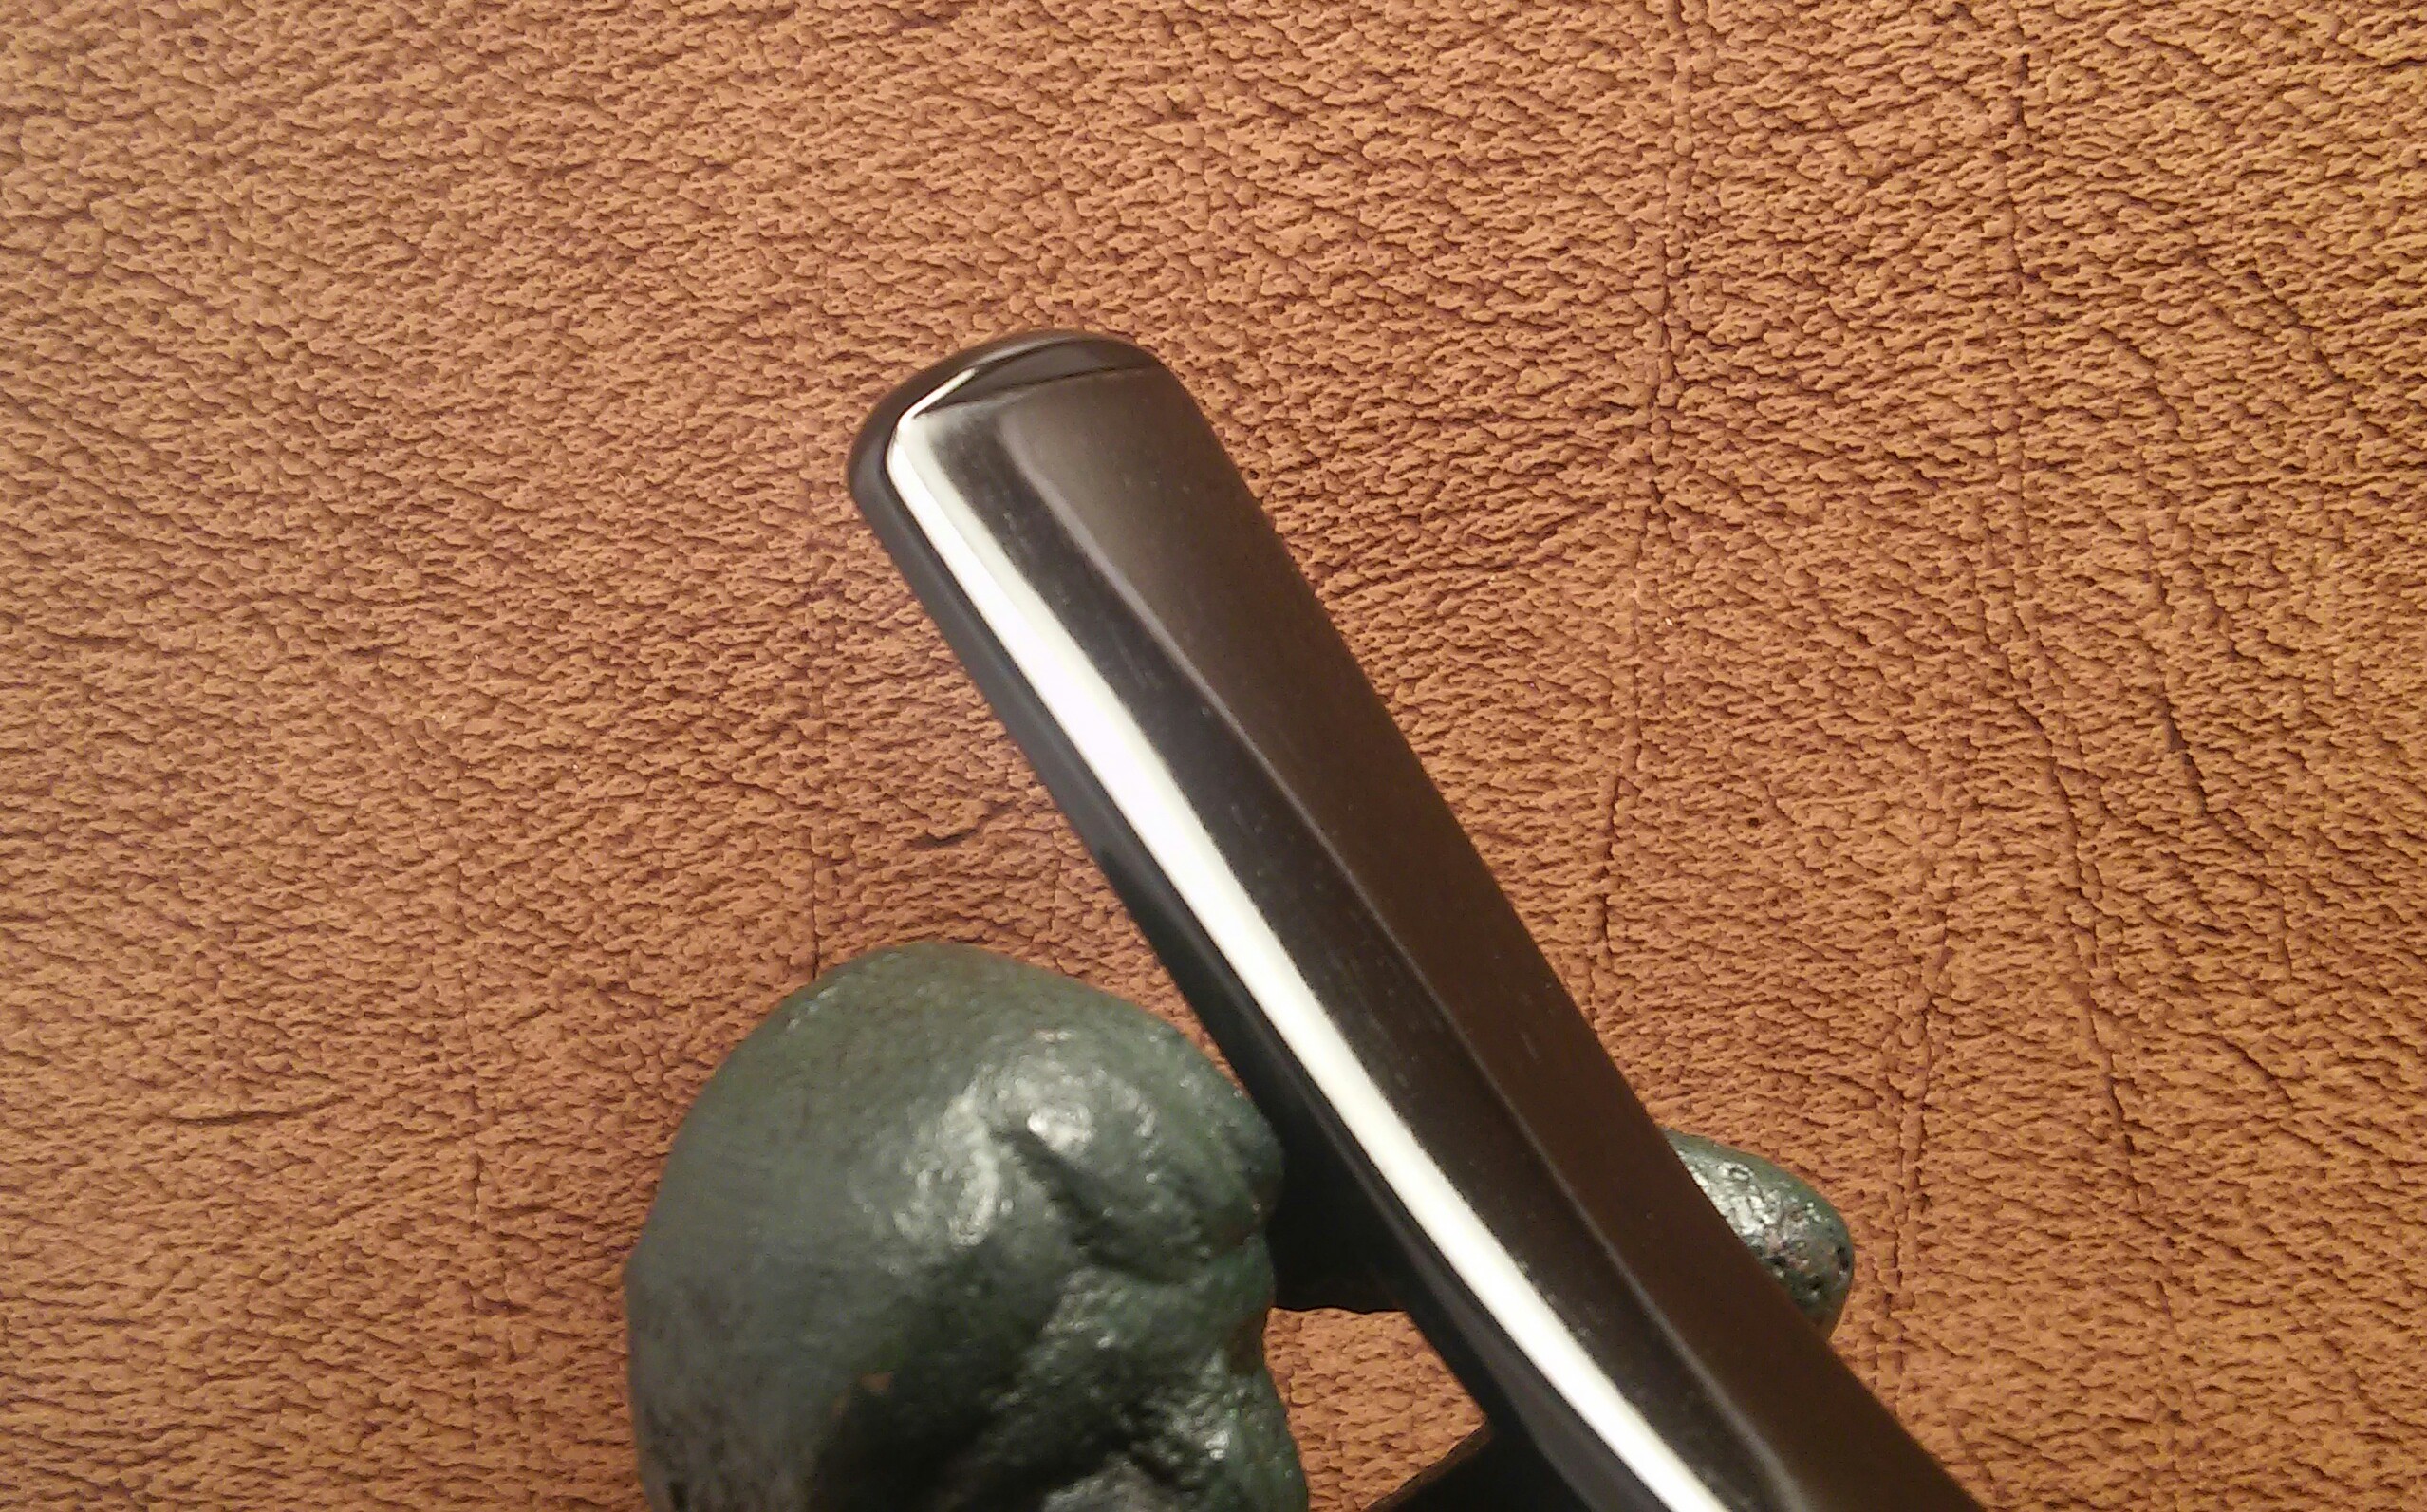
Before buffing the stem I wanted to touch up the stem logo. I uesd a whiteout pen to bringing back the Ben Wade, applying it over the name and using micro mesh to remove the excess.
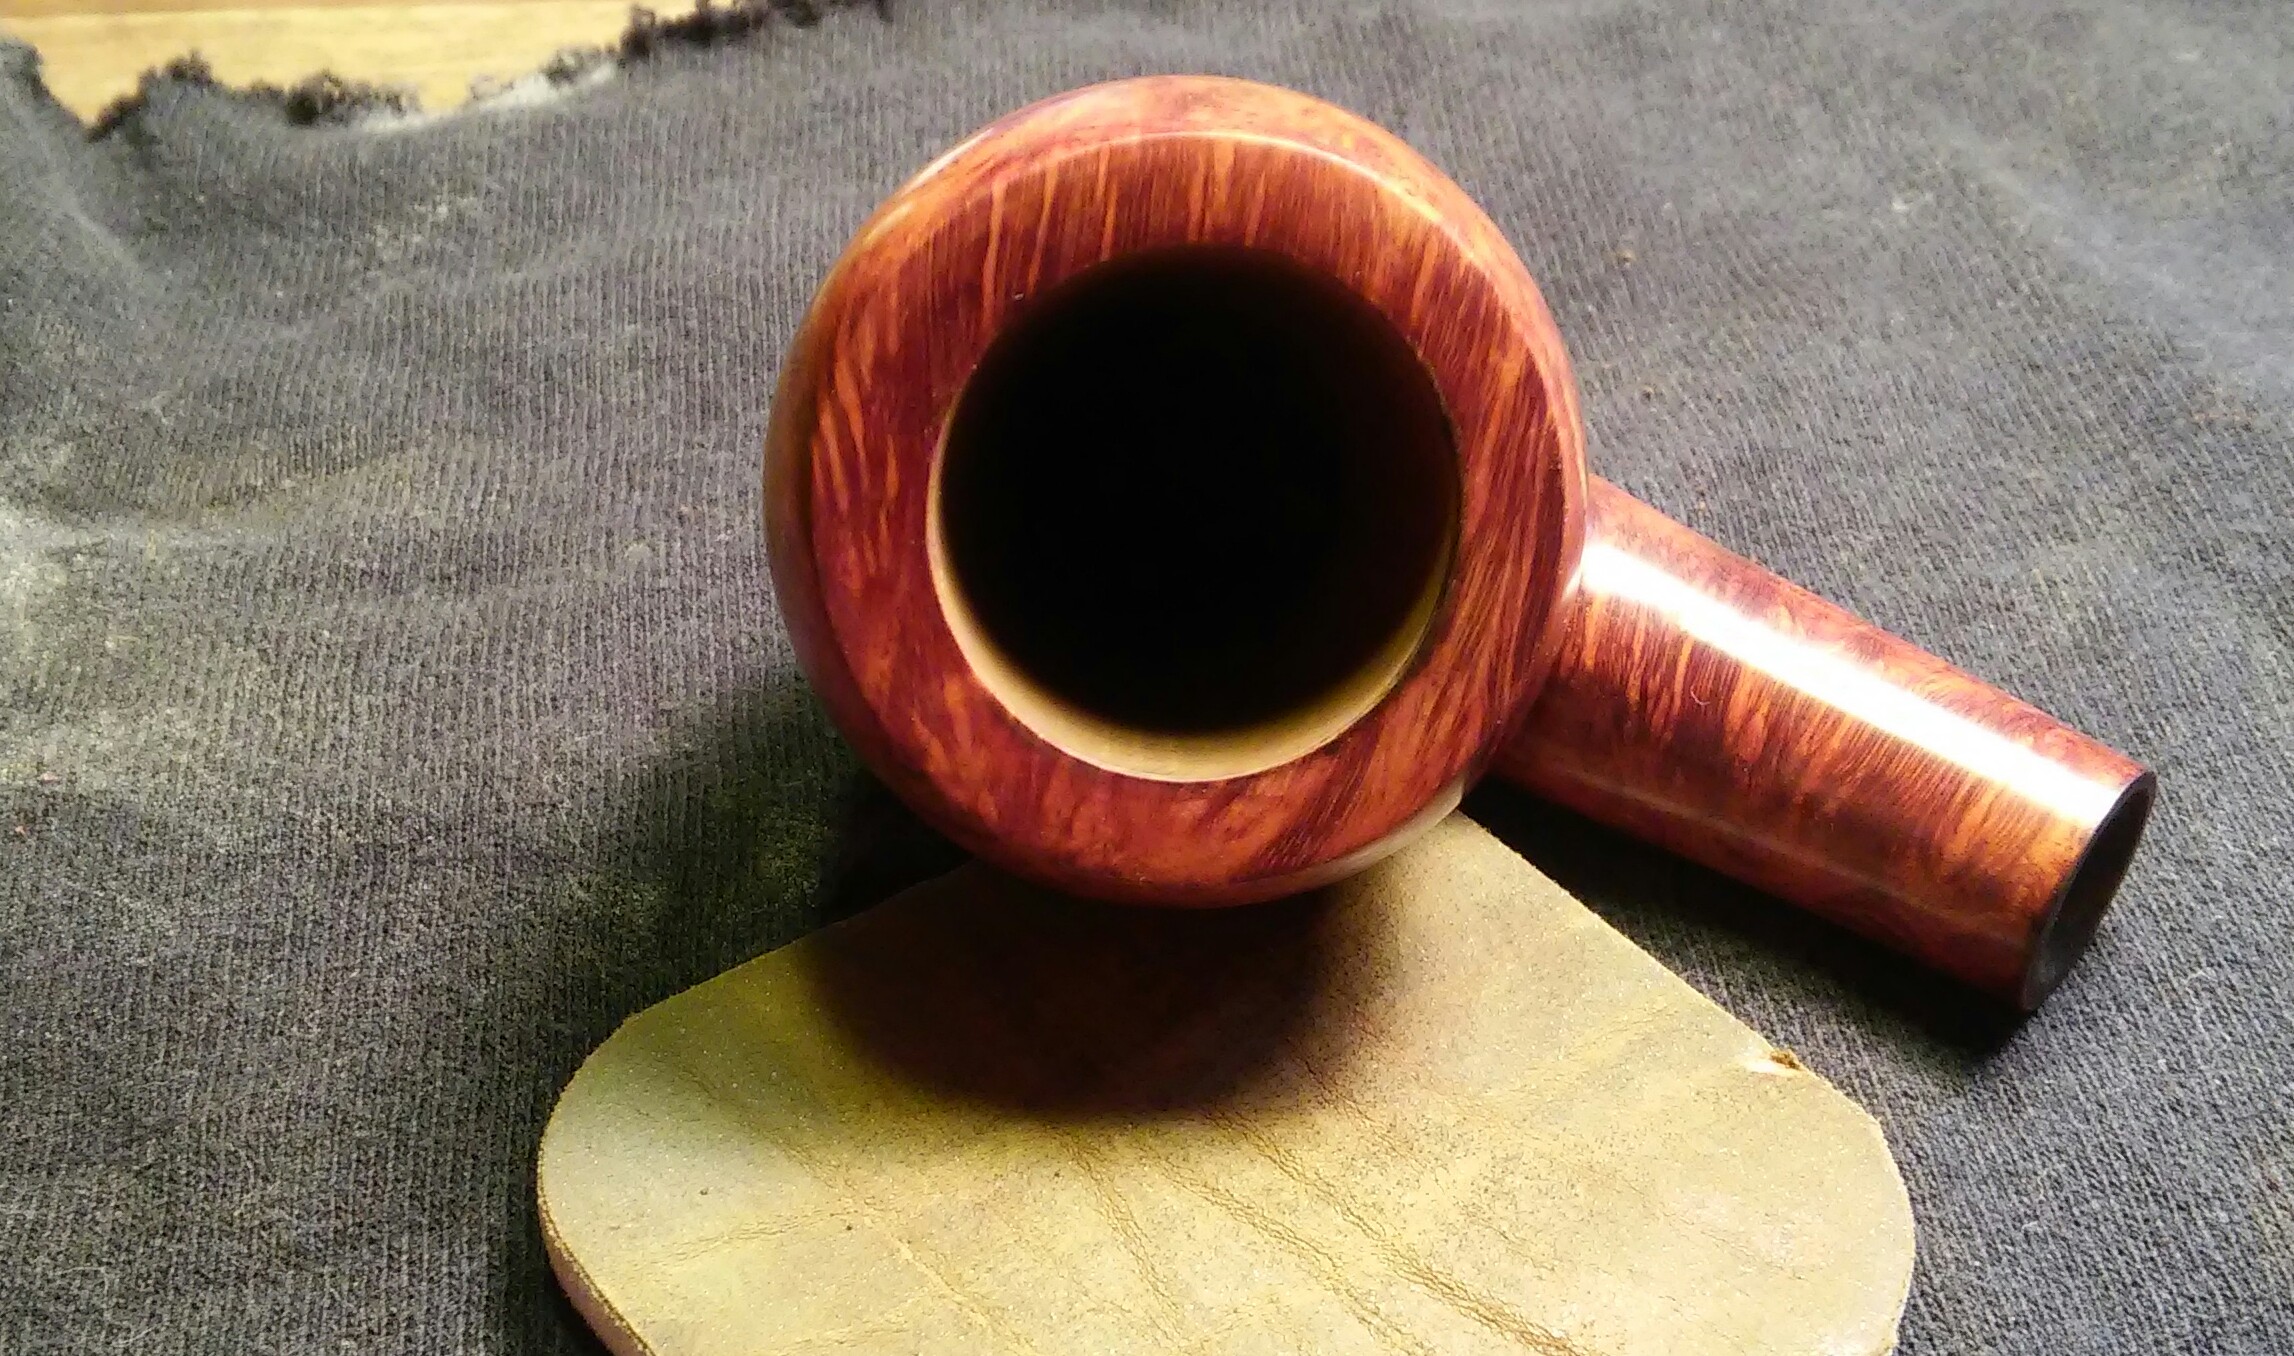
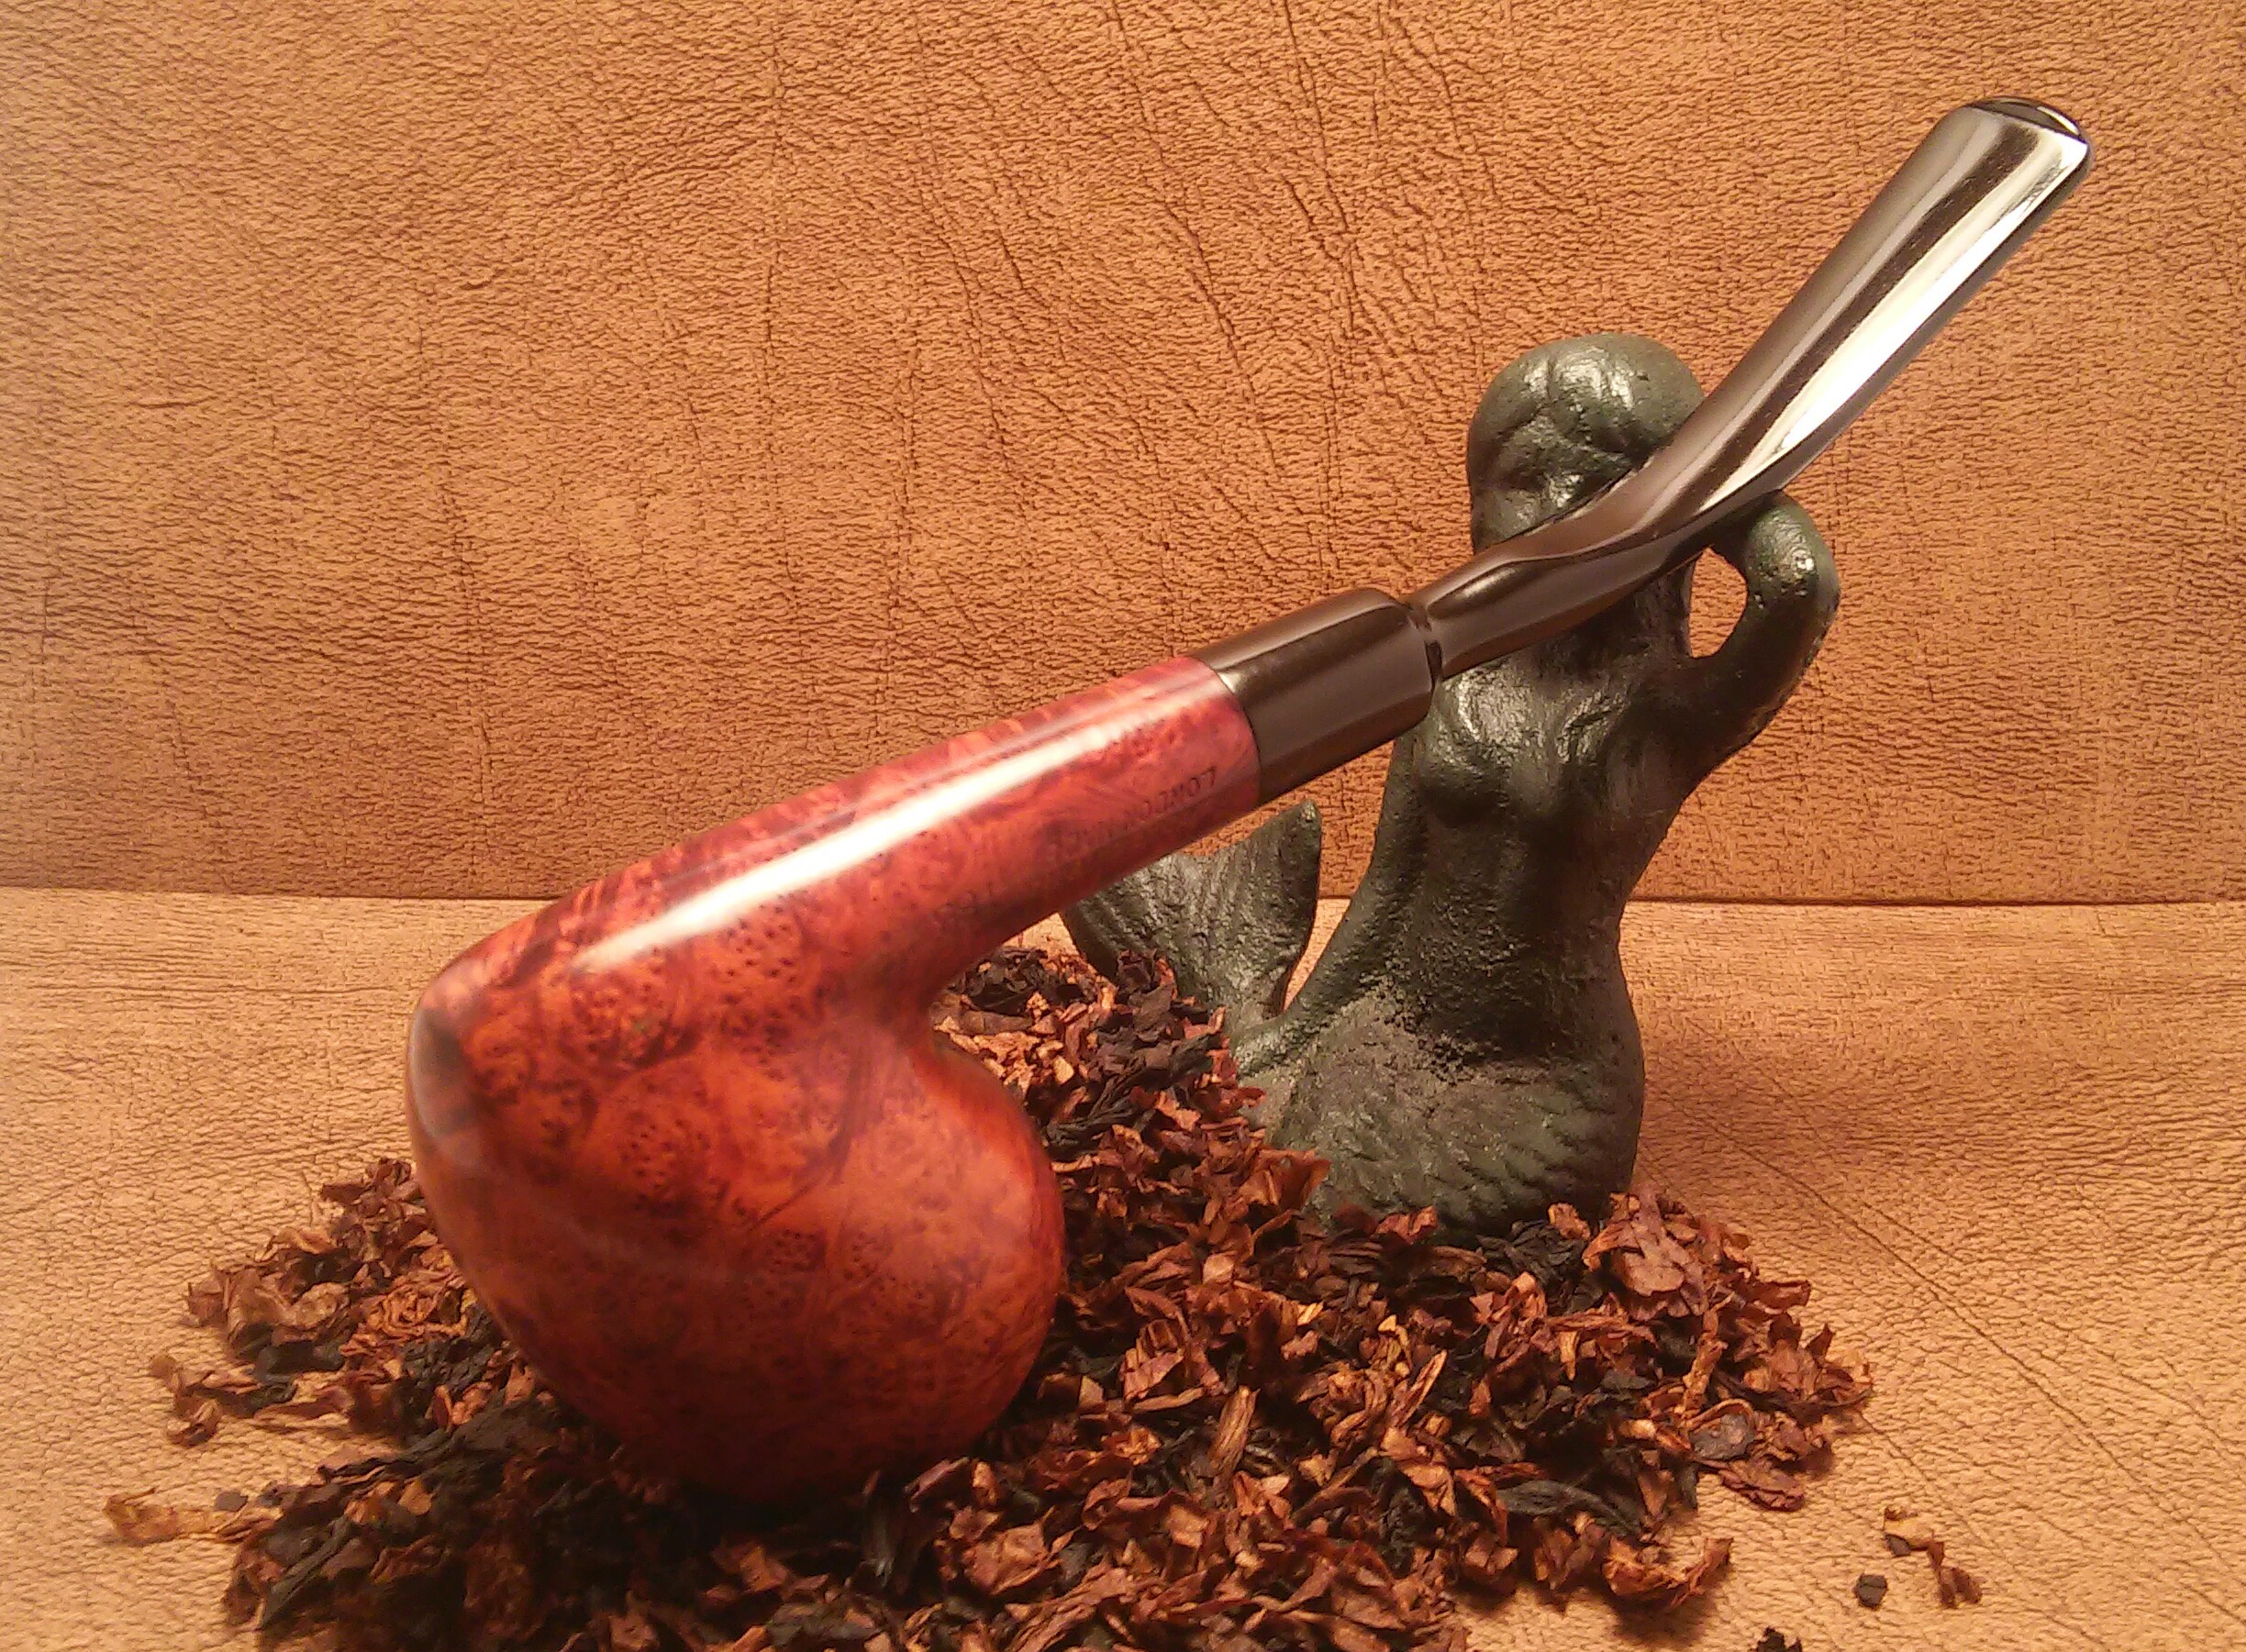
I finished with white diamond, a few coats of carnauba and a micro fiber hand buffing.
( EUGENE RICH ) Boxed Custombilt 1946-1952
My wife and father through a joint effort picked this one up for me, it arrived today and I was blown away . I’ve been trying to get my hands on a boxed Custombilt for a few years but they were always just out of reach. This beautiful bulldog is a Eugene Rich era Custombilt very lightly smoked, amazing condition and it came with the original box, paperwork and guarantee. The box was a little rough around the edges not unlike the pipes themselves. This is my first Rich era Bilt and not an ounce of filler, I’m starting to think it’s time to broaden my horizons.
This is more of a standard clean up then a restoration. I decided to share this clean up because every collector/pipe smoker has there white whale. Whether it be a priceless one of a kind or an inexpensive hard to find piece.
Sometimes it’s the packaging that needs the work. This is my first pipe box refurb. Using Q-tips, Method disinfectant and a rag I carefully removed the mold/mildew from the box and set it aside to dry.
The box is in pretty good shape for almost 70 years old.
( Pipe As Received)
The pipe was in wonderful condition the mildew that had engulfed the box did not affect the pipe itself. Light chatter, little to no cake and the mortise was spotless. The nomenclature was well stamped , crisp and clear. On the right side of the shank there’s a circle stamped, I was unaware that these stamped shapes were used past Mincers era 1946. There is also the presence of a bowl coating, the first I’ve seen in a Custombilt .
I started with the bowl, cleaning the chamber and mortise with Q-tips, soft pipe cleaners and EverClear. It would not need a ream as I believe it was only smoked once or twice at most. The stem needed a quick once over, I wiped down the stems exterior with EverClear and a cotton ball and cleaned the internals with an EverClear soaked soft pipe cleaner.
The rim and shank needed a little attention. The rim had a small scorch mark and the shank an ink spot. I applied a small amount of Method wood for good polish to the rim and shank and allowed it to soak in for a few minutes, using Q-tips I worked the rim and ink spot.
I was able to completely remove the scorched area and fade the ink spot on the shank. My use of Howard’s conditioner and final buff would hide this spot completely.
Using a Bic lighter I carefully heated the area of the chatter to raise the impressions. (Moving the flame rapidly so not to burn the stem) I would repeat this process in intervals until all the impressions had risen.
There was a little oxidation present and would still need micro mesh to smooth out the area but the button impressions had risen back to its original shape.( I neglected to take a photo of the oxidation removal ) I applied a generous amount of non-bleach Soft Scrub and scrubbed the stem vigorously with a rag until the oxidation was removed.
I ran the stem through the various grits of micro mesh. 1500-2400 wet and 3200-12000 dry.
I now applied a little Howard’s butcher block conditioner to the bowl with a rag, I let it soak a few minutes and removed the excess with a clean rag.
I finished up with white diamond, carnauba and a micro fiber hand buff.
Not one of my toughest refurbs but definitely one of my favorites.
You must be logged in to post a comment.