

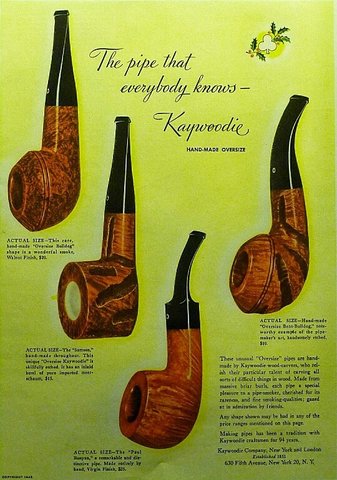
The ad above I believe is from the late 40’s early 50’s from what I could find I think this is where my pair falls.
Some of my first estates were Kaywoodies. Living in New York most of my life I loved reading of there history and the successful building of a brand everyone knows. The only thing I couldn’t get past was how small there pipes were. I have a few in my collection from the 30’s and 40’s that make my wife laugh when I smoke them. I’m a pretty hefty guy so in turn I would need to find a hefty Kaywoodie.
Six months ago I found my chance with the Kaywoodie Handmade Oversized line. They are big and beautiful pieces of Briar reminiscent of my first love Custom-bilt. I originally posted this refurb on Pipes Magazine with the help of forum members I was able to put these beauties back in service.
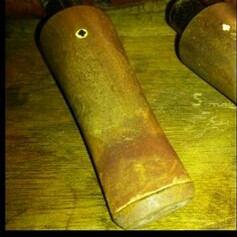
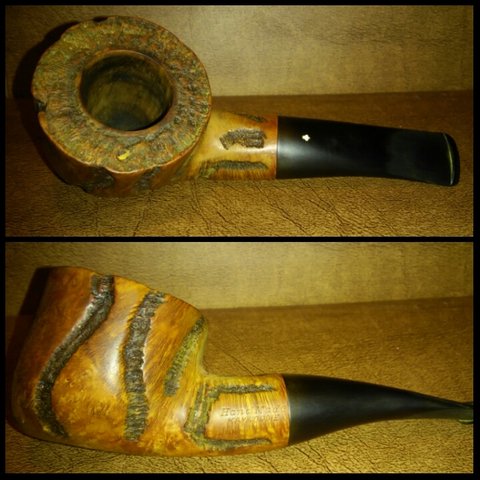
The pipes as received.

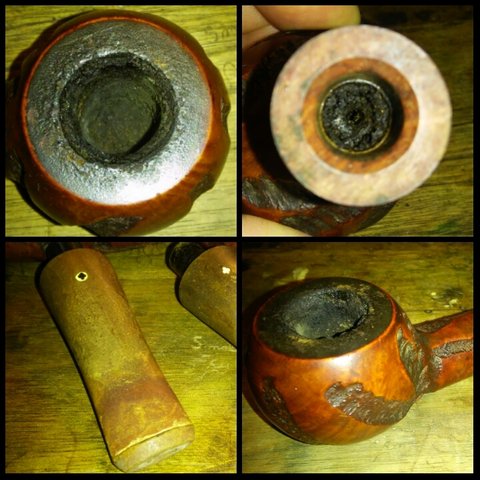
The first well loved pipe.

And the second equally loved pipe.
The second pipe I could not find a profile shot, I also did not take pictures of my process but I remember it like it was yesterday .Each one was well used and apparently never cleaned. I started by removing the cake with my Castleford reamer starting with smallest and ending with the largest, keeping it centered at all times. Then sanding the chamber with 400 grit sandpaper, in this case the previous owner’s lack of cleaning actually preserved the chamber it looked almost new after removing the cake. The rim was heavily caked I applied a very generous amount of Method wood for good polish with Q-tips and worked it in with a children’s toothbrush I would have to repeat this multiple times before the tars were completely removed. There was also white paint imbedded in the deep grooves of one of the pipes. I used the polish on these areas as well applying it to the paint and leaving it to soften it up. After it softened I was able to remove the paint with a toothbrush and dental pick. I also cleaned the exterior with the polish at this time.
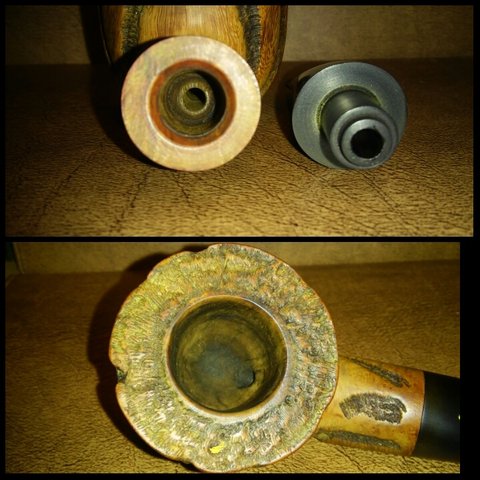
I cleaned the internals with EverClear,shank brush, Q-tips and stiff bristle pipe cleaners ending with unrolled twisted cotton balls in the mortise. I added a little EverClear to the chamber to be absorbed by the cotton,once absorb I filled the chamber with three cotton balls, EverClear and left it to soak.

This is where things got interesting. With the bowl set aside I began work on the stems, cleaning the internals/ externals with EverClear this is when the smell hit me. It was like nothing I had smelled before or since and my wife was not pleased (my work area is in our bedroom).

This was my wife’s answer to the problem. You gotta love her.
I turned to Pipes Magazine forum members for help they said it was sulfur I was smelling a handful of suggestions were posted oxyclean, Soft Scrub, vinegar & baking soda, soaking in alcohol, multiple retorts and replacement, tried them all to no avail and replacement in my mind was not an option. I decided while my wife was at work I would continue cleaning the stems scrubbing first with Soft Scrub removing the oxidation and then wet sanding with 1000,1500,2000 and 2400. At this time two forum members suggested a soak in bleach I was apprehensive at first as I have never used bleach before but they assured me no damage would be done. So with a little Vaseline over the logo just in case I processed to soak the stems in a 4 to 1 mix of bleach and water, at first I thought it did the trick but the scent would re-emerge as soon as I began sanding. After numerous intervals of soaking and sanding over a three day period the smell finally began to dissipate and now that a few months have passed the scent is completely gone.
I was able to save the original finish and would not have to re-stain. I figured they closely resembled my CustomBilts so I applied a little Howard’s butcher block conditioner and set them aside for a few minutes to soak it up and then hand buffing off the excess. They were now ready for the buffer.
(Shiny & New)


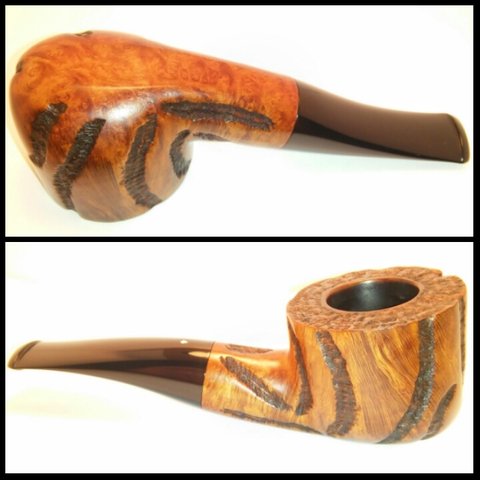
(Pipe 1)
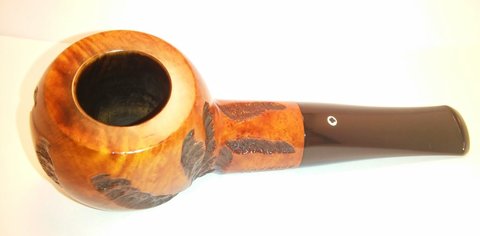

(Pipe 2)

Reblogged this on rebornpipes and commented:
Tim did an amazing job on this pair. Thought I would reblog it. Well done.
LikeLike
I had a similar pipe. http://s1295.photobucket.com/user/upshallfan/media/Past%20Pipes/Rad_Davis_Author_2014_Gallery_zps0aaef4df.jpg.html
LikeLike
The pipes in your collection are amazing I especially like your Rad Davis author, it’s beautiful. The Kaywoodie Atlas is very similar I really enjoy the handmade line.
LikeLike
Great saves! They look brand new. I’m going to have to look into using Method. I’ve never tried it on a pipe.
LikeLike
My wife and I started using Method products when our daughter was born,we went on the all natural kick. Out of curiosity I gave it a go, in my experience it doesn’t remove too much of the stain . I have a kitchen cabinet full of trial and error.
LikeLike
Great restorations! The difference between Before and After is remarkable. I have one of these Hand Mades in my refurb box – I’m going to have to dig it out and get to work!
LikeLike
I was sort of right – the Hand Made in my box is a Yello-Bole. I wonder how different it is from yours – apart from the scraps of the honey bowl coating, it looks very similar to your Pipe #1.
LikeLike
I look forward to seeing the finished pipe. It drove me nuts trying to find a handmade Kaywoodie with a push tenon , they don’t pop up to often. Does the Yello Bole have a push tenon?
LikeLike
It does indeed.
LikeLike