


The pipes my wife picked up with the exception of the Savinelli, were in great shape. The Peterson’s- two were lightly smoked and one un-smoked. The Harp B.5 is the next to my desktop.
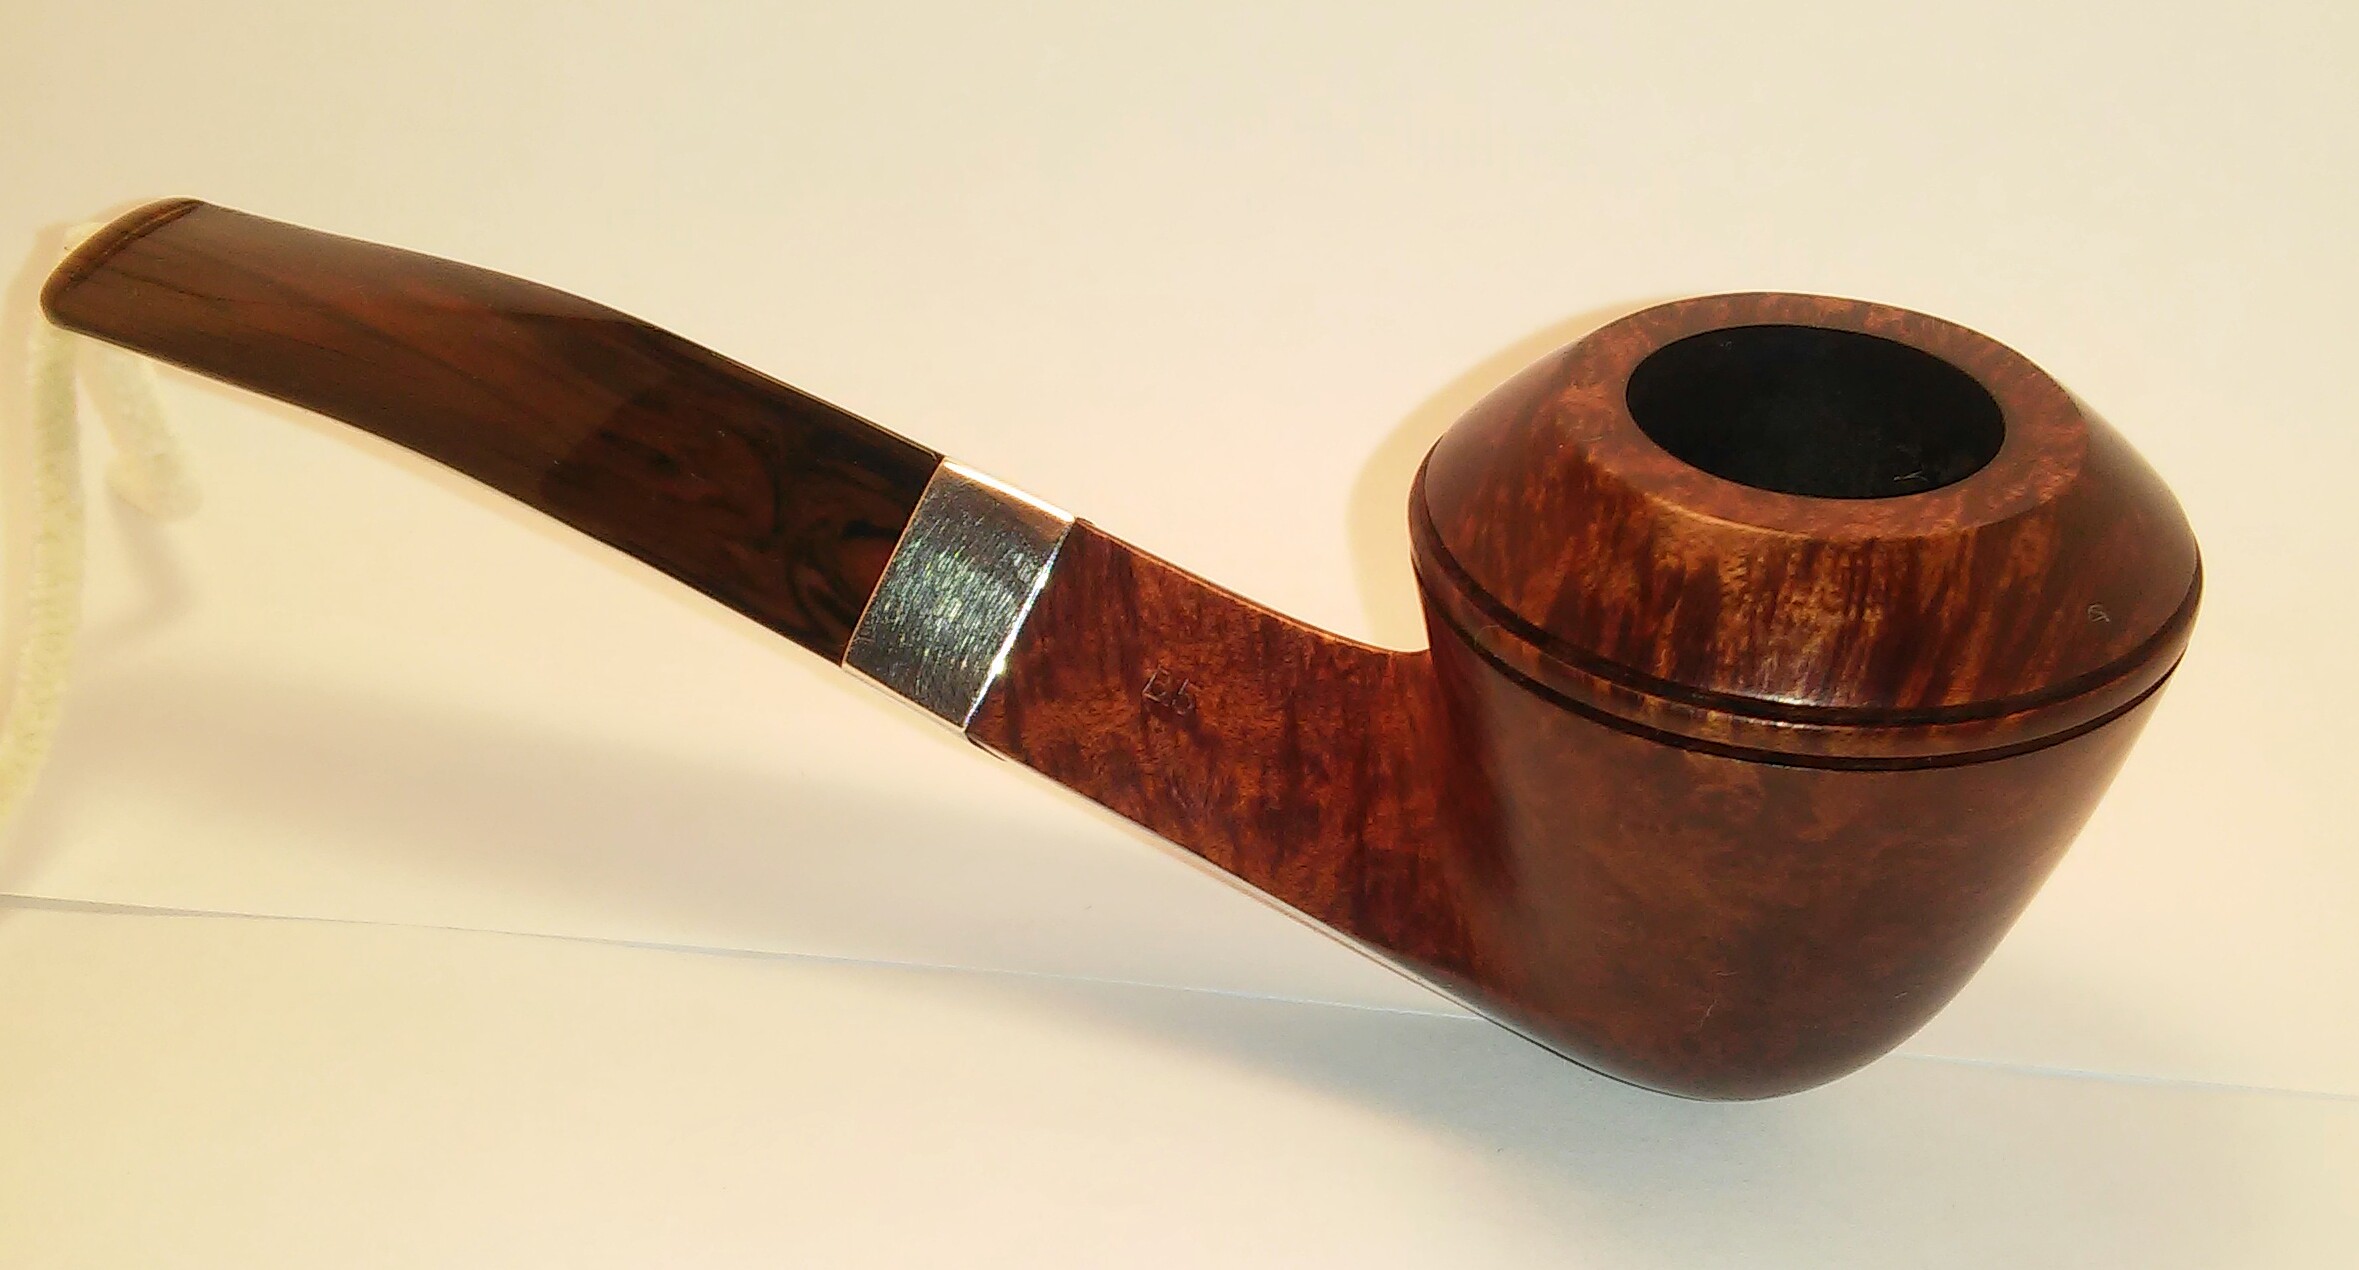
(The pipe as received)

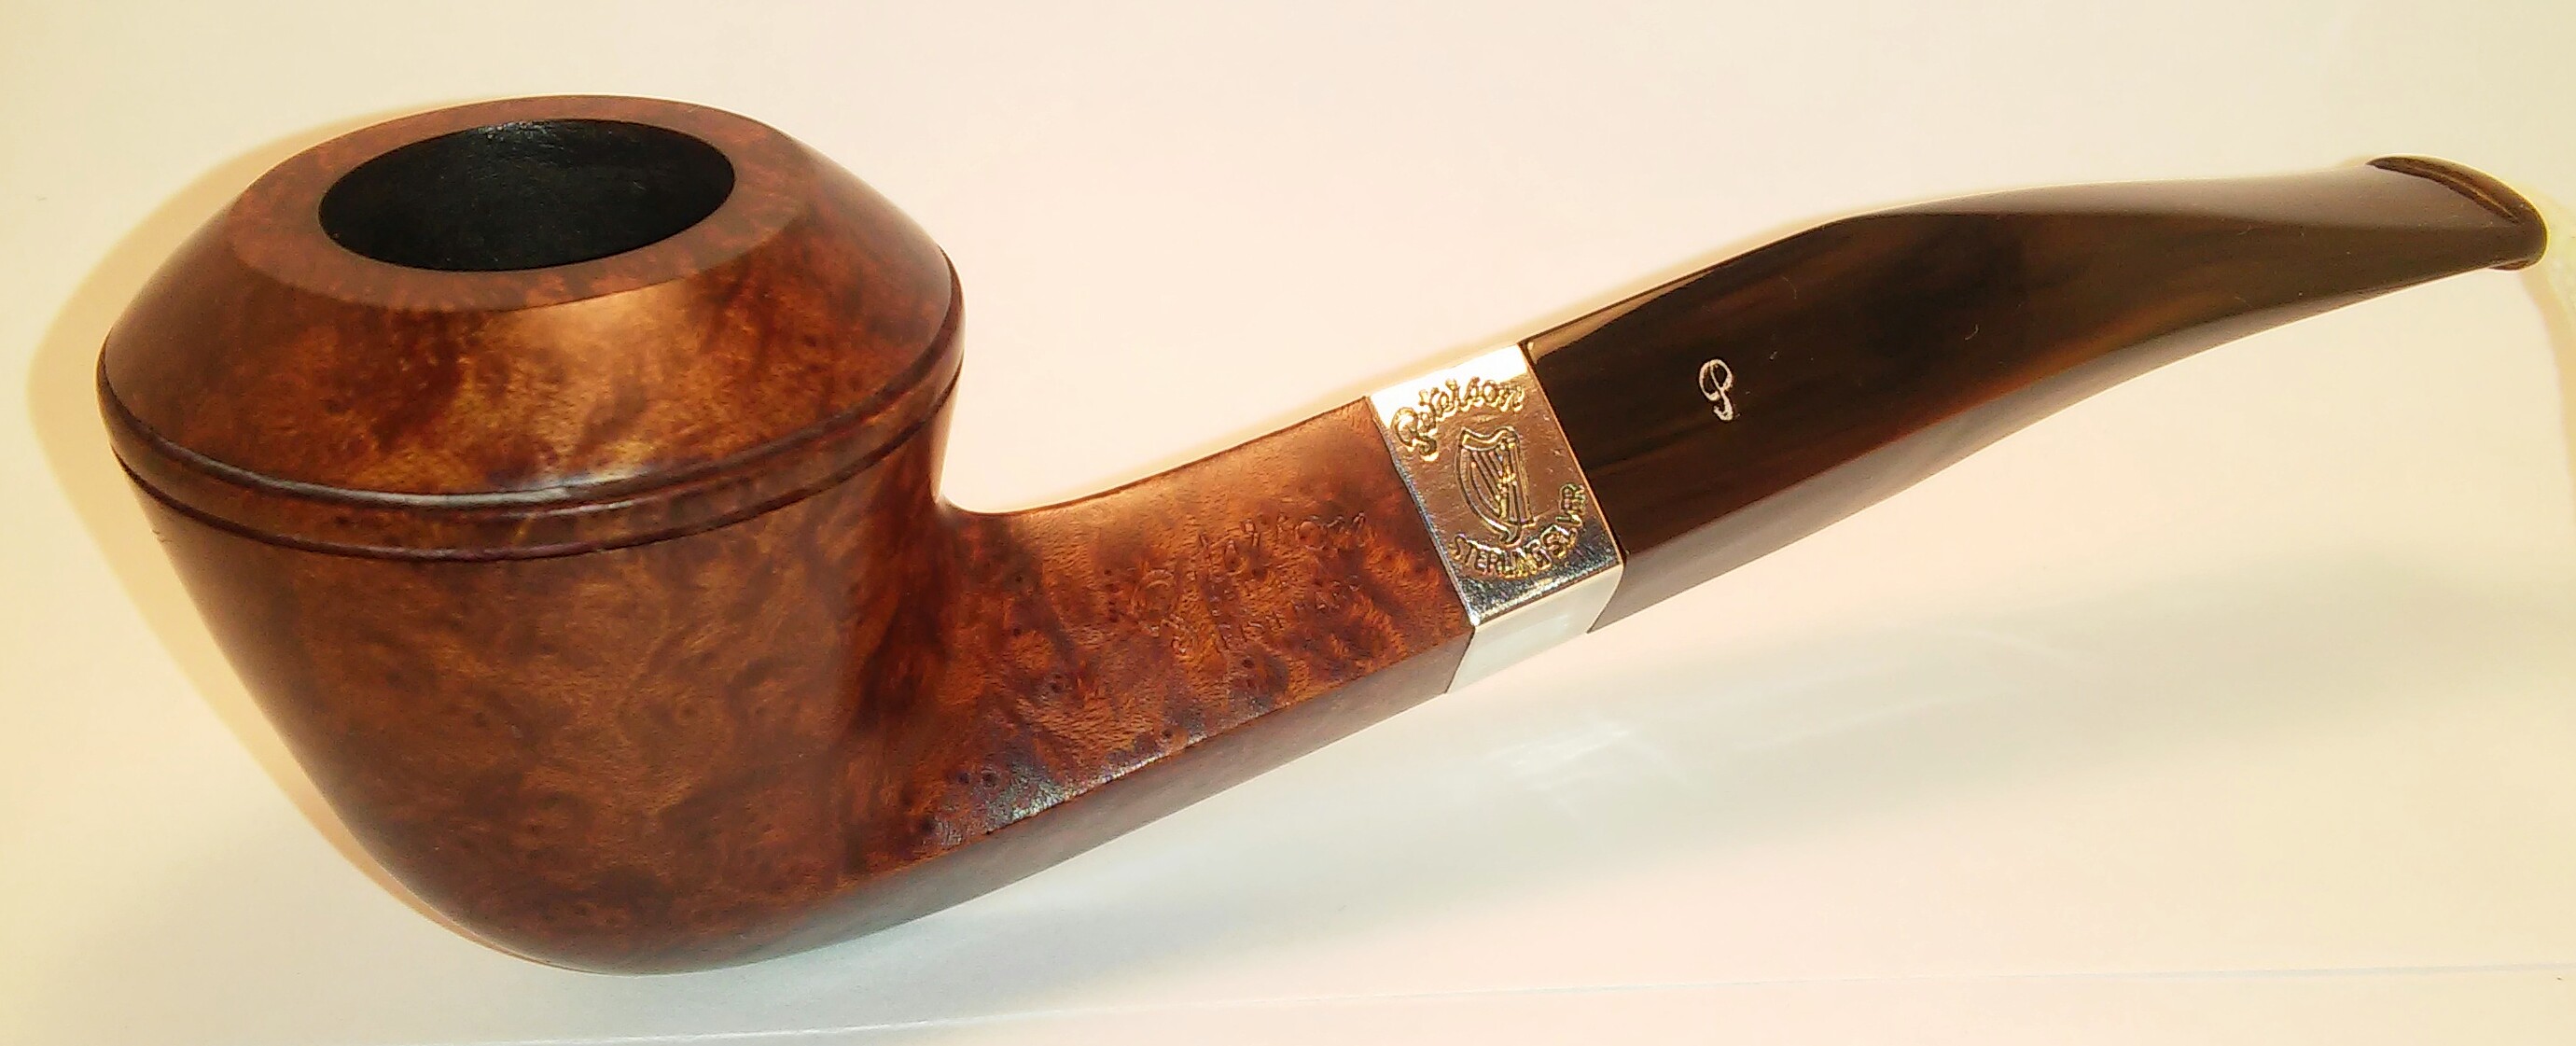
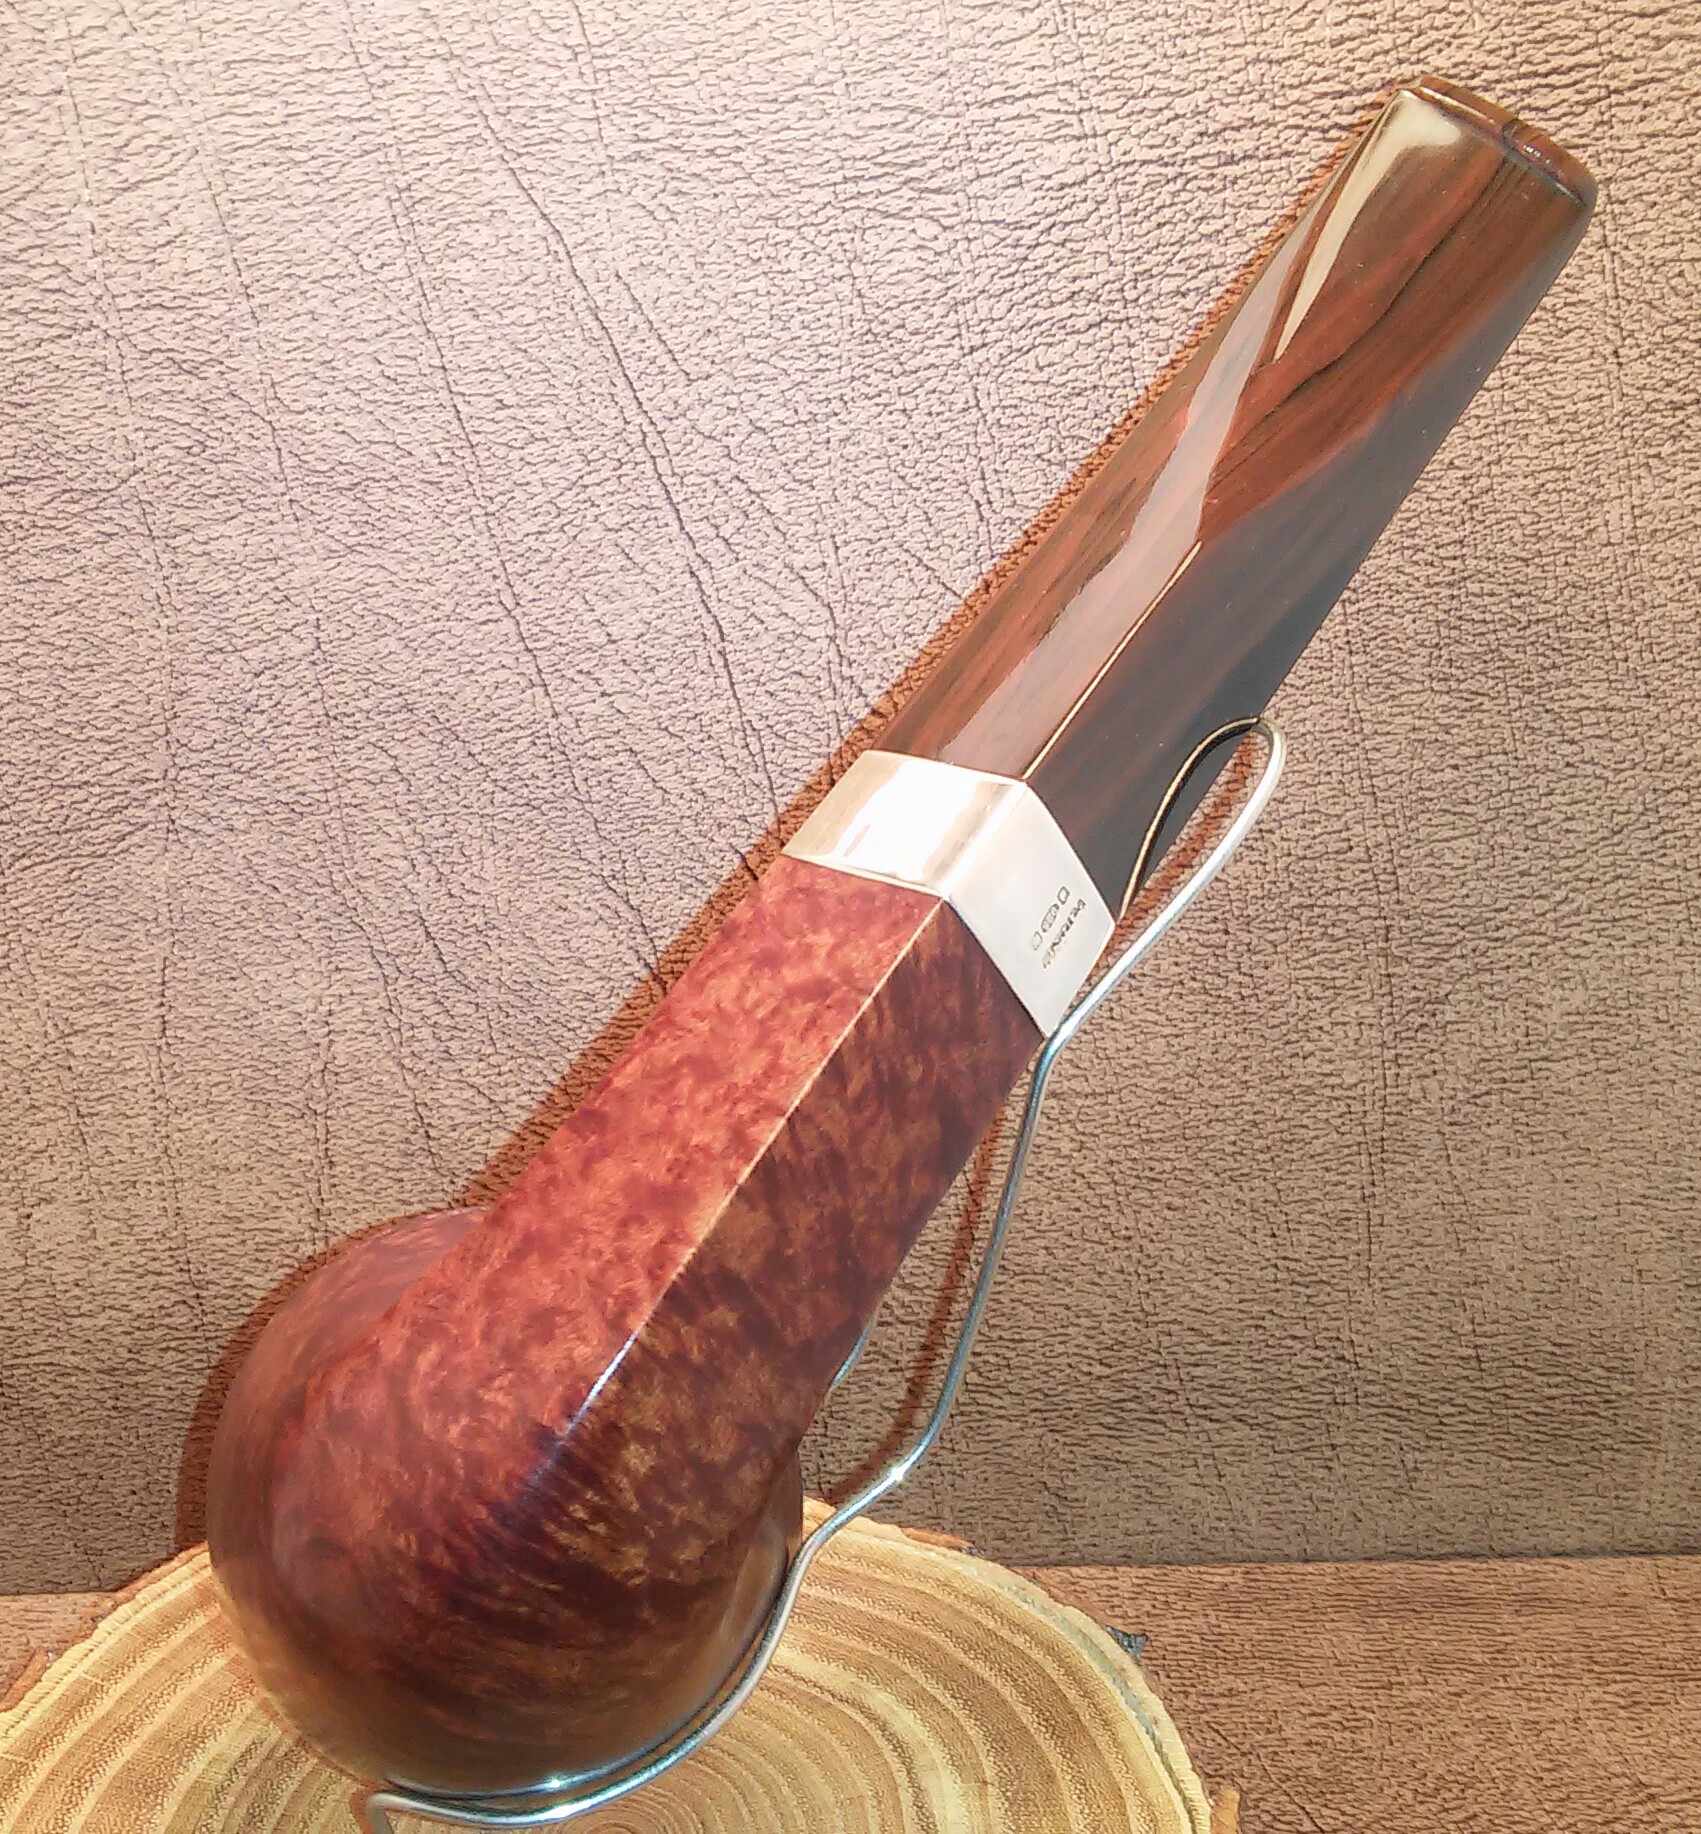
2007 Peterson Irish Harp B.5
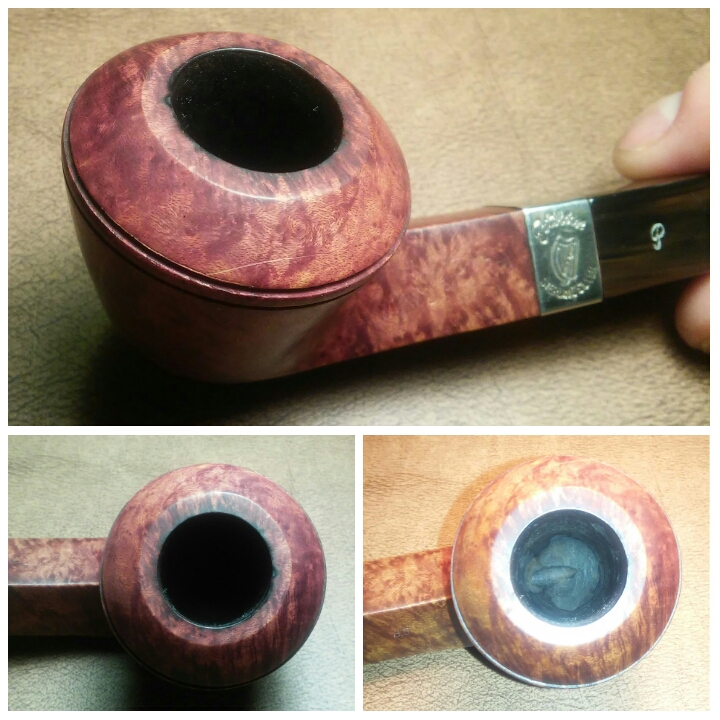
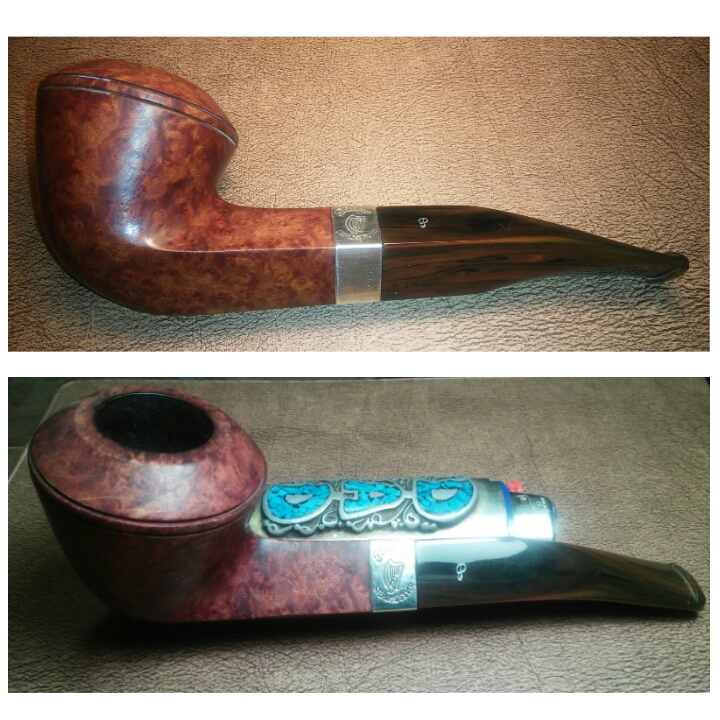
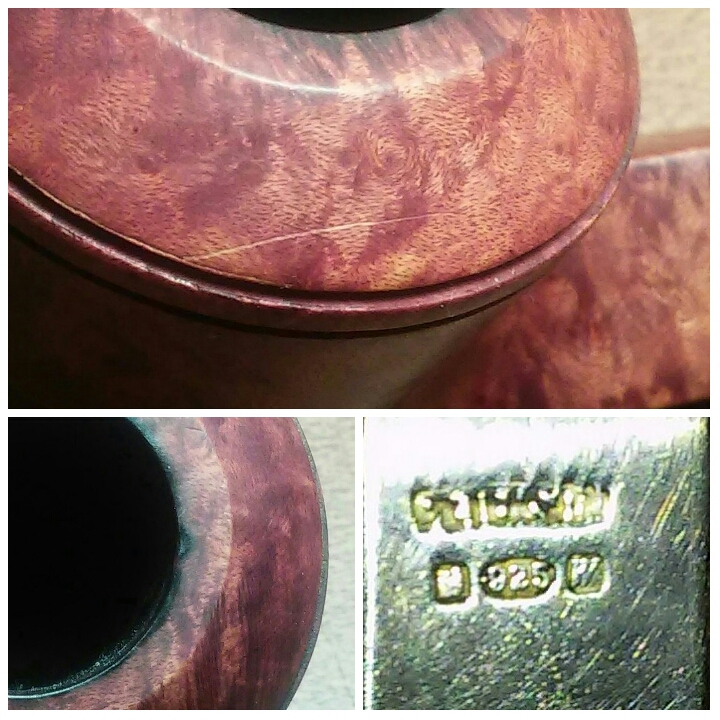
From what I could find via web/collector sites I believe this Pete is from 2007. ( please correct me if this info is wrong) With the addition of three more Peterson’s it has brought my collection to seven. The B.5 is one of many I’ve had my eye on, the smooth bulldog shape and fishtail stem made this comfortable not only in hand but also clenched in jaw. Lightly smoked and in decent condition just a few problem areas. A couple of tooth impressions, a scratch on the bowl and a burn on the rim that was deeper then first thought.

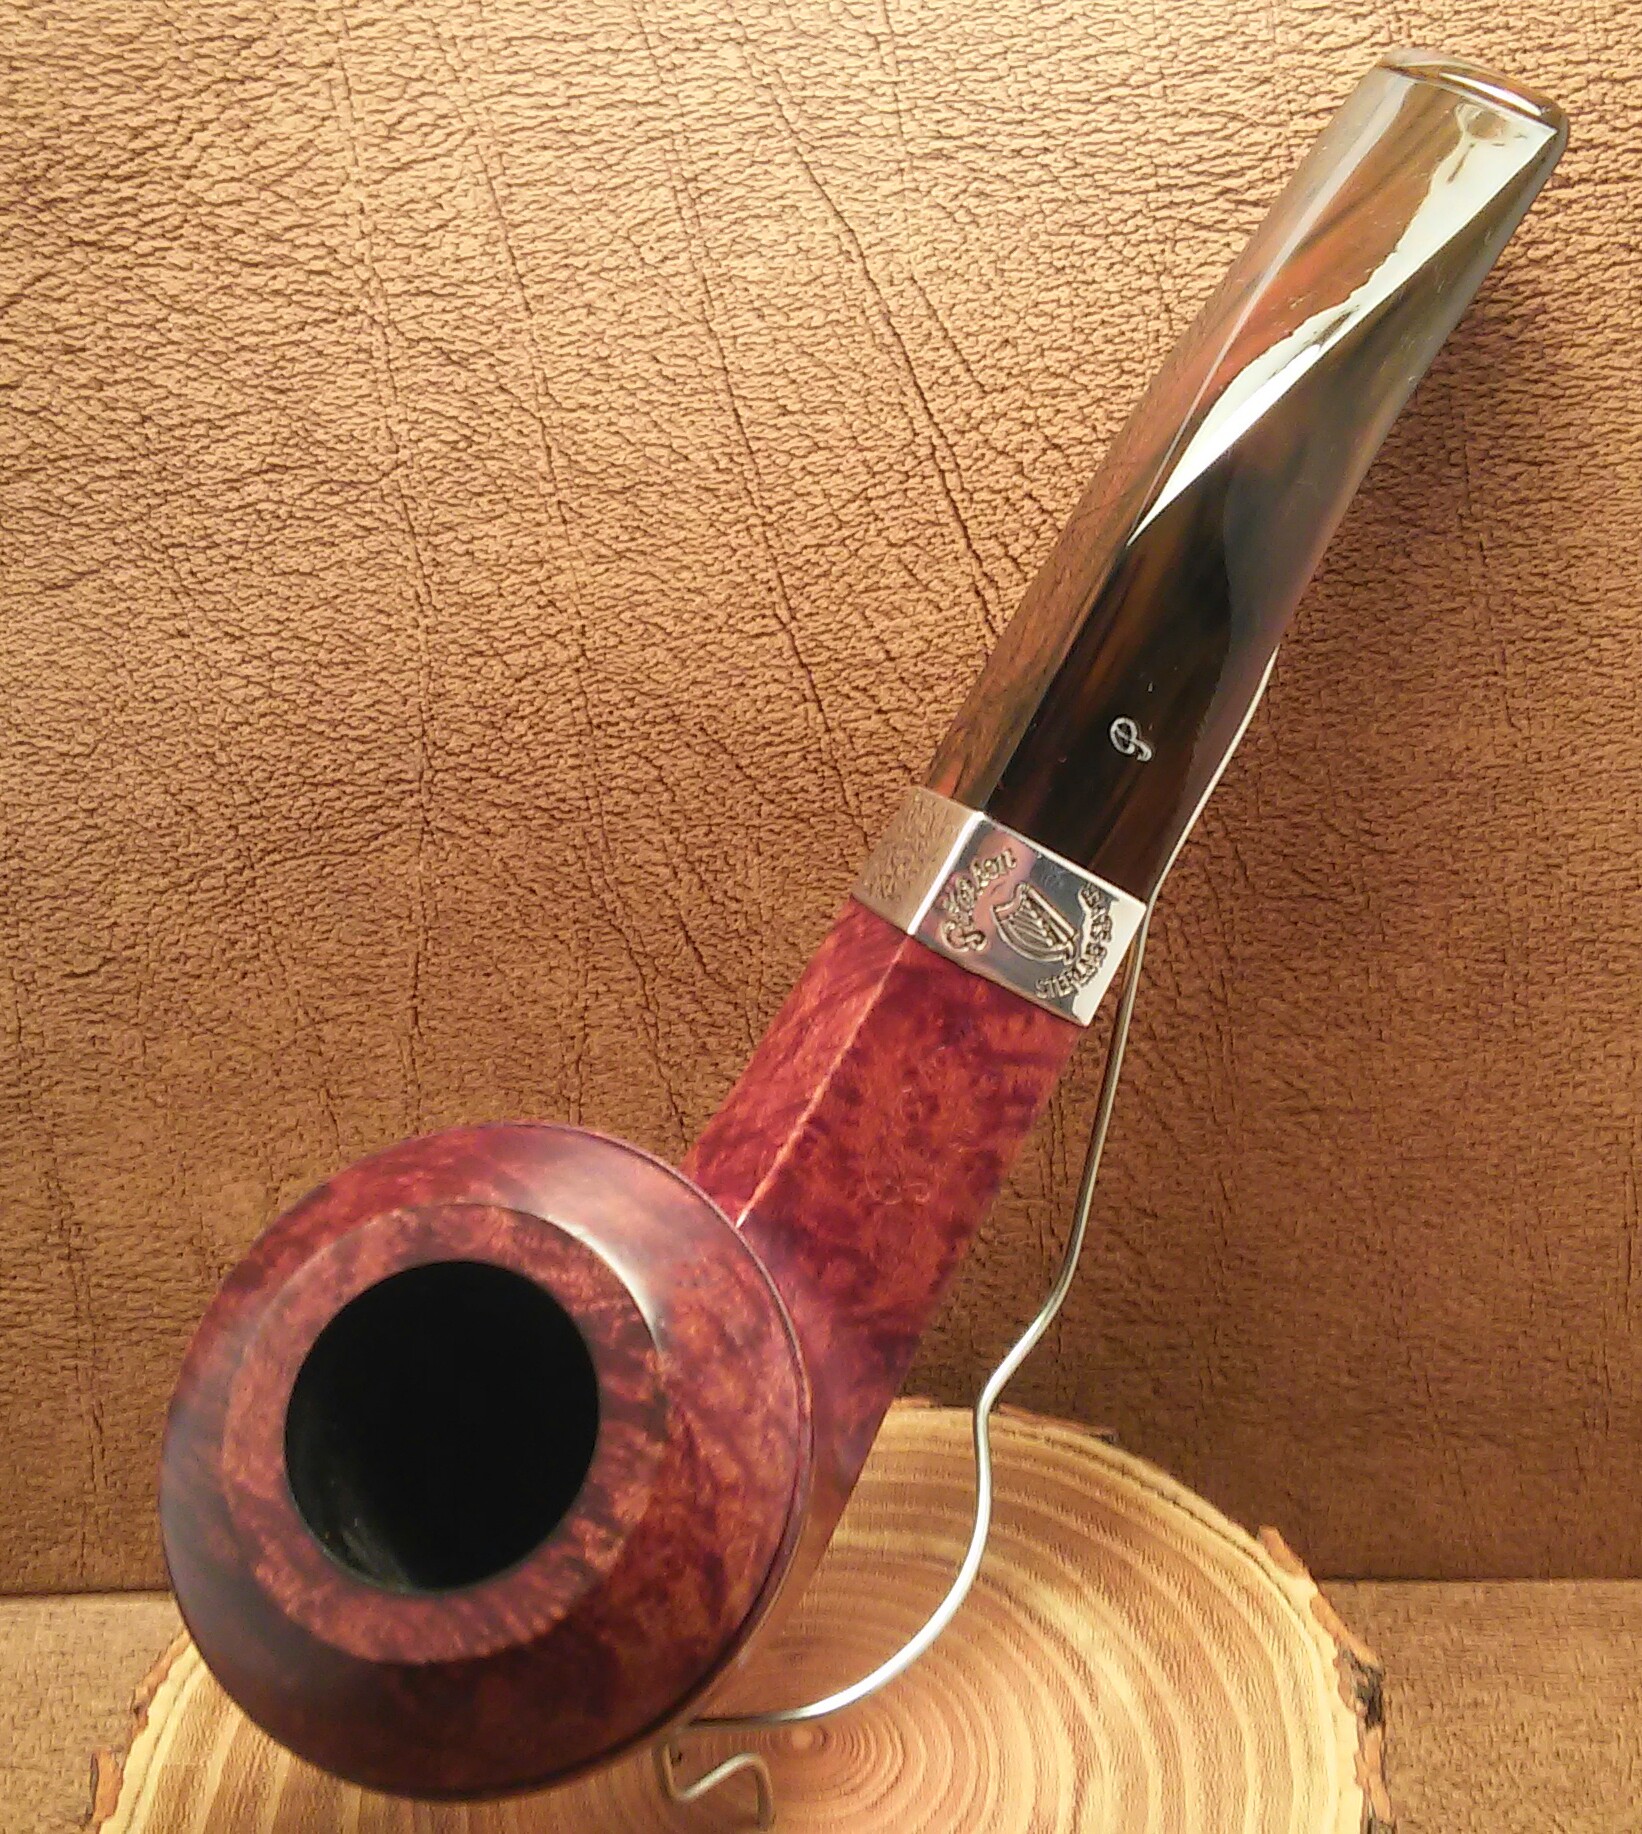
When I first received the pipe the silver band was tarnished, this was my wife’s department. She used her silver jewelry cleaning trick, cigarette ash, a little saliva and rubbed in with a fingertip, then wiping with a damp rag.


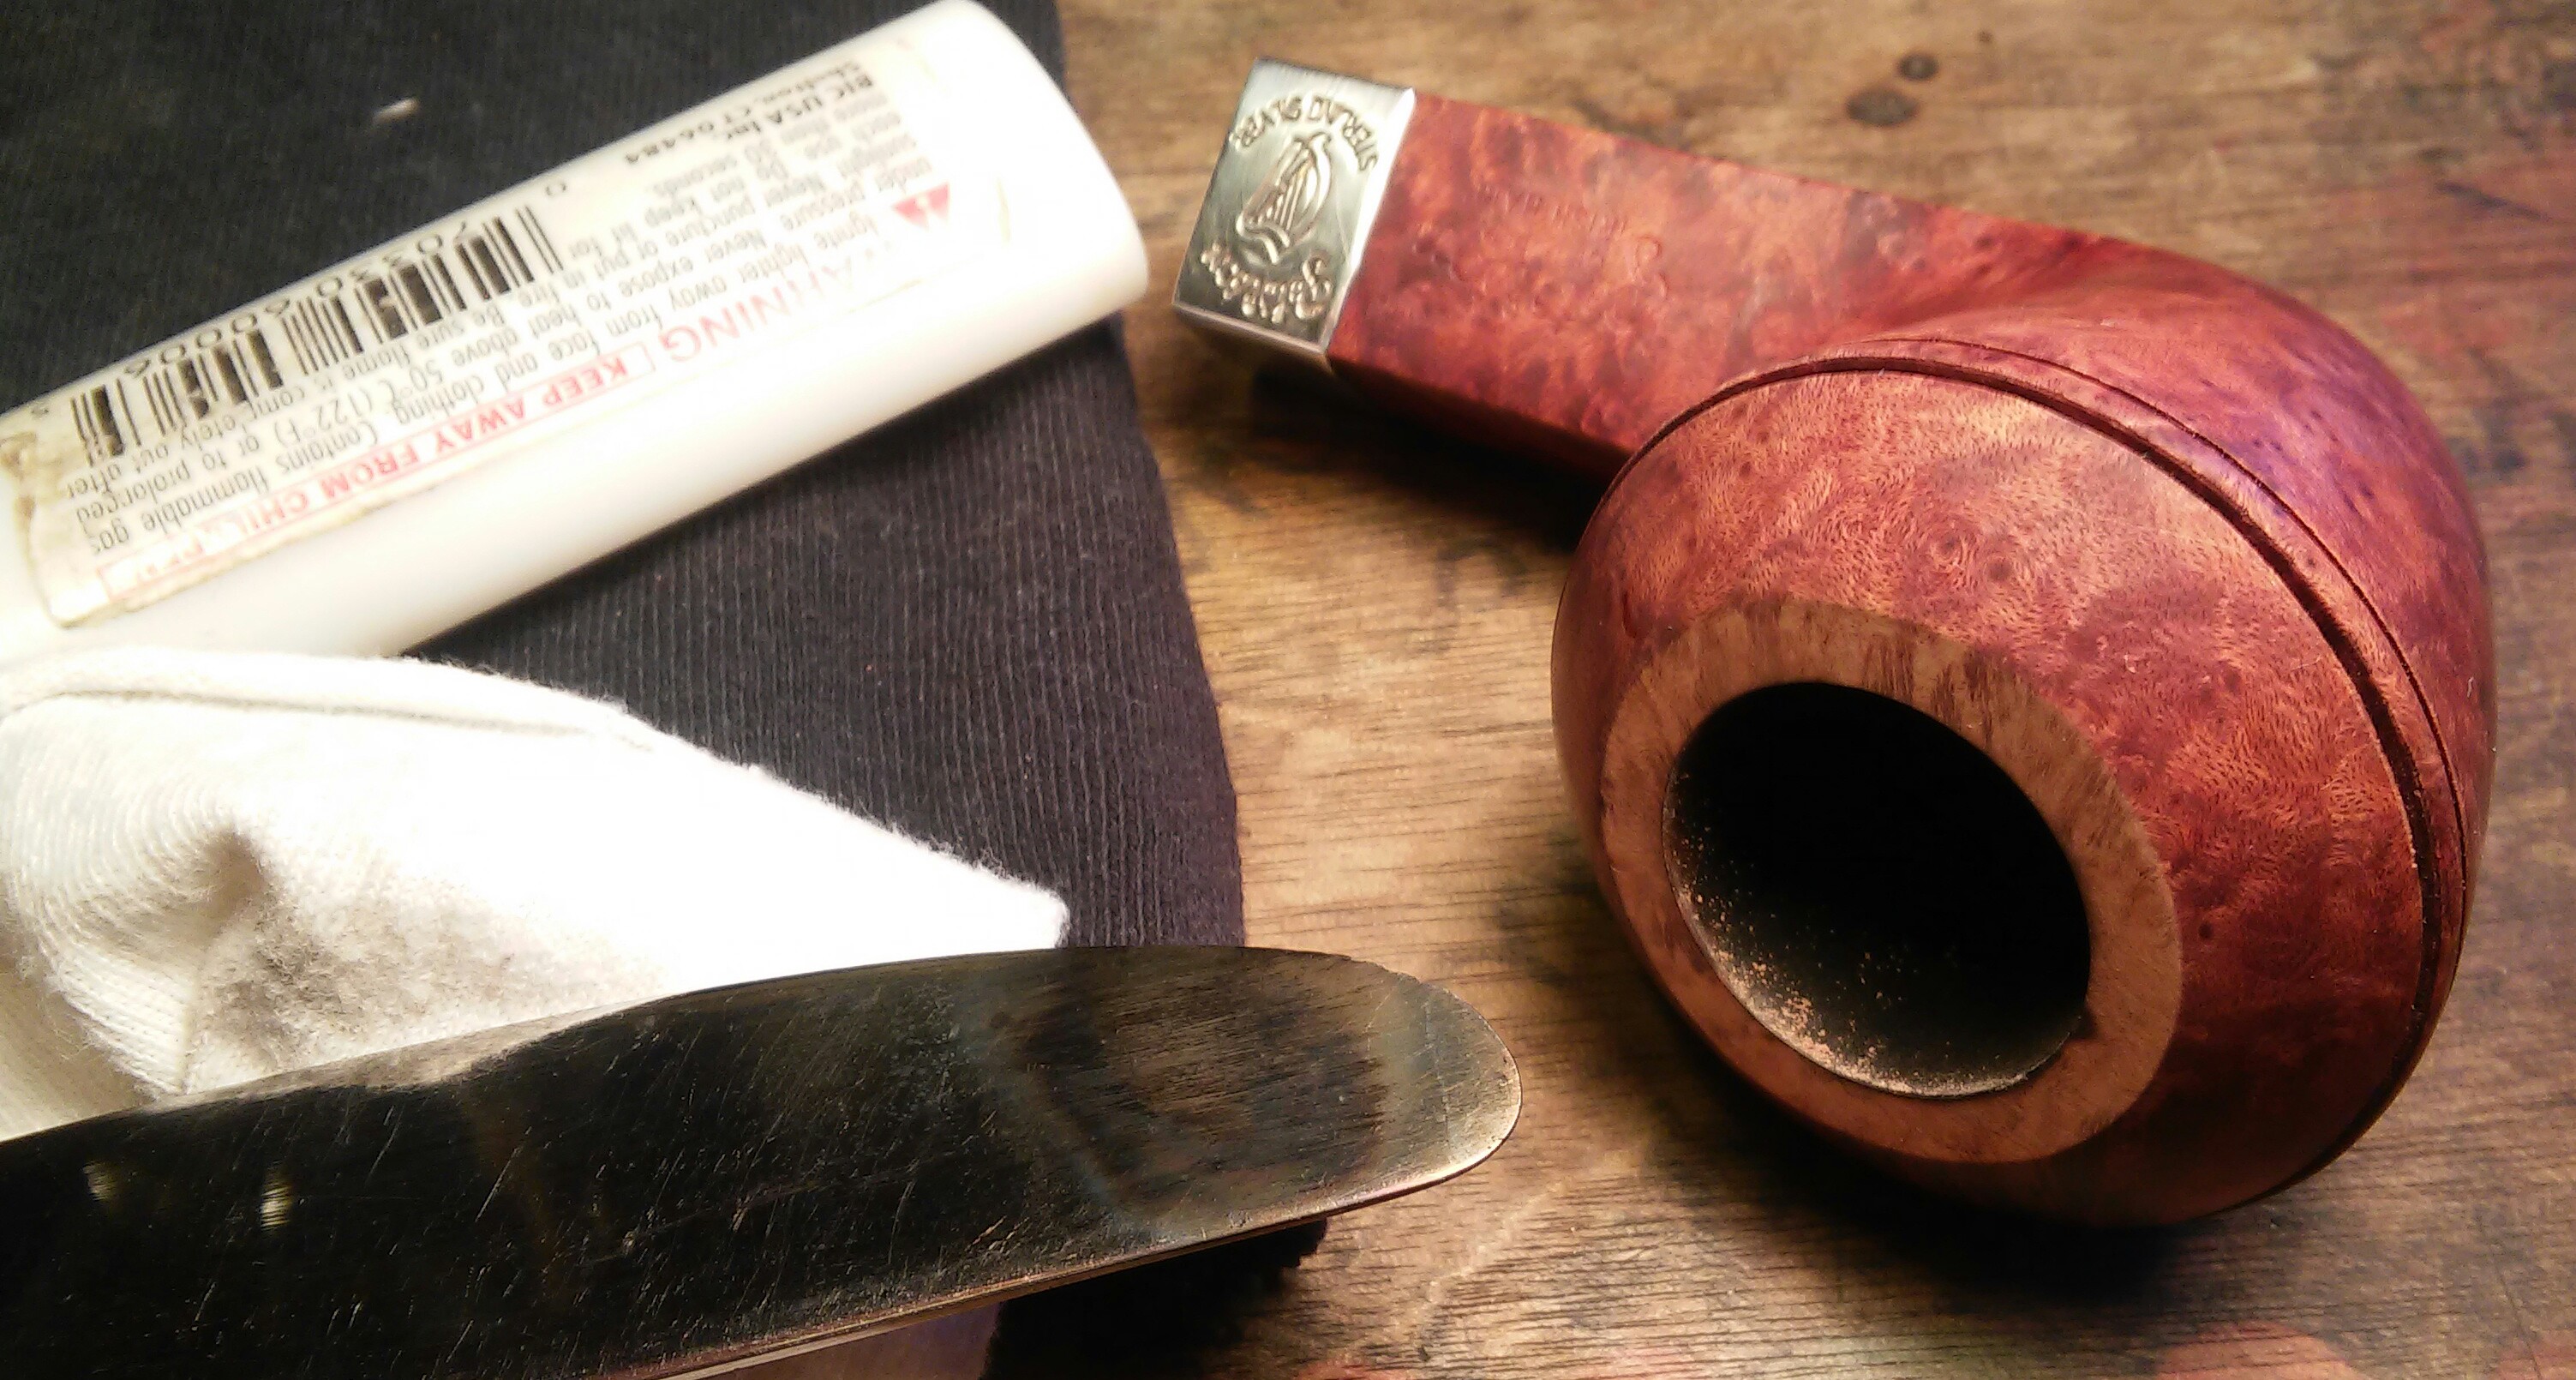
For a newer and lightly smoked pipe I was surprised to see the bowls finnish was very worn in certain areas. With some pipes in the past the worn finnish was a result of a hot bowl from rapid puffing, it would have to be re-stained. I started with Murphy’s oil soap and moved on to acetone to remove the rest of the finnish. I was happy to see I had not uncovered any filler.


The burn on the rim seemed it was just surface deep and could be easily removed with little work but it had gone deeper then I originally thought. I taped 1000 grit sandpaper paper to my desktop and began slowly taking layers off until the burn was almost gone, I didn’t want to remove too much and change the shape of the pipe. What remained of the burn hopefully would blend with the new stain.

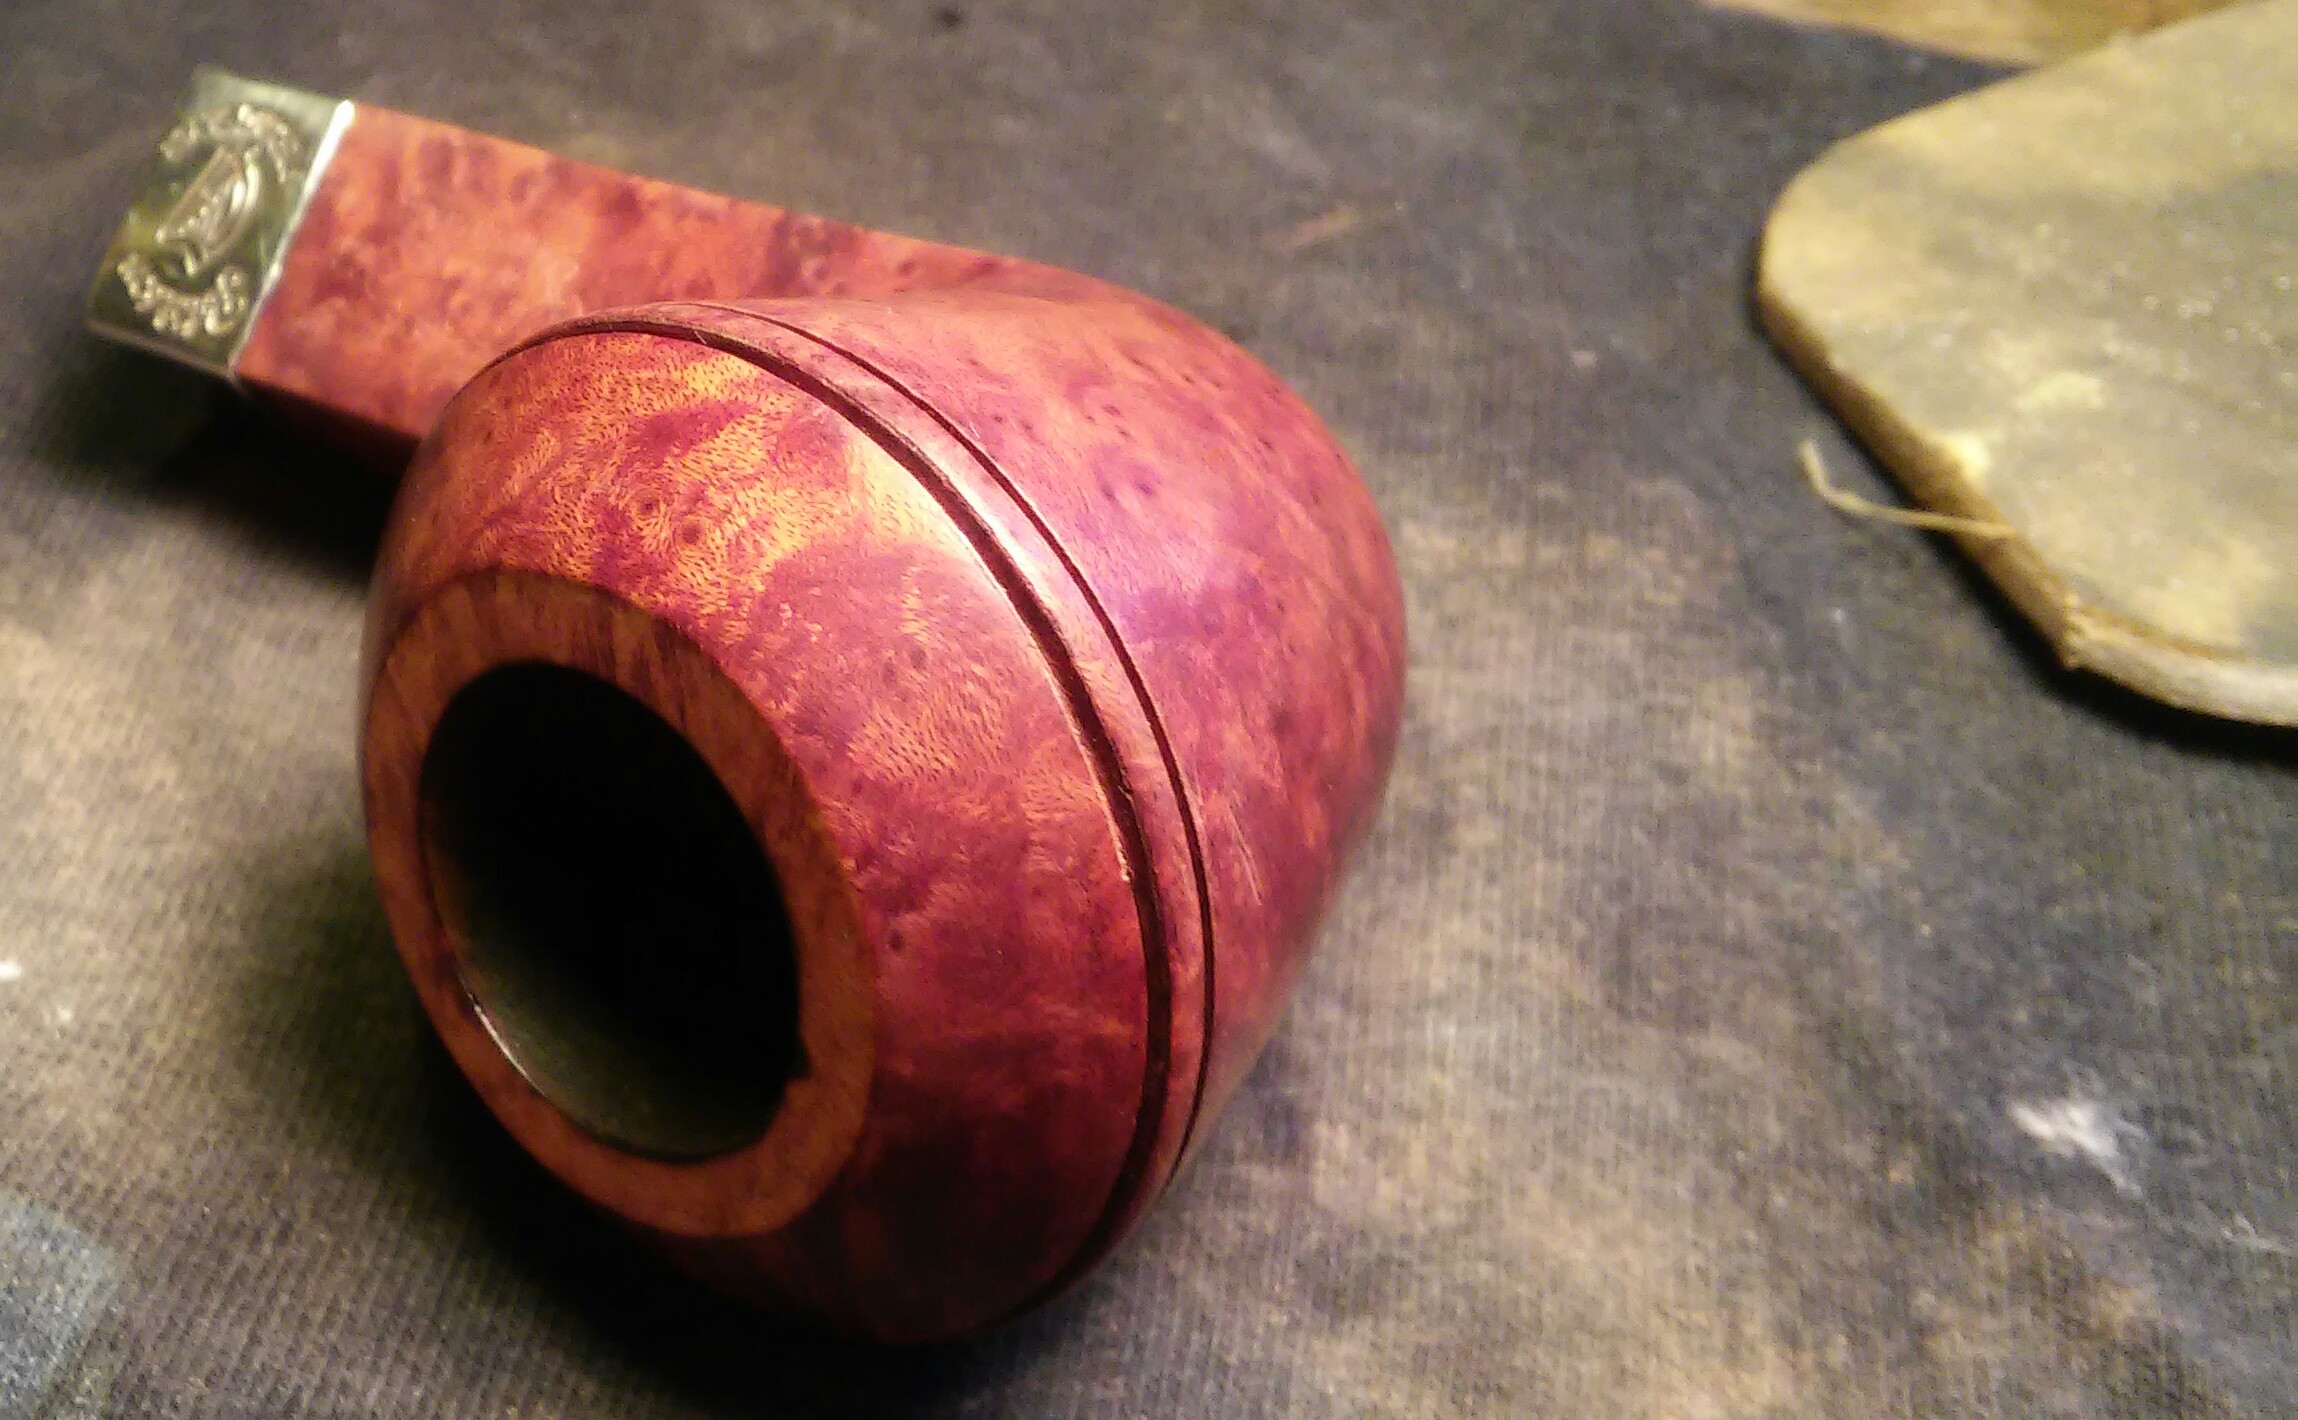
The scratch at the top of the bowl luckily did not affect the bulldog ring around the bowl. I started with a heated butter knife and a damp rag to steam some of the indentation that came along with the scratch. After the steam had raised some of the indentation I used worn micro mesh pads to remove the rest of the scratch.


Using un-rolled cotton balls I formed one long twisted cotton swab. I use this swab to clean the mortise by turning it tightly into it. Once tightly inserted into the mortise I fill the chamber with a little EverClear and allow the swab to absorb the alcohol. Once absorb I filled the chamber with two cotton balls, soaked them with EverClear and set it aside to soak. As it soaked it began to pull out the tars
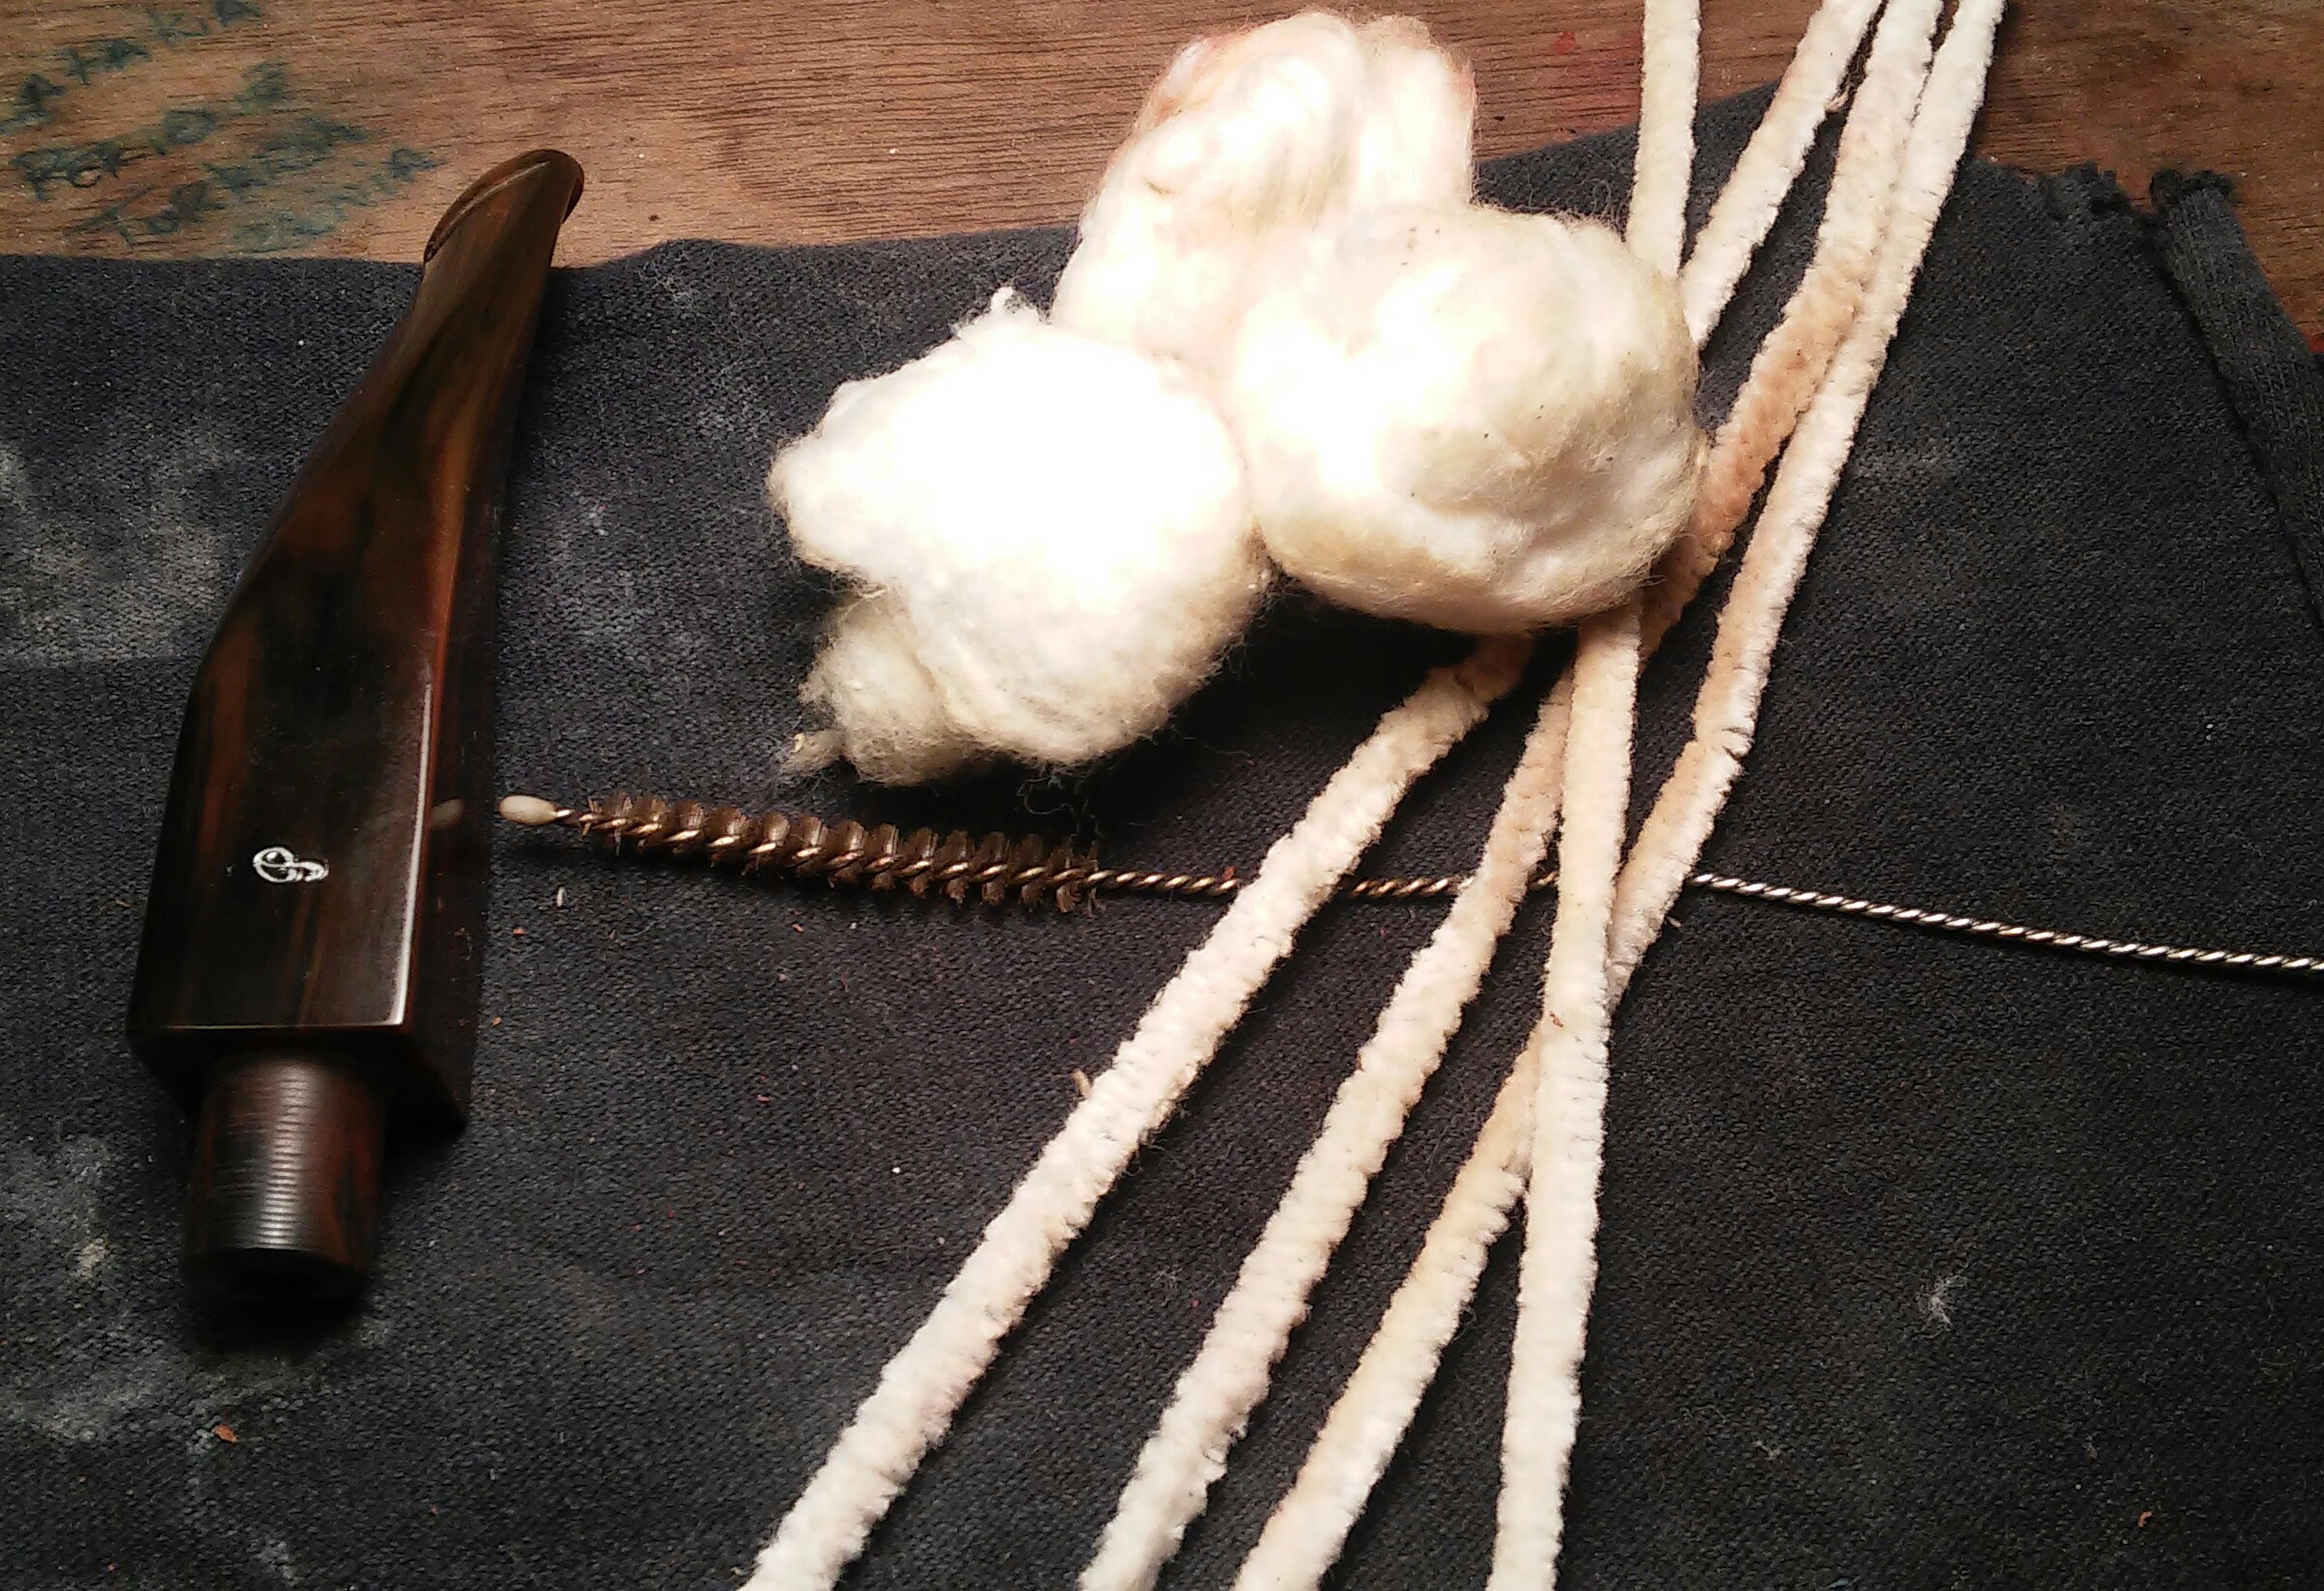
With the bowl set aside I began work on the stem first by cleaning the internals with EverClear, shank brush and pipe cleaners and worked until the pipe cleaners came as they went in. Then the externals I worked carefully around the P on the stem so it would not accidentally be removed by the alcohol.
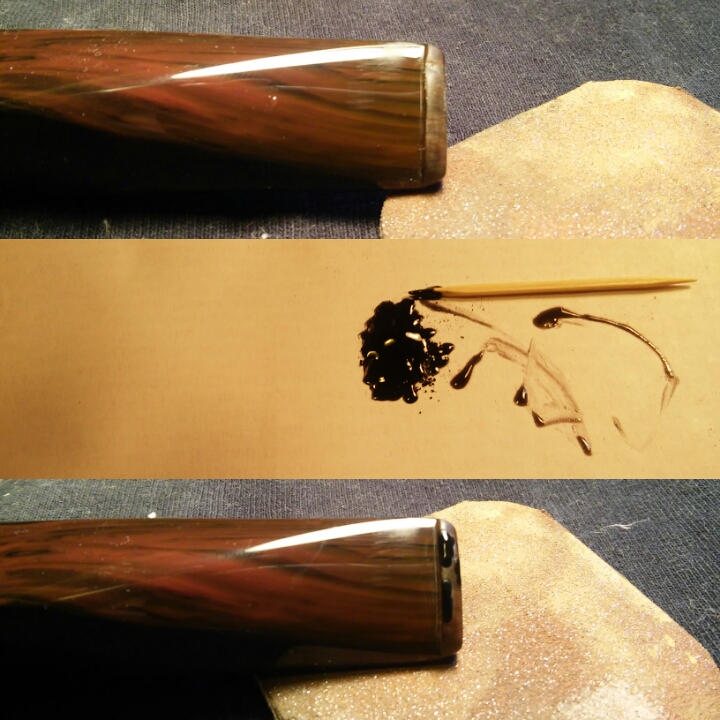
I started with the button, sanding the area with a 1500 micro mesh pad and then wiping down with EverClear. I mixed a paste of CA glue and activated charcoal powder to apply to the worn button. I used less activated charcoal powder then normally because of the cumberland stem, I didn’t want one big dark spot. I applied little dots of the paste with a toothpick and then sprayed it with accelerator and left it to dry.
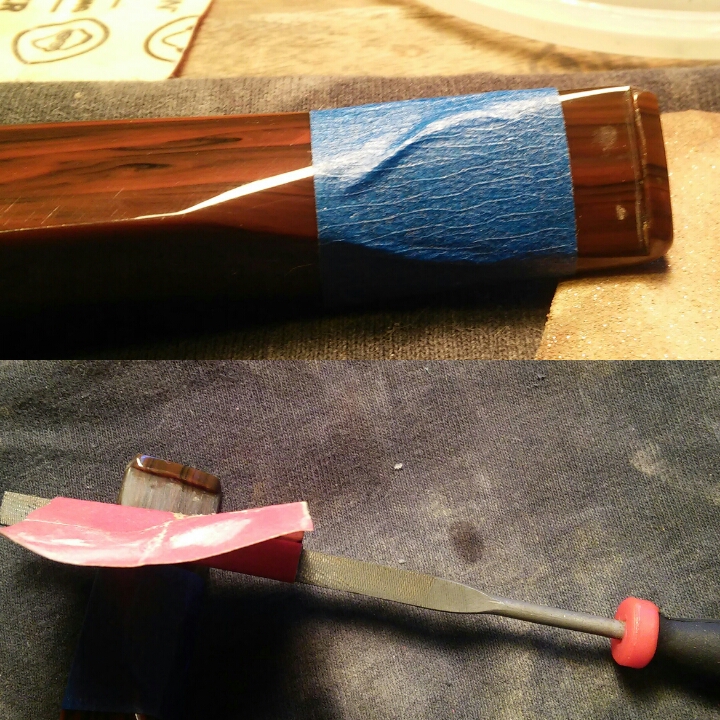
I tapped off the stem with painters tape so my work on the bit/lip area would remain in one spot, the rest of the stem was in good condition there was no need to make more work for myself. I wrapped 400 grit paper around a flat needle file and wet sanded the area of the impressions.
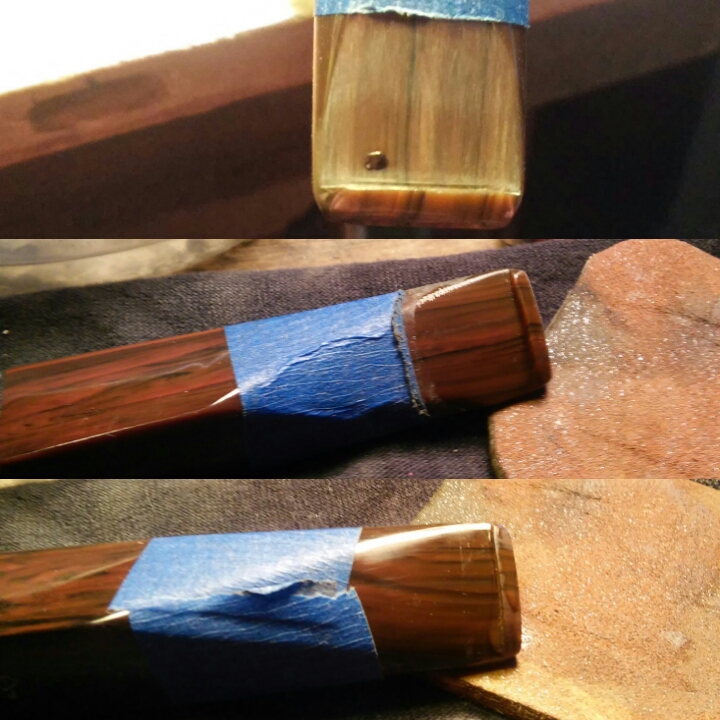
After the 400 grit wet sand there was still one stubborn impression present, I filled the impression with a dot of the paste and sprayed it with accelerator. I then moved to the various mico mesh pads to smooth over the stem and button.

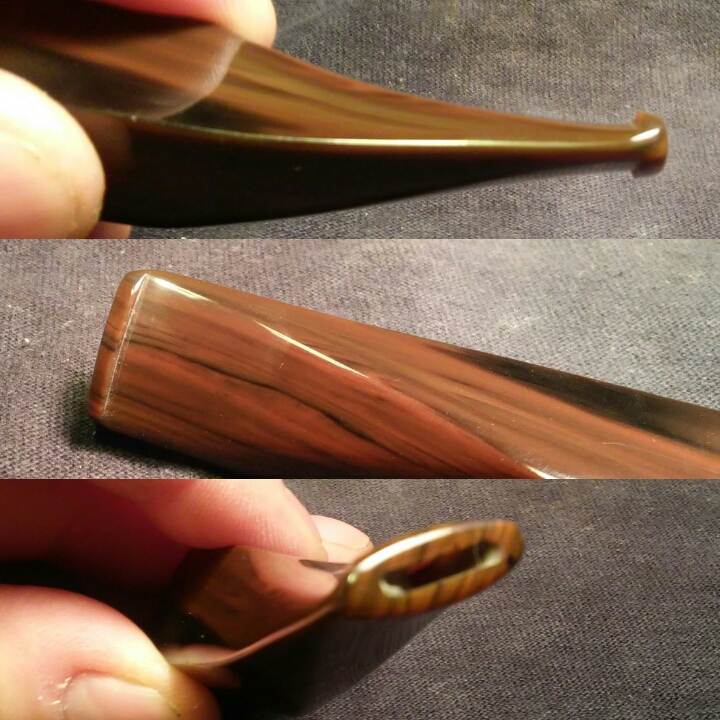
It wasn’t perfect but better then before. This stem was a little more difficult, as I began removing the tooth impressions I uncovered bubbles within the stem that would also have to be filled.
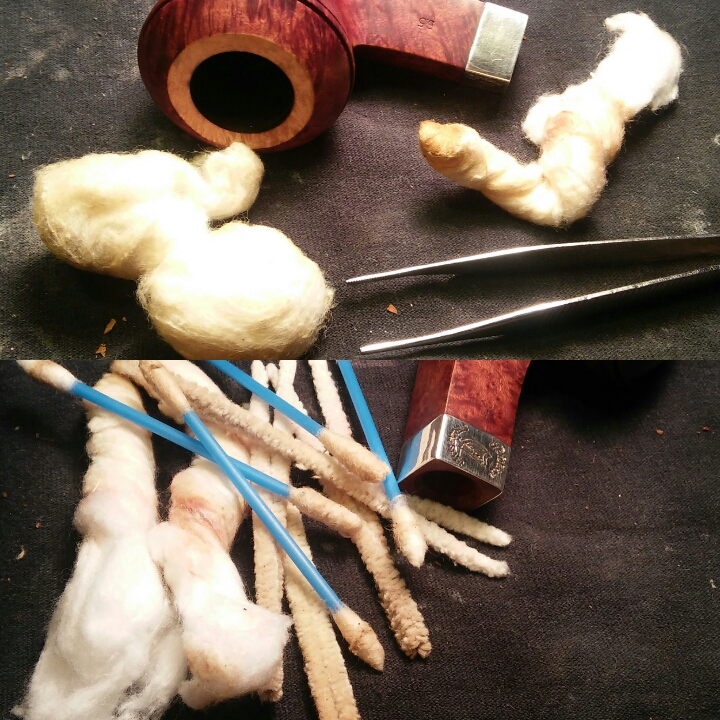
After sitting for a few hours I removed the cotton balls/swab and proceeded to clean the internals with EverClear, Q-tips, swabs and pipe cleaners until the pipe cleaners came out as they went in.

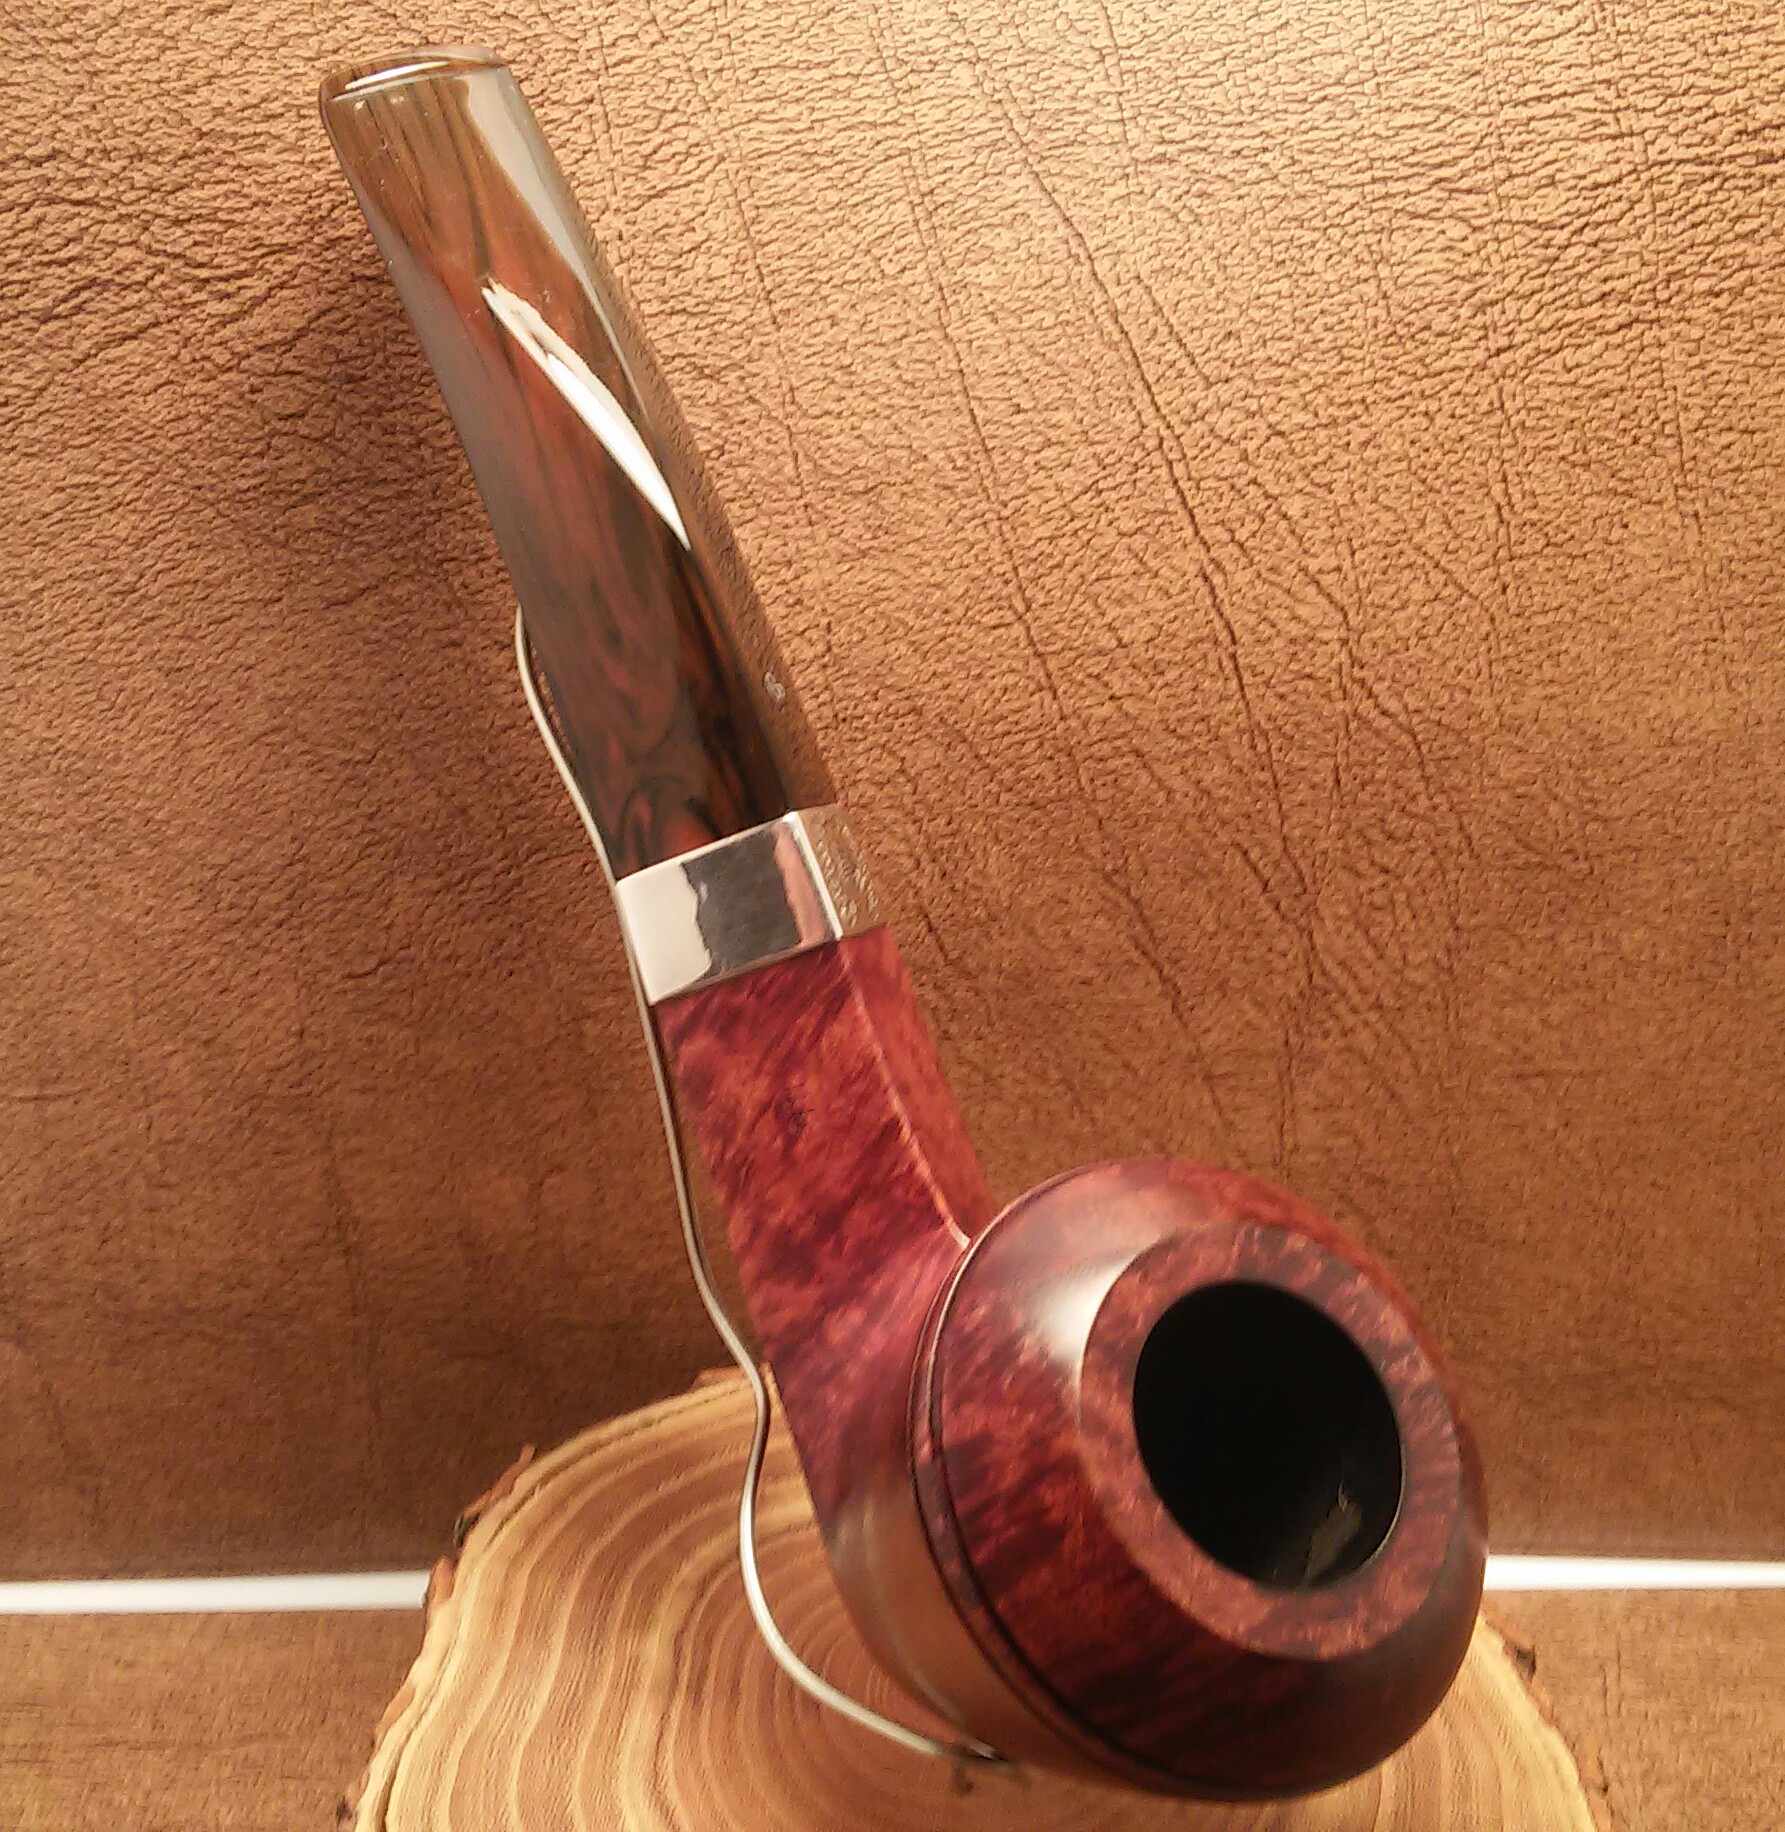
While working on the pipe over a two day period I realized I was quite happy with the way the pipe had colored from handling it, I decided to try and match the rim to the bowl coloring. There was still light stain left on the pipe after the acetone wipe down, the acetone seemed to remove a reddish top coat leaving the darker walnut finnish underneath.


I used touch up stain markers to match the rim to the bowl, I applied several coats and hit it with a Bic lighter to set the stain, wiping away the excess with an alcohol dampened rag until I had a close match.
Buffing with white diamond, carnauba and a micro fiber hand buffing .
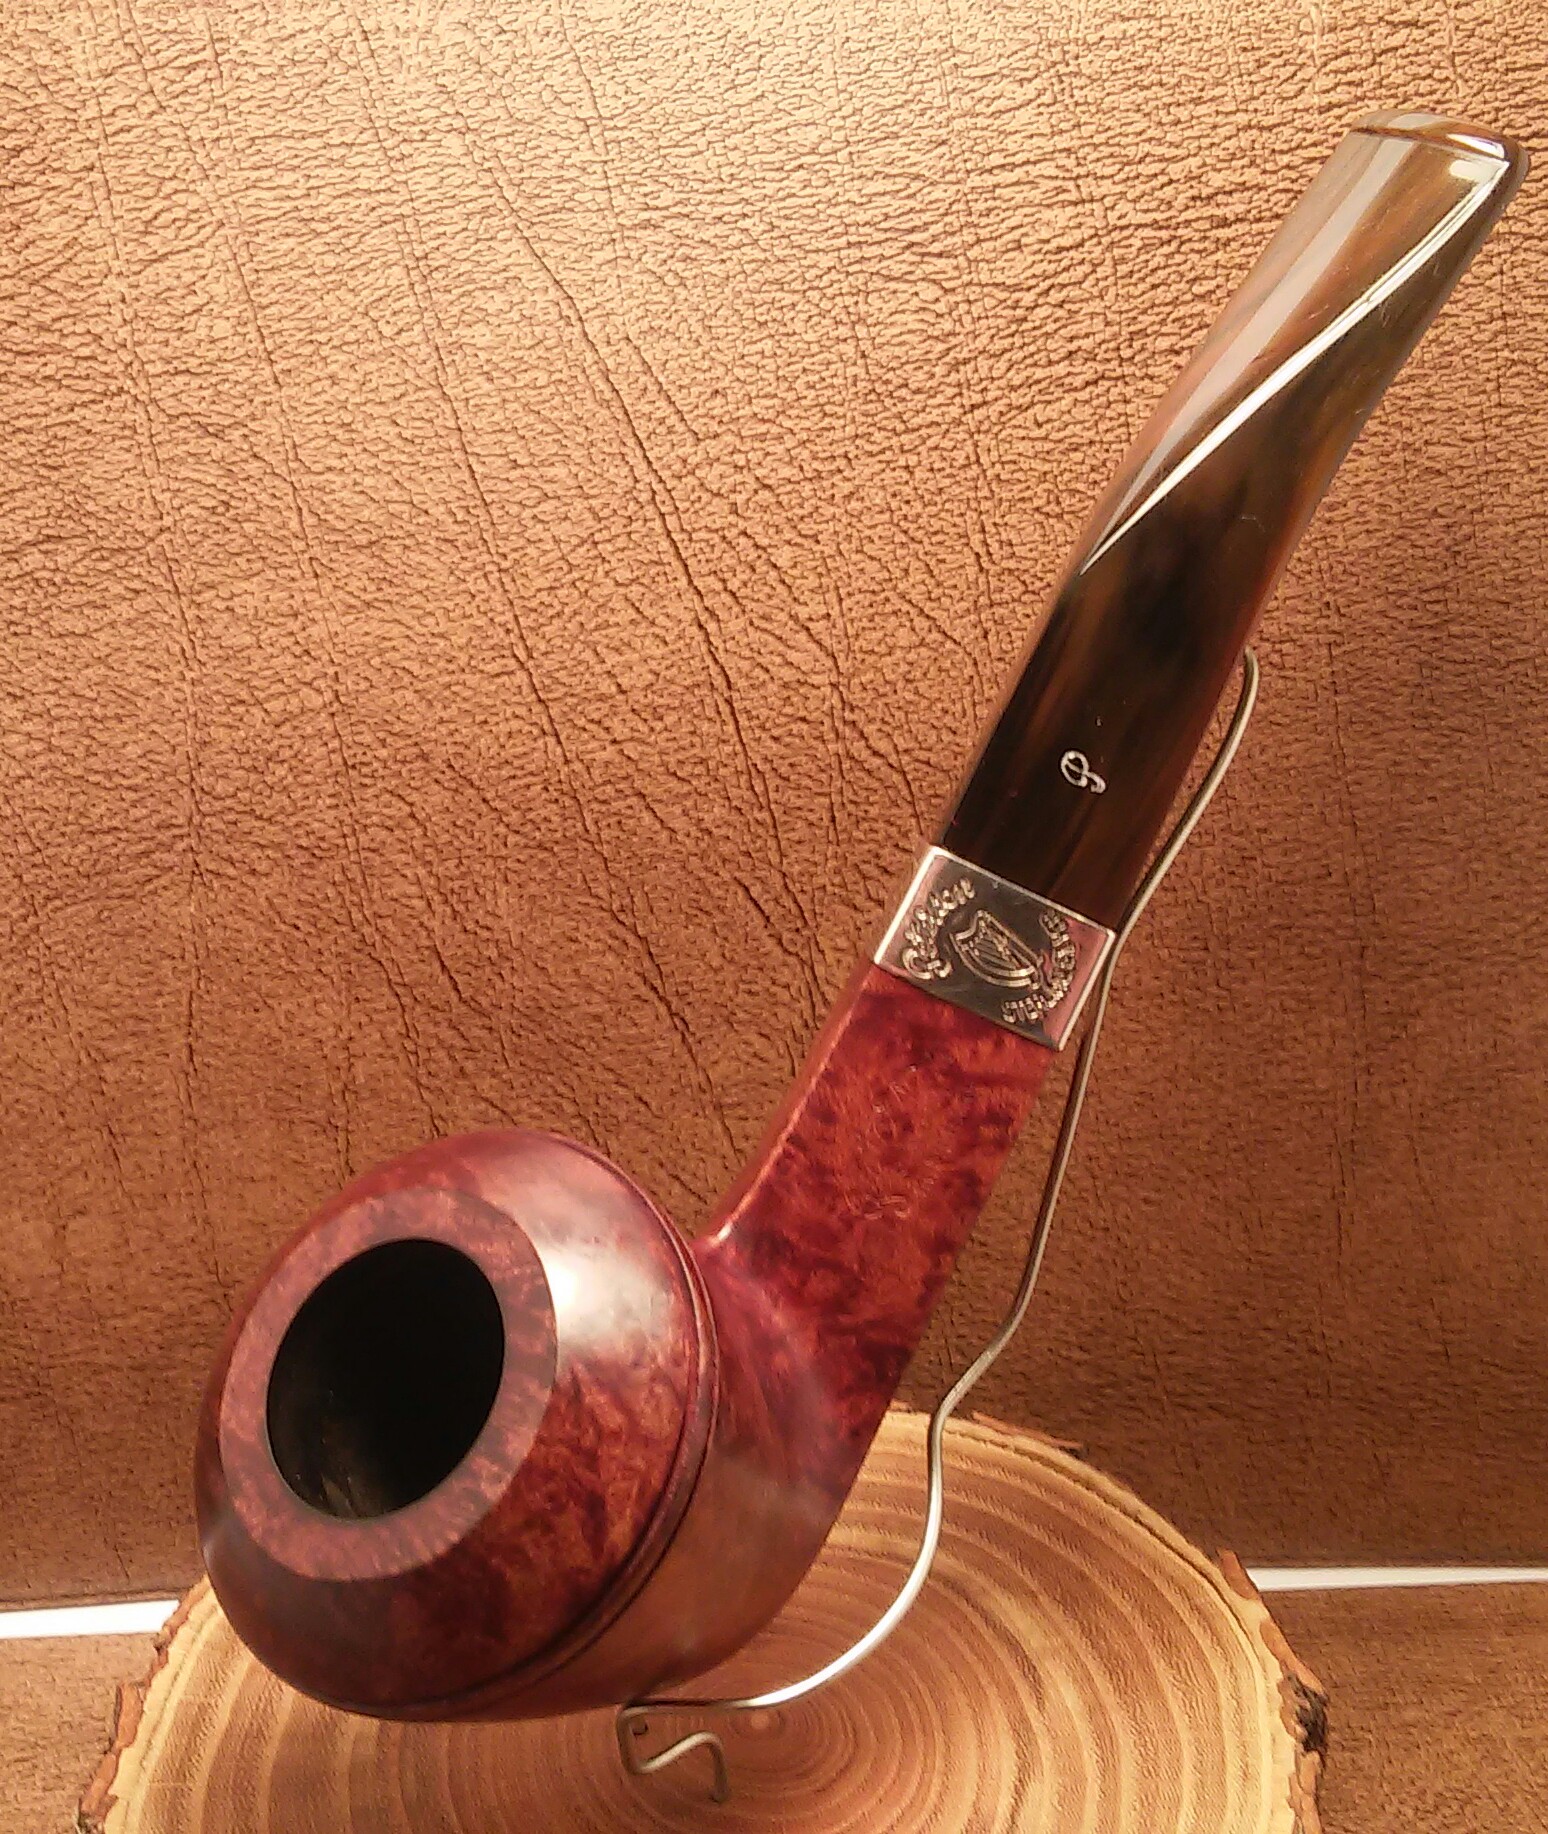


Beautiful work! I love the shape of this one! Well done.
LikeLike
Thank you Steve it’s one of my new favorites.
LikeLike
Reblogged this on rebornpipes and commented:
I really love the looks of this one. Well done on the refurbish. It is one beautiful pipe.
LikeLike
Fantastic, I love those Harp finish pipes and that shape is a beauty.
LikeLike