

Things have been crazy busy around here the past month, its a little calmer now so I have some time to put up a few posts. Last week A friend messaged me to put together a quick tutorial on stem repair, specifically patching a bite through hole at the bit end. I’ve been re-stemming most pipes so I had a few that would fit the bill. I focused on the patch repair and not so much on the entire stem as I said its out of the junk box so the stem is far from done but I think what lies below will help. Sorry it took so long to put up.
Before getting started I cleaned the stem inside and out with EverClear, pipe cleaners and makeup pads.

Next I roughed up the area to be repaired with a flat needle file and 220 grit sandpaper, cleaning the area once again with EverClear to remove the sanding debris.
Before the damaged area can be repaired the airway must be plugged to prevent it from being glued shut. I use card stock or index cards, folded over on it’s self and cut to fit the airway, once a good fit is achieved I applied a generous amount of original chap-stick to the card stock to keep it from being glued into the airway. ( Vaseline is also good)

With the stem roughed up, airway plugged and the stem wiped down with EverClear I now mixed thick black CA glue and charcoal powder together to form a paste. I used a 50-50 mix of glue and charcoal powder but you may have to play around with it a bit to get the right consistency.
You have to work quickly once the paste is mixed as it has a tendency to harden rapidly, with my cardboard plug in place I applied the paste to the damaged area with a toothpick working from the outer edge of the damage to the middle of the hole building it up in layers. Hitting it with accelerator to set the repair, I now left it over night to cure. The end result is much more patch material then was needed but this what you want.
The next morning after cure time I began to remove layers of the patch with a flat needle file working until I could see a difference in color between the patch and stem material , shaping the button at the same time.
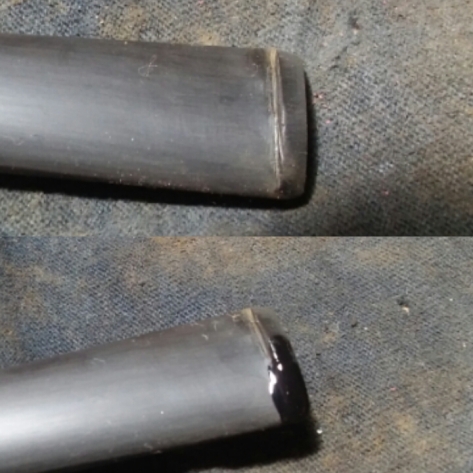
It’s easy to make a mistake reshaping the button or you may uncover small bubbles in the patch itself, using straight CA glue will cover up any imperfections. Apply the CA glue to the area and hit it with accelerator, this can be reworked right away as long as the area of work is not too deep, in the case of deeper holes more time will be needed to cure.
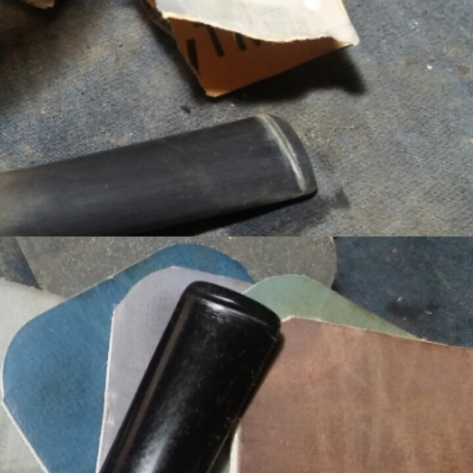
Once I achieved the shape I’m looking for I ran the stem through 220 grit sandpaper to remove the deeper file marks, then 400, 800, 1000 and 1500 grit sandpaper wet. Finally I ran the stem though the various grits of micro-mesh 1500-2400 wet and 3200-12000 dry.
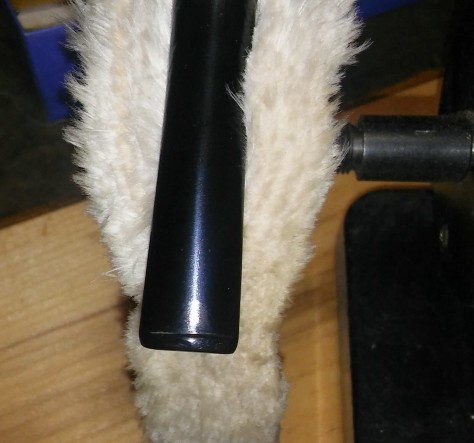
Final step buffing wheel, I buffed with blue compound, carnauba and a round on a nude wheel .In the end the patch blended pretty well but its not always the case.
Hope this helps any questions shoot me a message.
Tim.

You must be logged in to post a comment.