

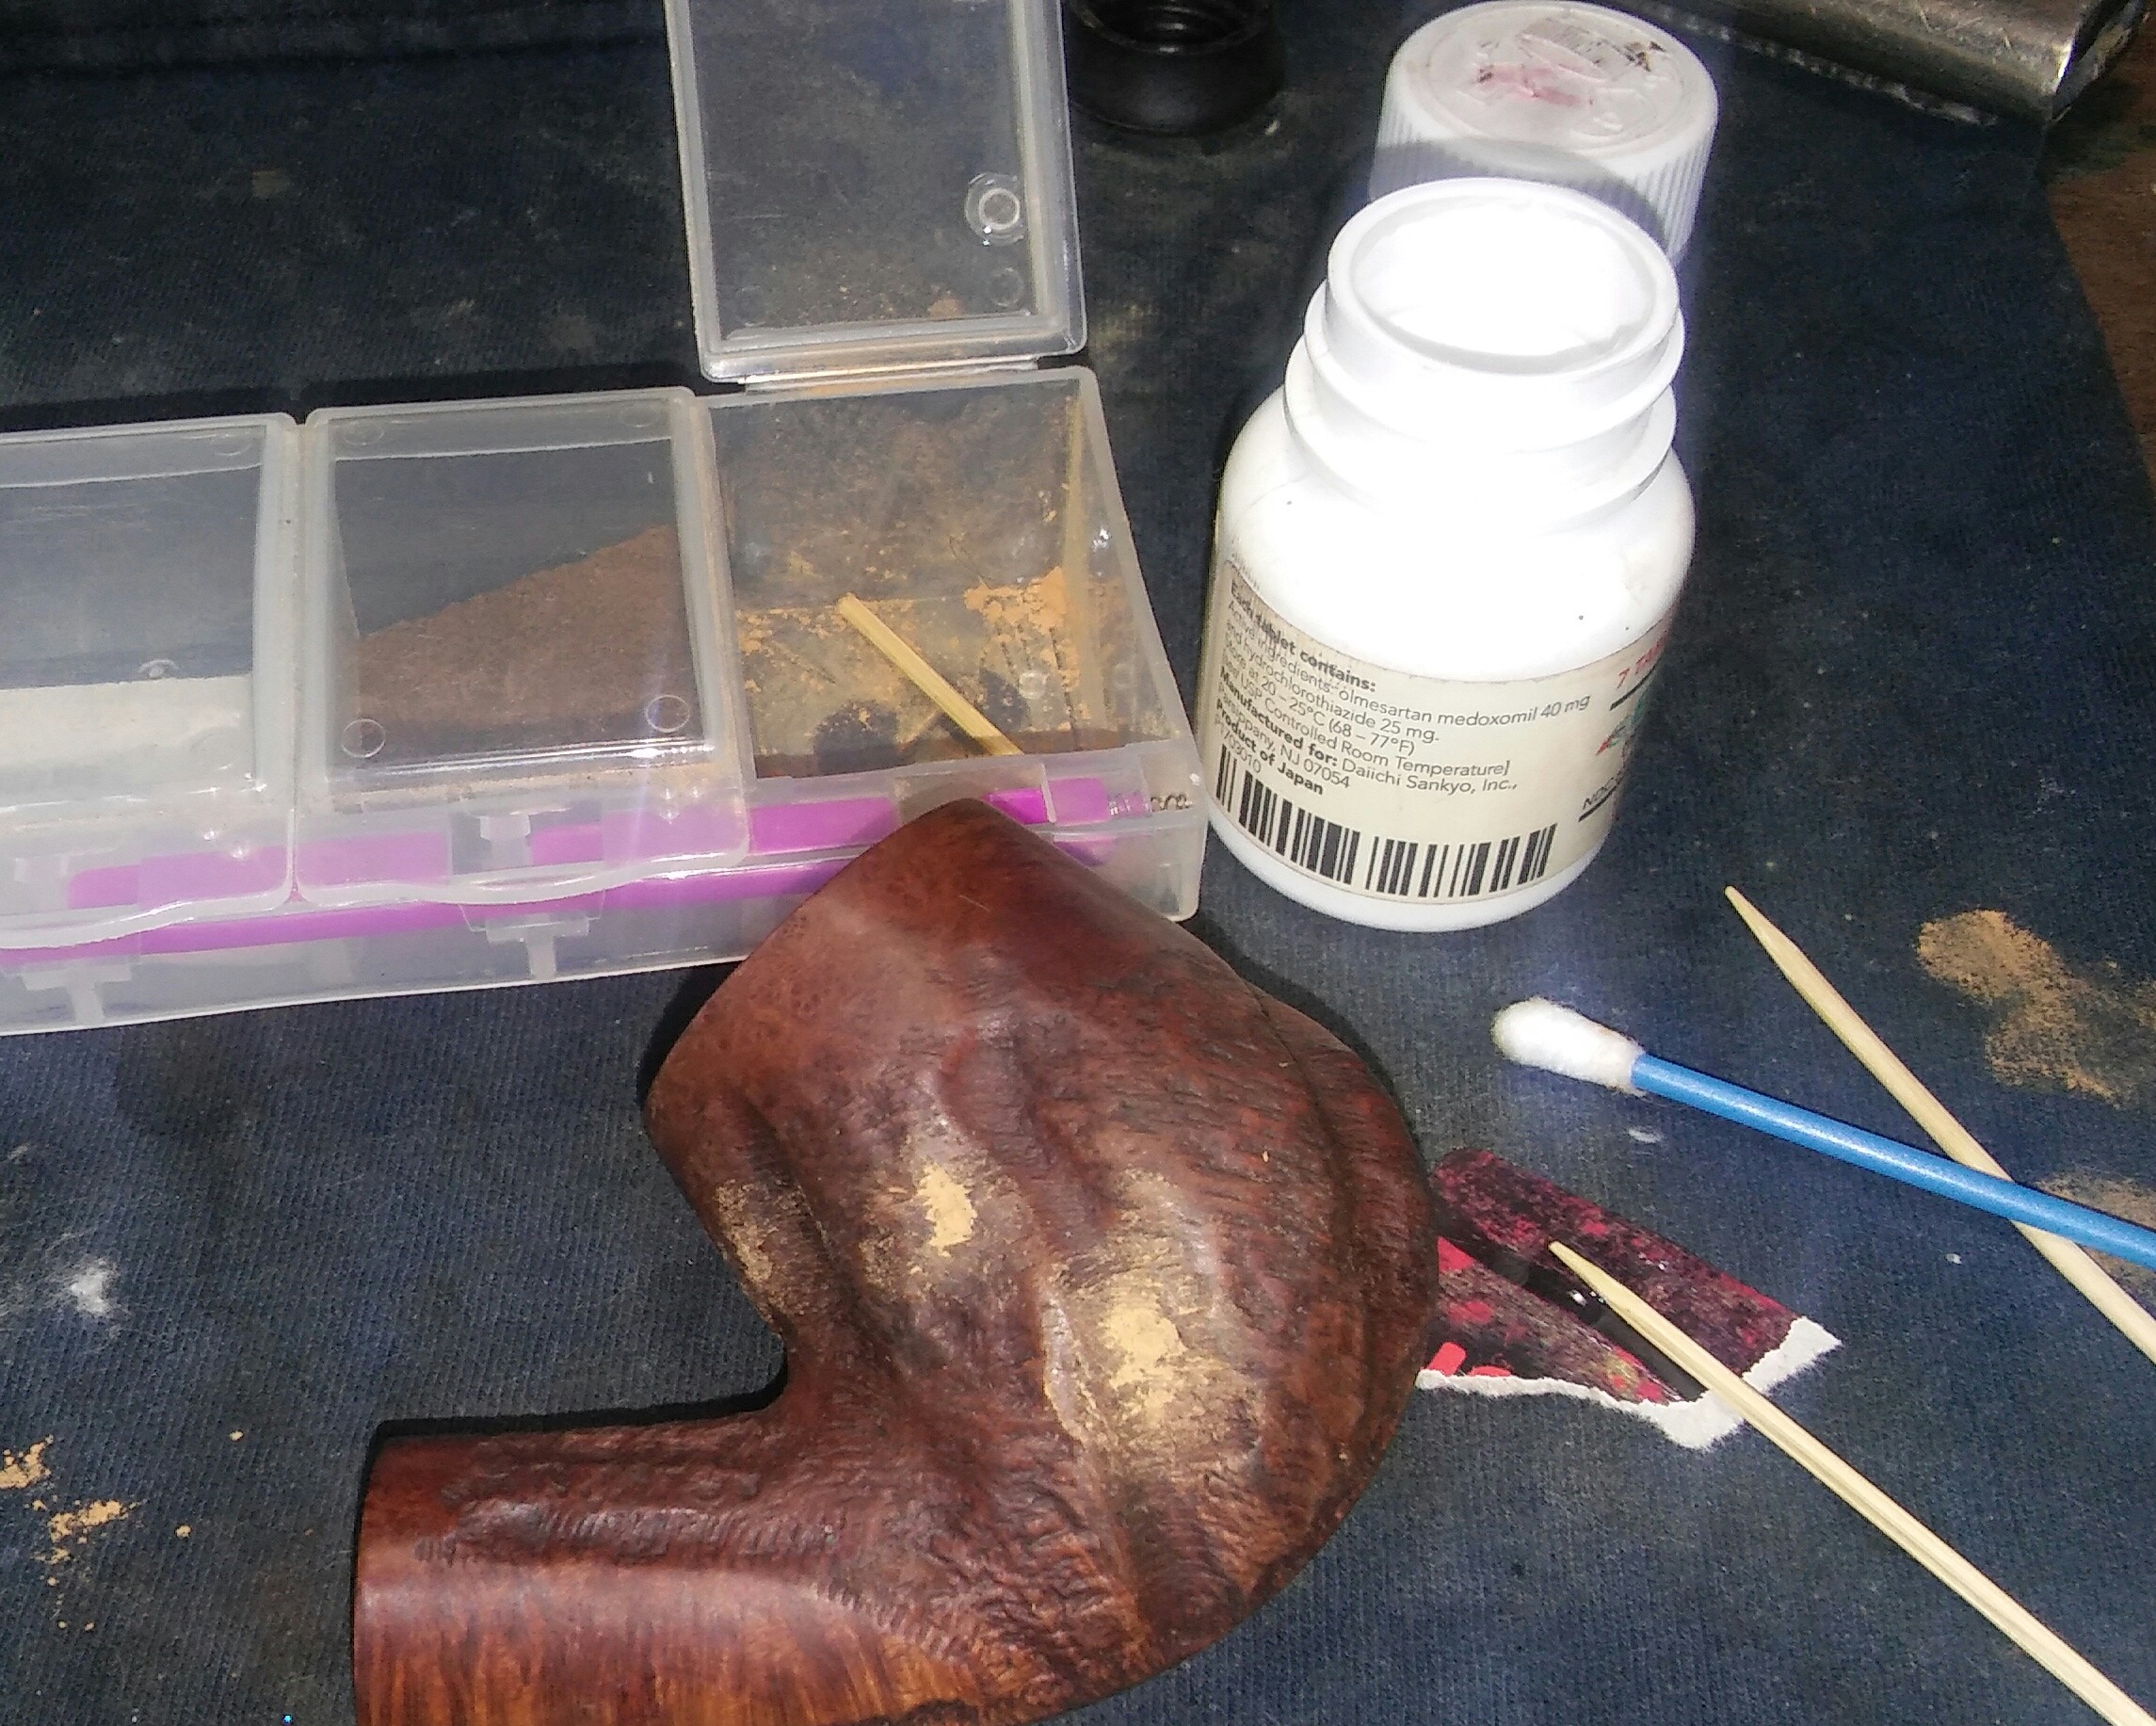
Please bare with me while this guide takes shape. I felt even though the post is incomplete the information below would be beneficial to Custombilt collectors. I will periodically update as I gather more info and photos. Thanks Tim.
Before my knowledge of the company and it’s founder Tracy Mincer, I was intrigued by by these large ugly pieces of briar. They seemed like misfits in a sea of smooth, small and manicured pipes of it’s time.


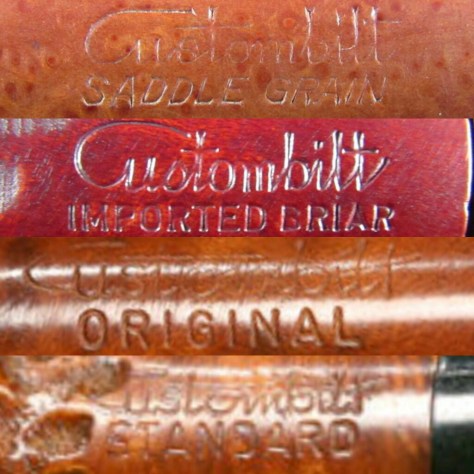
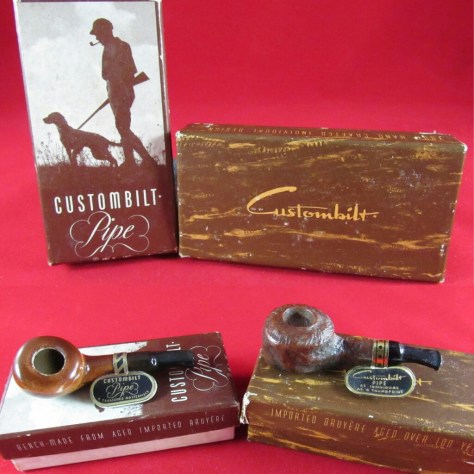
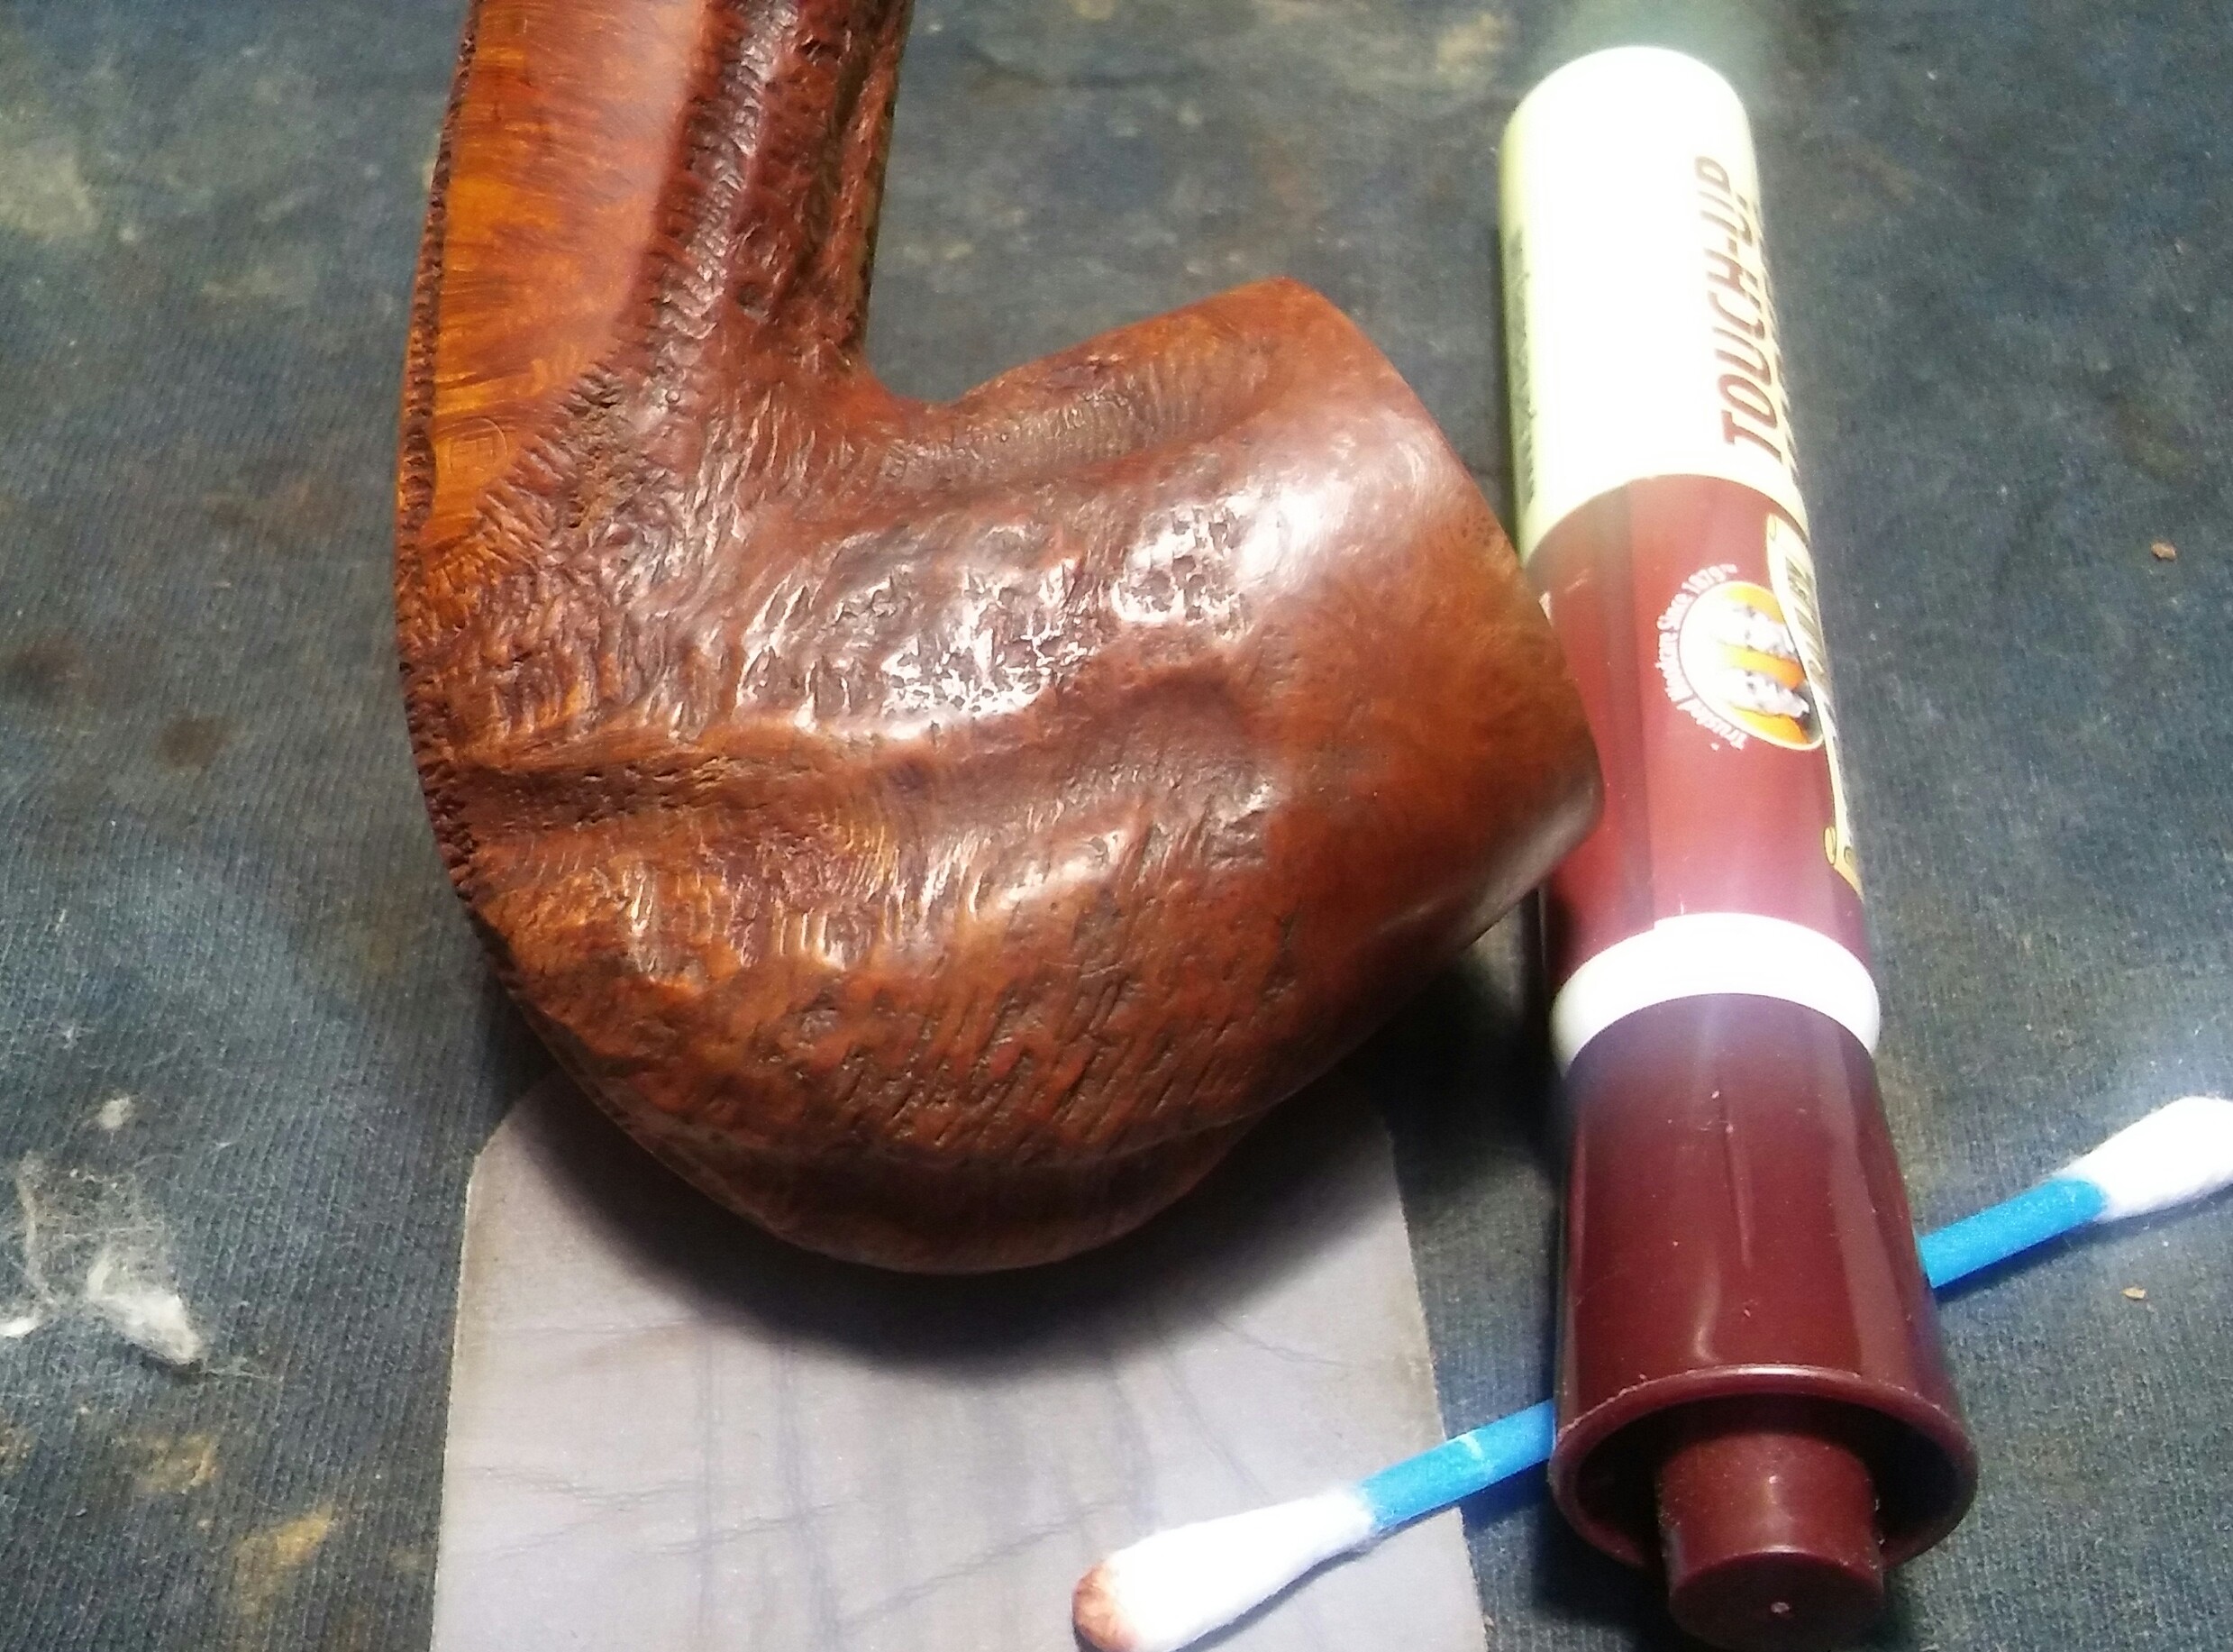
Whether your a collector or first time buyer of Custom-Bilt/Custombilt pipes it can be difficult to find information online about the brand. With the help of Bill Unger’s book “Individual As A Thumbprint” The Custom-Bilt Pipe Story, online research and the study of my own Custom-Bilt collection, I have put together a guide to help others lock down dates, makes and the differences between eras. Hopefully this sheds some light on the Custom-Bilt pipe.
Contributors welcome- If you would like to contribute to this post please e-mail me, Tim at Pipesrevival@gmail.com

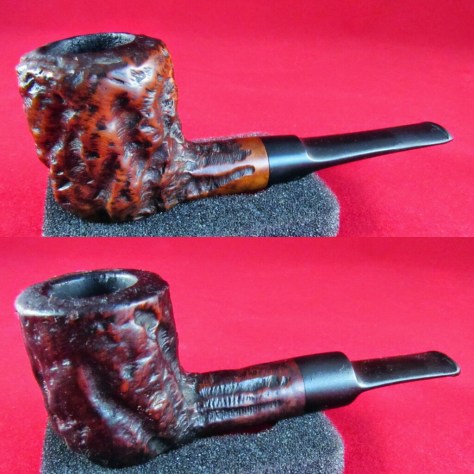
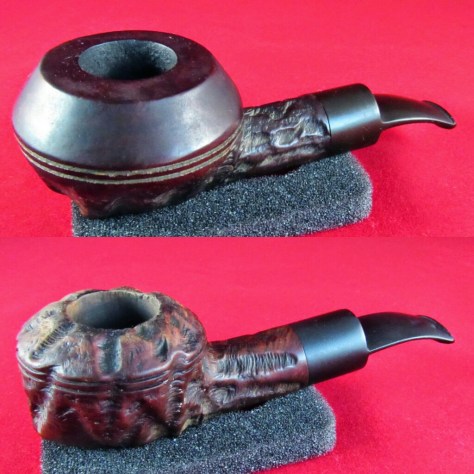
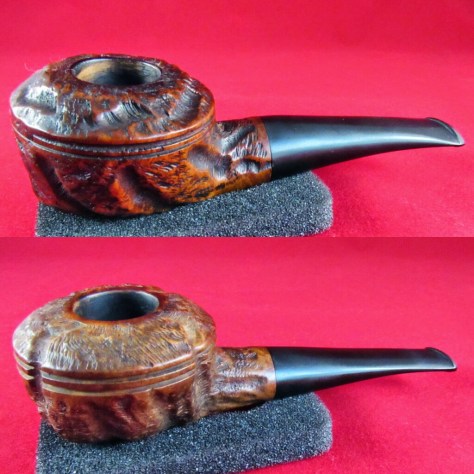
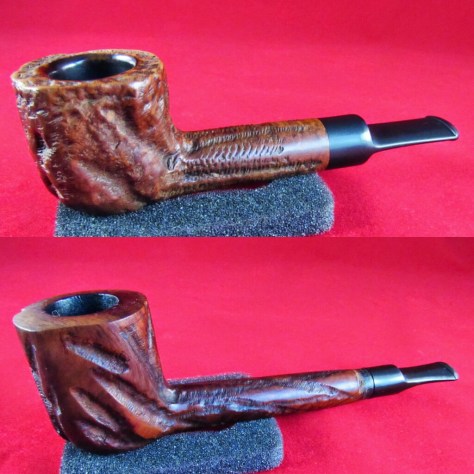
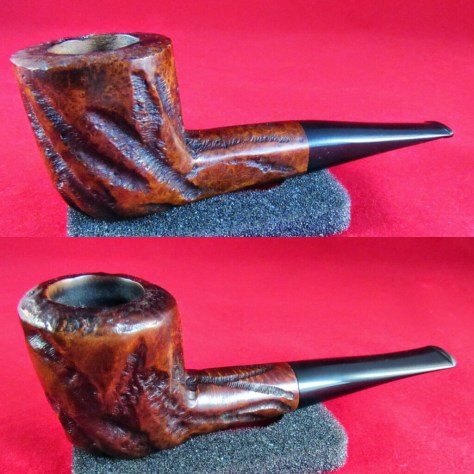
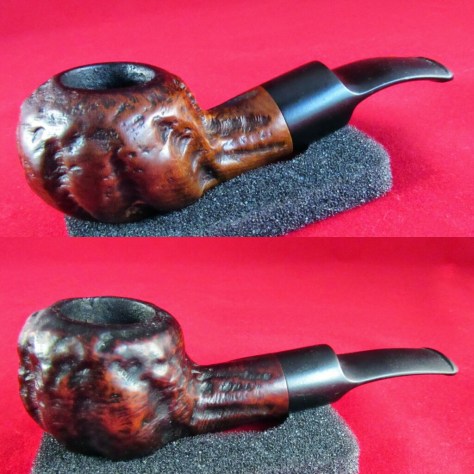
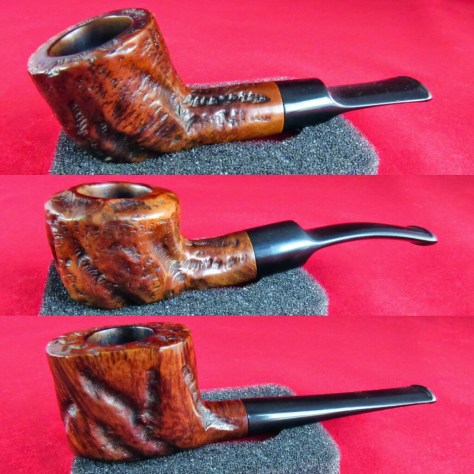
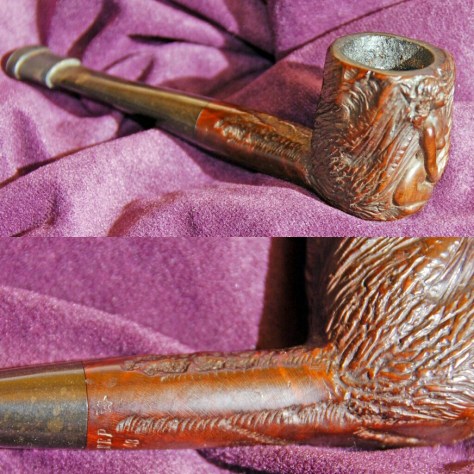
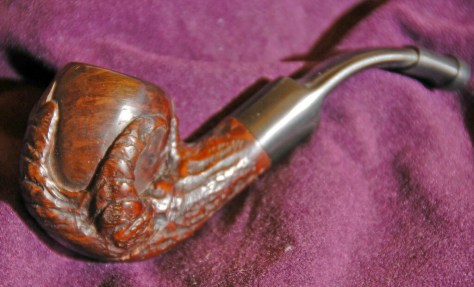
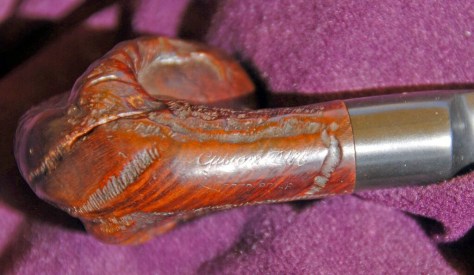
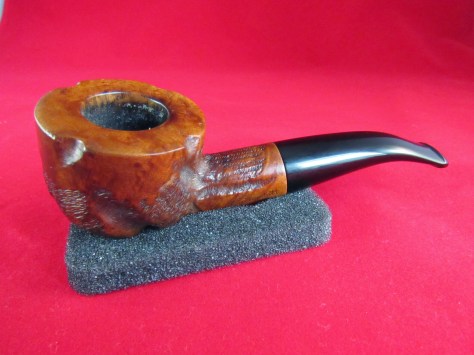
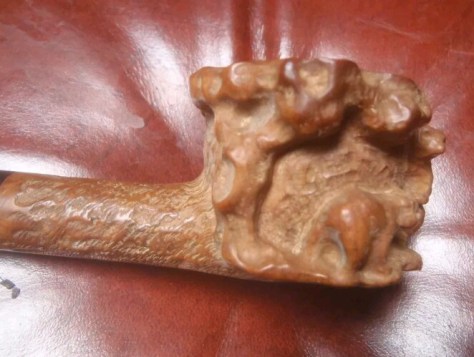
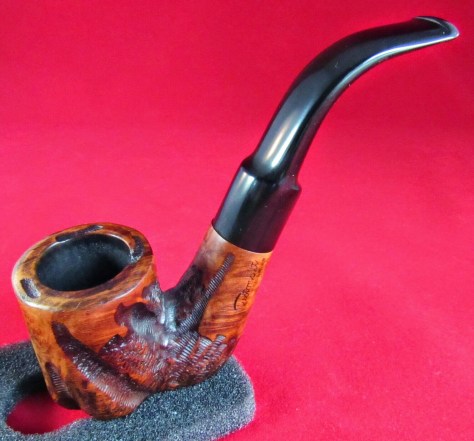
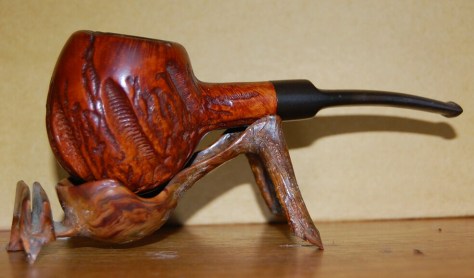
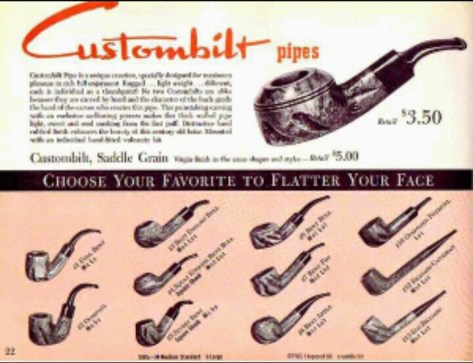
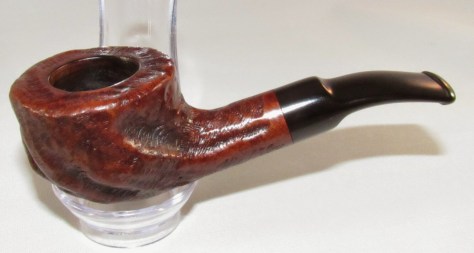
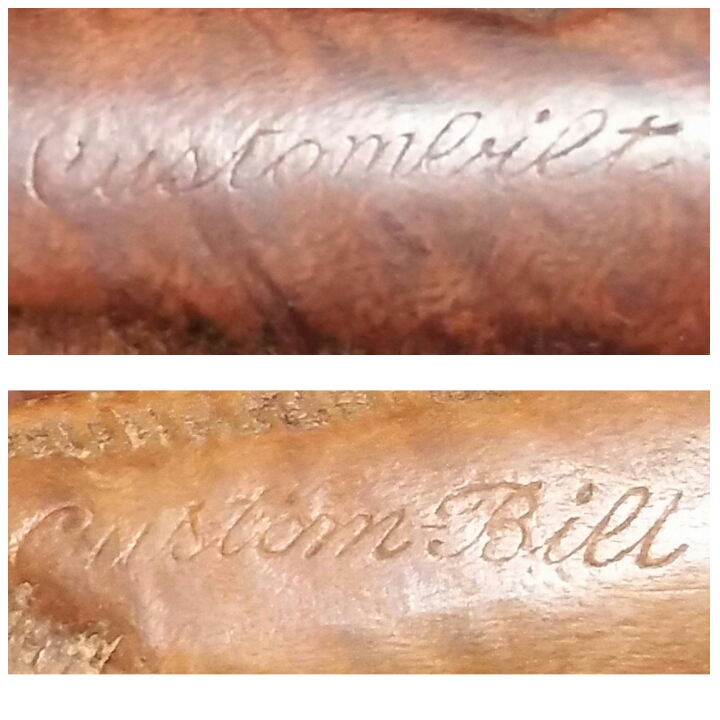
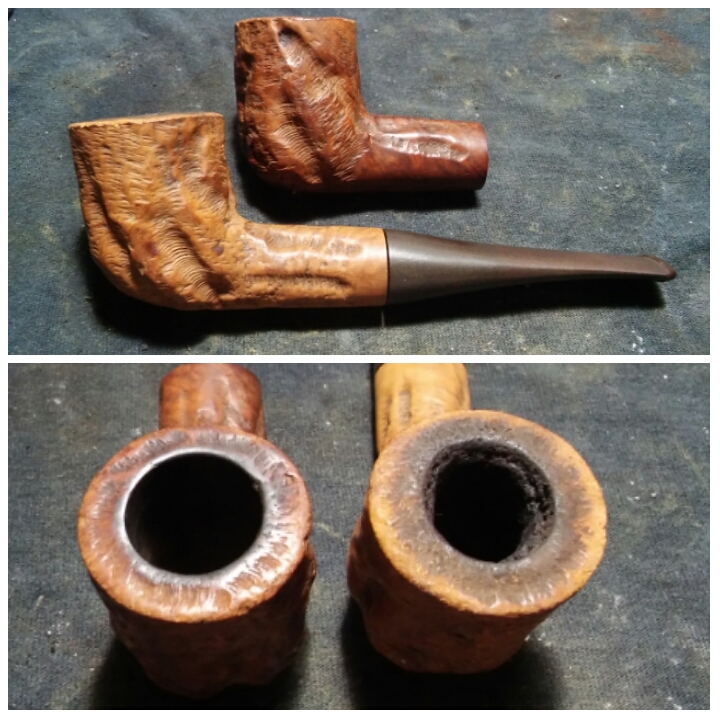
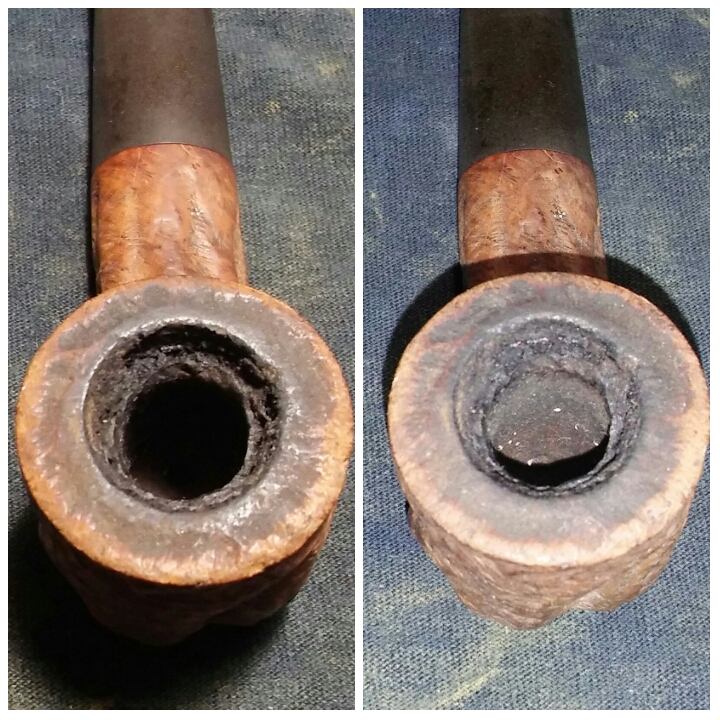
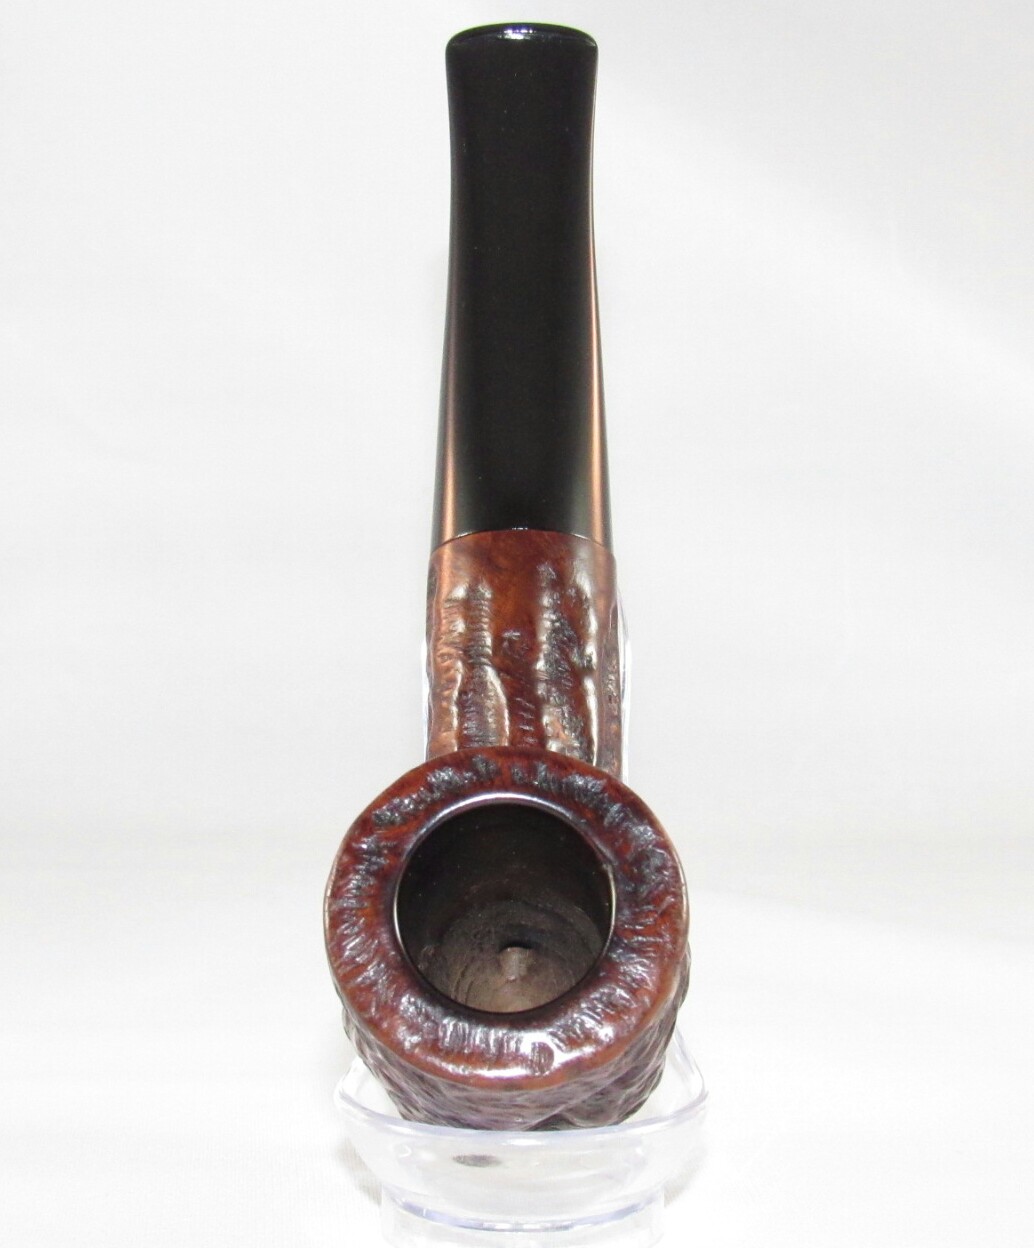
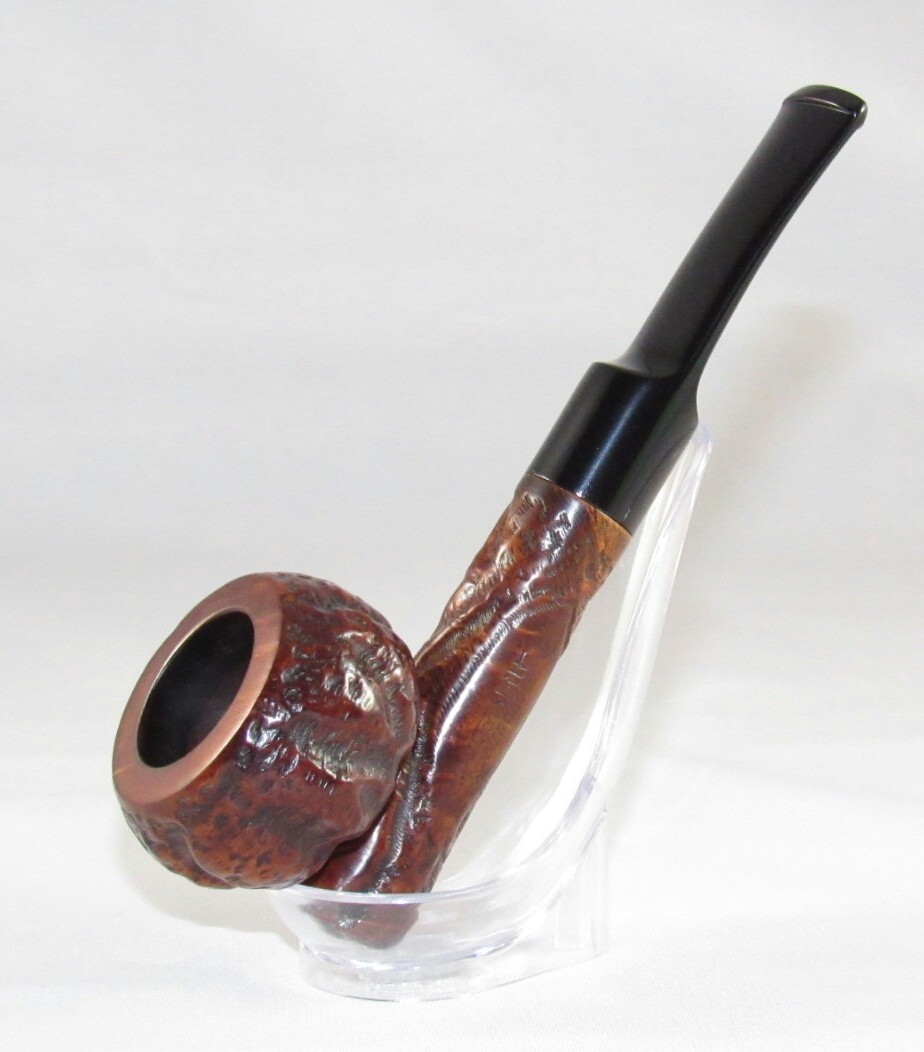
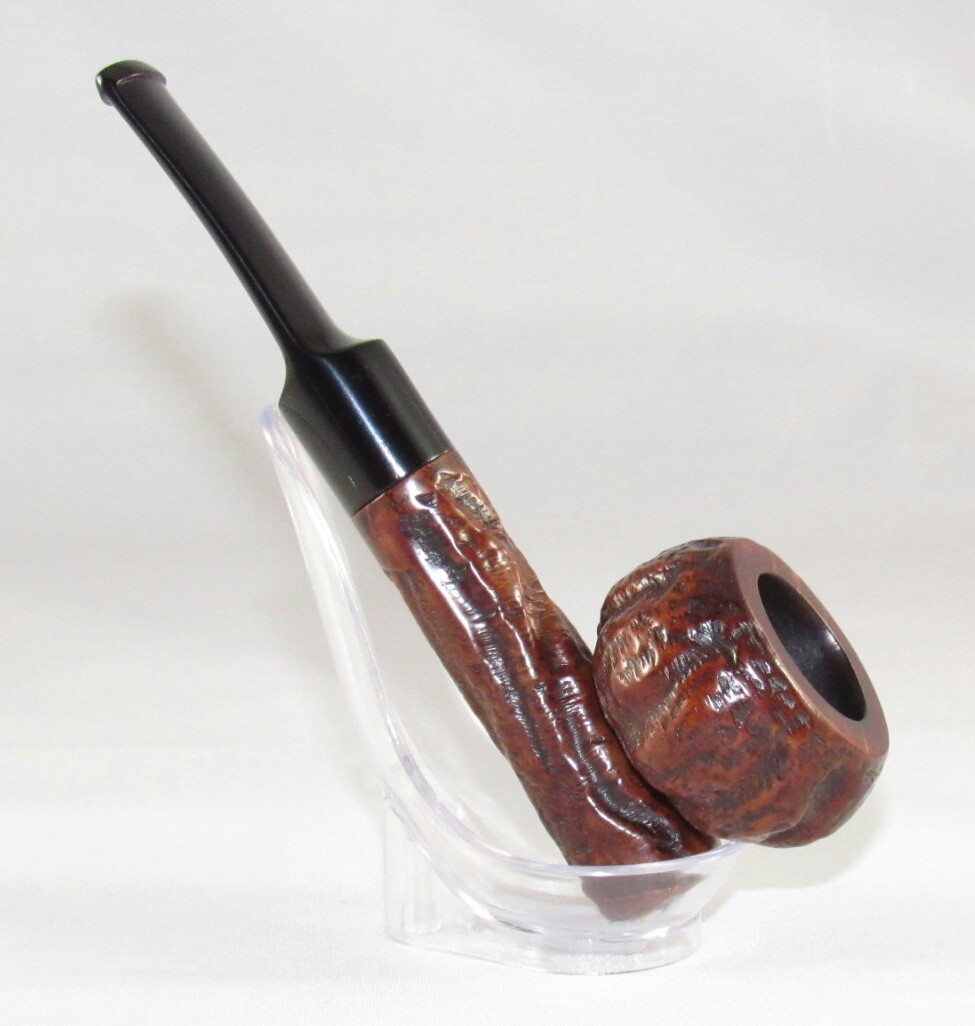
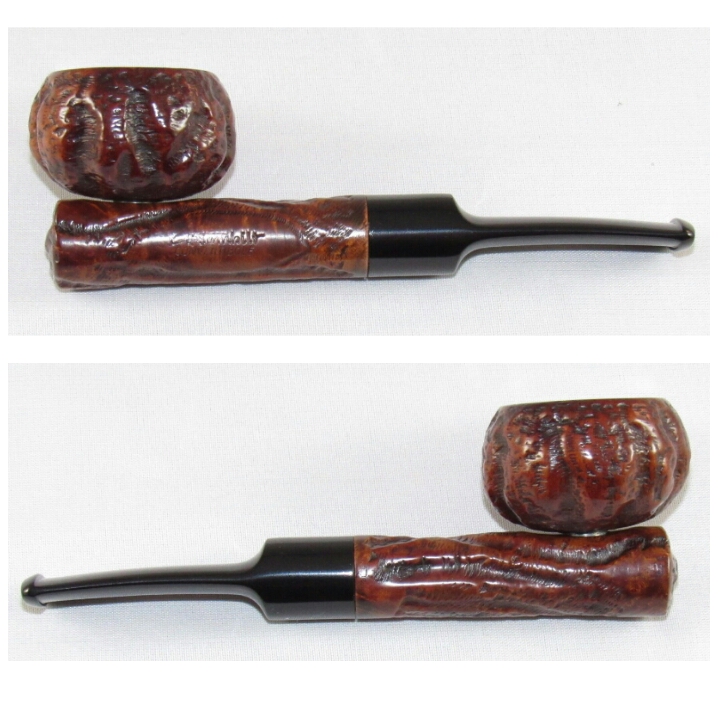
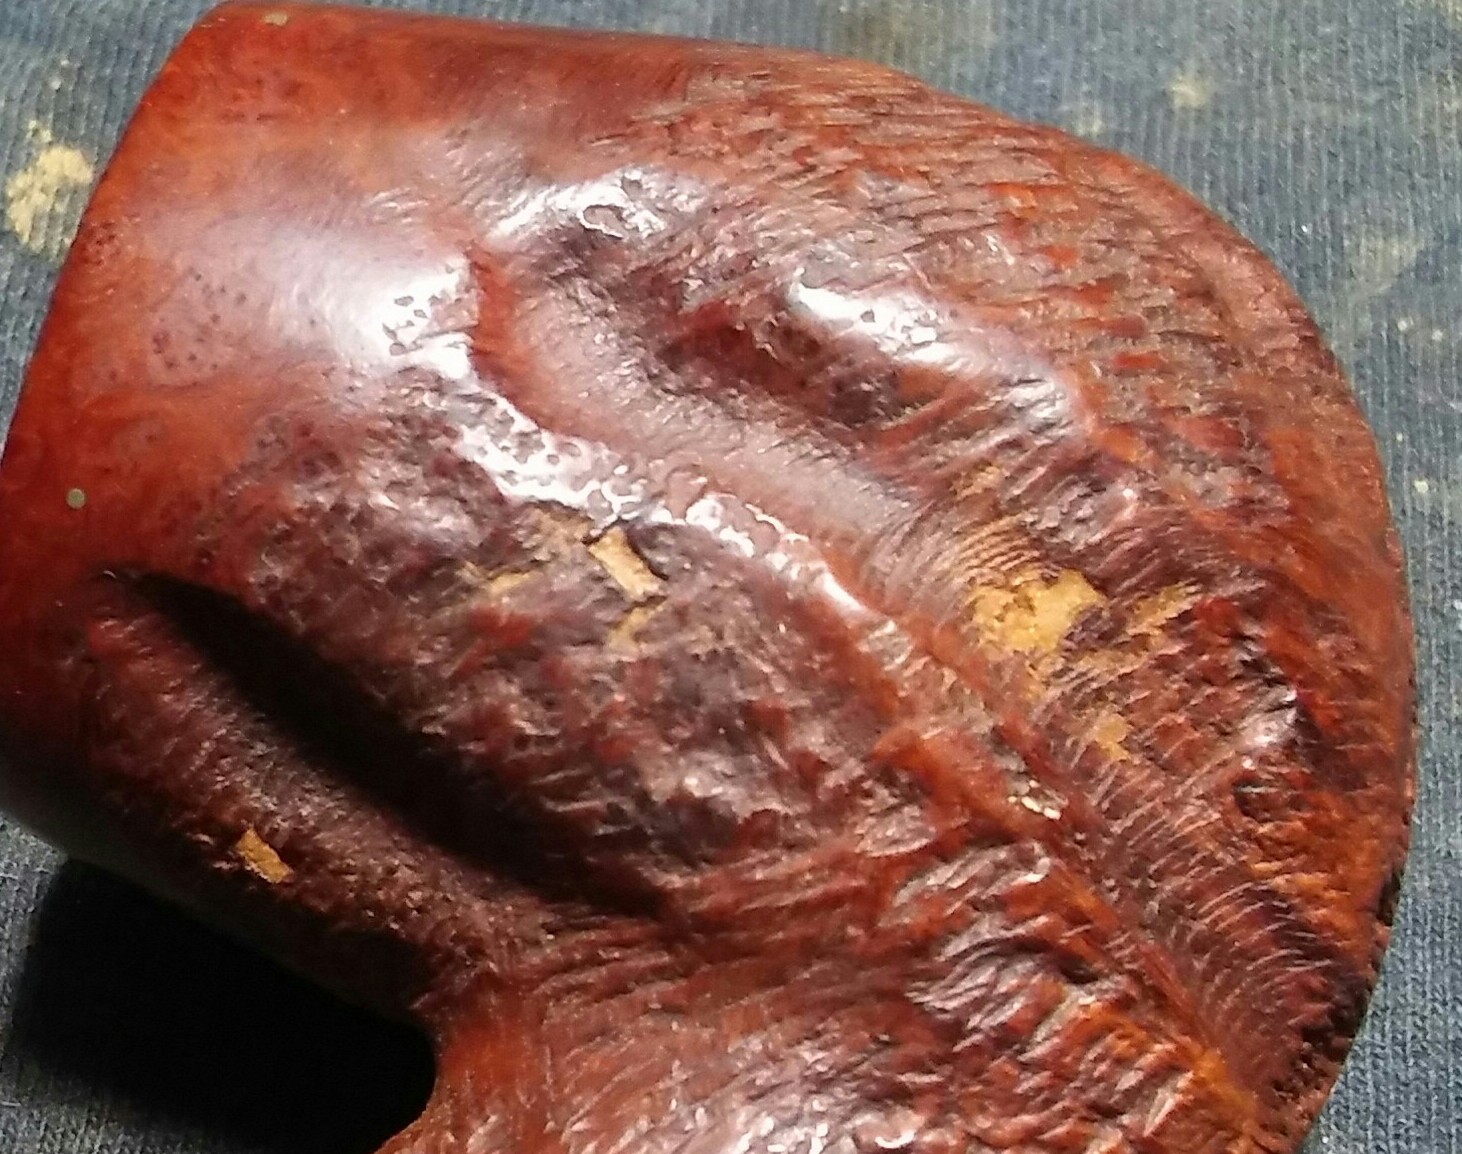
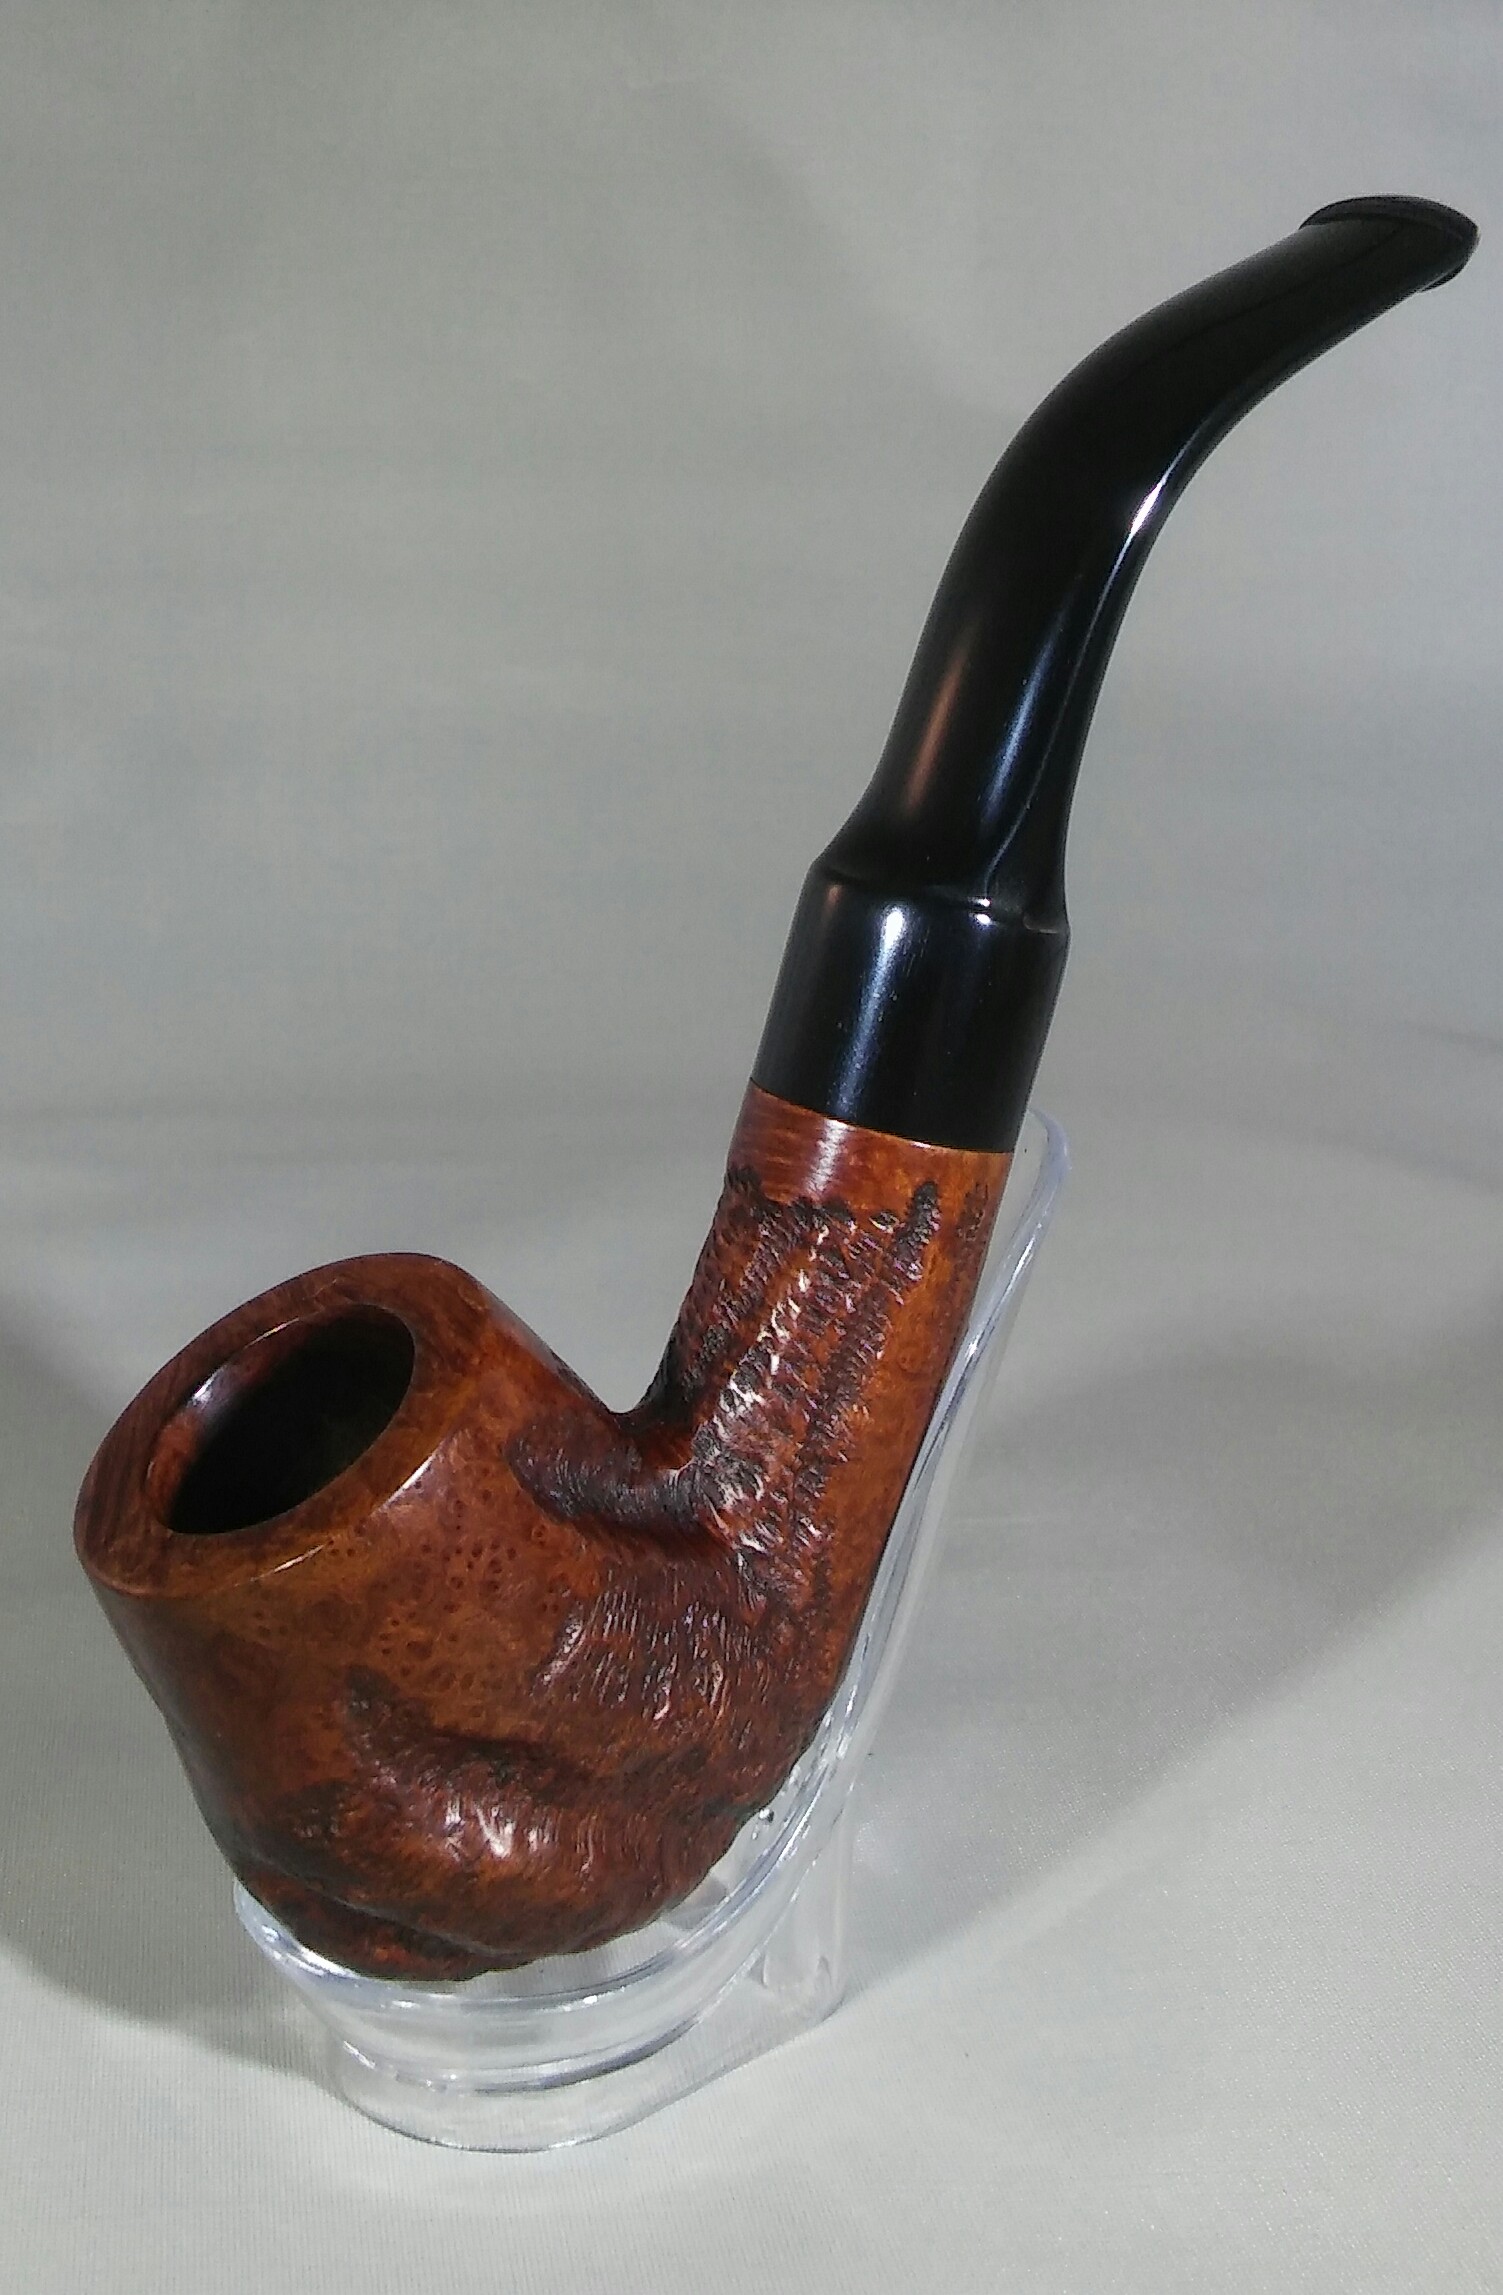
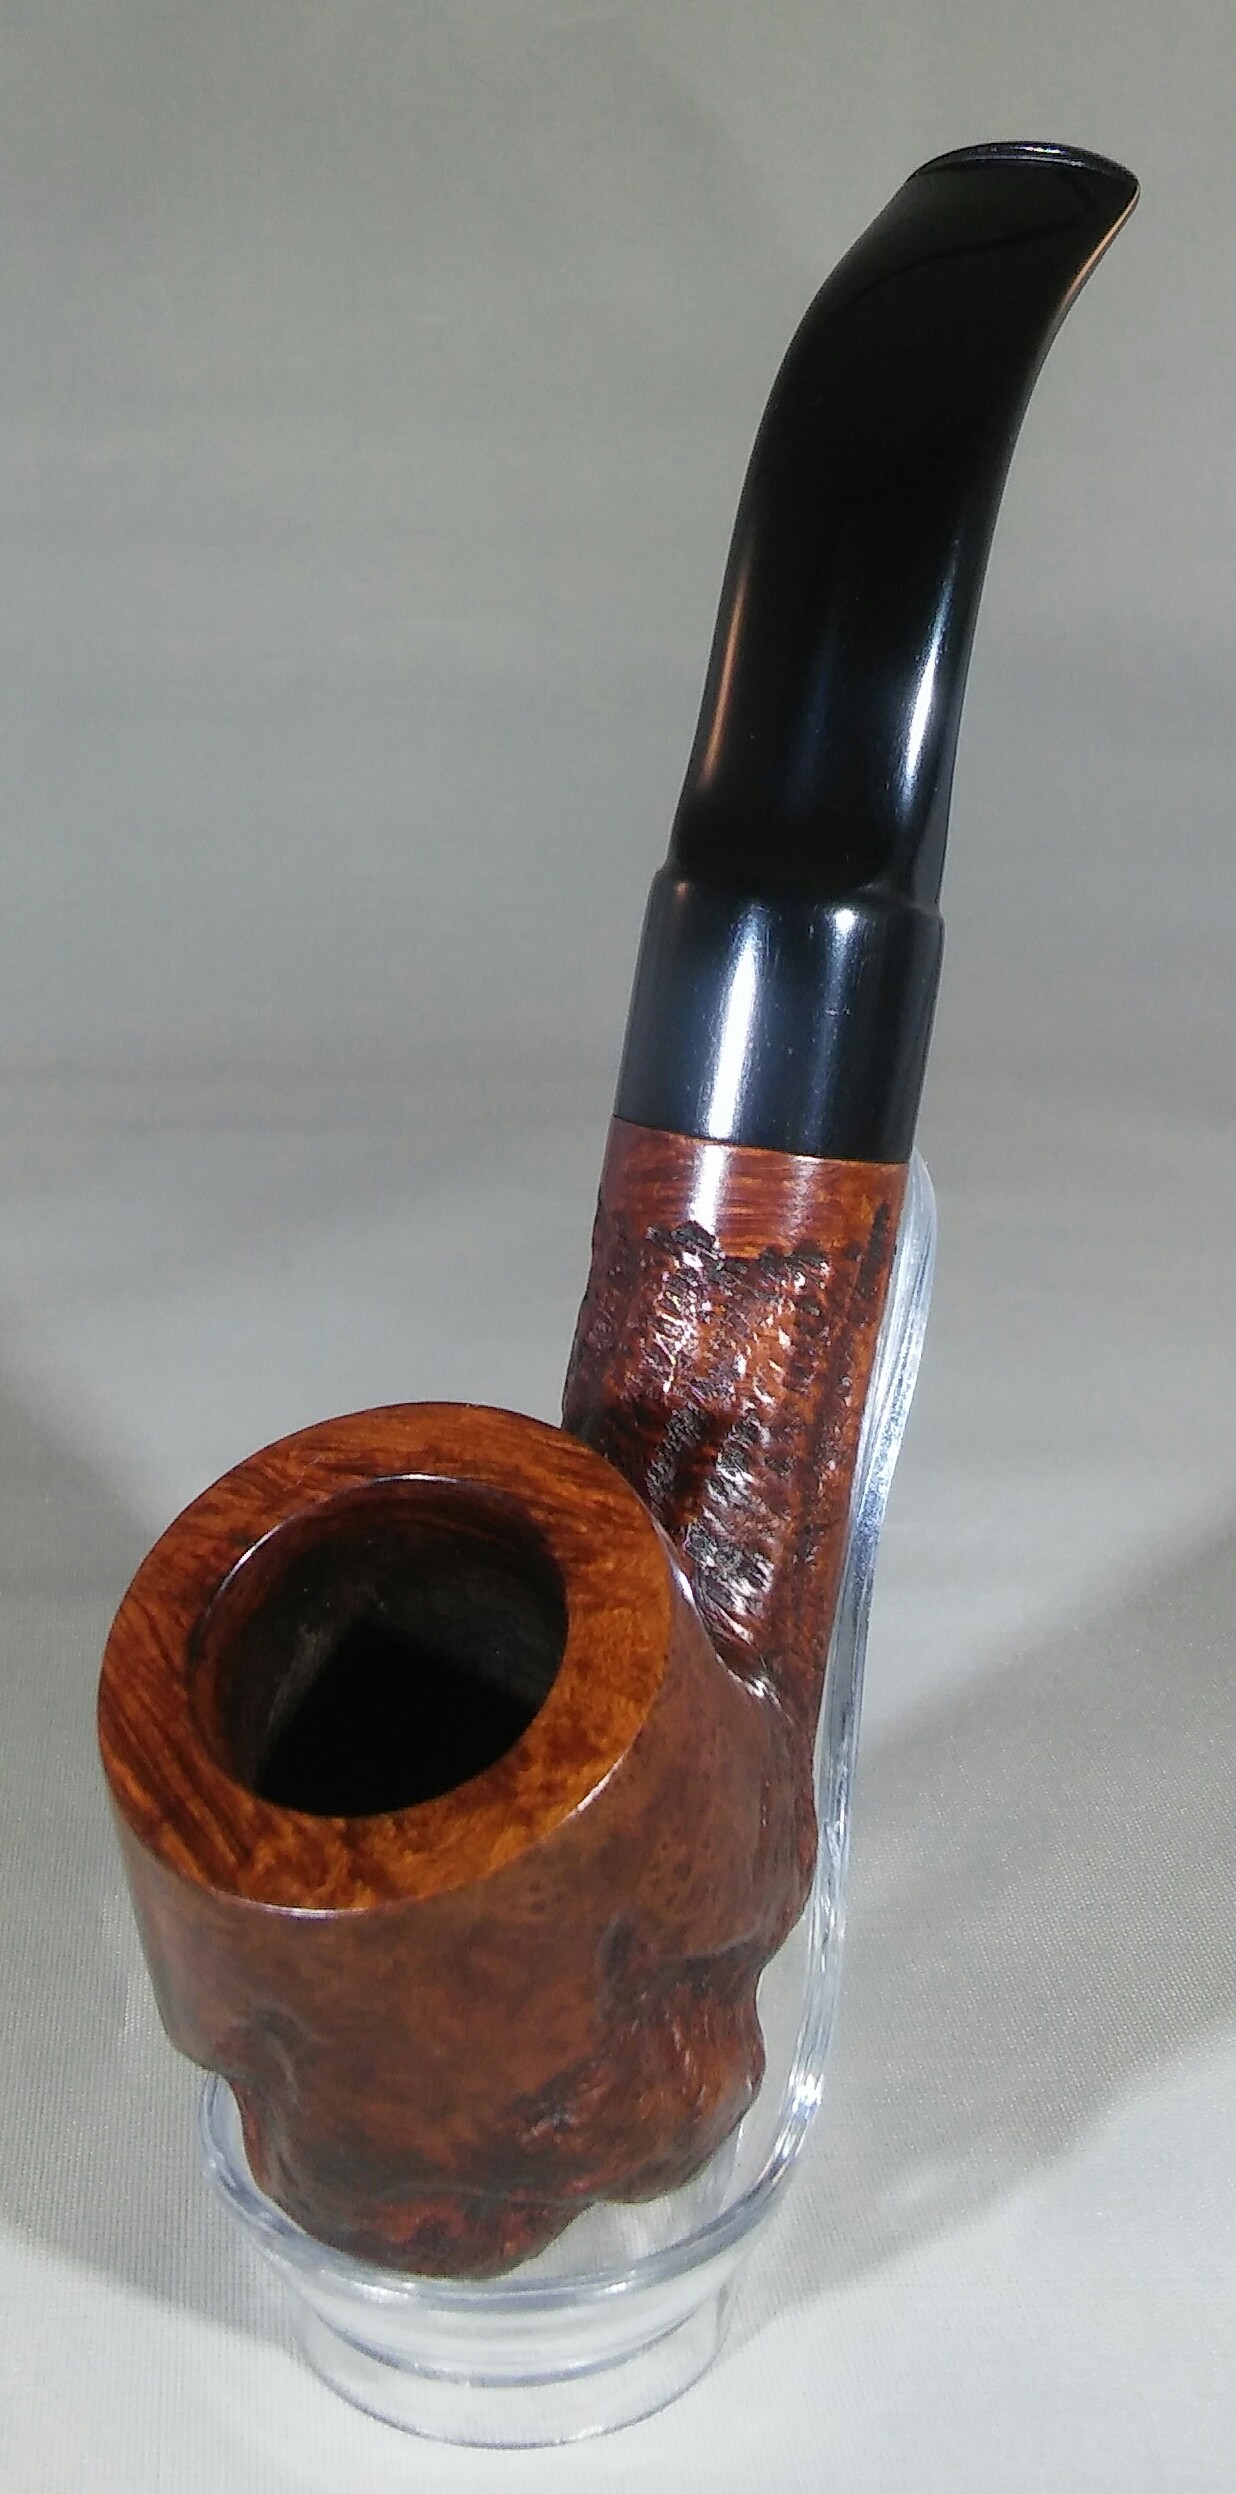
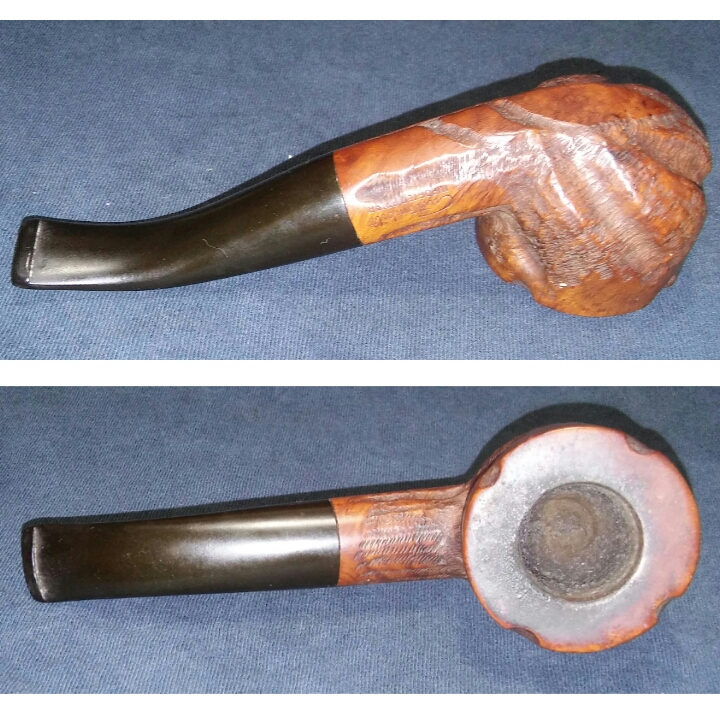
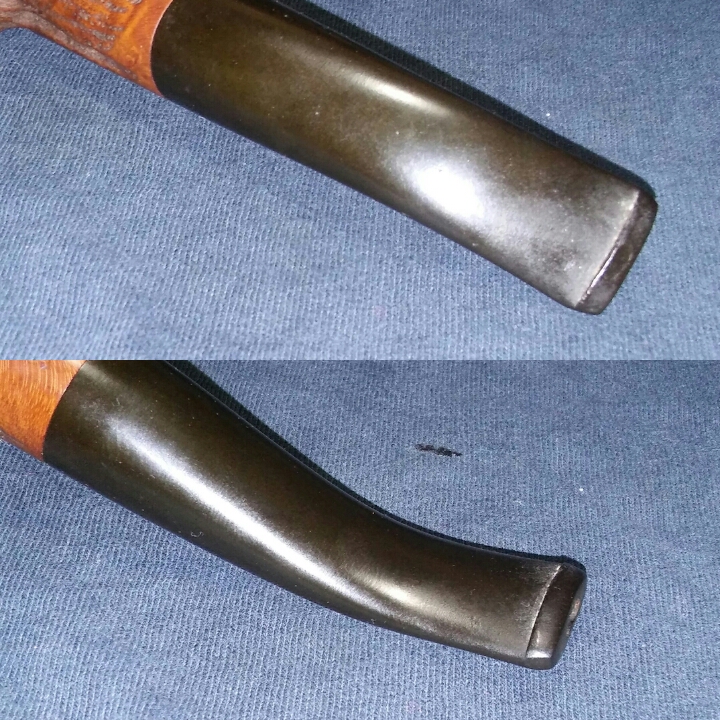
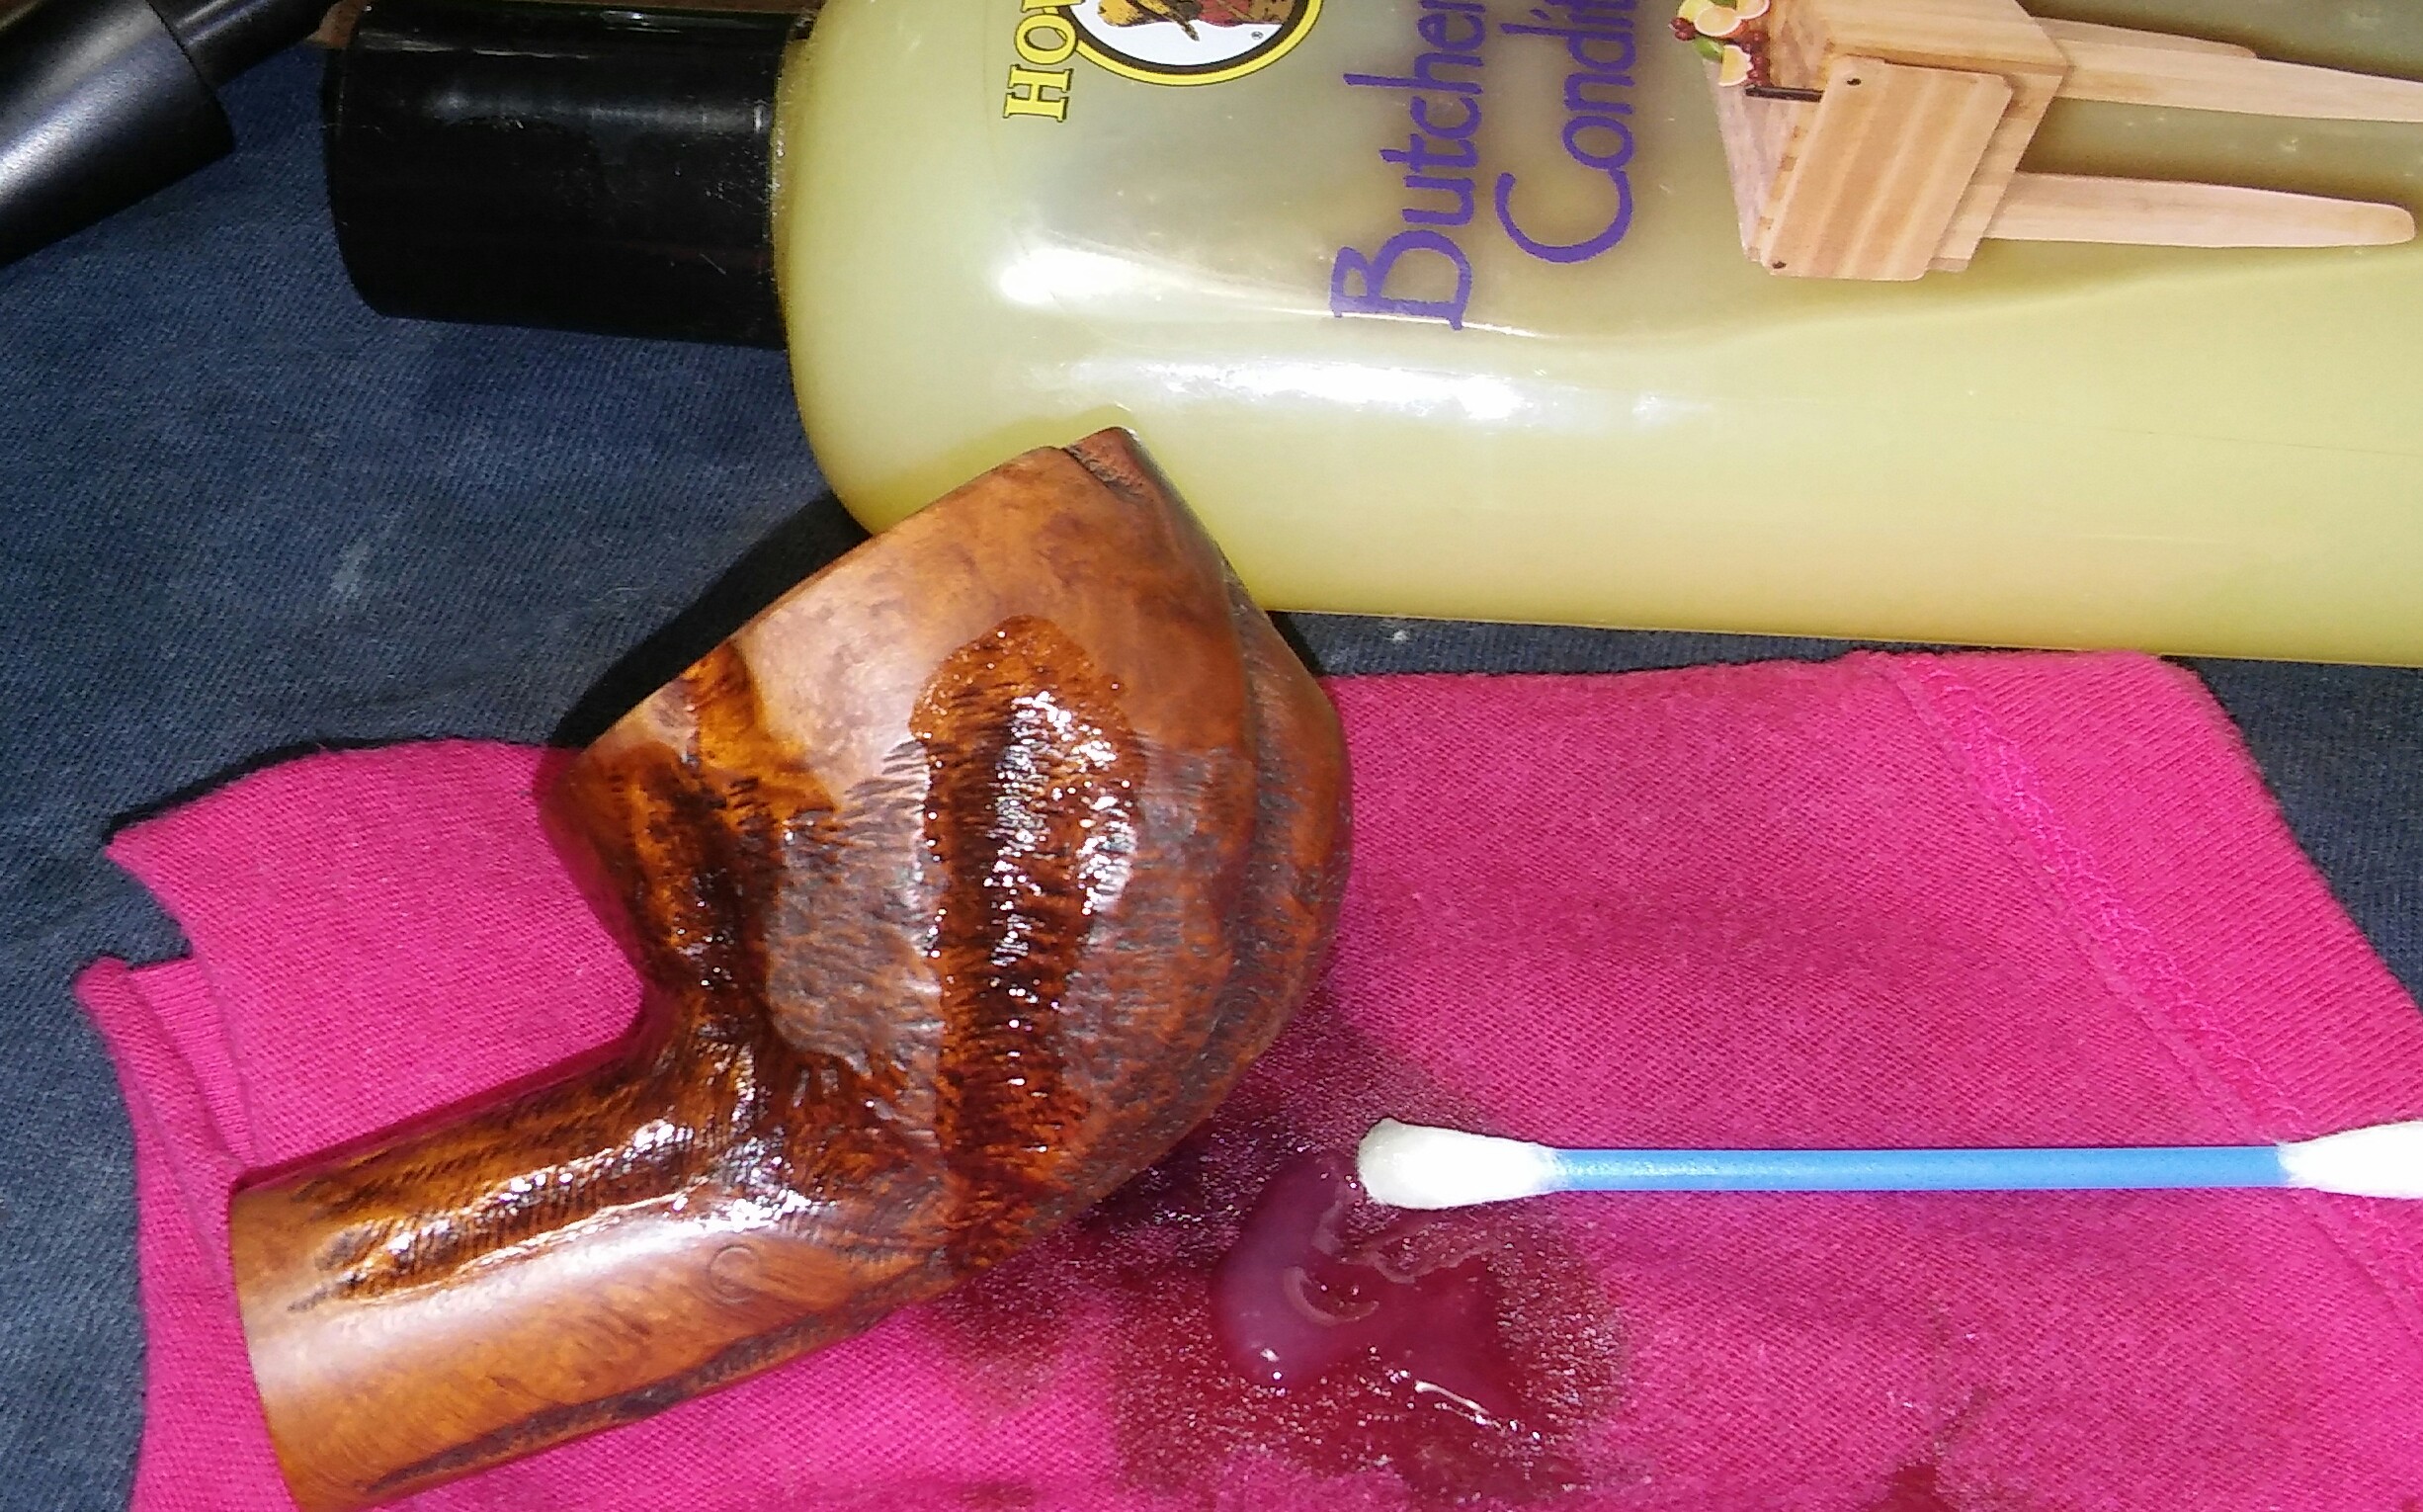
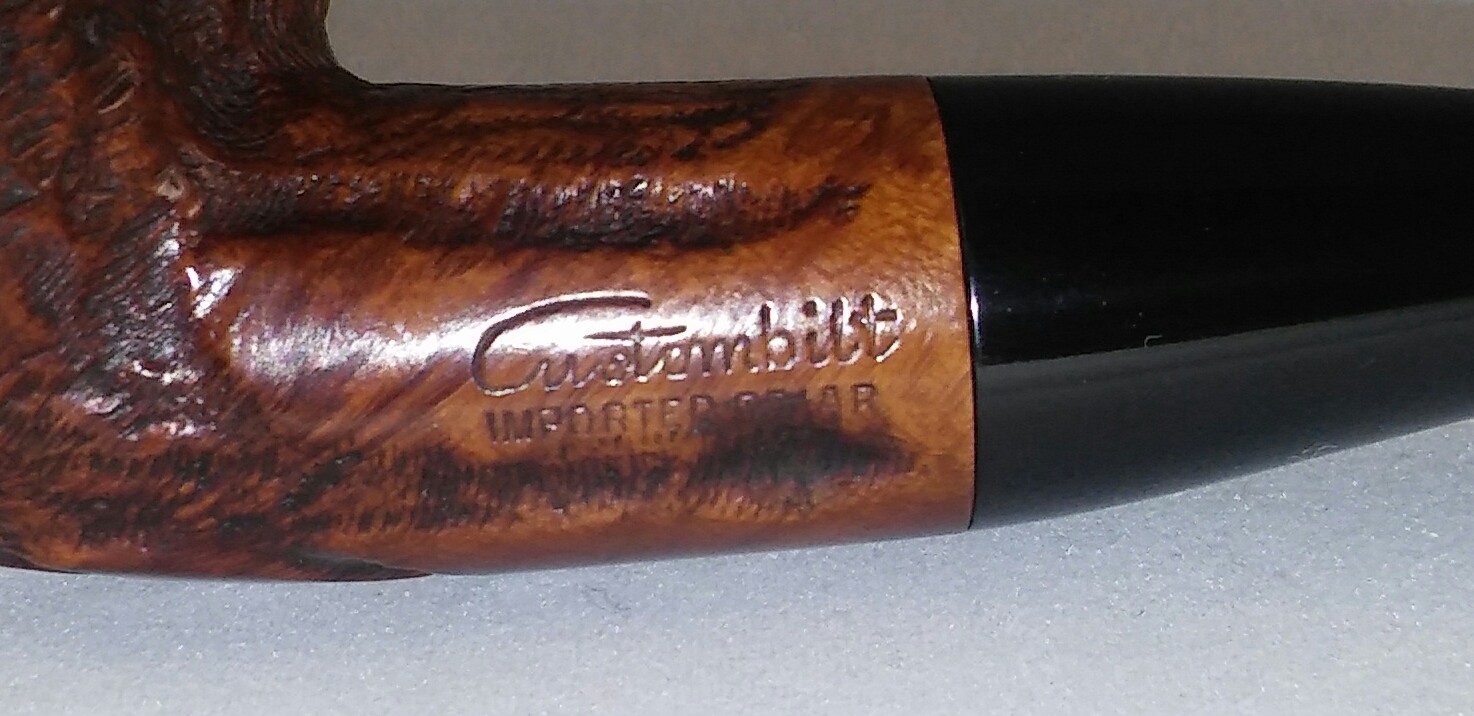
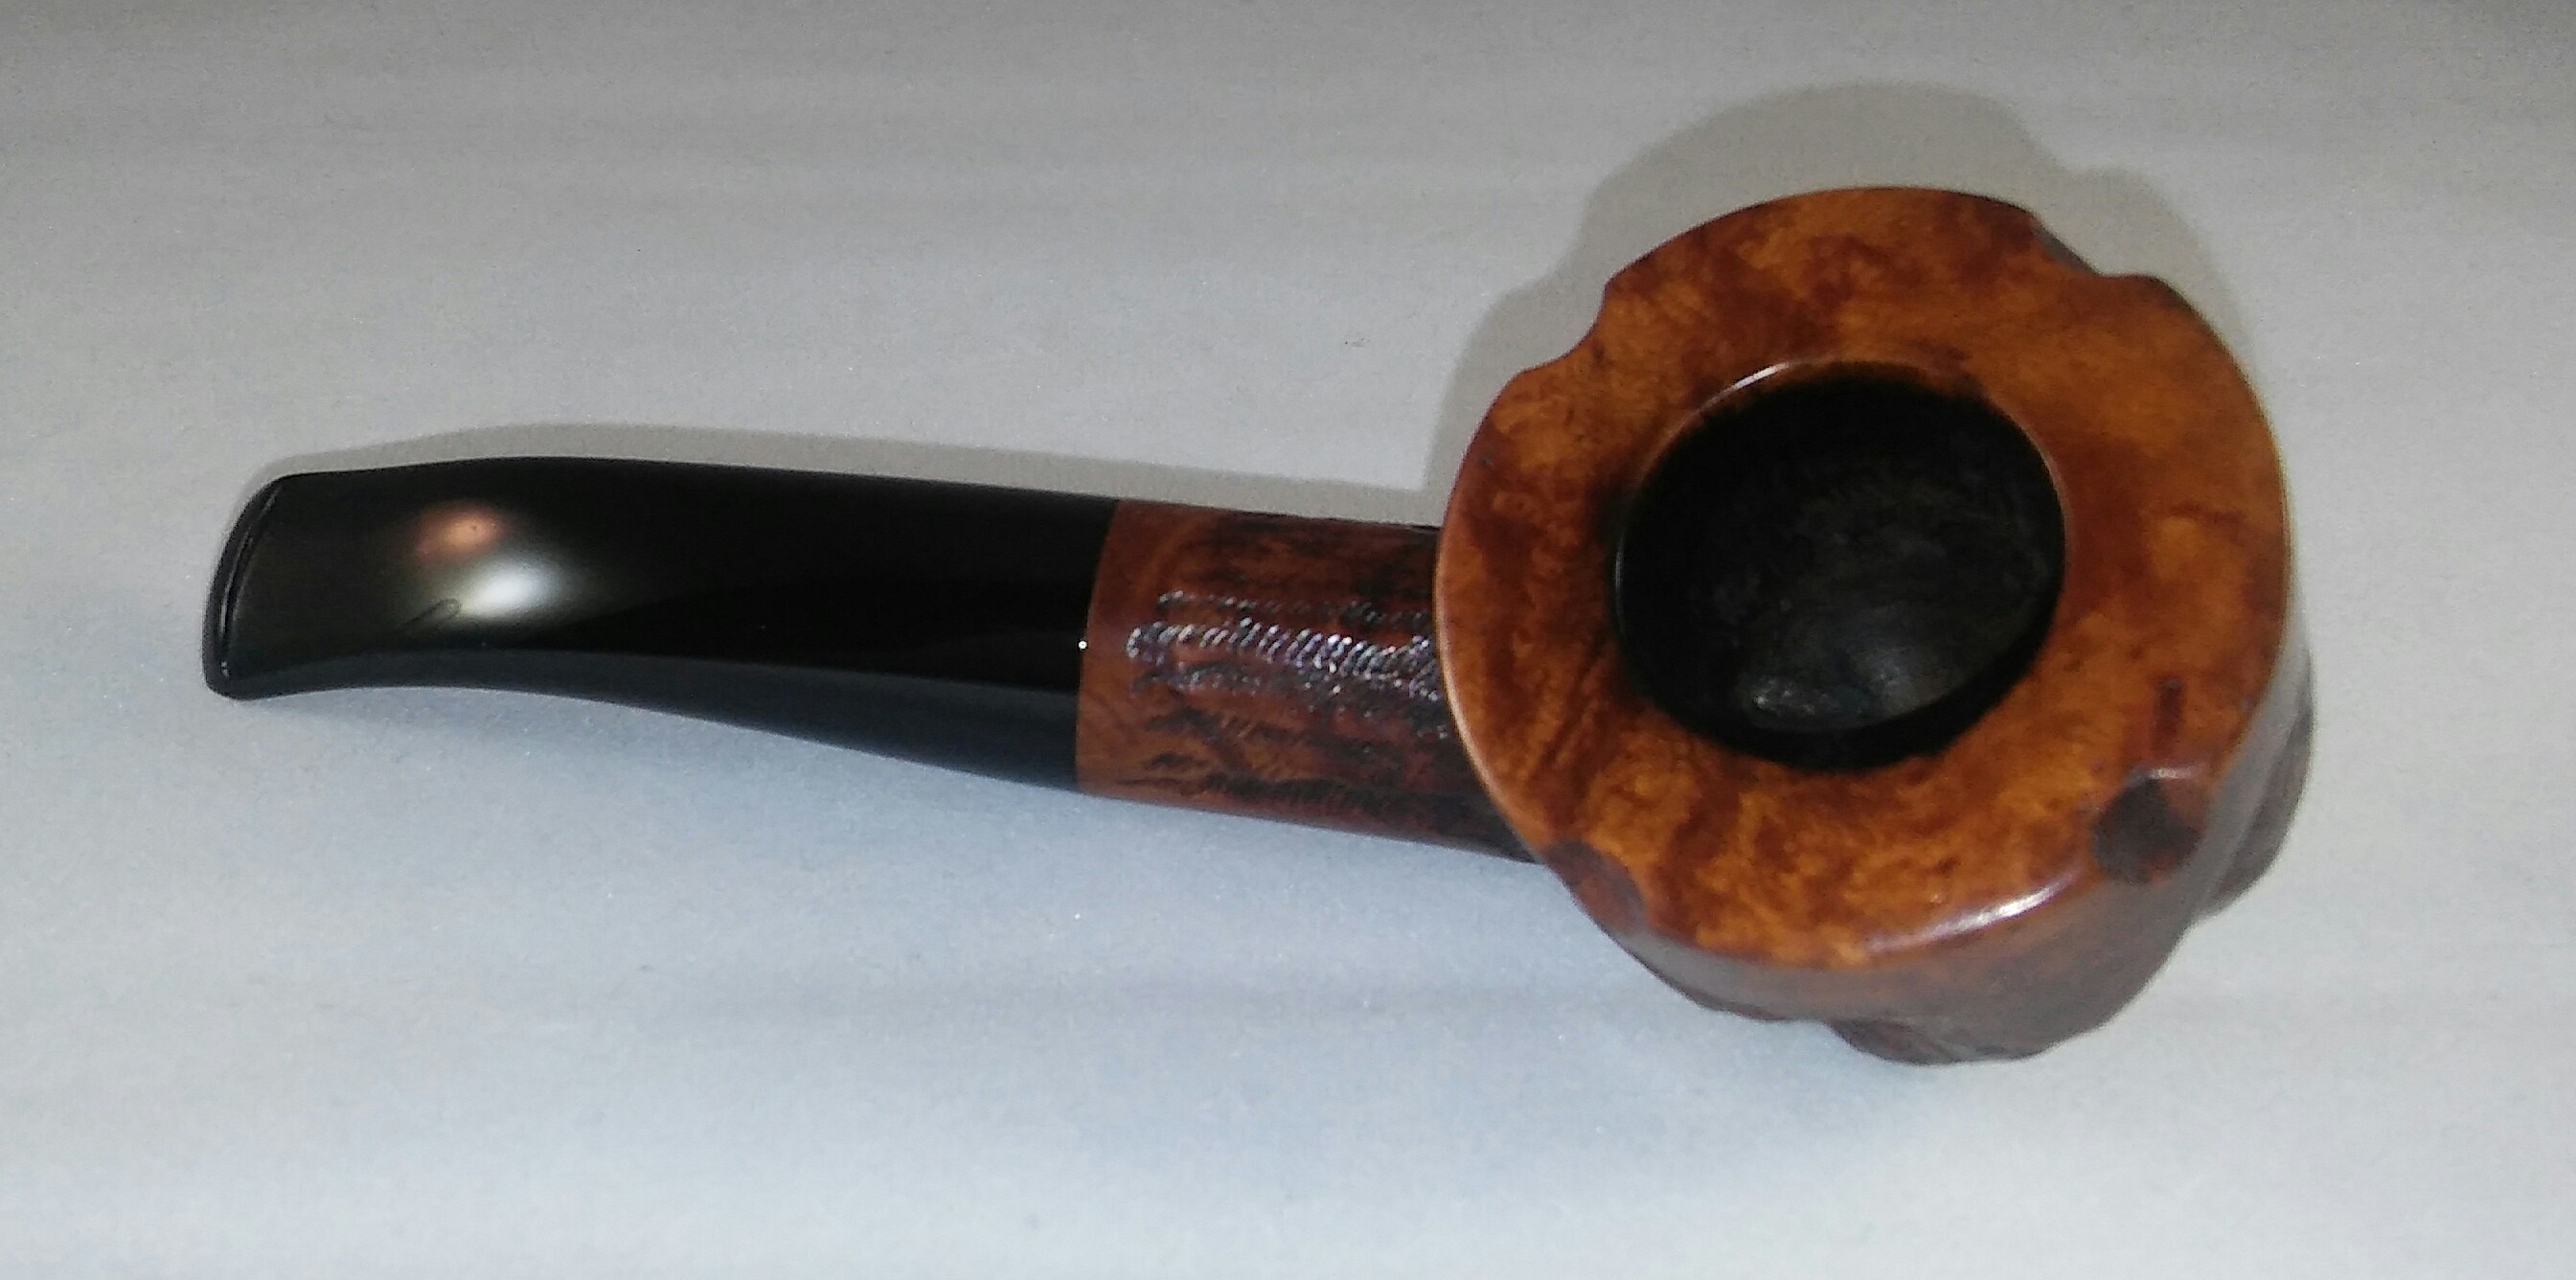
The unmistakable Tracy Mincer Custom-Bilt, the use of the hyphen between Custom and Bilt was only used during the Mincer years. The introduction year of Tracy Mincer’s Custom-Bilt pipe is a little hazy , 1929 or 1938. From what Bill Unger found in his research, Mincer more than likely started his pipe making in the early 1930’s while working the cigar counter at a drug store in Chicago. The chunky, thick walled and uniquely rusticated pipes of the Mincer era make it easier to tell apart from other Custombilt pipes.
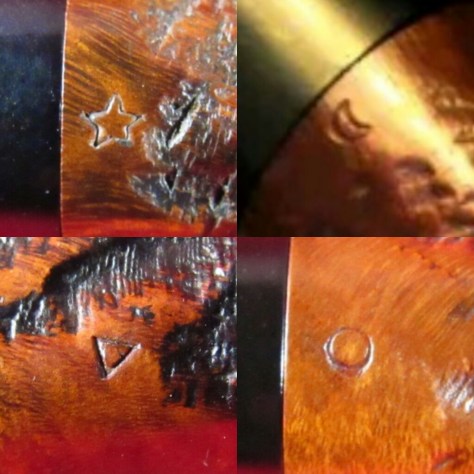
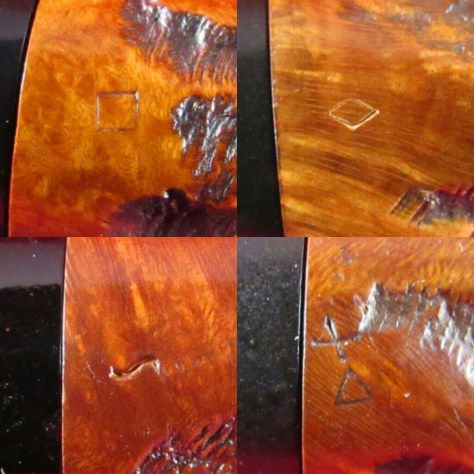
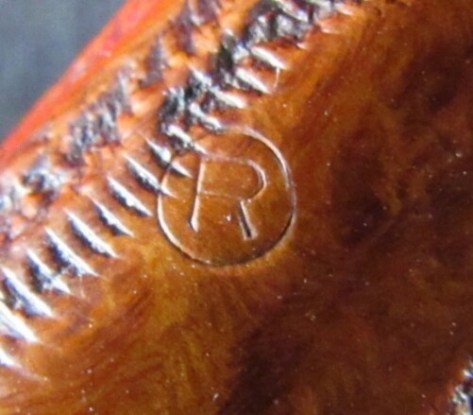
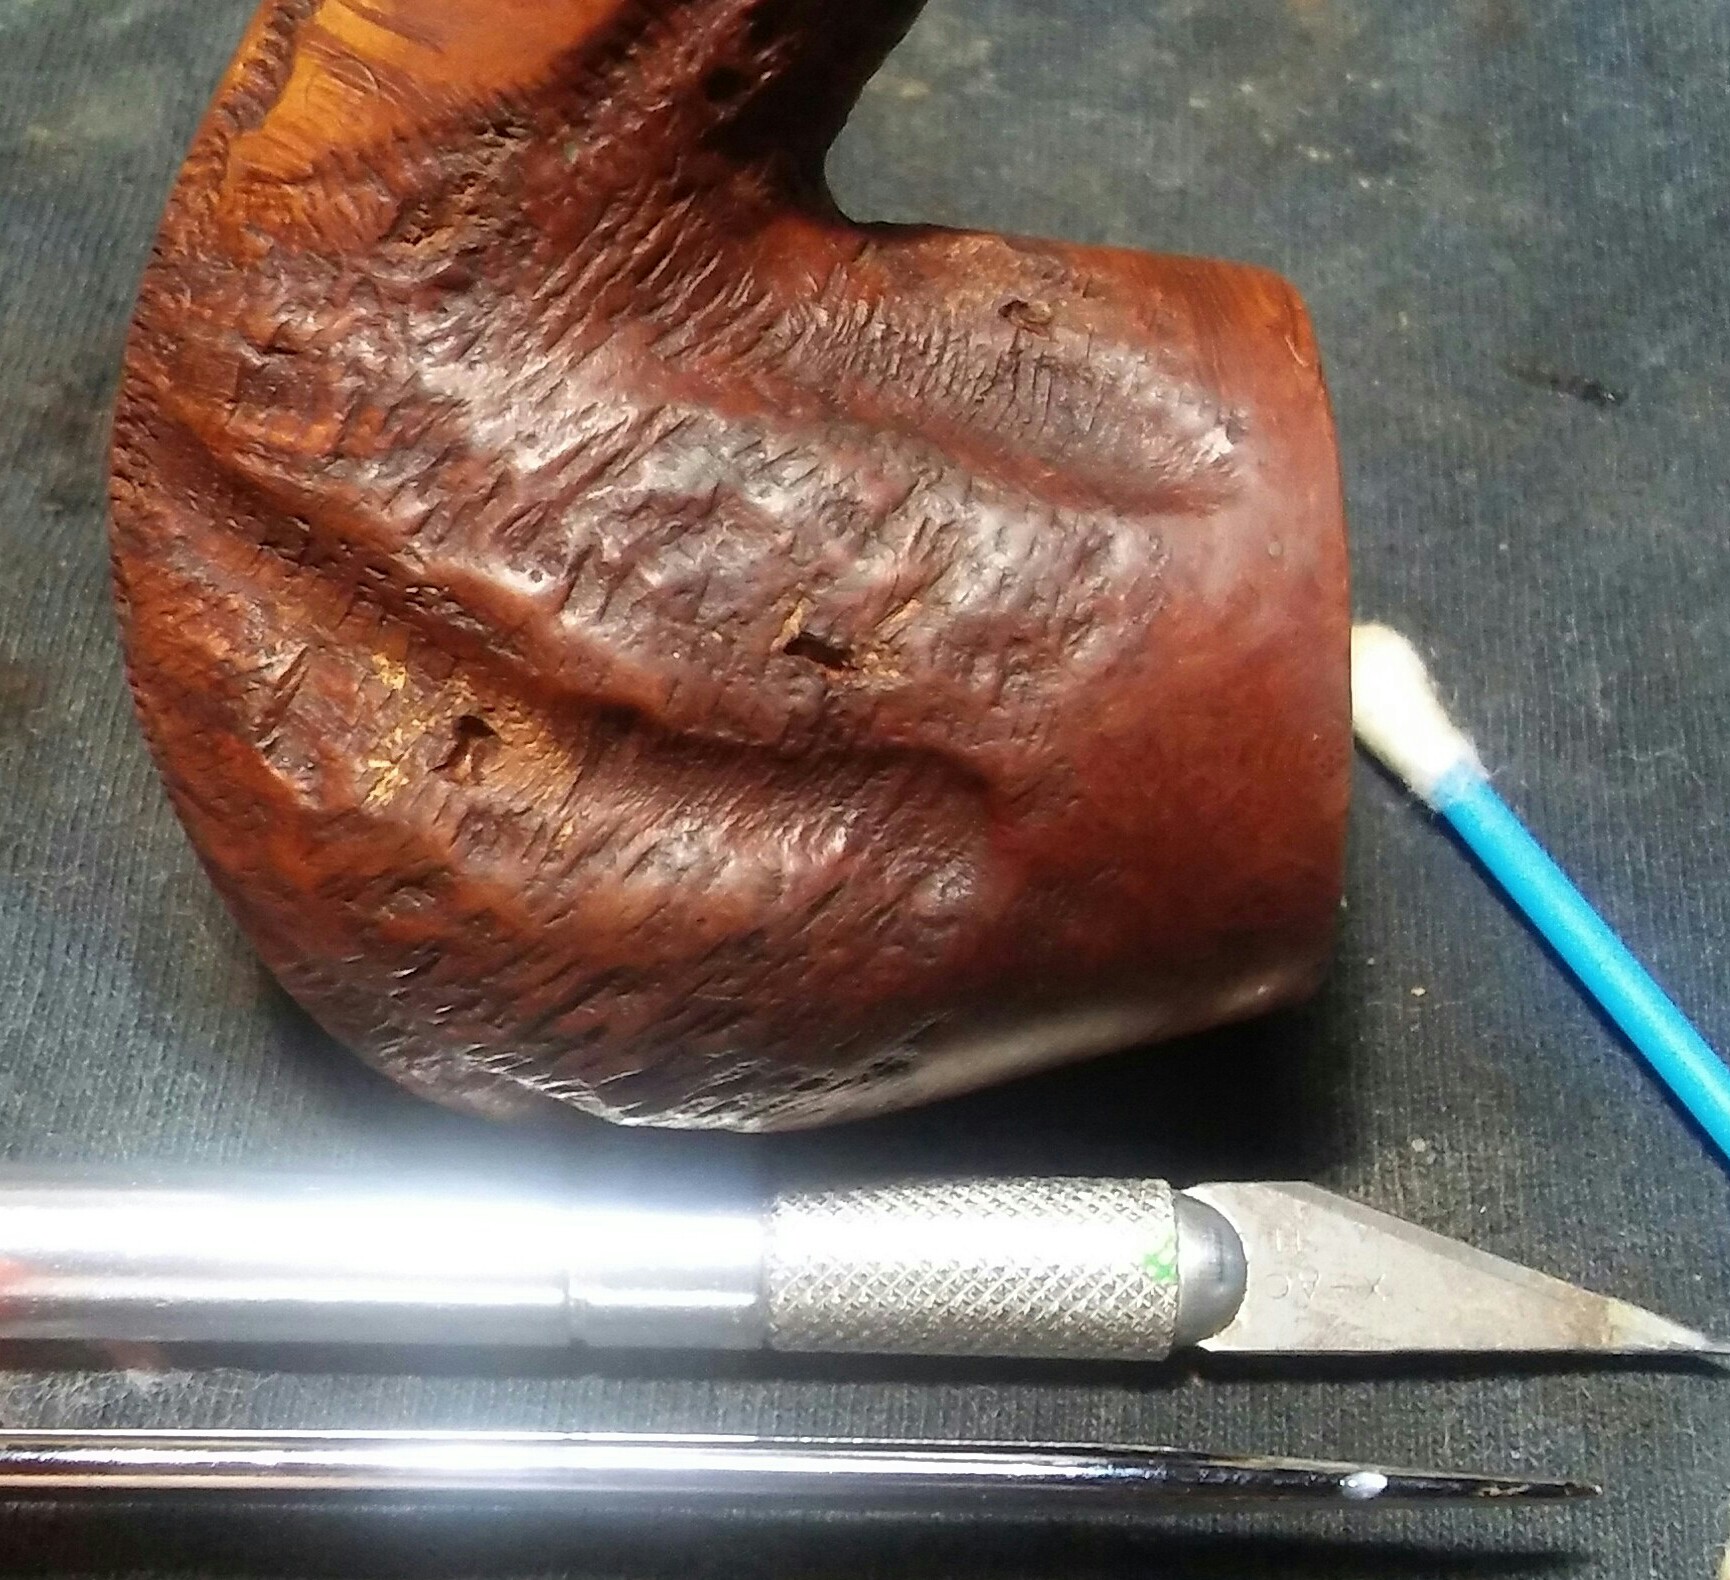
Geometric Symbols
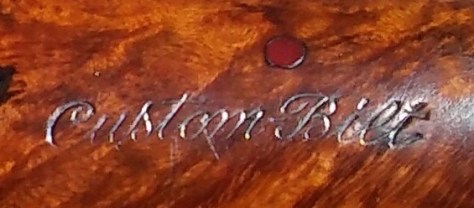
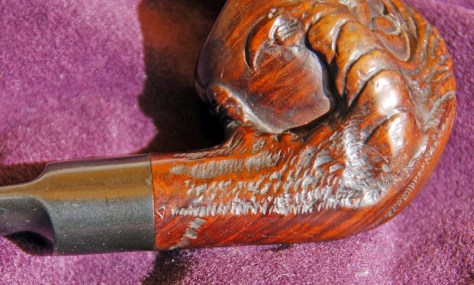
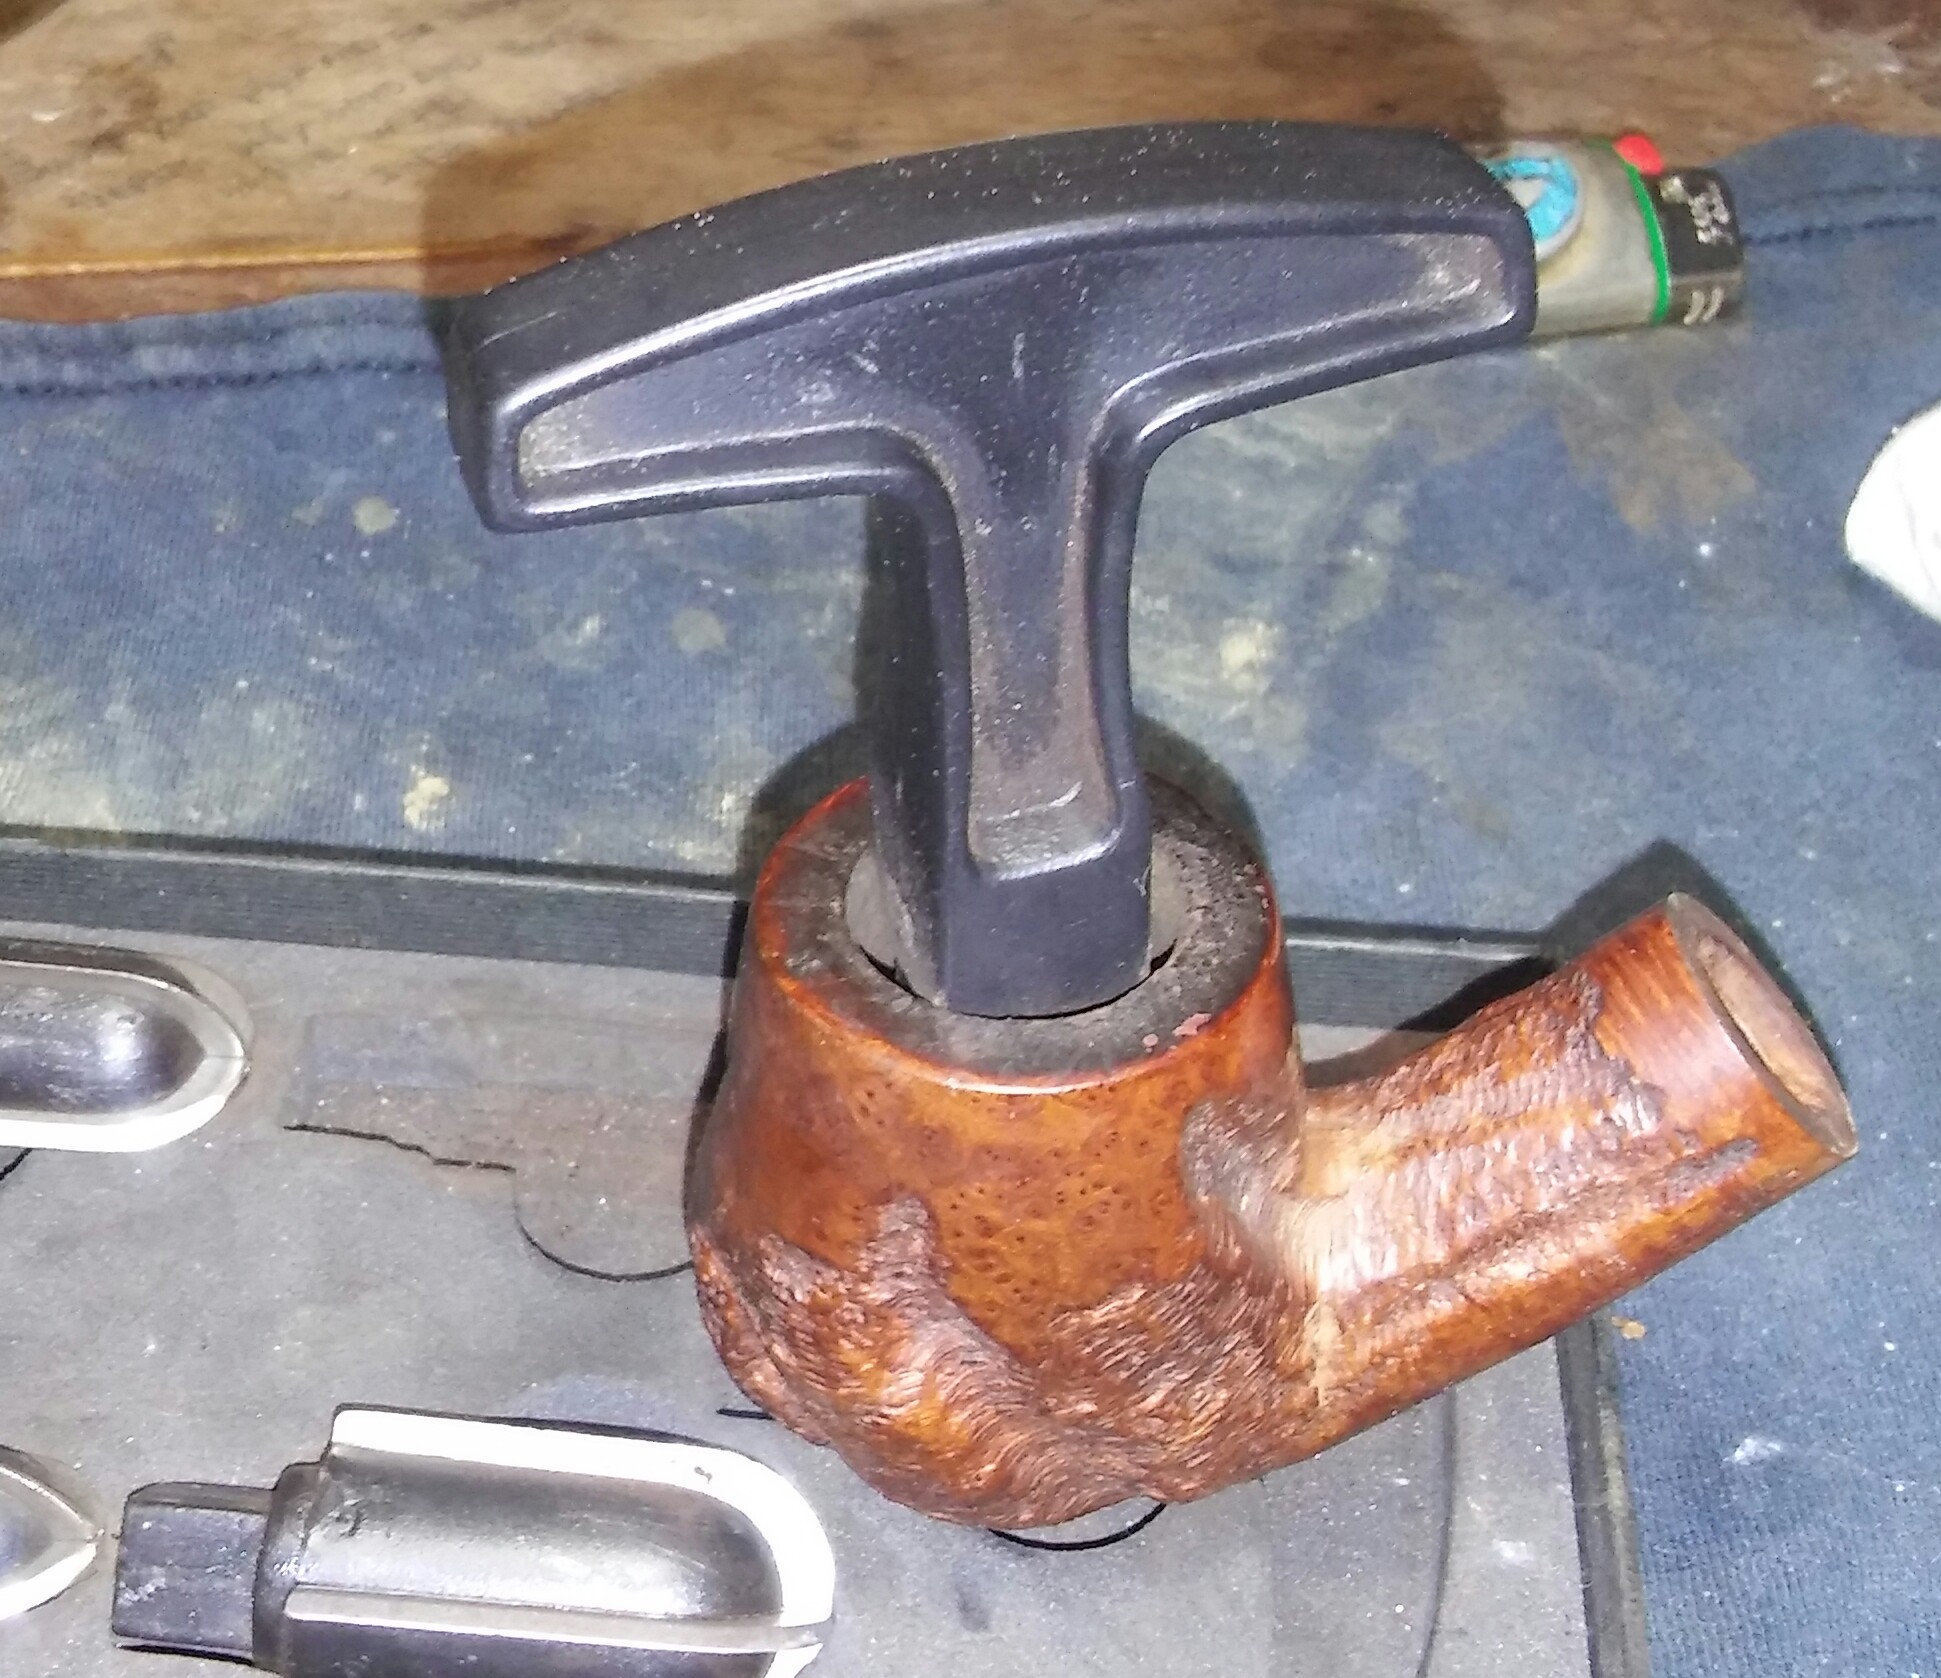
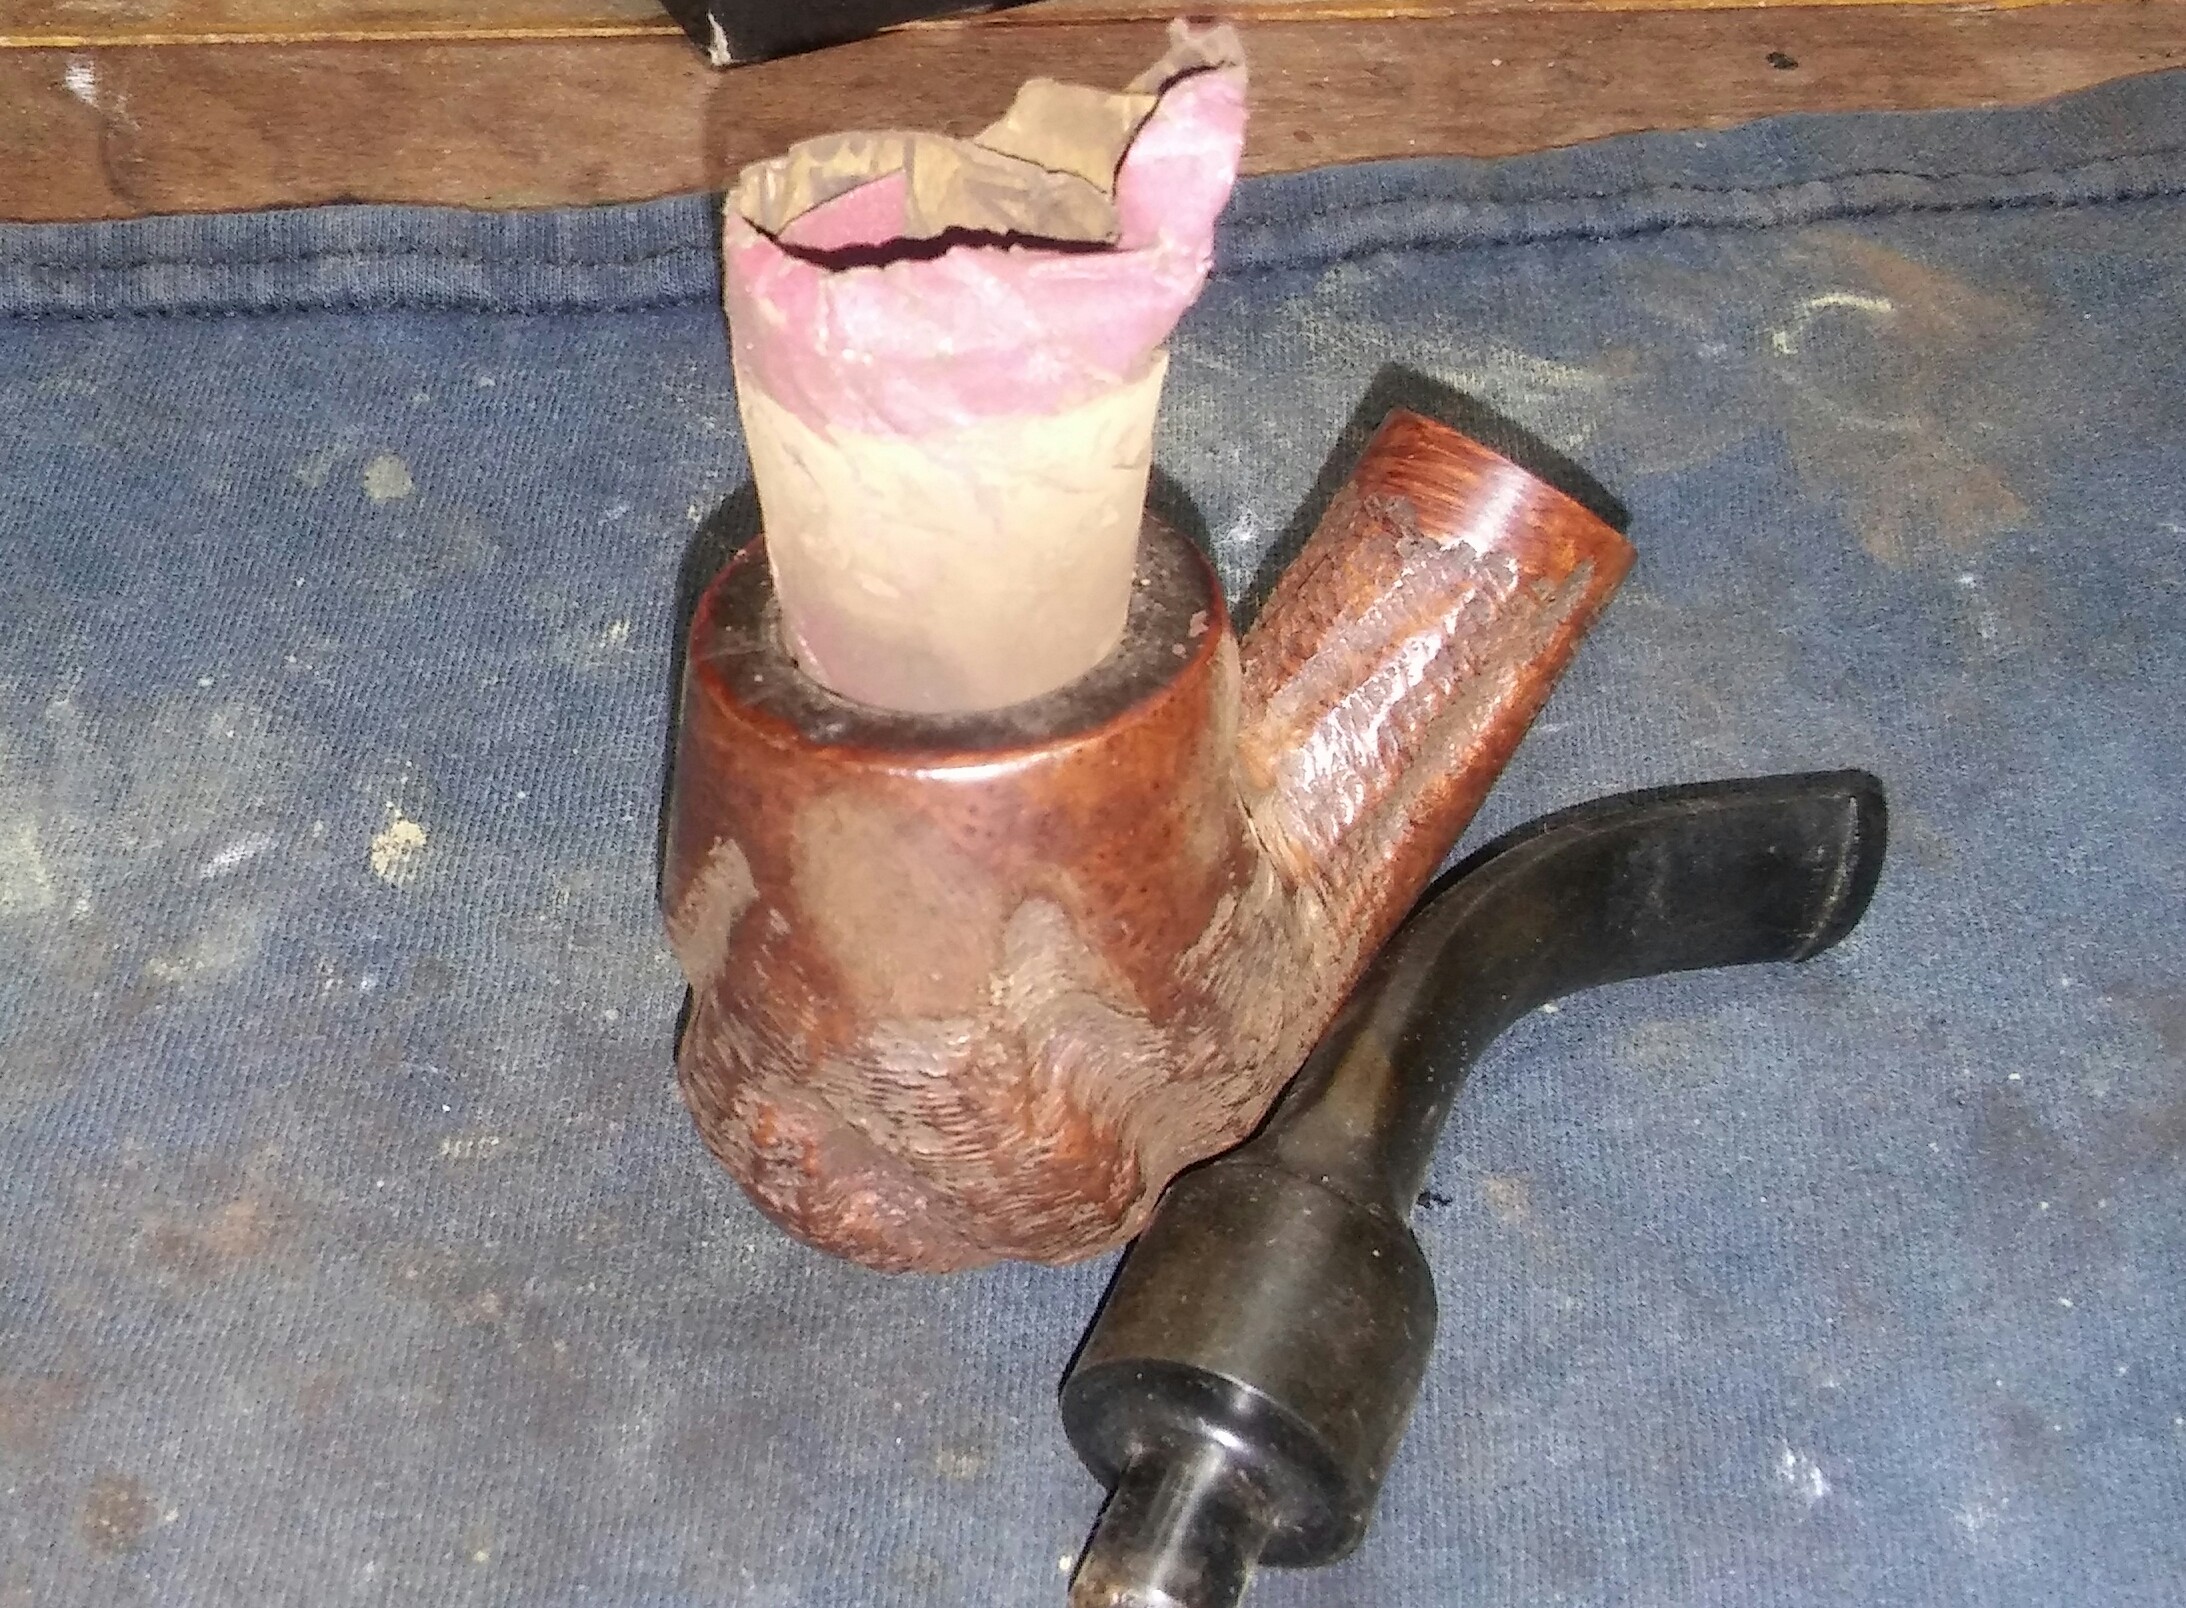
Most but not all Custom-Bilt pipes have a geometric stamp. The purpose of geometric symbol stamps seems to be a mystery, when Unger questioned former owners and employees of Custombilt he received different answers, one was grade and the other size but after the examination of many Bilts he found the same geometric stamp used on a variety of different sizes and grades of pipes. I have seen a handful of Eugene Rich era Bilts with geometric stamps as well. i
Examples of Mincer Era Custom-Bilt Pipes
Straight & Saddle Bit Billiards


Flat Sided Billiards


BULLCAP & BULLDOGS
Lovat & Canadian
Dublin

Pokers

Squat Apple

Squat Pot

Small Bilts

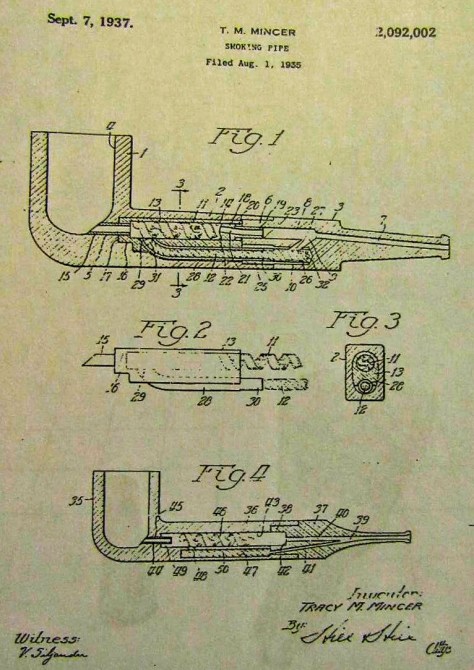
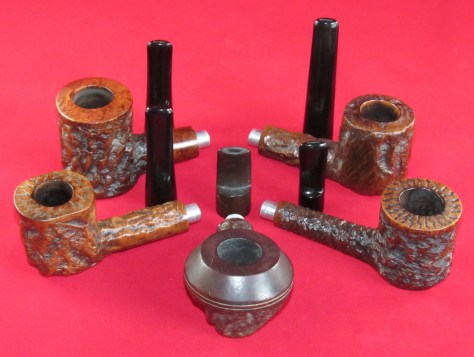
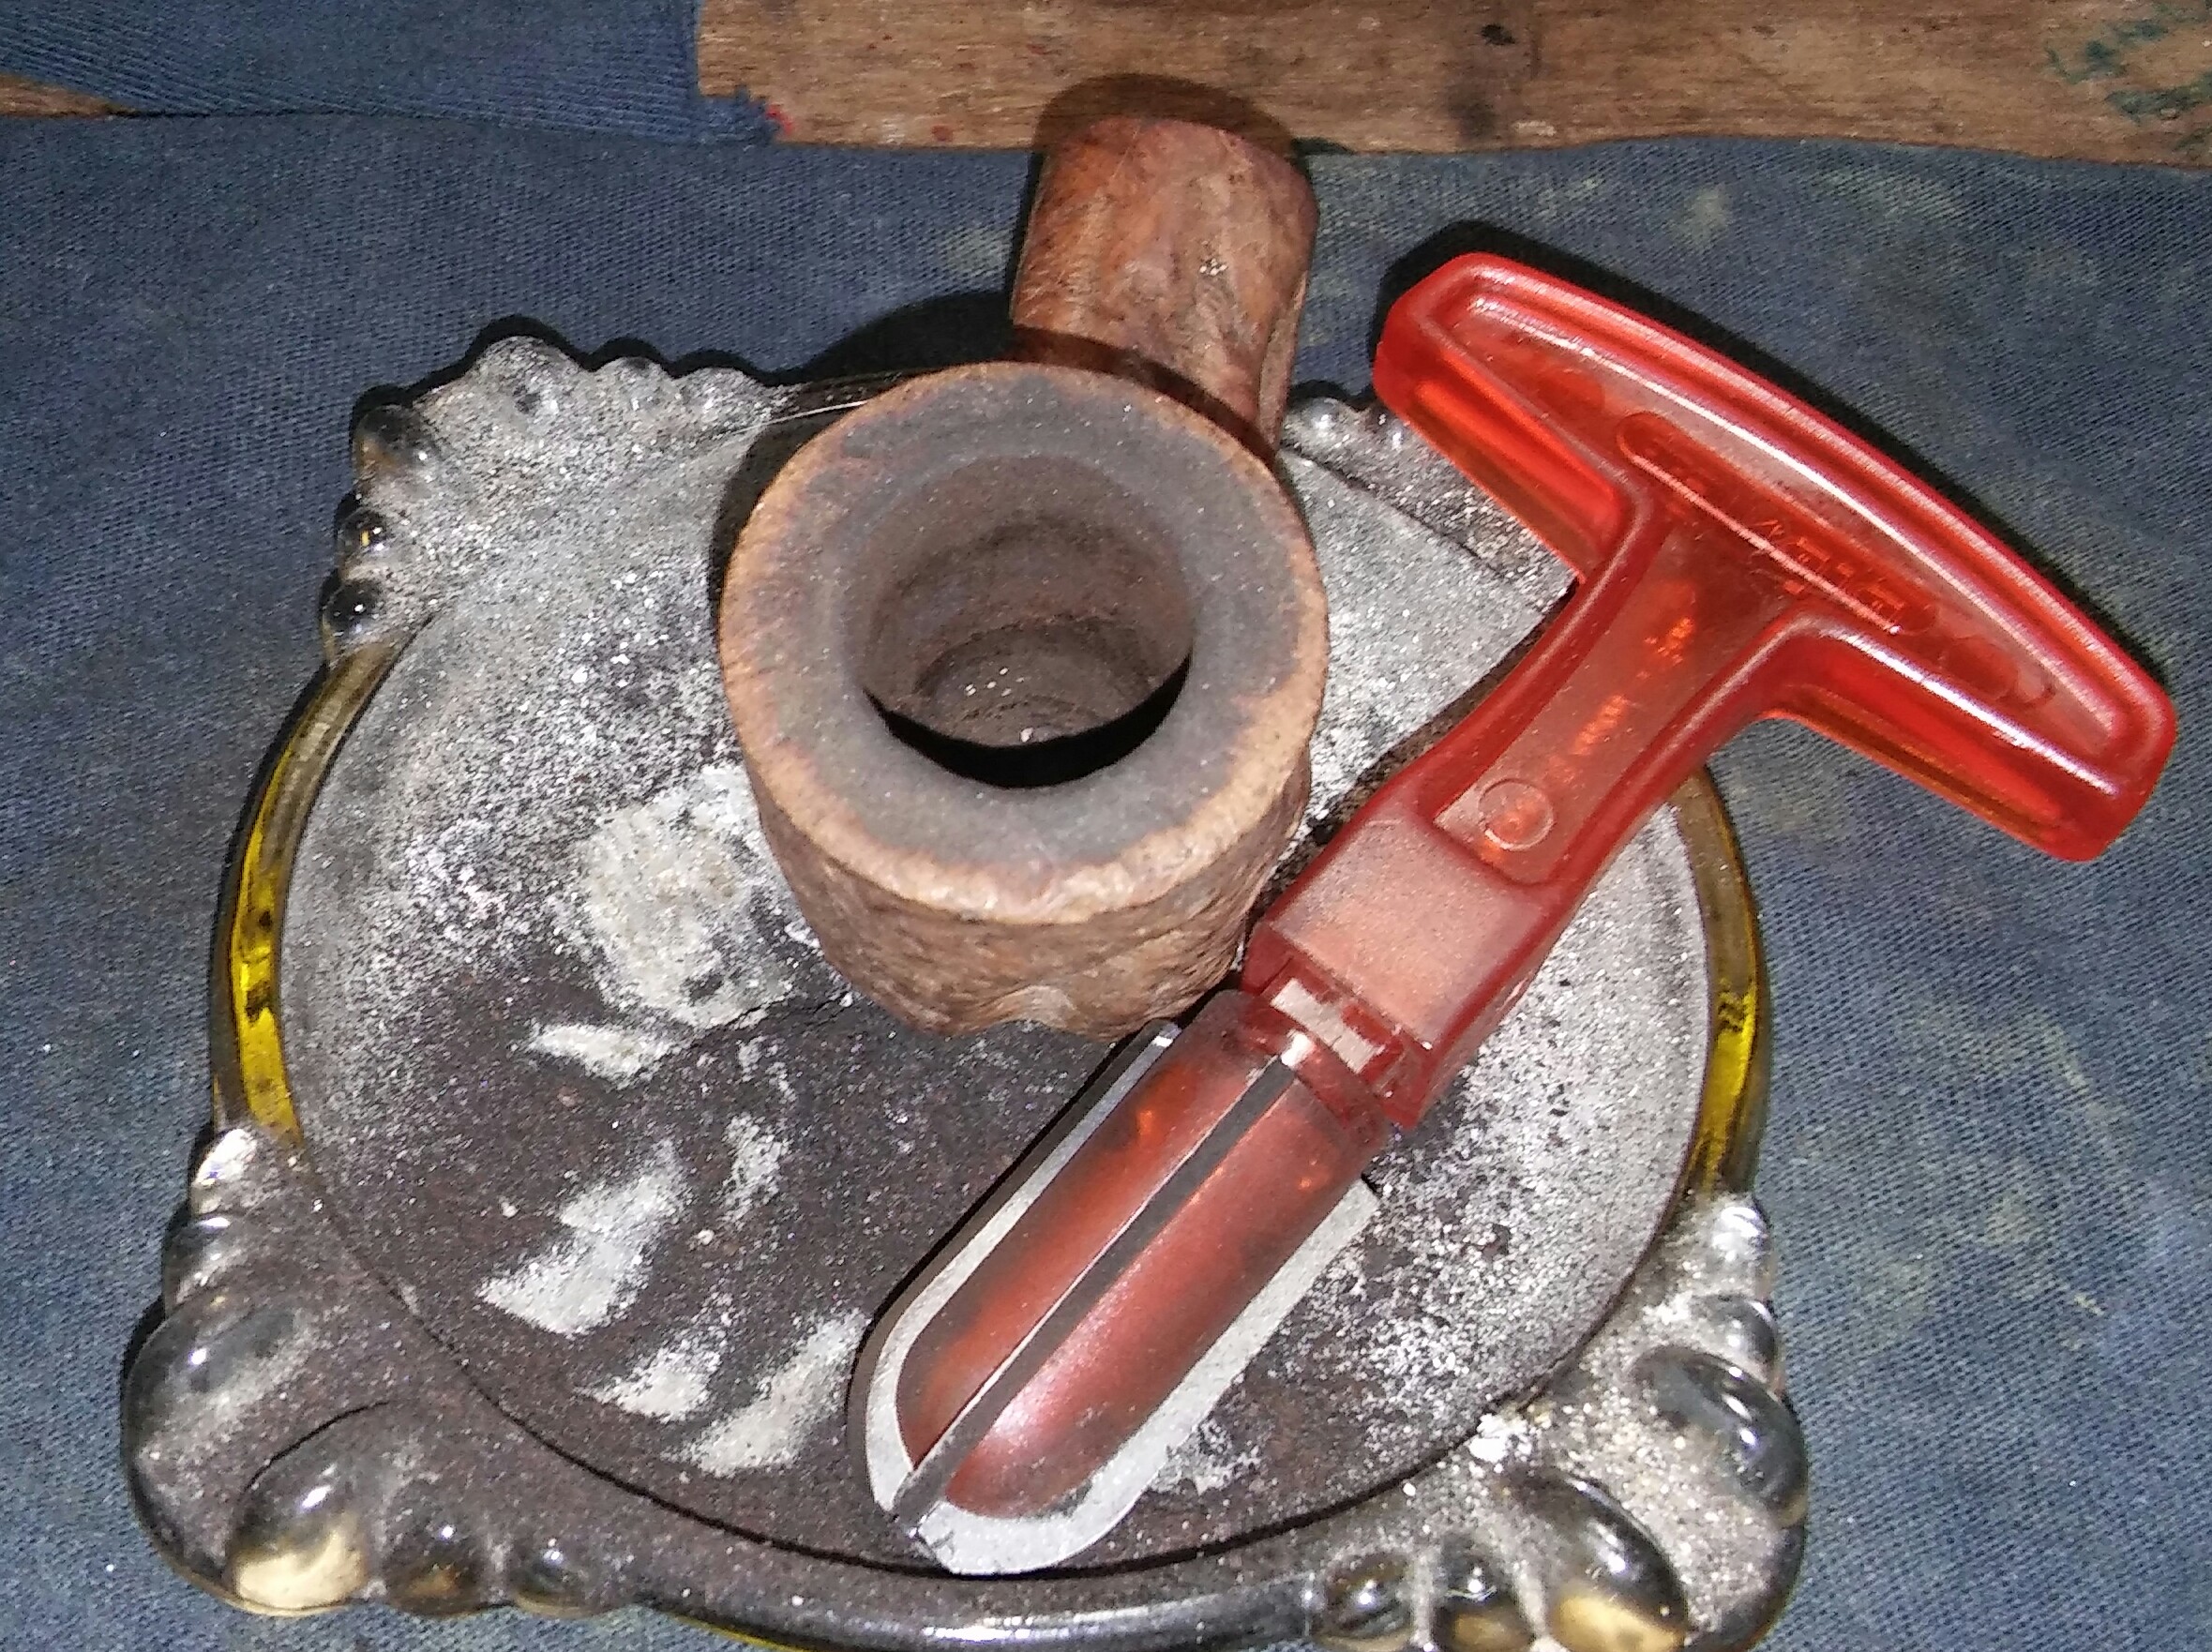
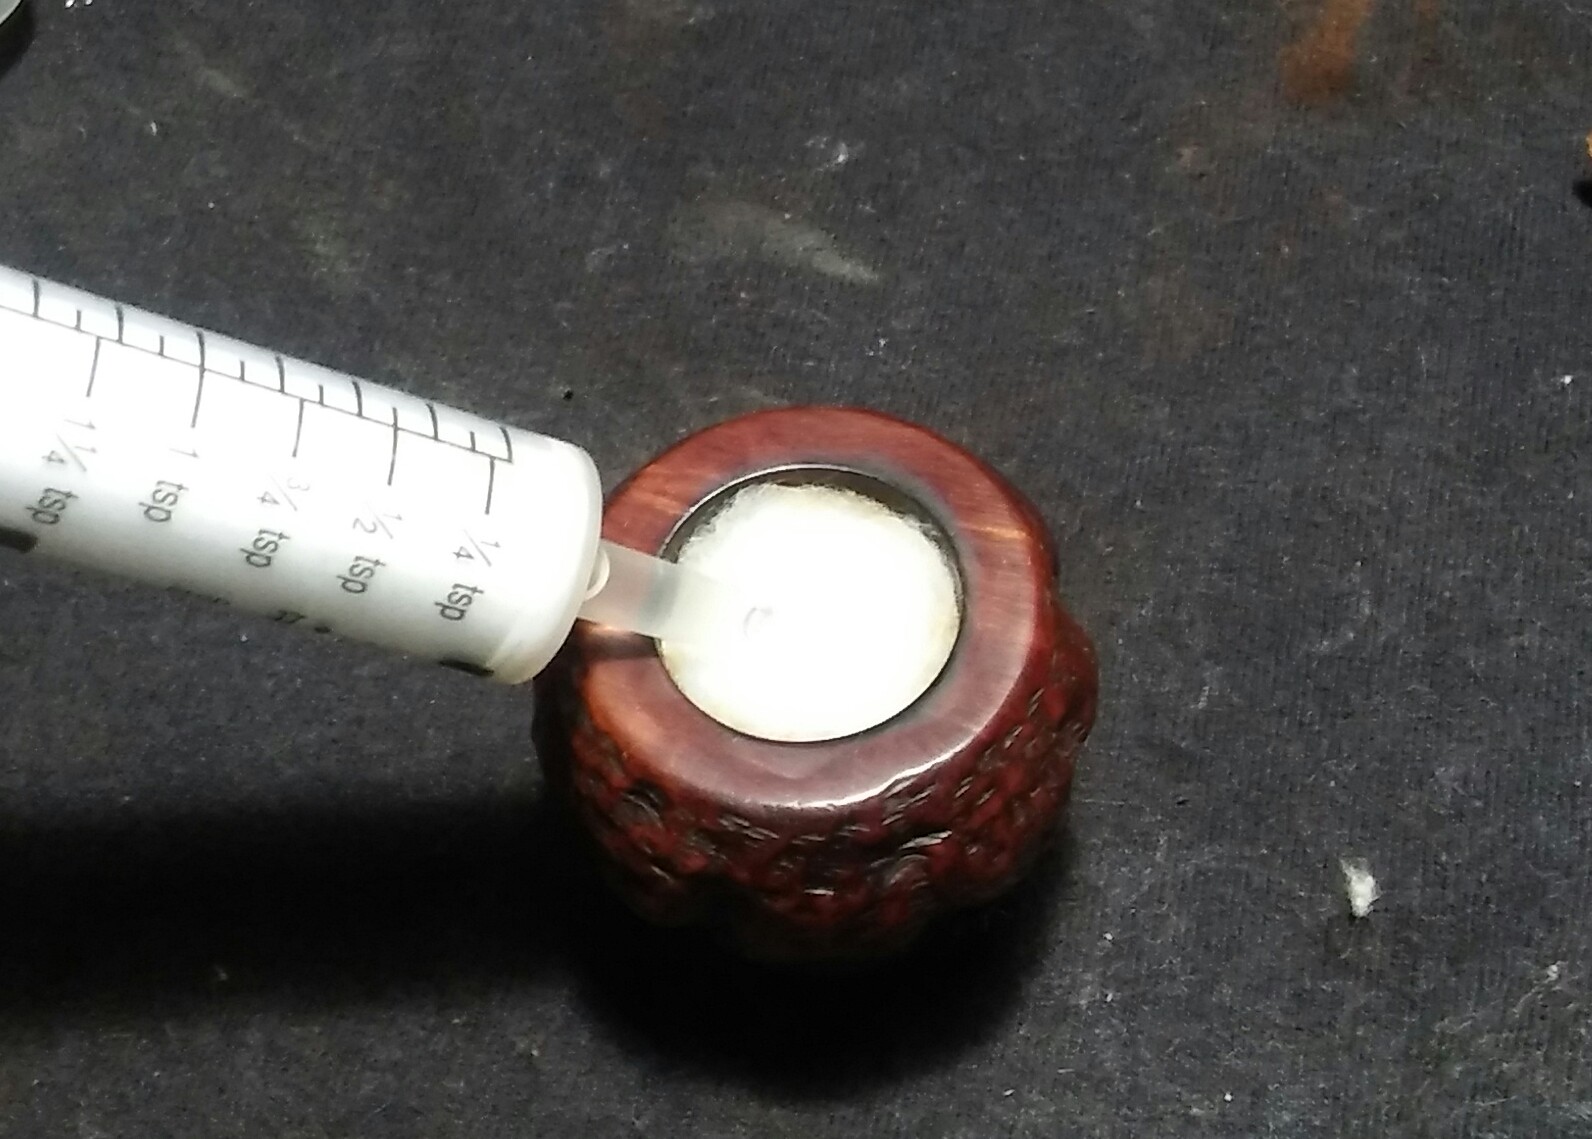
The Tracy Mincer Patented Filter
Granted to Mincer September 7, 1937. The patented filter is one of the more interesting pipes made by Mincer, the design is unusual there is an aluminum insert that is held by a small plastic rod at either side of the mortise, usually the rod is red but I have seen black rod used as well, it can be difficult to spot the red dot on heavily rusticated pipes. The patented filter faded away at the onset of WWII as aluminum was being collected for the war effort.
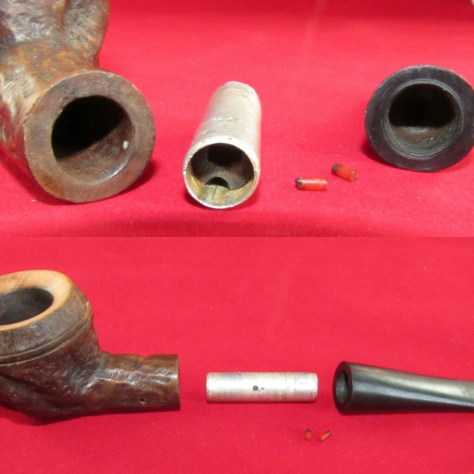
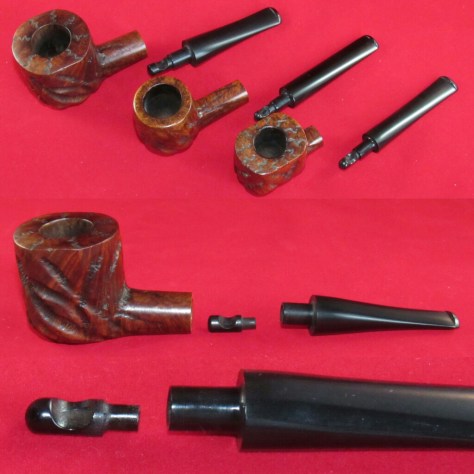
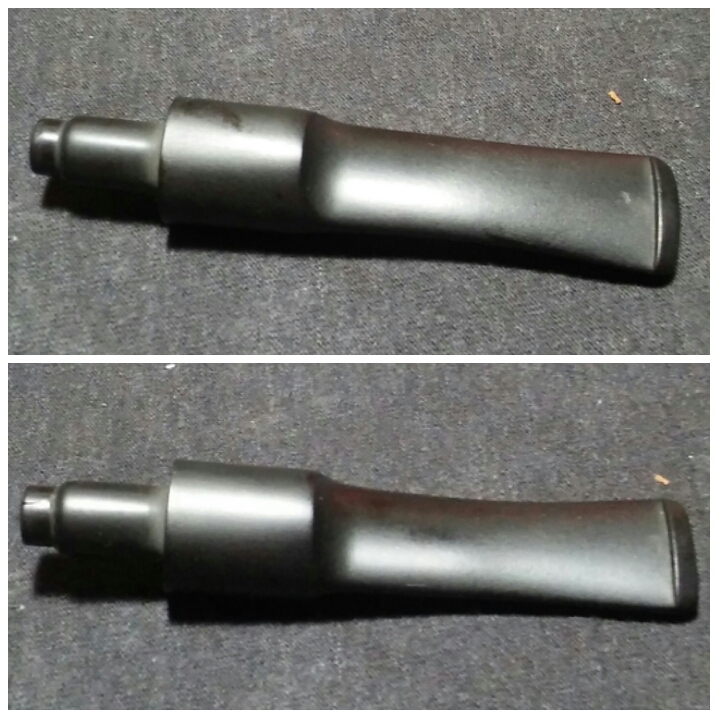
Shank-Extension Filter
The shank-extension filter 1940’s? Finding a complete shank-extension filter is rare many inserts were lost or thrown away. There is no visible sign of a shank-extension unless the stem is removed from the shank.
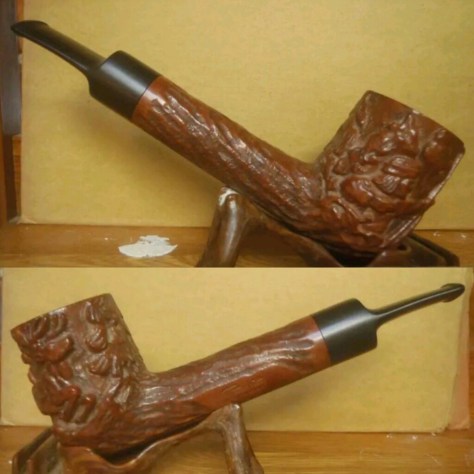
Mincer Era Carved Bilts
1946-In my six years of collecting I have only seen these two examples of Mincer era carved Custom-Bilt pipes, photos from a fellow collector.
If your a collector and have any other examples I can add to this post please send photos to Pipesrevival@gmail.com


The Pipes

Canadian

Bents

Saddle Grain

Smooth Bilt, Burly Briar
I can not find any information on this Bilt, a fellow collector felt this was a Rich era line. Its the only completely smooth Custombilt I’ve seen other then photos in old advertisements.

Miniatures
The Miniature Custombilt appeared in the 1940’s-1950’s. The miniature pipe and box would come with a gift certificate from your favorite B&M, the miniature pipe and certificate would then be turned in for a full size Bilt of your choosing. They were non-smoking miniatures made of clay or wood.
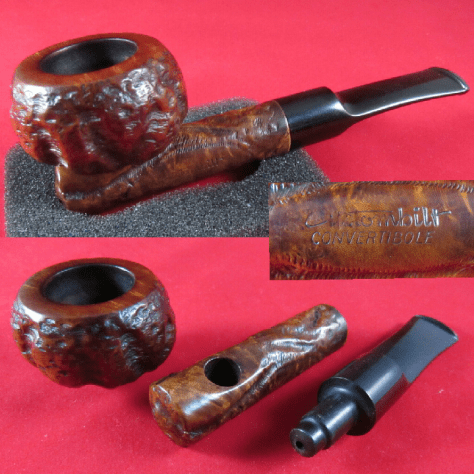
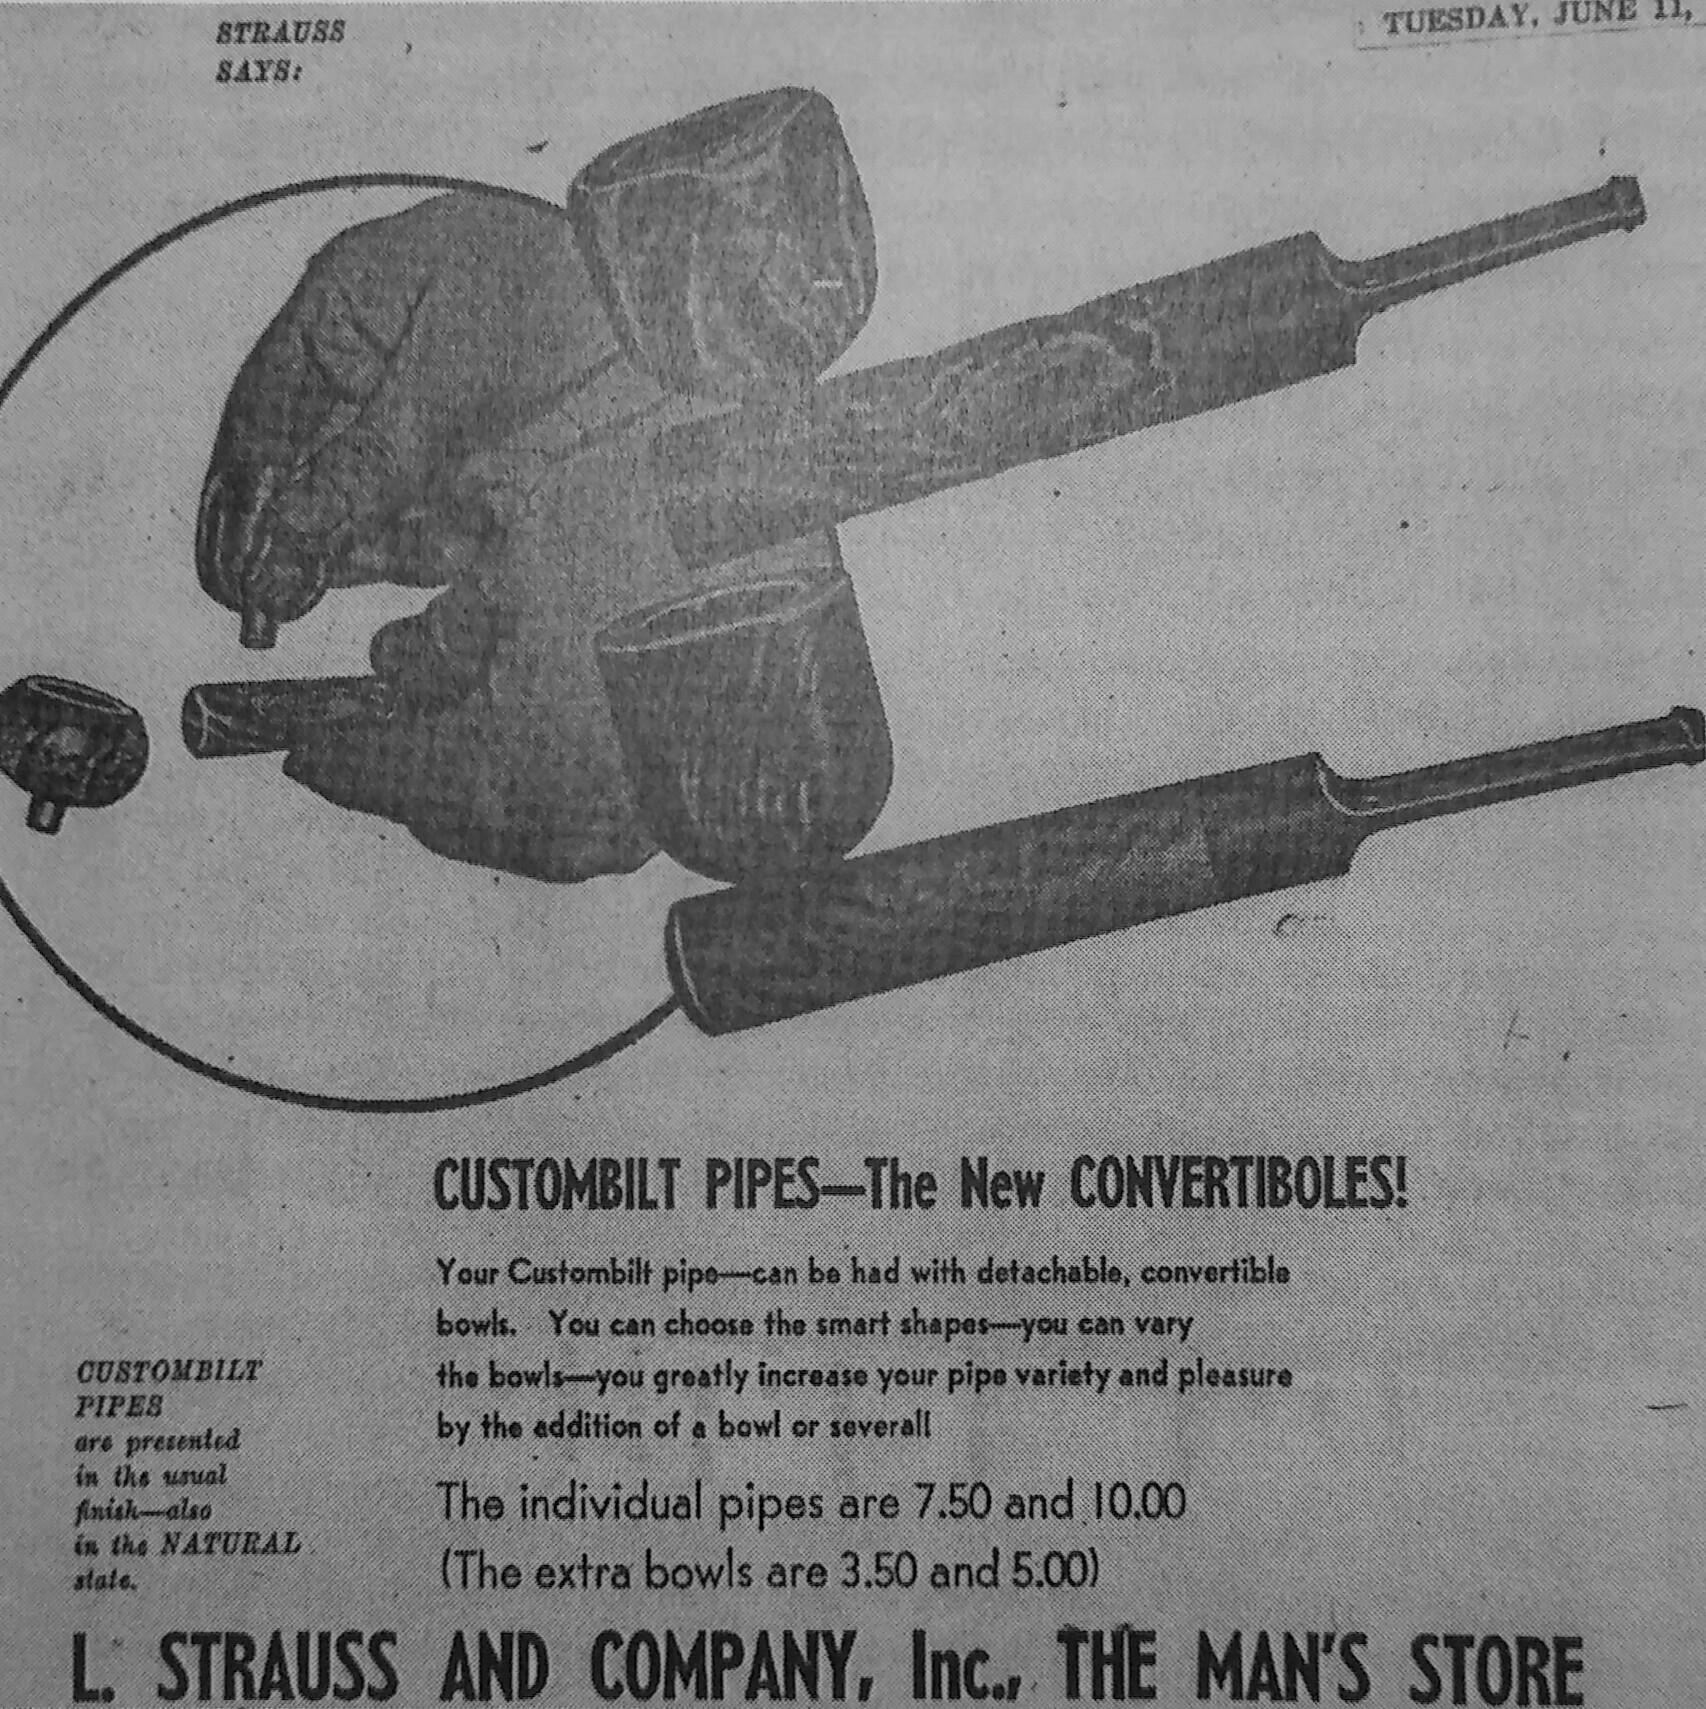
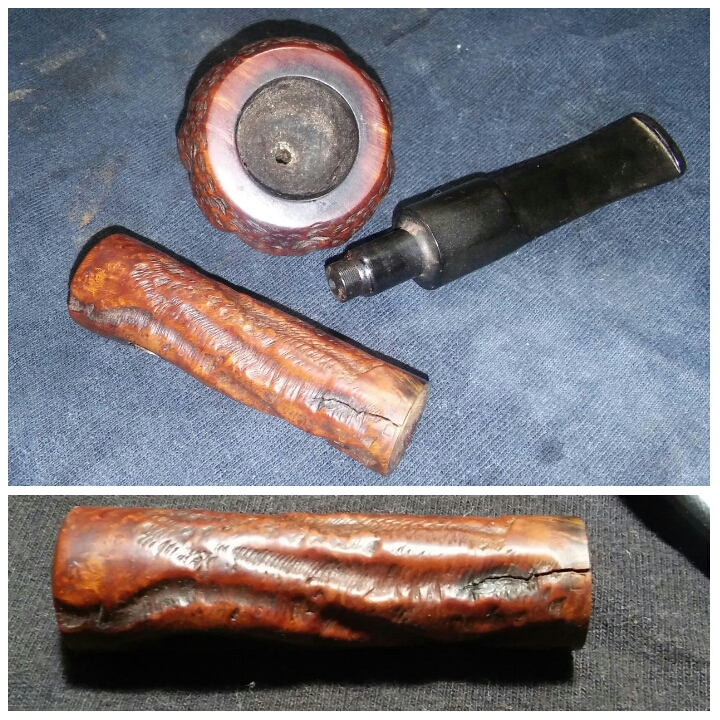
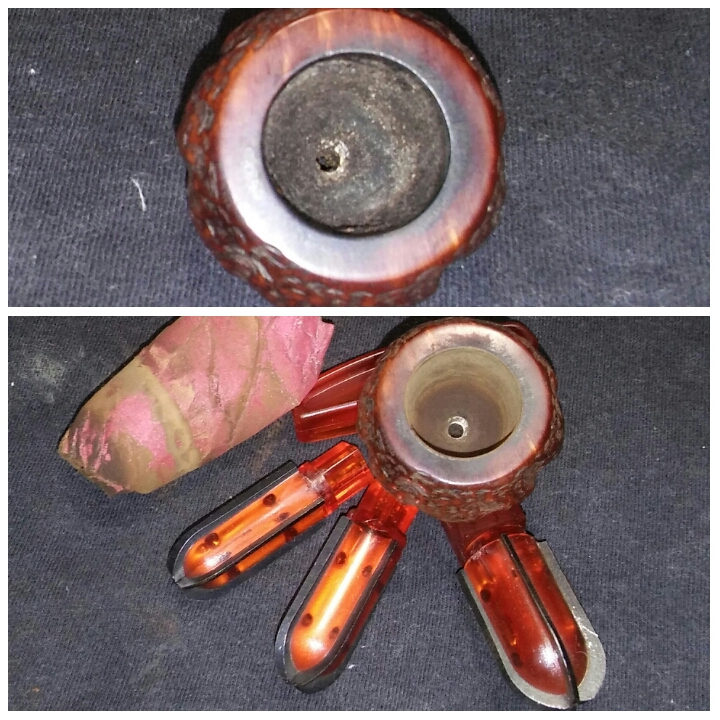
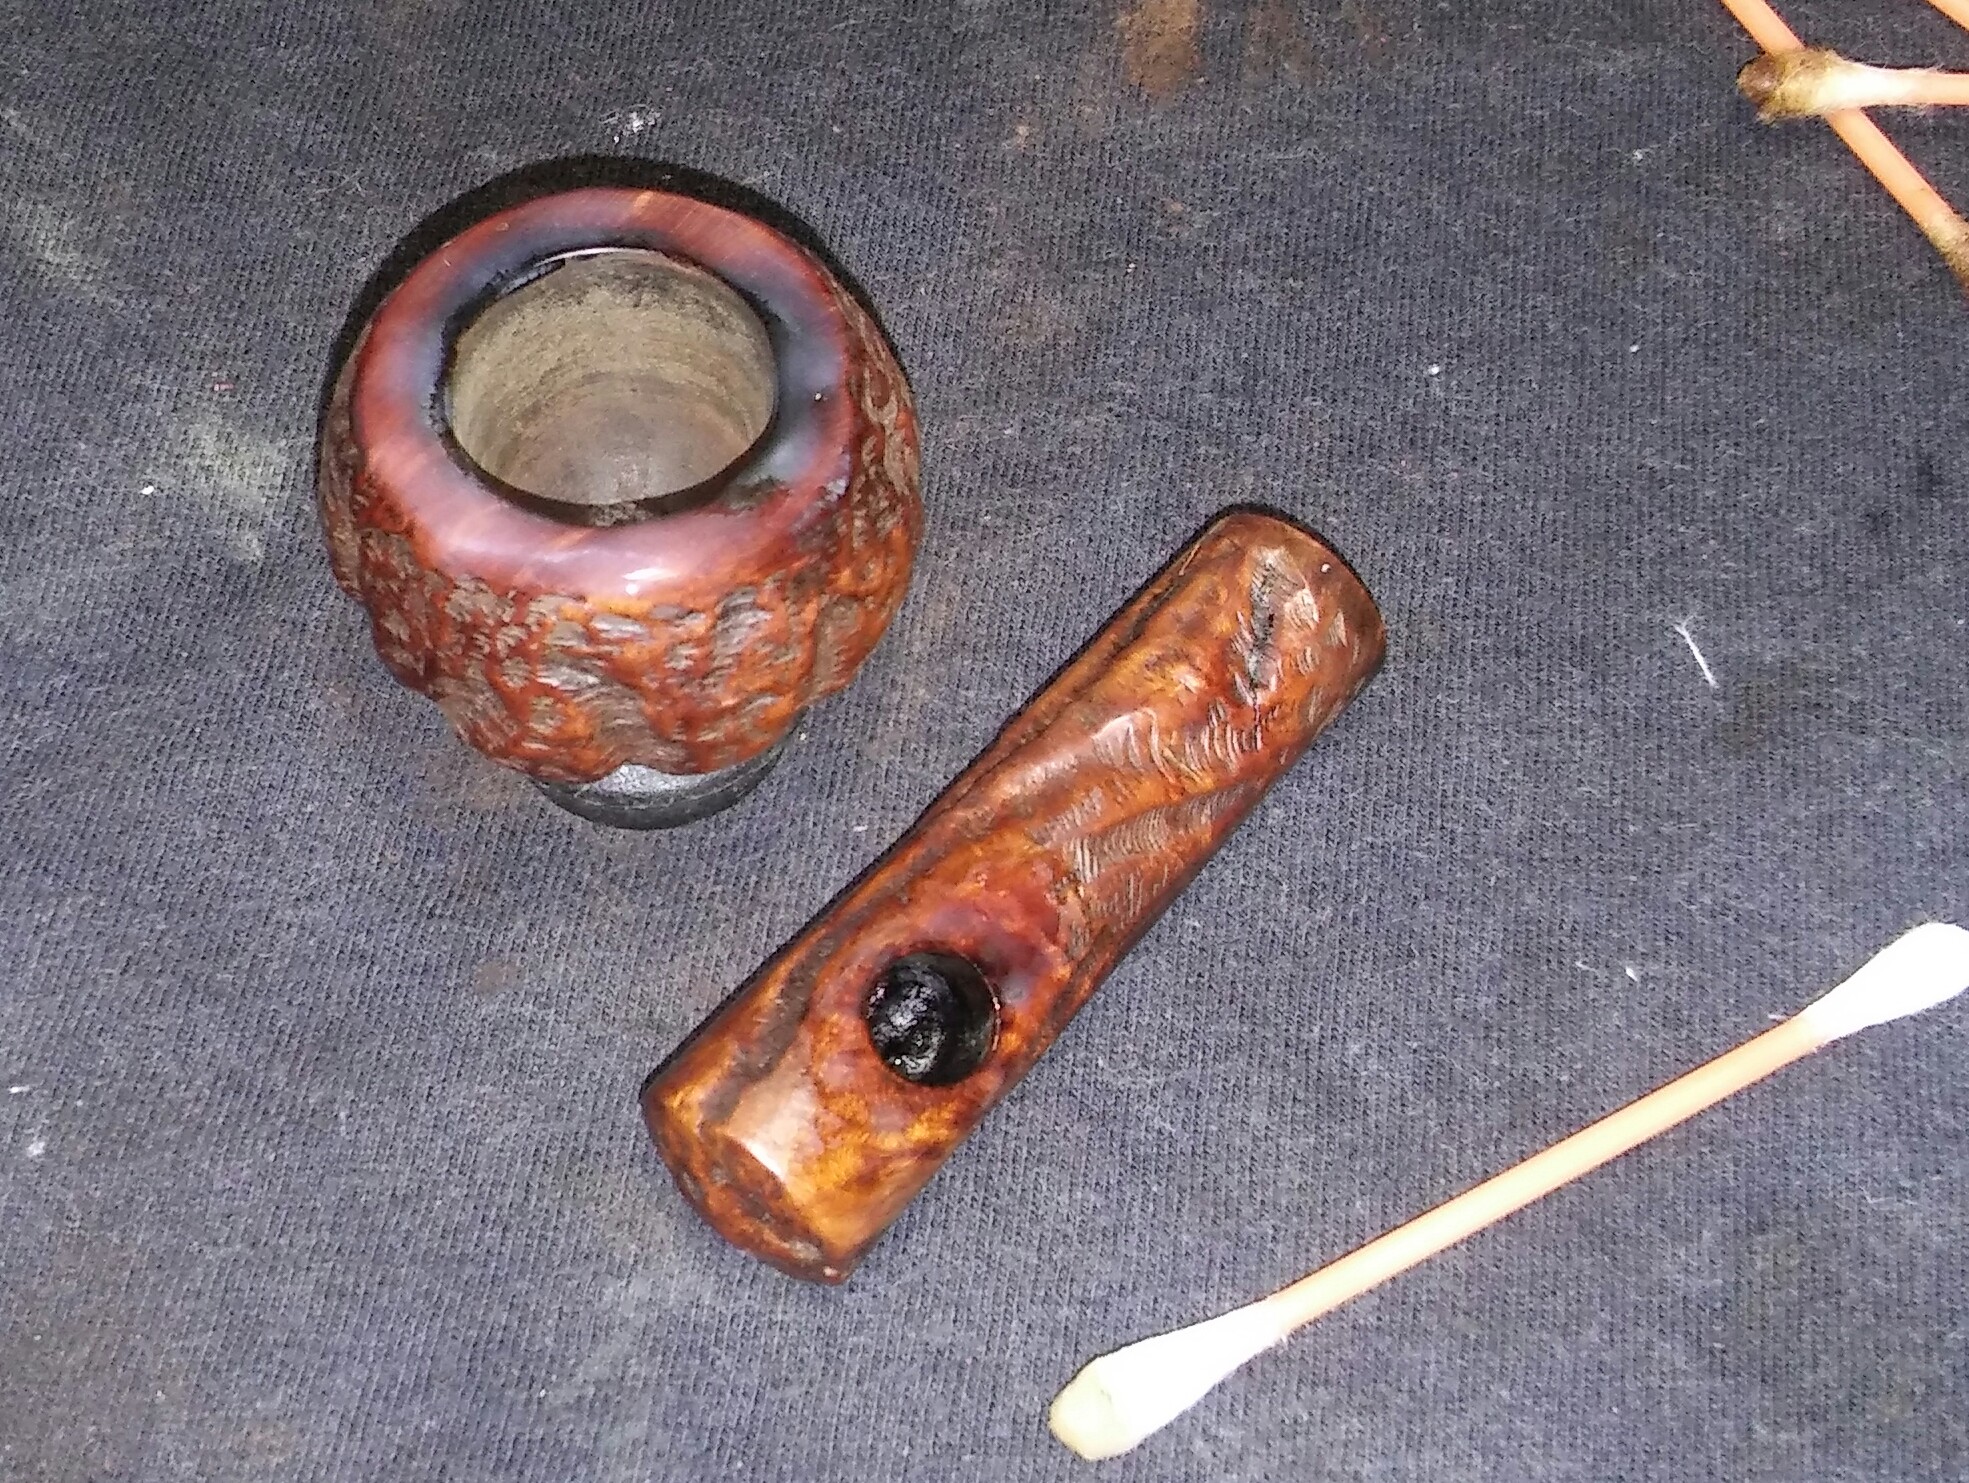
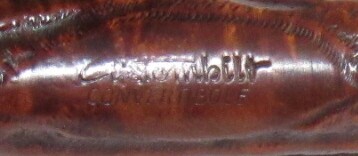
Convertibole
First appeared summer of 1946, nicknamed the wardrobe because of its interchangeable bowls.

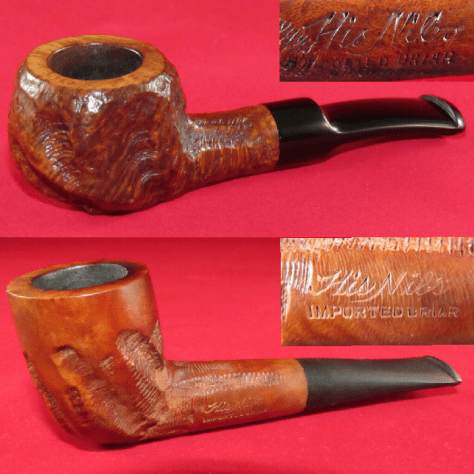
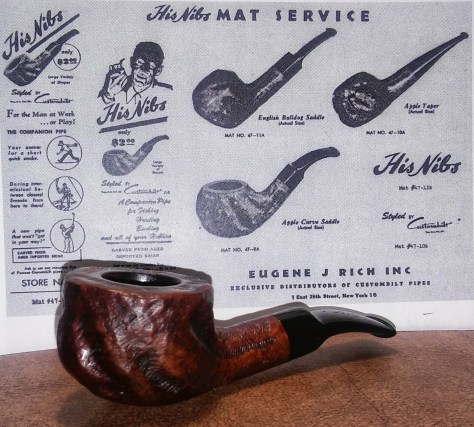
His Nibs
The His Nibs pipe was introduced under Eugene Rich in the summer of 1947, designed for a short smoke while fishing, between classes or intermission at the theater, a smaller pipe but styled after its full size Custombilt counterpart.
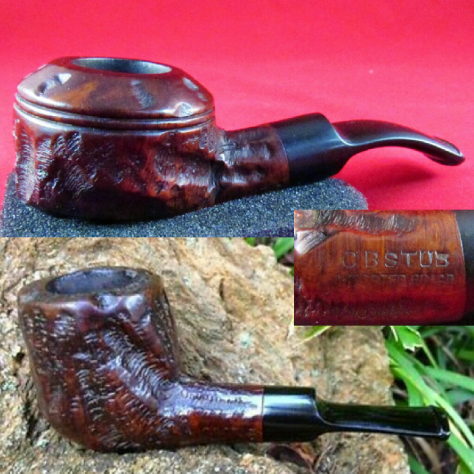
CB Stub
Introduced in 1949, a pocket size pipe featuring a full size chamber.
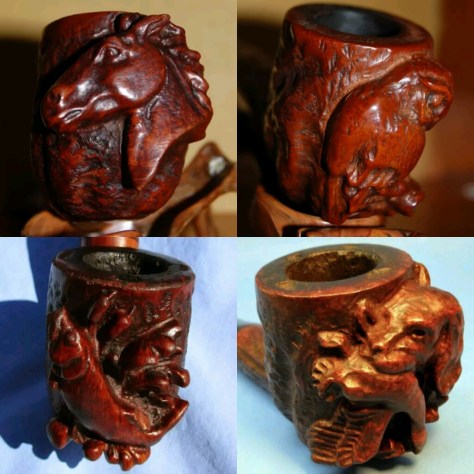
Rich Era Masterpieces/Sculptured Bowls
Appeared 1948, there are a few more examples out there.


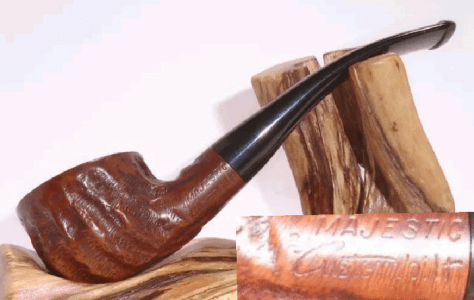
Majestic
Churchwarden
Military Mount
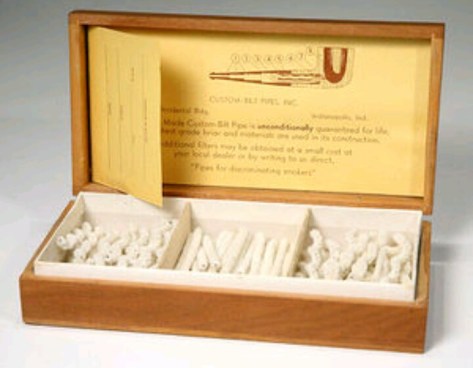
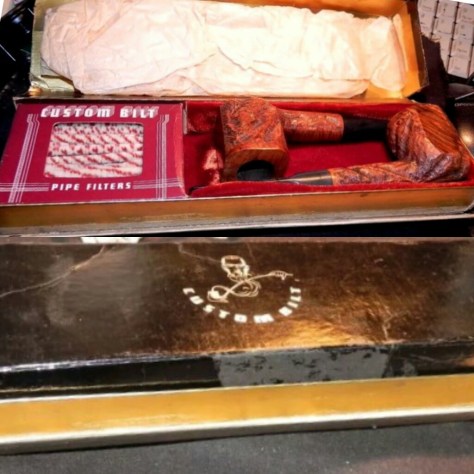
Cased Sets

Accessories
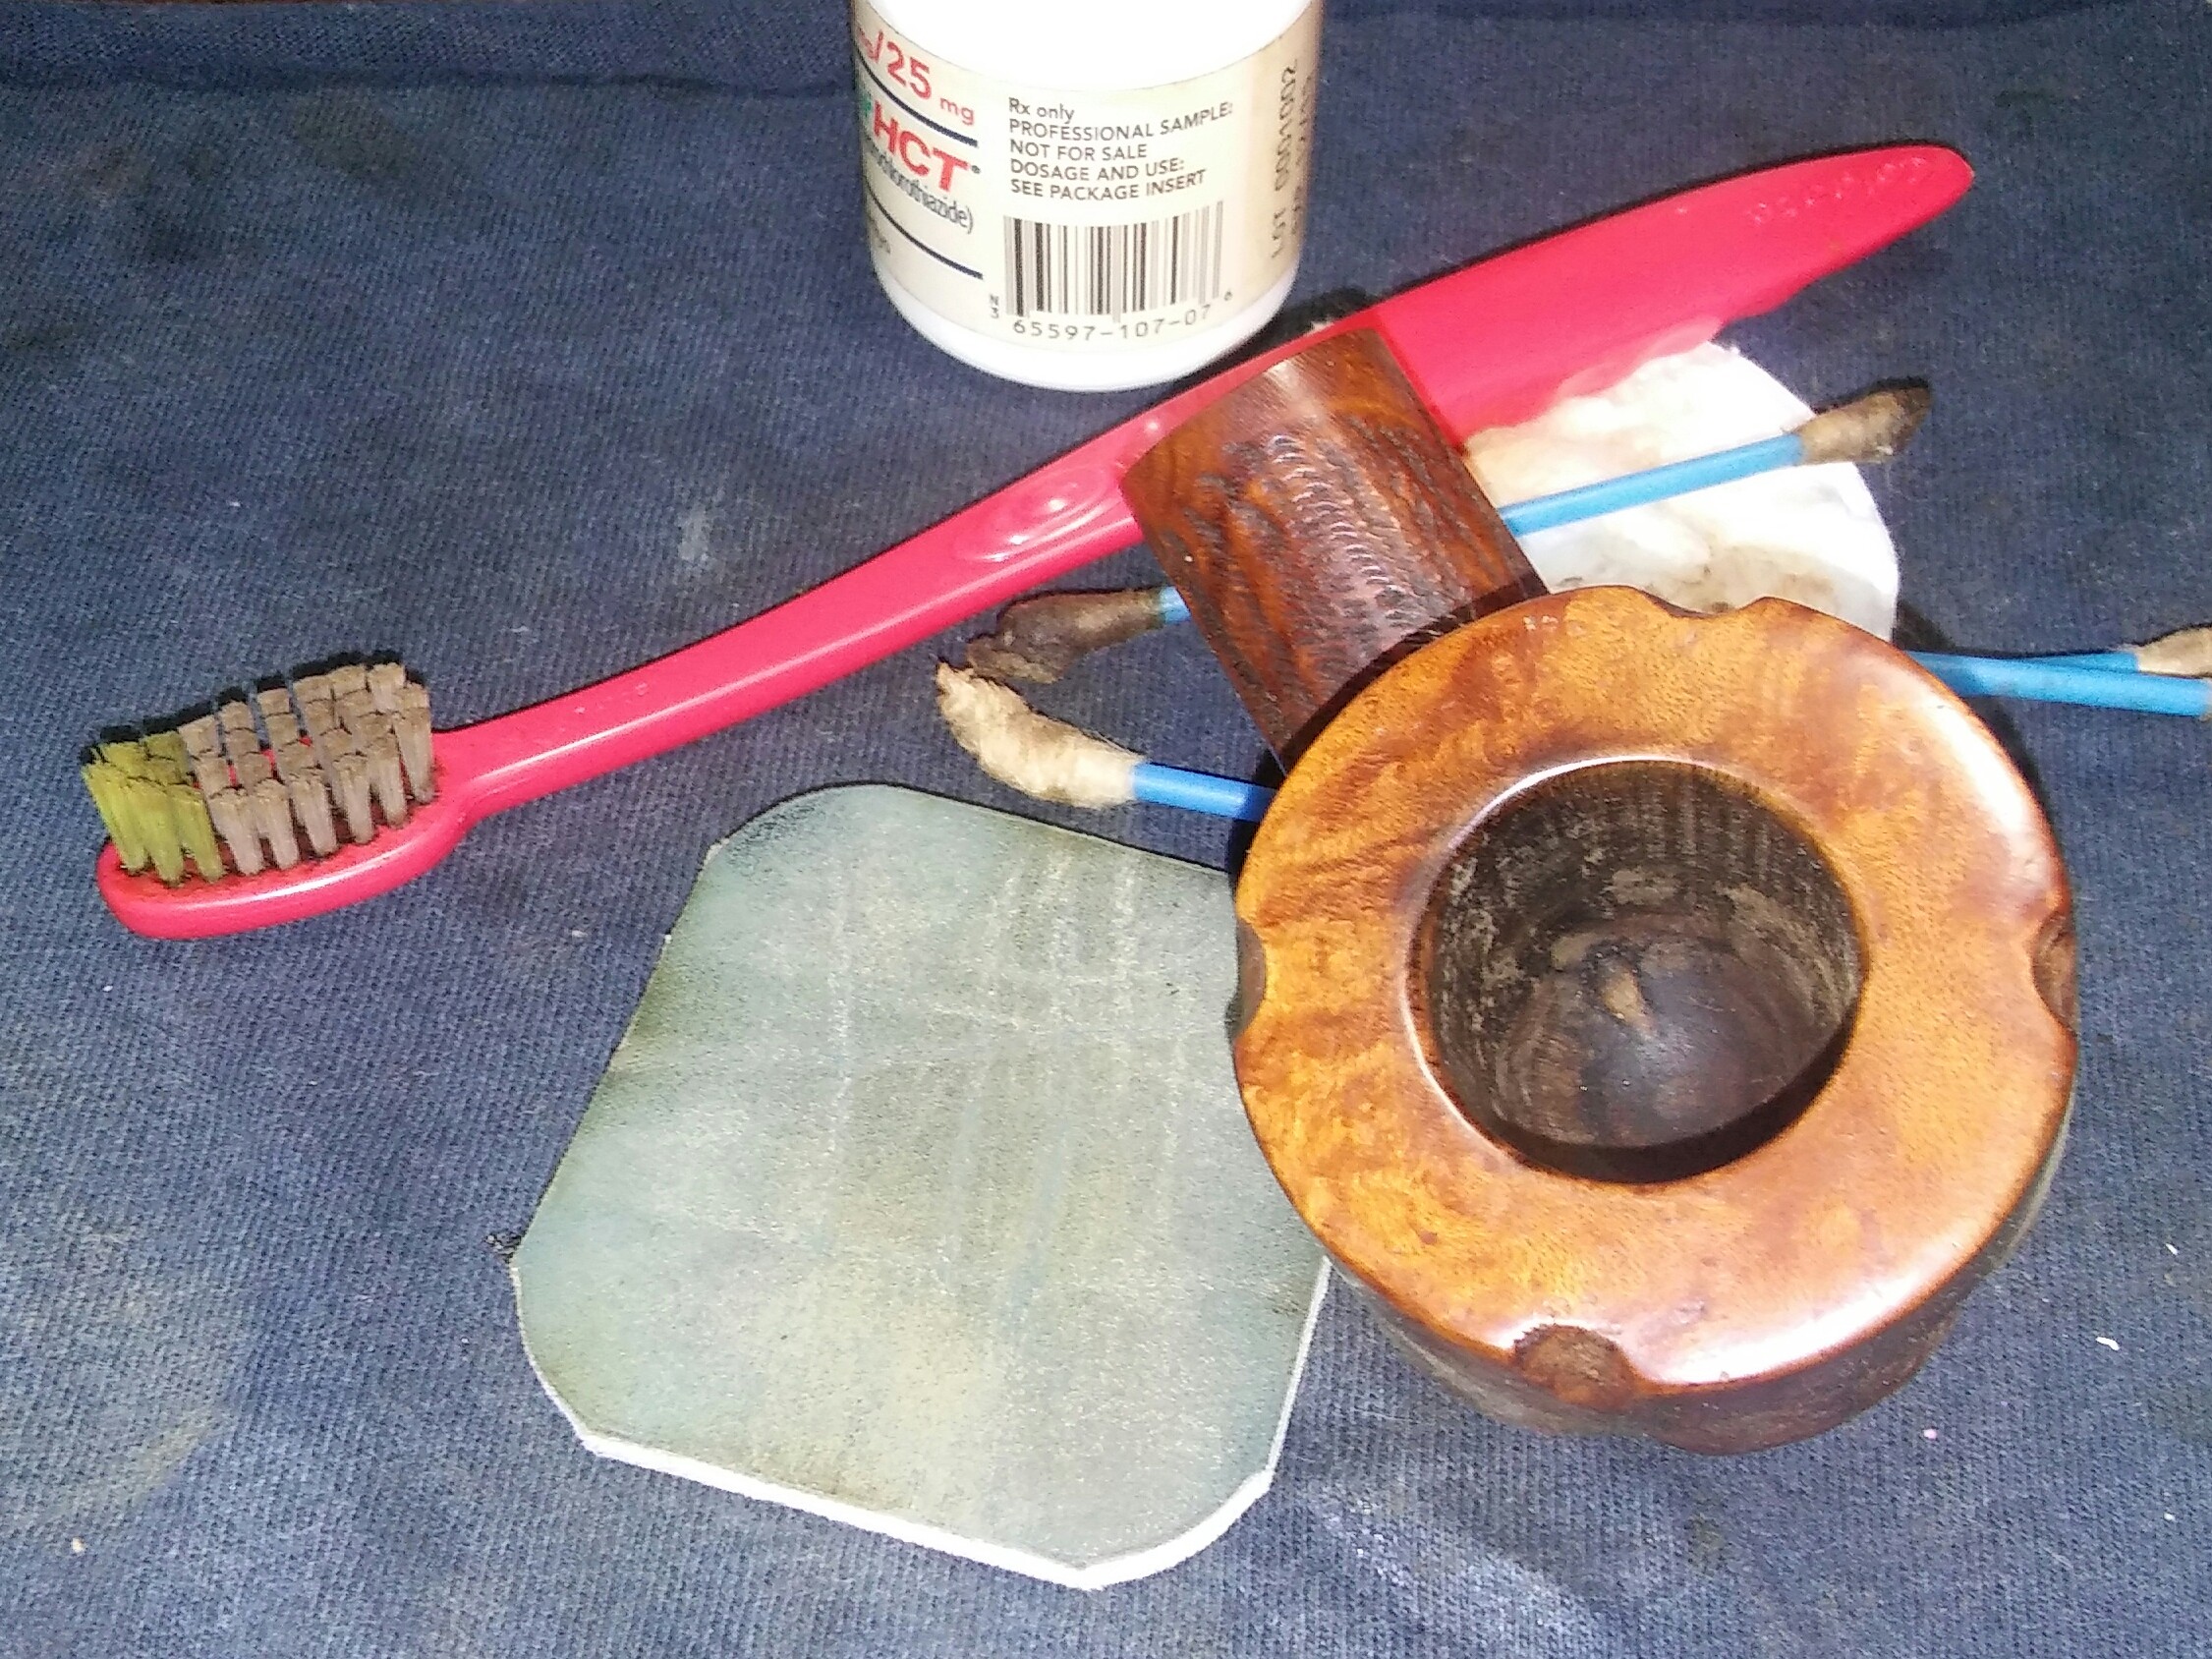
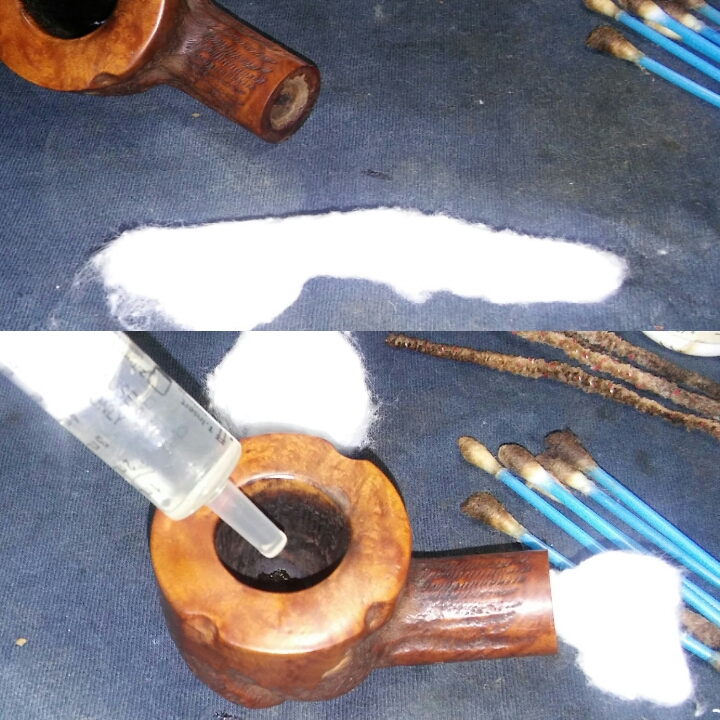
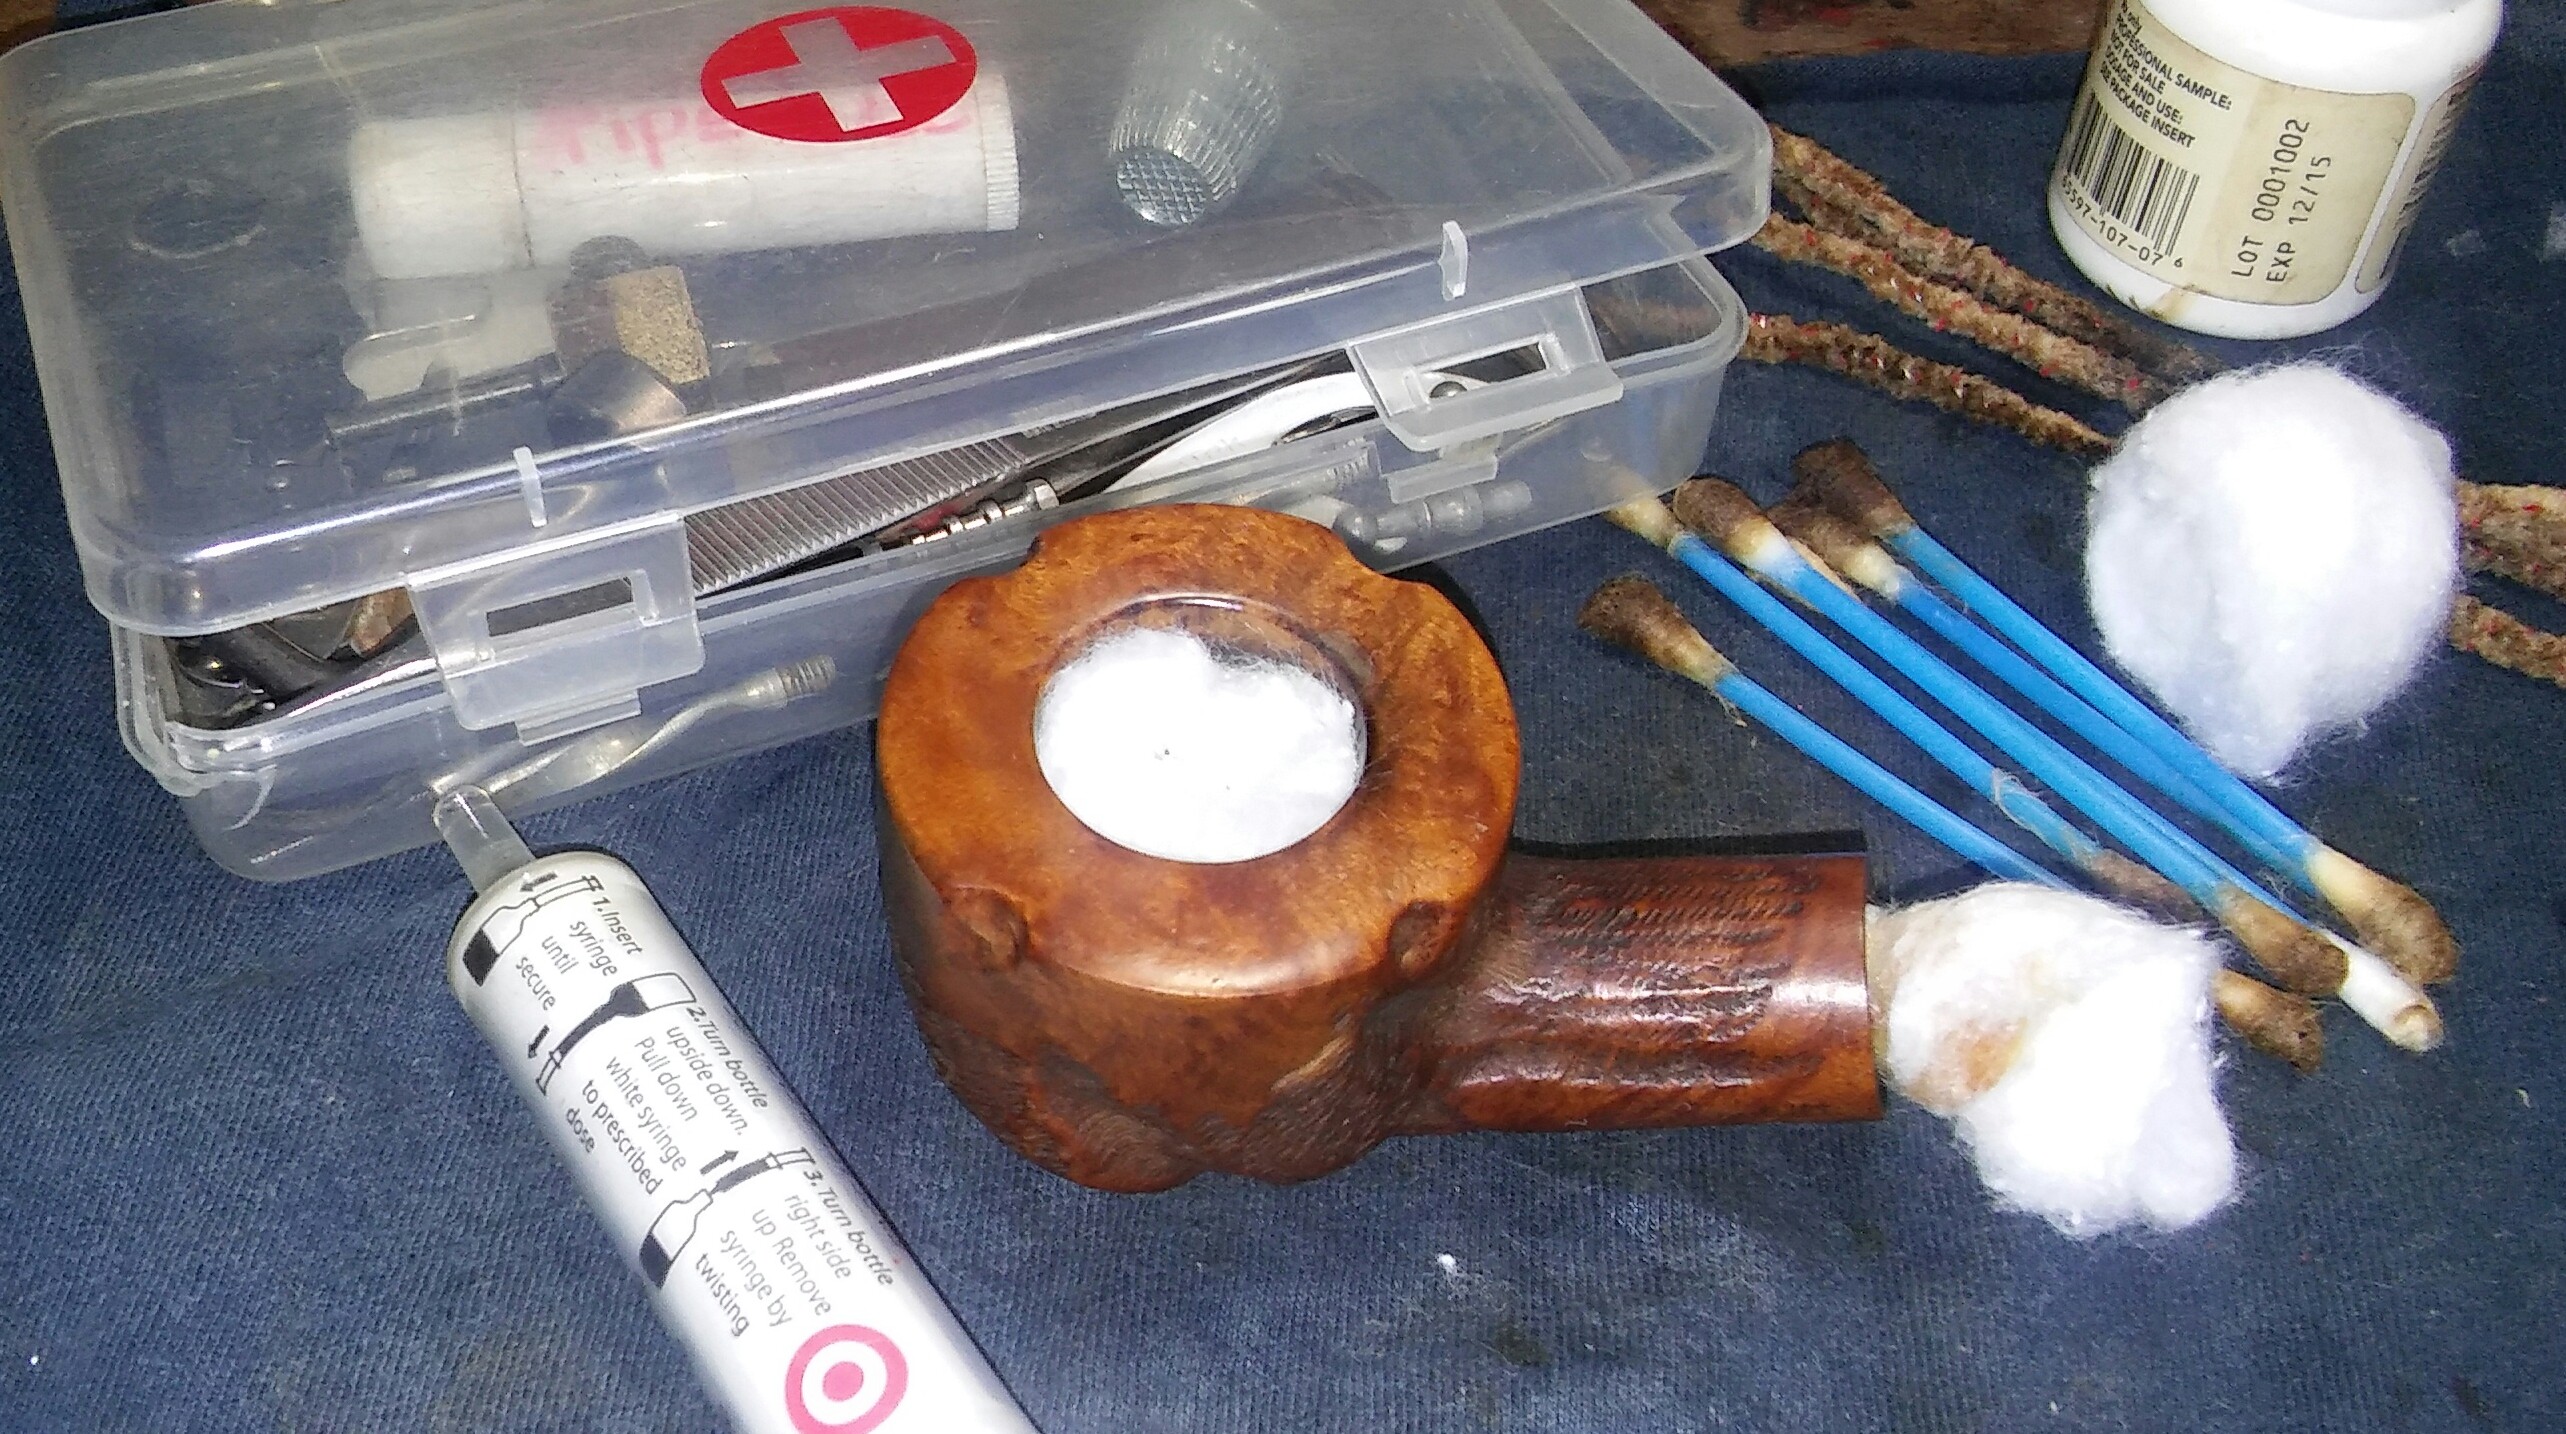
Custombilt reamers, pipe stands, pipe cleaners
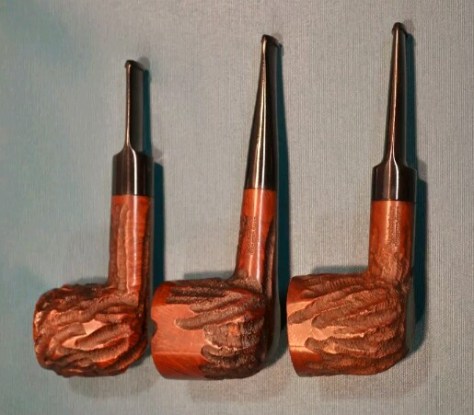
Courtley and Courtley Supreme
Introduced in the late 1940’s. Styled by Custombilt each one is unique

The Pipes


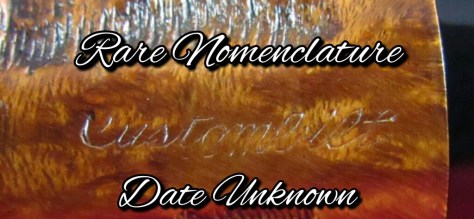
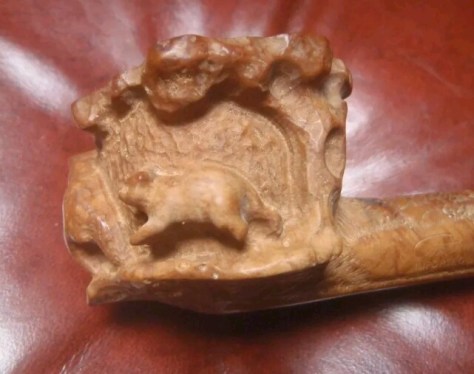
Unger wrote that stamp five was a mystery, out of the hundreds of pipes he had examined only seven had this stamp making it rare in his opinion. Unger also felt these pipes were Eugene Rich and Wally Frank era pipes. The pipes in my collection with there deep craggy carving and the use of the geometric shape symbols point to the Mincer years.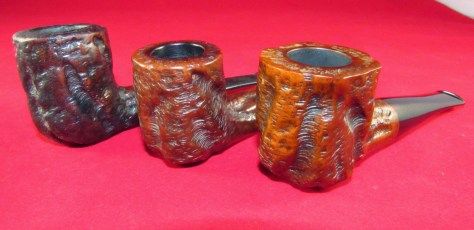


Other Mincer and Custombilt made Pipes
Many pipes were made
Mr. Dobbs
1950’s made during Mincer’s Doodler years. Made of scrap briar there were riddled with filler.

Greenwich House Antique
I cannot say for sure but Greenwich House Antique pipes resemble Custombilt pipes but they may have been manufactured by Mastercraft .

The Doodler
1953

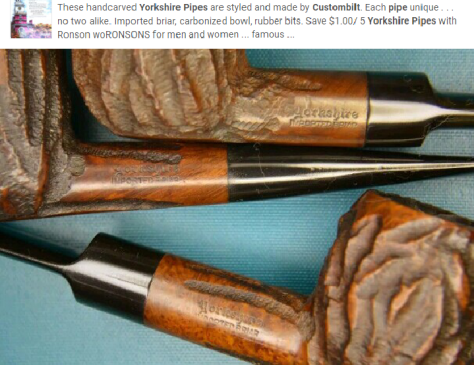
Yorkshire Pipes
1940’s-1950’s Sold exclusively through Sears Roebuck.


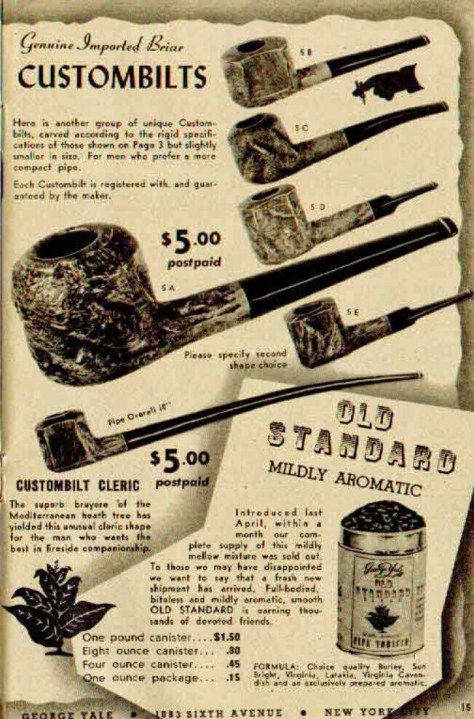
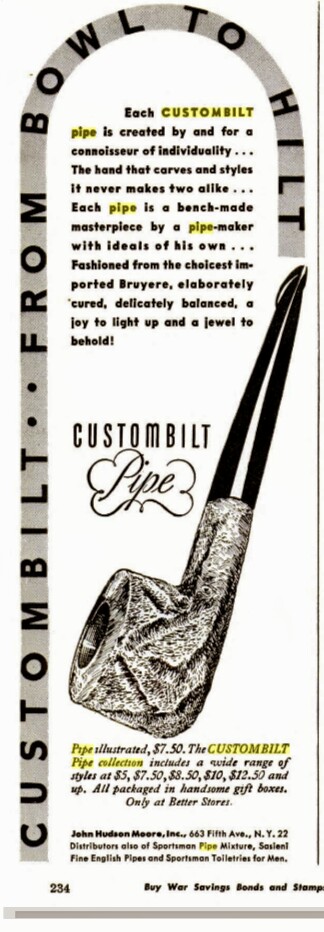
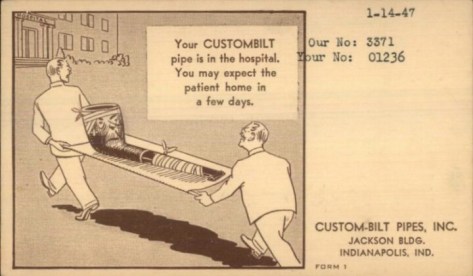
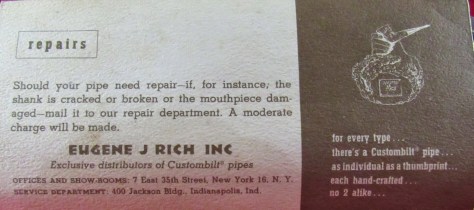
Miscellaneous Advertisements/Documents
Contributors here would be incredible, I love seeing old Custom-Bilt/Custombilt advertisements and documents. Online searches gives limited results. Email me, Tim at Pipesrevival@gmail.com


You must be logged in to post a comment.