

Now after two month’s of dealing with a medical annoyance doctor’s have put me on a cocktail of meds to control my chronic hives and angioedema. The swelling in my hands has finally subsided so I can now get back to my refurbishing projects.

Starting the New Year off right .The Custombilt pipes that I received in November from fellow blogger Clint of Pipe Scoundrel were all in pretty nice shape. First up a large Rich Era Custombilt saddle grain billiard, its the first saddle grain Custombilt in my collection.
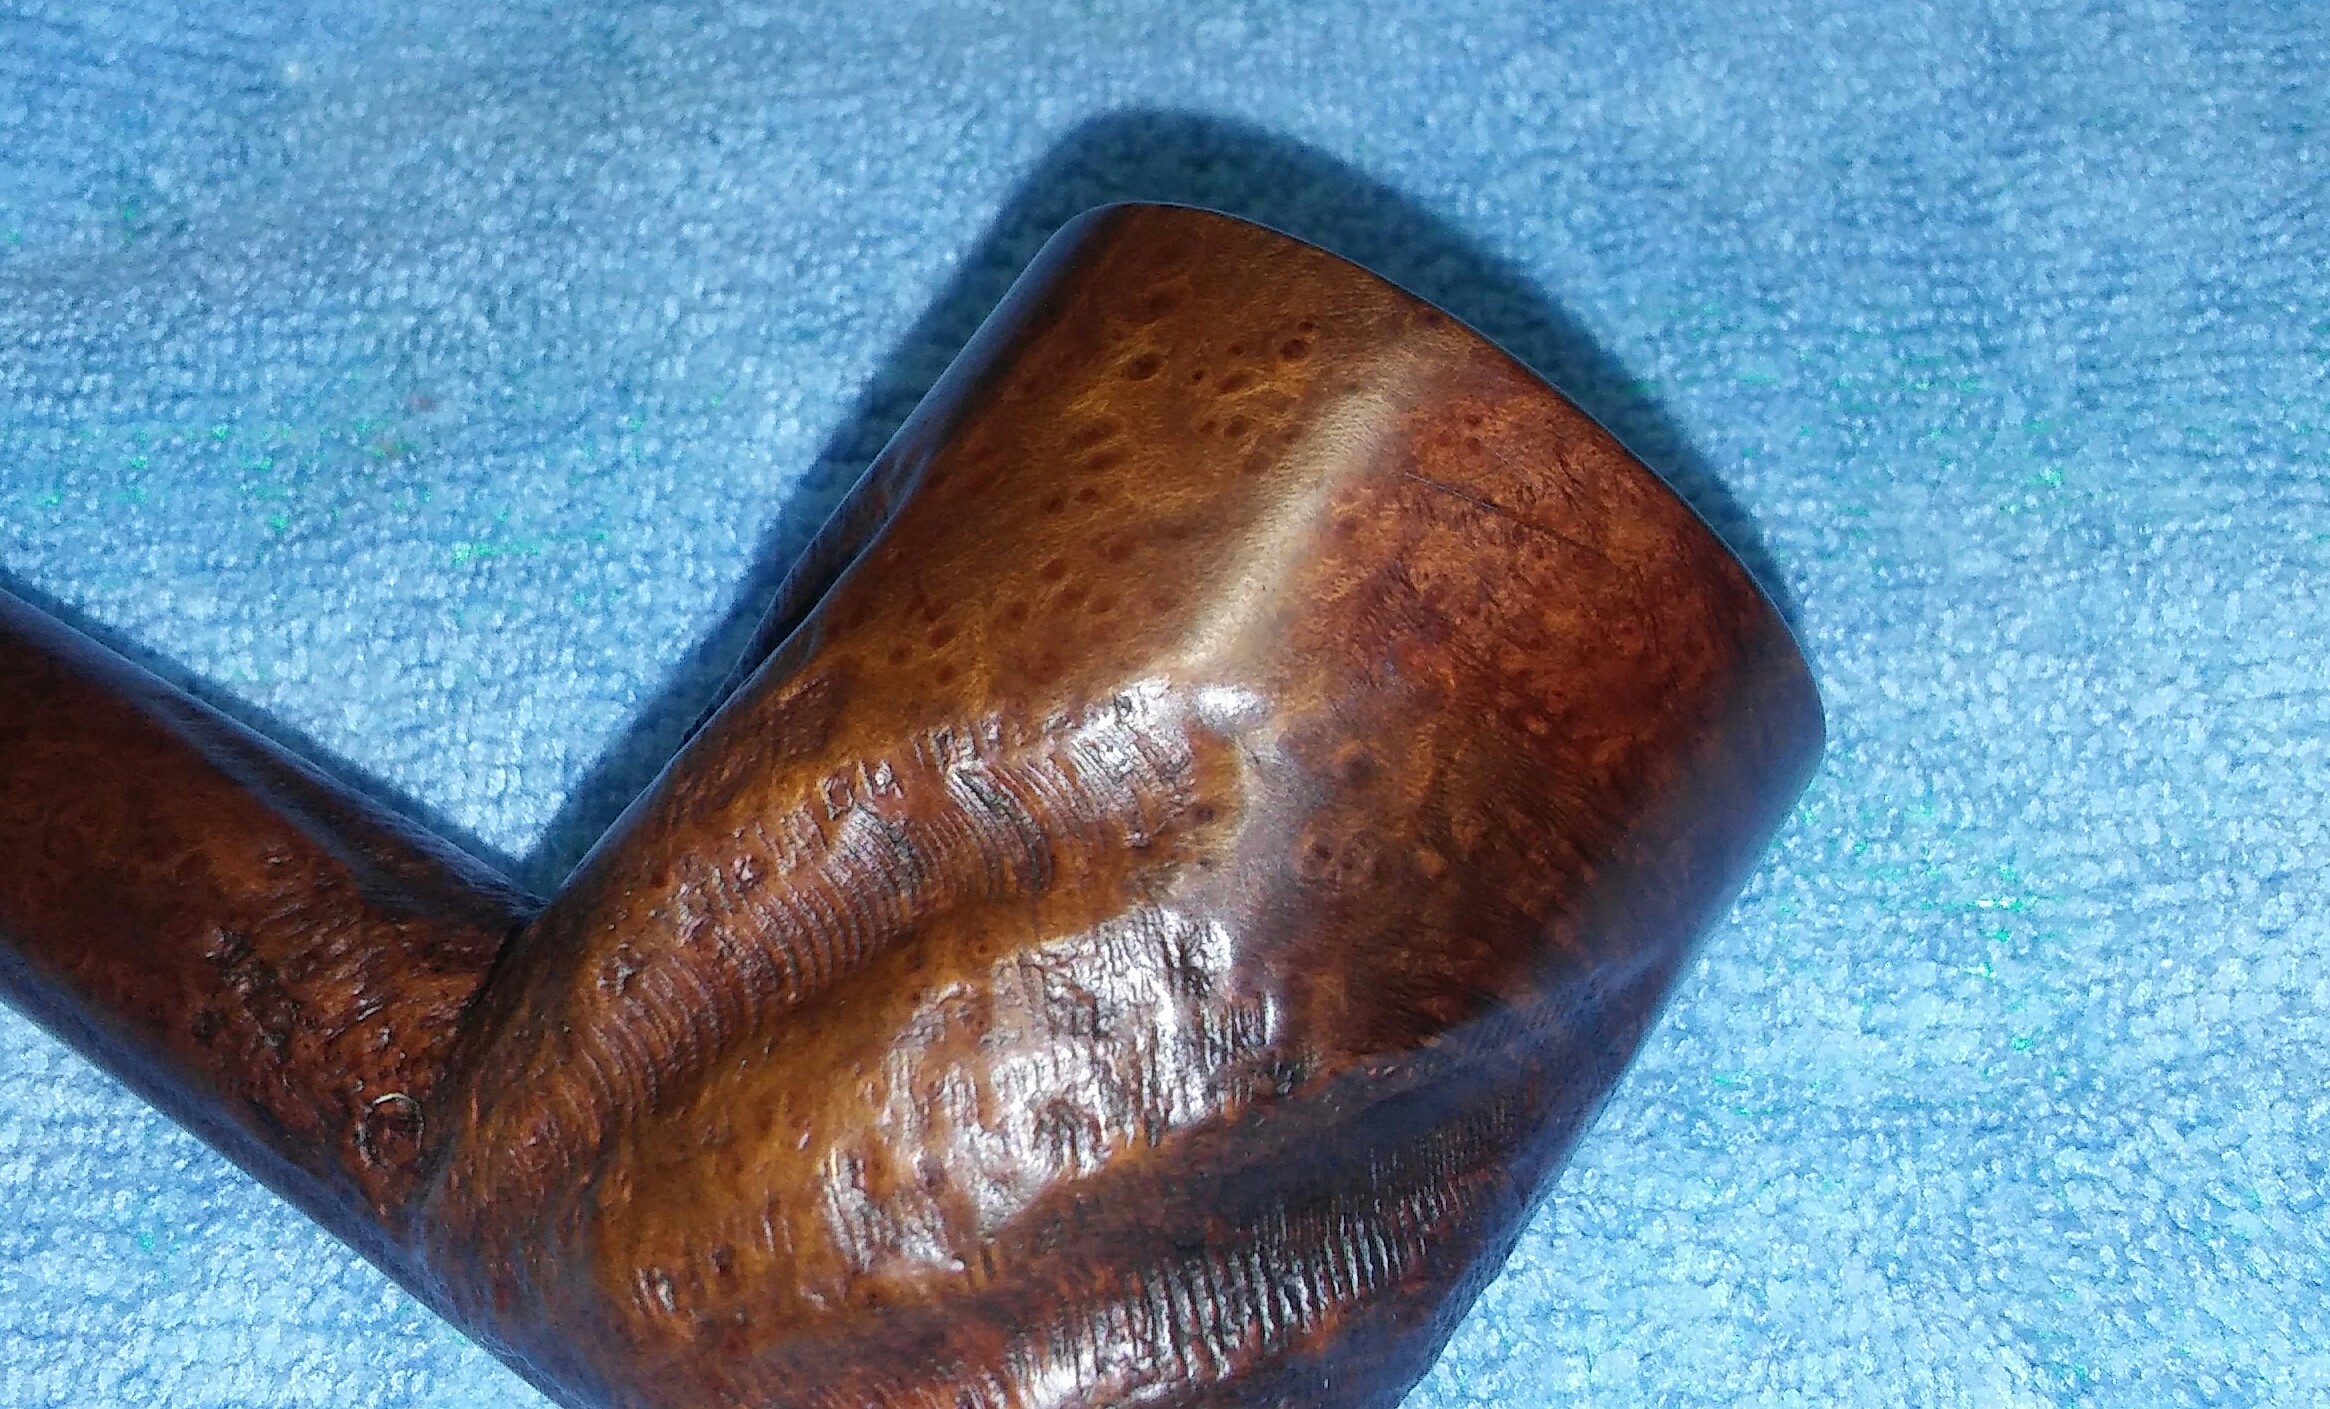
Pipe as received.


Overall she’s in nice shape some tar build up around the rim , chunky brittle cake, some red and white paint embedded in the crags. The stem had a few impressions as well.
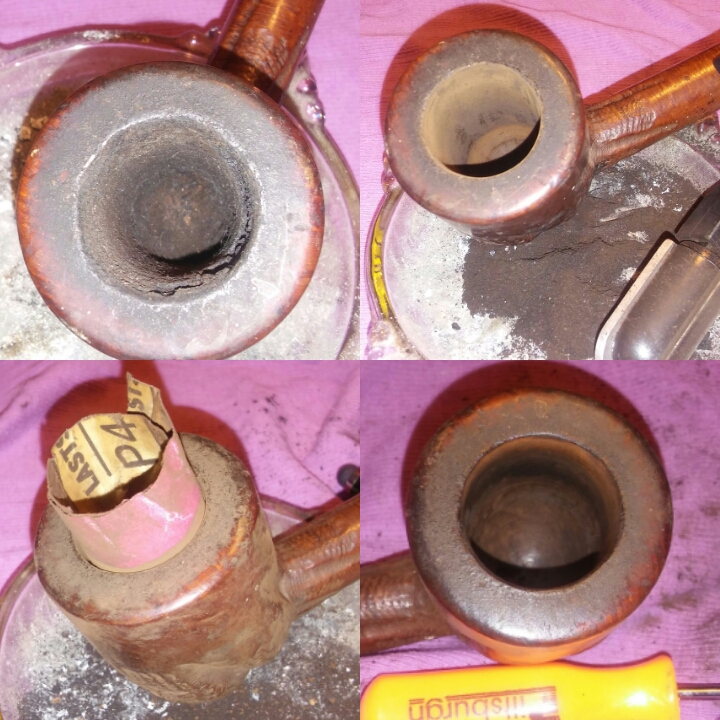
I started off with the stummel and set the stem aside to work on later. The chamber had a thick, uneven, crumbling cake and would have to go. Starting with the smallest attachment my Castleford reamer had to offer and working up to the largest that the chamber would except I removed the tired cake bring it back to briar. The chamber was free of any signs of a burn out. I finished up with 400 grit paper to smooth things out.
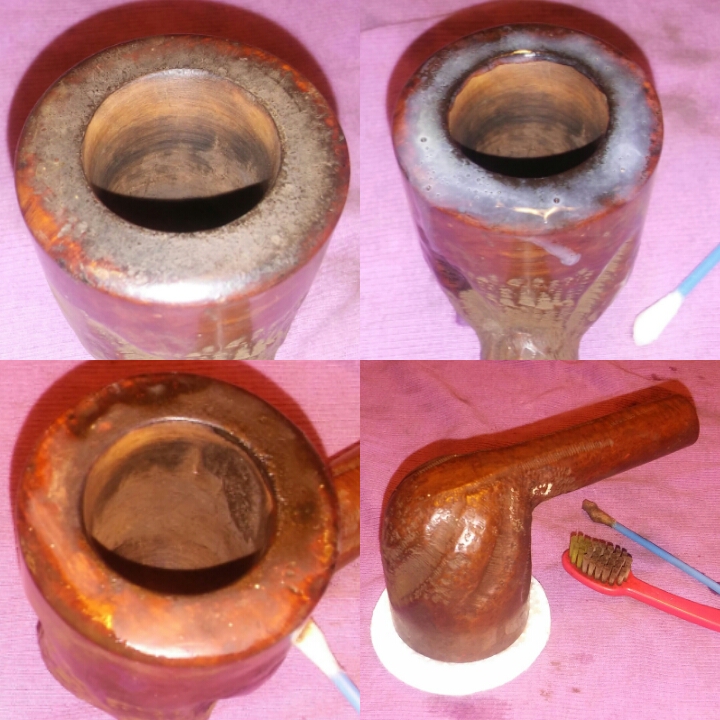
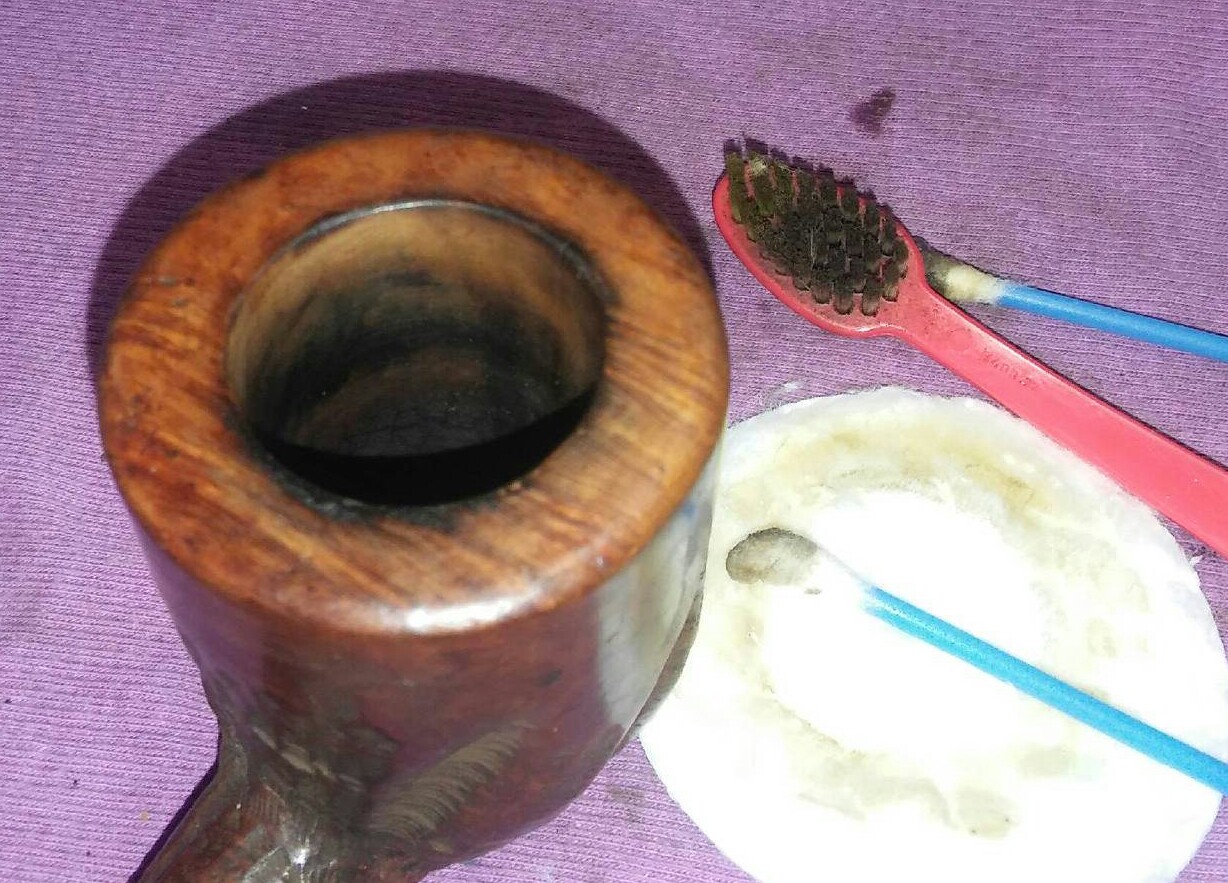
My attention now turned to the rim. Caked with tar, paint and char. I applied a generous amount of Method wood for good polish to the rim and set aside to penetrate the built up. After allowing the polish to soften the build up I worked on the rim with a children’s tooth brush, makeup pads and Q-tips until the build up was removed. When I run into a tough build up I’ll leave the stummel upside down on a Method polish soaked makeup pad for 20 minutes.

With the build up removed I could concentrat on the rim char. Using worn miro-mesh I was able to remove most of the rim darkening.
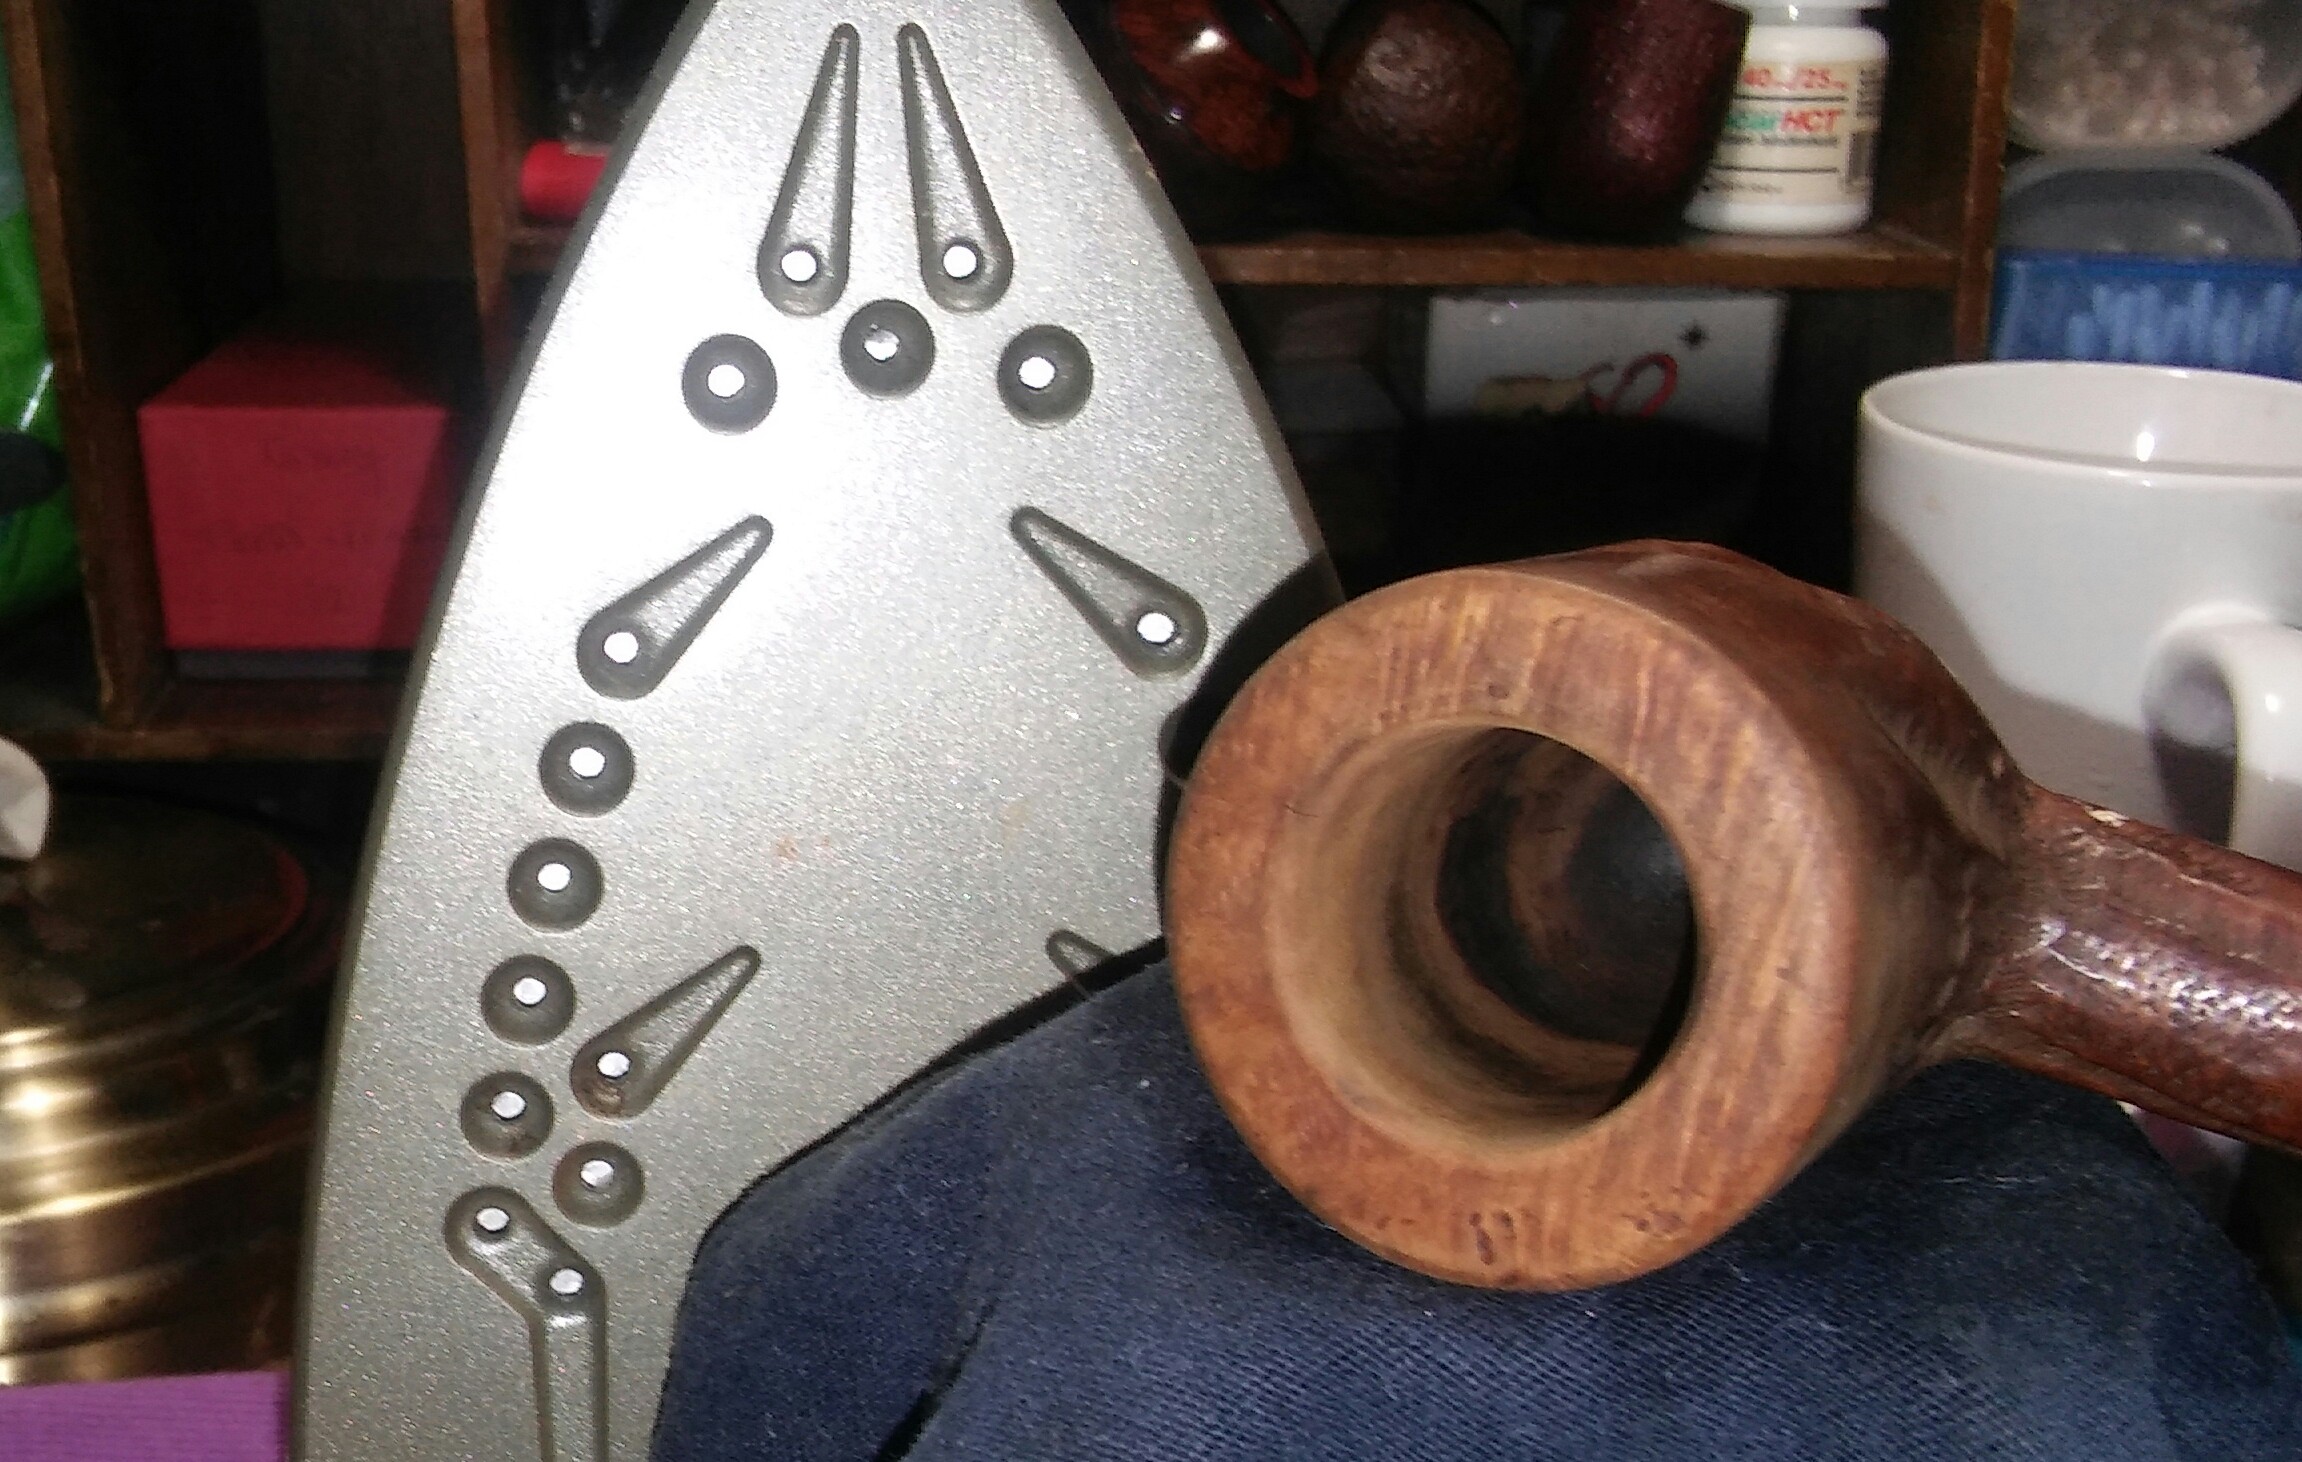
There were a few dings in the rim after the tar and char was removed. I used a hot iron and damp rag to steam out the imperfections.


The internals needed a good cleaning, I ran it though a retort using EverClear. I used a mortise brush, shank brush, Q-tips, cotton balls and hard/soft pipe cleaners to remove the debris.


Next the externals, I started with Method polish but would need something stronger to remove the red and white oil based paint and what I think is blacktop crack filler for driveways. I used EverClear and Q-tips to remove the gunk.

There was one scratch on the outside of the bowl that would need filling. I cleaned the area of work with EverClear and a Q-tip, filled the imperfection with Gorilla Glue and briar dust and left to dry. After drying I removed the excess glue and dust with miro-mesh. I restained the area with touch markers and wiped away the excess with an alcohol dampened rag.
I now applied Howard’s butcher block conditioner with a rag and let it penetrate for 10 minutes , hand buffing off the excess with a clean rag.
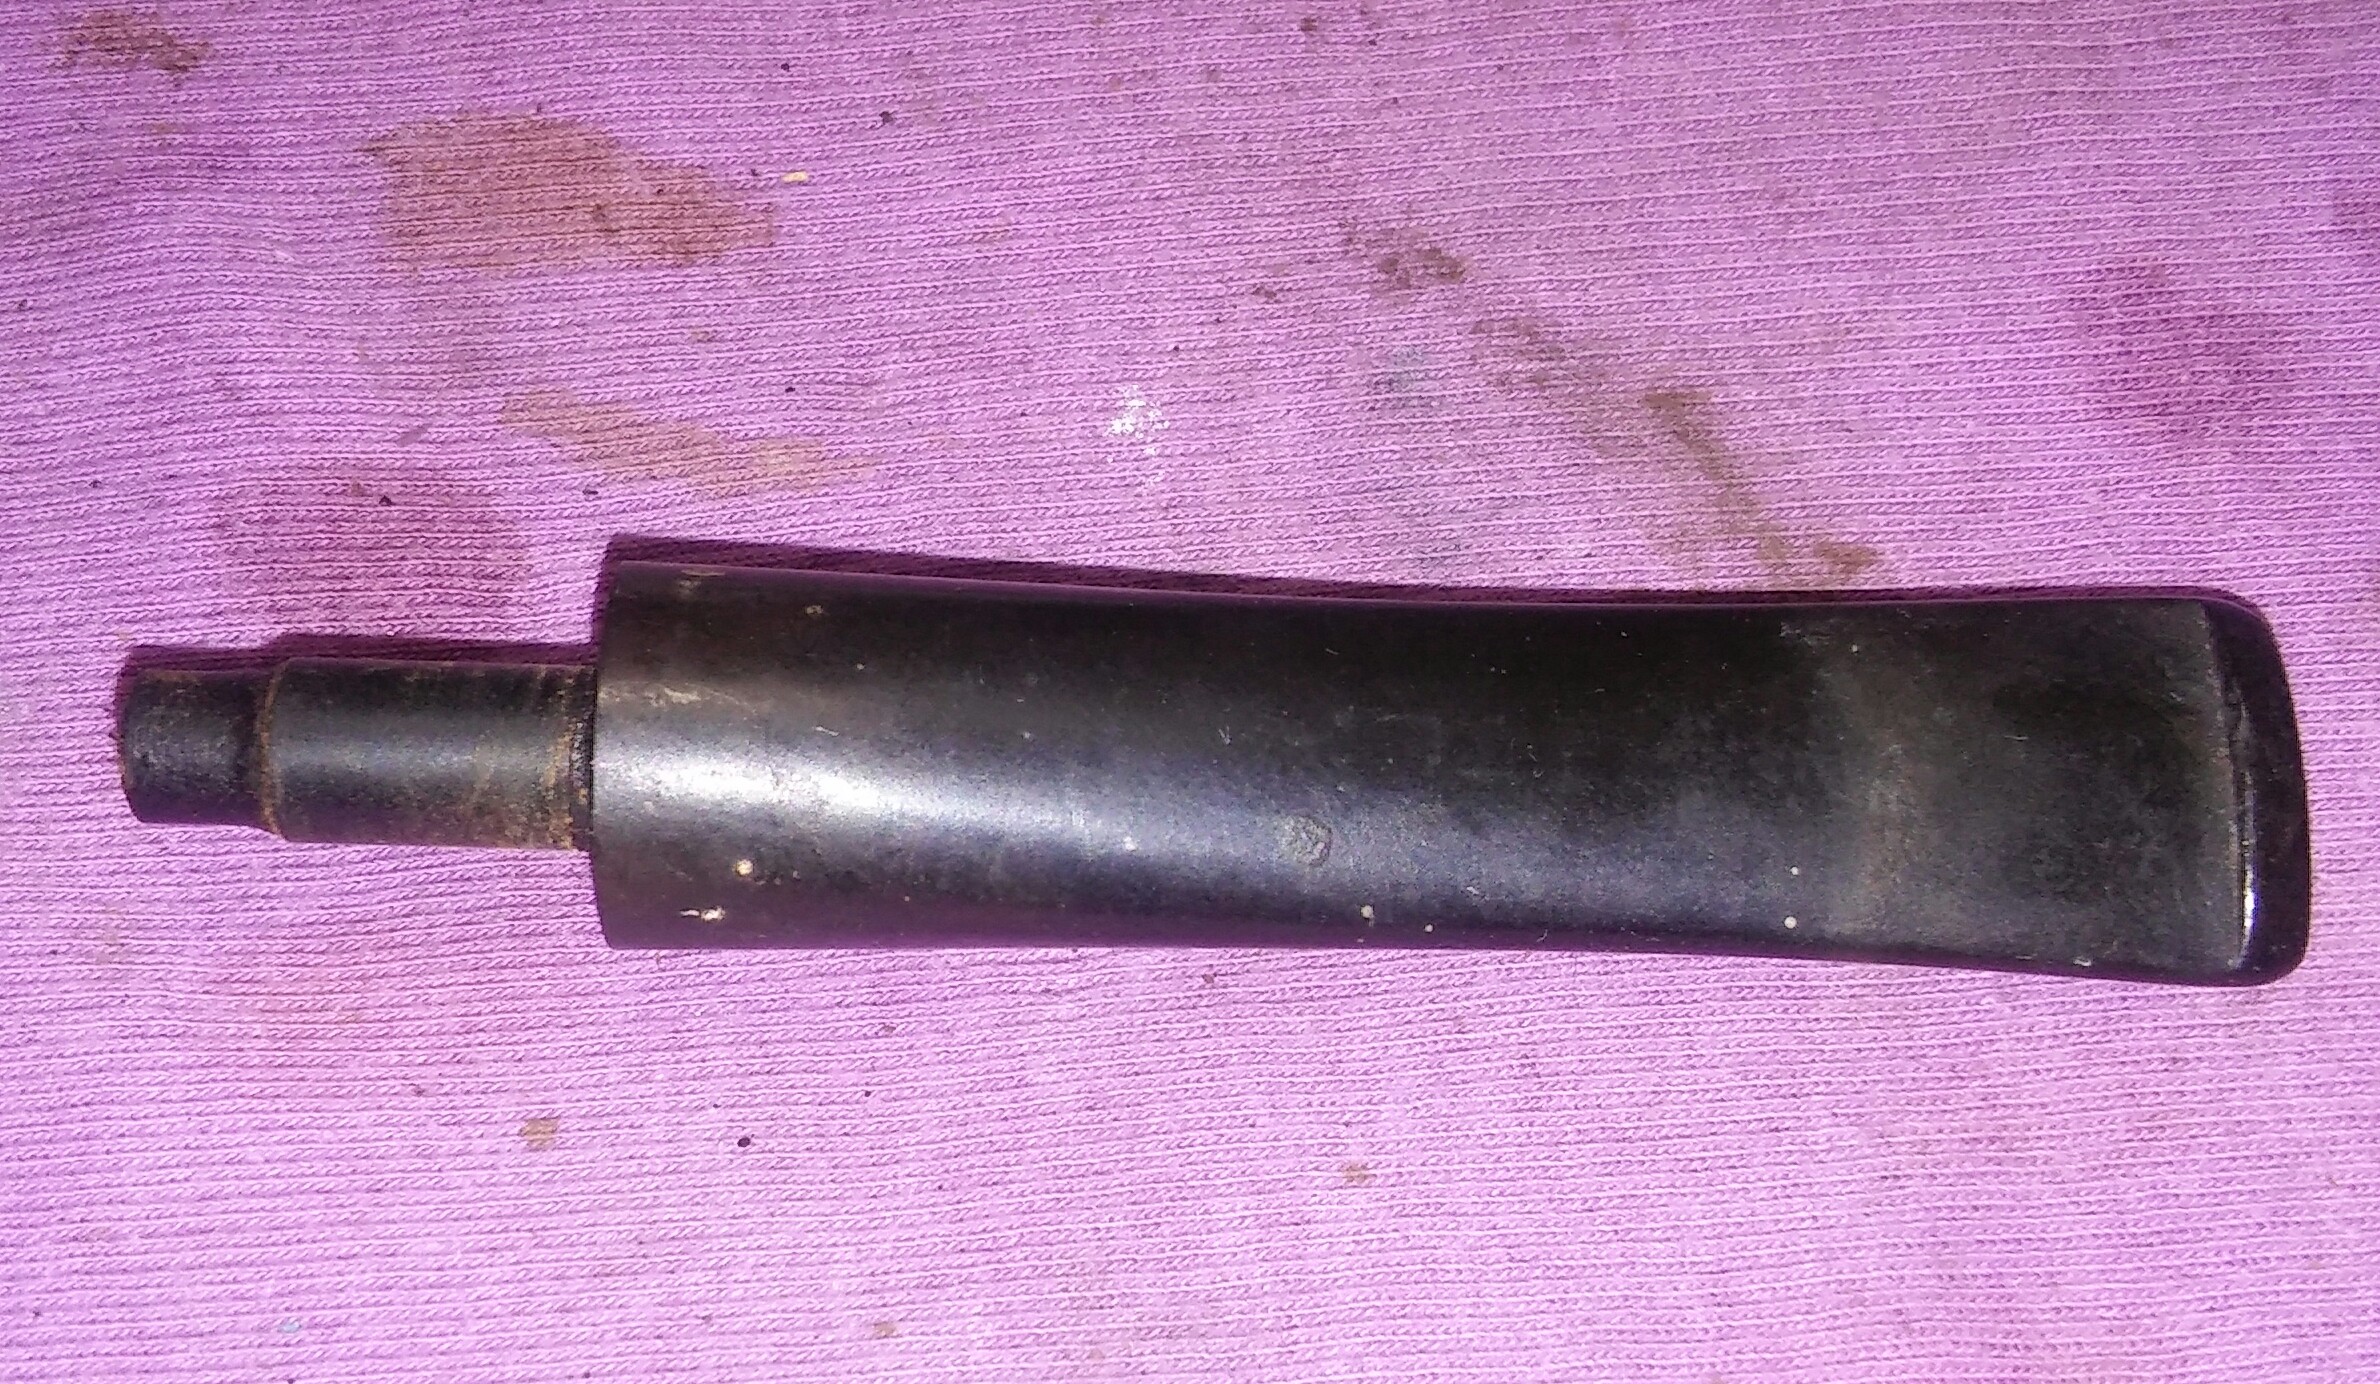

With the stummel complete now on to the stem, starting first with non-bleach Soft Scrub to remove the oxidation. I applied a generous amount using a children’s toothbrush and left it aside to begin working. Once the Soft Scrub turns from white to a brownish color I begin to remove the oxidation with a rag and plenty of elbow grease.
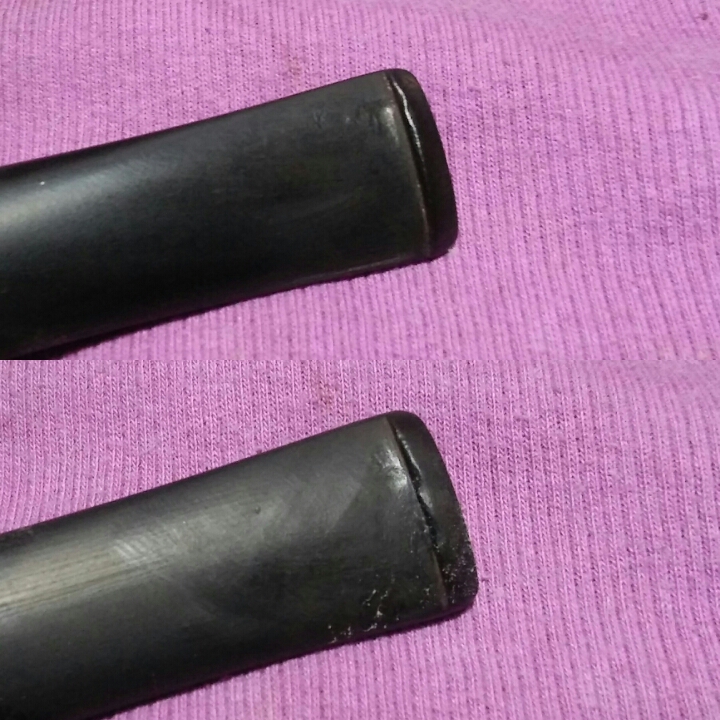
The button/bit area of the stem had a few impressions that needed attention.

I first rough sanded the area to be repaired with 400 grit wet sandpaper and then wiped down the area with an alcohol dampened rag. I mixed thick black CA glue and activated charcoal power into a paste and applied it with a toothpick to the impressions and worn button, I taped off the button with painters tape so the repair would stay in one spot I allowed the paste to harden a bit before removing the tape and again hitting it with accelerator. I now left it to cure for a few hours.

After my internal cleaning of the mortise the tennon fit was left loose, this happens with many of my estates. I ues jewellers pliers to expand the tennon from the inside out by heating the tennon lightly with a bic lighter and inserting the tip of the pliers into the tennon and slowly expanding the tennon until a snug fit is achieved between mortise and tennon.
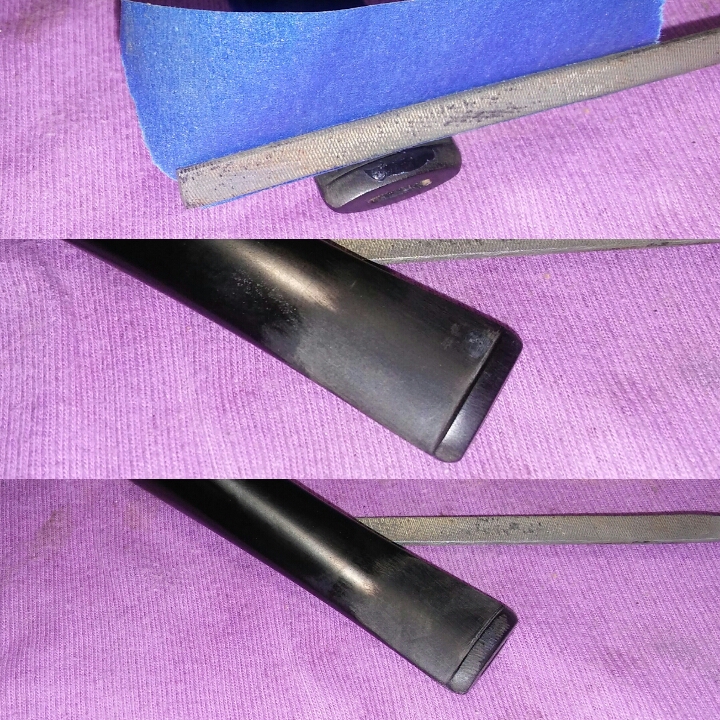
After allowing the repair to cure I could now shape the new button. Using needle files I removed the excess paste and new button began to form. I used blue painters tape to tape the under side of my needle file so I wouldn’t cut into the bit and would be able to get the file flush against the new button.

After completing the repair I wet sanded the stem first with 1000,1800, 2000 grit sandpaper then the various gits of micro-mesh.
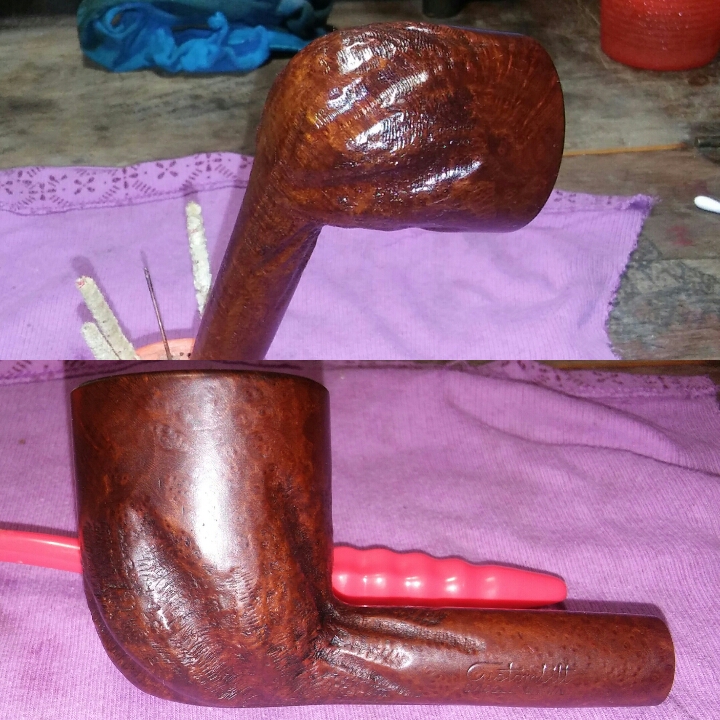
Complete


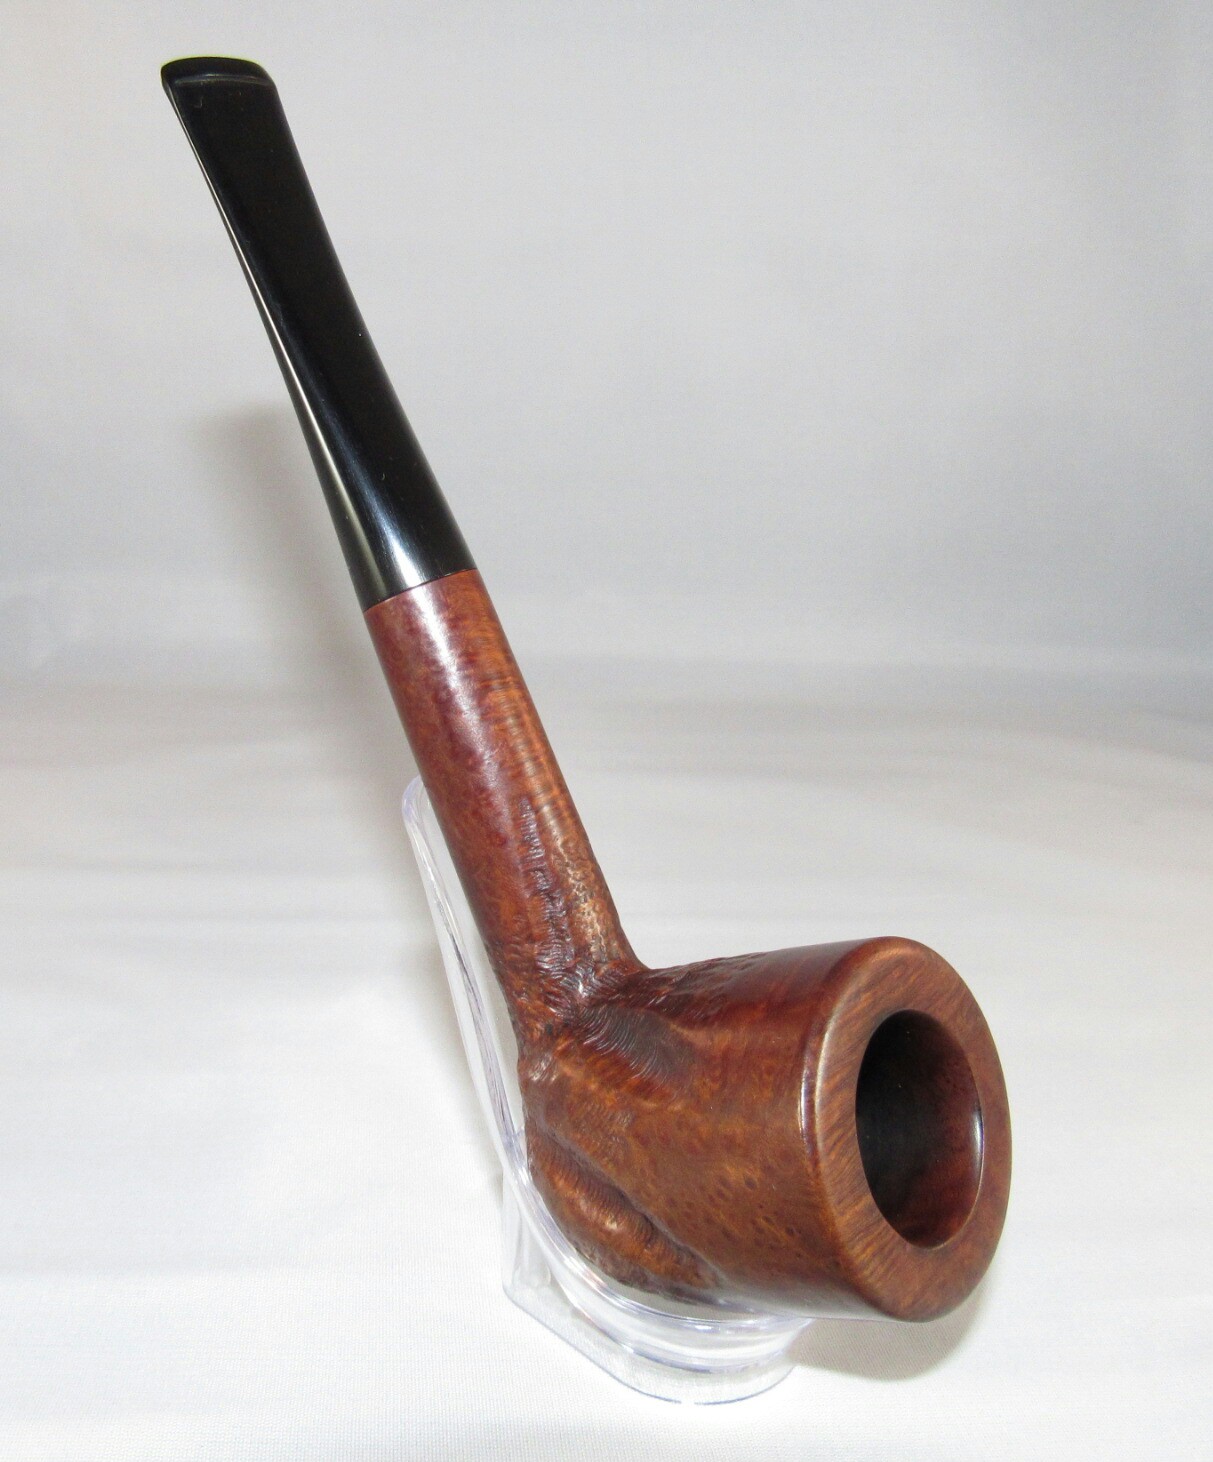

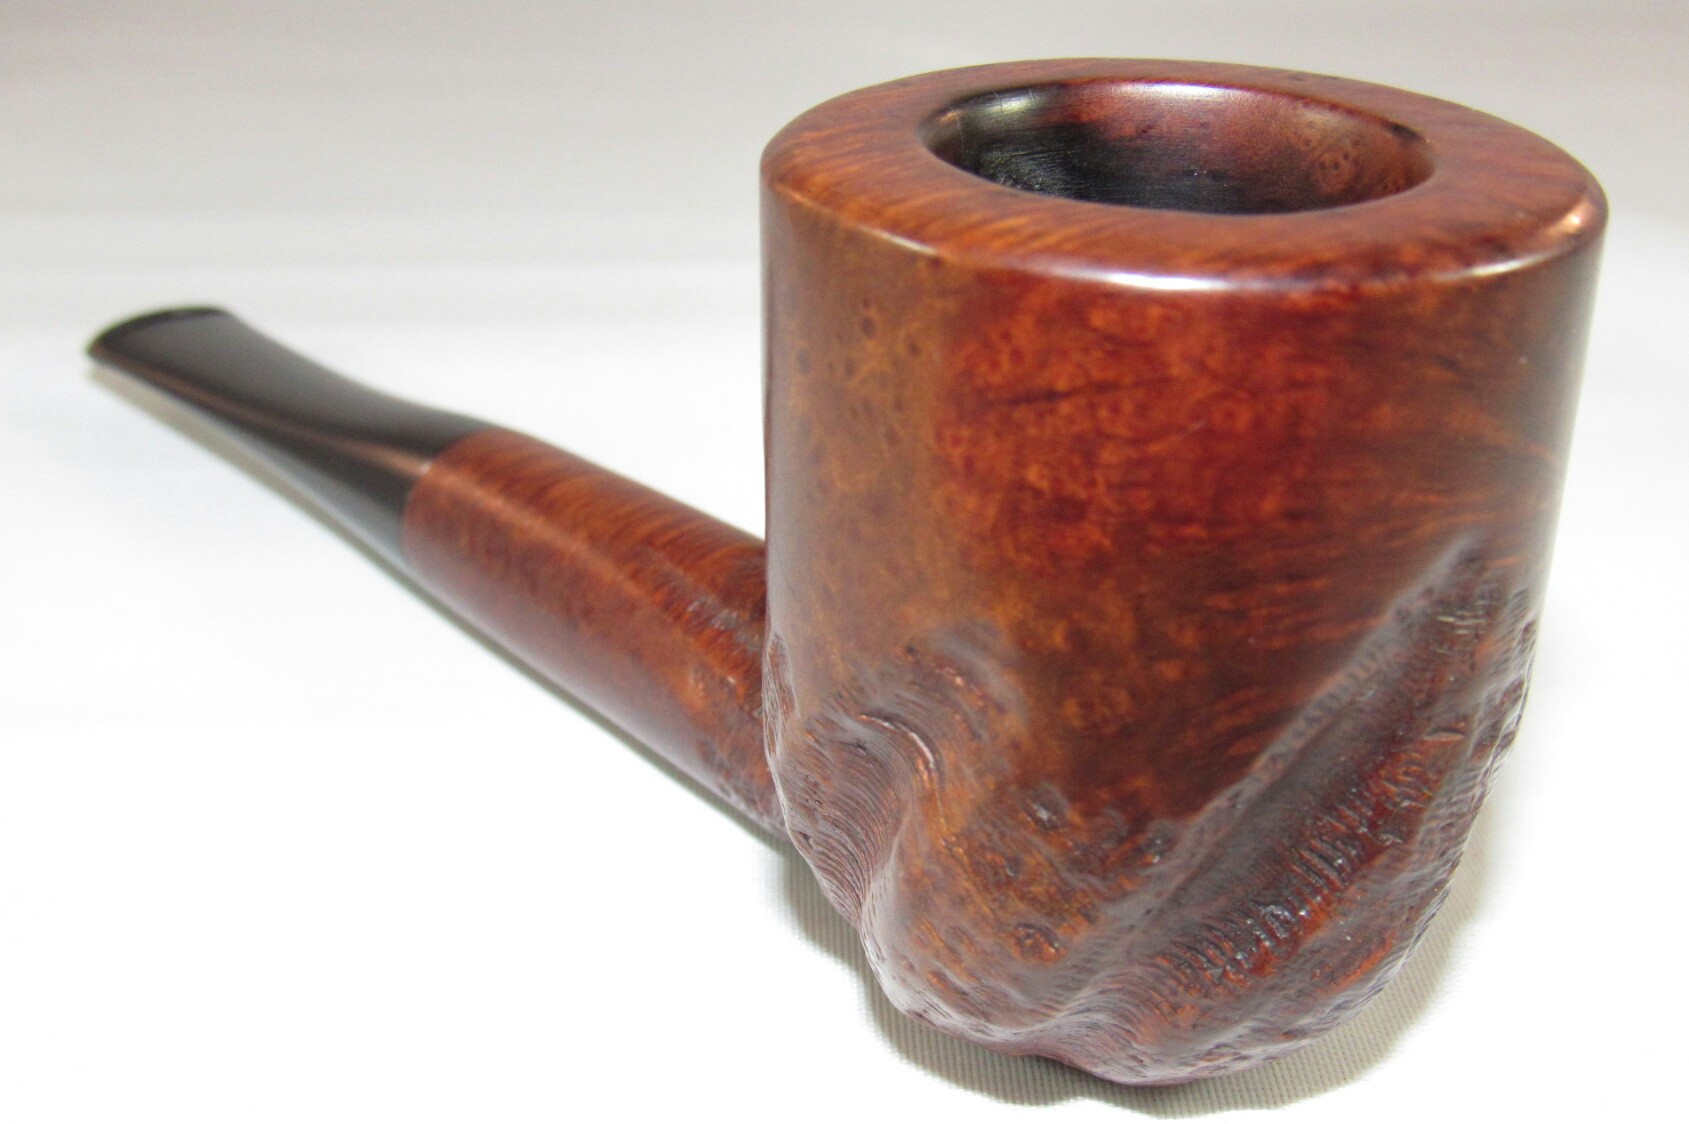


Finished up on the buffing wheel with white diamond, carnauba, and miro fiber hand buff.
This Custombilt was a true pleasure to clean up and add to my collection. Thanks Clint.

Holy crap man I can’t even believe that’s the same pipe. It turned out absolutely beautiful. I knew these would be in good hands. I can’t wait to see the other two! Excellent work my friend. Reblogging over on my site.
LikeLike
Thanks Clint
Its definitely one of the largest billiards in my collection and will be well cared for (You know pampered..) ha ha.. The next is in the works.
LikeLiked by 1 person