

Custom-Bilt
An almost completely smooth Custom-Bilt an oddity I’ve wanted for my collection for some time . I have read of completely smooth Bilts (which I have yet to see or find) and partially rusticated Custom-Bilts, I’ve seen a few photos of the partially rusticated pipes but never had the chance to get my hands on one. So when this puppy popped up a few weeks ago on EBay at a reasonable price I jumped all over it. Now I won’t go into the history of Tracy Mincer and Custom-Bilt pipes as I have written a few posts on the subject in the past but I must say I’m more and more impressed with each one I receive.
The Restoration.

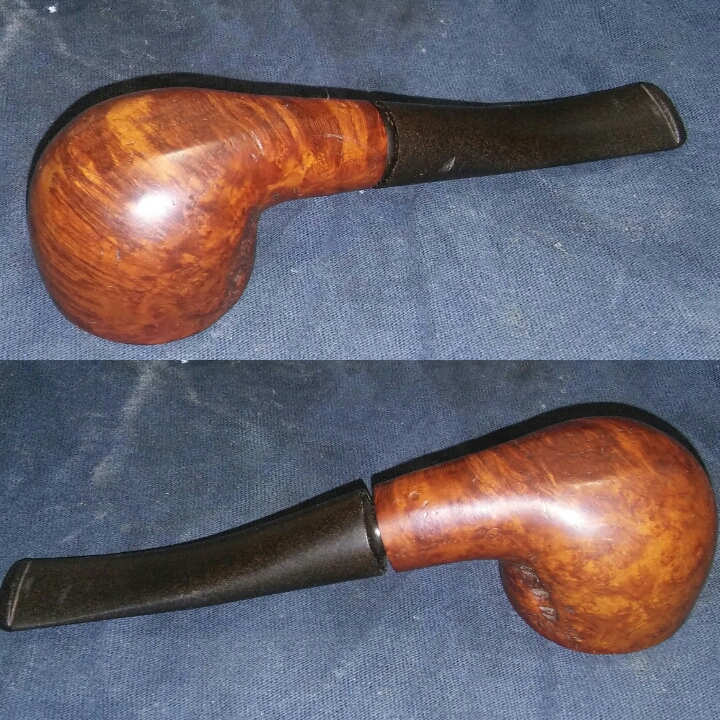


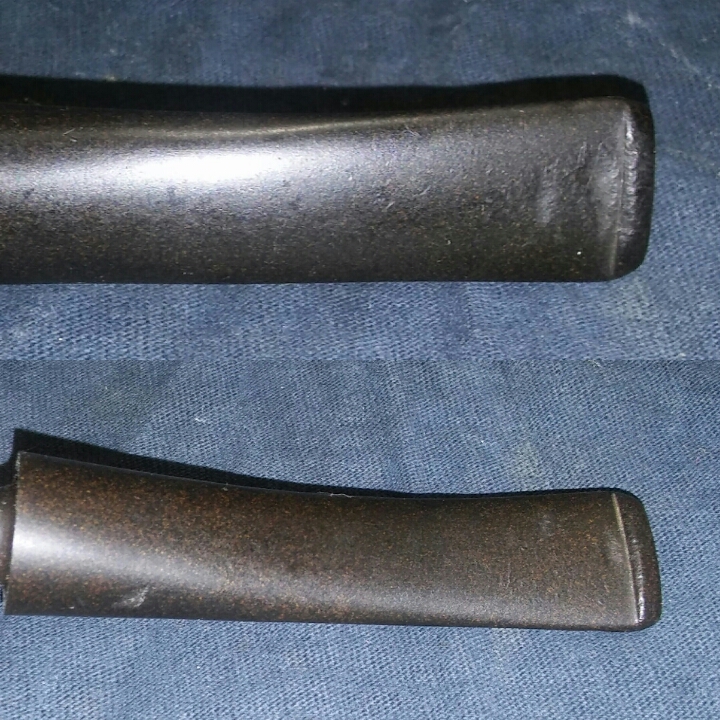
The pipe for its age was in pretty good shape, ether it was well taken care of or it has seen little use. The chamber was free of cake and the mortise was fairly clean, the rim was the only issue a little beat up. The stem was oxidized , had a few tooth impressions and a ding in the side of the stem.
The chamber being as clean as it was, it would not need a reaming but just a quick sanding with 400 grit sandpaper to remove a little doddle .
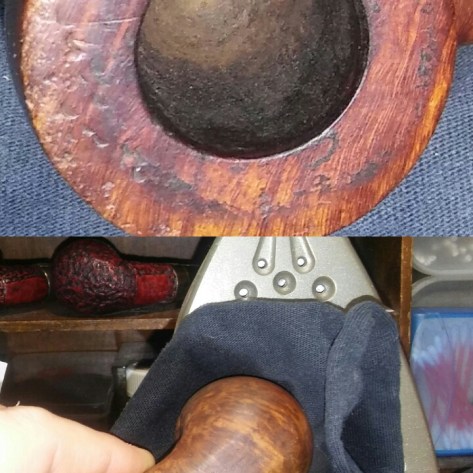
I attempted to steam out the dents in the rim using a household iron and damp rag but the indentations were to deep.

The rim would need to be topped , I tape a sheet of 400 grit sandpaper to my work surface and began sanding the rim until smooth . I then sanded with 800 and 1000 grit sandpaper until I had a mirror finish.

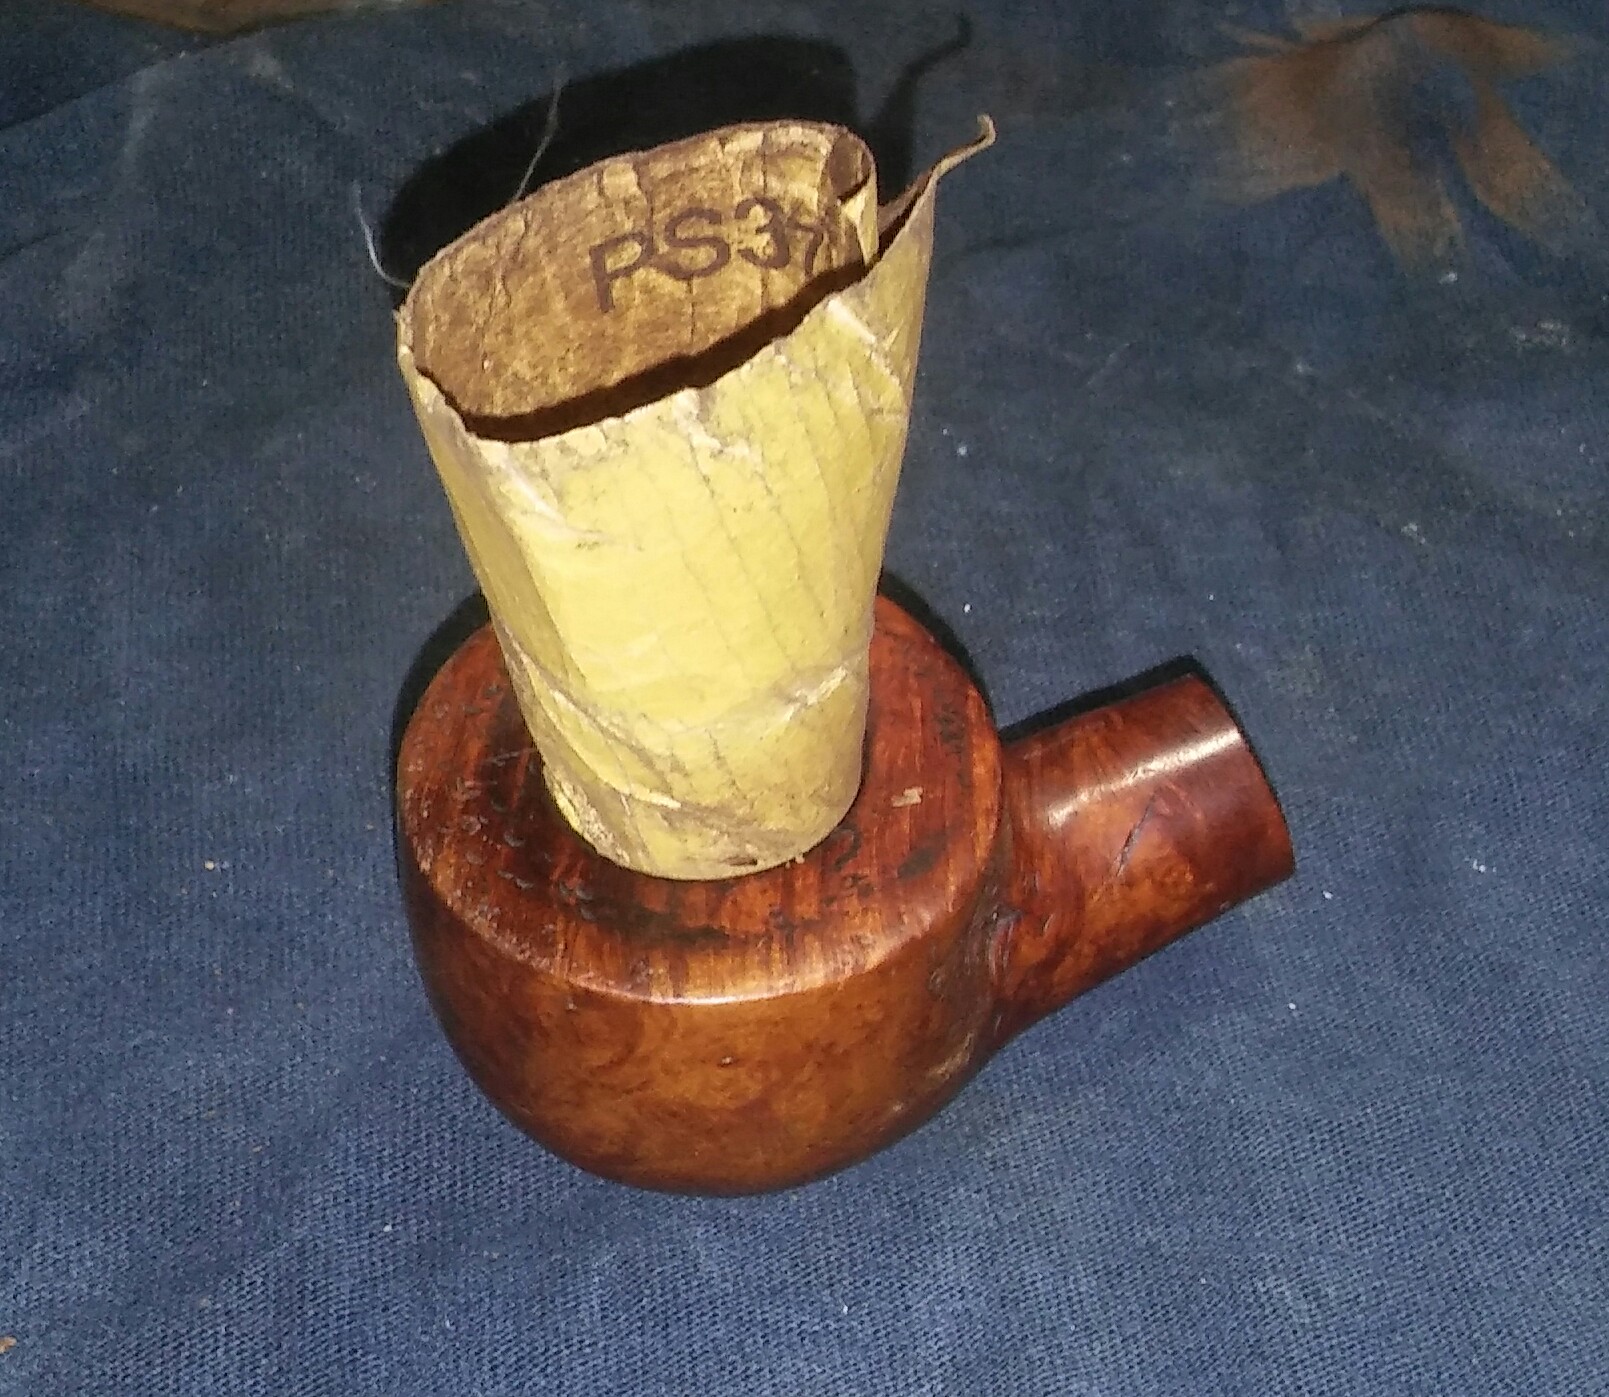
I gave the stummel and stem internals a good cleaning using EverClear , shank and mortise brushes , Q-tips , cotton balls and soft/stiff pipe cleaners. I un-roll cotton balls and form a swab then twist it tightly into the mortise , then fill the chamber with a little EverClear and allow the swab to absorb the alcohol. I leave it to sit for for a few minutes to brake up the old tars and oils in the mortise. 
Using furniture touch-up markers I re-stained the stummel and freshly topped rim , leaving it aside to dry. I removed the excess stain with an alcohol dampened rag.
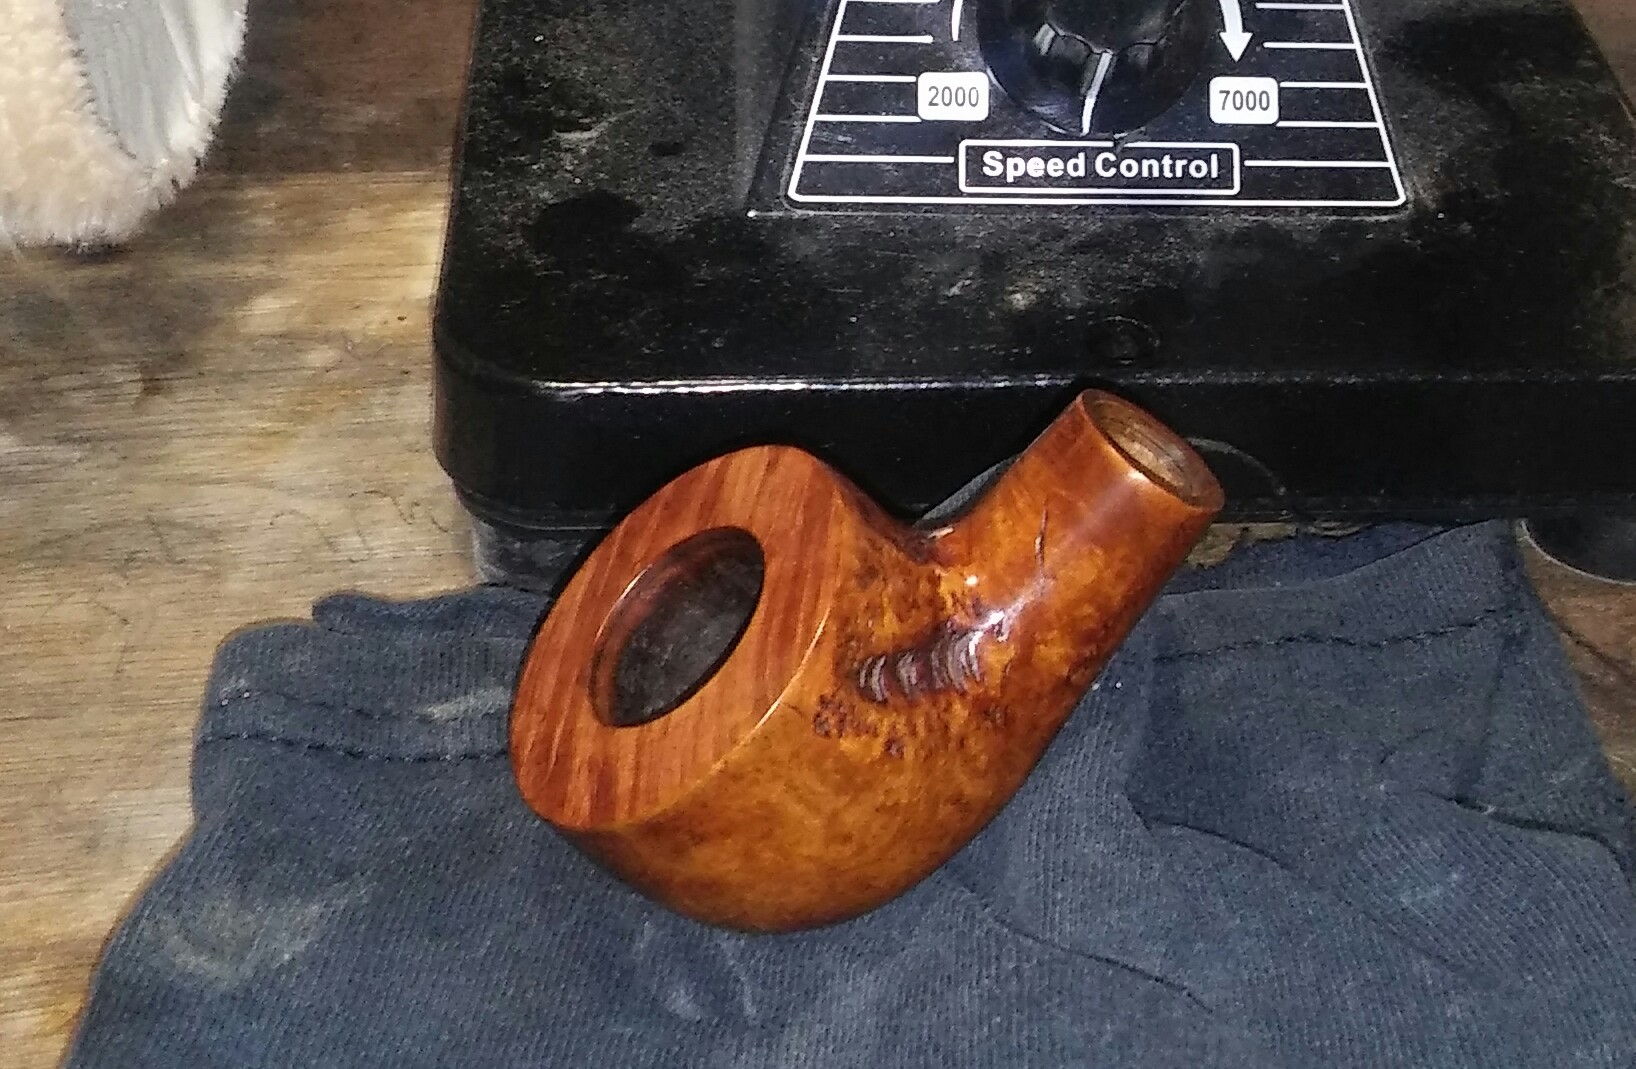
Usually I wait till the end to buff the stummel and stem but this one I couldn’t wait to see finished . There are imperfections in the briar , a few pits and places that could have been filled but I decided it gave this particular pipe character.

The stem oxidation was the next task, I appalled a generous amount of non-bleach Soft Scrub to the stem and left it aside to penetrate the oxidation . Once the Soft Scrub turns from white to a brownish color its time to scrub vigorously with a rag, adding more Soft Scrub as needed. Holding the stem under natural light will help to see if all oxidation was removed.
When I received the pipe the stem and shank fit were off , the briar inside of the mortise was pushed up by the tenon and forming a wall that the tenon could not pass in-turn leaving a gap. Using a half round needle file I removed the excess briar , the fit was better but not flush , I then filed down the tenon edge and rounded it off with 400 grit sandpaper to get the proper fit.
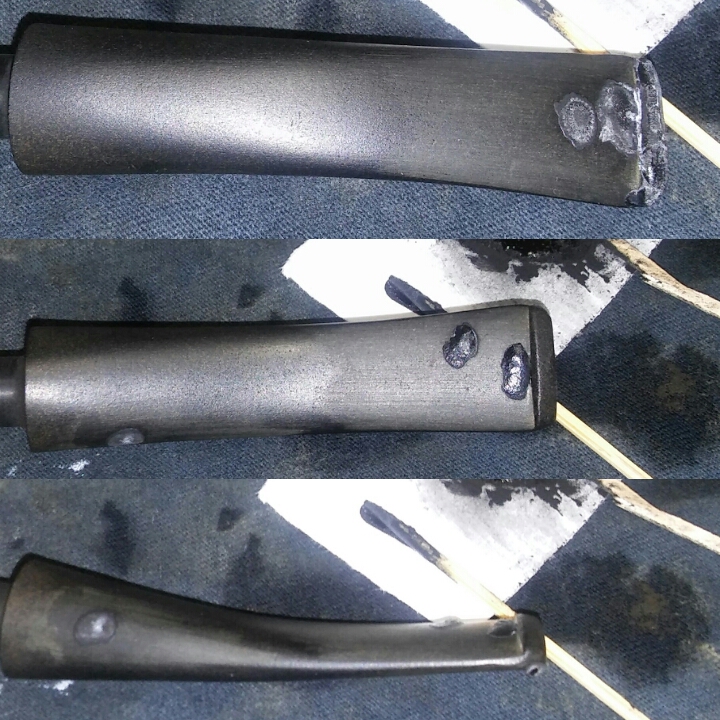
I tried to raise some of the tooth impressions with heat to no avail. I mixed thick black CA glue and charcoal powder into a paste and applied it to the stem with a toothpick , hitting it with accelerator to set the glue , leaving it overnight to cure.
The next morning after allowing time for the patch to cure I removed the excess glue with a flat needle file.
I removed the file marks with sandpaper starting with 400 grit and ending with 1500 grit sandpaper. I started saving the windows out of selling packages for my stem/shank divider , like the kind in kids toy packaging. Its flexible and seems like I can get a little closer to the end of the stem , closer then I would with a washer.
I now ran the stem though the various micro-mesh pads.
Complete.
I finished up with white diamond , a few coats of carnauba and a micro fiber hand buff. Buffing the stem with blue compound and carnauba.
