

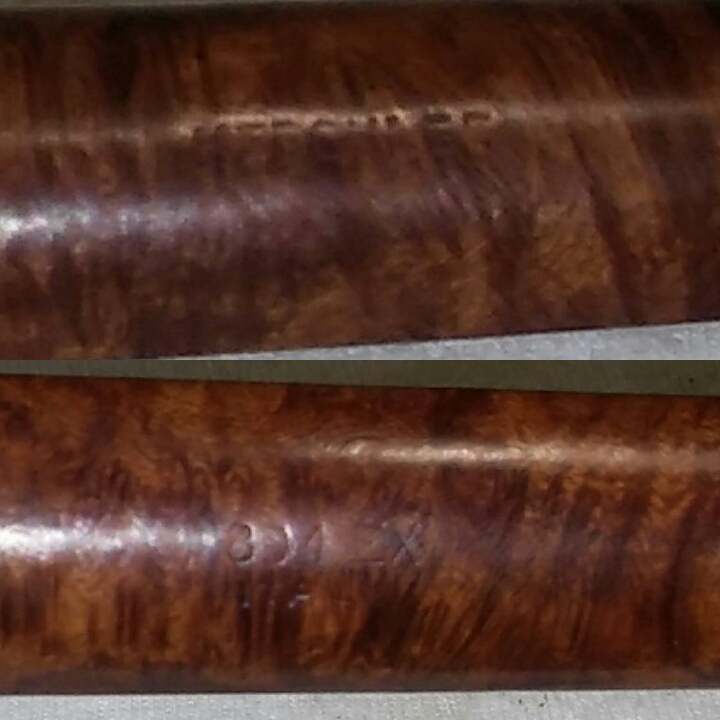
Savinelli Hercules 804 EX
About a month ago I restored a few pipes for Clint from Pipe Scoundrel , one in particular was a rather fetching John Bessai Canadian the shape was one I was in search of myself .

Pipe Scoundrel’s John Bessai.
I had found a Tinder Box a few months before reviving Clint’s Bessai but it was lacking , first of all the Bessai was was a whopping seven inches long and the Tinder Box was just over six inches long , overall the Bessai was just a larger pipe and very comfortable in hand . So the search would continue.

-
Tinder Box.
A few weeks back I had my chance with a Savinelli Hercules 804 EX . From the auction photos it looked to be in good shape and very similar in shape to Clint’s Bessai . When the pipe arrived I was pleasantly surprised to see it was in fact very similar to the Bassia , same length, same general shape , the only difference the chamber was a bit taller on the Sav .
The Restoration.

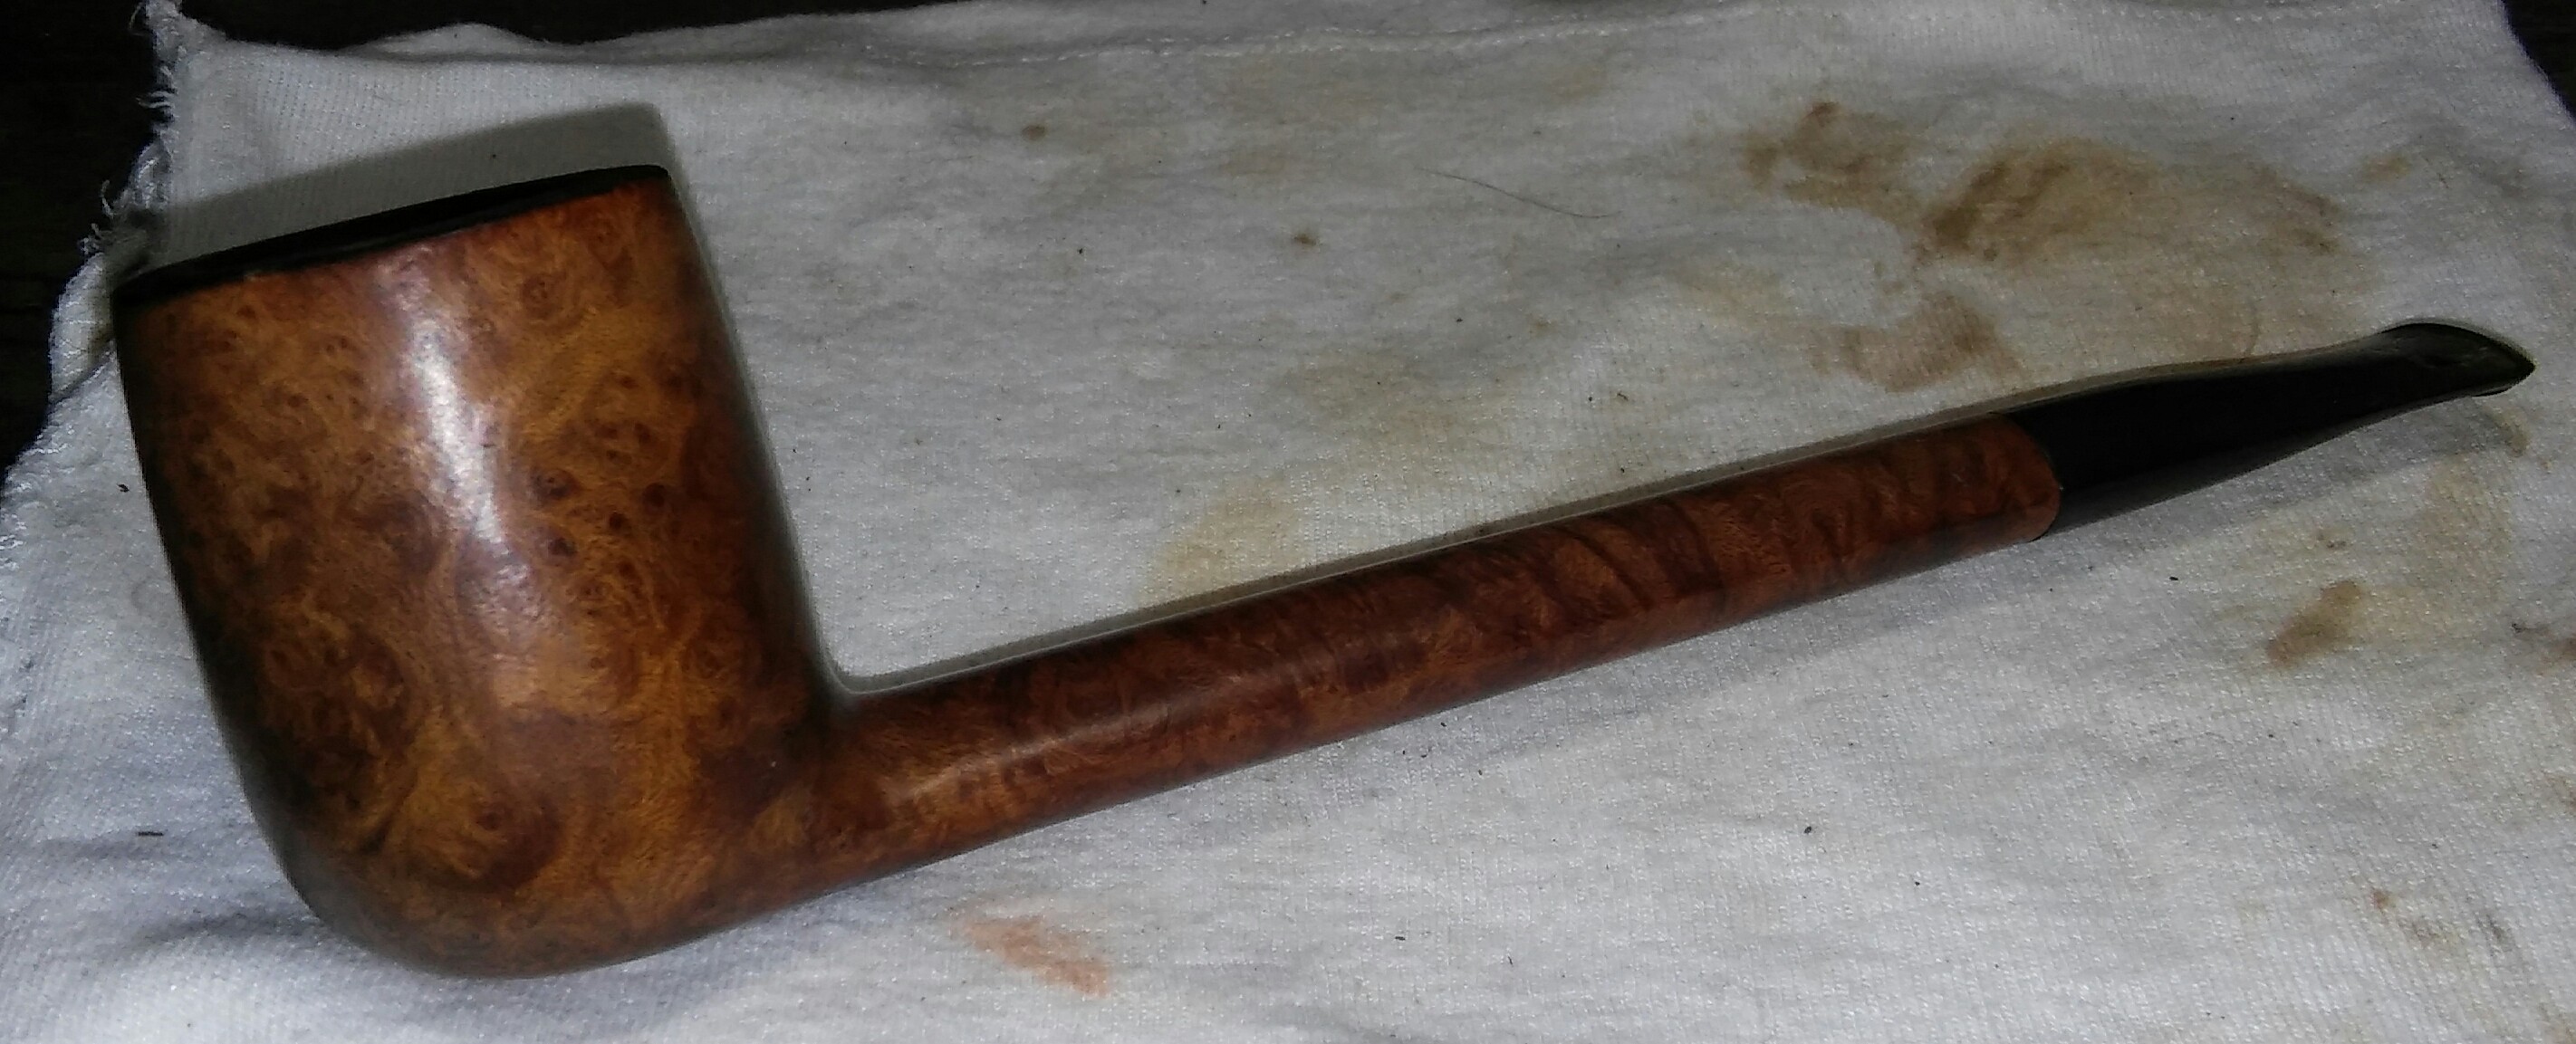
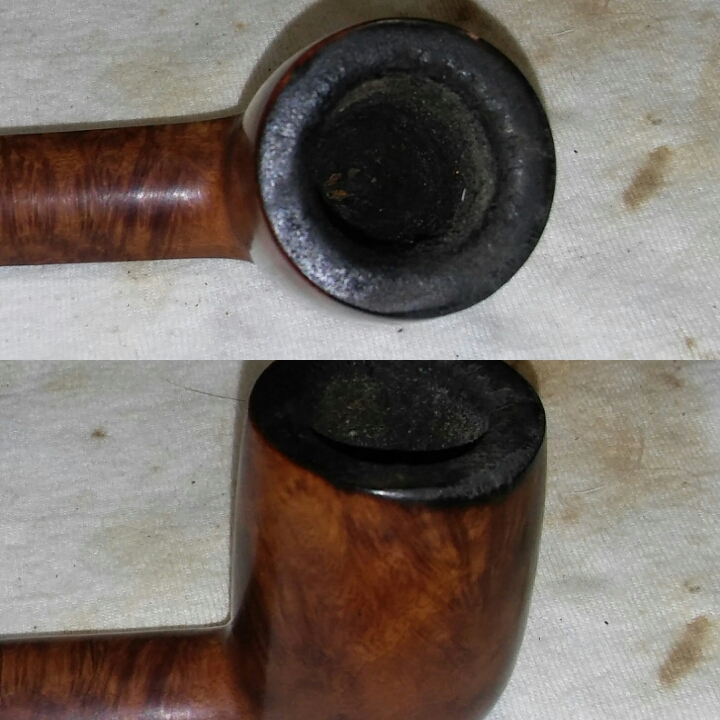
She was a little rough around the edges , rim tar, char and one pretty good burn at the side of the rim. The stem had a few tooth impressions and oxidation.

I tag teamed the chamber with a combination of old and new starting with my PipNet reamer , beginning with the smallest attachment . The PipNet reamer has a sturdier construction over the CastleFord reamer but the tip of the PipNet attachments are more blunt and in this case did not reach to the bottom of the chamber. The old CastleFord was the right fit , though the blades were very dull.
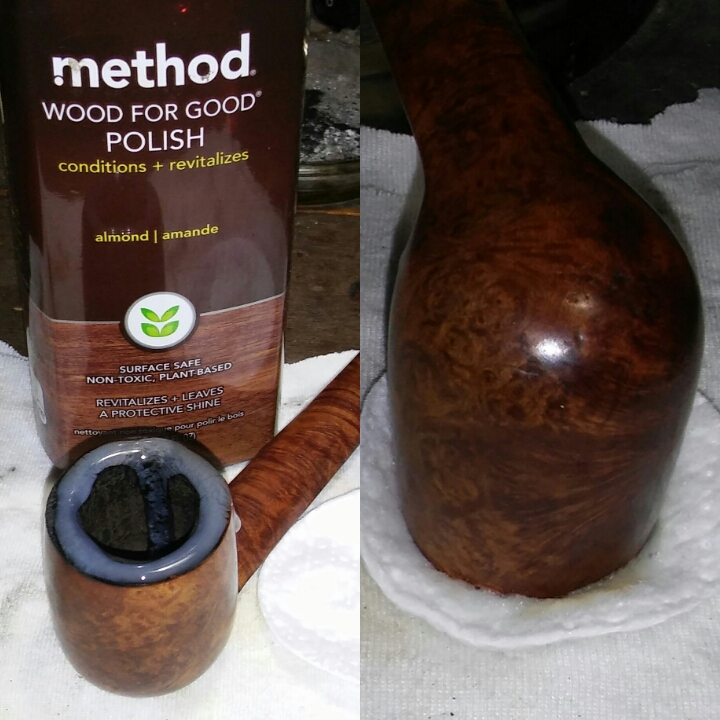
Next I worked the caked rim , I applied a generous amount of Method Good For Wood Polish to the rim with a Q-Tip and left the stummel upside down on a makeup pad to soften the build-up . Once the tars/oils broke up the residue was removed with Q-Tips and makeup pads.
Once the build-up was removed I could see there was far more damage then I first thought. The inner edge of the rim was so charred it would crumble away with the slightest touch.
I taped down 150 grit sandpaper to my desk top and began to top the rim. Once I was past the bulk of the char I sanded with 220 and 400 sandpaper. I decided a beveled rim would be more appealing and its also the same approach I took when restoring Clint’s Bessai, his pipes rim was in the same condition when I received it. I started with a flat sided needle file and began to remove the sharp inner edge of the rim, I would repeat this process a few times until I had the angle I was looking for.
I finished the rim with 800, 1000 and 1500 grit sandpaper, removing the fine dust with an EverClear dampened rag.
I ran a retort to remove the old tars, oils and tobacco. I would repeat this with fresh EverClear a few times to brake up the build-up.
Next I cleaned the internals of the stem and stummel, using EverClear, Q-Tips long & short, makeup pads, shank & mortise brushes and stiff/soft pipe cleaners. Cleaning until my finale pipe cleaner came out as it when in.
There were a few indentations that I steamed out using a house hold iron set to medium heat and a damp rag . I covered the area of the dings with the damp rag and held it to the hot iron to steam out the imperfections. I then sanded the stummel with 1000 and 1500 grit sandpaper, wiping down with an alcohol dampened rag.
I decided to add a silver band, it was aesthetically pleasing. I heated the band and pressed it into place.
I now mixed Fiebings red and dark brown leather dye together along with a little EverClear to lighten the mix. I applied a few coats of the stain with a bush and hit it with a Bic lighter to set the stain. I removed the excess stain with an EverClear dampened rag and lightly sanded with a worn 4000 micro-mesh pad, wiping down the stummel one last time with the EverClear dampened rag.
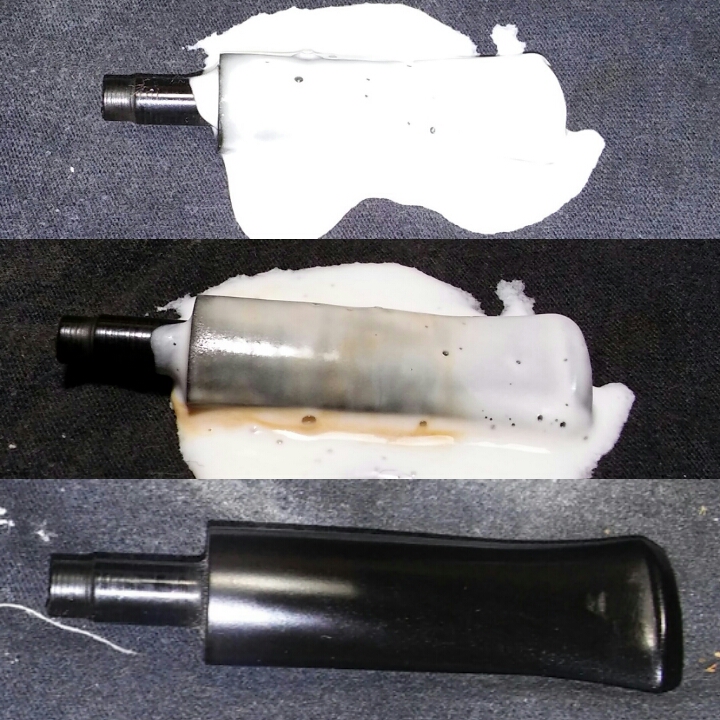
With the stummel ready for the buffer I moved on to the stem. I applied a generous amount of non-bleach Soft Scrub to the stem and left it aside for the Soft Scrub to work at the oxidation. One the Soft Scrub turns form white to a brownish color its time to scrub vigorously with a rag, adding more Soft Scrub as needed . Holding the stem under natural light will help to see if all oxidation has been removed.
There were a few tooth impressions that would not respond to heat and would have to be filled. I rough sanded the area with 220 grit sandpaper, wiping with an EverClear dampened rag to remove the sanding dust, I then filled the imperfections with thick black CA glue hitting it with accelerator to set the patch, I now left it overnight to cure. The following morning I sanded the area with 220, 400 and 800 grit sand paper until the repair was flush.
I now ran the stem though the various grits of micro-mesh 1500-2400 wet and 3200-12000 dry. I save the clear plastic windows from product packaging for my shank/stem divider, its flexible and allows me to get closer to the tenon end of the stem for my finial polish.
Complete
I finished up on the wheel with white diamond, carnauba and a micro-fiber hand buff. Buffing the stem with blue compound and carnauba.

One of my favourite pipe shapes, Tim. Great job with the cleanup!
LikeLiked by 1 person
Tim, gorgeous pipe and an exceptional restoration. The final finish is beautiful.
LikeLiked by 1 person