

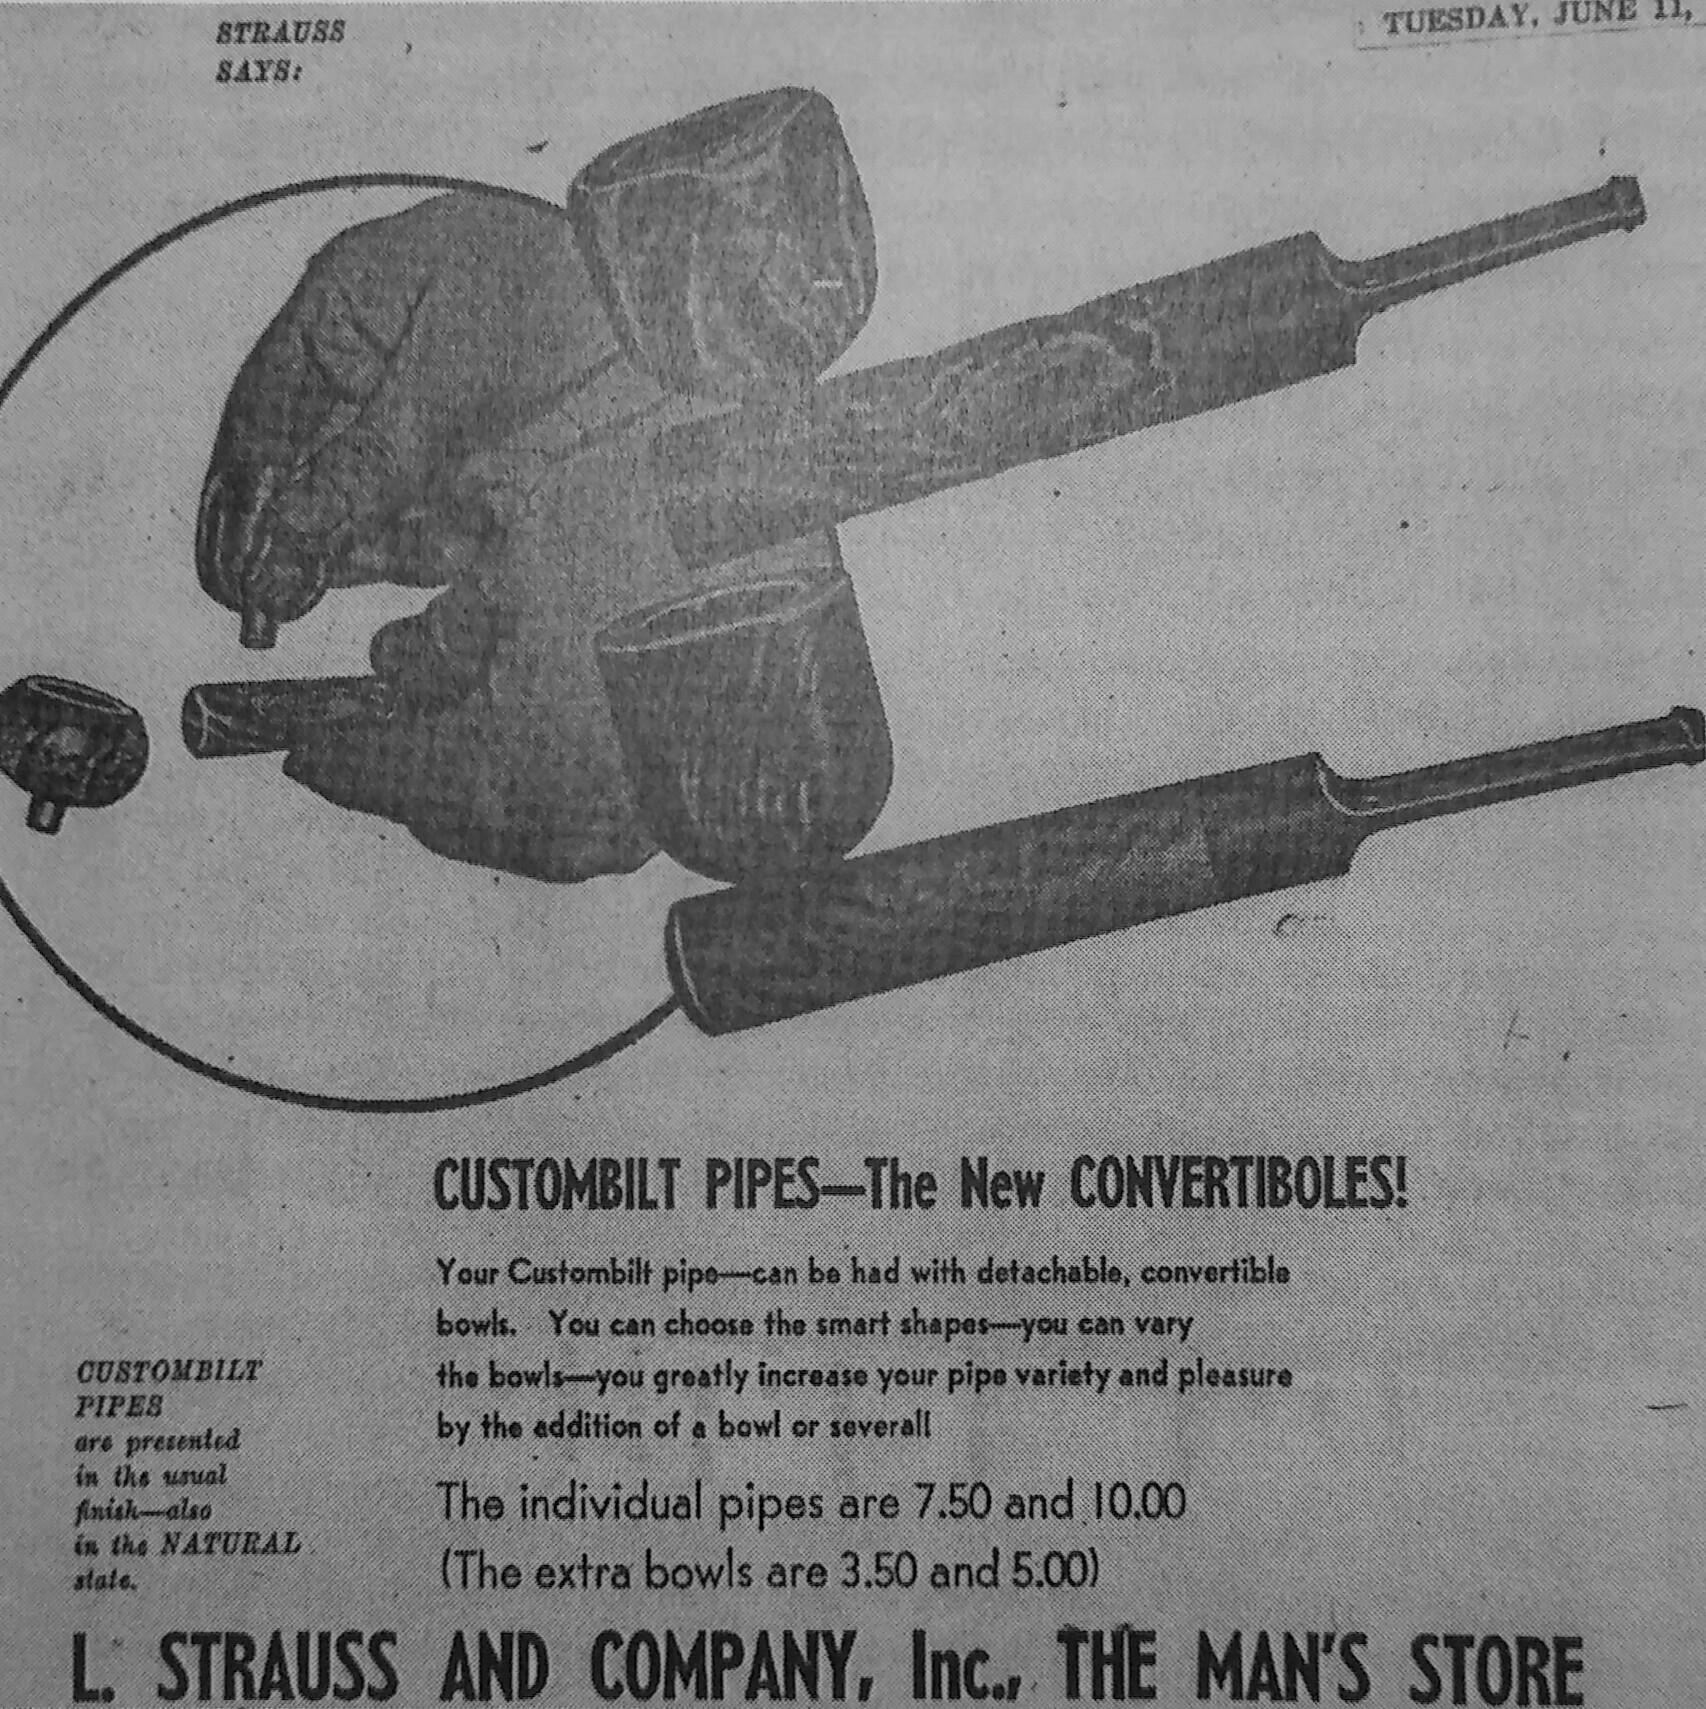
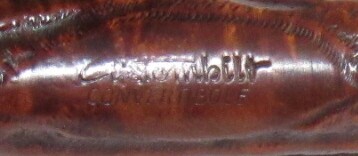
Custombilt Convertibole
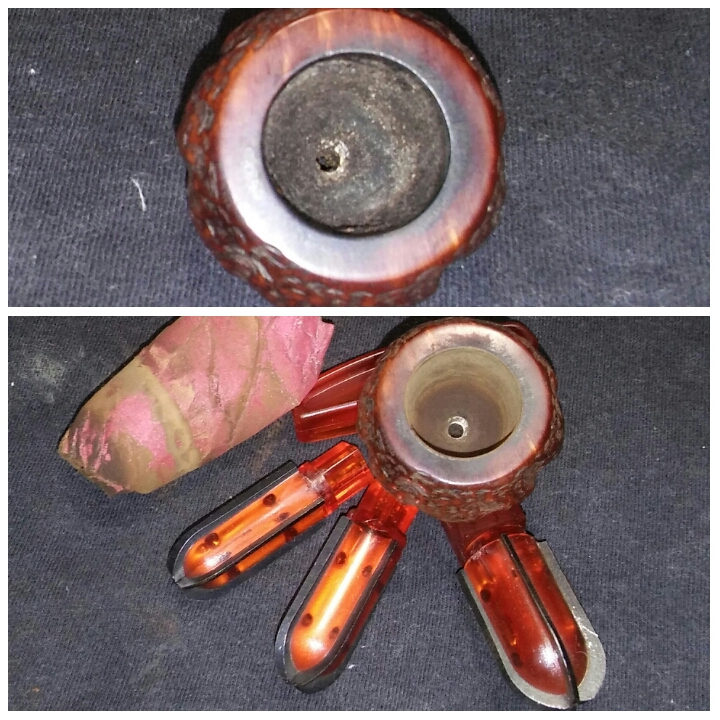
The elusive Convertibole, its taken two long years to hunt this oddity down. They were always just out of reach. I have an addiction to Custom-Bilt / Custombilt Pipes but I’m not willing to brake the bank to add one to my collection. So I was pretty happy when this one went out cheap on EBAY. The Convertibole first appeared in 1946 and was distributed by Eugene Rich, the interchangeable bowls made ease in changing between blends.
As Received

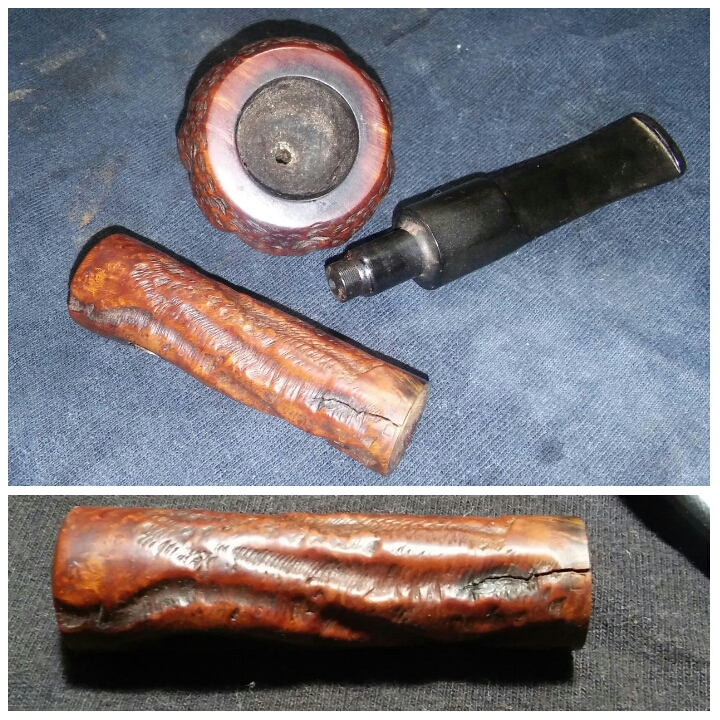
She was in rough shape, well used but the price was right and I was up for a challenge. The shank was cracked, a band would have easily fixed the problem but it would also take away from the pipe itself. So a little unconventional fix would have to do.
Starting with the bowls chamber and my Pipnet reamer, I reamed the cake back to briar starting with the smallest attachment and working up to the third, she was free of any defects. I finished up with 400 grit sandpaper wrapped around a finger.
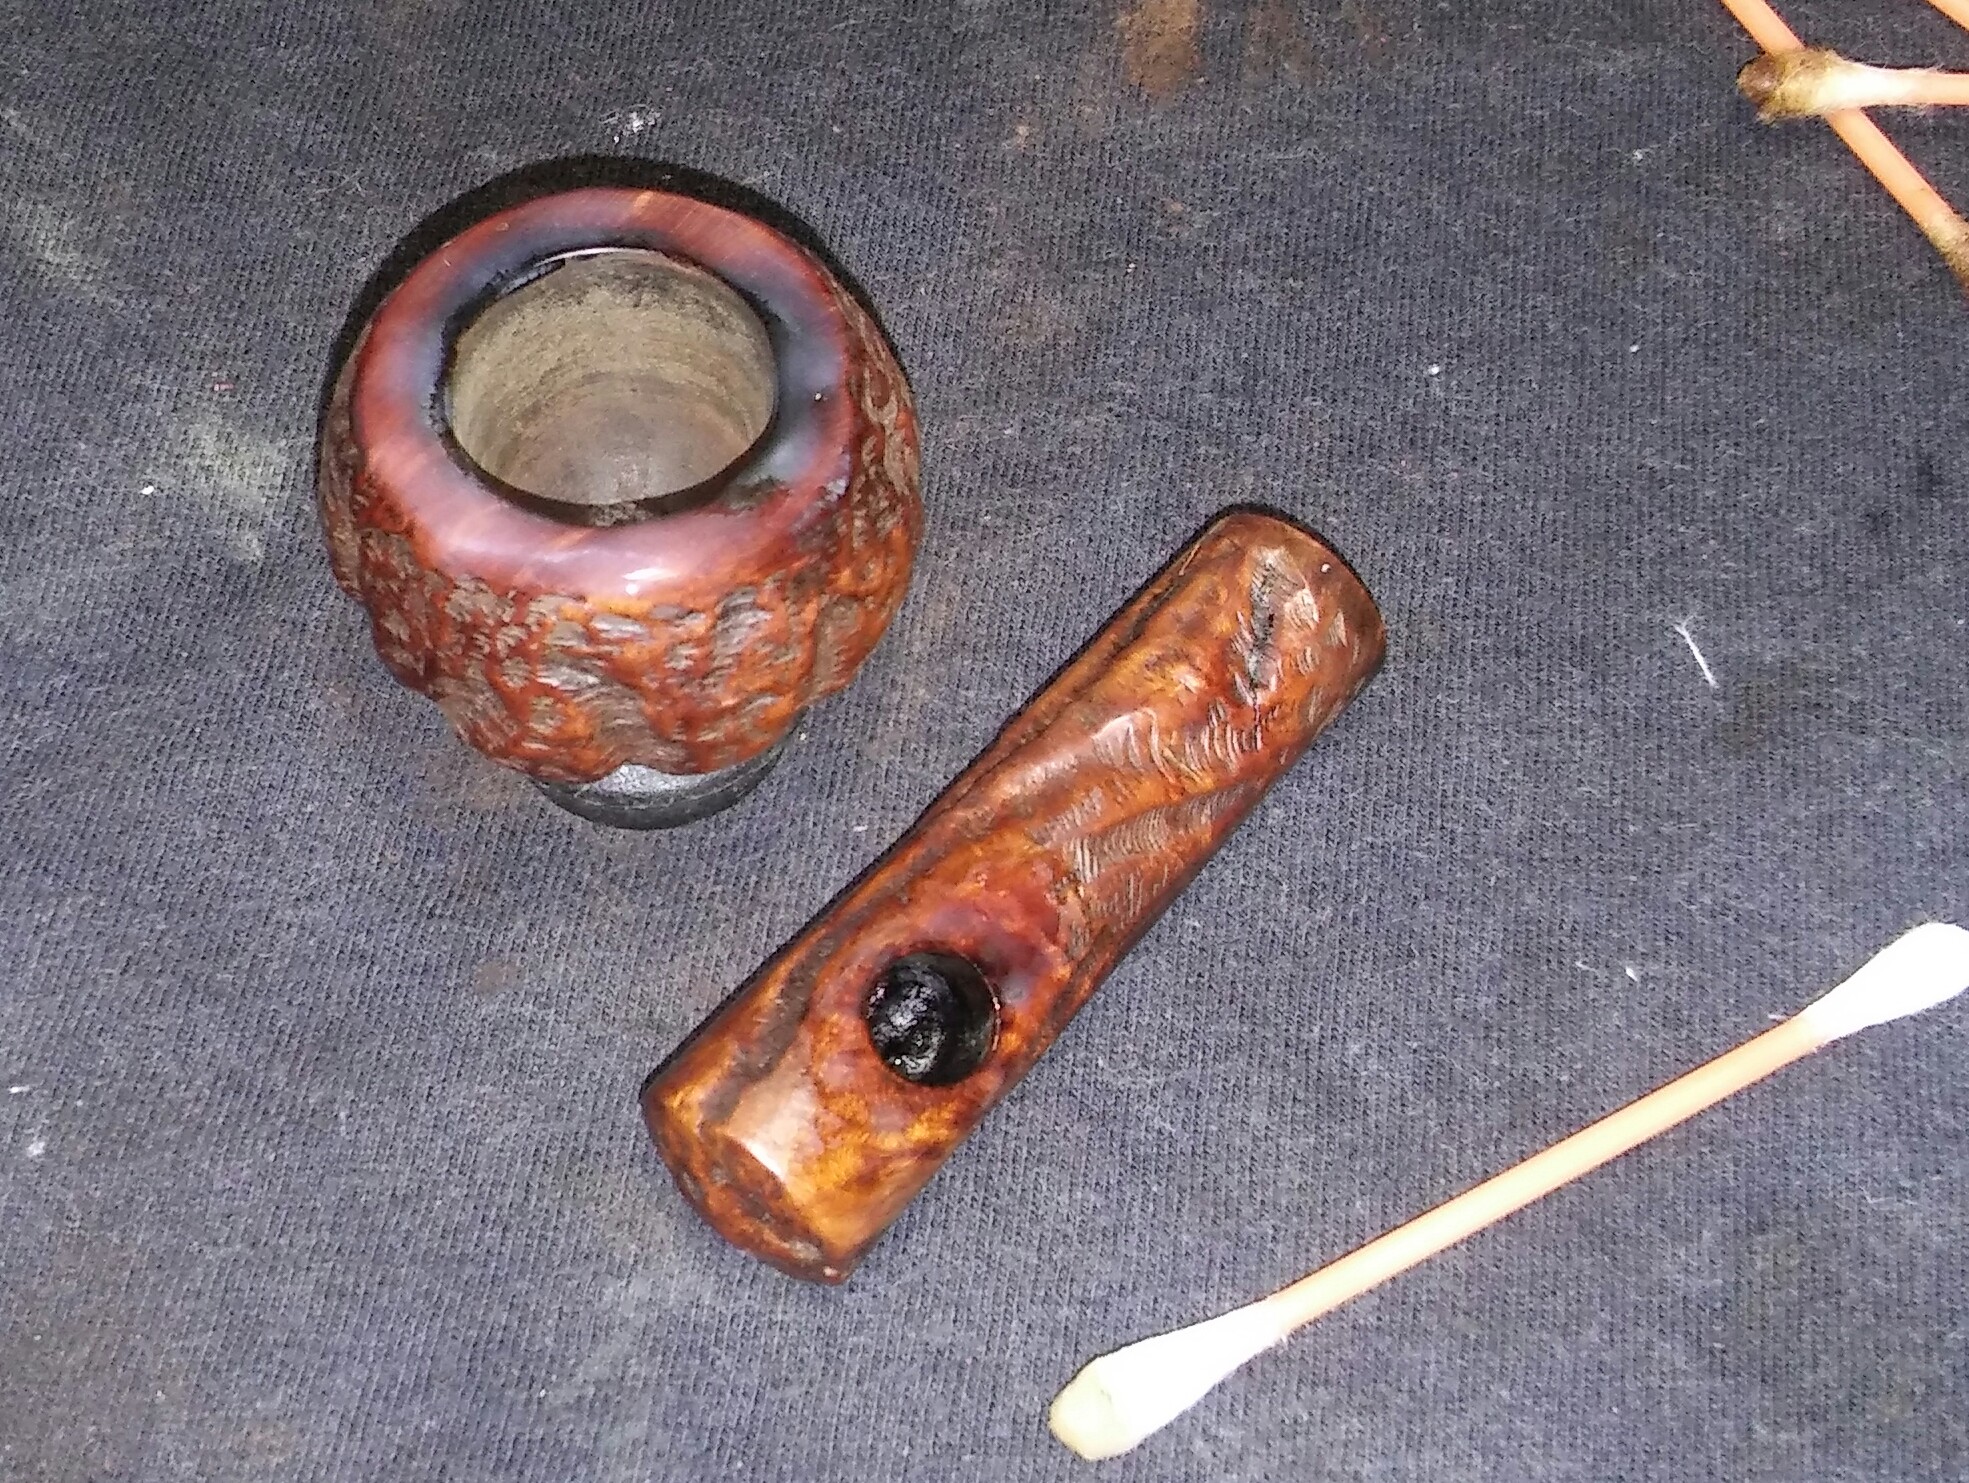
With the chamber reamed, I moved on to the rim and shank. There was a build up of tar/oils on the rim and where the bowl and shank met. I applied Method Wood For Good Polish to the rim and shank area with a Q-tip and let the Method penetrate the build up. Once the Method penetrated the tars/oils it was easily removed with Q-tips and makeup pads.
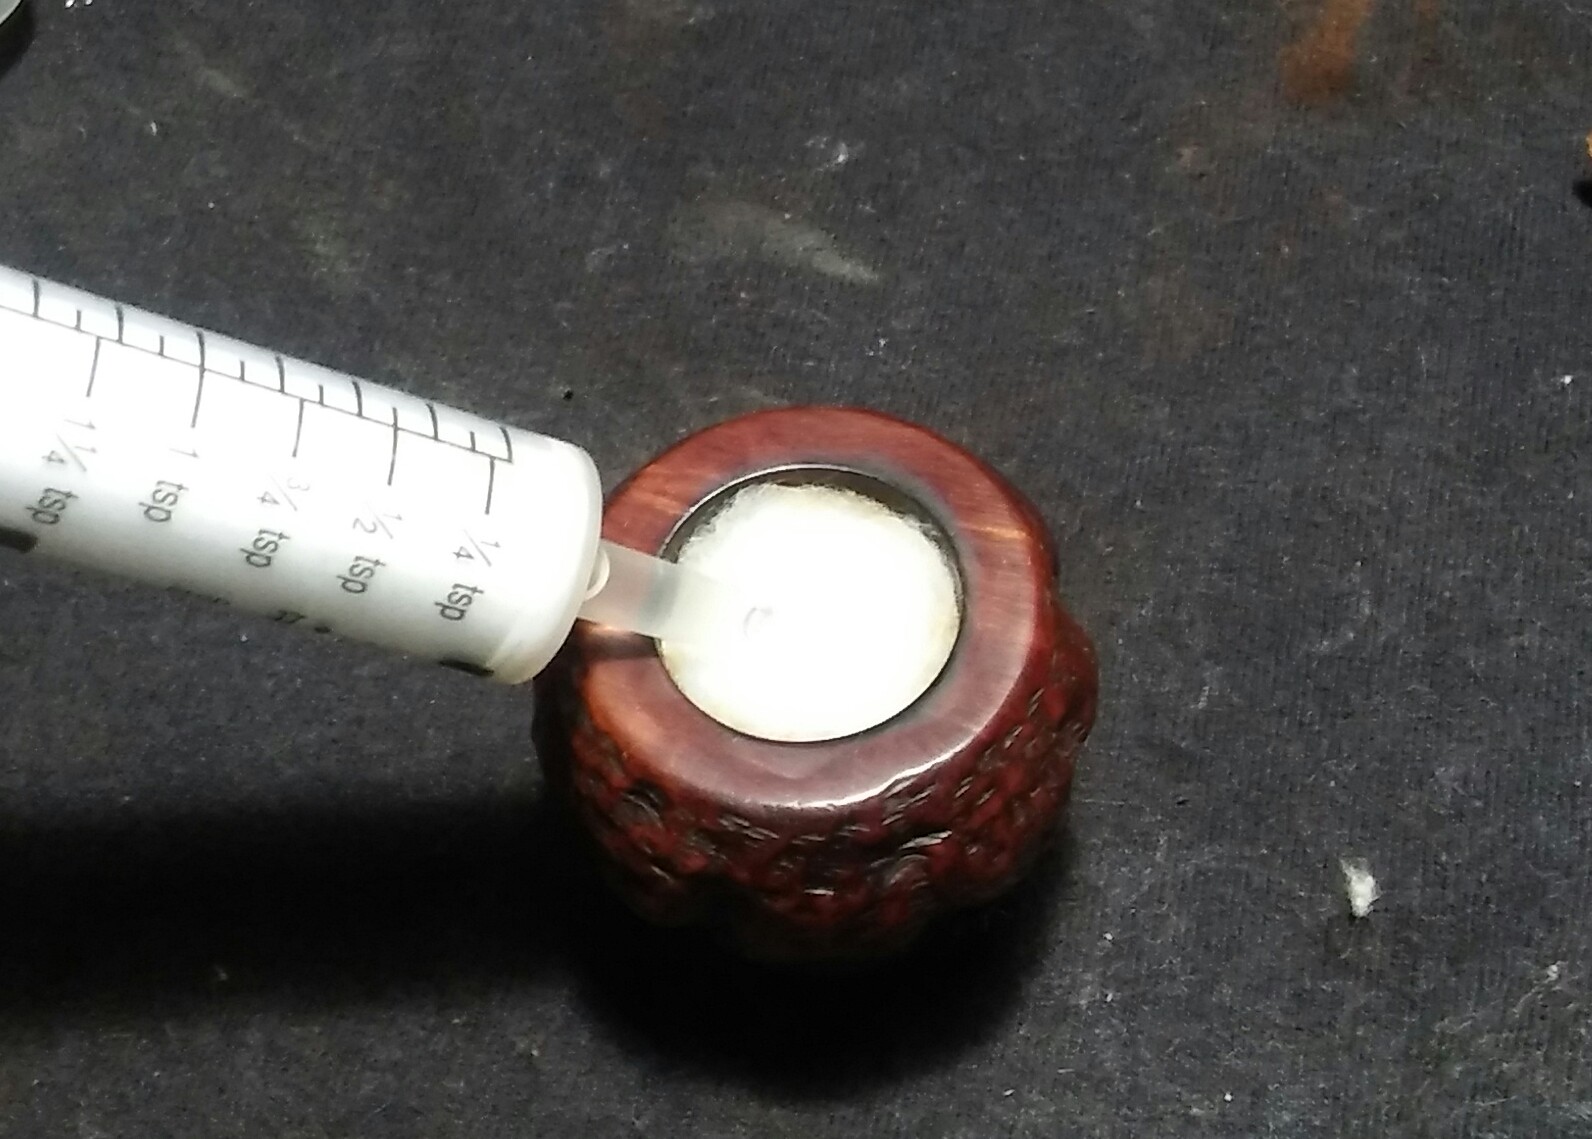
I did an EverClear and cotton ball soak on the bowls chamber, leaving it aside to allow the cotton balls to absorb the oils and tars.

The internals were next . I did an initial internal cleaning of the mortise and stem with EverClear,Q-tips and bristle/soft pipe cleaners to remove the loose debris. Now I un-rolled cotton balls to form a long swab , using the swab I twisted it into the mortise tightly and added EverClear until the cotton swab absorbed the alcohol and left it aside to pull the tars/oils out. After sitting I did one more good internal cleaning of the mortise and stem, cleaning the exterior of the stem with EverClear and makeup pads.

Now my unconventional shank fix. I cleaned the area of the crack with EverClear and Q-tips and allowed it to dry. I applied Gorilla Glue to the crack on the outer side of the shank and inner of the mortise with a toothpick then packed the outer shank side with briar dust and applied a hose clamp to the shank and tightened the clamp until the crack was closed. I now left it to dry overnight.

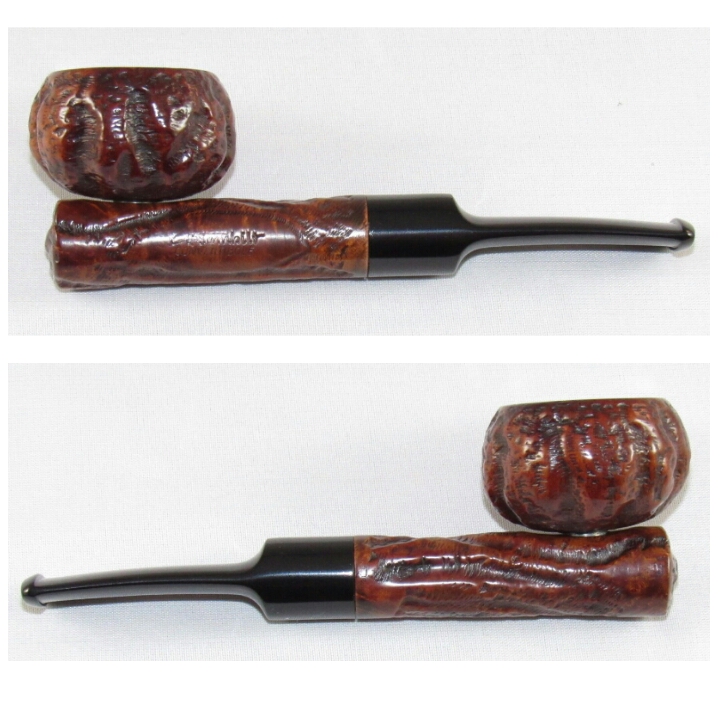
The following morning the repair had cured and I was able to begin work on removing the excess glue, first the mortise,leaving the hose clamp in place I used needle files and sandpaper to remove the excess glue until I had a clean surface for the tennon to be inserted once again. The crack had gone through a rusticated area of the shank which was good luck on my part as I was hoping I could blend the repair into the craggy rustication.( Above photo was attempt one to blend.)

(Top photo was attempt two.) I used touch up markers ,briar dust ,Gorilla Glue and a X-Acto knife to recreate the rustication lost by the repair patch. By my third try I was happy ,it seemed to blend well.(lower photo)

Happy with the repair my attention now turned to the oxidized stem. I applied a generous amount of non-bleach Soft Scrub with a children’s toothbrush and left it aside to begin softening the oxidation. Once the Soft Scrub turns from white to a brownish color its time to introduce the old elbow grease and scrub vigorously with a rag until the oxidation is removed. Finishing with a damp Magic Eraser to remove the leftover oxidation.
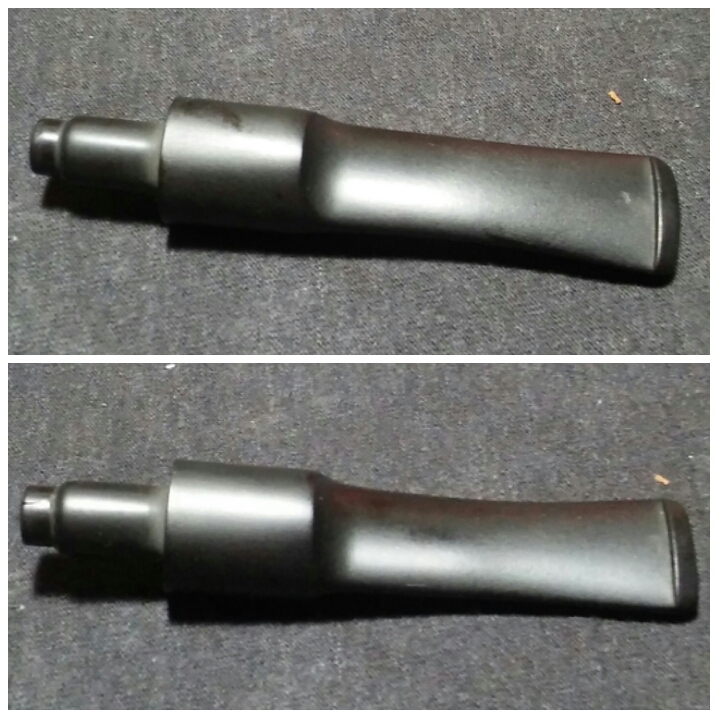
Using a bic lighter I heated the bit/button portion of the stem to raise some of the chatter ( moving the flame at all times never leaving it in one spot too long). There were two impressions that wouldn’t raise with heat but were shallow enough to remove with sanding.


I tapped off the shank with painters tape so my sanding would remain on the stem and not damage the shank. Starting with the bit/button area and 1000 grit wet sandpaper I removed the stubborn impressions that didn’t raise with heat. I now ran the stem through the various grits of micro-mesh 1500-12000.

Just before hitting the wheel I applied Howard’s butcher block conditioner with a rag and let it penetrate for a few minutes removing the excess with a clean rag.
Complete
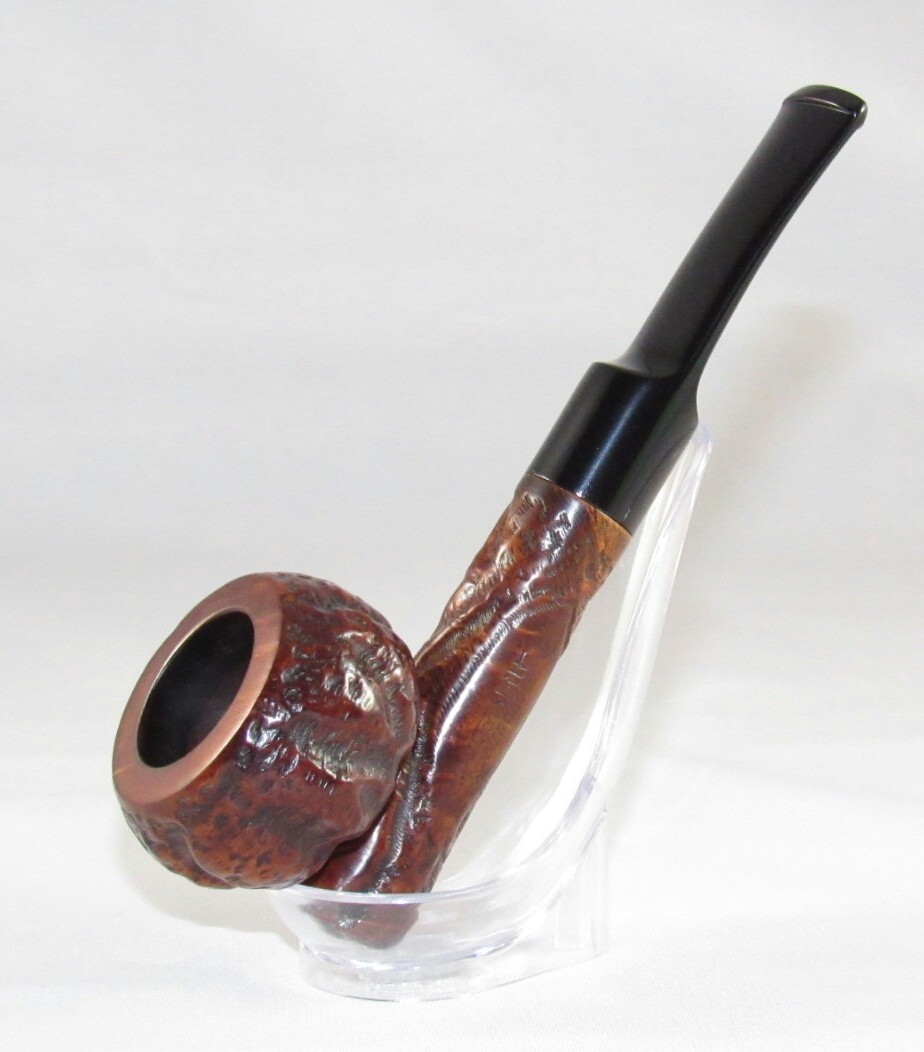
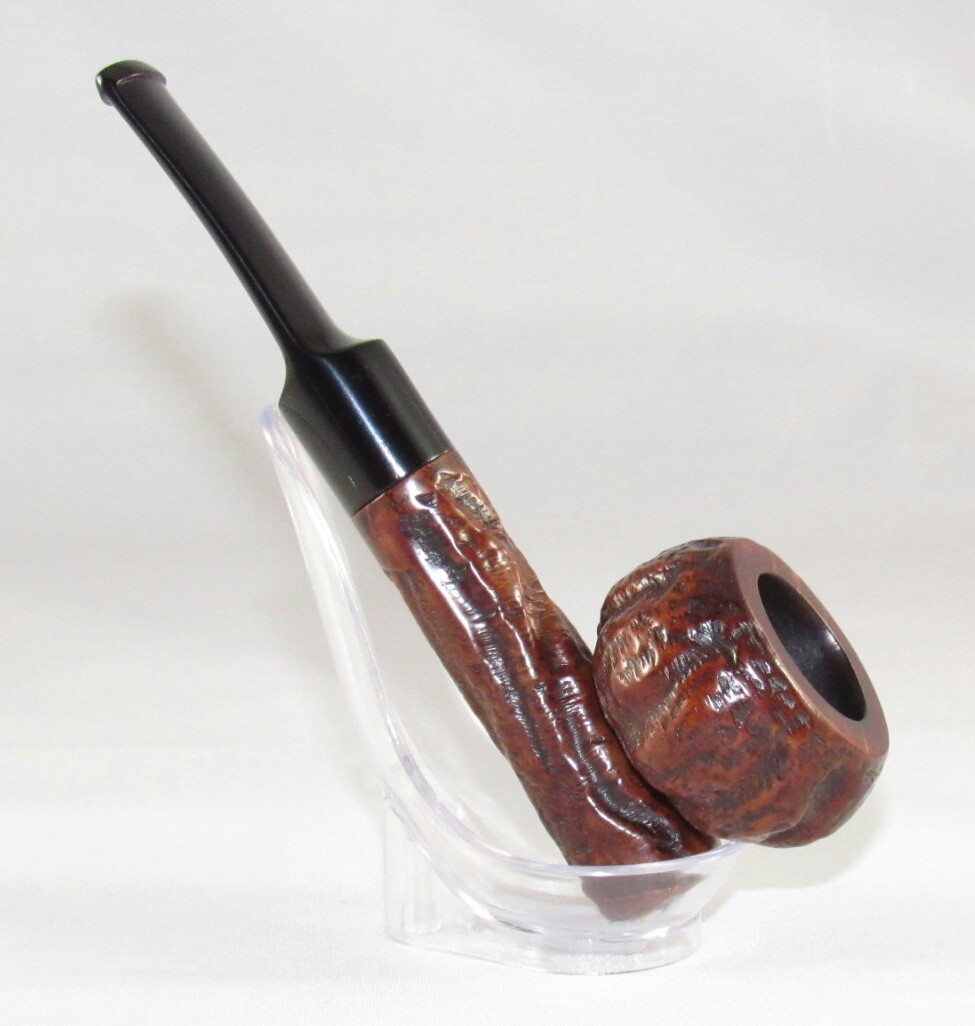


Finished her up on the wheel with white diamond, a few coats of carnauba and a microfiber hand buffing. Buffing the stem with blue compound .

Wow now that is an awesome Custombilt! Just out of curiosity… With the repair to the shank can/could you still smoke this pipe or would that possibly compromise the repair? Reblogging over on the Scoundrel site! Great job as always!!! Really cool pipe.
LikeLike
Thanks Clint-
I’ve done similar repairs to cracked shanks in the past ,tho not as pronounced as this crack was , the others have held so far . My Custombilts are not in my daily routation more of a special occasion thing- conversation piece. I’m sure with heating and cooling it will eventually open up and I’ll have to bite the bullet and band it.
LikeLiked by 1 person
Reblogged this on pipe scoundrel and commented:
Another totally amazing job by Pipes Revival! A really unique pipe brought back to life!
LikeLike
Reblogged this on rebornpipes and commented:
I had not seen one of these before and the restore on this one was well done. Thanks for showing this to us.
LikeLike
Wonderful — first time I’ve heard of one of these. It very much resembles a Kirsten – I wonder if he got the idea from this, since it predates Kirsten by quite a bit?
LikeLike