

The scoundrel Pipes
The pipes I received from fellow blogger Clint of Pipe Scoundrel are complete. They have a new home and are ready to be enjoyed once again. This trio of Bilts has been an eye opener, I believe there will be many more Rich era Custombilts in my future.
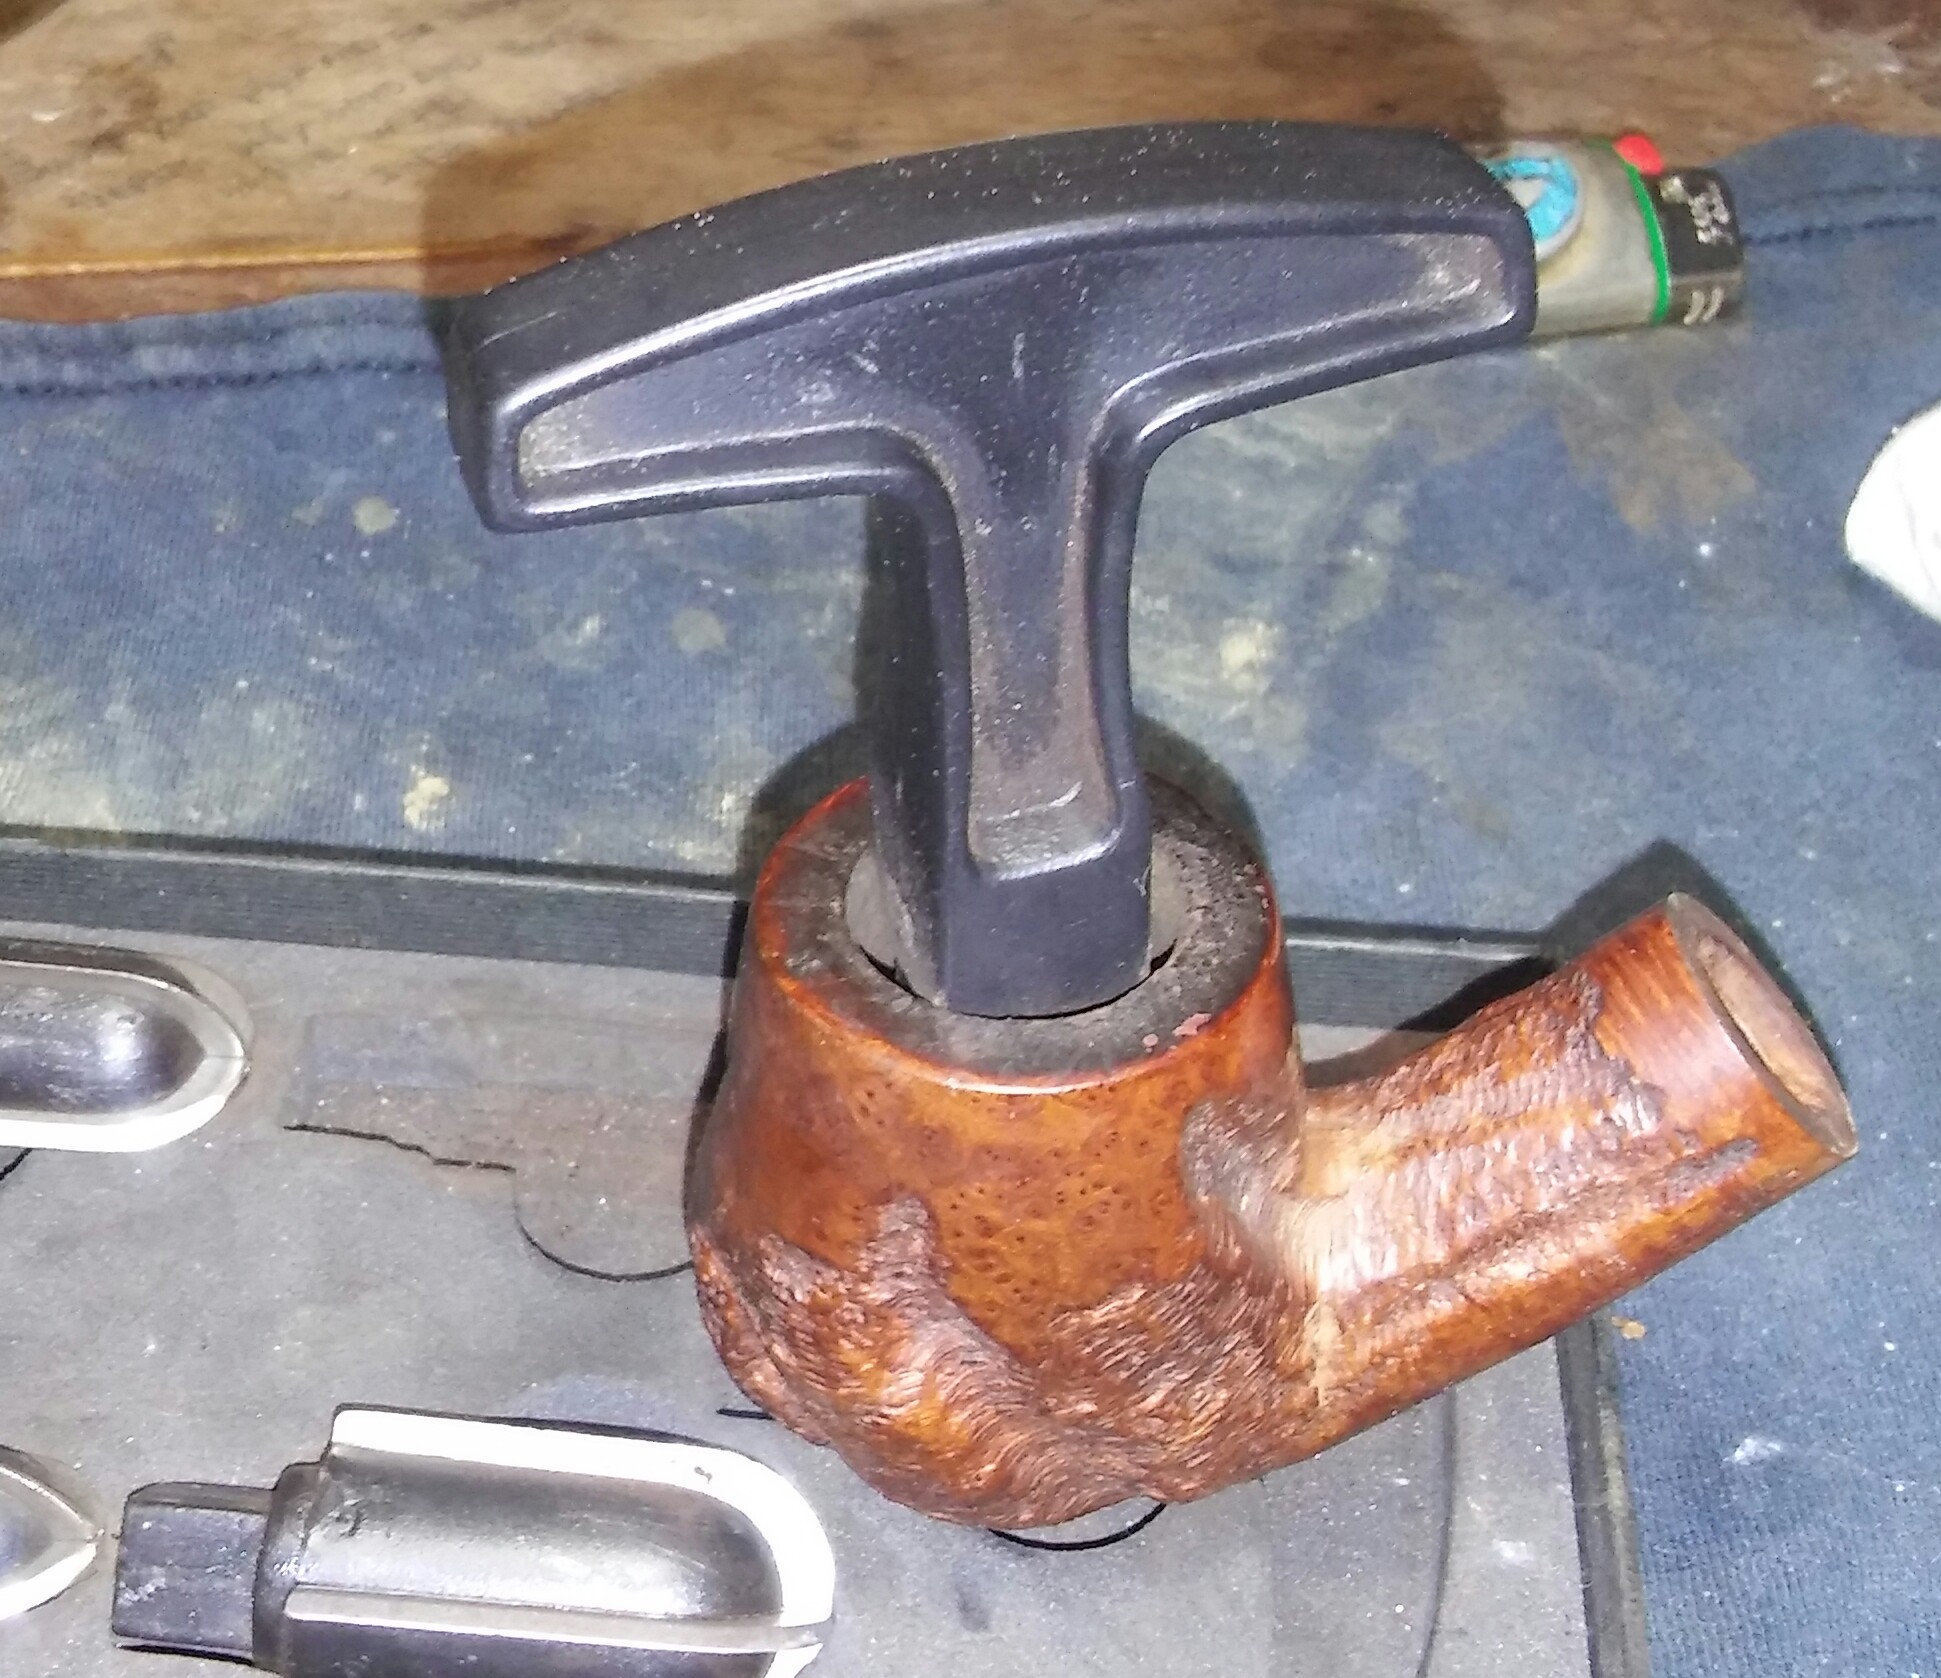
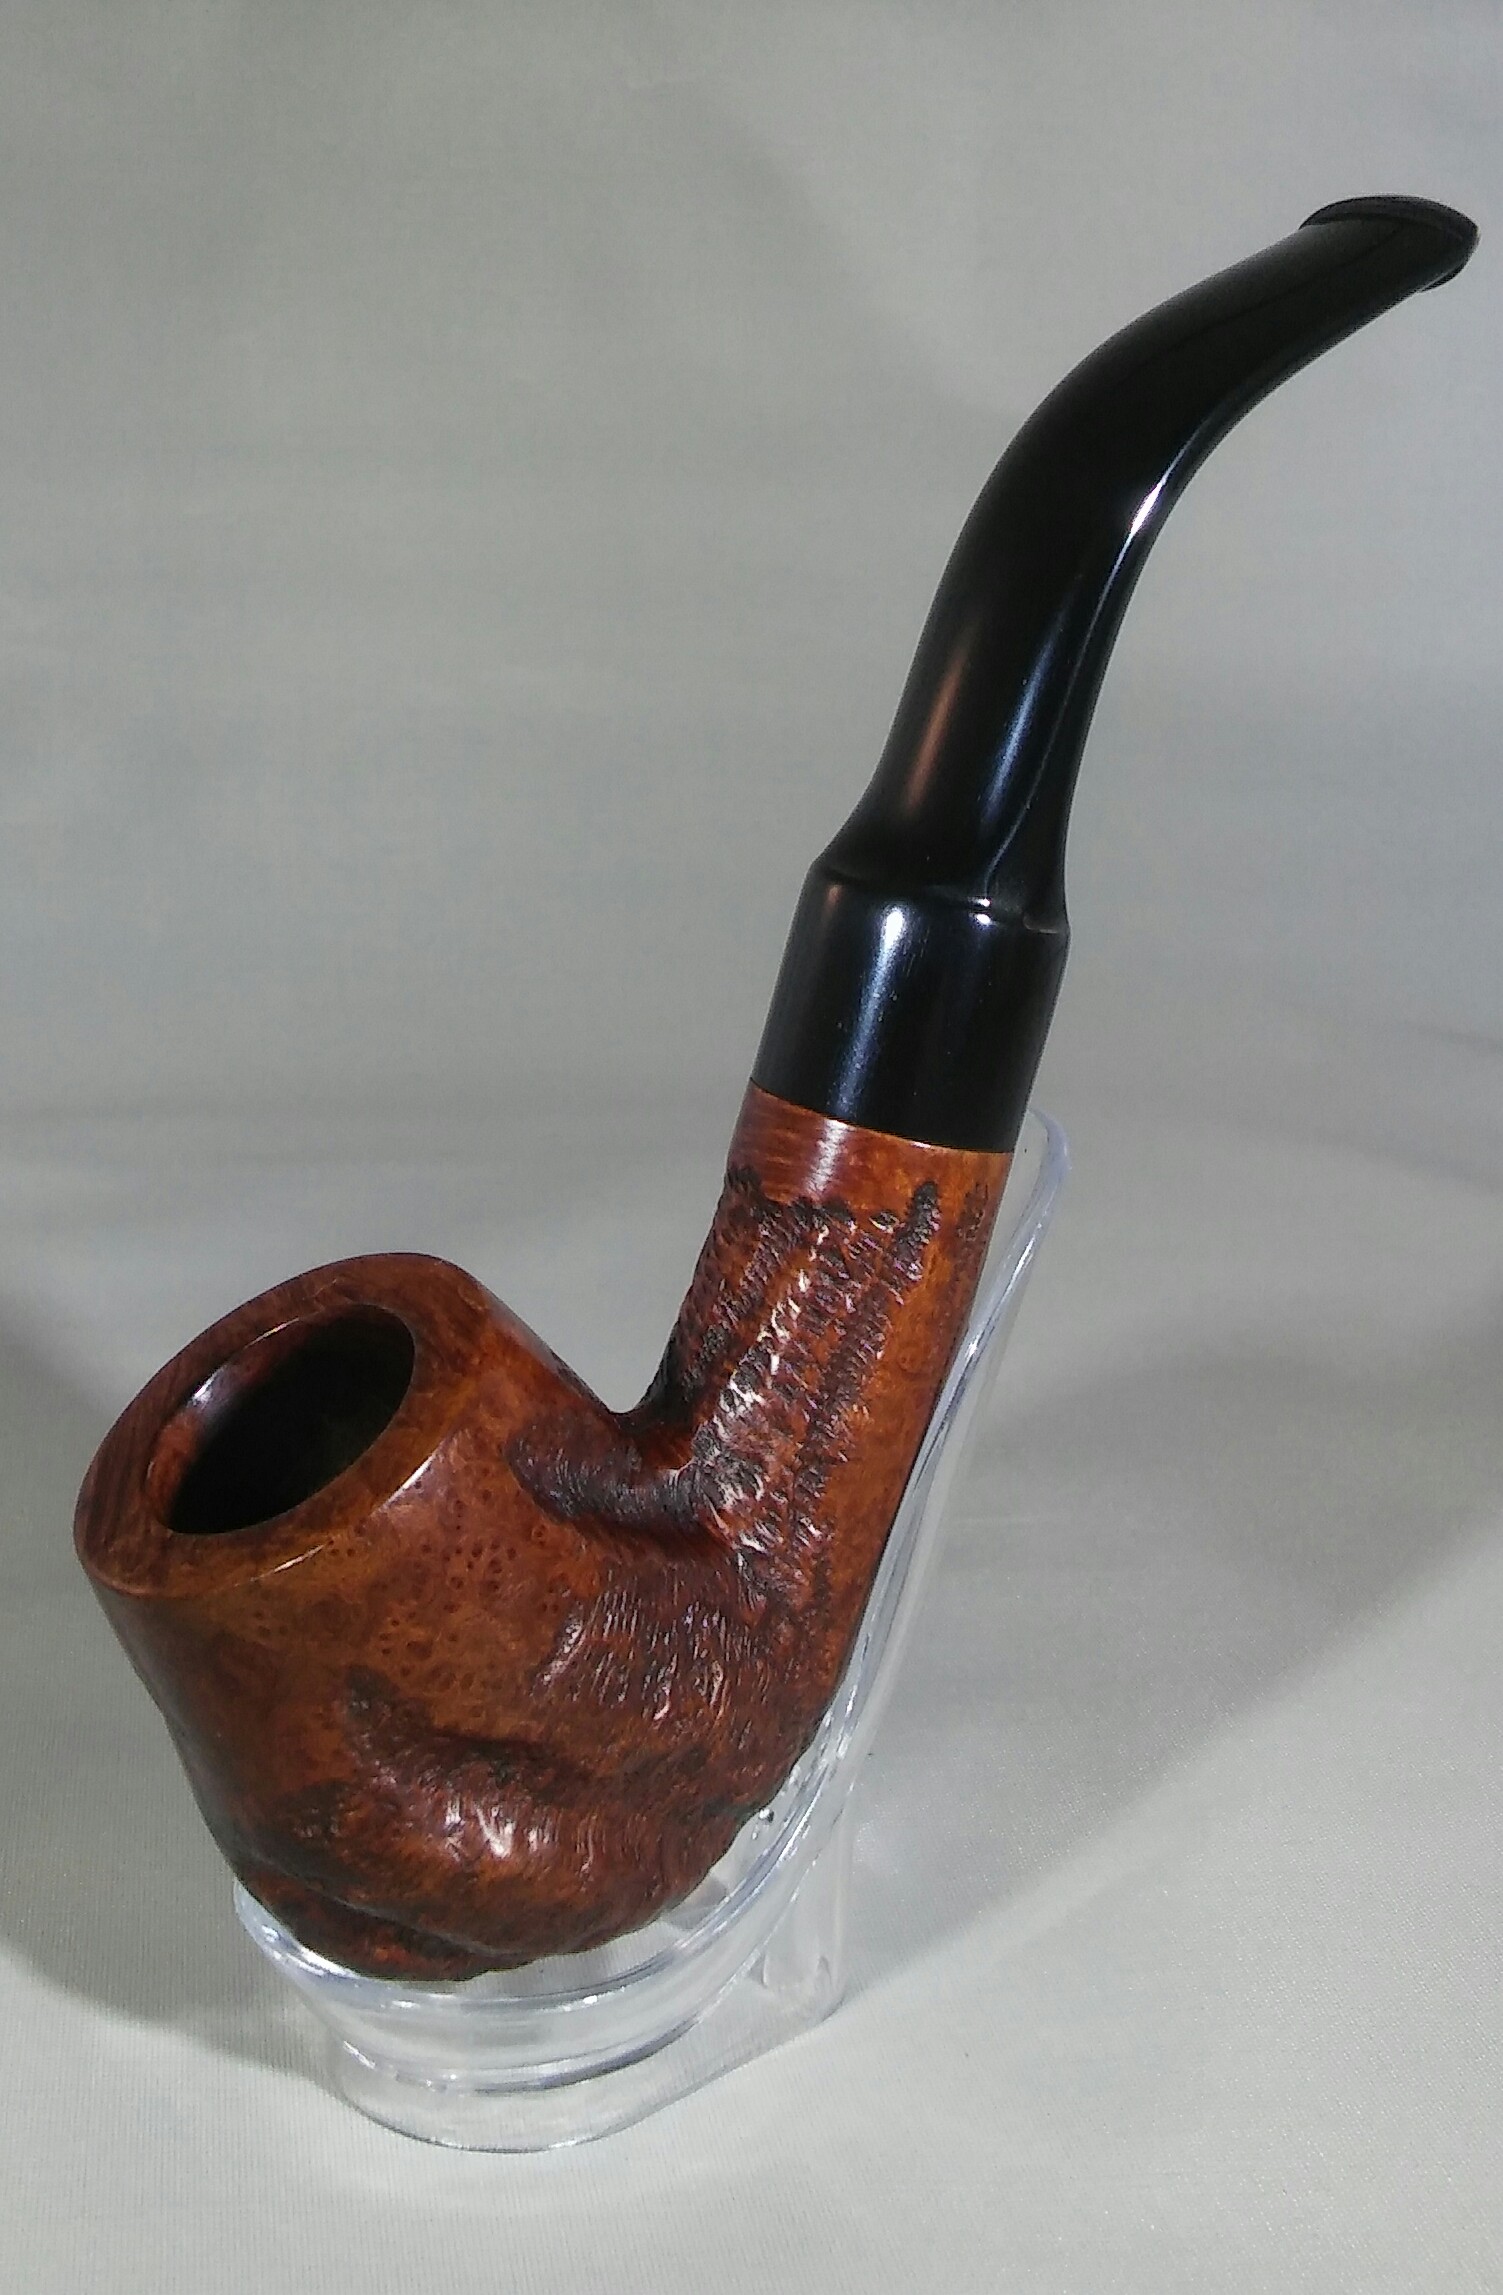
The last pipe as received

The nomenclature was stamped unevenly but I could still make out the tell tail (S) of Eugene Rich era Bilts.


The last of the trio a large bent billiard. Much like the last shes in pretty descent shape. The cake is a little thicker, the tennon would need tightening, rim tar&char, there is a little filler present and light chatter.
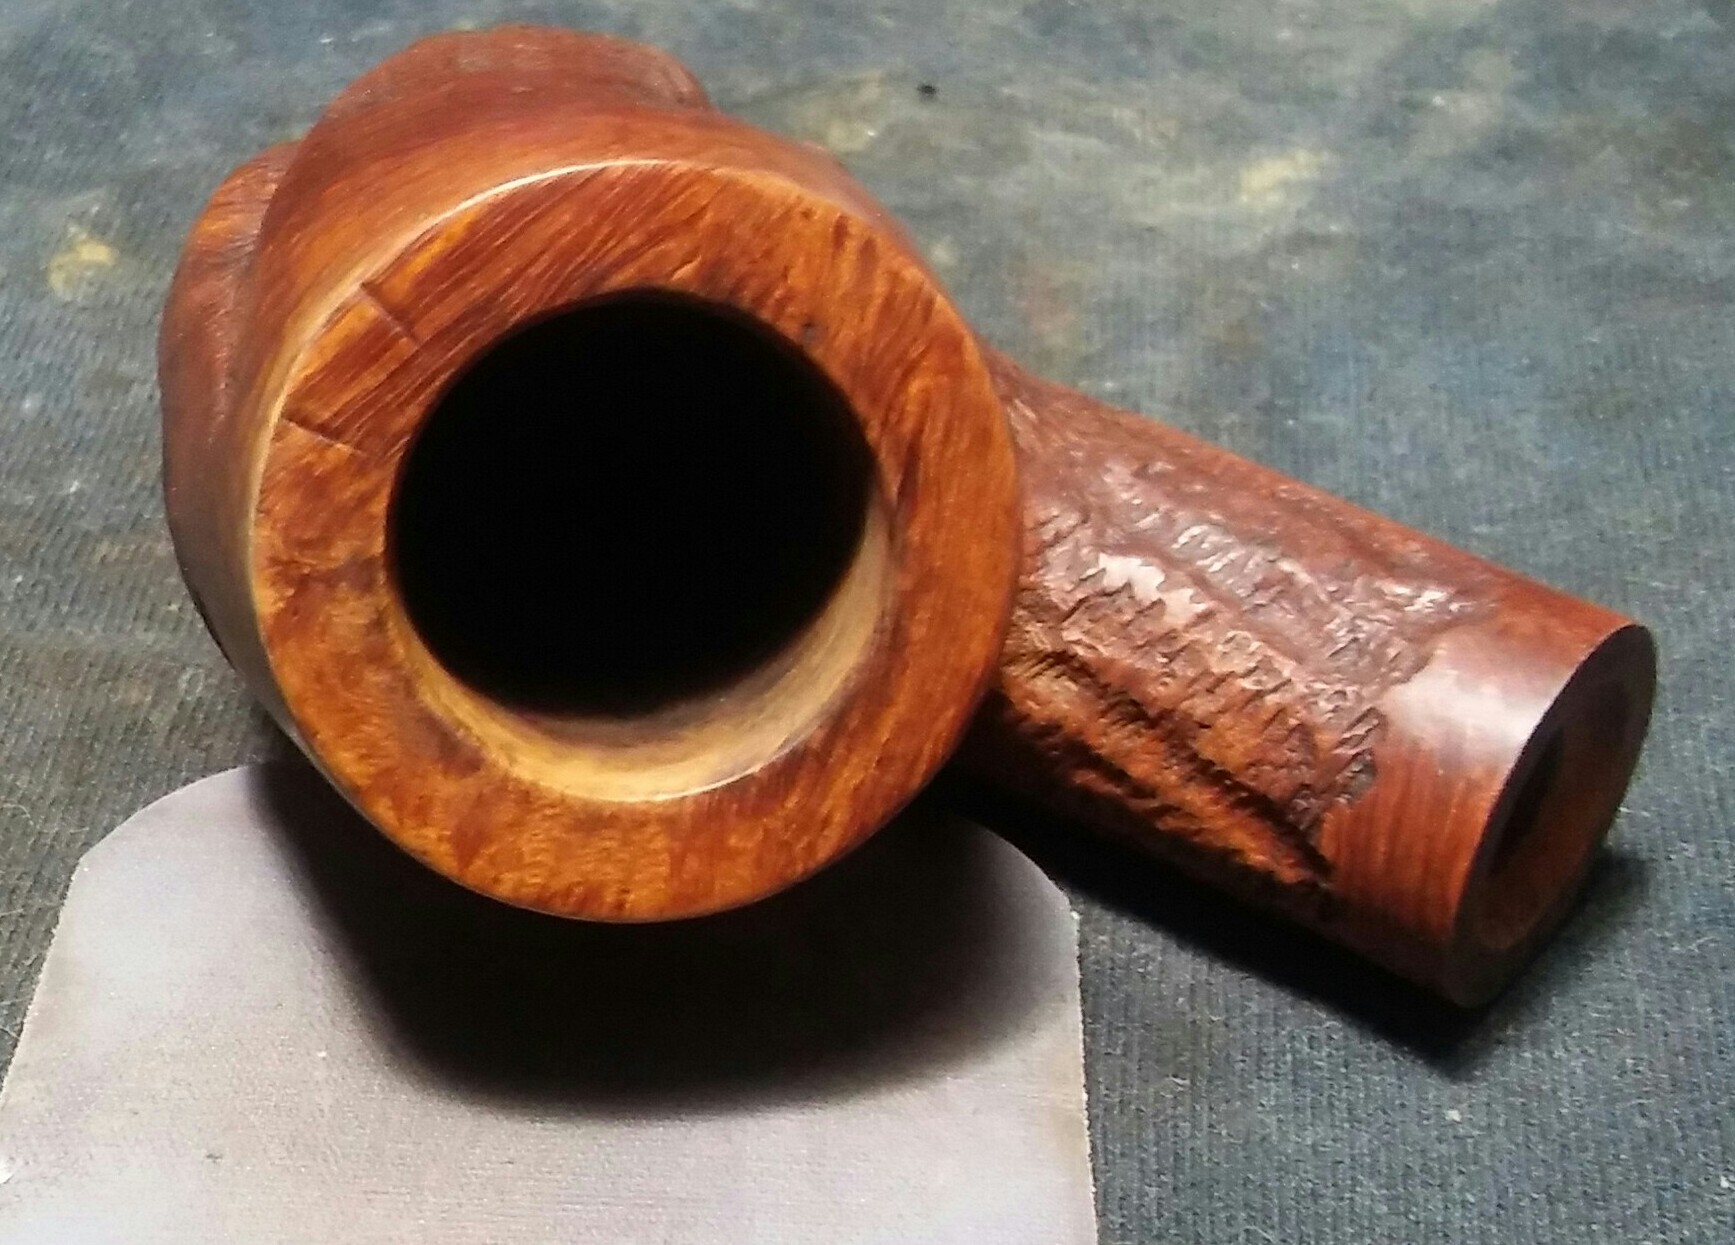
I started off with the smallest attachment of my Castleford reamer and moving on to the largest that the chamber would except in this case it was one up from the first. I finished up with 400 grit sandpaper. The chamber was free of pitting or the start of a burn out.

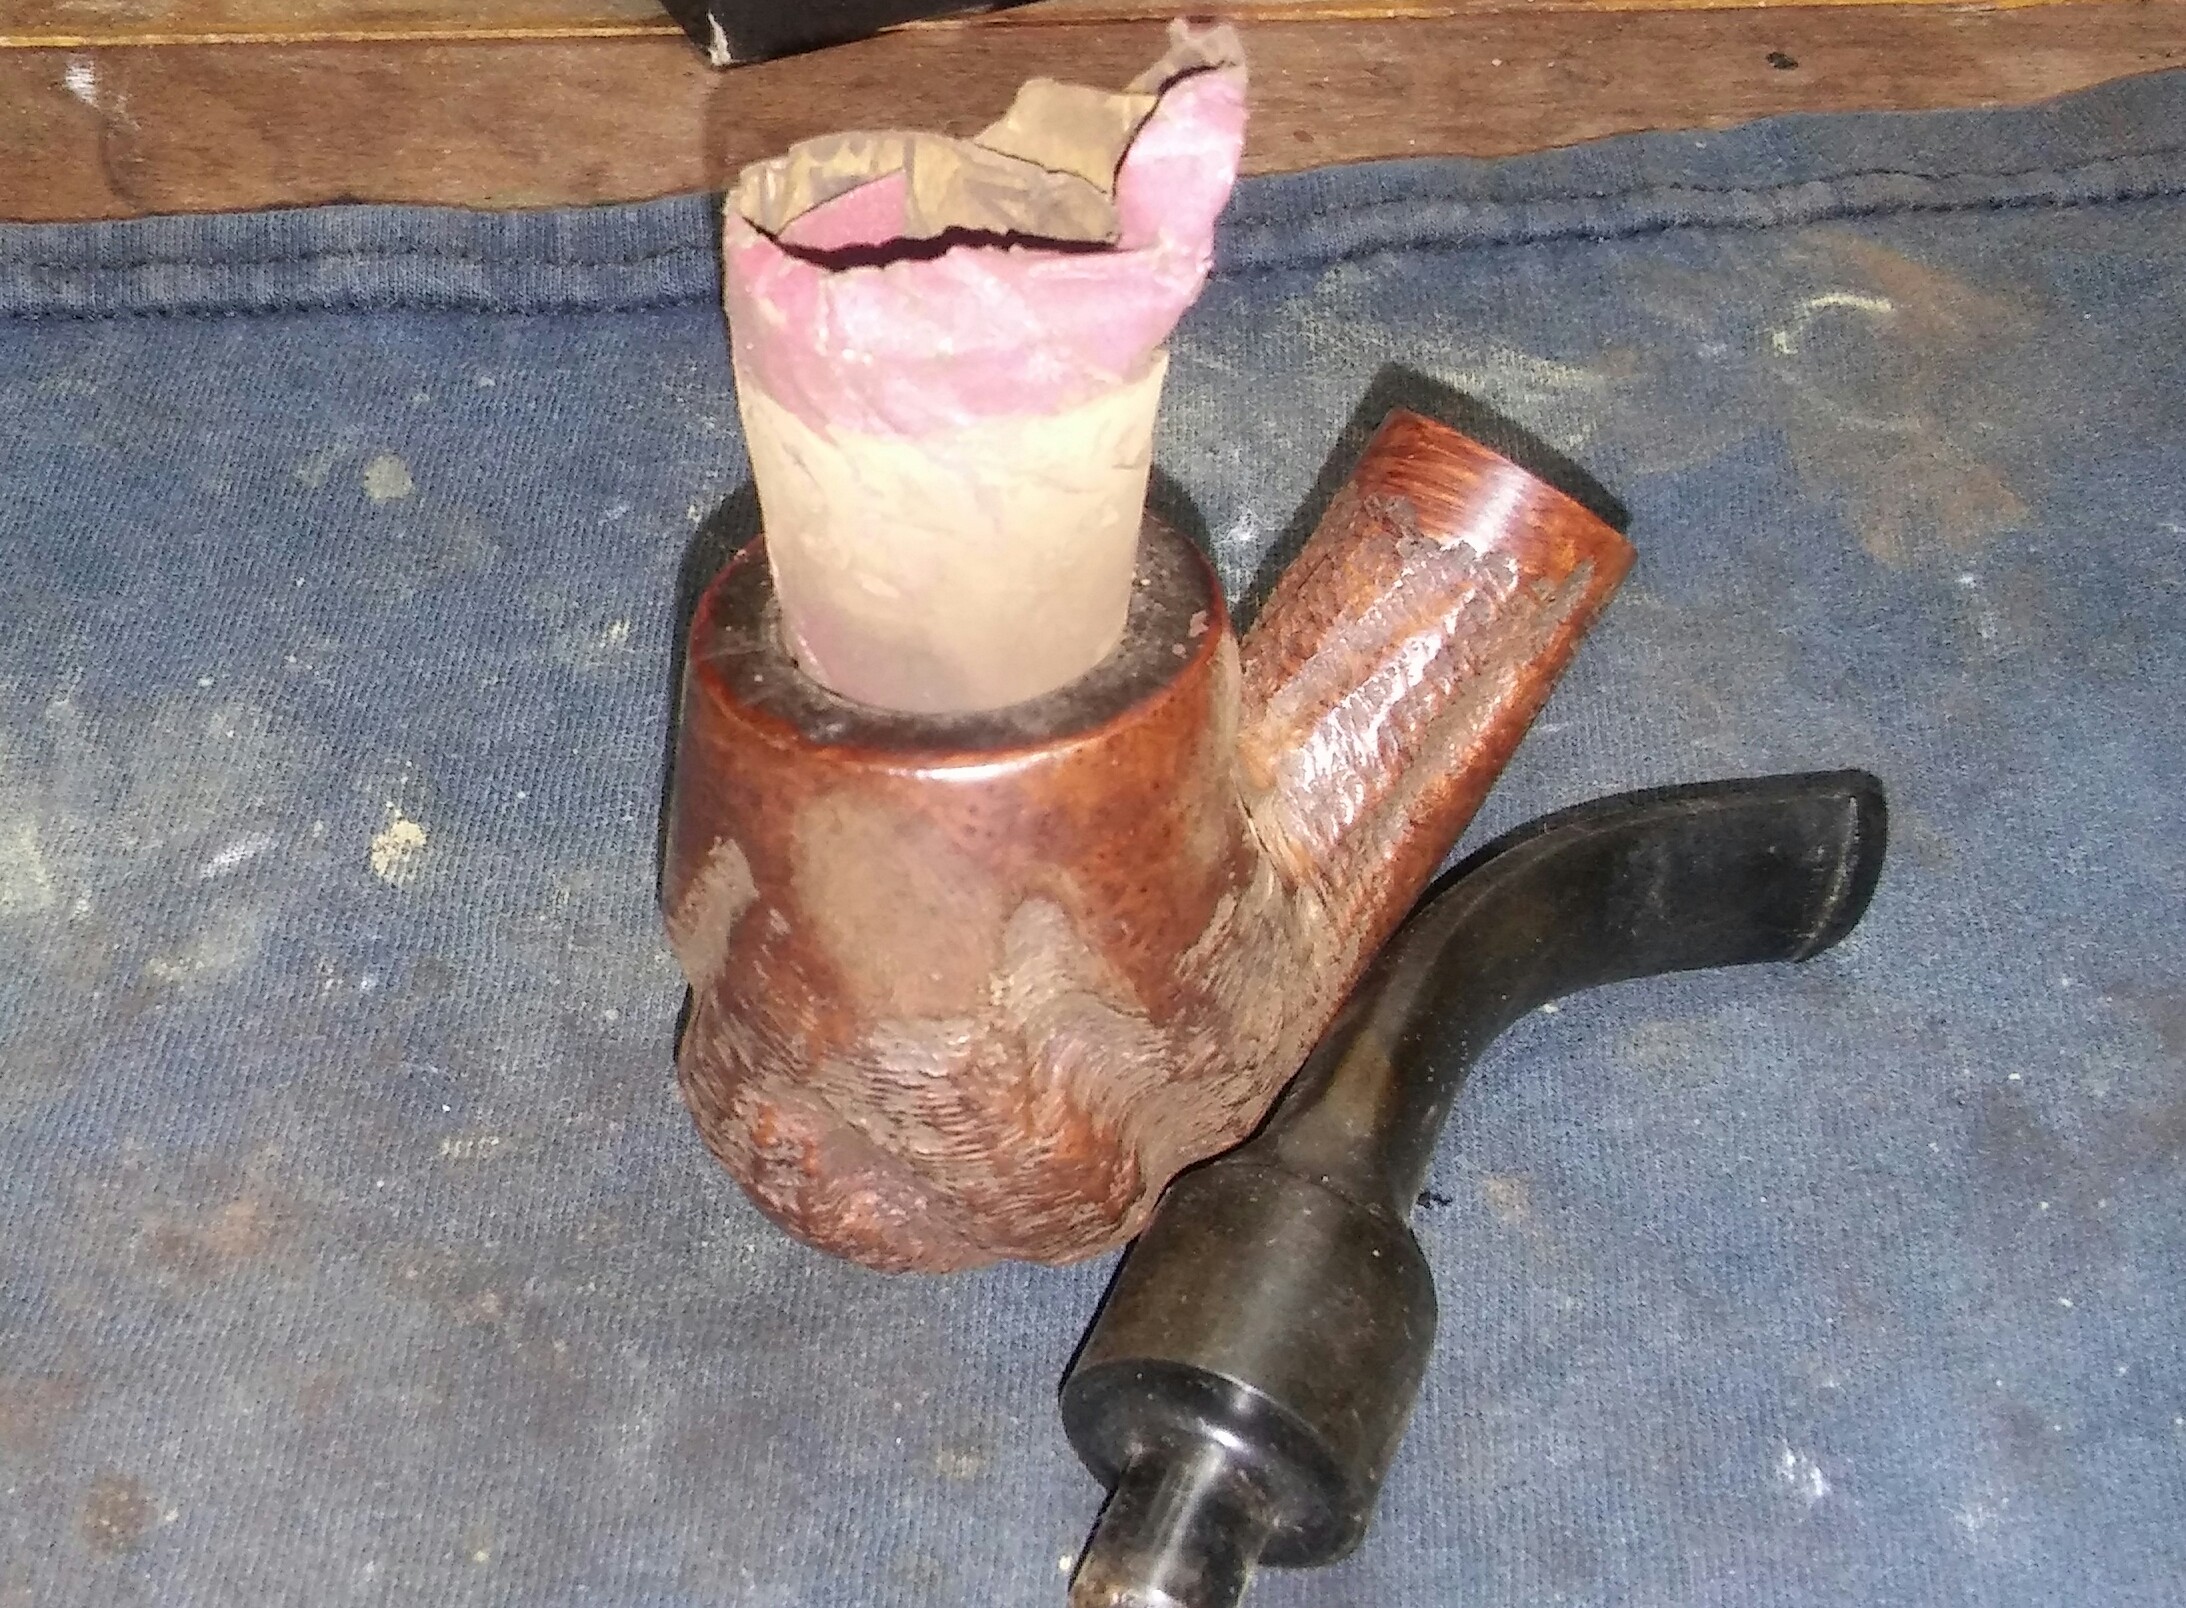
Now for the rim, it was thick with tars and build up. I applied a generous amount of Method Good For Wood Polish to a makeup pad and left the stummel upside down so the polish could soften the build up. I would have to repeat this process a couple of times to remove all the debris, using a children’s toothbrush and Q-tips. I have also uncovered a couple of dents on the rim that I will address later on.
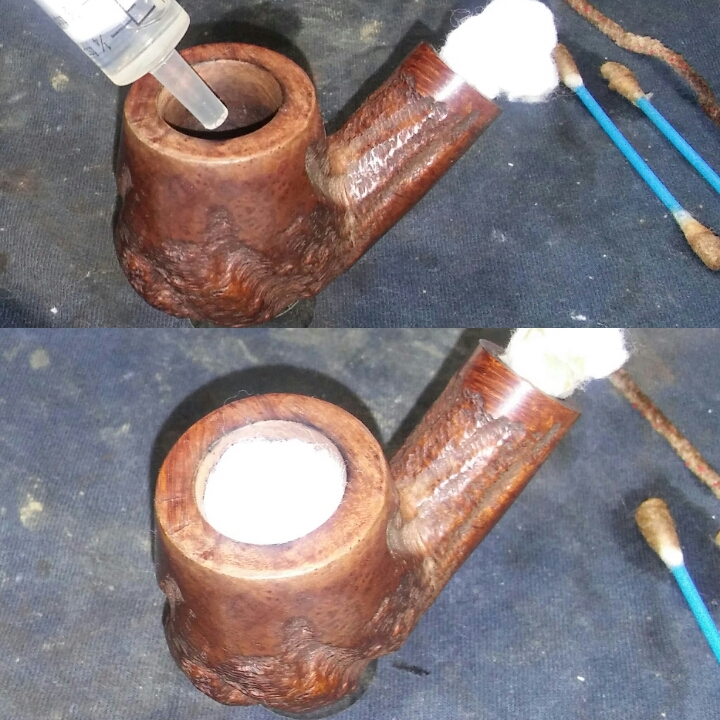
With the rim clean I moved to the chamber and mortise. I did a quick clean of the internals with EverClear and Qtips to remove the loose debris. Now the soak, I unrolled a cotton ball and formed a long swab, using the swab I twisted it into the mortise tightly. I now filled the chamber a quarter of the way with EverClear and allowed the swab to absorb the alcohol. Once the alcohol is absorbed I filled the chamber with two cotton balls and added EverClear to the cotton balls untill saturated. I now set the stummel aside while I worked on the stem.

I started the stem by cleaning the exterior first with EverClear and a makeup pad, then the internals with EverClear and stiff/soft pipe cleaners, cleaning until the pipe cleaner came out as it went in.

Now the oxidized stem I applied non-bleach Soft Scrub with a children’s toothbrush and left aside until the Soft Scrub turns from white to a brownish color.

Now the elbow grease, I now scrubbed the stem vigorously with Soft Scrub and a rag to remove the oxidation

Finishing with a damp Magic Eraser to remove the leftover oxidation. The surface still has a rough texture and would need to be sanded.

The stem had a couple of tooth impressions, using a Bic lighter I heated the area of the impressions (moving the flame at all times never leaving it in one spot too long). I was able to raise a few but one was stubborn and would need filling.

I roughed up the area to be repaired with 400 grit sandpaper, then wiped the area with an alcohol dampened rag. I made a paste using thick black CA glue and activated charcoal power and applied it to the impression with a toothpick, hitting it with accelerator to set the patch.

After allowing time for the paste to cure I removed the excess using a needle file. I smoothed out the repaired area with 400 grit sandpaper .

I now ran the stem though the various grits of sandpaper and micro-mesh 1000-2400 wet and 3200-12000 dry.

The tennon was loose upon receiving the pipe. I used jewelers pliers and a Bic Lighter to expand the tennon from the inside out, by heating the tennon with the lighter and inserting the tip of the pliers into the tennon gradually untill a snug fit between mortise and tennon was achieved.

With the stem complete I moved on to the stummel. After sitting for an hours or so the cotton balls had time to absorb some of the tars. The chamber was clean but I would have to repeat the process on the mortise a few more times. Then finishing up the mortise and draught with EverClear, Q-tips and stiff/soft pipe cleaners until the pipe cleaners came out clean.
Now to address the rim dents and darkening.

Using a hot iron and a damp rag I steamed the dents out and lightened the rim darkening with worn micro-mesh.
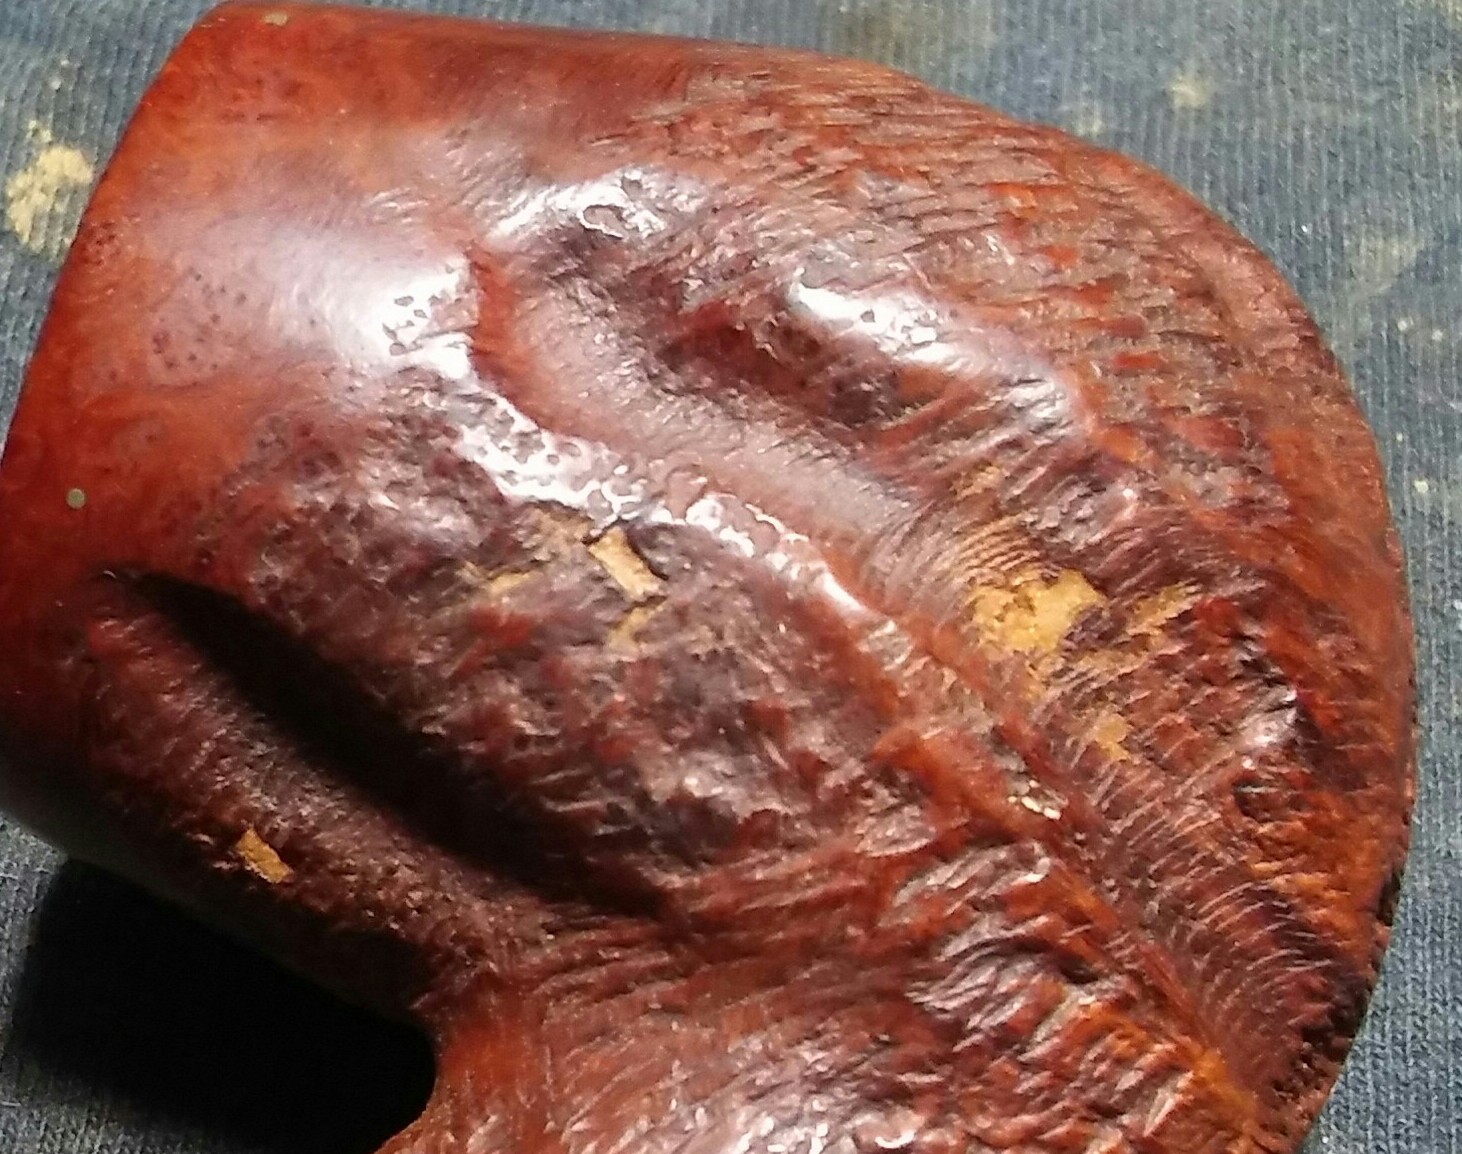
There were three spots of filler present that would have to go.

I applied Method Wood For Good Polish to the filler and let it soften up for a few minutes.
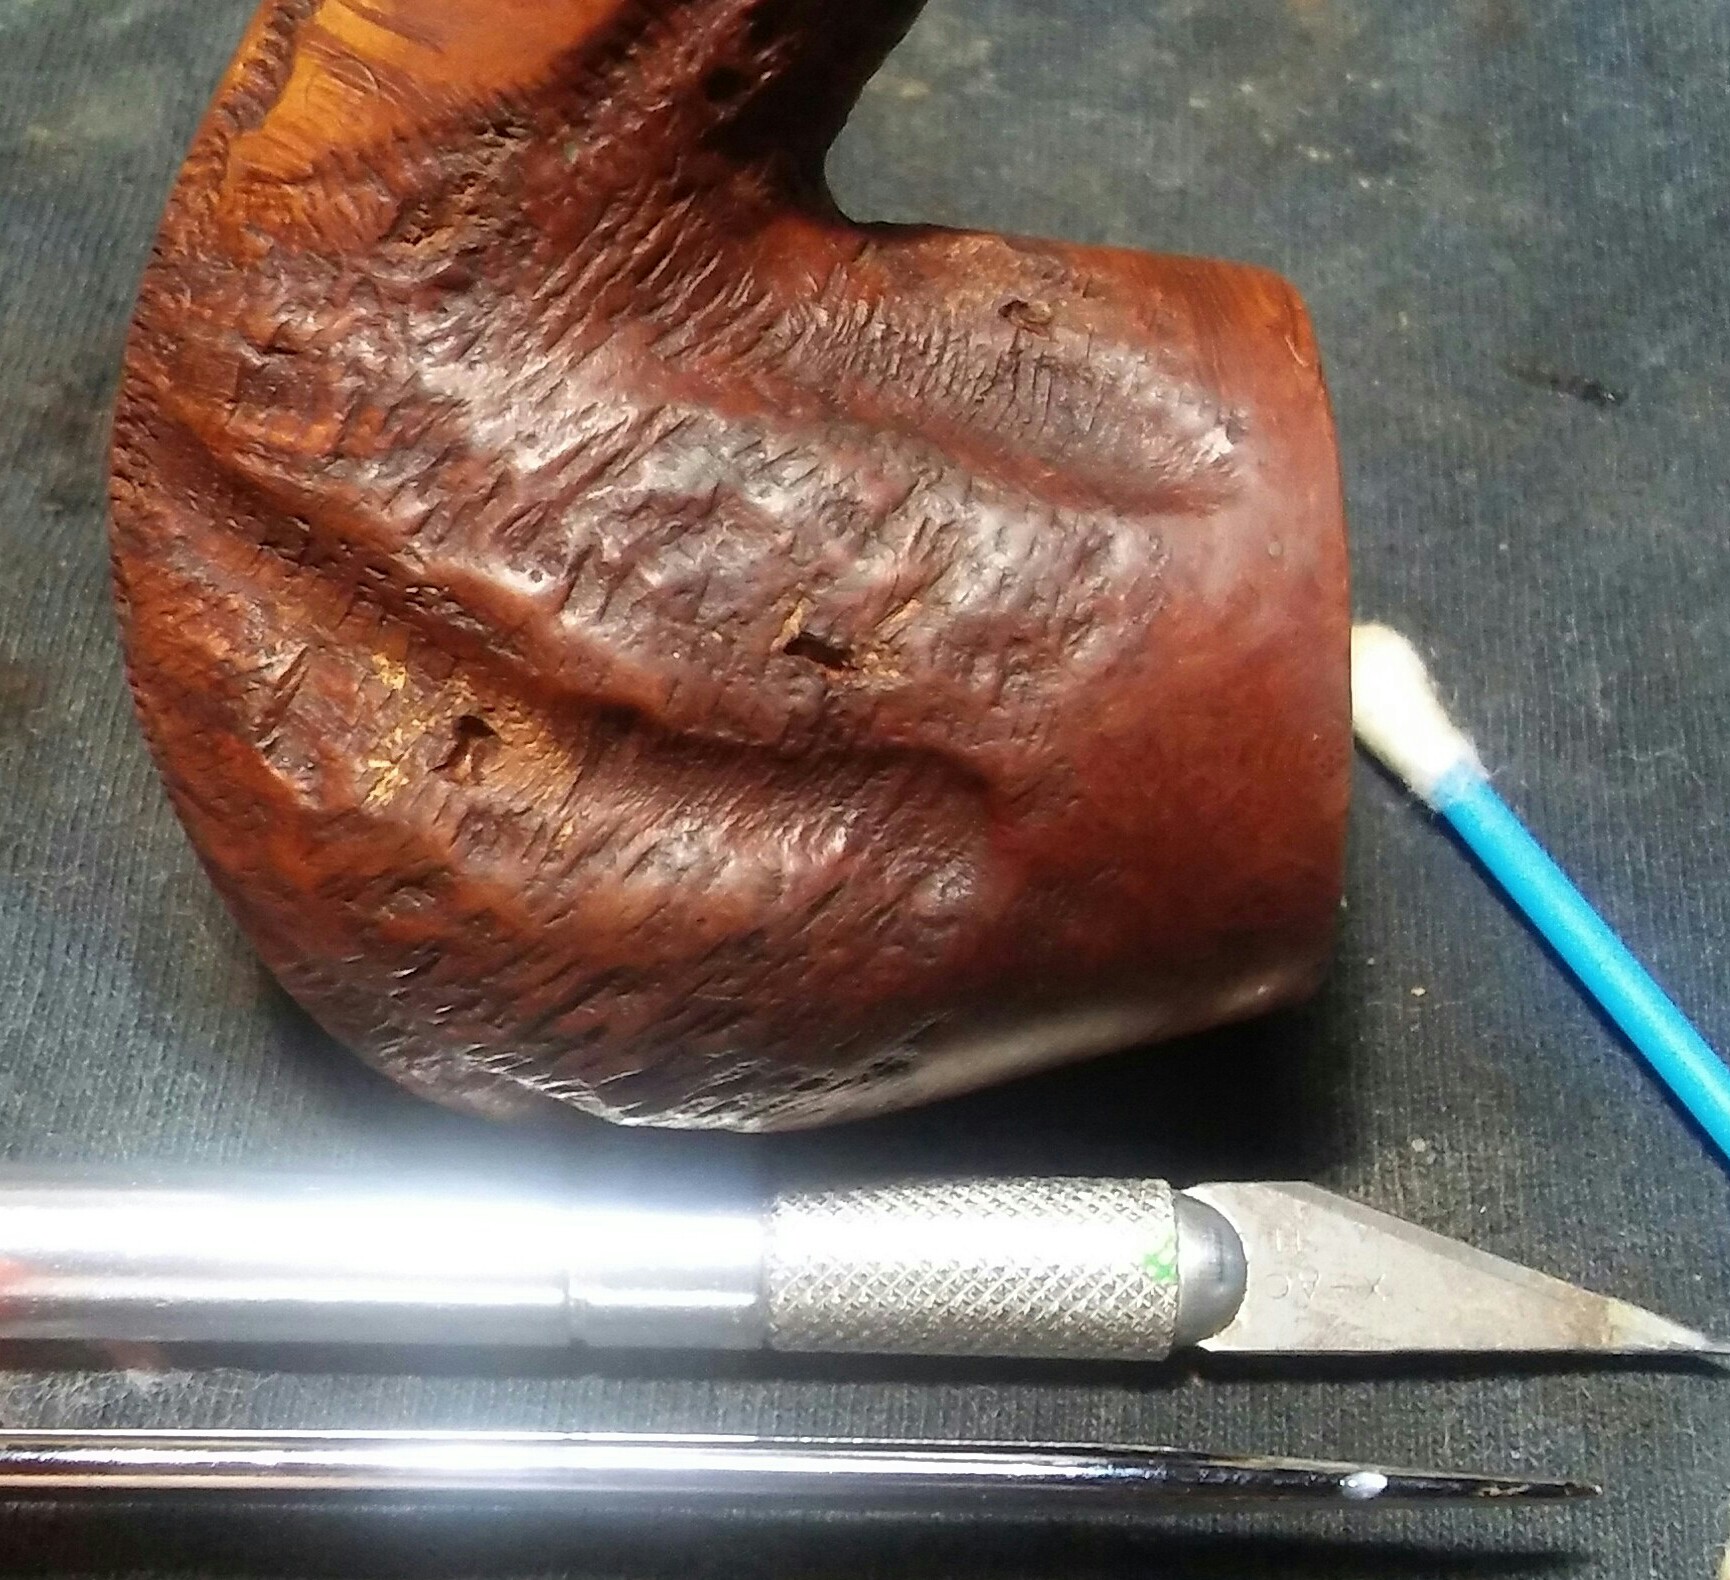
Using a pick and X-acto knife I removed the light colored filler.
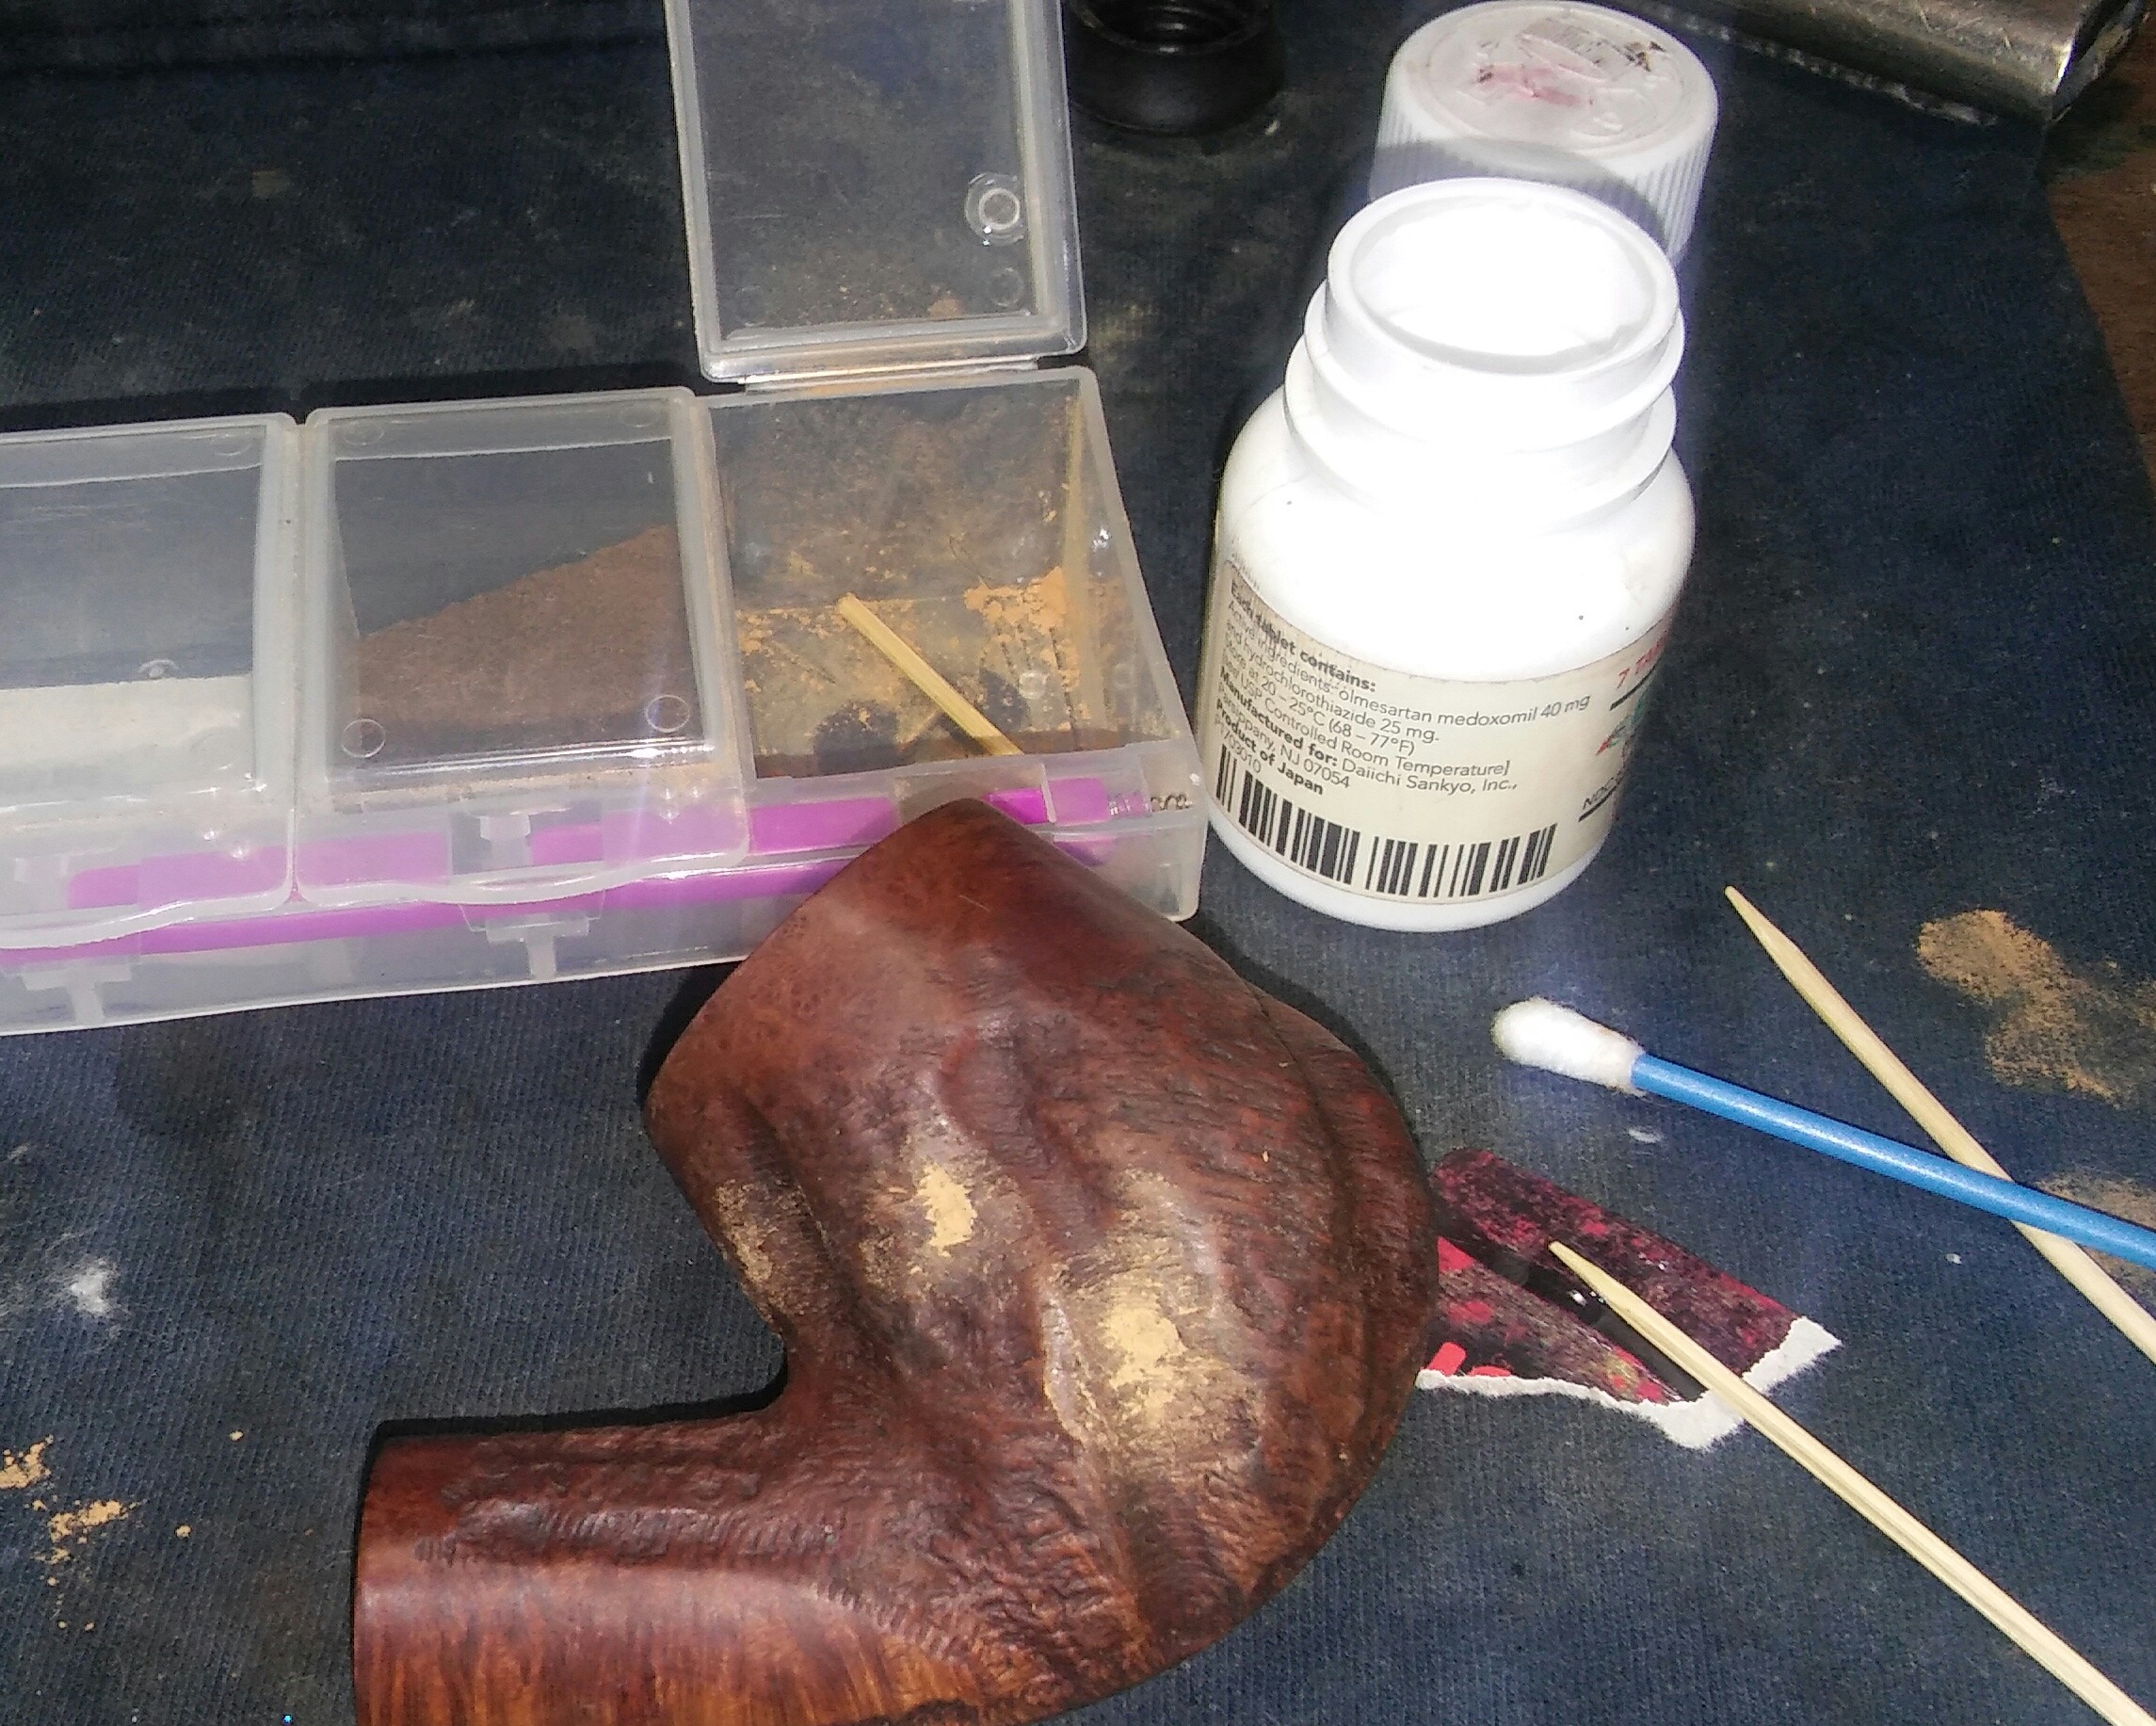
I refilled with briar dust and Gorilla Glue and left aside to dry.
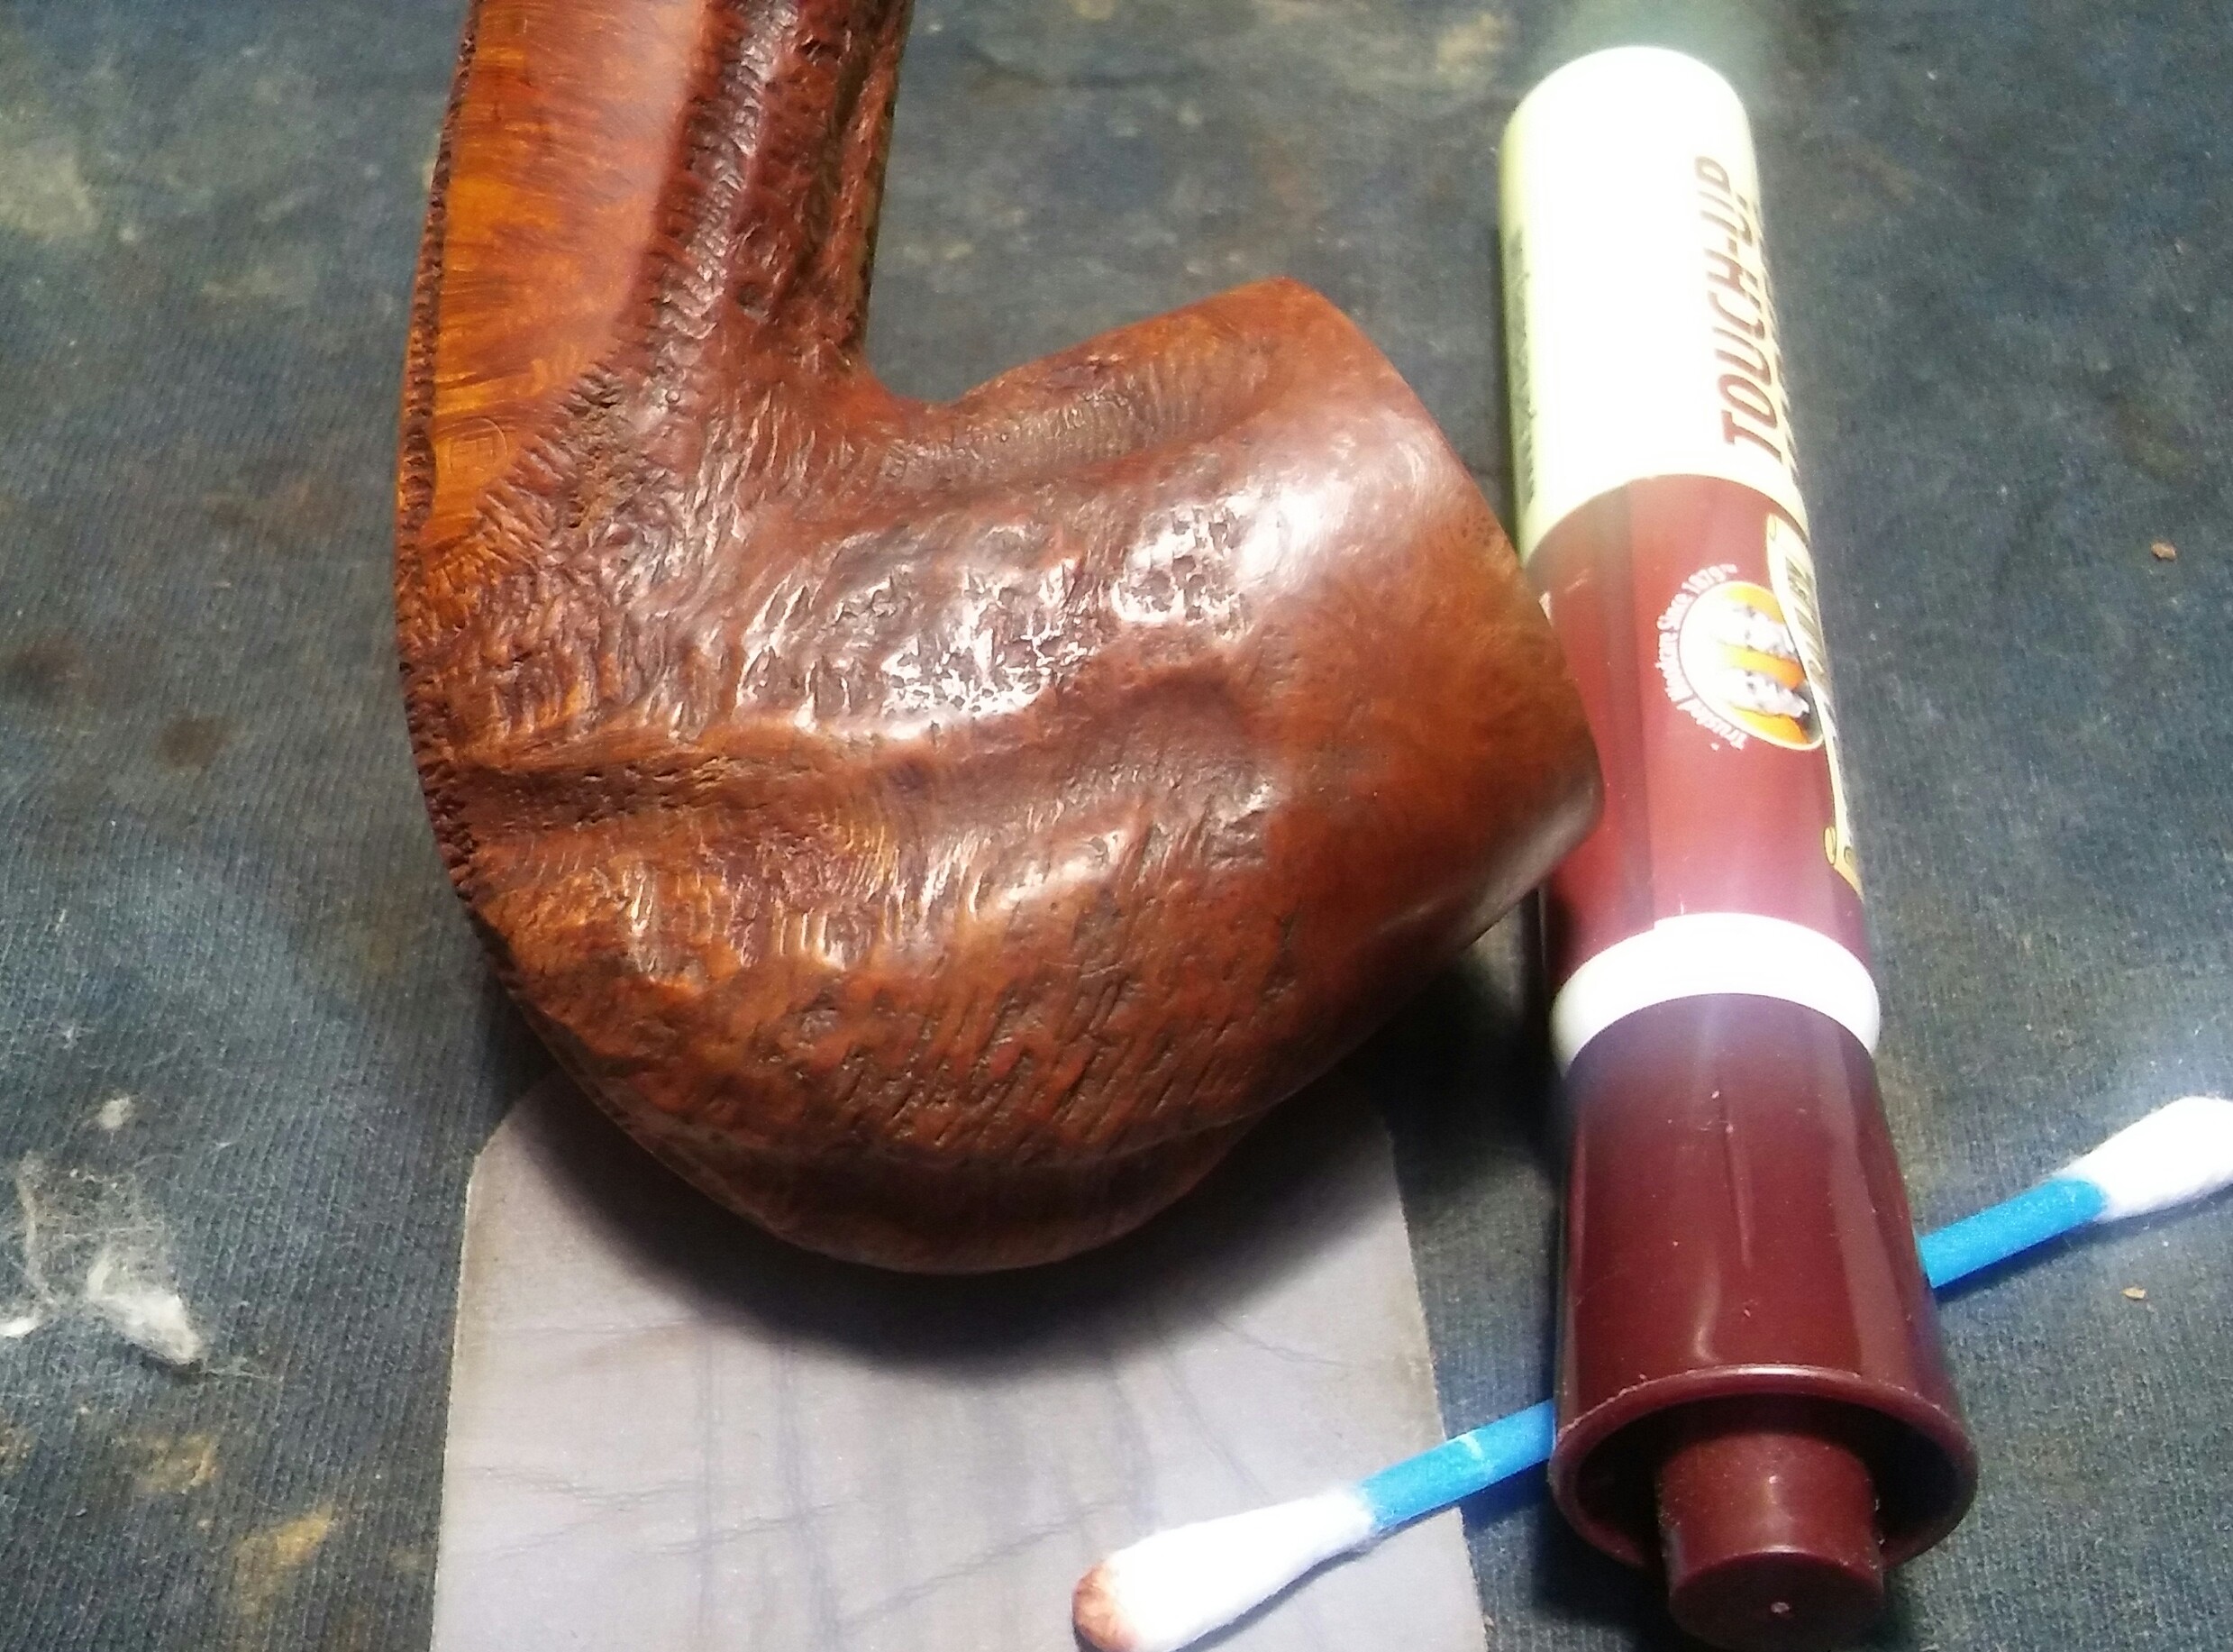
I removed the excess glue with worn miro-mesh, then stained the new fill with a touch up marker, lighting up the color to match with an alcohol dampened Q-tip.

I now wiped down the stummel with Method polish and let dry. Next Howard’s butcher block conditioner, using a Q-tip I worked the Howard’s into the crags and then applied Howard’s to the whole stummel letting it penetrate for a few minutes, hand buffing the excess off with a clean rag. She was now ready for a final buff.
Complete

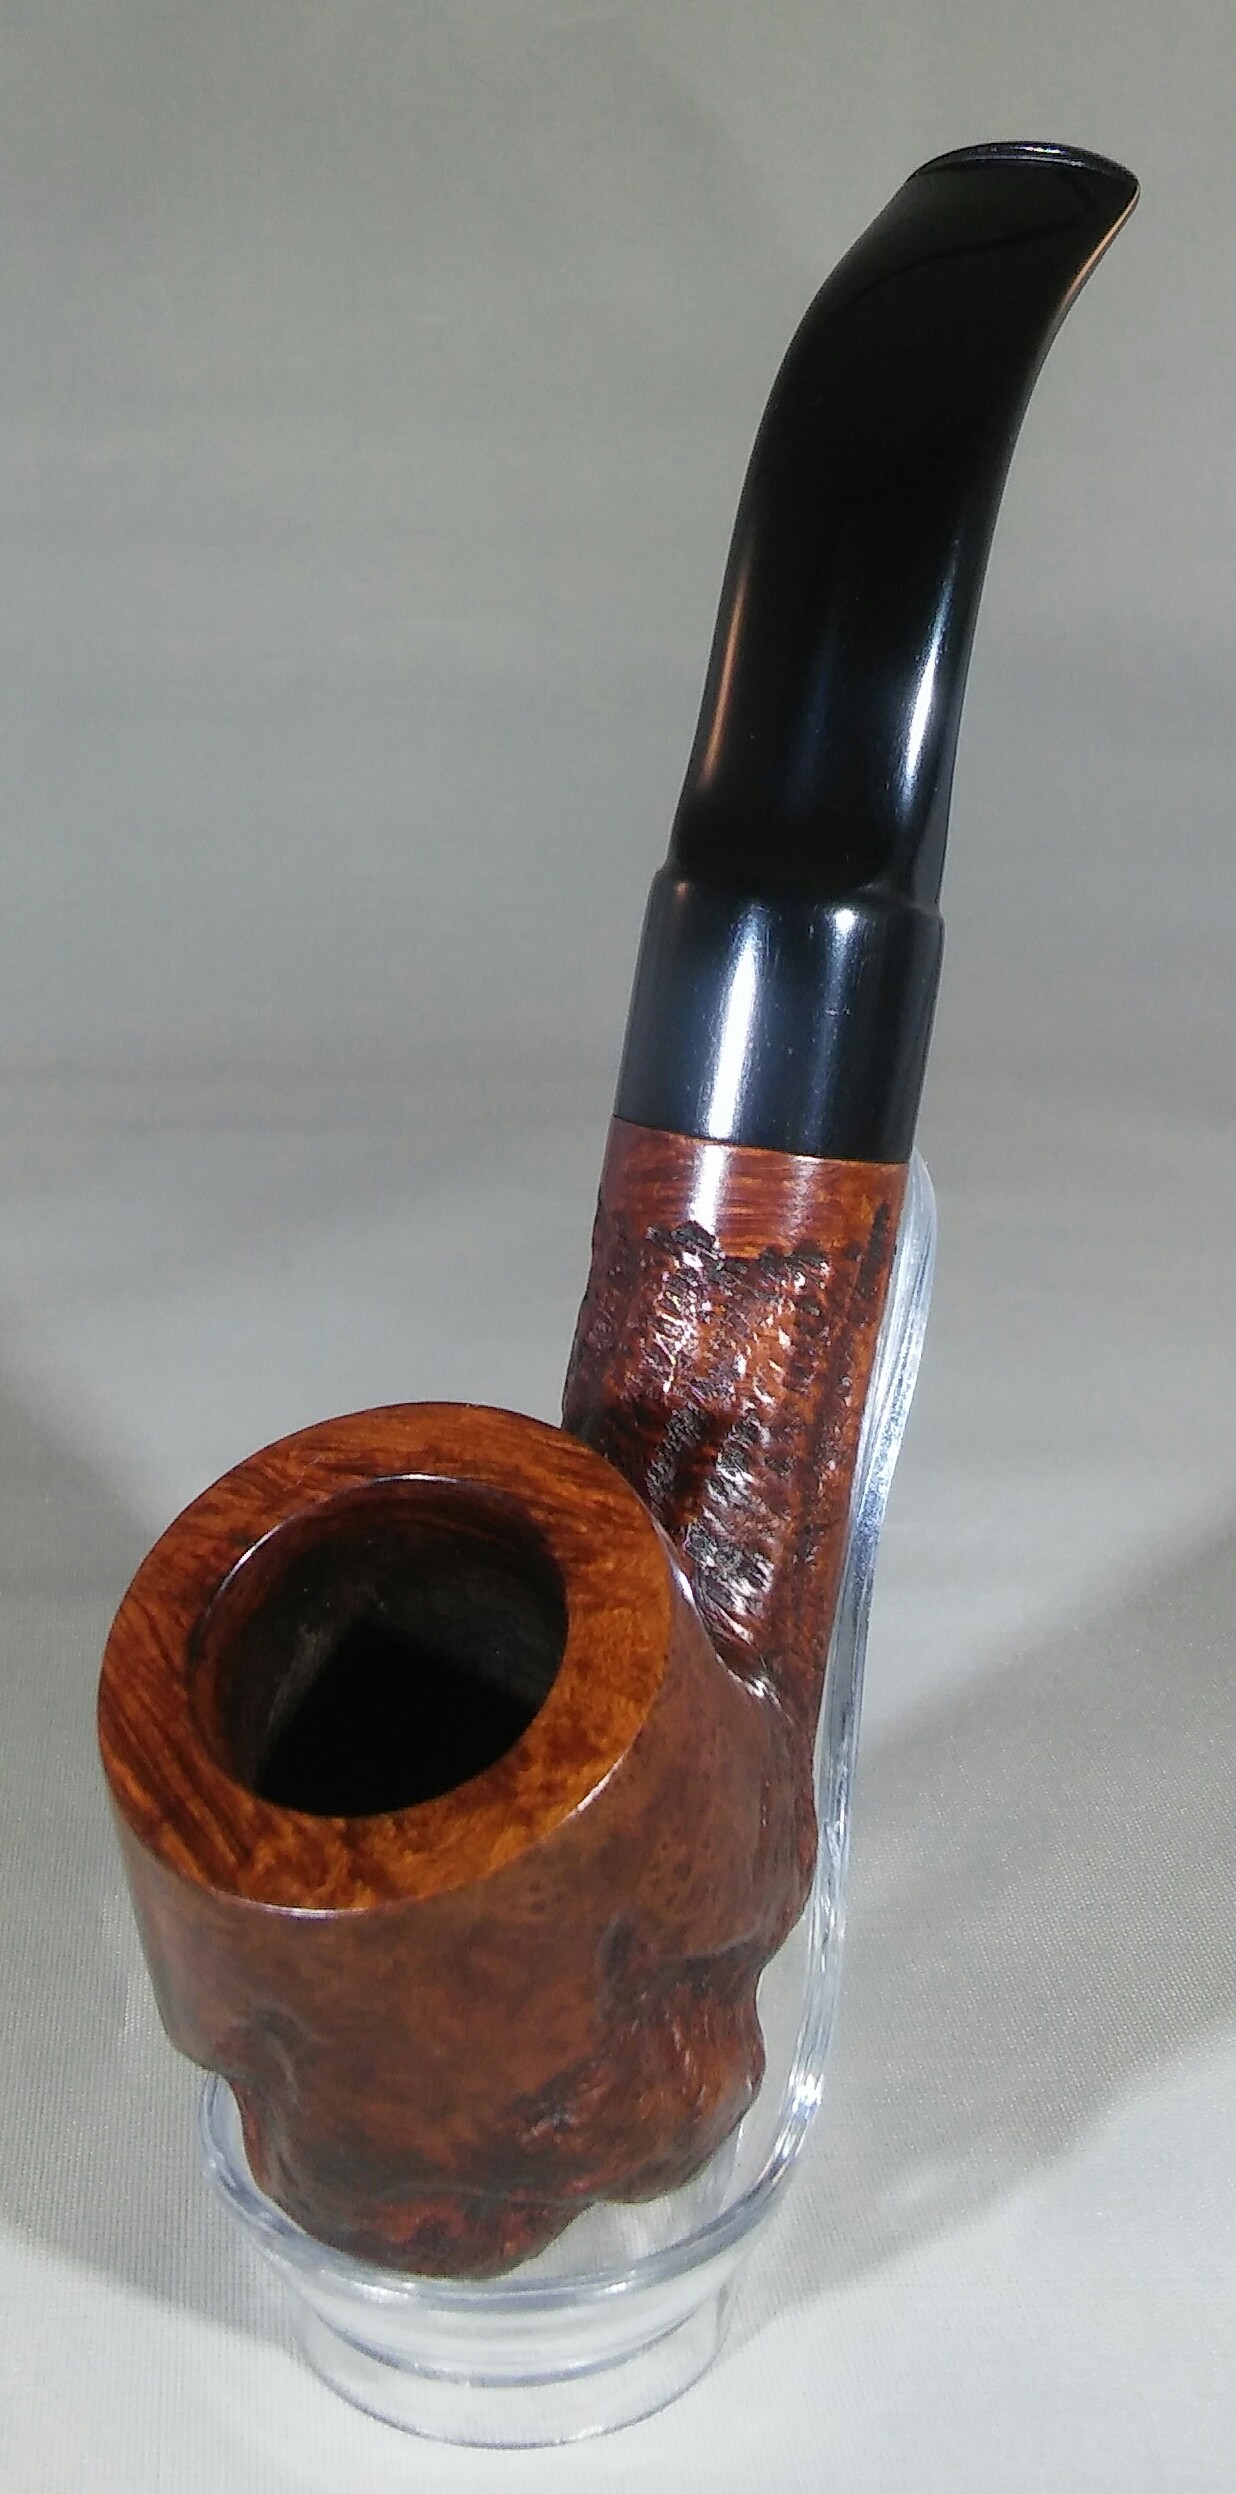


Finished her up on the wheel with white diamond, a few coats of carnauba and a microfiber hand buff.

The Gang all together.
Clint your generosity is greatly appreciated. The pipes are beautiful and right at home in my collection.

Reblogged this on rebornpipes and commented:
This by far is one of my favourites that you have done. Very good work. Thought I would share this on rebornpipes.
LikeLiked by 1 person
Thank you for the reblog Steve.
Saved the best for last, I’m pleased with the contrast of color and the fact that its bent. This bent Bilt brings me to two in the collection.
LikeLike
I have to agree… I think this one turned out the best of all three! I was so excited when I saw this I had to show my wife… at 7:15 this morning… as she was just waking up… I don’t think she was as impressed, but I wouldn’t take it personally, I don’t think it had anything to do with the quality of your work. Excellent job! Reblogging this bad boy over on the Scoundrel site!
LikeLiked by 1 person
Thanks Clint for the reblog and the opportunity to put these puppies back in service. It felt great to get back to it. I don’t think my wife would fully appreciate pipe porn at 7am either.
LikeLiked by 1 person
Reblogged this on pipe scoundrel and commented:
All three of the Custombilt’s are now complete. Absolutely amazing restoration work at the hands of a true master. Be sure to check out Pipes Revival when you have a chance. It’s incredible to see such awesome restoration work being done!
LikeLike
Stupid auto correct on my tablet changed Revival to Reborn… Ironic but annoying at the same time. I fixed it over on my site. Sorry for the typo!
LikeLike
Edit I got it.
LikeLike
Nice work. They look fantastic. Finally acquiring estate pipes isn’t such a bad idea. I find a bit repulsive to buy something an old someone spent lots of time putting it to its own mouth and accumulating ash grime. But for the briar’s sake, and if they can end up looking great like that, I think I will start looking into estates from now on. You might have help change someone’s mind. Thank you!
LikeLiked by 2 people
Thanks-
Your golden as long as each pipe is thoroughly disinfected , estates defiantly give you more opportunity to grow your collection.
LikeLiked by 1 person