Tag Archives: Heating oxidation removal

Peterson Captain Pete XL80

Screenshot_2016-01-21-21-34-52~2
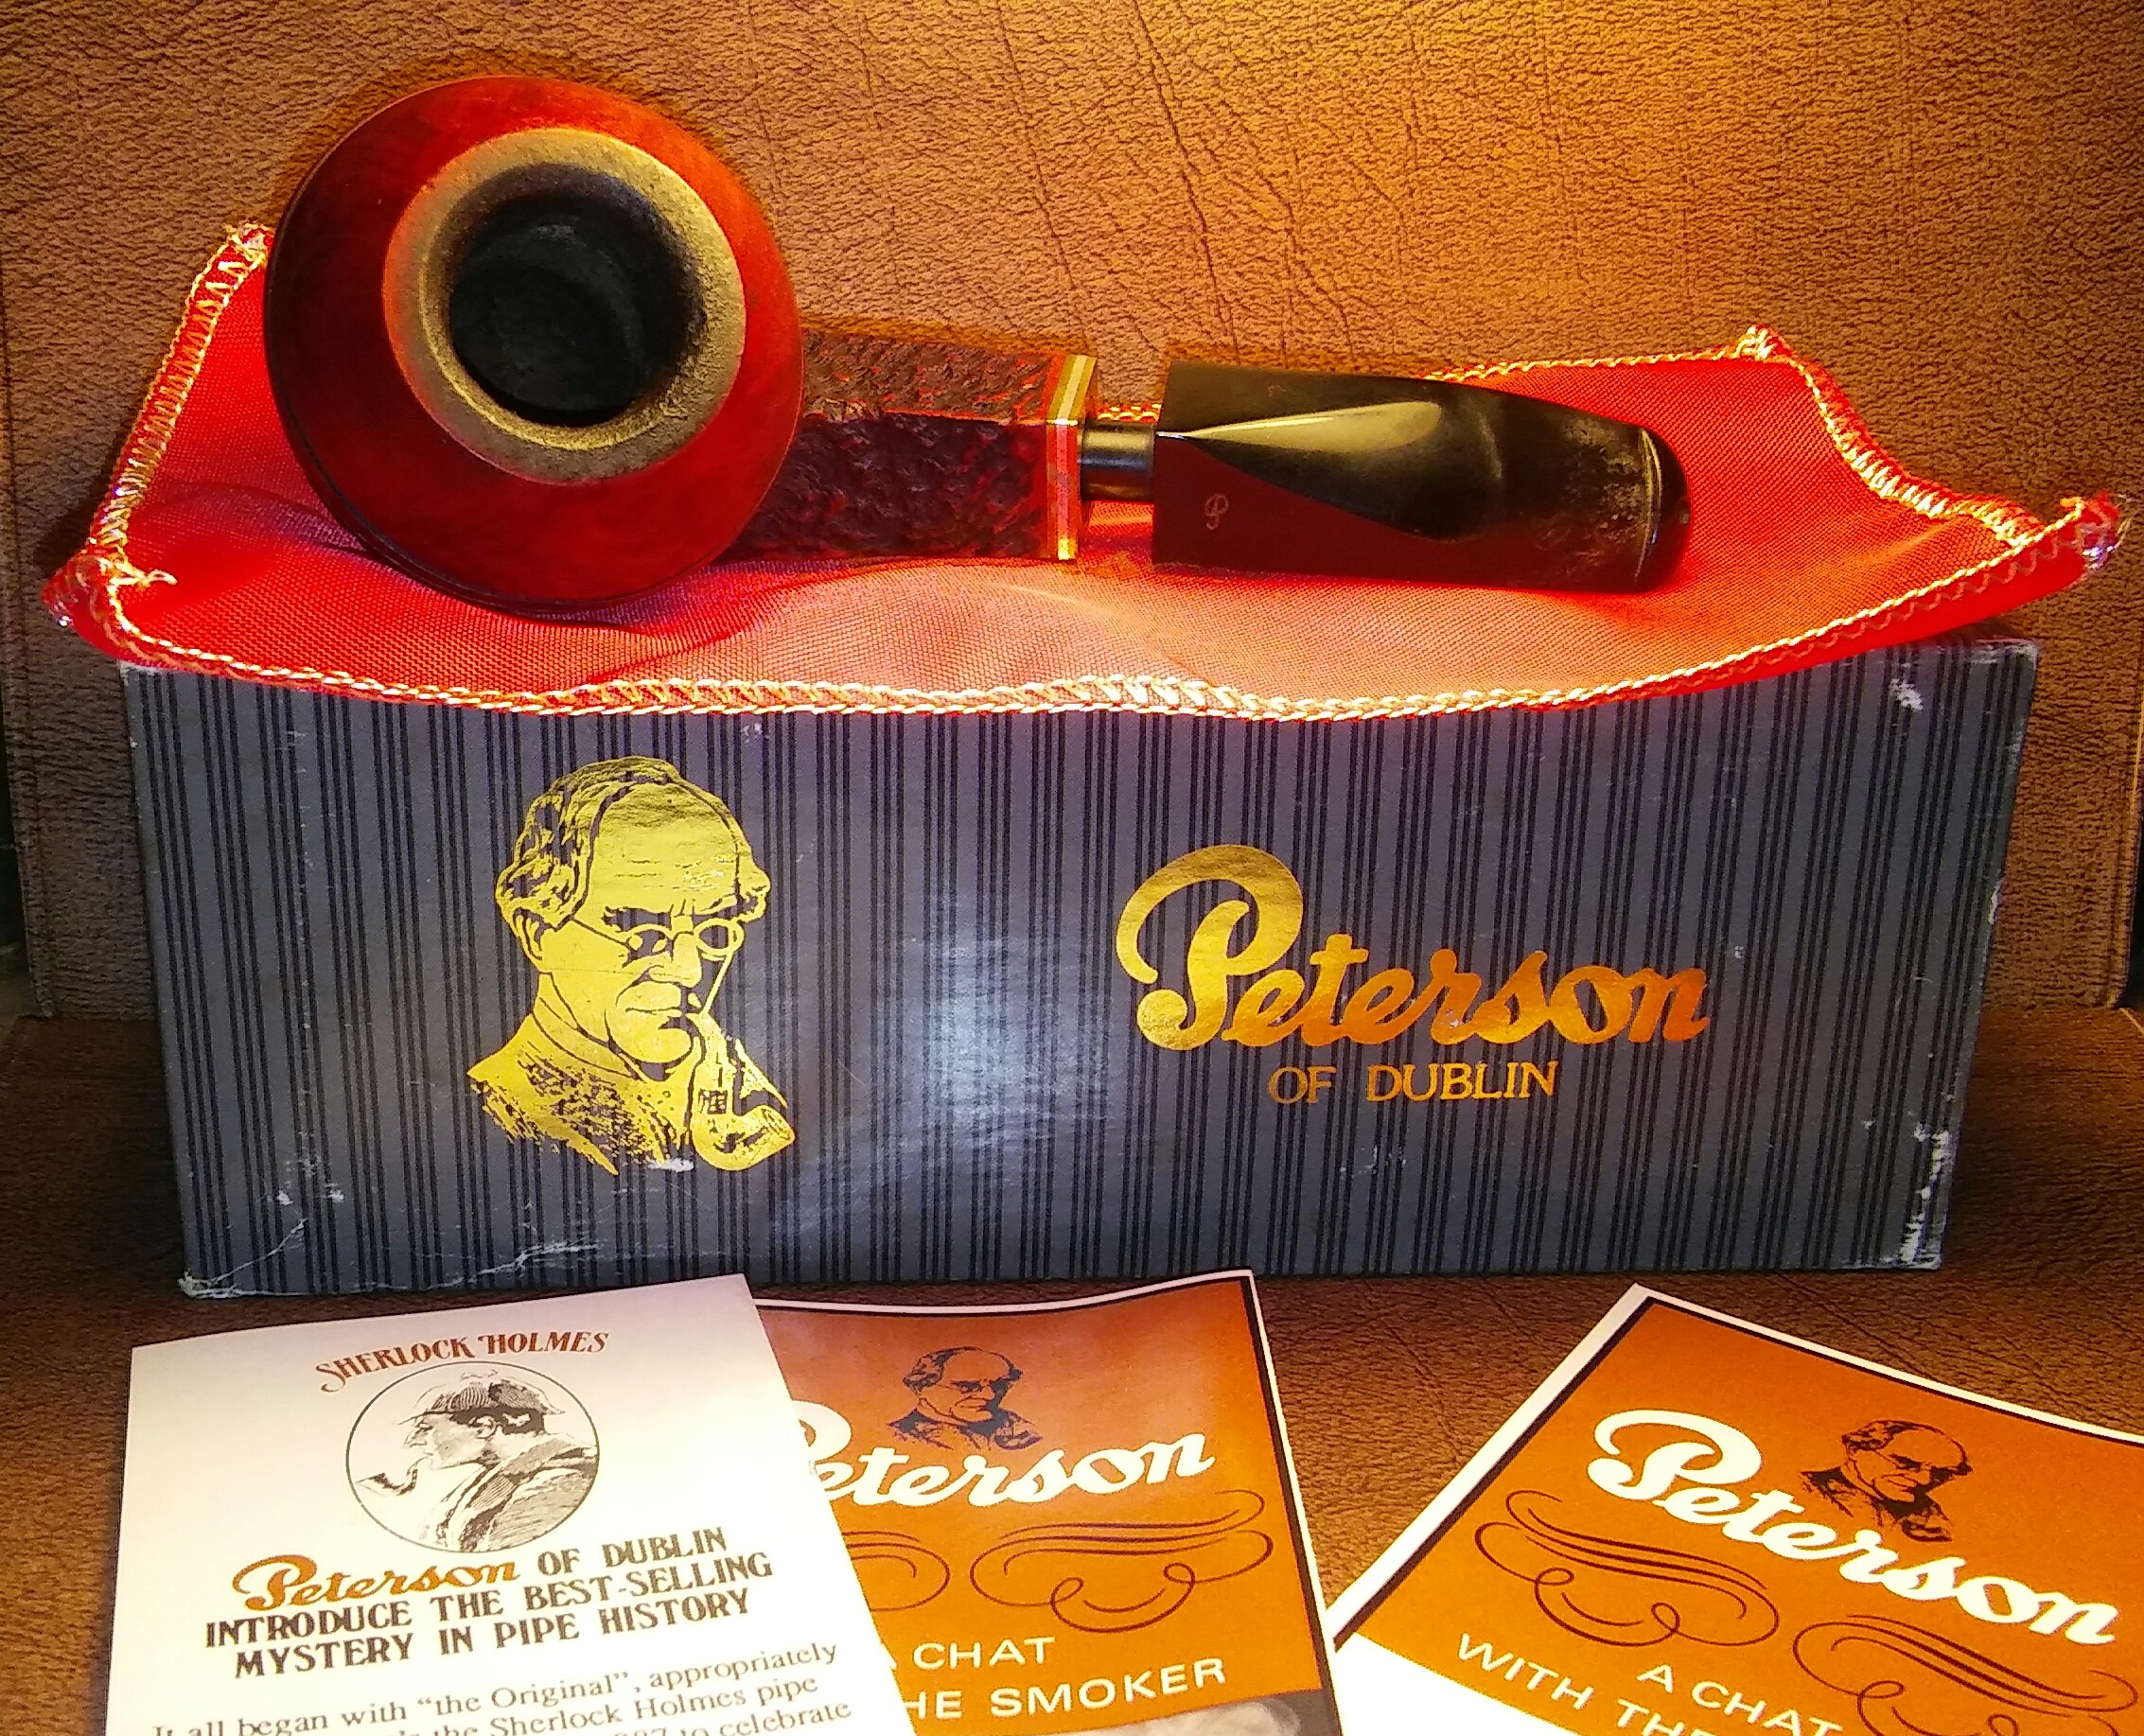
I was gifted this Captain Pete for Christmas by my wife its one that has pasted me by a few times and I didn't think I'd get in the shape I wanted the XL80, a shape I'm very found of.  The Captain Pete XL80 is chunky and has a shorter stem then the standard 80 shape and thats what was so eye catching for me, short and fat like many of the pipes in my collection. Jim Lilley connoisseur and collector of Peterson Pipes wrote a post on the Captain Pete on his blog, he has also contributed to Pipedia The Peterson Page , the Peterson's in his collection are amazing.
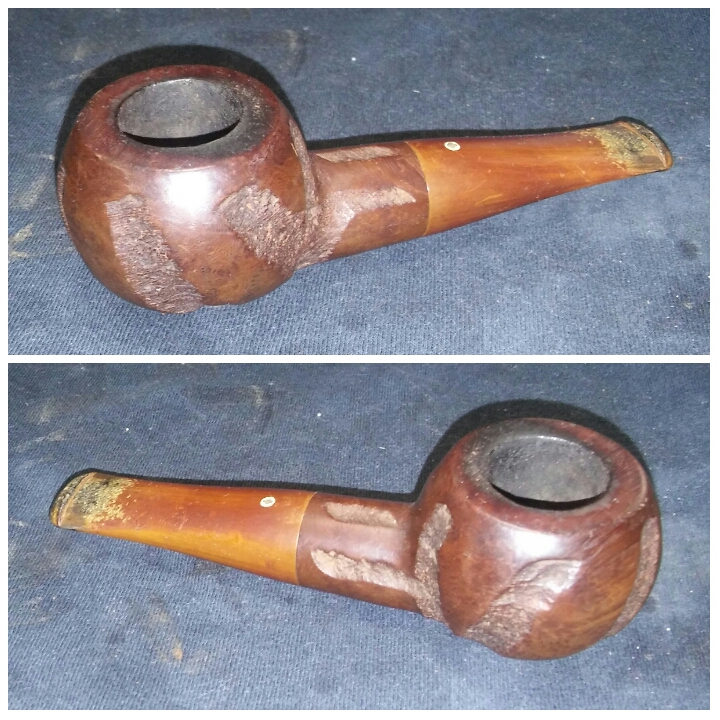
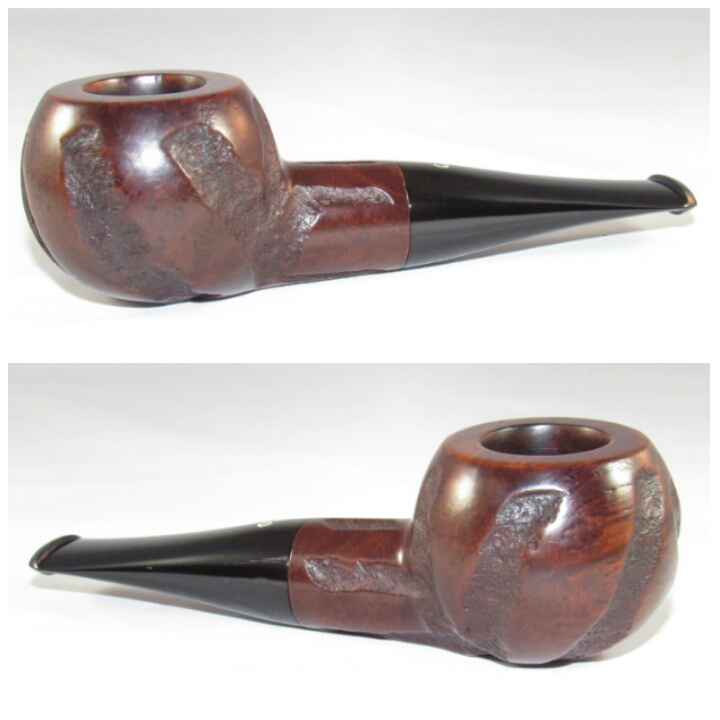
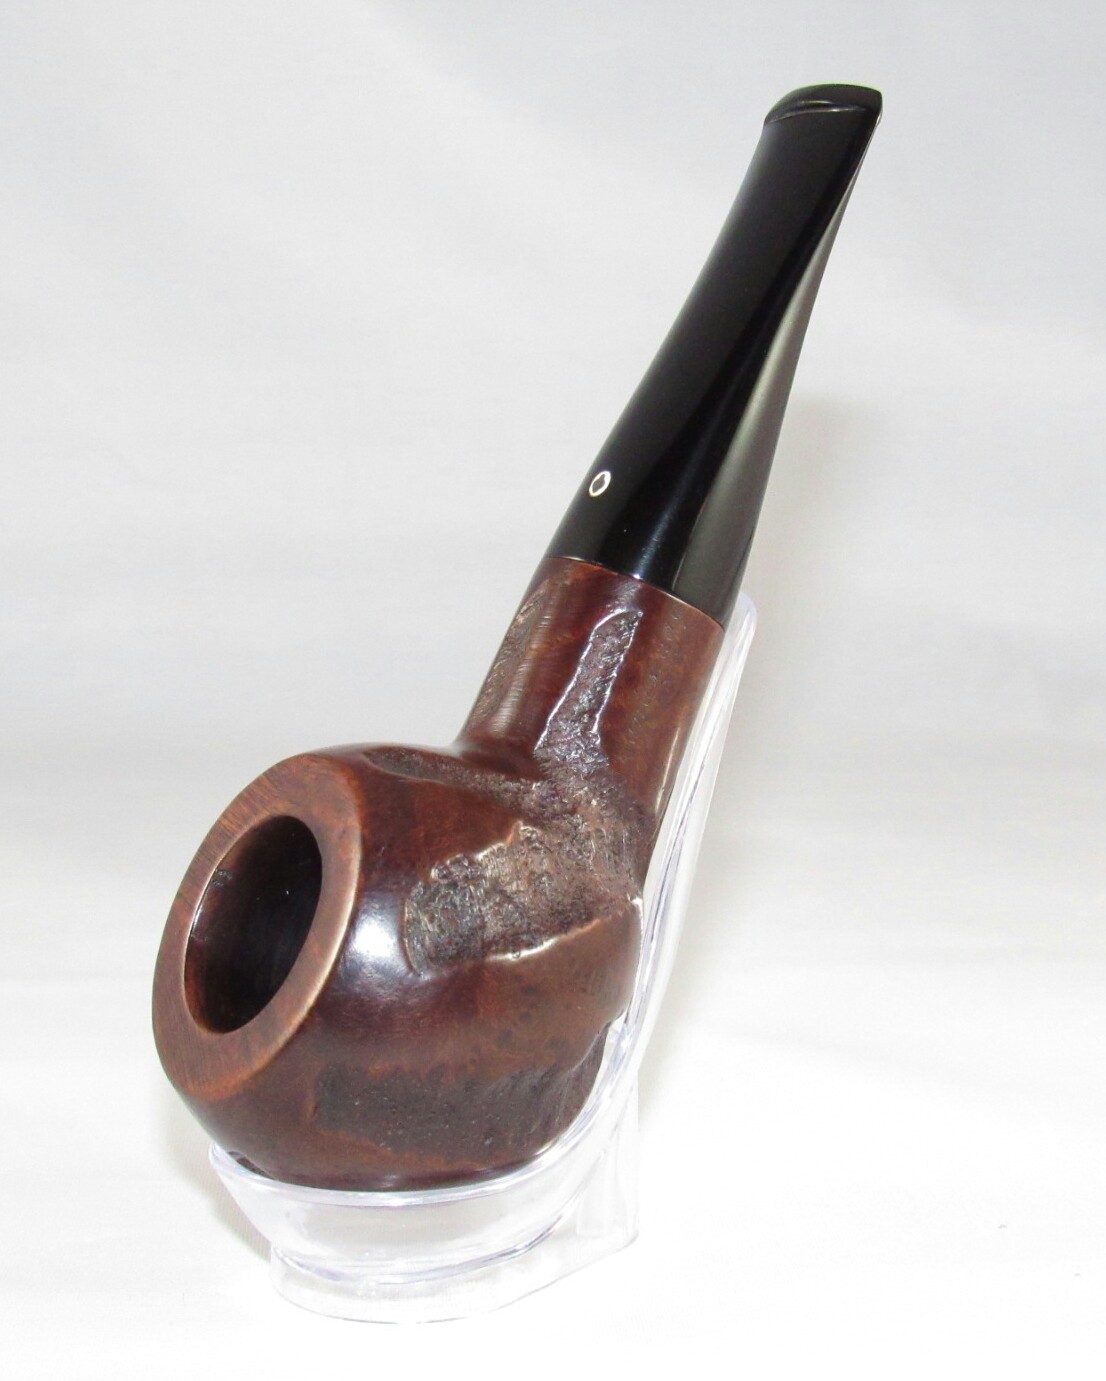
As Received
20151226_231320220160120_164427~3~2PhotoGrid_1453351875420
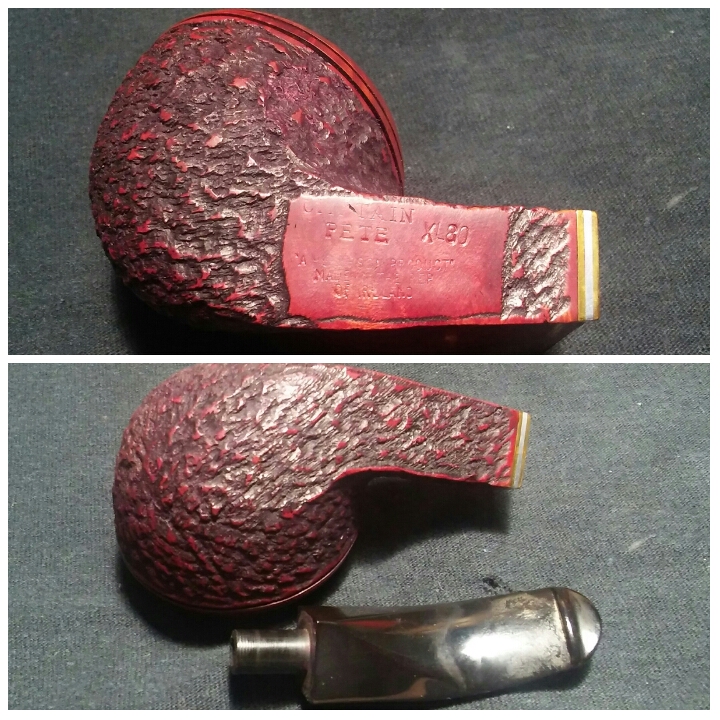
The Captain was in was in decent shape when I received it, rim build up, tight tennon fit, a little chatter, worn stain and the start of an uneven cake.
PhotoGrid_1453338820830
After looking over and disassembling the pipe, I set aside the stem and started with the stummel. First reaming the chamber with my Pipnet reamer starting with the smallest attachment and working up to the second attachment, smoothing things out with 400 grit sandpaper wrapped around a finger. The chamber was free of burn or pitting. Now my attention turned to the rim build up, I applied a generous amount of Method Wood For Good Polish with a Q-tip and allowed it to penetrate the oils and tars.
20160120_215204~2
After the Method Polish had time to penetrate the build it was easily removed with Q-tips. Some of the stain was removed along with the build up, which doesn't typically happen with Method polish.
PhotoGrid_1453351993631
With the rim free of oils/tar I began my internal cleaning of the stem, chamber and mortise using EverClear, Q-tips, makeup pads and stiff/soft pipe cleaners, cleaning until the pipe cleaners came out as they went in.
20160121_191506~2
After my internal cleaning, I did a EverClear and cotton ball soak on the chamber allowing it to absorb the tars and oils while I worked on the stem.
PhotoGrid_1453338716397
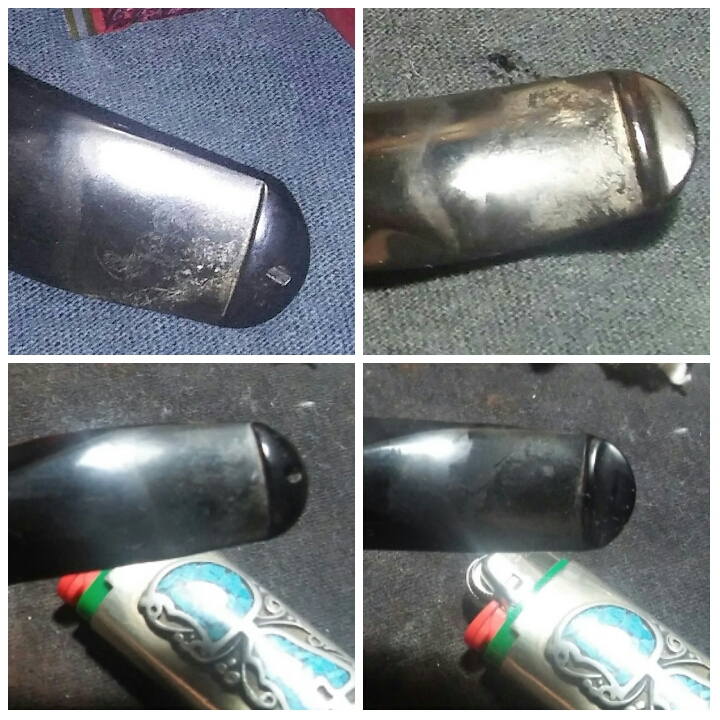
The stem was in good condition aside from a a little chatter and a couple of tooth impressions. To remove some of the shallow tooth chatter I heated the area with a Bic Lighter ( moving the flame at all times never leaving it in one spot too long) all but a couple of impressions raised.
PhotoGrid_1453422352636
I now applied non-bleach Soft Scrub to the stem with a children's toothbrush and left it aside to penetrat the oxidation. Once the Soft Scrub turns from white to a brownish color its time to scrub vigorously with a rag until the oxidation is removed, removing the leftover oxidation with a damp Magic Eraser.
PhotoGrid_1453422173363
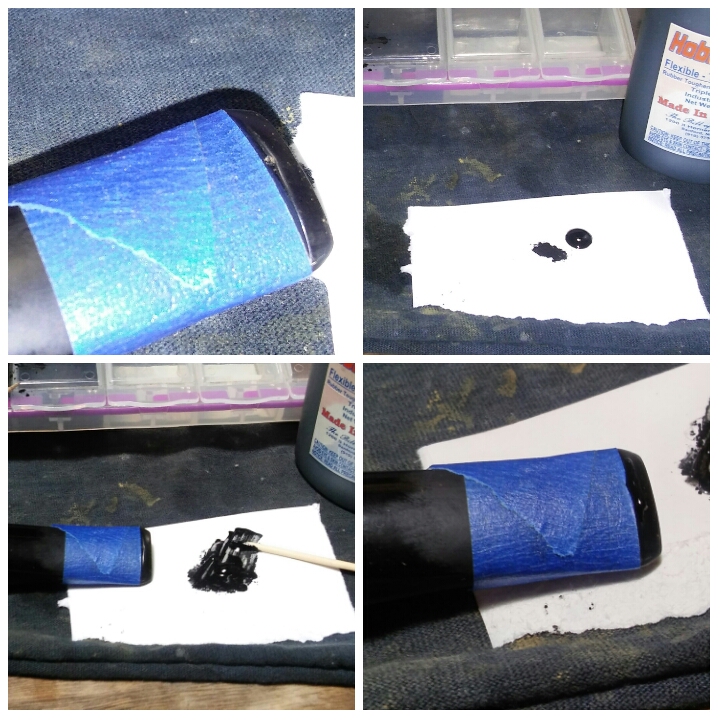
The couple of tooth impressions that were left I would remove with 1000 grit sandpaper wet. I tapped off the bit/button portion of the stem with blue painters tape so my rough sanding would remain in one area.
PhotoGrid_1453429652299
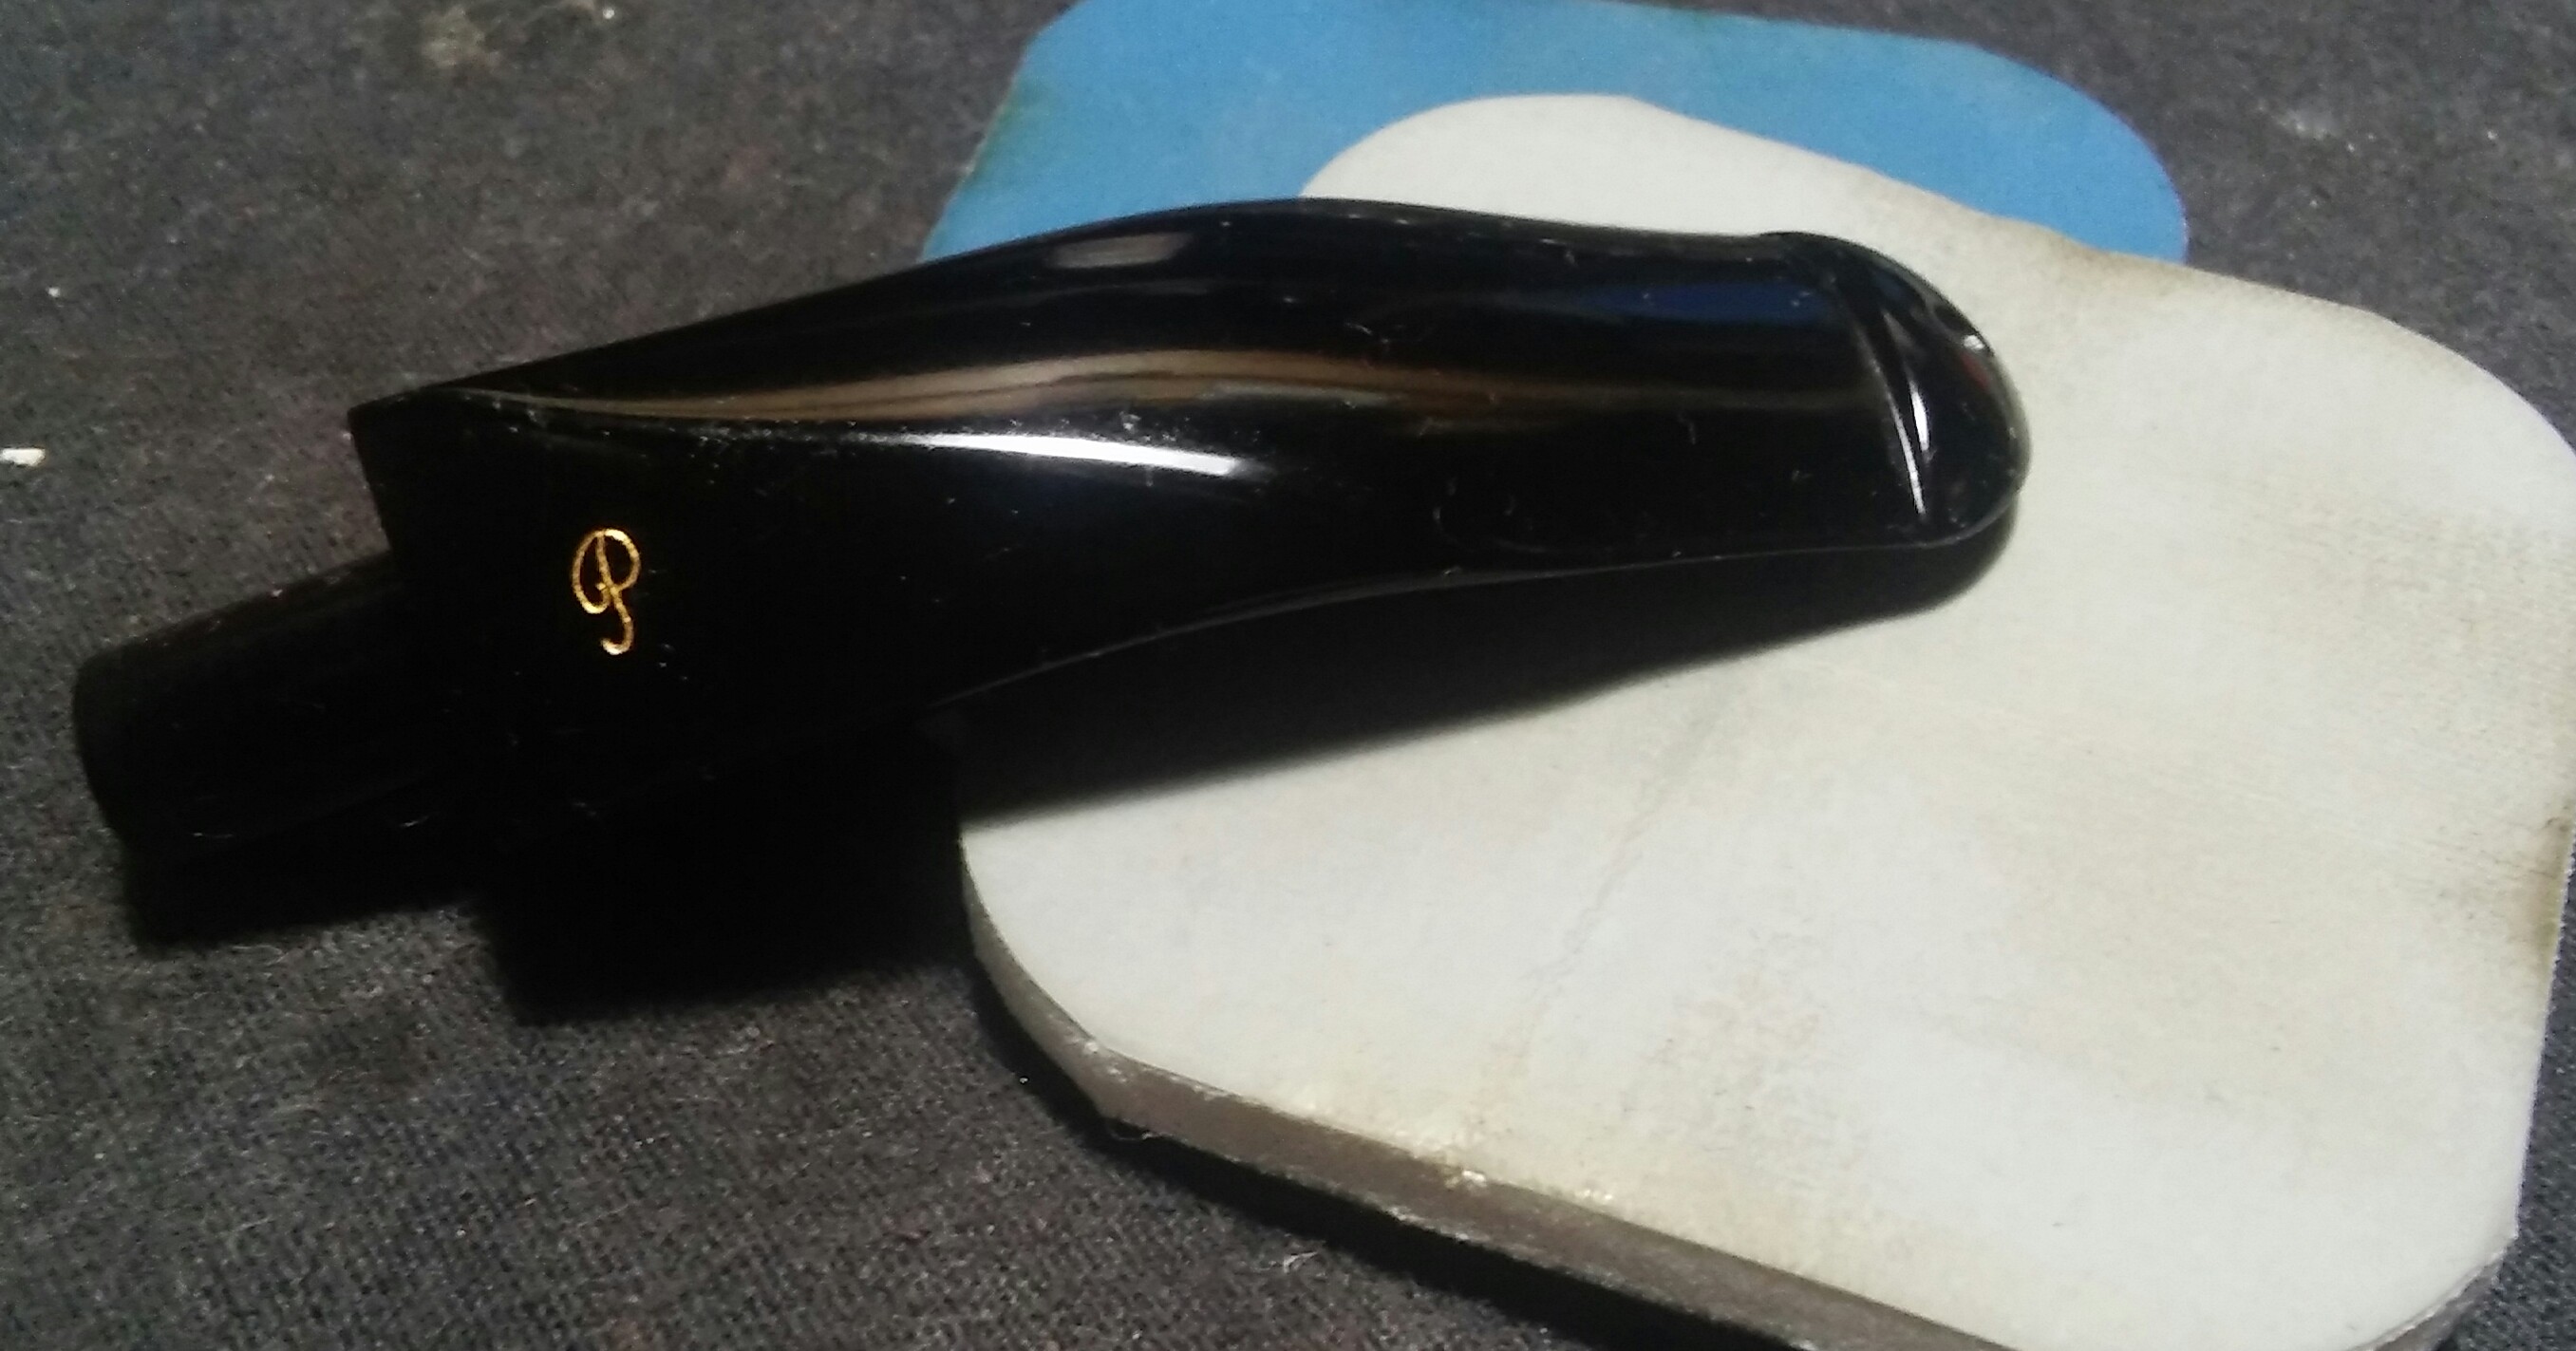
Before polishing the stem with the finial three Micro-Mesh pads I touched up the P with Rub'n Buff. I applied it with a Q-tip and buffed off the excess with a rag and continued with my final polishing with the last three micro-mesh pads.
20160121_163530~320160121_215951~2
The  rest of the stem would not need as much work as the bit/button portion, as the Soft Scrub and Magic Eraser removed all the oxidation. I left the painters tape on the stem and  ran the button area though the various grits of sandpaper and micro-mesh 1500, 1800, 2000 paper, 2400 wet then 3200-4000 dry, I removed the painters tape just before sanding the entire stem with the last three Micro-Mesh pads 6000-12000 dry.
PhotoGrid_1453422789282
Raising rim dents with steam. Using a household iron on medium/high heat and damp rag, I covered the rim dents with the damp rag and applied it to the hot iron working in intervals until all the dents raised.
PhotoGrid_1453422643851PhotoGrid_1453422706940
This is the first time I had results work this well and would not have to sand the area afterwords.
PhotoGrid_1453429694158
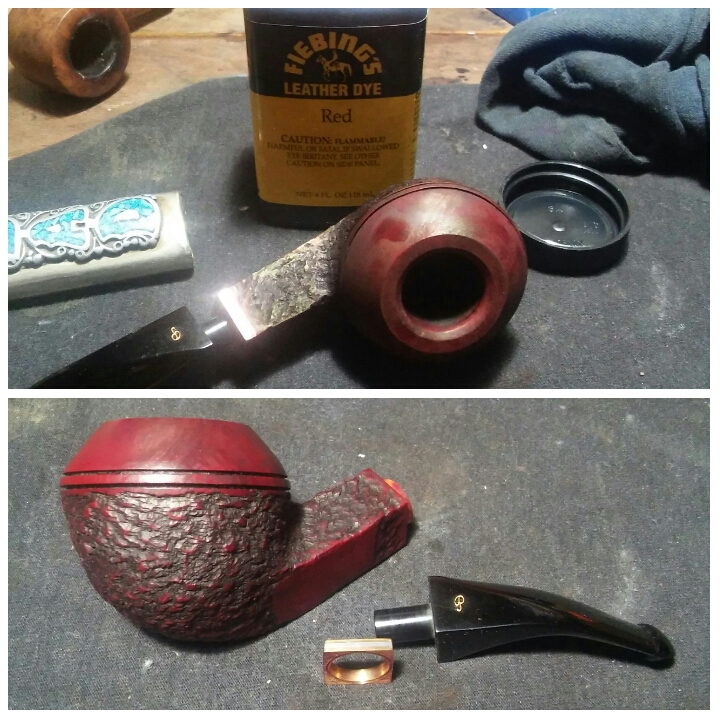
When I received the Captain the red stain on the rim was faded to an almost pink color and after cleaning the debris from the rim it was more so. I decided to re-stain the whole stummel with Fiebings Red leather dye. I gave the stummel a wipe down with an alcohol dampened rag, allowing it to dry then appling the red stain, I hit it with a Bic Lighter to set the stain, removed the excess stain with a alcohol dampened rag and left it overnight to dry completely before buffing.
Captain Complete
20160124181457~220160124181541~2PhotoGrid_145367218872520160124181714~220160122152256~2PhotoGrid_1453490486893PhotoGrid_1453490601364 

I Finished up on the wheel with white diamond, a few coats of carnauba and a microfiber hand buffing. Buffing the stem with blue compound and buffing the spacer with black emery before gluing it back in place.


I had fun taking photos of this one, My Pop was a Navy Man so I’m also a collector of vintage nautical item’s as well.

Thanks For Taking A Look.

Kaywoodie HandMade

Screenshot_2016-01-14-21-46-36~2
I’m a sucker for a fat bottom and that’s exactly what we have here in the Kaywoodie Hand-Made Over-size line of pipes. They’re getting harder to find, so when one pops up I have to jump on it. My search for a chunky Kaywoodie lead me to this line of pipes and about a year ago I had the pleasure of refurbishing two, there thick walls and chunky shape not only make it comfortable in the hand but it produces a cool smoke.
As Received

20160113_082336~2PhotoGrid_1452707950514PhotoGrid_1452708010235

The nomenclature was lightly stamped or worn.

PhotoGrid_1452707970576

Over all she was in nice condition and seemed well cared for. Heavy stem oxidation, chatter and a little rim tar&char.

PhotoGrid_1452708133134

I started by reaming the chamber with my Pipnet reamer, first with the smallest attachment and working up to the third  taking it back to briar, the chamber was free of any imperfections. I smoothed out the chamber with 400 grit sandpaper. The rim, I applied a generous amount of Method Good For Wood Polish and set aside to penetrate the debris. Using Q-tips I removed the oils and tars from the rim.

PhotoGrid_1452708178721

The char/rim darkening was removed with worn micro-mesh.Using EverClear, Q-tips and stiff/soft pipe cleaners I gave the mortise and chamber a quick once over to get out the loose debris. Now the soak, I unrolled a cotton ball, twisted it together to form a long swab and inserted it tightly into the mortise and filled the chamber with EverClear a quarter of the way. I allowed the swab to absorb the alcohol, then I filled the chamber with two cotton balls and added EverClear until the cotton balls were saturated. I left it aside to allow the cotton balls and alcohol to absorb the oils and tars.

PhotoGrid_1452708225607

The stem was heavily oxidized and had quite a bit of chatter. I started first by appling Soft Scrub with a children’s toothbrush to the stem and left it to penetrate the oxidation. Once the Soft Scrub turns from white to a brownish color its time to start the vigorous scrubbing with a rag, I would repeat this process a few times to get the bulk of the oxidation off. To get the rest of stubborn oxidation I used heat. Heat can be your best friend or your worst enemy and doesn’t work on all stem materials.(Nylon & Acrylic stems do not respond the same and melt or burn, I have had success with ebonite swirled cumberland stems in the past) In this case I’m working with vulcanite which is more resilient and responds well to heat. I heated the oxidized portions of the stem with a Bic Lighter (moving the flame rapidly never leaving it in one spot too long) working carefully around the clover logo inserted in the stem, In the past I’ve had a few inserts on Kaywoodie and Dr. Grabow pipes pop out using this method of heat. At this time I heated the bit/button portion of the stem to raise some of the chatter.

PhotoGrid_1452708099616

With the oxidation removed I could begin sanding.

20160113_141633~2

After giving the stummel time to sit to allow the cotton balls and EverClear to absorb the tars and oils I could do a good internal cleaning of the chamber,mortise and stem. Using cotton balls,Q-tips and stiff/soft pipe cleaners I cleaned the internals of the stummel and stem until the pipe cleaners came out as they went in.

PhotoGrid_1452799129501PhotoGrid_1452799180896

After removing the chatter with 1000 grit sandpaper there was still one indentation on the button that did not raise with heat and would need filling. I mixed a paste using thick black CA glue and activated charcoal power, I taped off the button area so the fill would remain in one spot. I applied the paste with a toothpick allowed it to set up a bit, then removed the painters tape and hit it with the accelerator, setting it aside to cure.

PhotoGrid_1452807286414

After the fill had time to cure I began to form the new button with needle files and sandpaper. The stem could now be run though the various grits of micro-mesh.

20160114_205008~2

I ran the stem through the various grits of sandpaper and micro-mesh. 1000 grit sandpaper wet, 1500,1800, 2000, 2400 wet and 3200-12000 dry. There were a few pieces of metal or aluminum embedded in the rubber which tells me it was wartime  recycled rubber. You can see the embedded imperfections in my final photos. Tho not very noticeable.

PhotoGrid_1452824338329

I gave the stummel a wipe down with Howard’s butcher block conditioner and let it penetrate for a few minutes hand buffing off the excess. She was now ready for the wheel.

Fin

20160115114305~2PhotoGrid_145286979921520160115114343~220160115114352~2

20160115114107~2

Finished up on the wheel with white diamond, a few coats of carnauba and a microfiber hand buffing, buffing the stem with blue compound & carnauba.