

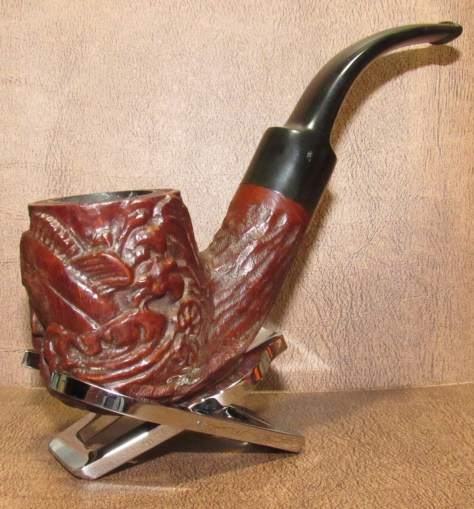
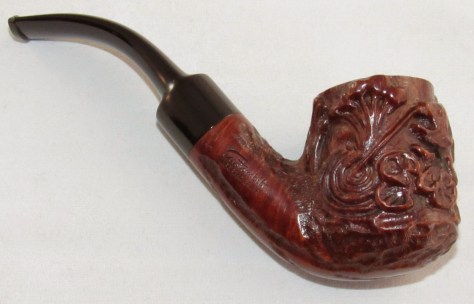
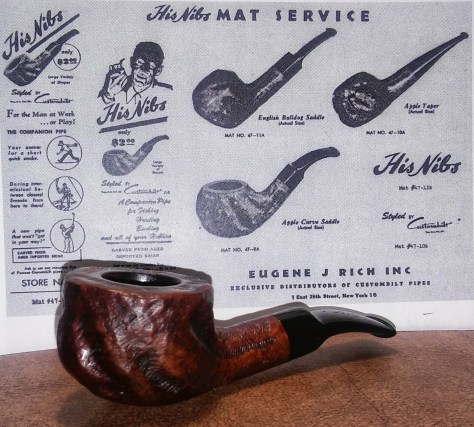
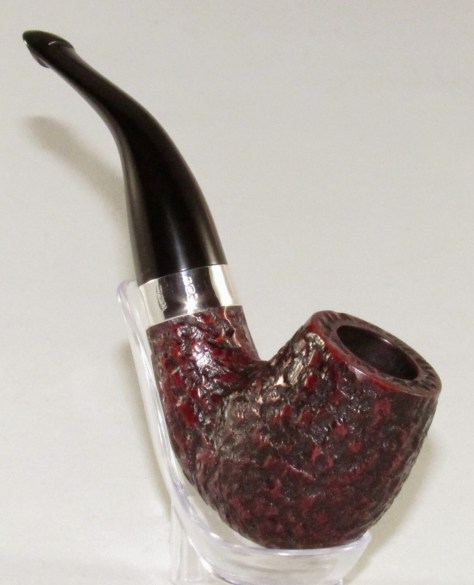
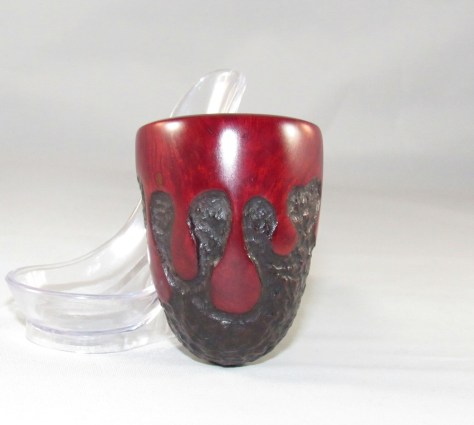
Bing Crosby’s White Christmas LP spinning on the hifi, growing up that album played every Christmas morning for as long as I can remember and its become a tradition I carry on with my daughter. I grew up with a wide variety of music, blues, jazz, swing, rock, punk and everything in between, my daughter has that same variety, Bing’s greatest hits is part of my daughter and my morning ritual, its always playing as we get ready before dropping her off at school, it puts a little spring in your step. A replica of Bing Crosby’s preferred shape and style the Savinelli Bing’s Favorite is a pipe I’ve wanted to get my hands on, it reminds me of a simpler time when men were men and women left more to the imagination.
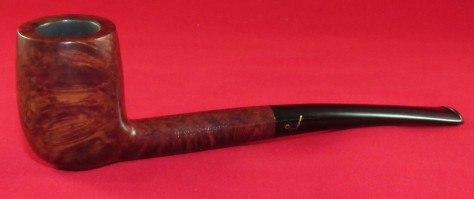
Bing’s Favorite


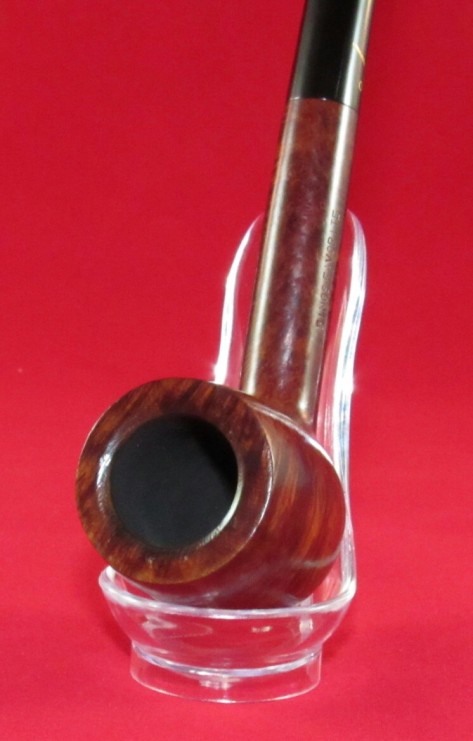
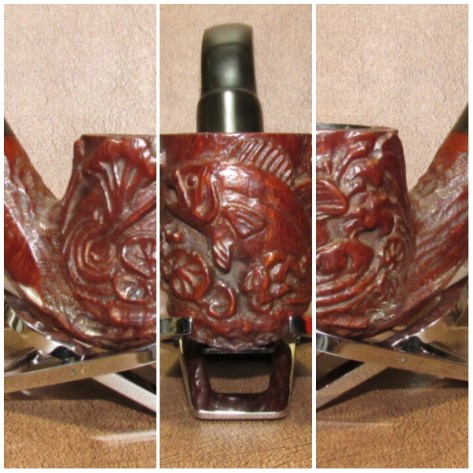
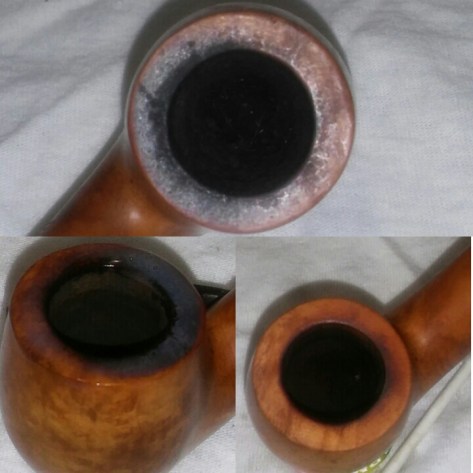
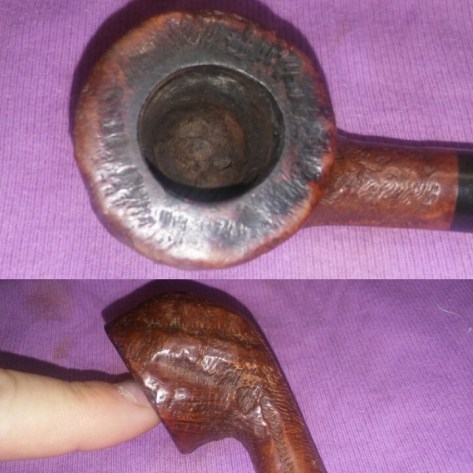
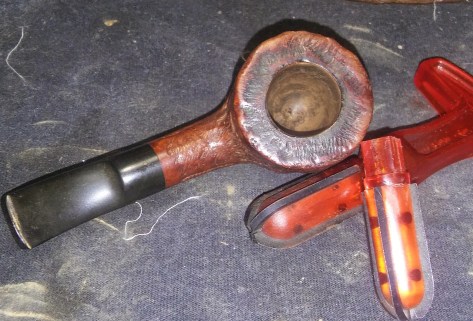
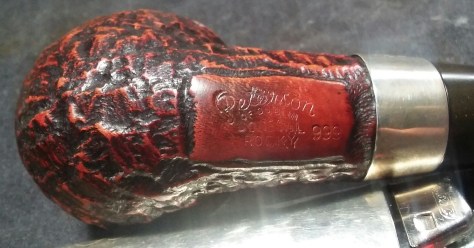
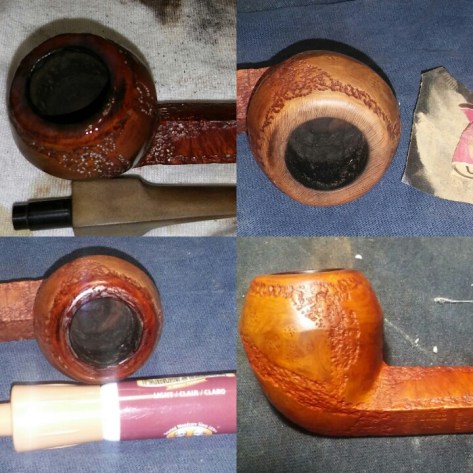
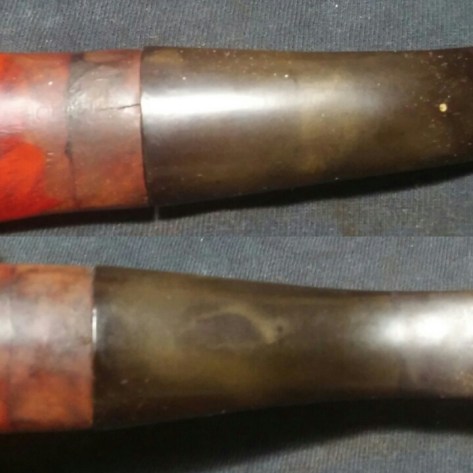
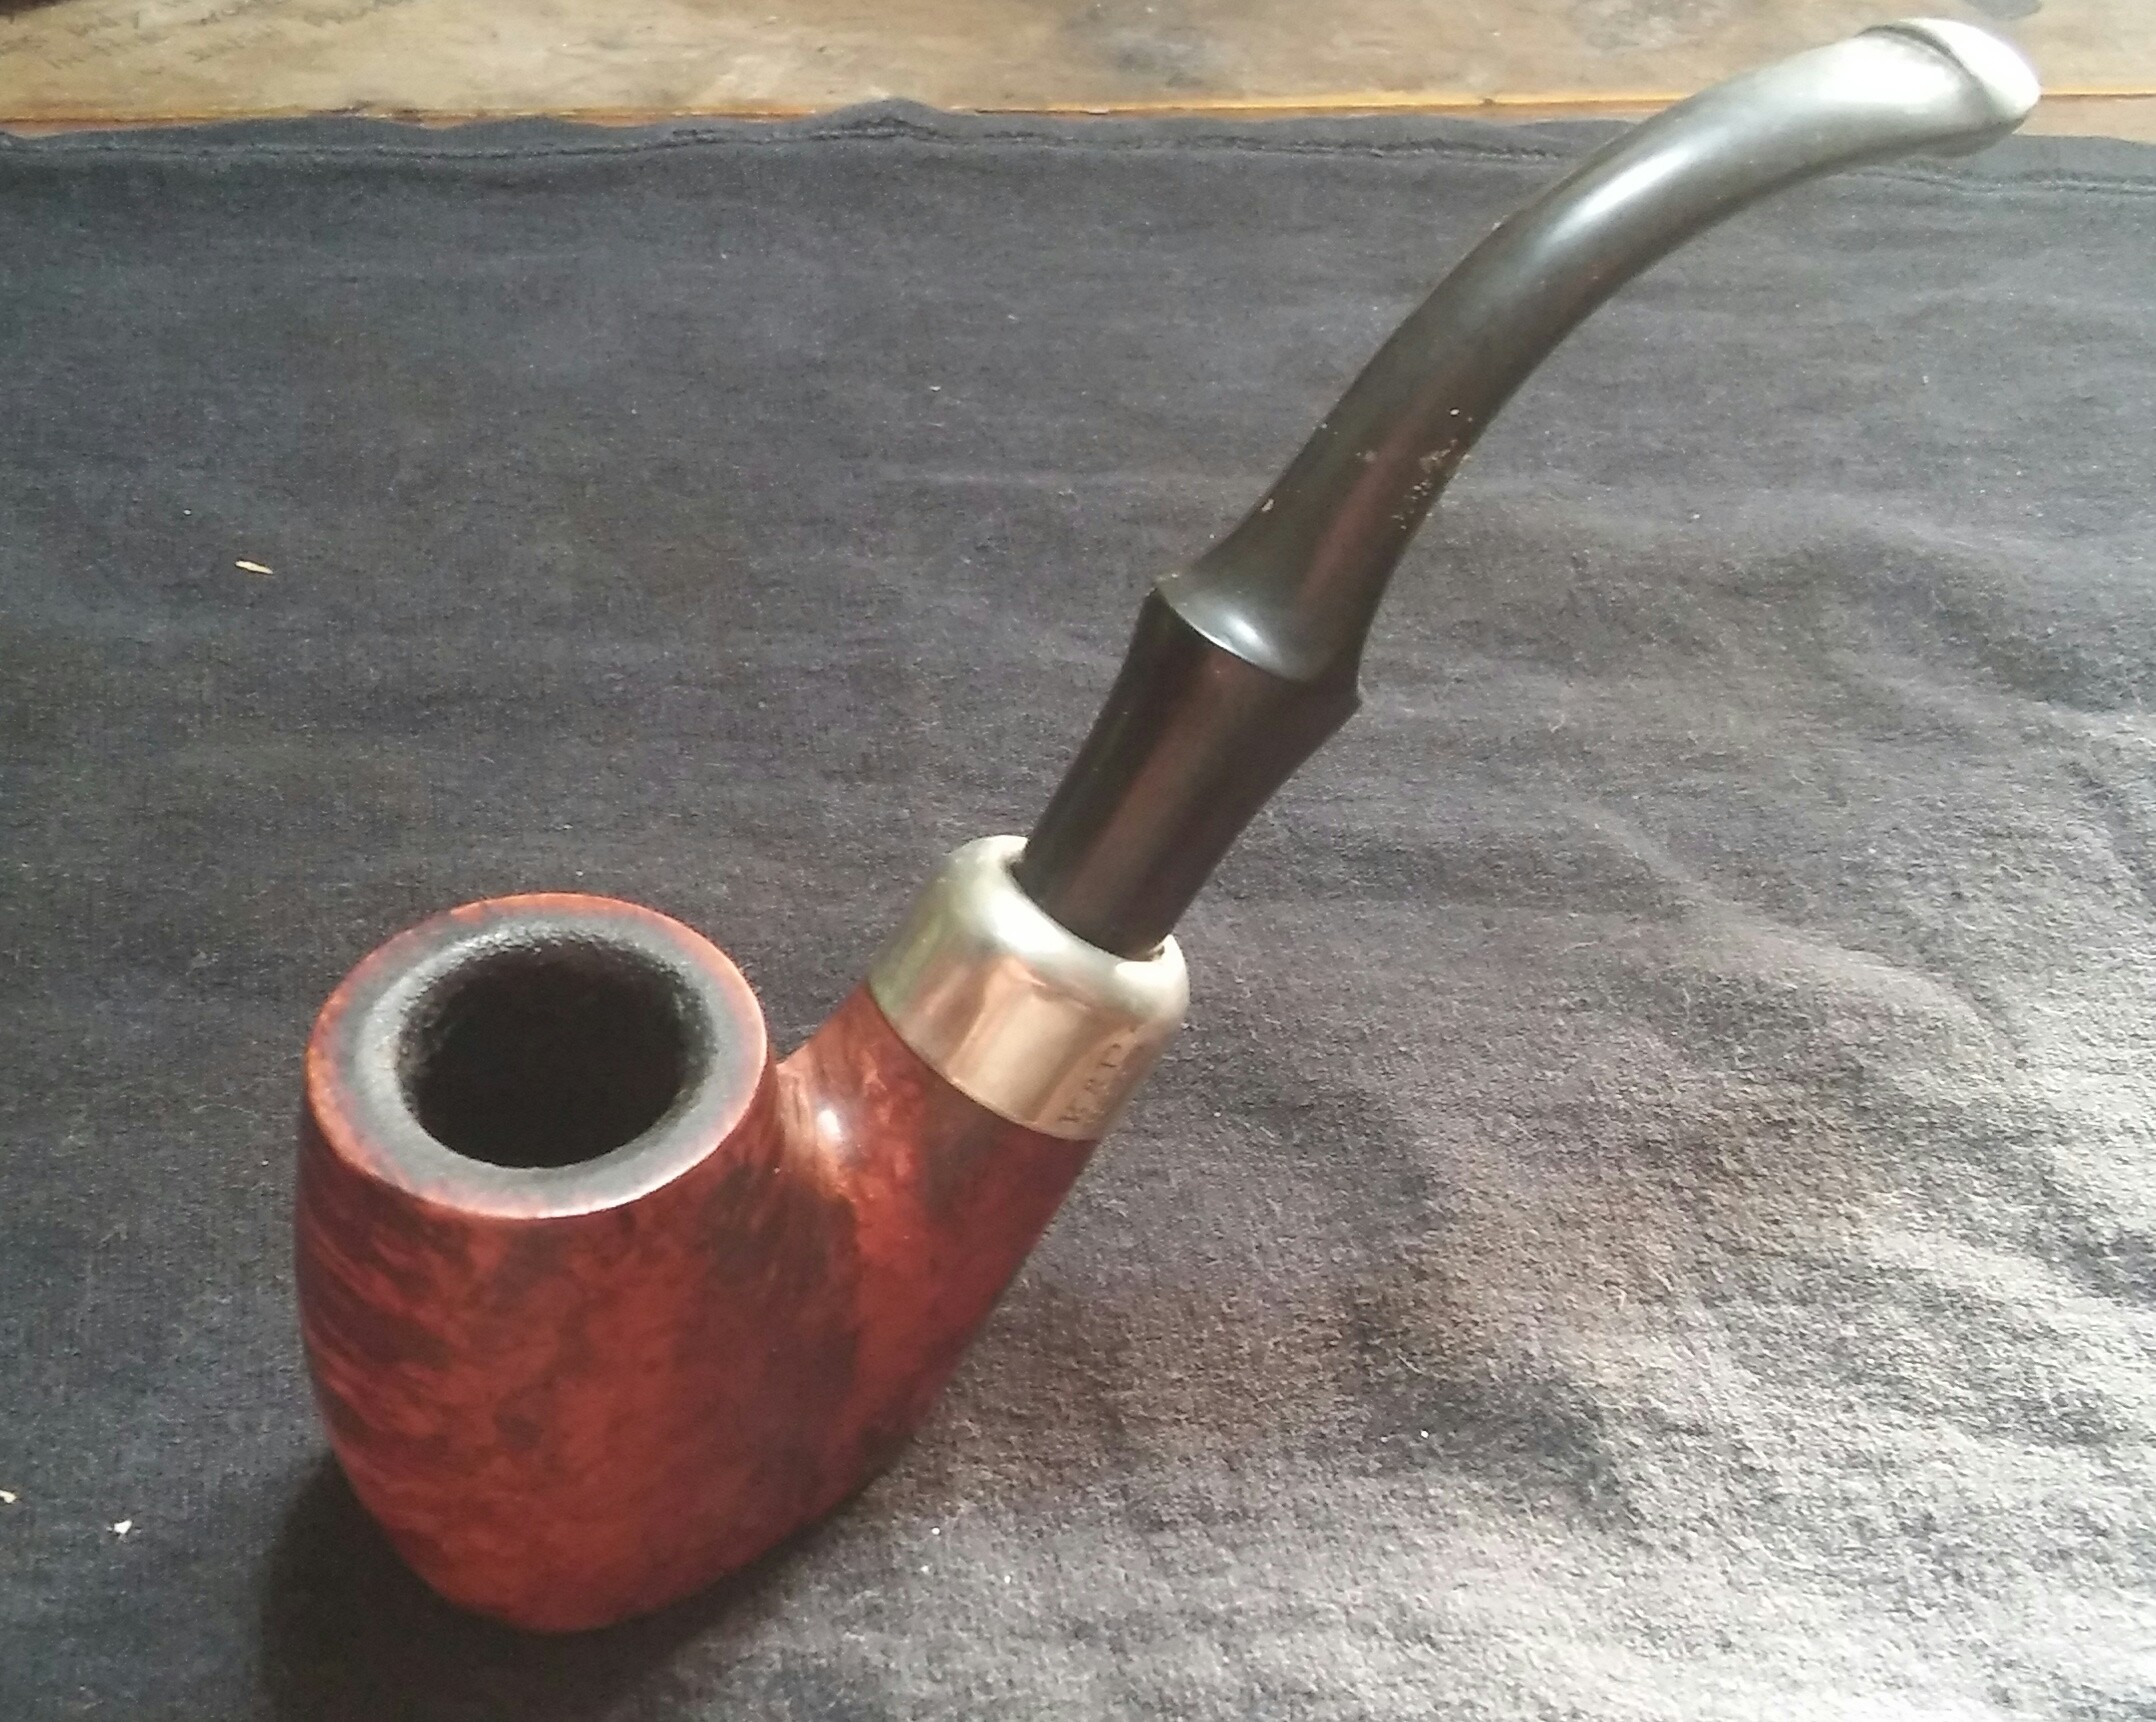
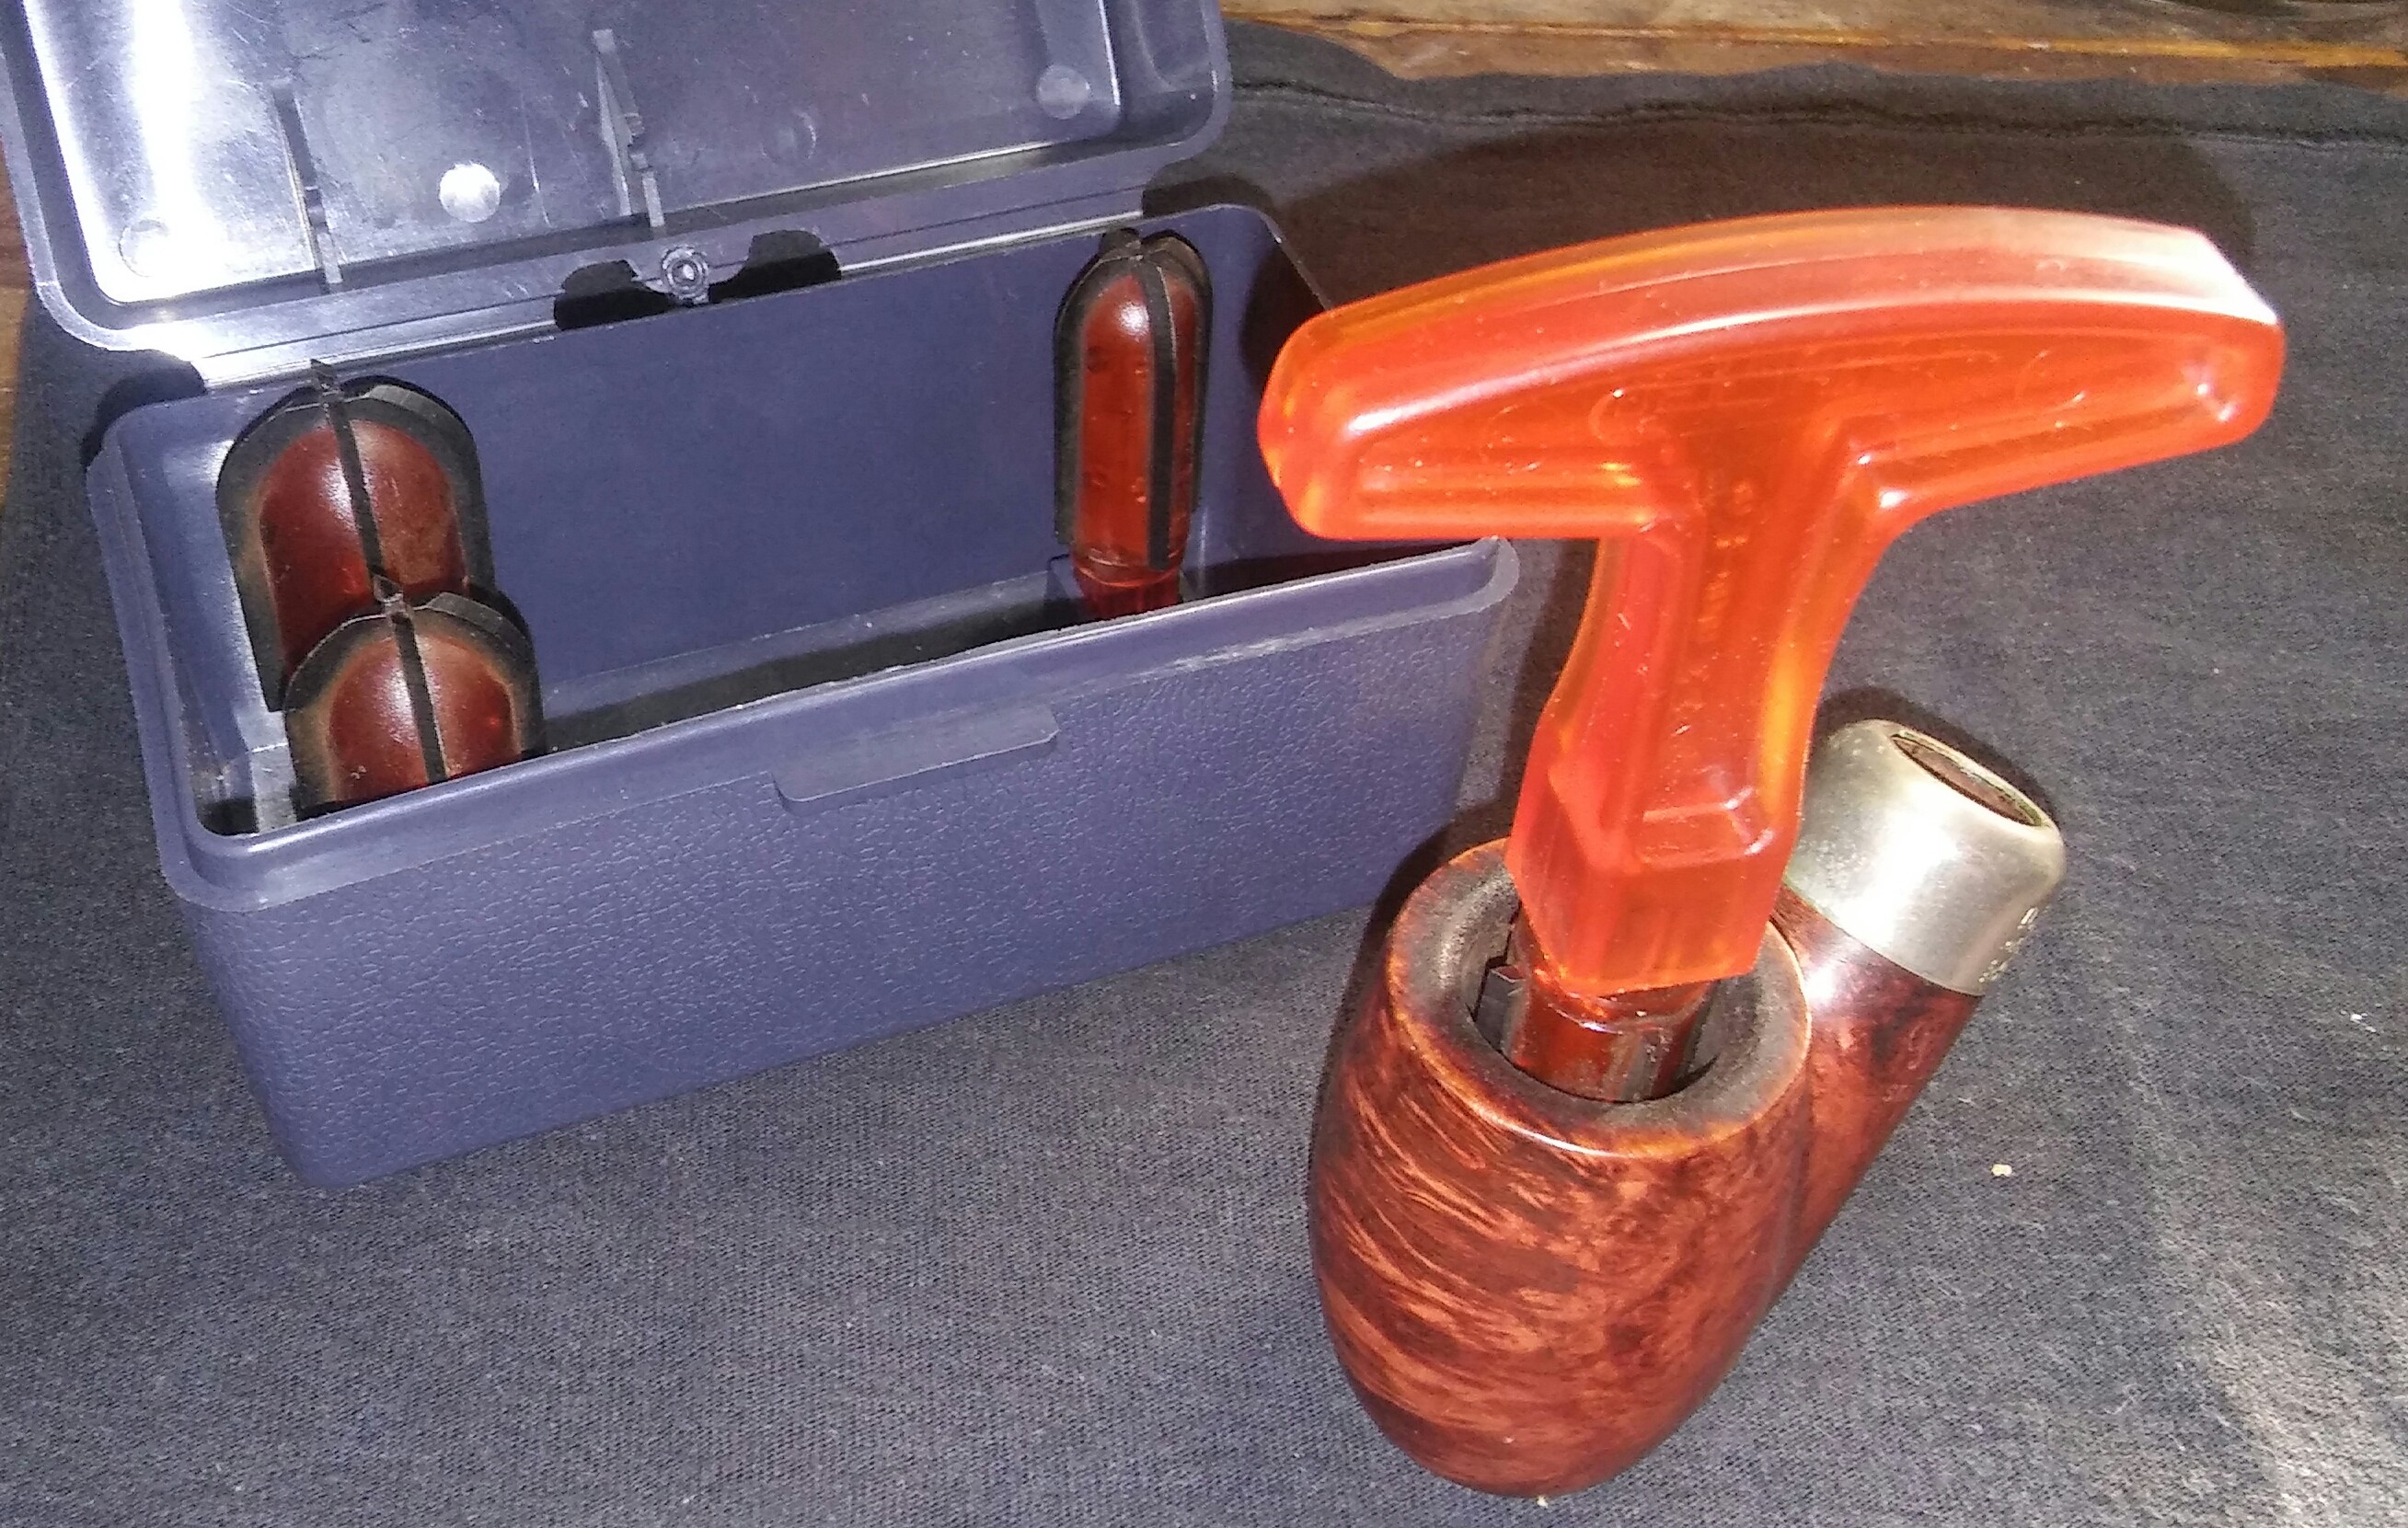
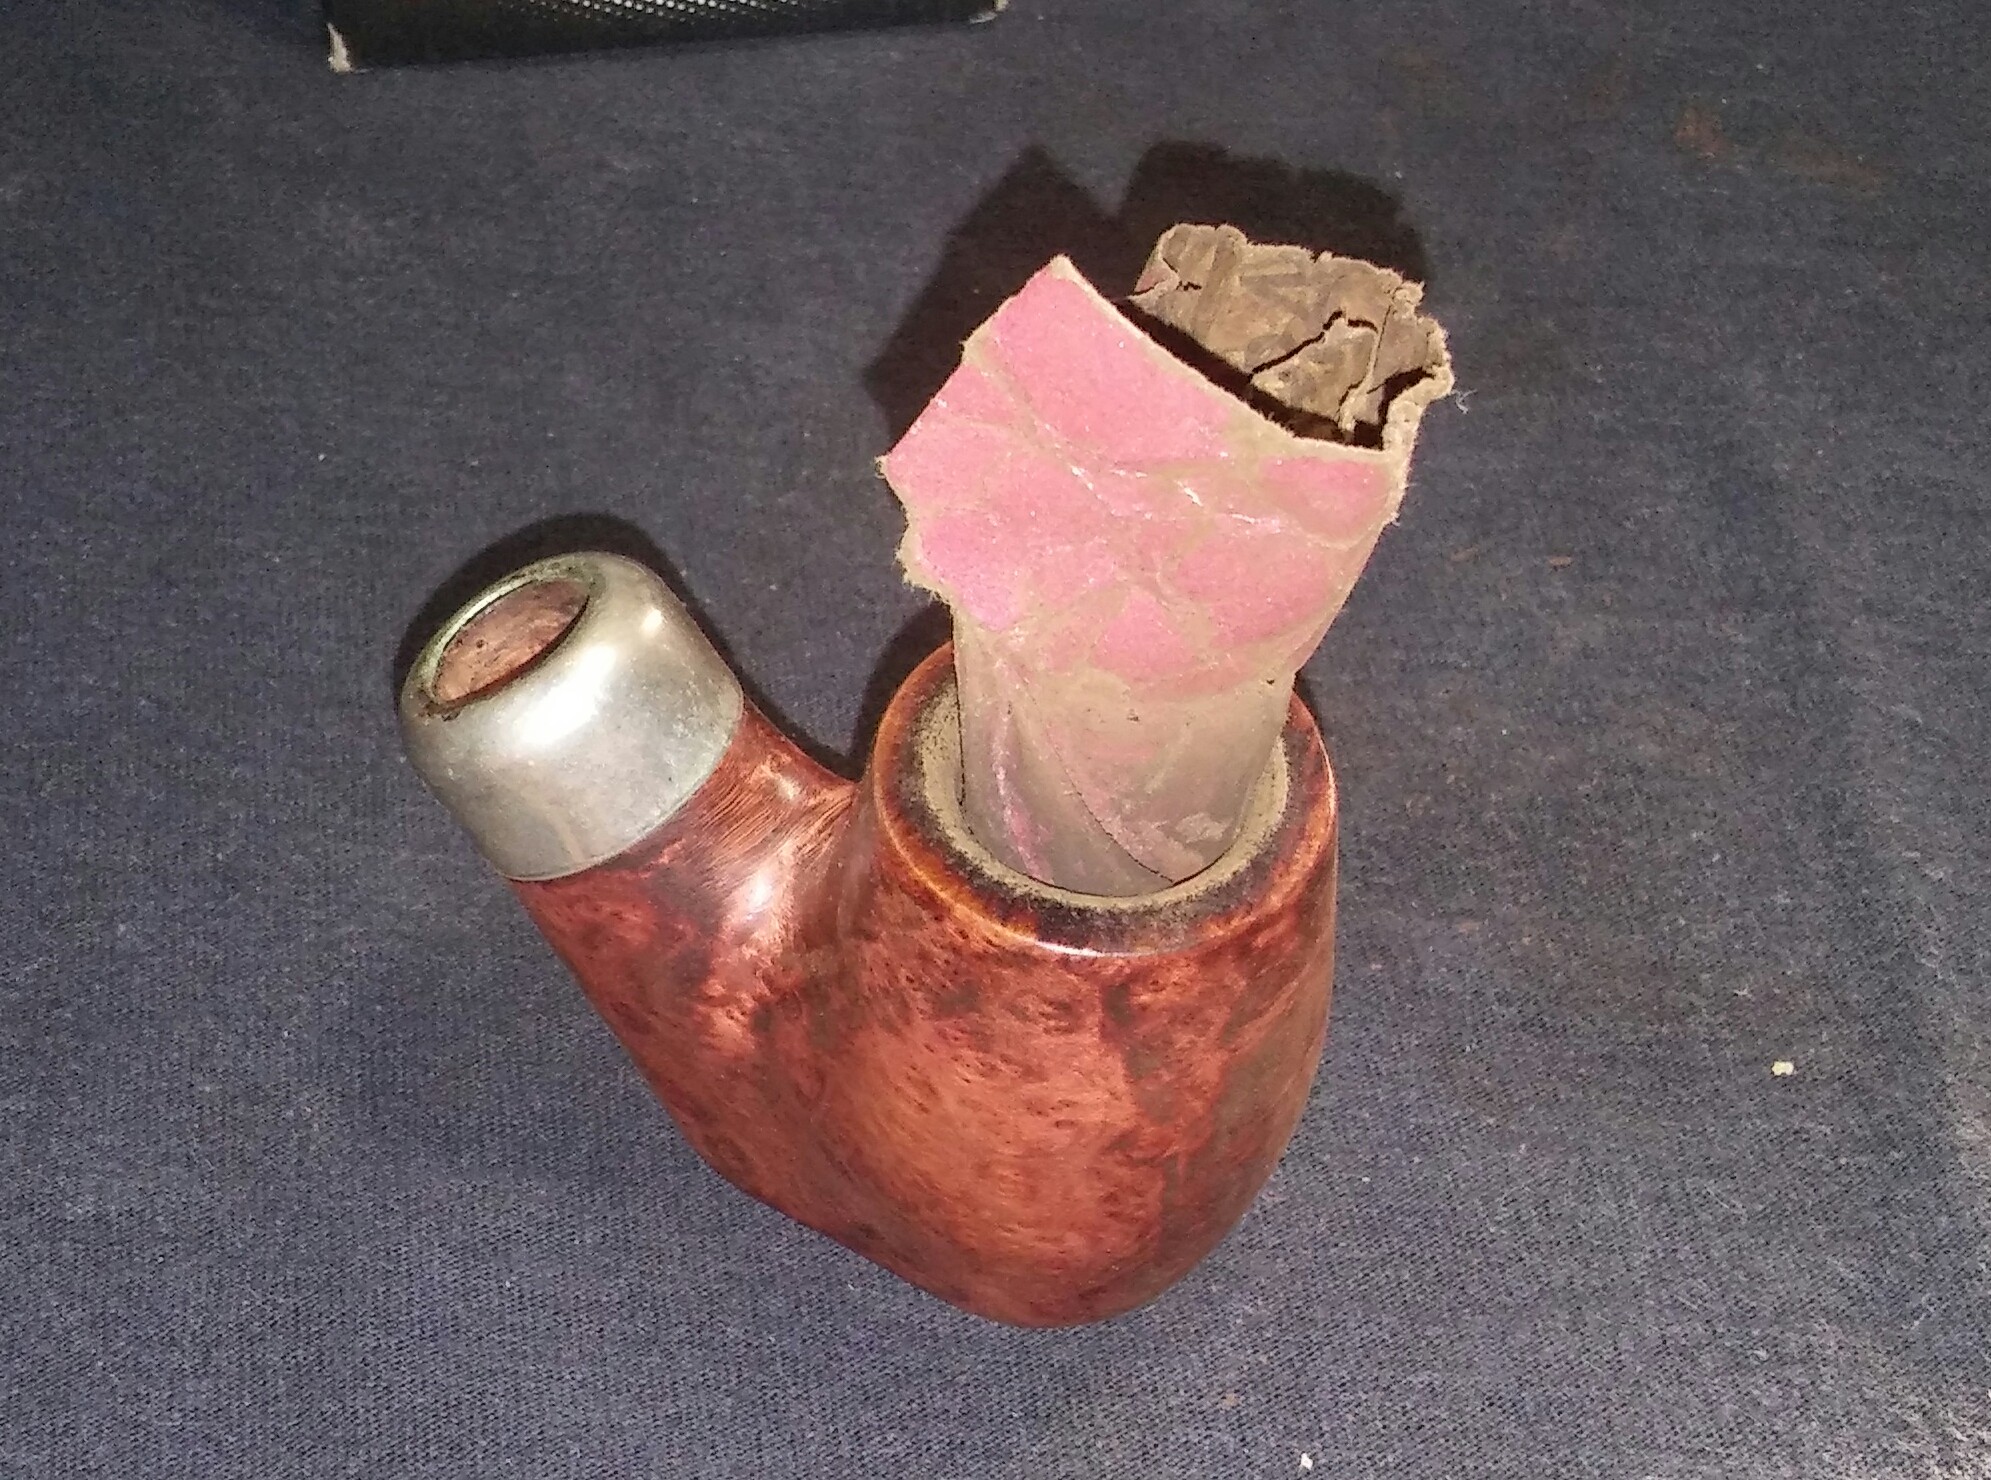
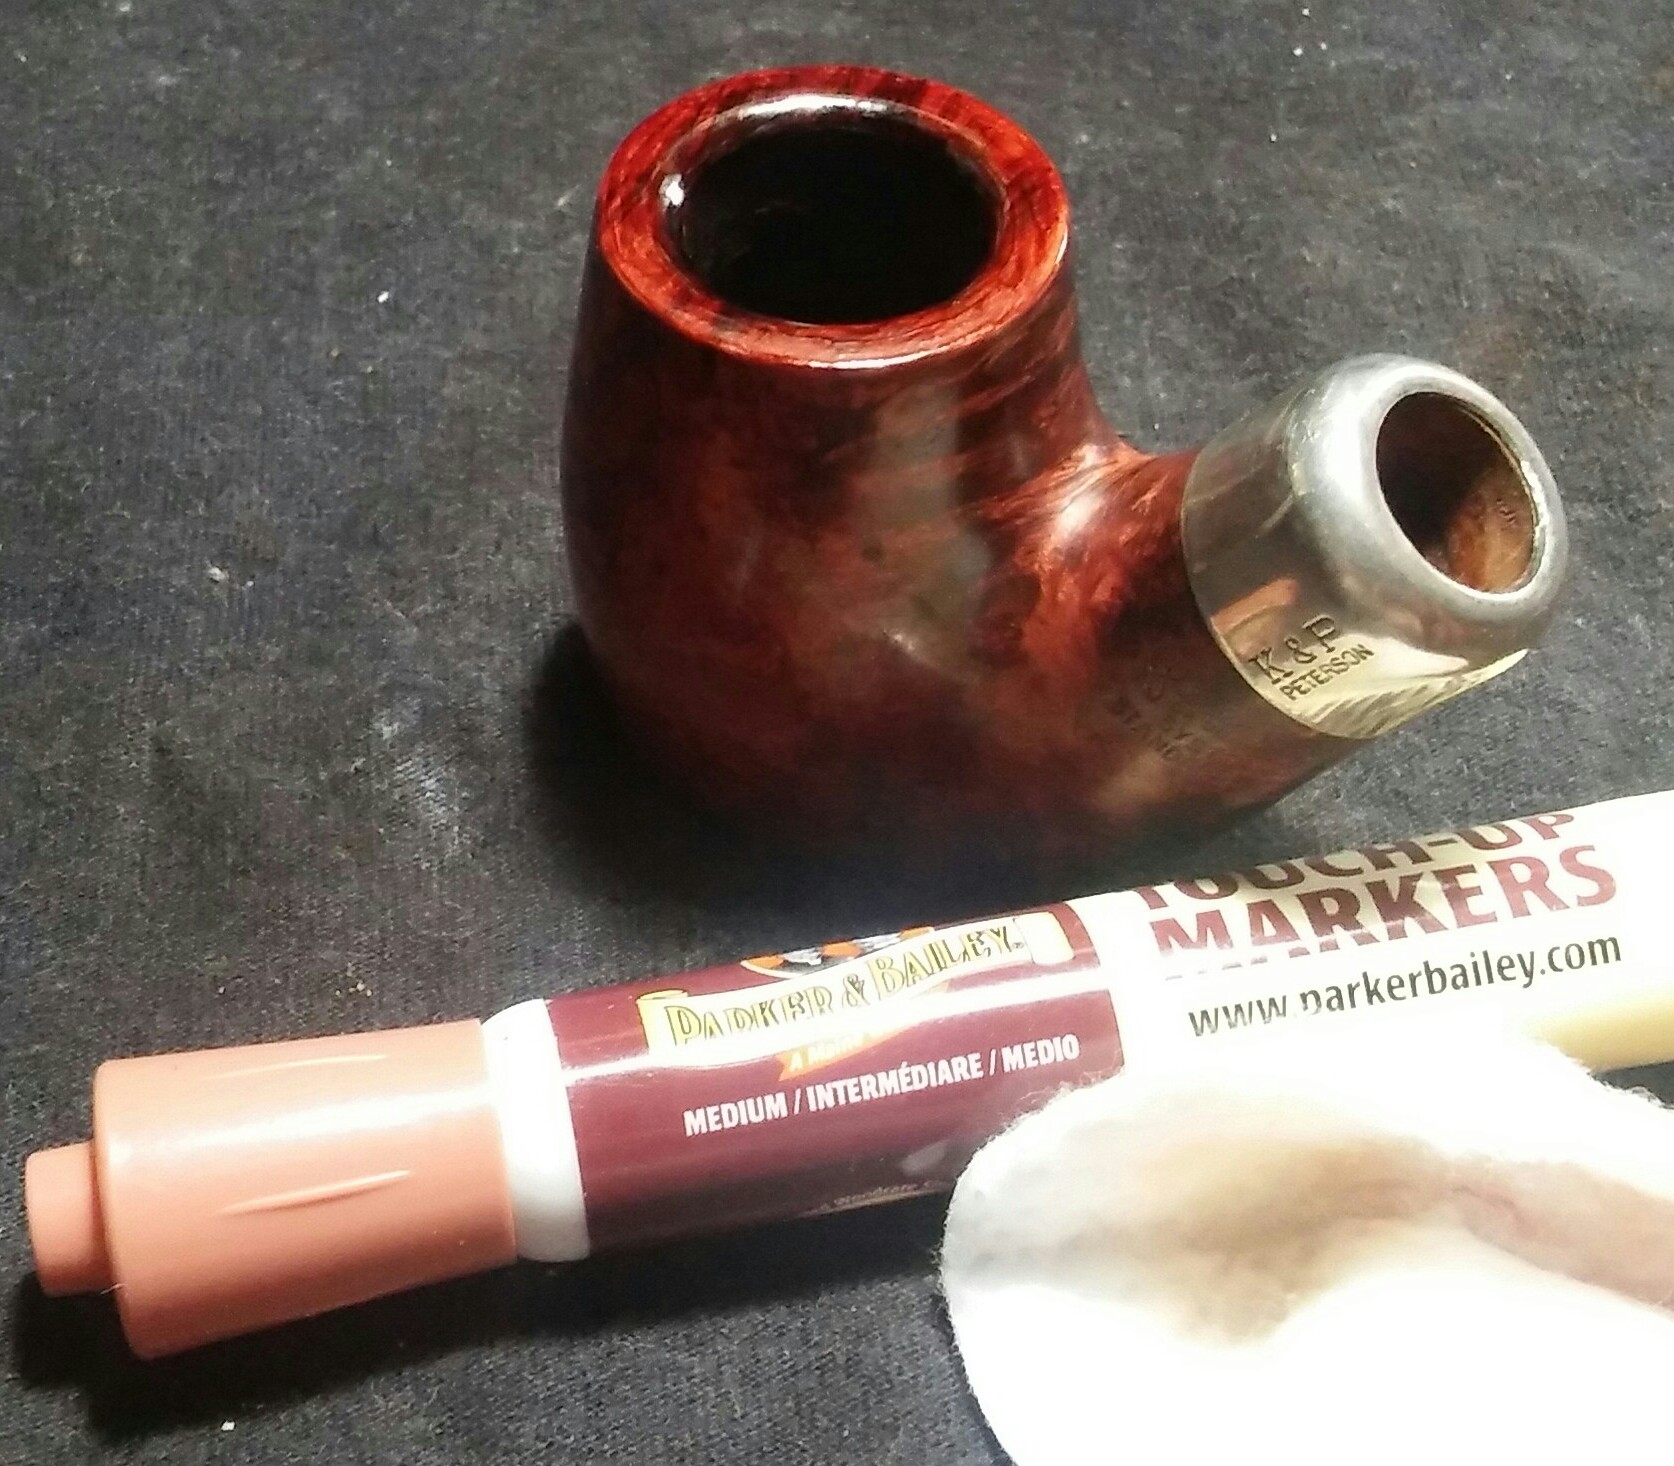
The well loved Bing had seen a bowl or two in its lifetime, a thick cake, rim overflow, chatter and someone buffed the bejesus out of the stem I’m guessing to try and remove the oxidation, luckily sparring the club and ball logo. On the plus side the nomenclature is crisp, right side shank- BINGS FAVORITE , left side shank- Italy, bottom shank- SAVINELLI PRODUCT.
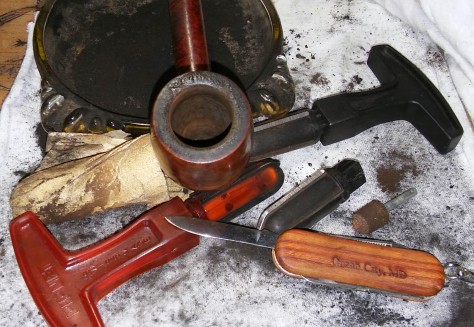
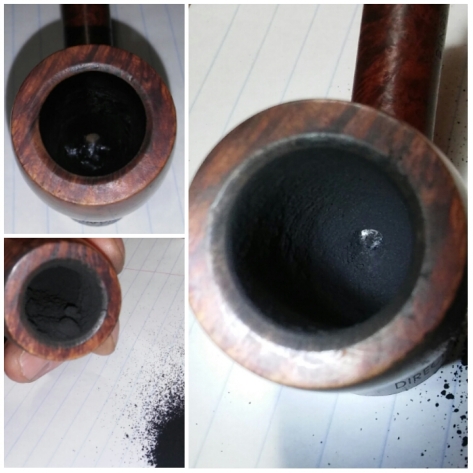
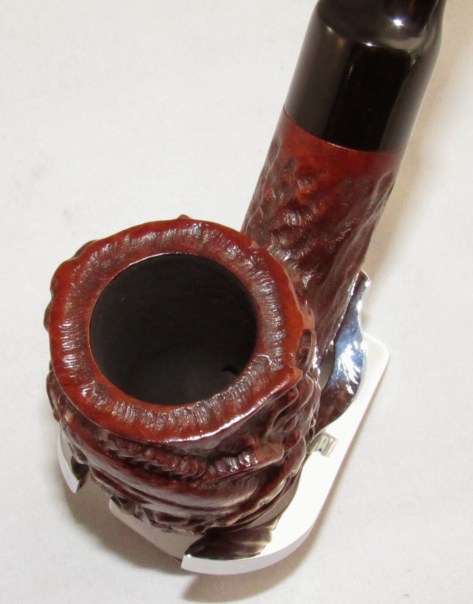
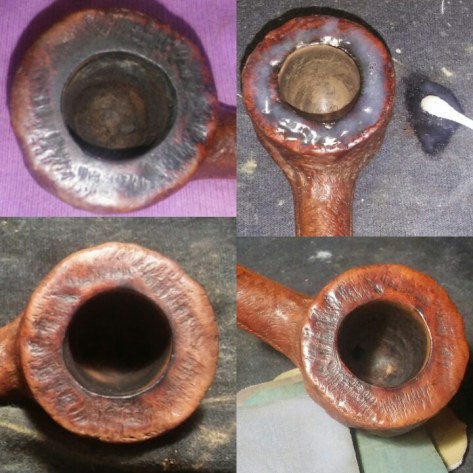
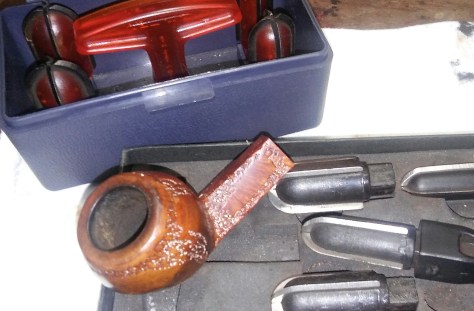
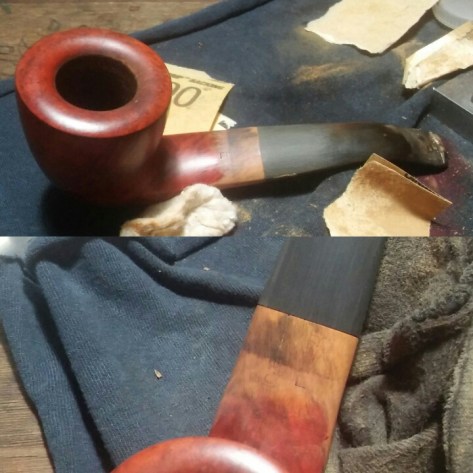
Reaming the chamber would be the first task, the chamber being on the smaller size only added to the difficulty of removing the rock hard carbon build up. When I started with the stummel I could not fit a pinky in the chamber its amazing the bowl didn’t crack under the stress. I attempted to ream the chamber with the smallest attachment that the PipNet reamer offered but to no avail the carbon was to hard and I risked damaging the rim. So I took the slow and steady approach, slowly picking away at the cake with a small pocket knife. Once I had opened the chamber a bit I tried the PipNet reamer again but the hard carbon build up was forcing an uneven cut, if I continued I would eventually dig into the briar on one side of the chamber. My third and final approach would leave the chamber free of cake, using a rotary sanding bit and variable speed drill I carefully removed the rock hard carbon I was then able to sand with 220 and 400 grit sandpaper leaving a carbon free chamber. I did uncover spider webbing along the chamber walls.
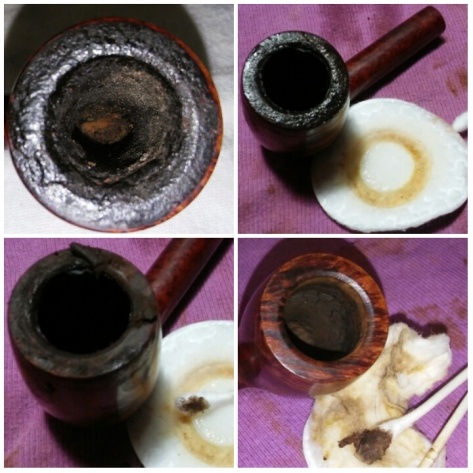
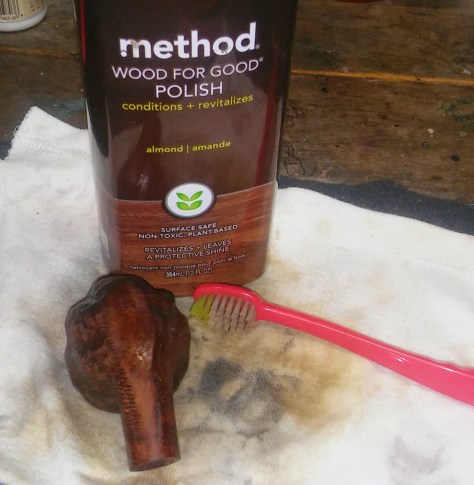
The overflow on the rim was thick, in the past I would chip away at the build up but would risk damaging the rim itself and end up creating more work for myself. Now with thick build up I take my time, I sprayed a makeup pad with Method Wood For Good Polish and placed the stummel rim side down on the pad and went shopping with my daughter for an hour or so, when I returned to my desk I could see the Method had softened the build up. I now simply wiped the residue away with Q-Tips and a makeup pad, the rim beneath was flawless not a ding or dent. The previous owners lack of maintenance had preserved the rim, I wish this was true with all my estates.

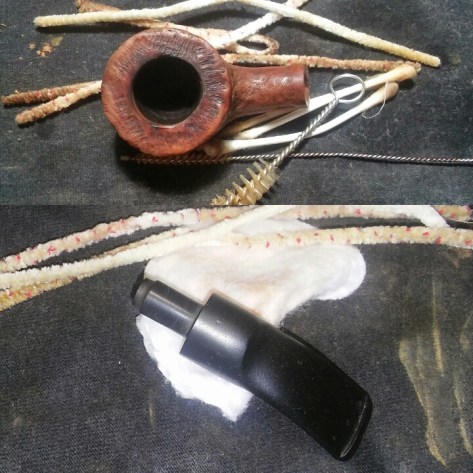
The internals of the pipe were much like the rest of the pipe ill maintained, I started off with my standard cleaning but my efforts would prove useless. My wife seeing the pipe cleaners and Q-Tips piling up suggested a retort “what a wonderful idea” it would seem my last few subjects were a bit relaxed and the thought of using the retort never crossed my mind. I hooked up the retort using EverClear and ran the pipe as a whole through the process a couple of times loosing the stubborn build up.
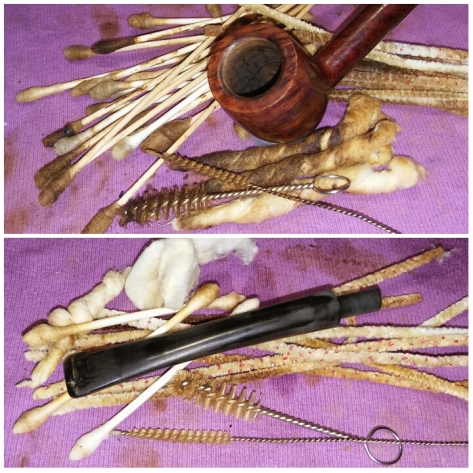
I then proceeded with my standard internal cleaning of the stem and stummel using EverClear, stiff/soft pipe cleaners, mortise/shank brushes, cotton balls and Q-Tips , cleaning until my final pipe cleaner came out as it went in.
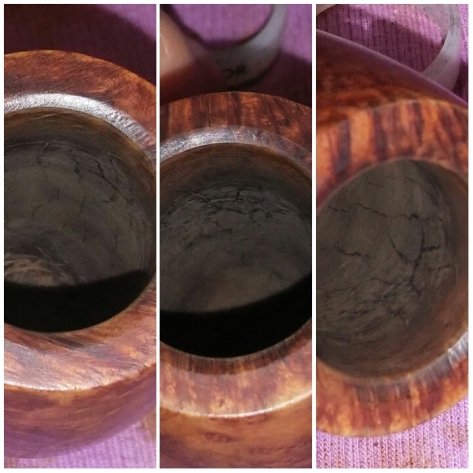
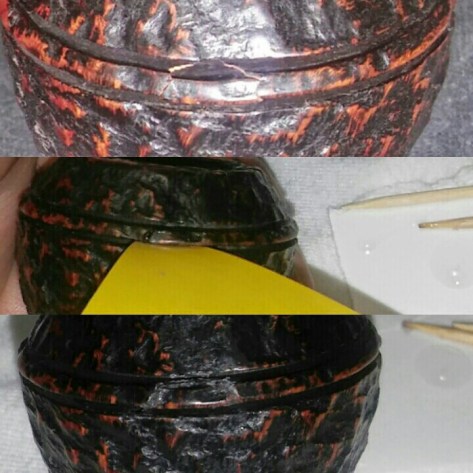
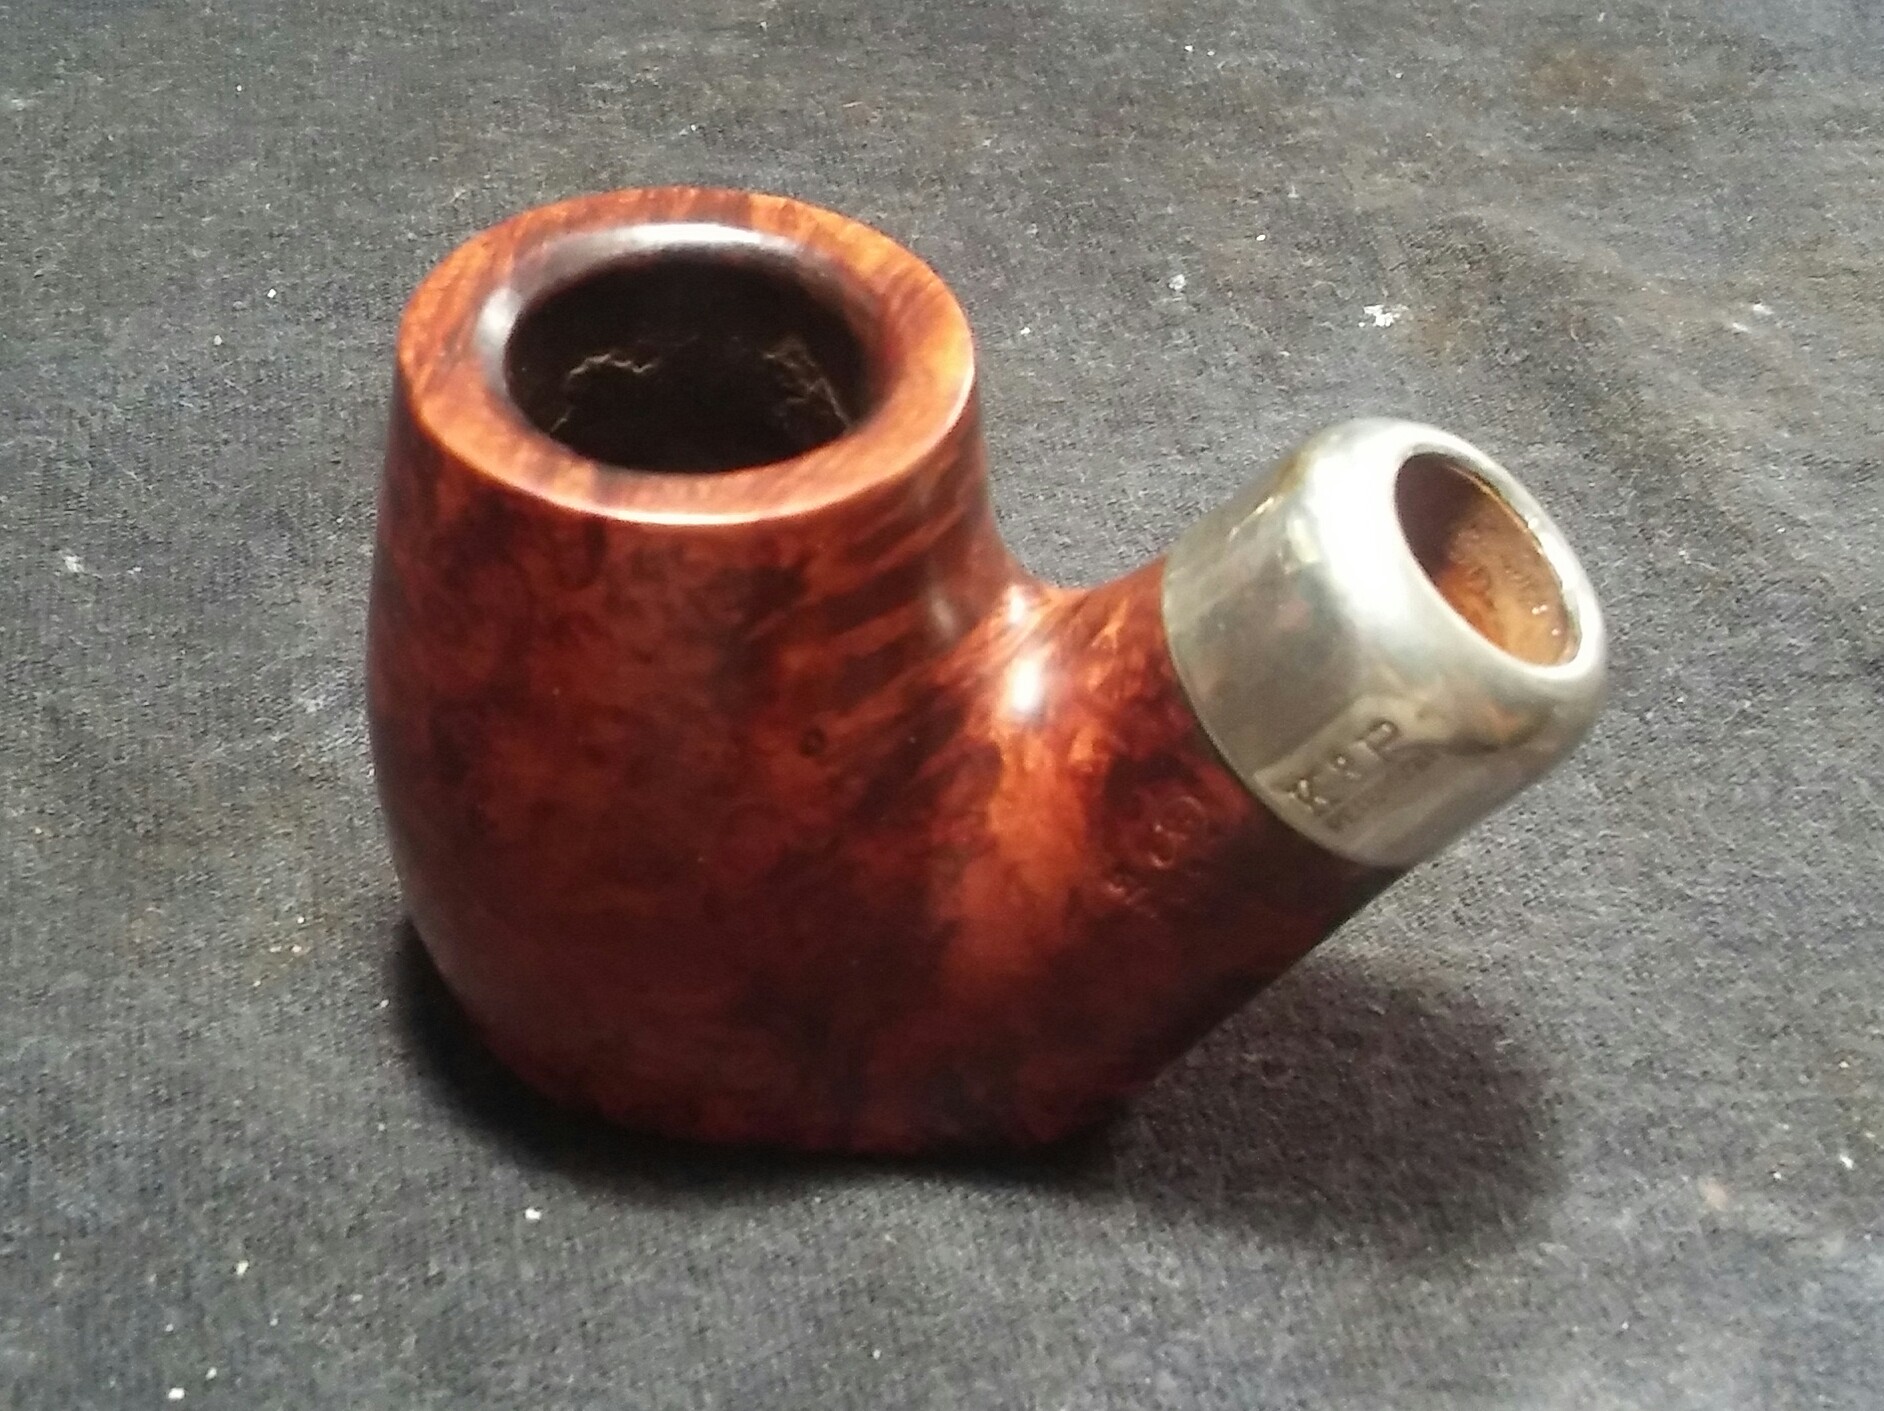
After the internal cleaning I could see the spider webbing throughout the chamber walls better, it would seem the thick cake did not preserve the chamber as it did with the rim. I mixed a batch of pipe mud using cigar ash and a little water and applied it to the chamber with a finger pushing it into the small cracks. I left it aside to dry, once dry I removed the leftover with a rag.
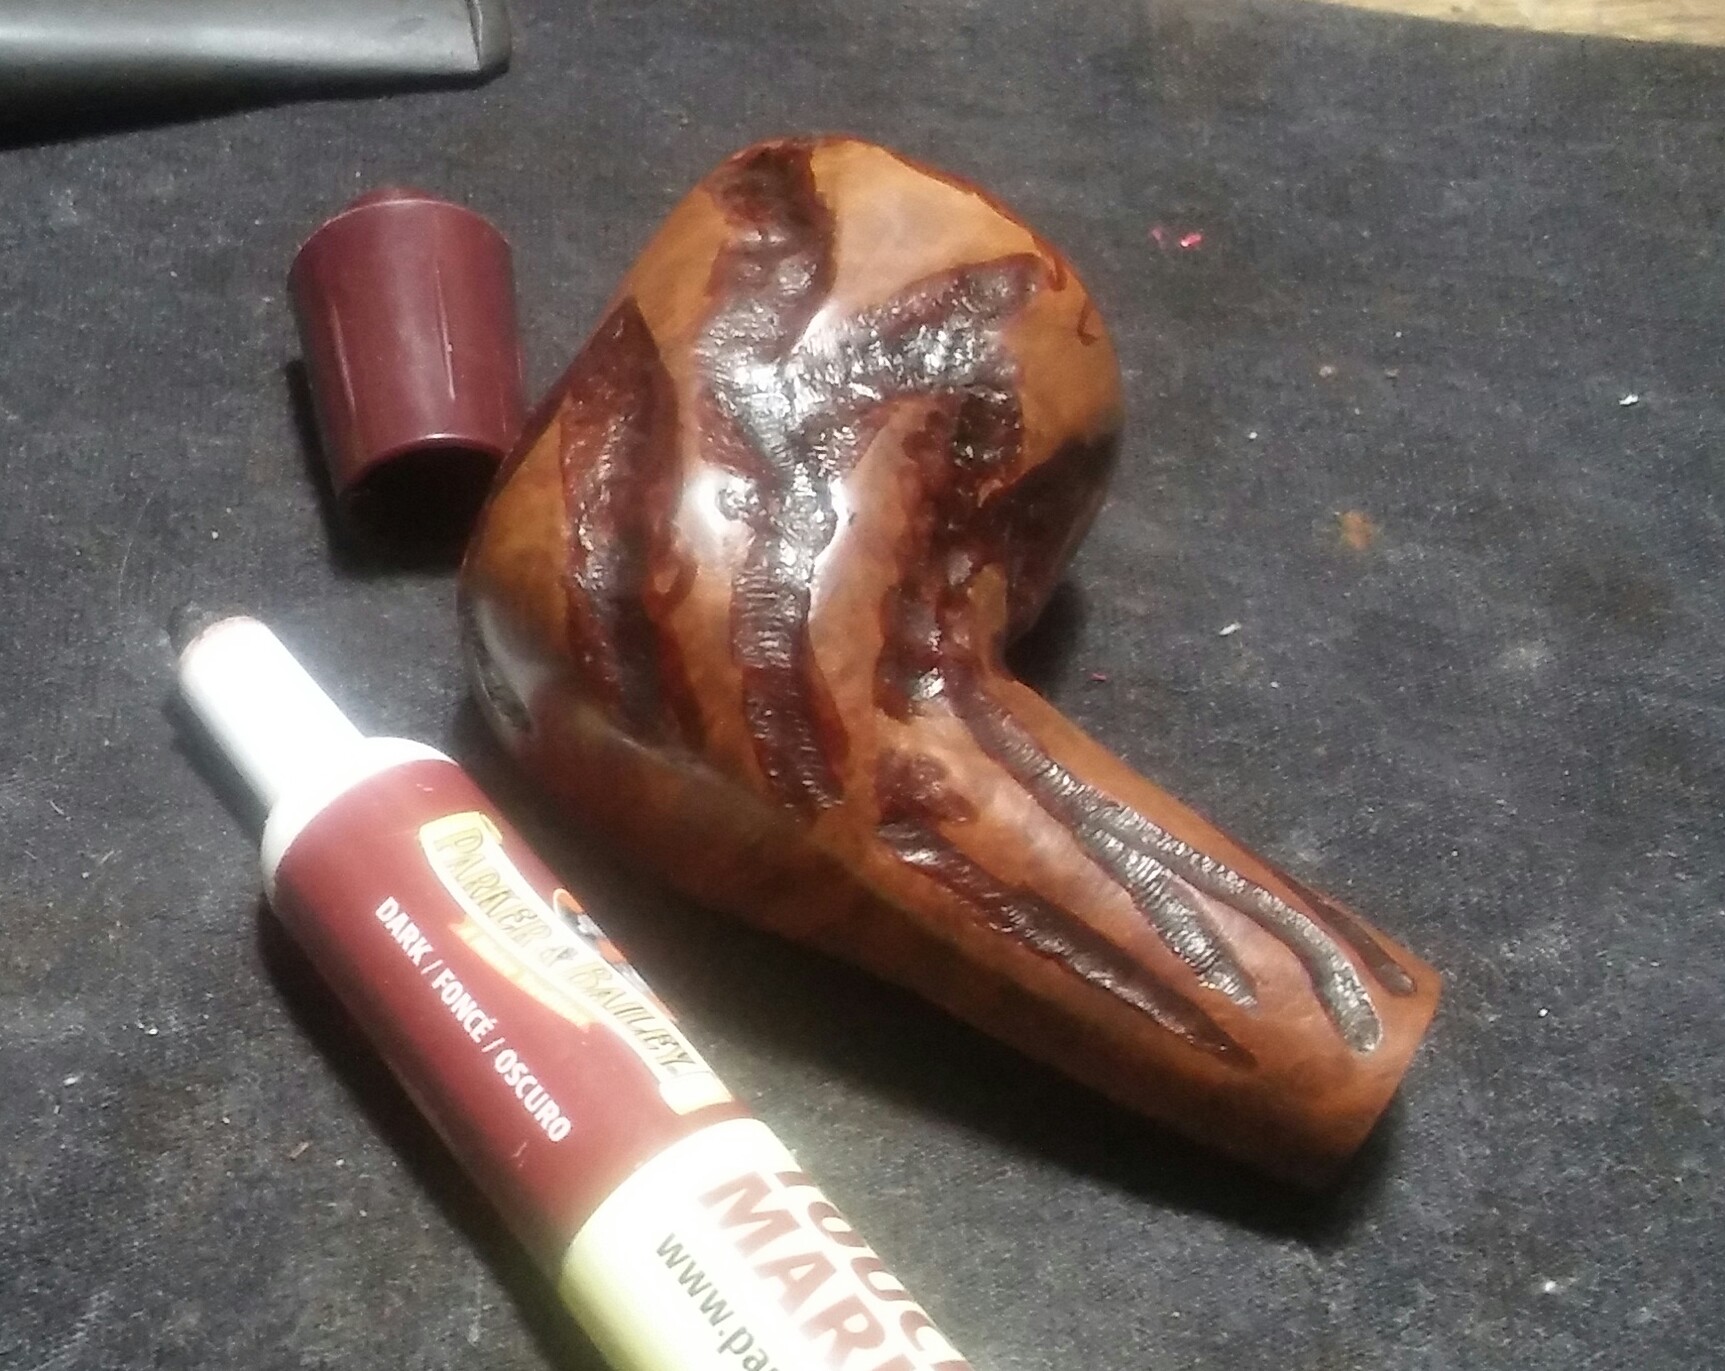
With the heat still pumping in the house I rocked the bowl coating once again.
(I have cut and paste the process for the bowl coating from a previous post below.)
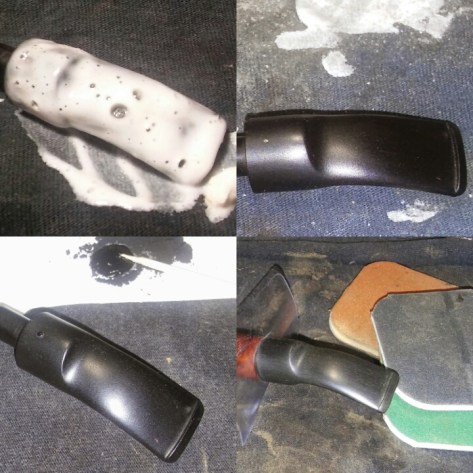
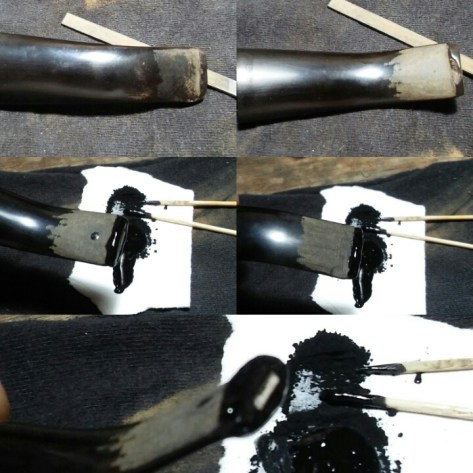
Prepping the chamber before applying the bowl coat, the chamber was scrubbed thoroughly with EverClear during my internal cleaning but I gave it one more round with an EverClear dipped Q-Tip and allowed it to dry, removing any the loose debris from the crack with a pick. I then mixed a little cigar ash and water together to make pipe mud to fill the crack, I applied it with a finger and left to dry. Once the mud was hardened in the crack I wiped the excess from the chamber with a rag. The bowl coating is a three step process starting first with mixing the primer coat. (Step One)- I start with honey about 2.5 ml in an old medicine cup, I add activated charcoal powder a little at a time to the honey and stir with a toothpick until I get the right constancy (it will ball up on its self as the charcoal coasts the honey but continued mixing will combined the two) basically your looking for the toothpick to stand on its own for a few seconds before falling to the side of the cup. I let the mixture settle until the bubbles rise to the top. (Step Two)-I apply a thin layer of the mixture to the chamber with a small flat paint brush, starting from the bottom of the chamber and working up the side walls being careful not to get it on the rim (If you do get it on the rim warm water and a Q-Tip will remove it just try not to get water in the chamber itself). There will be quite a bit of primer coating leftover, I store it in a lock&lock and will keep for a while for reuse.
I let the coating set in the chamber for a few minutes just so it looses some of its shine, I then insert a folded pipe cleaner into the airway and lay down a piece of printer paper on my desk top before moving to the next step.(Step Three)- I add a little charcoal powder to the bottom of the chamber and slowly turn the stummel in hand to coat the entire chamber any excess charcoal powder that falls to the paper can be reused. I leave the stummel aside to dry, the chamber should be a dark gray color when completely coated if any dark wet spots reappear repeat step three. When the chamber is well coated and wet spots have not re-emerge I tap the stummel lightly on the side of my finger to remove any leftover charcoal powder. In warm dry conditions I leave the chamber to cure for a couple of days before buffing the stummel, in high humidity it could take up to a week or longer. Once the coating has cured for a few days and is dry to the touch and doesn’t smear (If it does smear and appears wet again repeat step three and let dry) I’ll remove the pipe cleaner, blow out any leftover powder and wait an additional week before packing and puffing. To be honest its a pain and takes a long time to fully cure which is why I avoid it if I can but I believe the clean smooth finish is worth it. All I can say is if you decide to try this bowl coating take your time and be patient, its all trial and error.
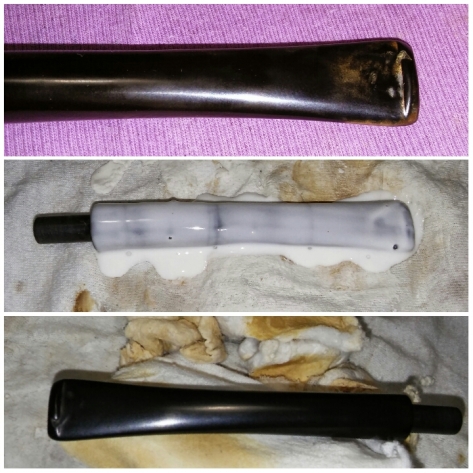
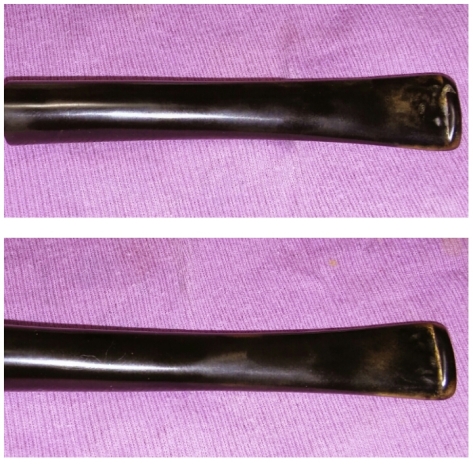
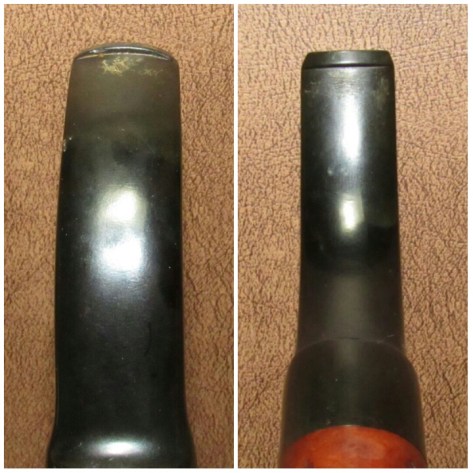
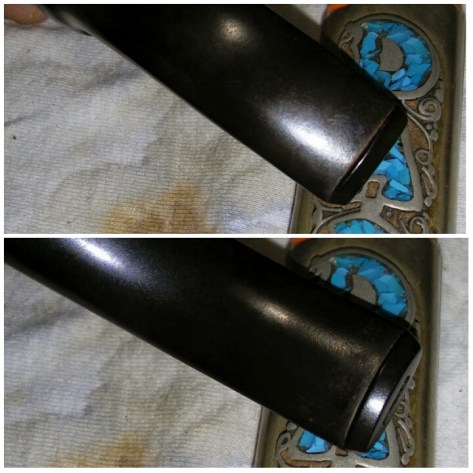
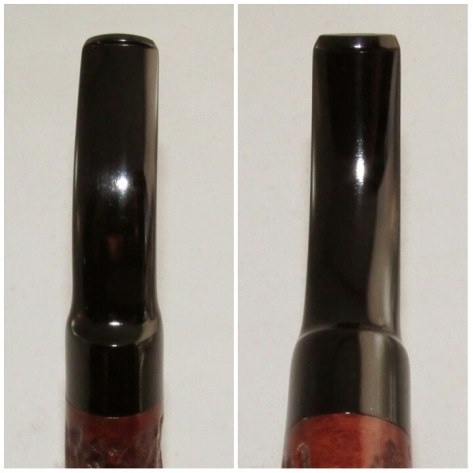
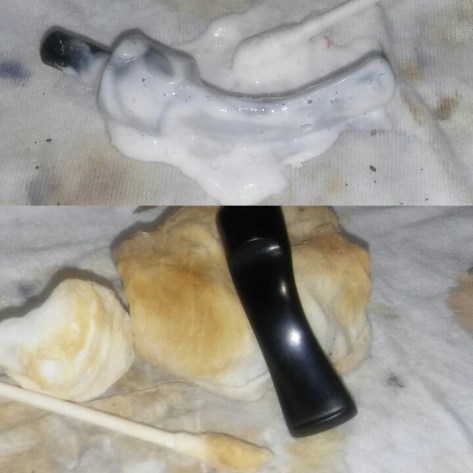
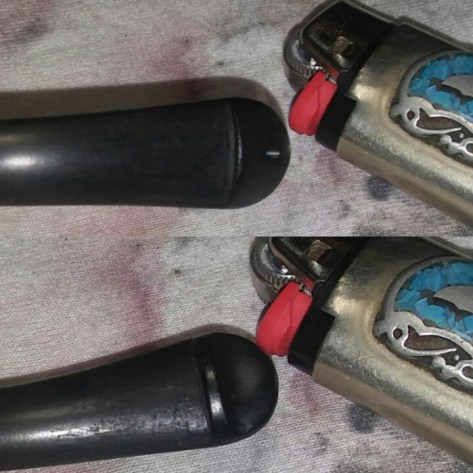
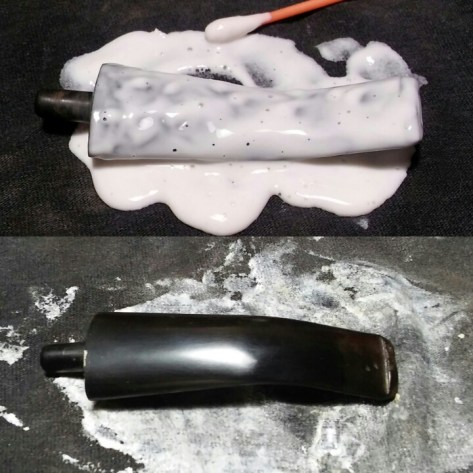
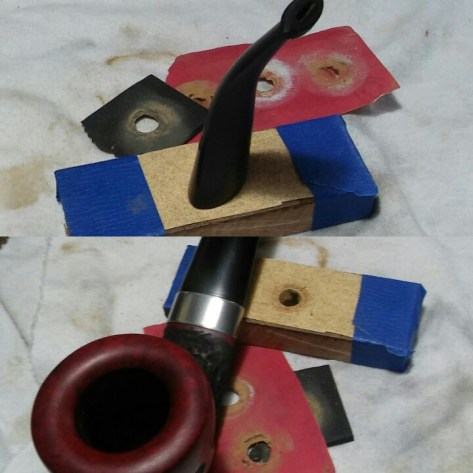
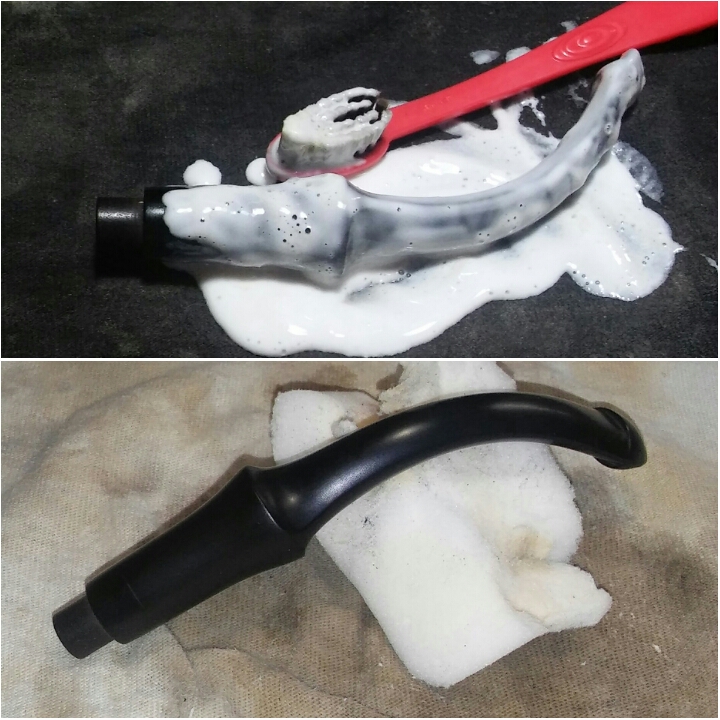
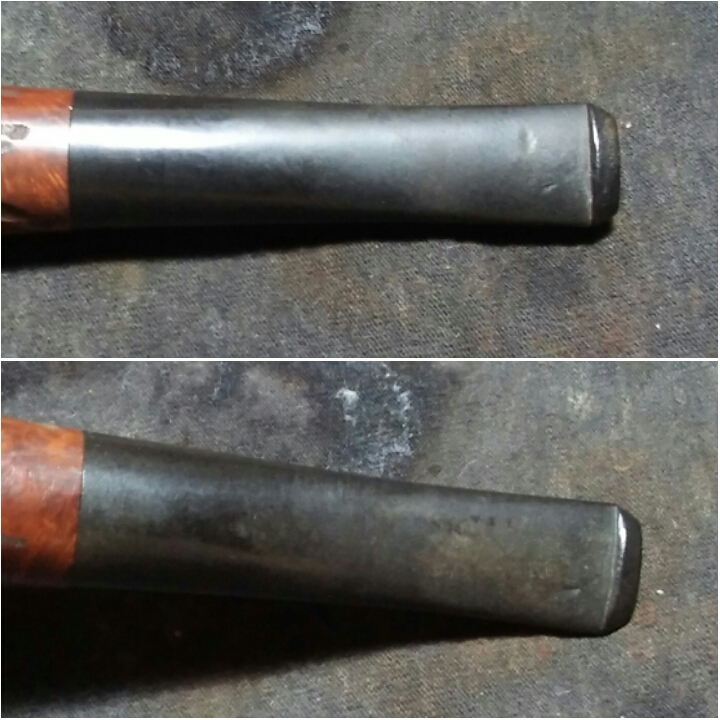
Next the stems oxidation, I applied non-bleach Soft Scrub and left the stem aside to allow the Soft Scrub to penetrate the oxidation. Once the Soft Scrub turns from white to a brownish color its time to scrub vigorously with a rag or makeup pad adding more Soft Scrub as needed, scrubbing until all oxidation has been removed. I use Q-Tips and Soft Scrub to remove the oxidation from around the button. (Holding the stem under natural light will help to see if all oxidation has been removed)
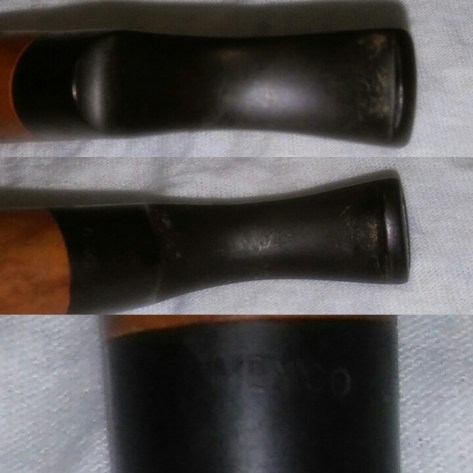
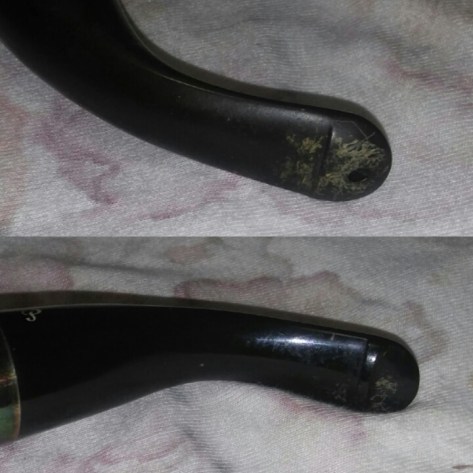
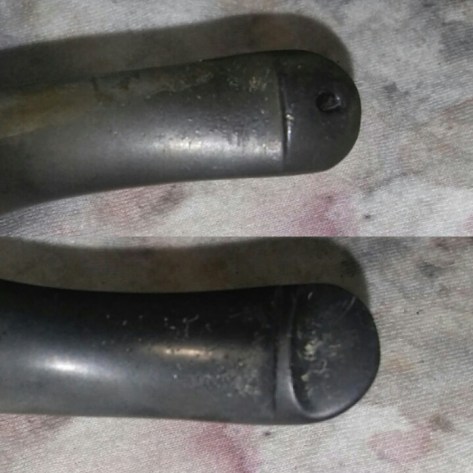
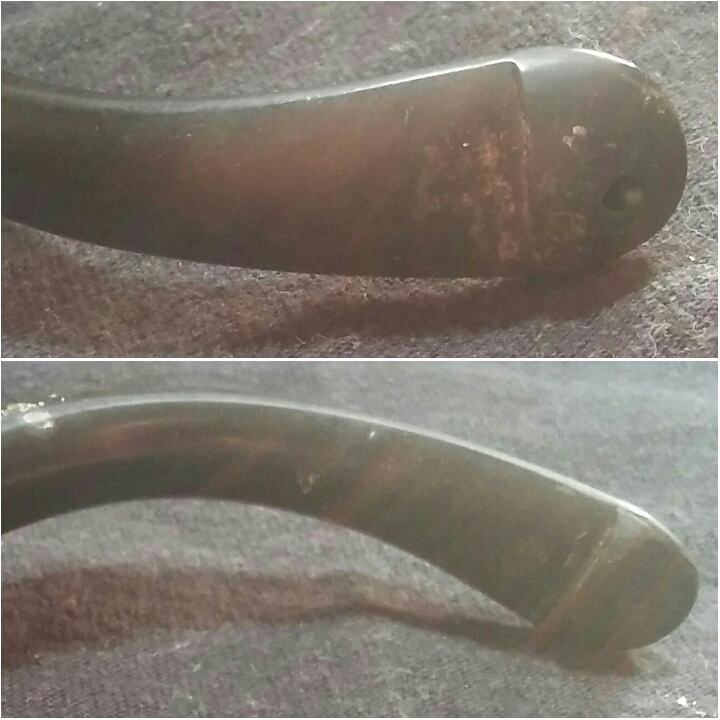
After the oxidation removal I concentrated on the tooth impressions I used a Bic lighter and lightly brushed the bit with the flame raising some of the deeper impressions. (Using this method can be risky and could result in a burn stem, the flame must be moving at all times never leaving it in one spot too long)

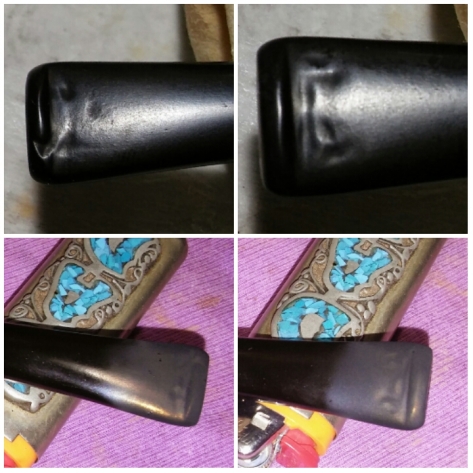
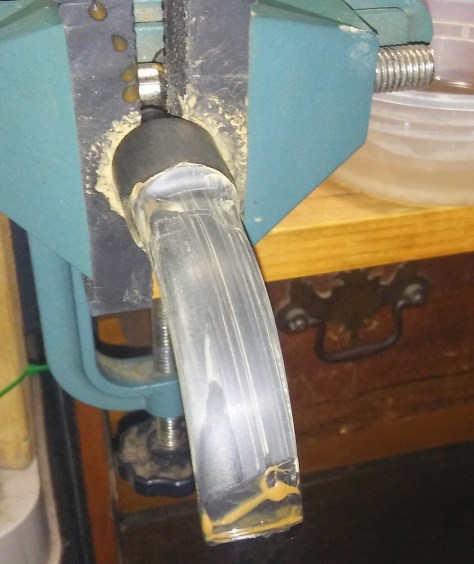
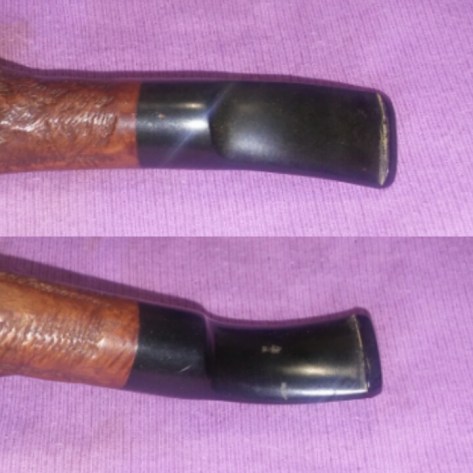
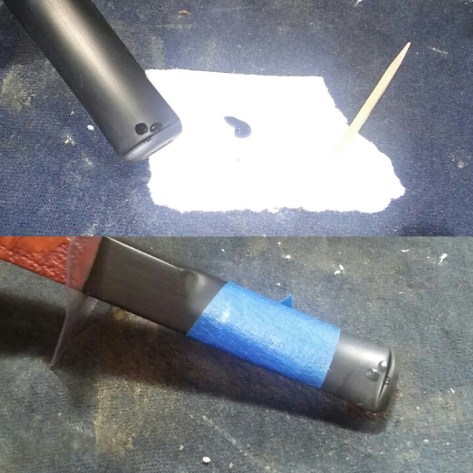
What remained of the tooth impressions after heating I removed with 400 and 800 grit sandpaper wet, I also ruffed up the surface of the button for repair. The button was worn down from over buffing and there was a small chip. I mixed thick black CA glue and activated charcoal powder together to form a paste, using a toothpick I applied the paste to the button building up in layers, I then hit it with accelerator to set the repair.

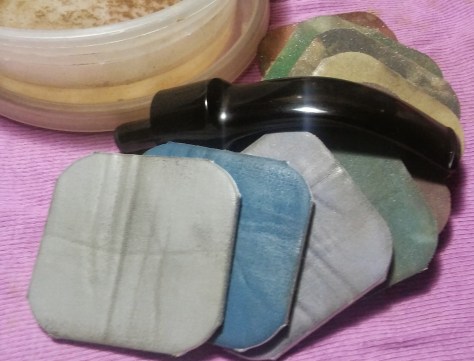
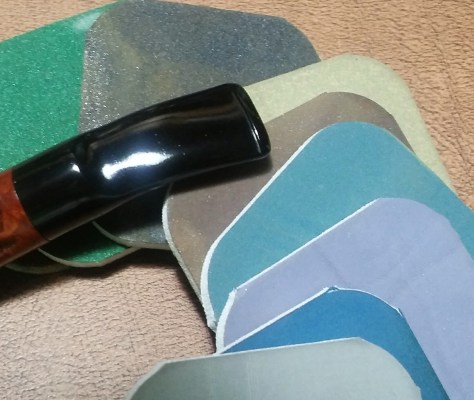
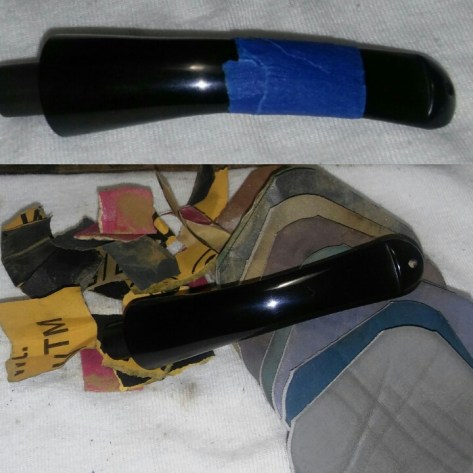
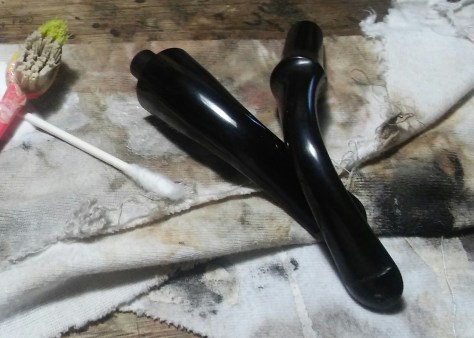
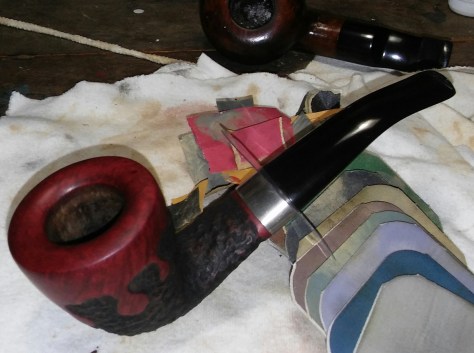
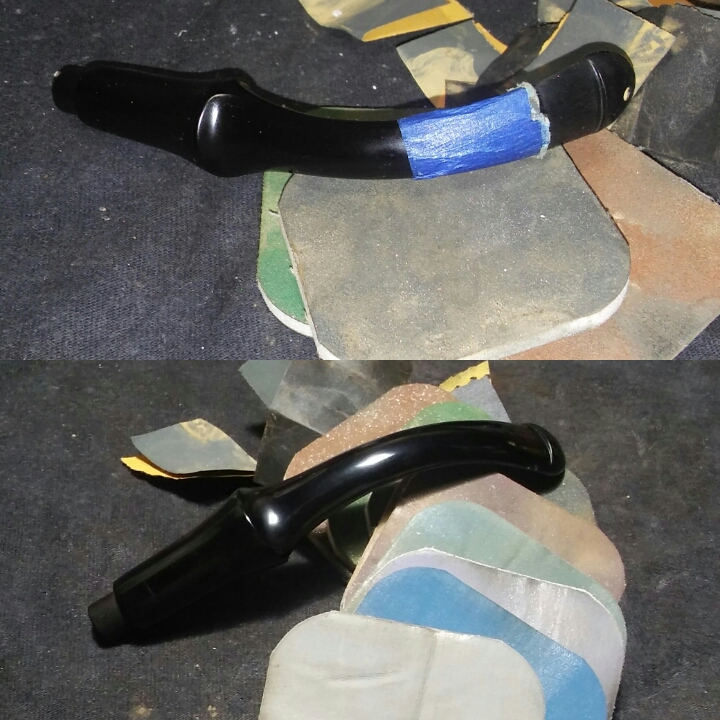
I reshaped the button with a flat needle file, I then moved to 400, 800 and 1000 grit sandpaper wet to remove fine sanding marks and further shape the button. I tape off the bulk of the stem as it was in fine shape and I wanted to keep my more abrasive sanding in one area, I finished the bite with Micro-mesh pads 1500-2400 wet and 3200-4000 dry.

Before a final polish with 6000-12000 micro-mesh pads I reapplied the stem logo using gold Rub&Buff, applying the Rub&Buff with a Q-Tip allowing to sit for a moment before removing the excess with a rag. I removed the painters tape and polish the whole stem with 6000-12000 micro-mesh pads and in the process also removed any leftover Rub&Buff.
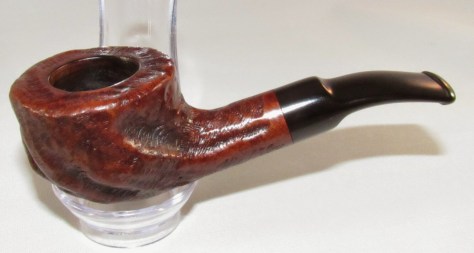
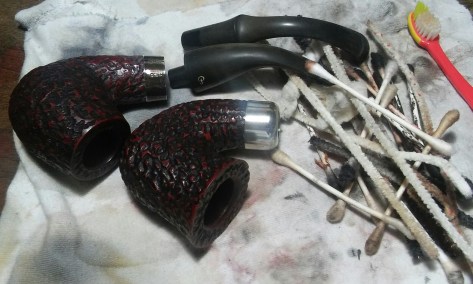
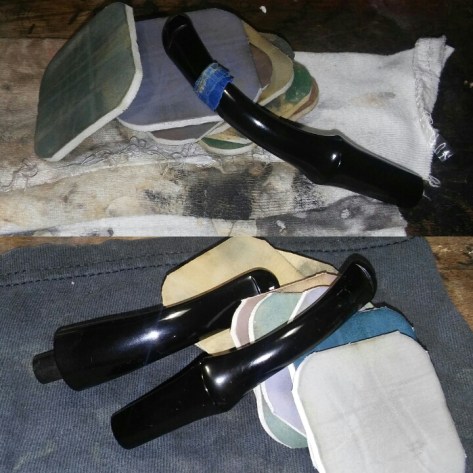
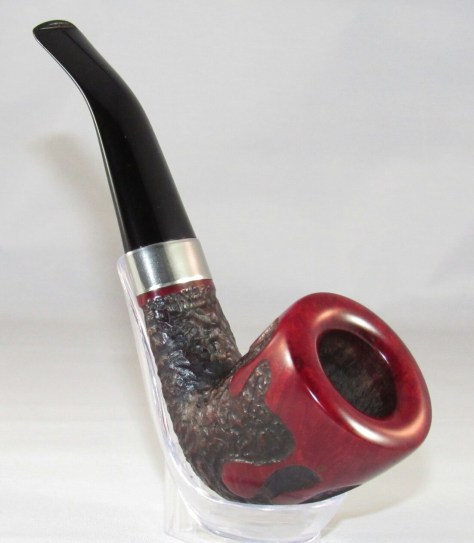
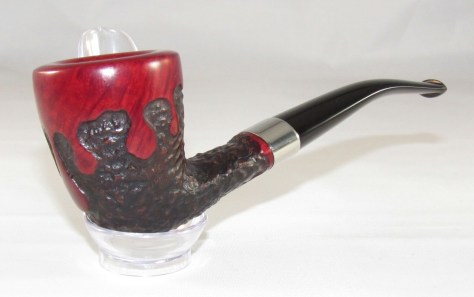
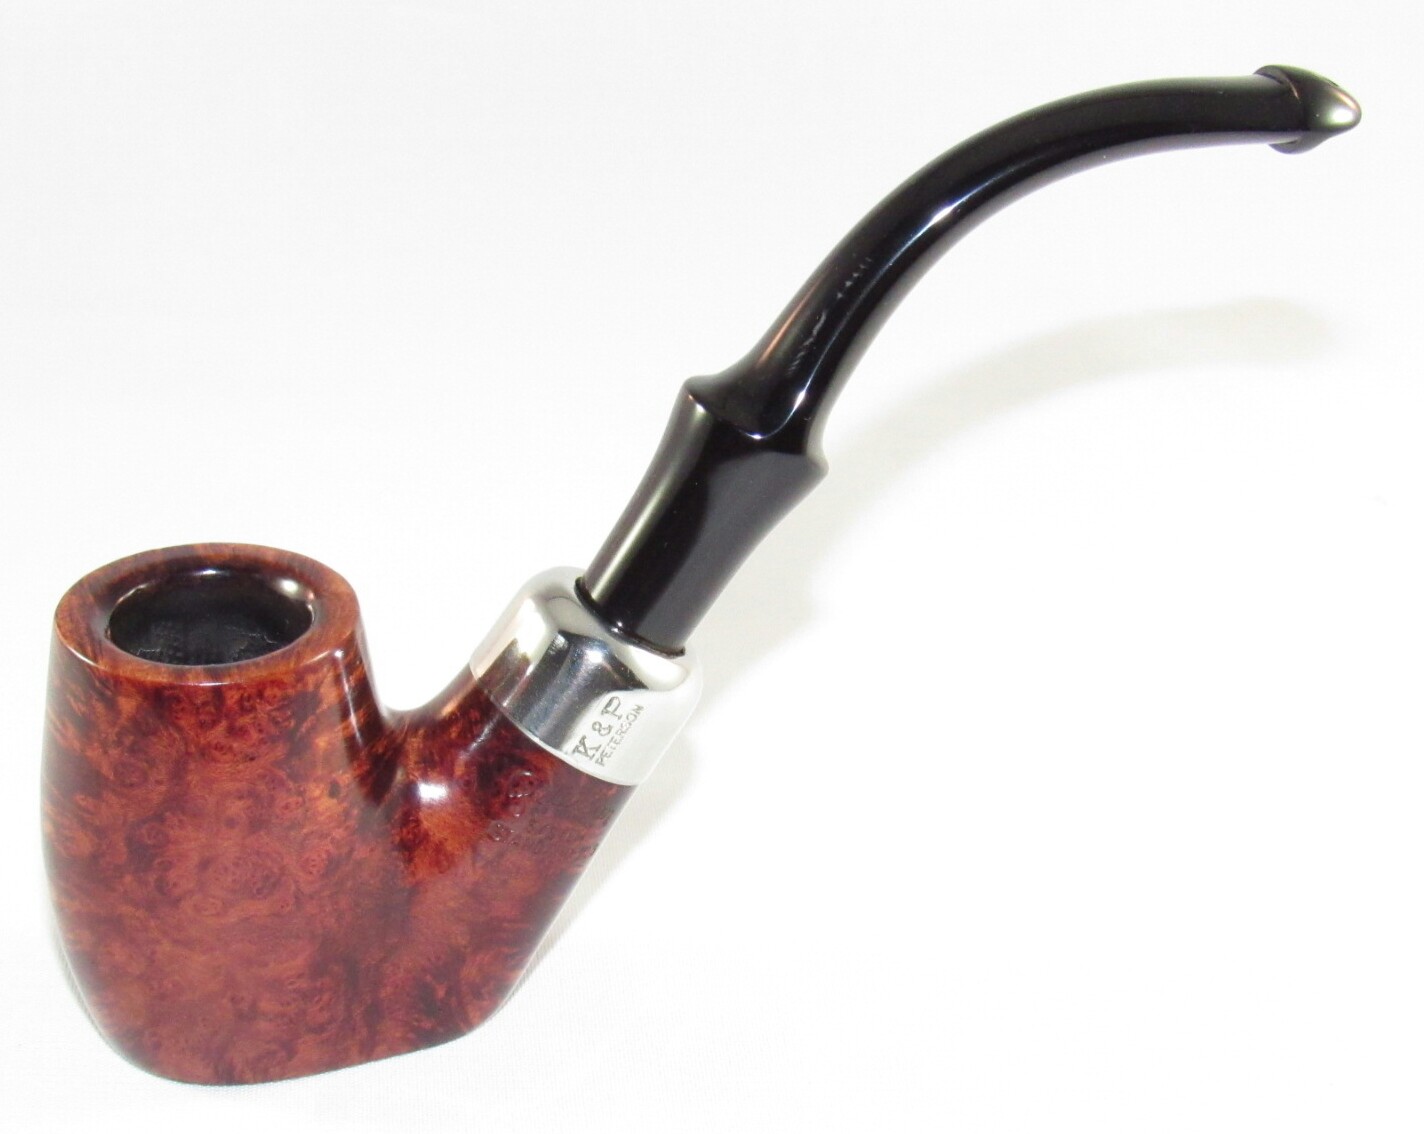
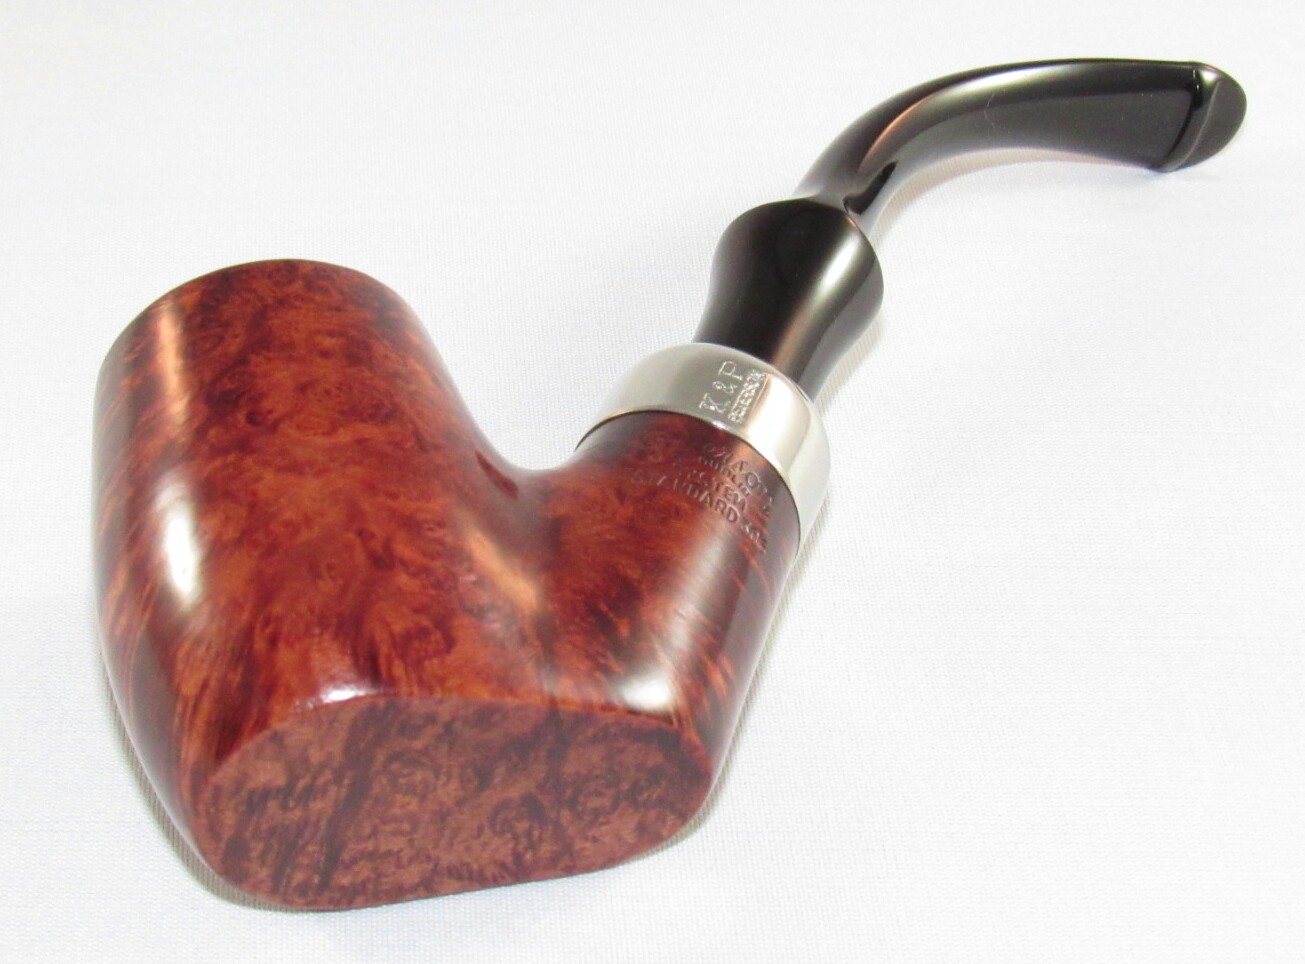
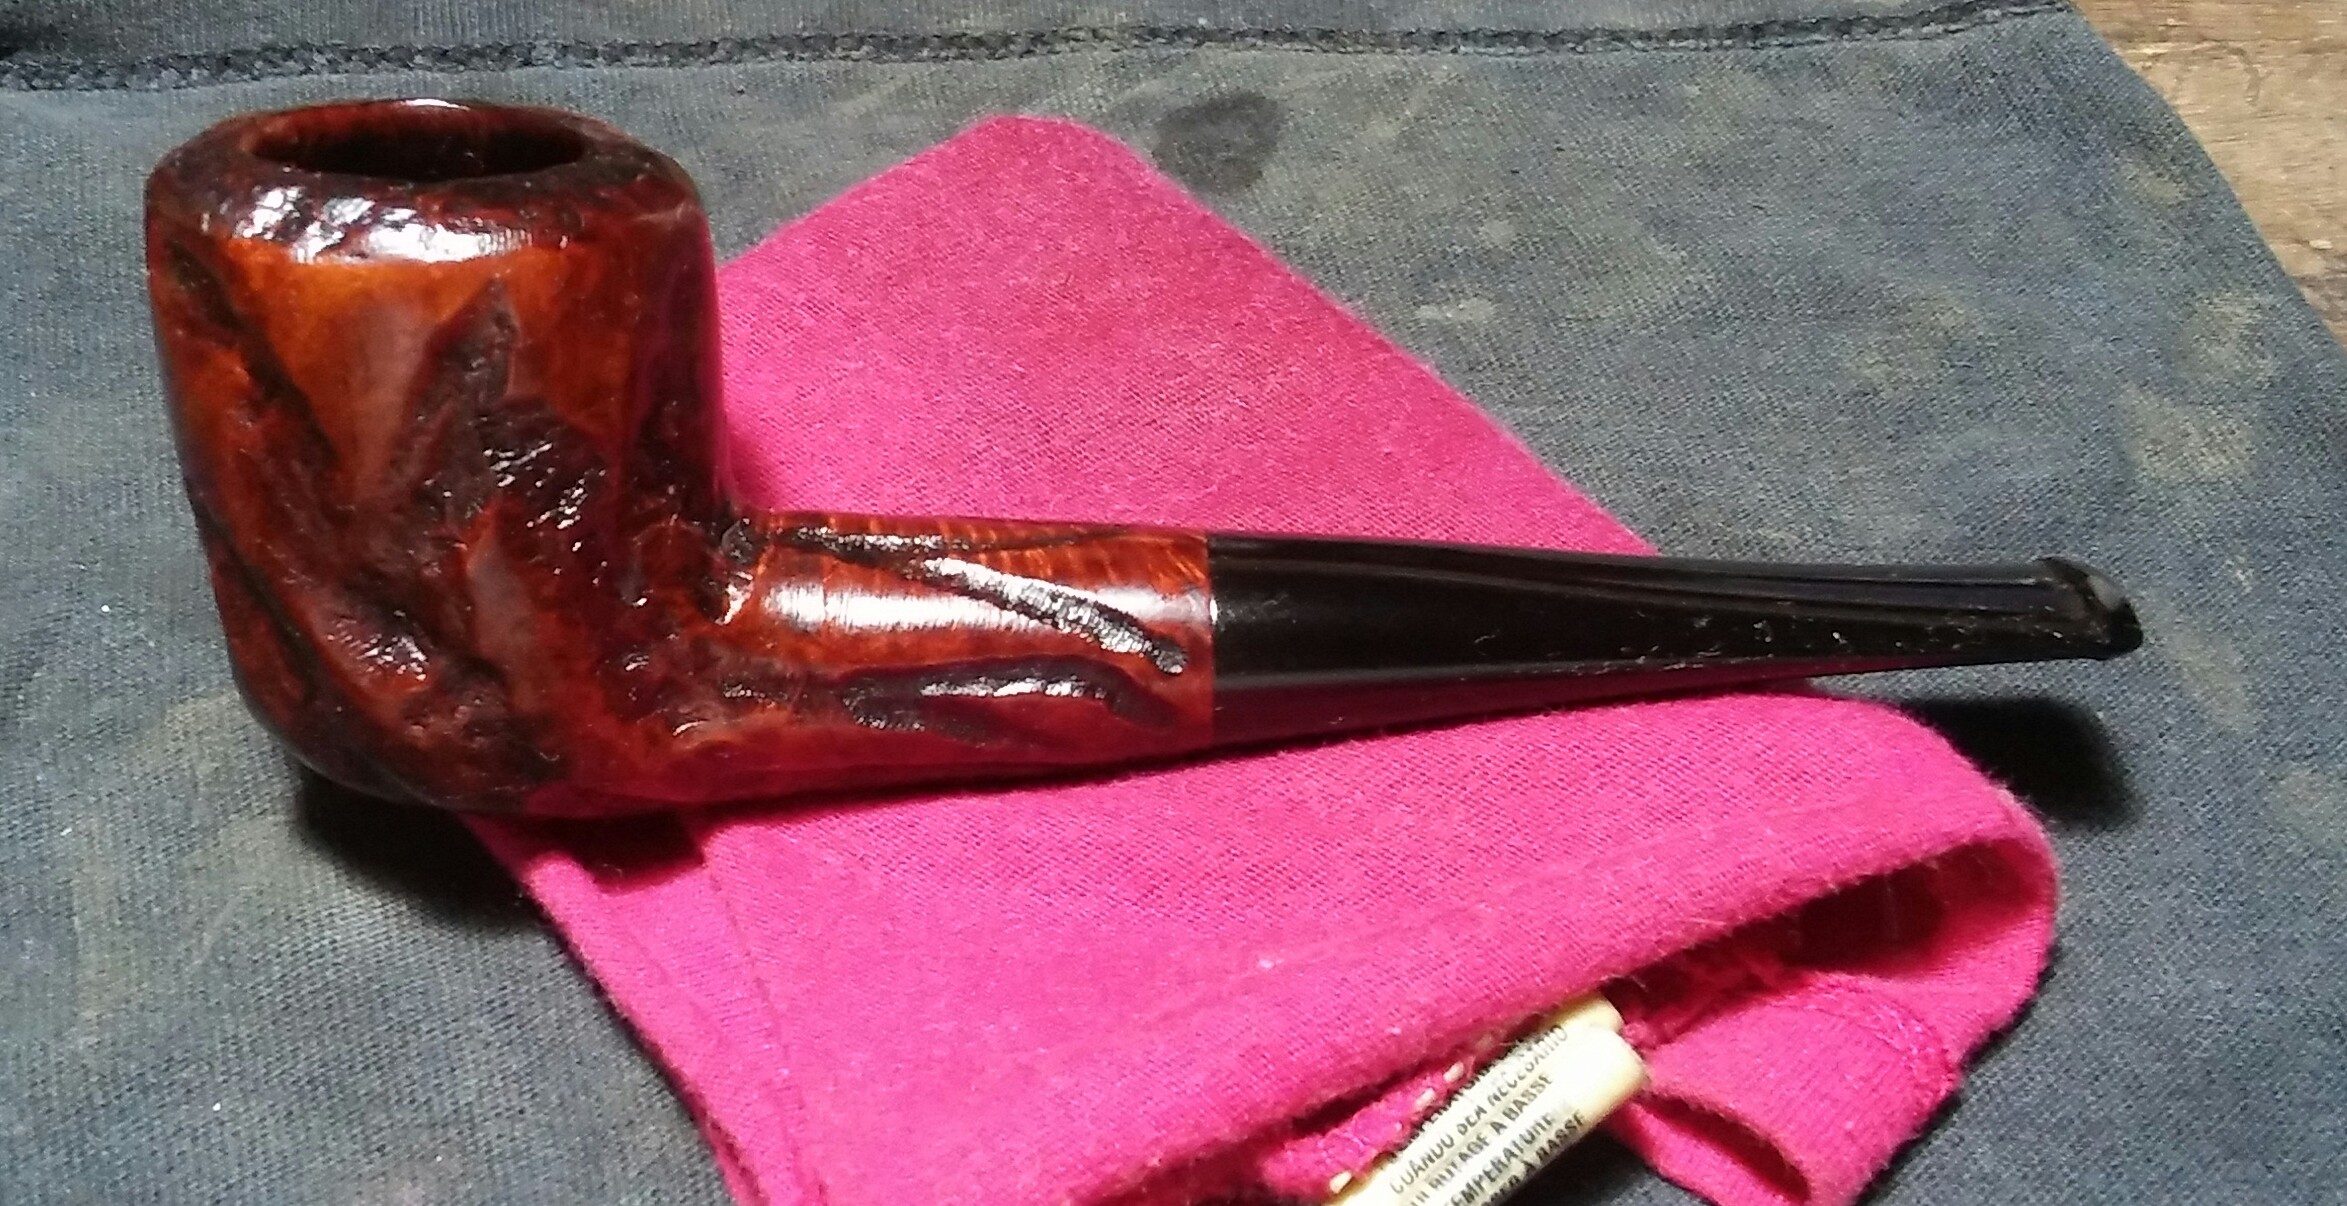
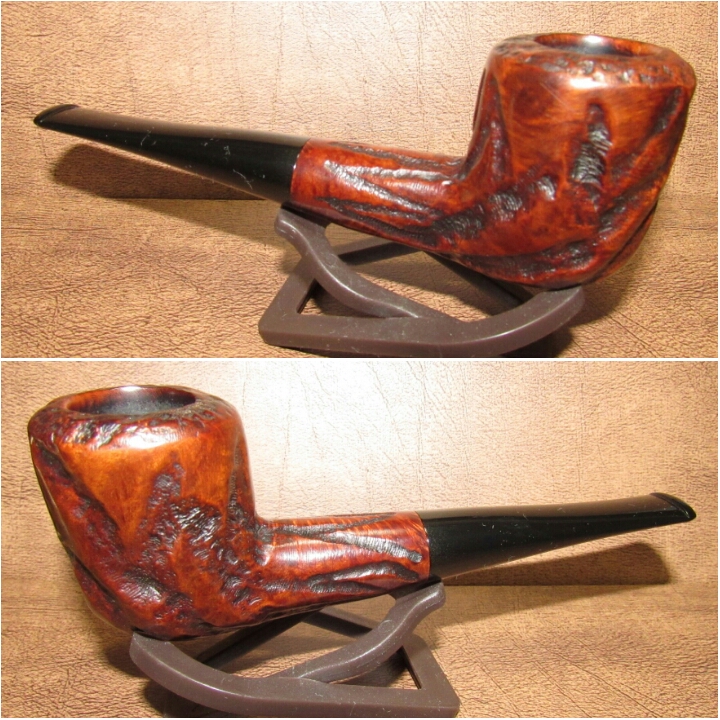
Complete
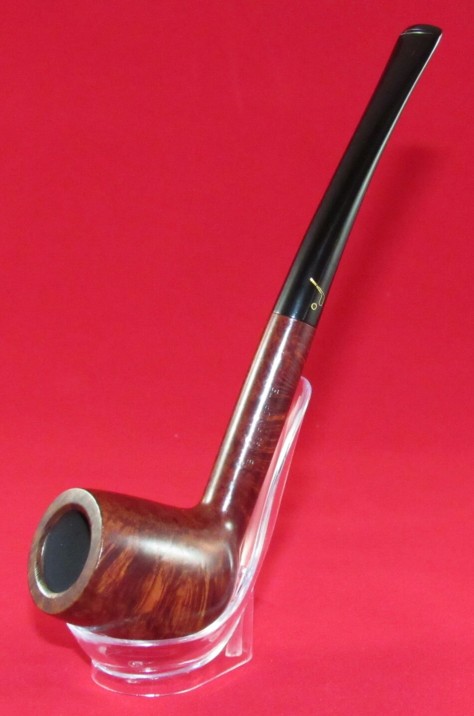

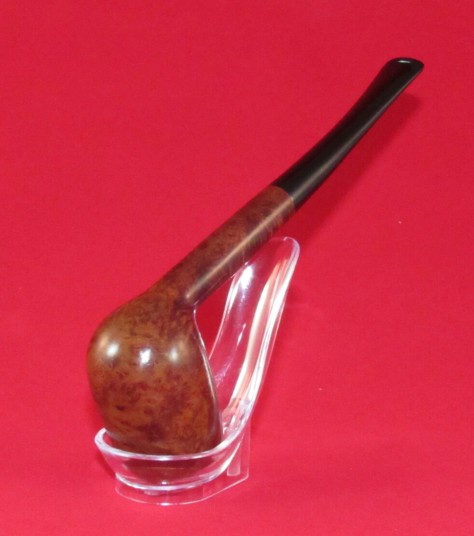

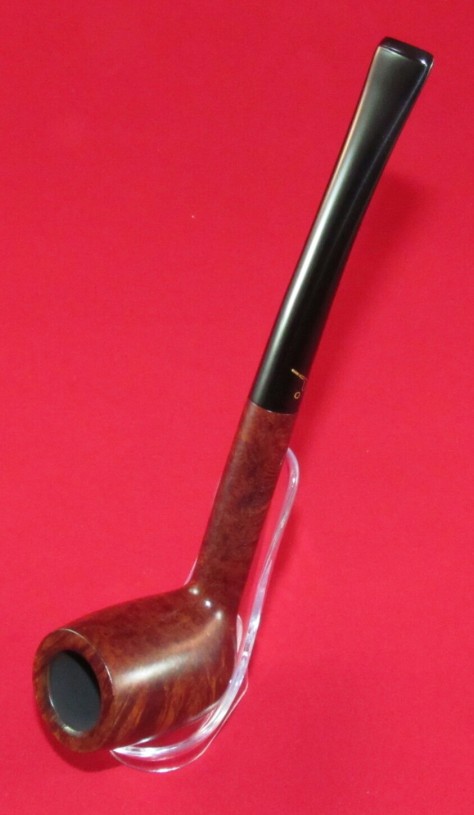

I finished up on the wheel with white diamond, a few coats of carnauba and a round on the nude wheel, buffing the stem with blue compound and carnauba. I hand buffed the pipe as a whole with a microfiber cloth before the photos.


You must be logged in to post a comment.