

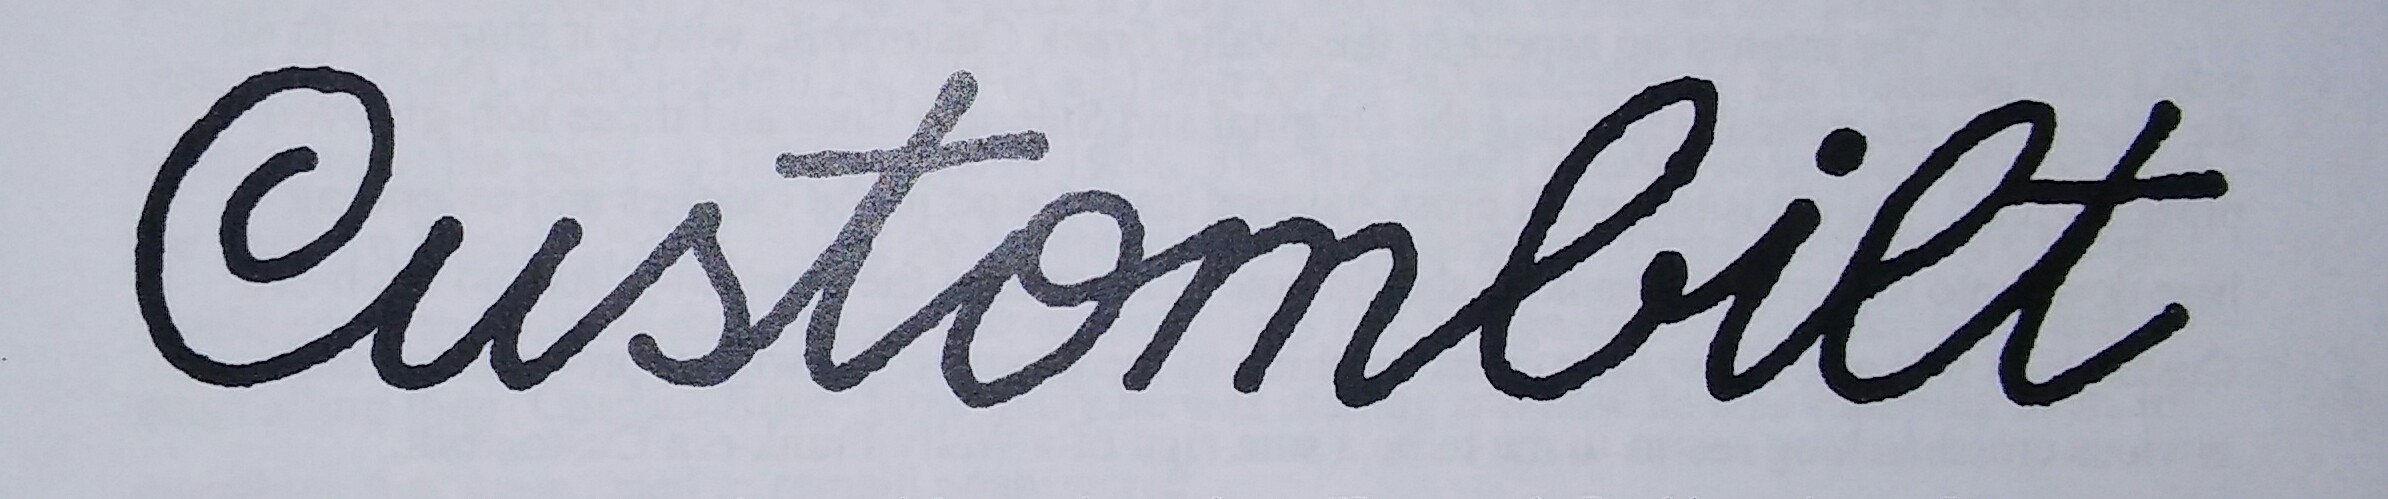

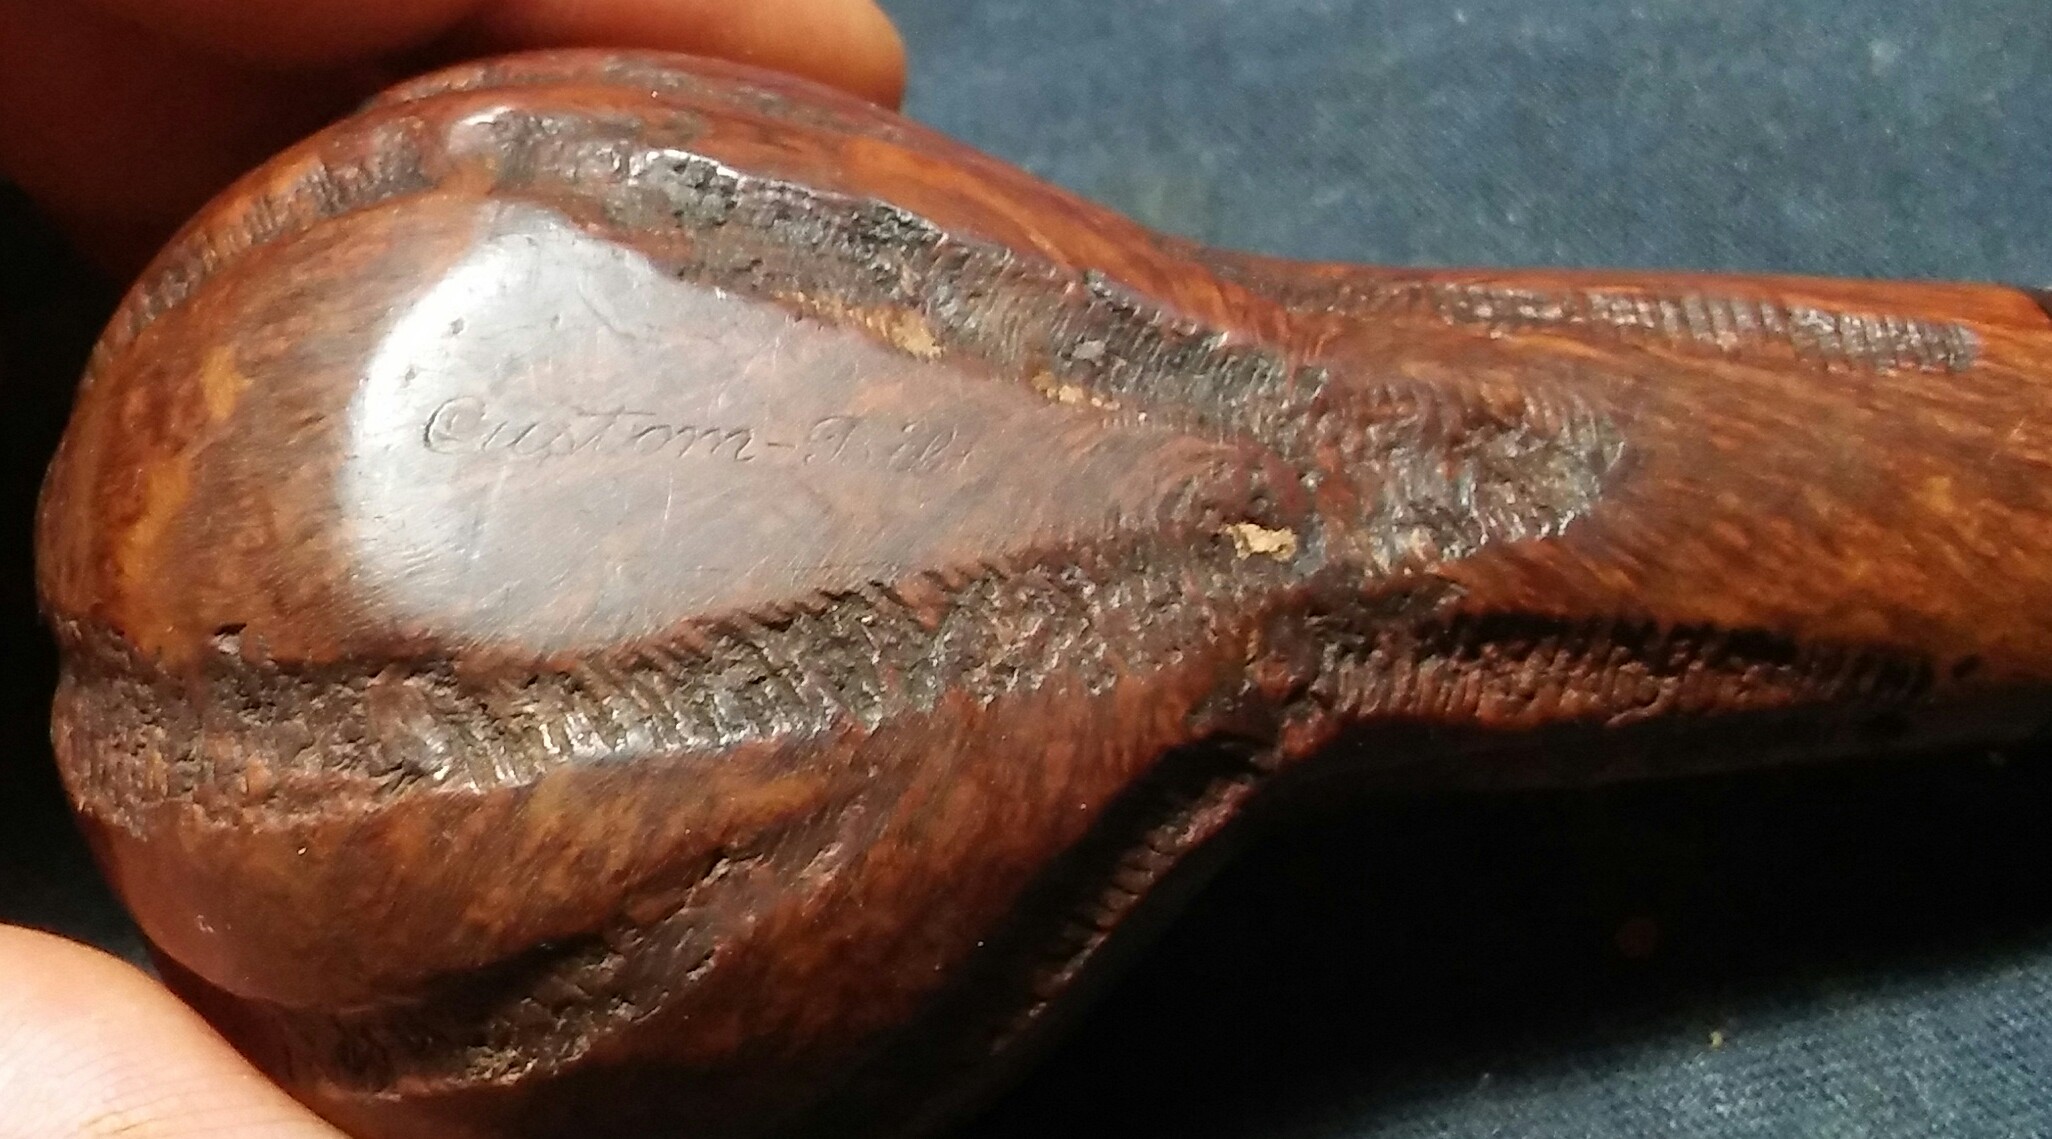
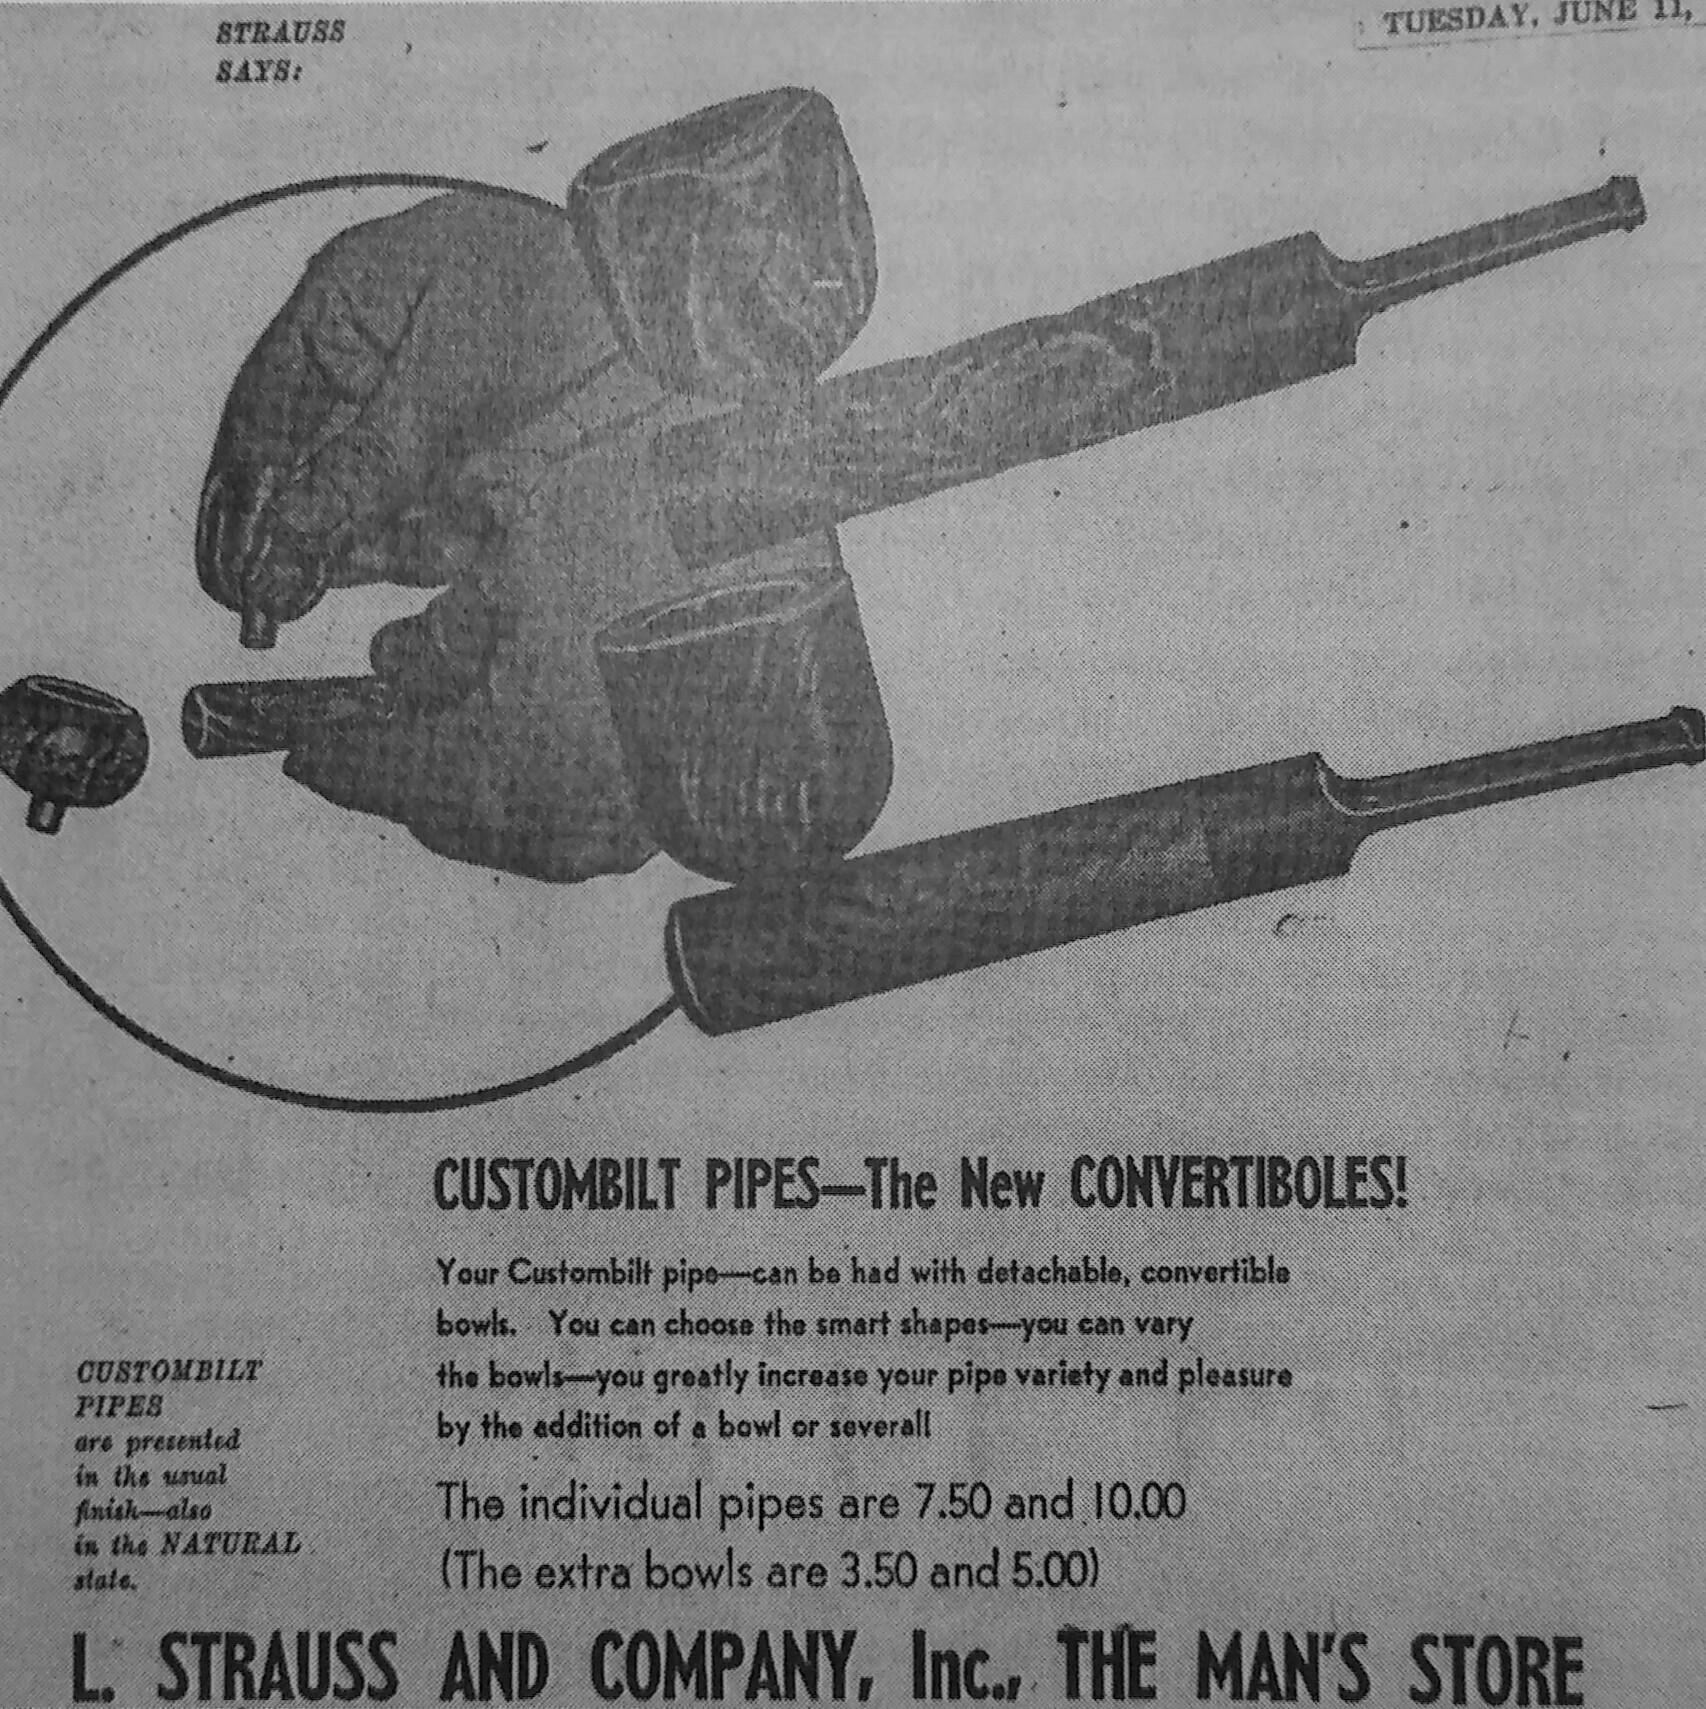
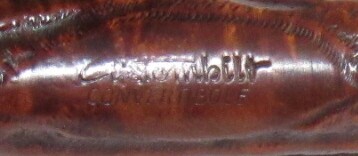
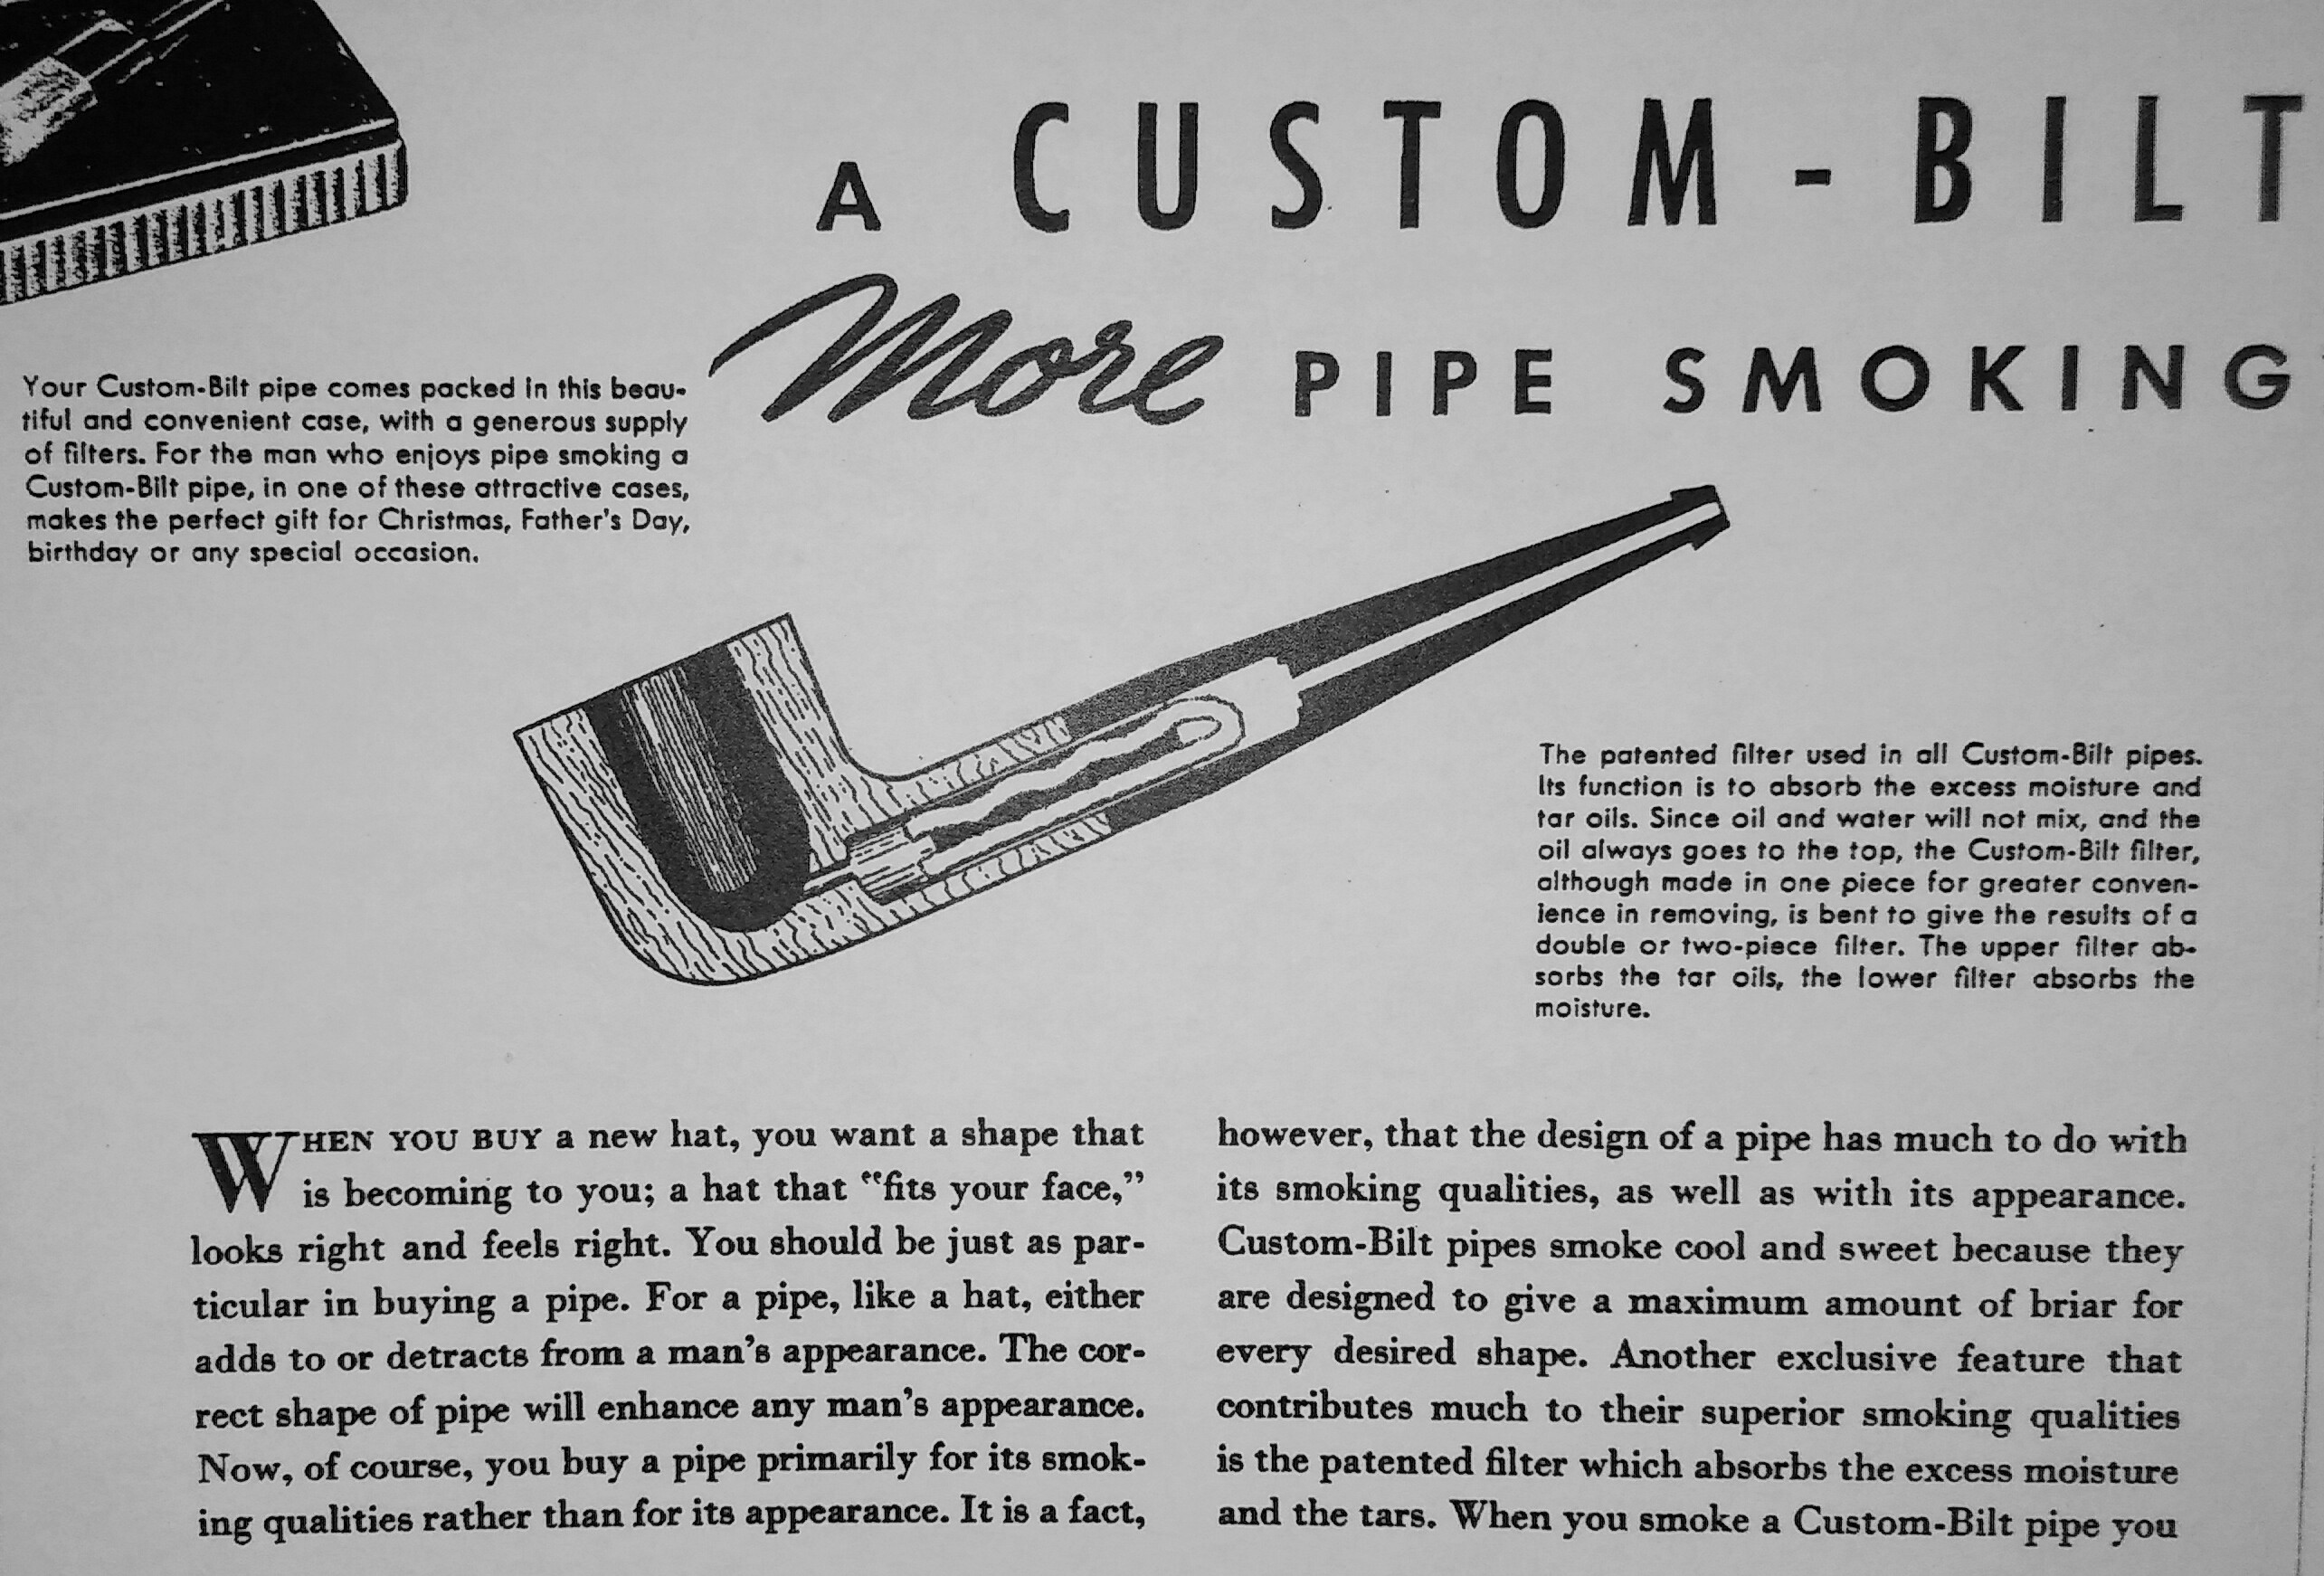
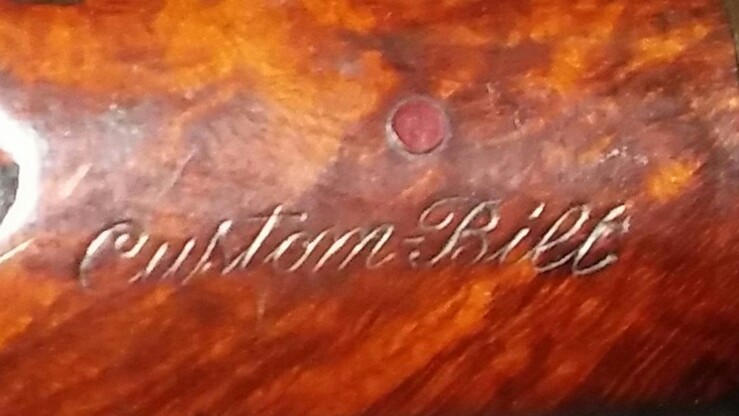
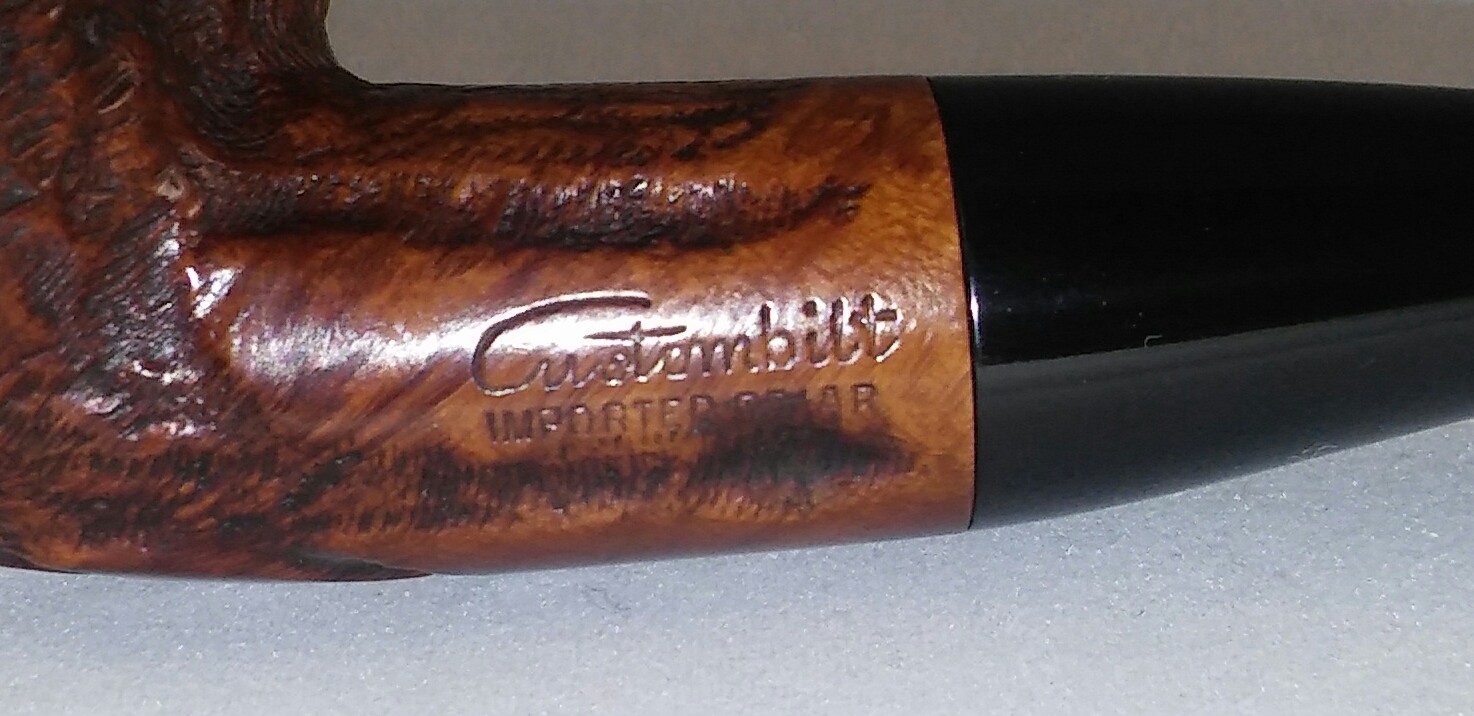
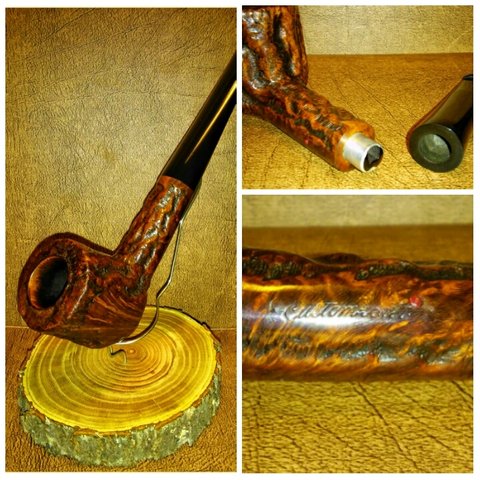
This stamping was a puzzler for Bill Unger, as he wrote in his book. It’s equally as puzzling for me, out of the thirty or so in my collection this is the only one with this stamping. Bill found that the stamping was used on what he thought was a Eugene Rich Era and Wally Frank Era Custombilt pipe. My example I could swear is Tracy Mincer Era.
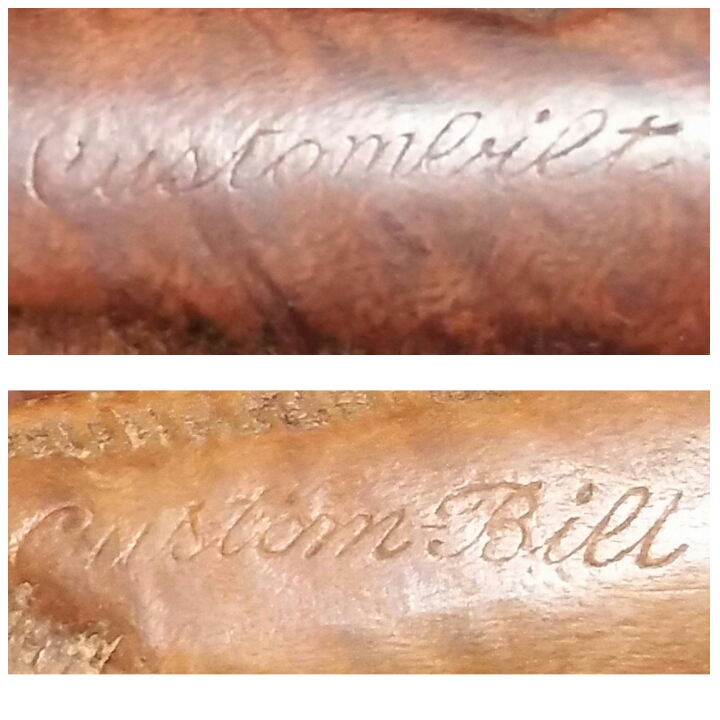
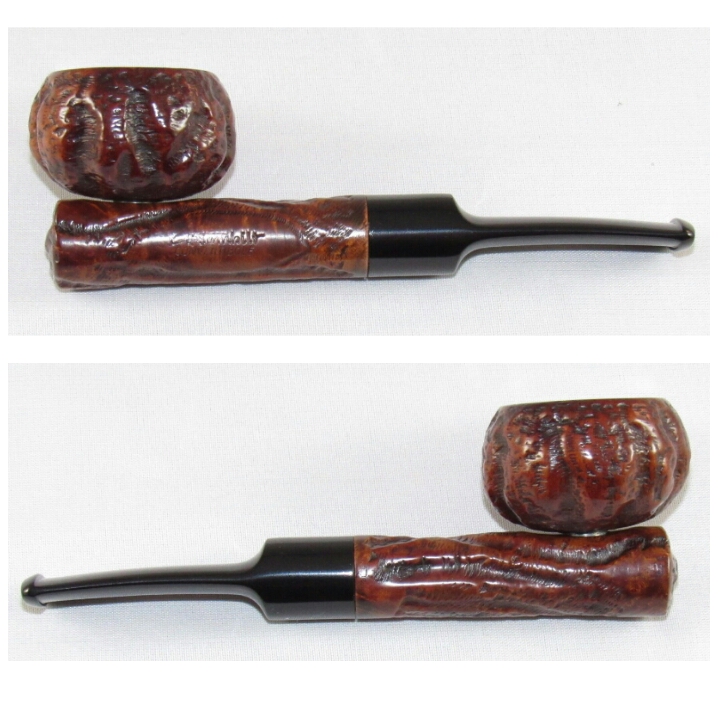
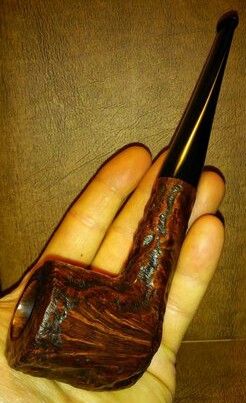
I received two pipes from the same seller one marked with the standard Mincer stamp and shape stamp of a triangle, the other pipe has the rare stamp and a shape stamp of a square. Both pipes are of similar medium size and deep rustication. I have seen sets with two pipes in a claim shell case and I think that’s what I have here, minus the case. Any Custombilt collectors with more information please leave a comment.
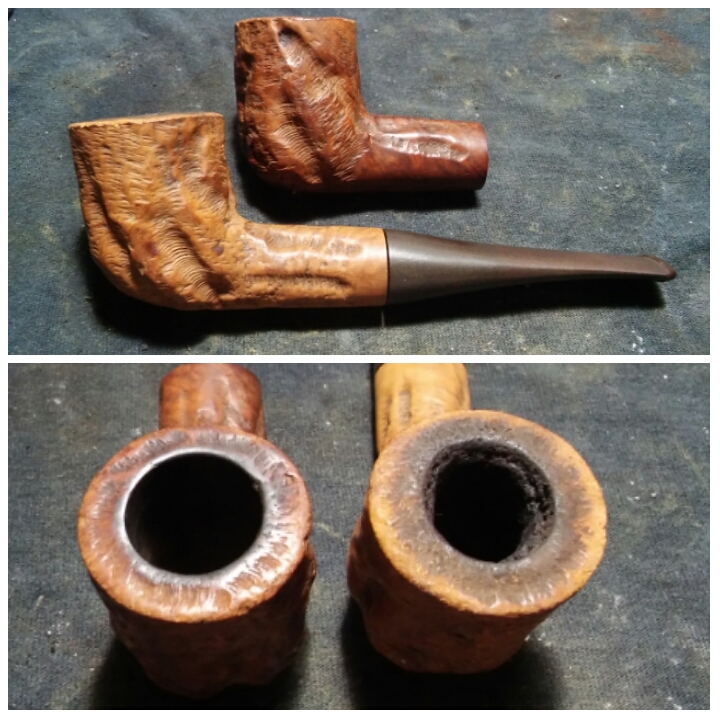
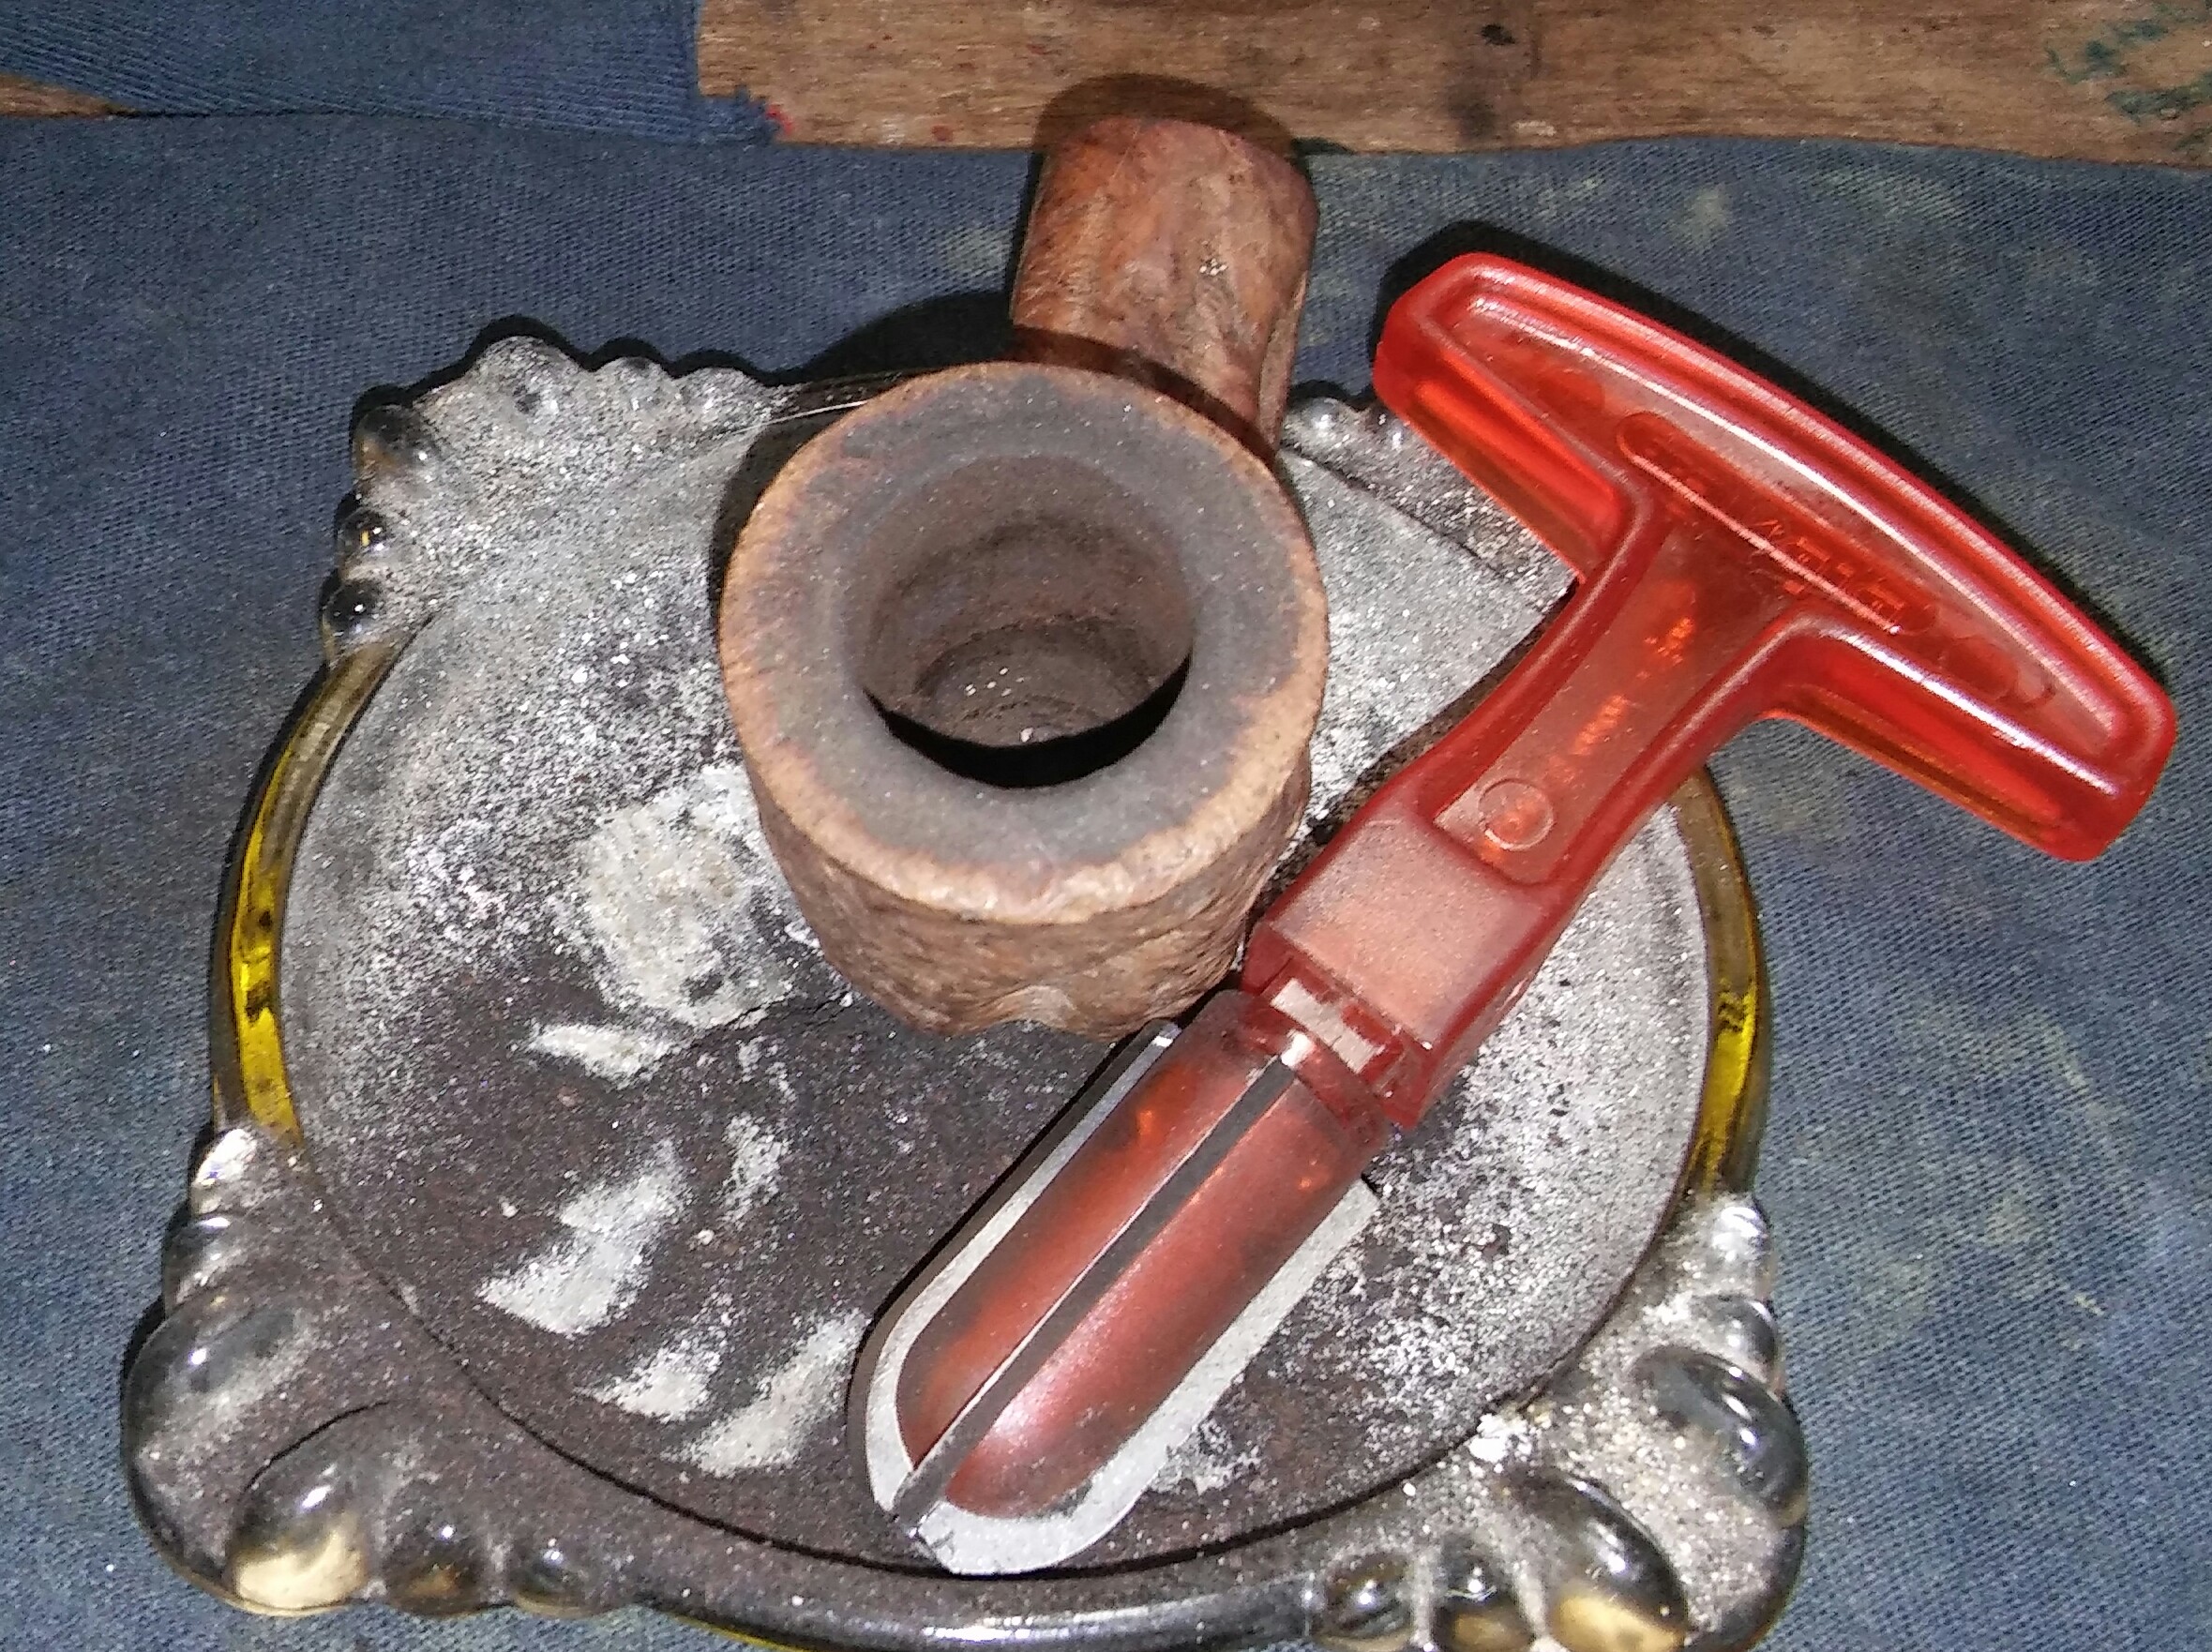
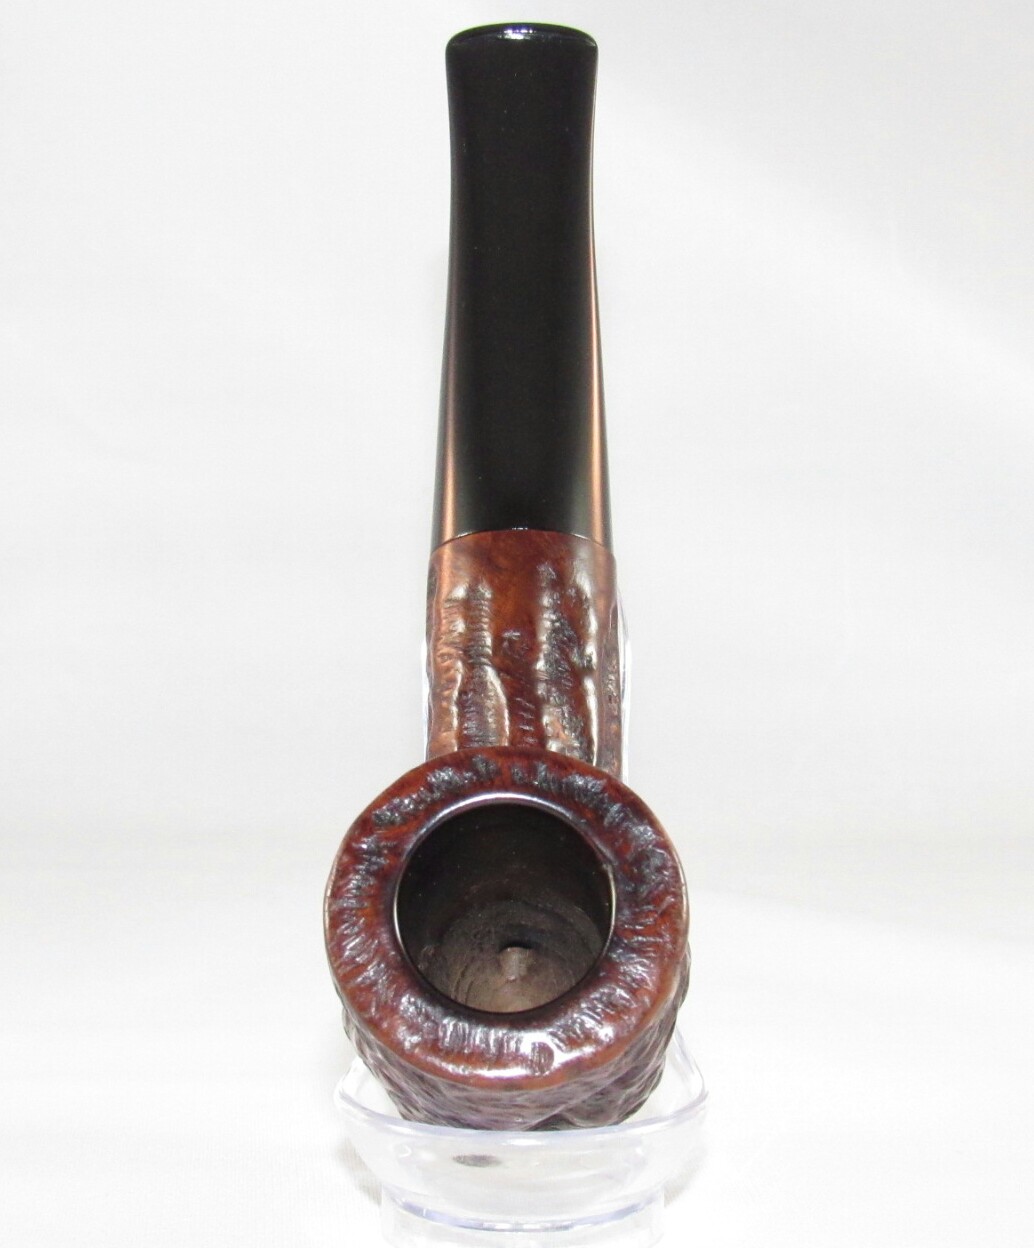
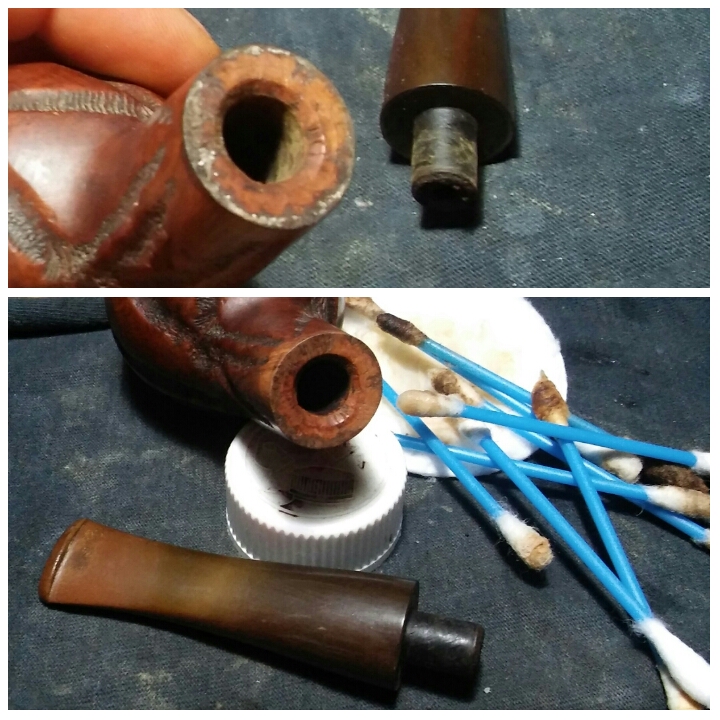
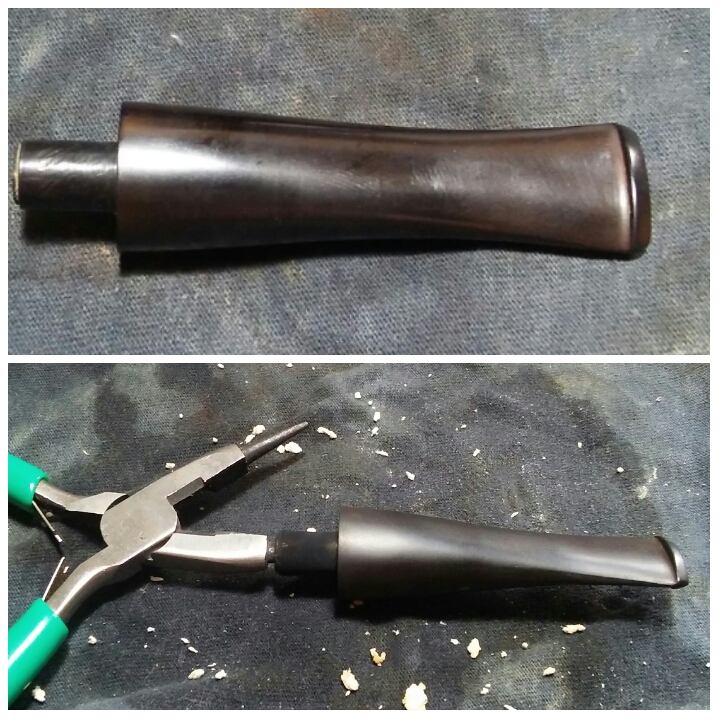
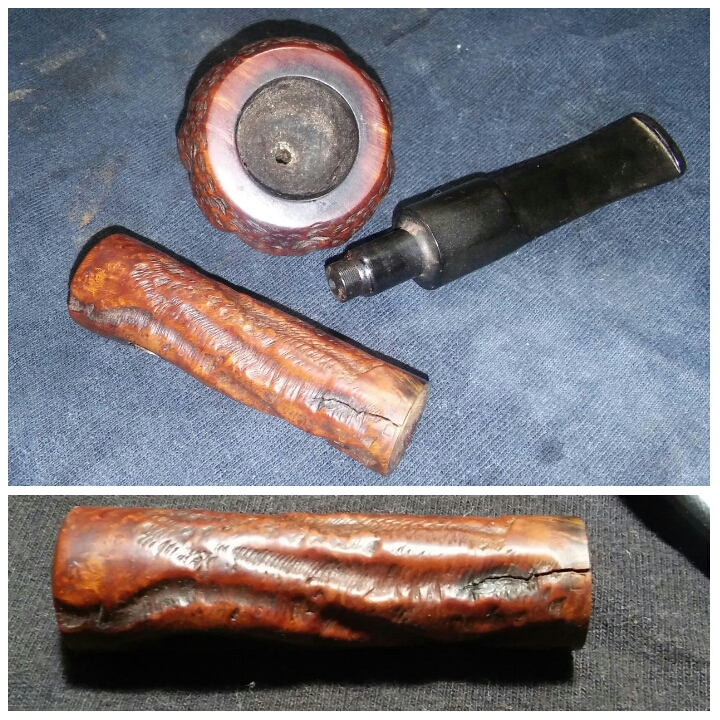
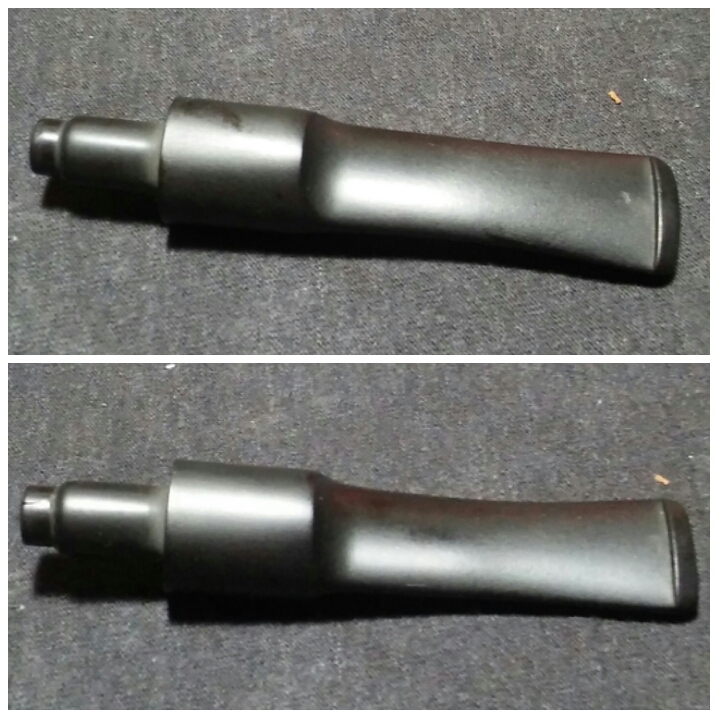
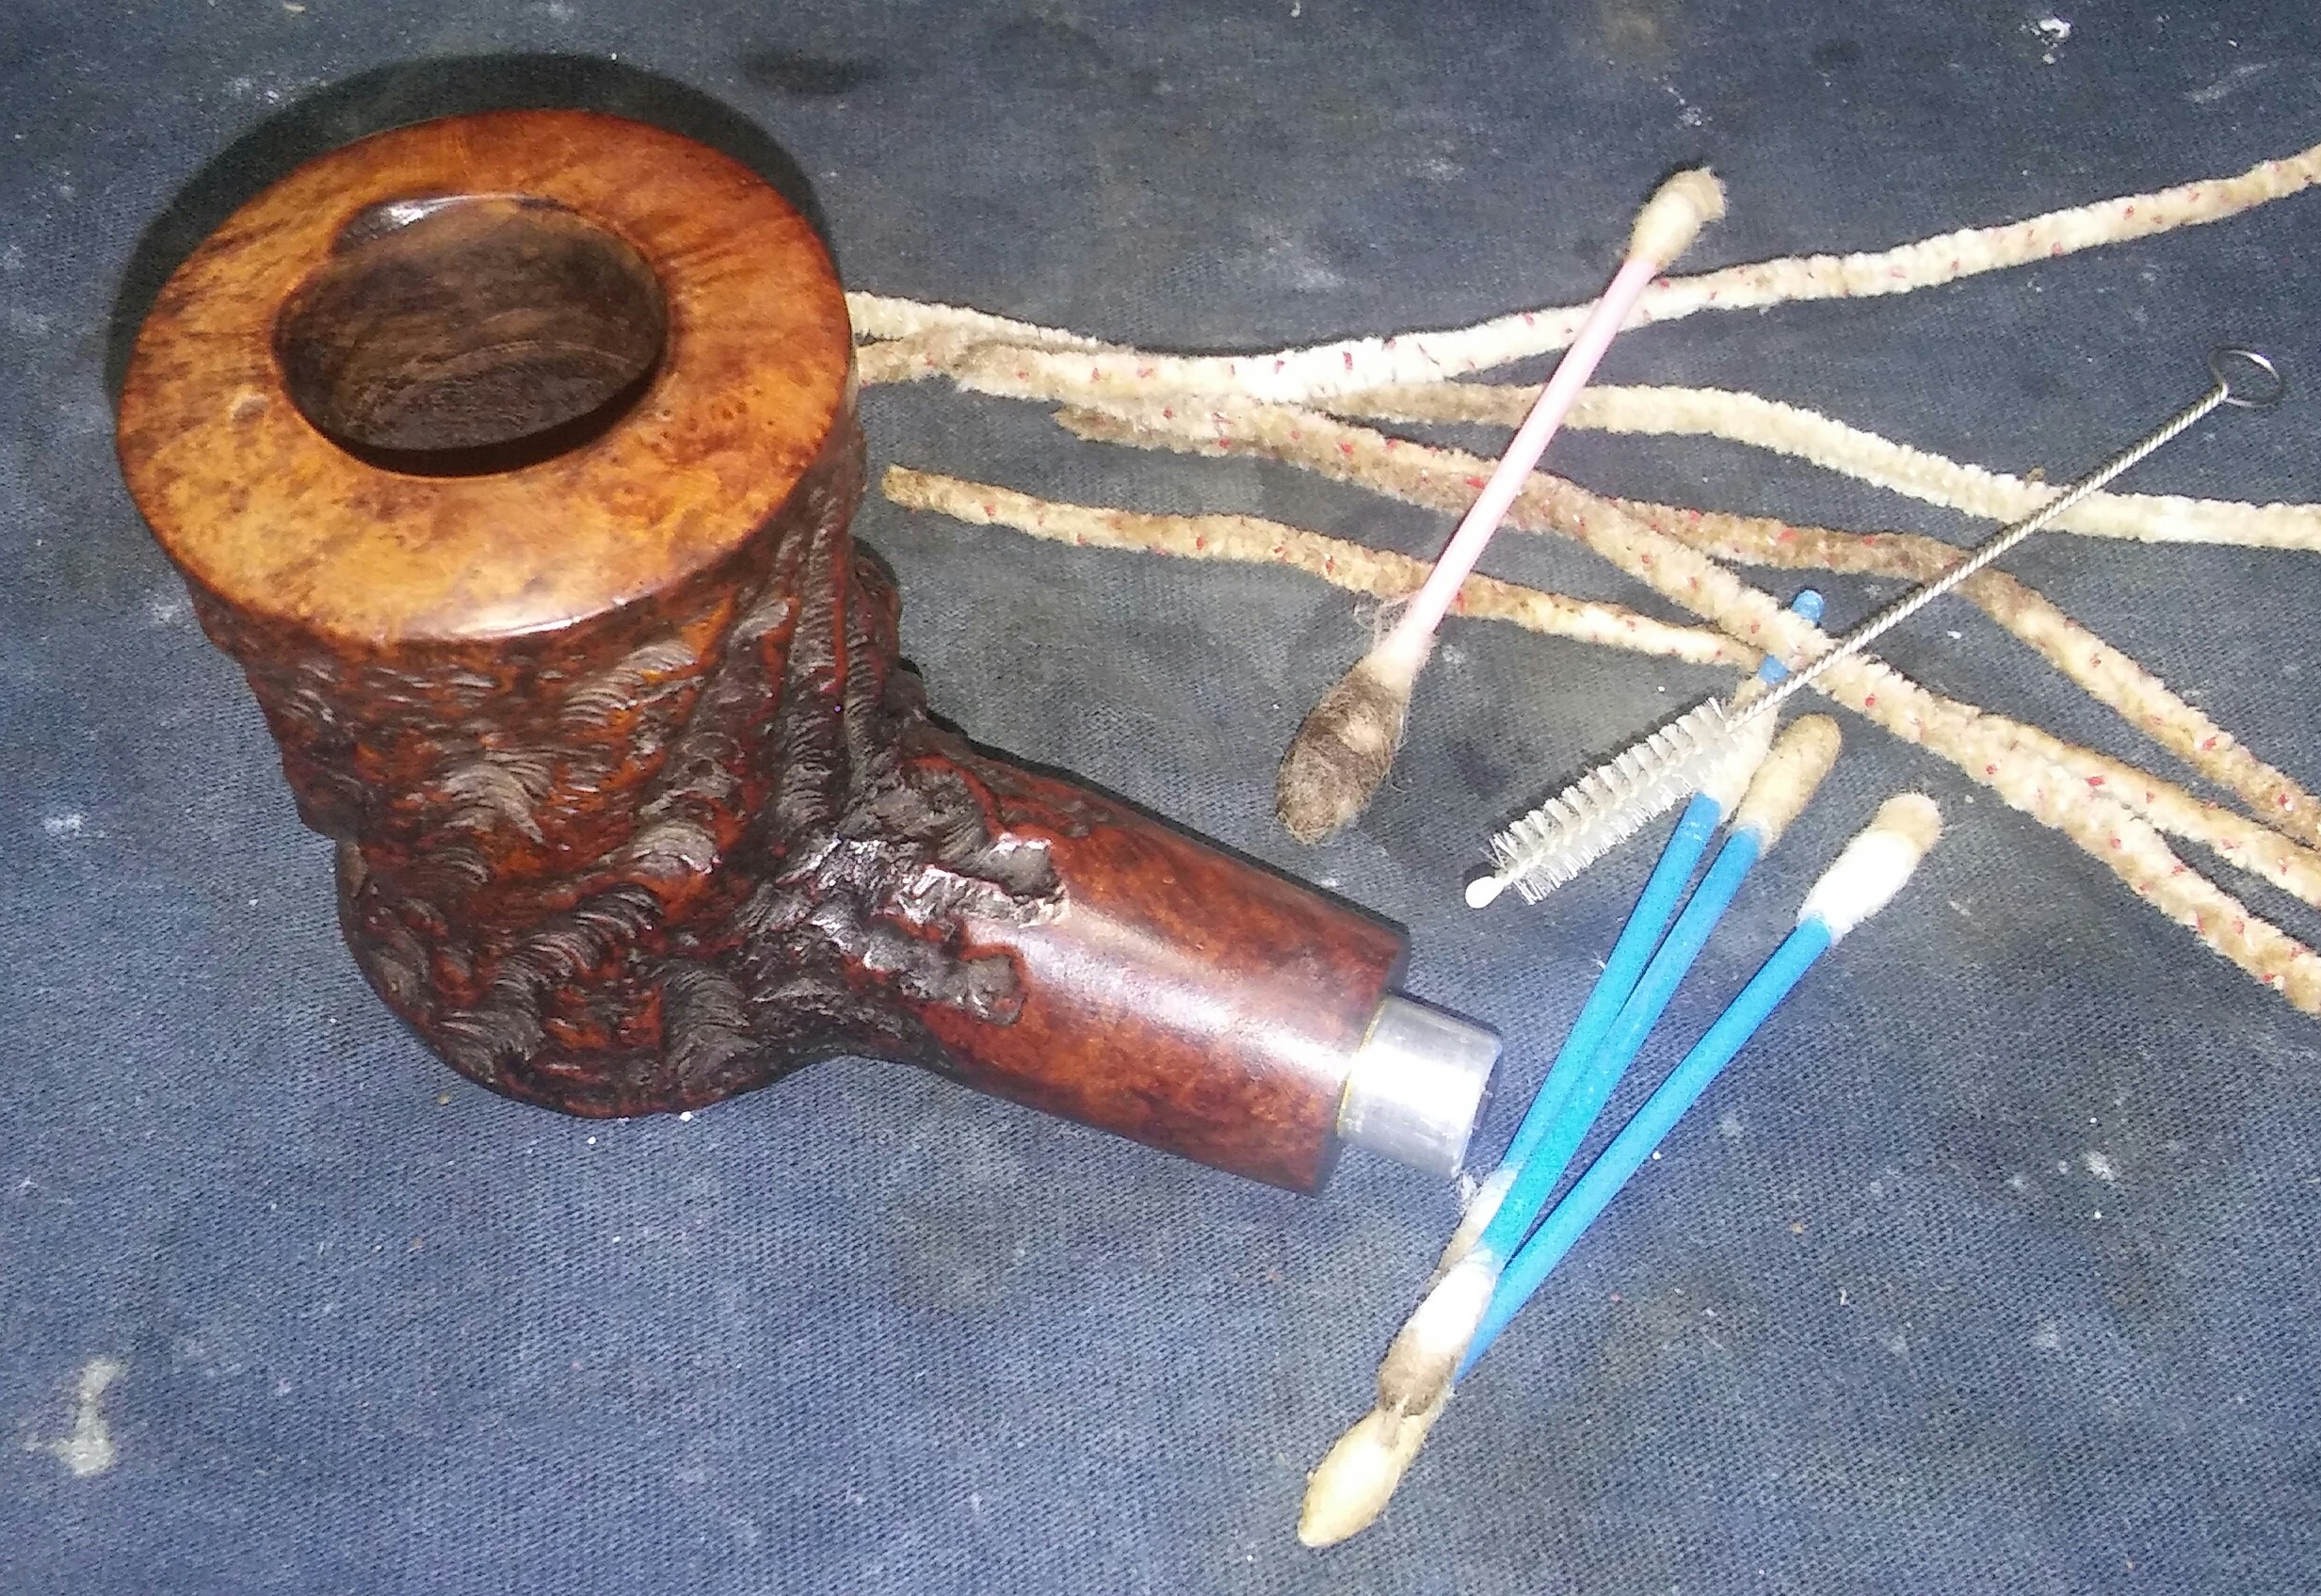
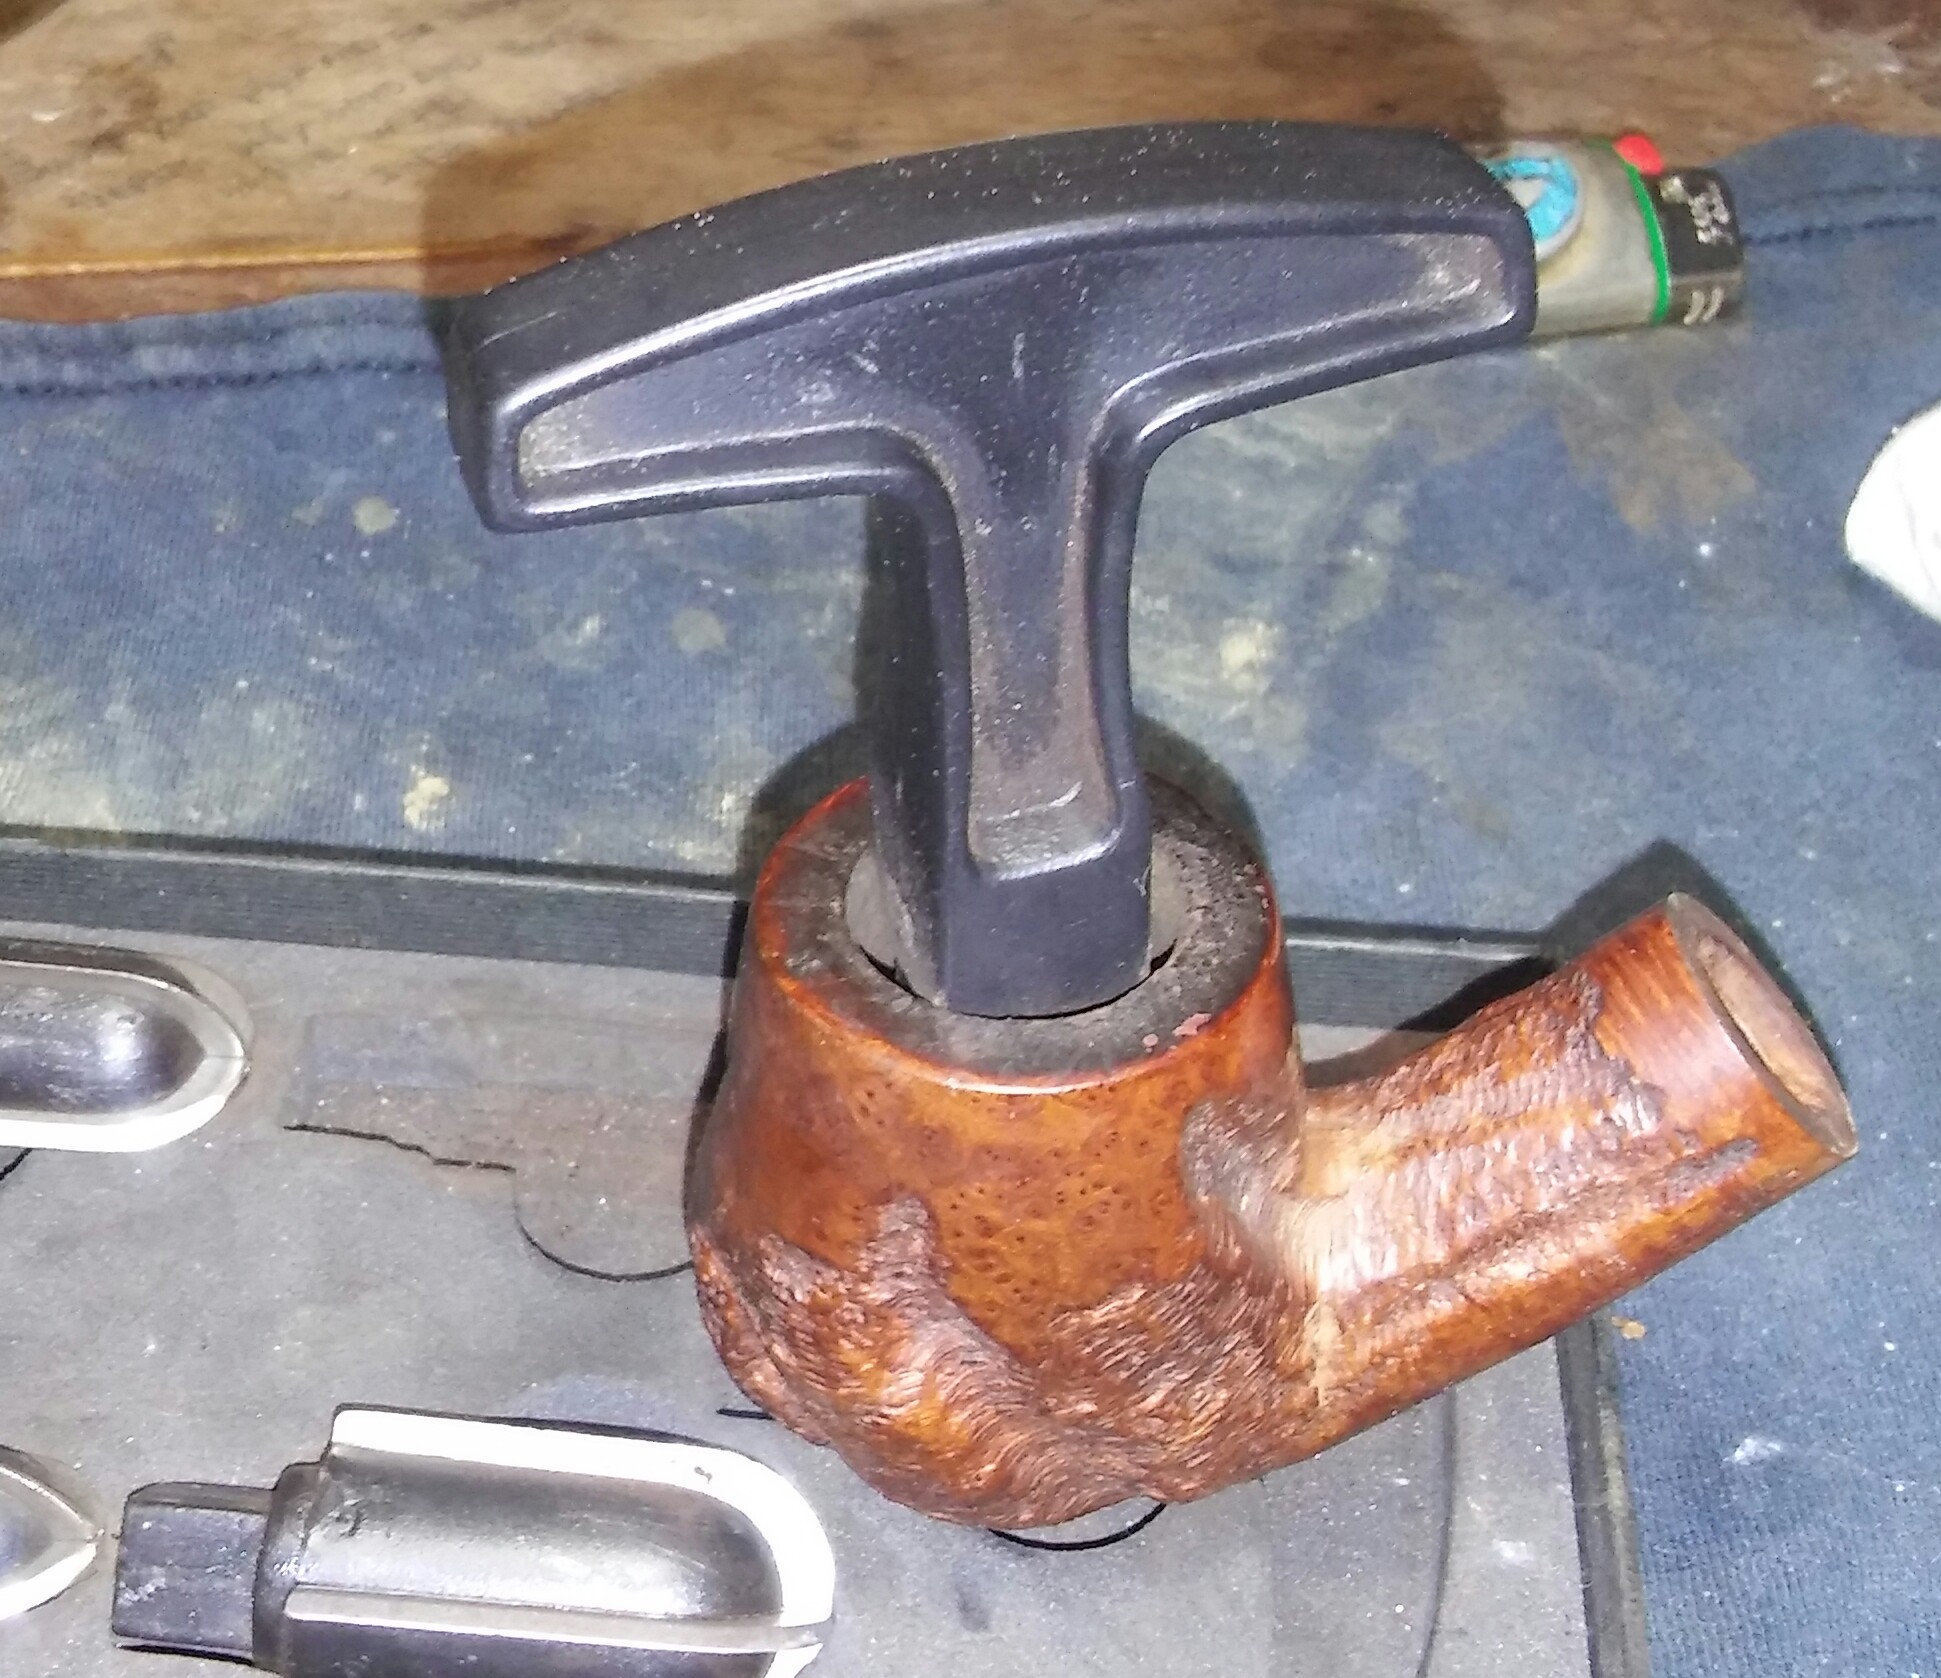
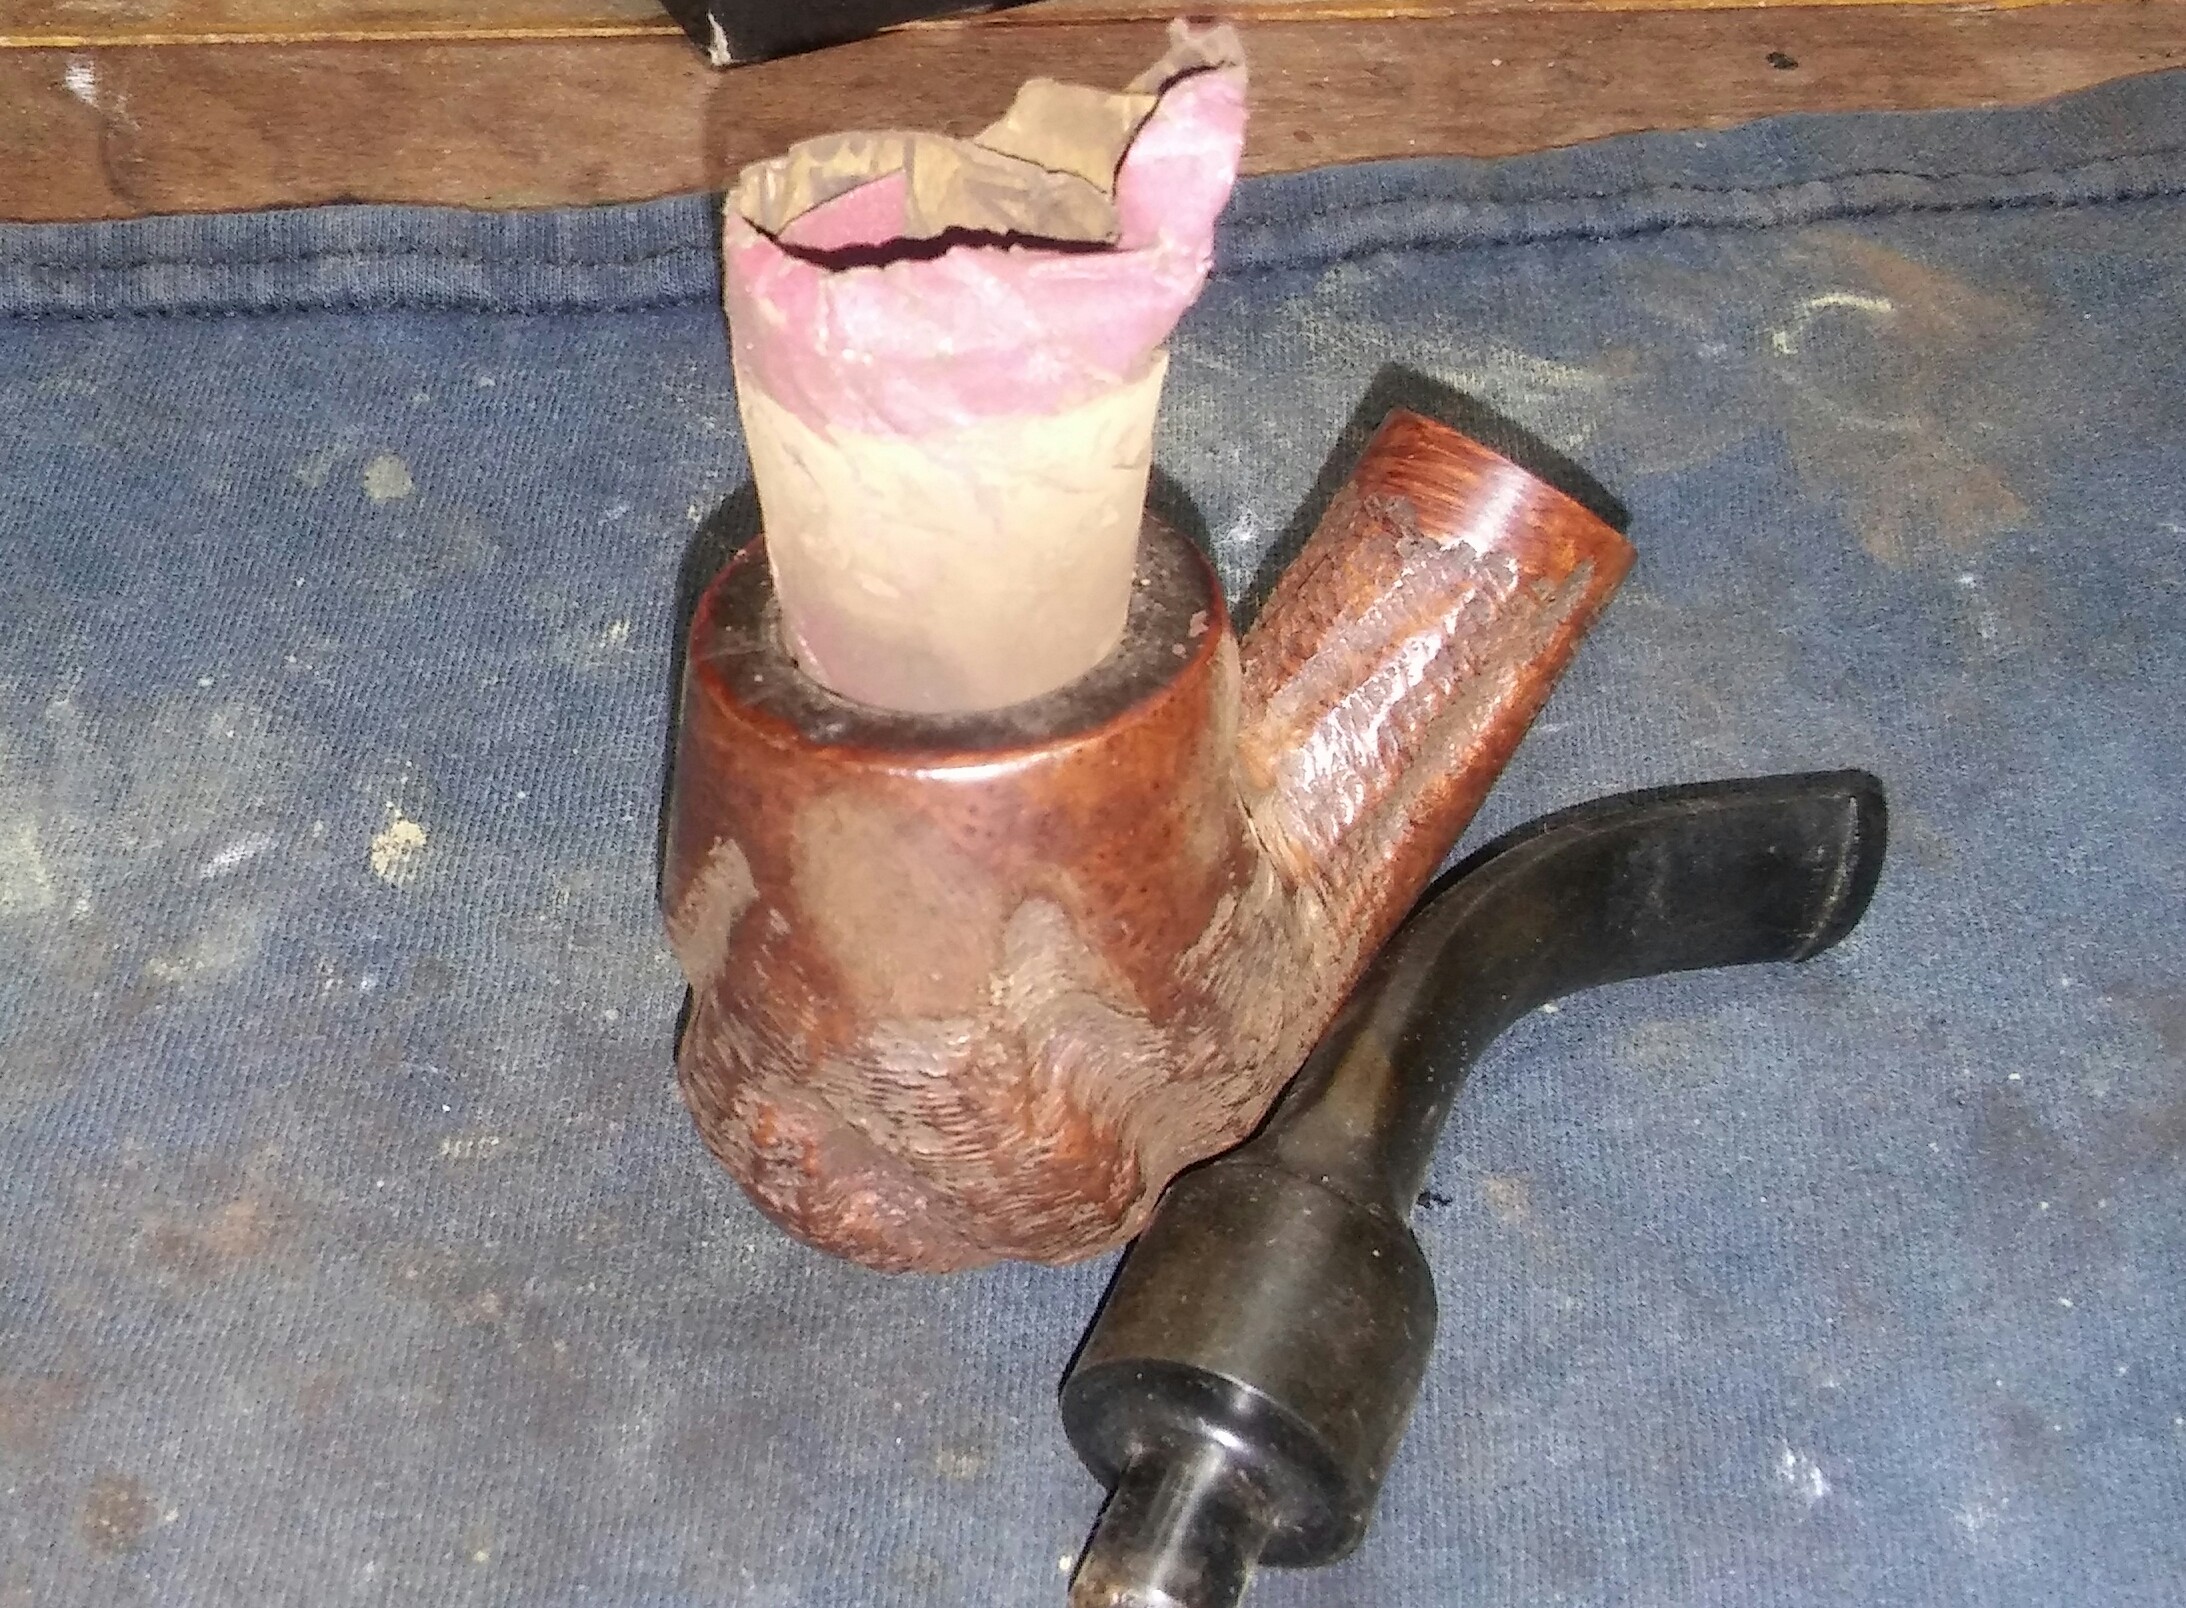
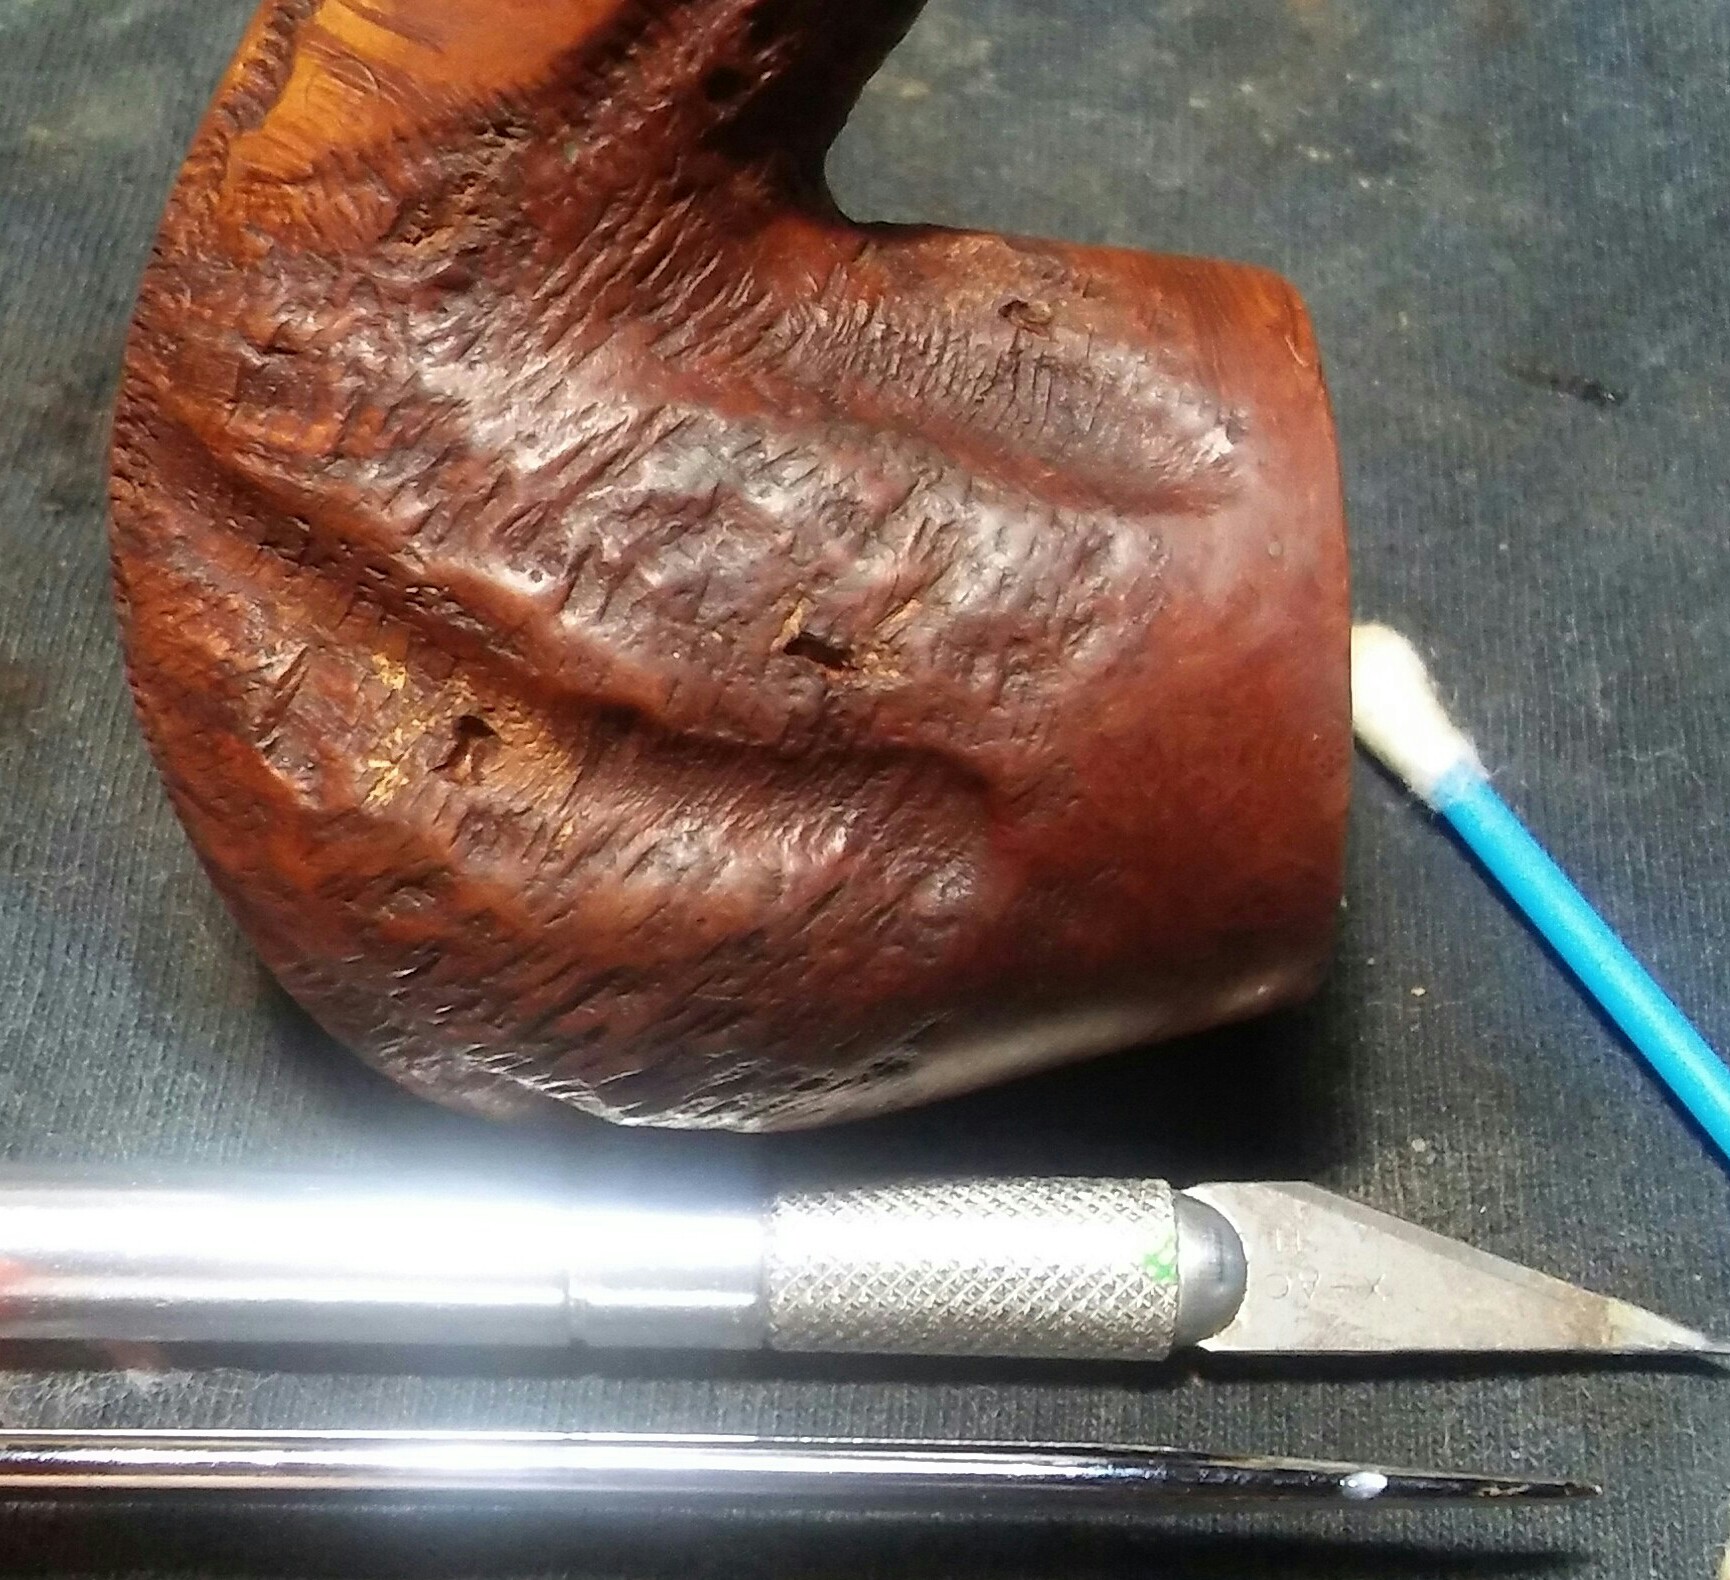
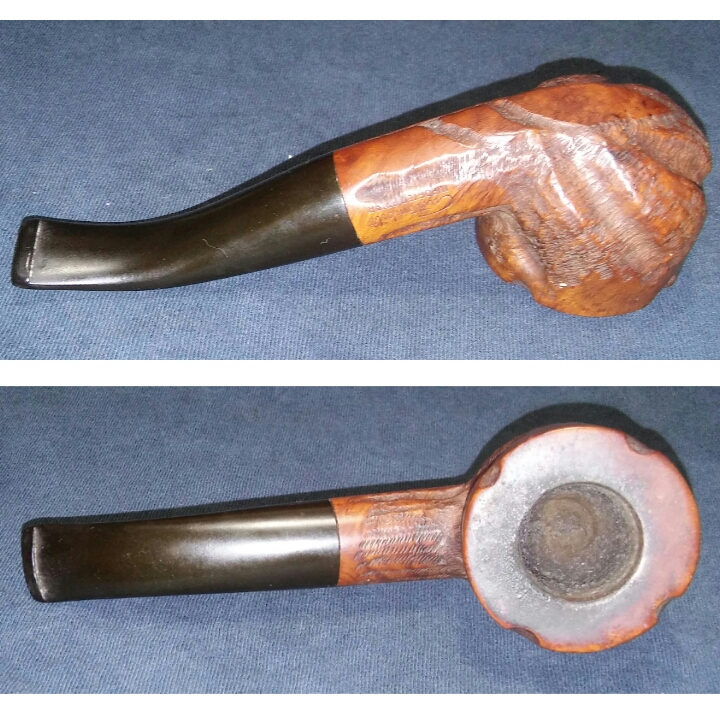
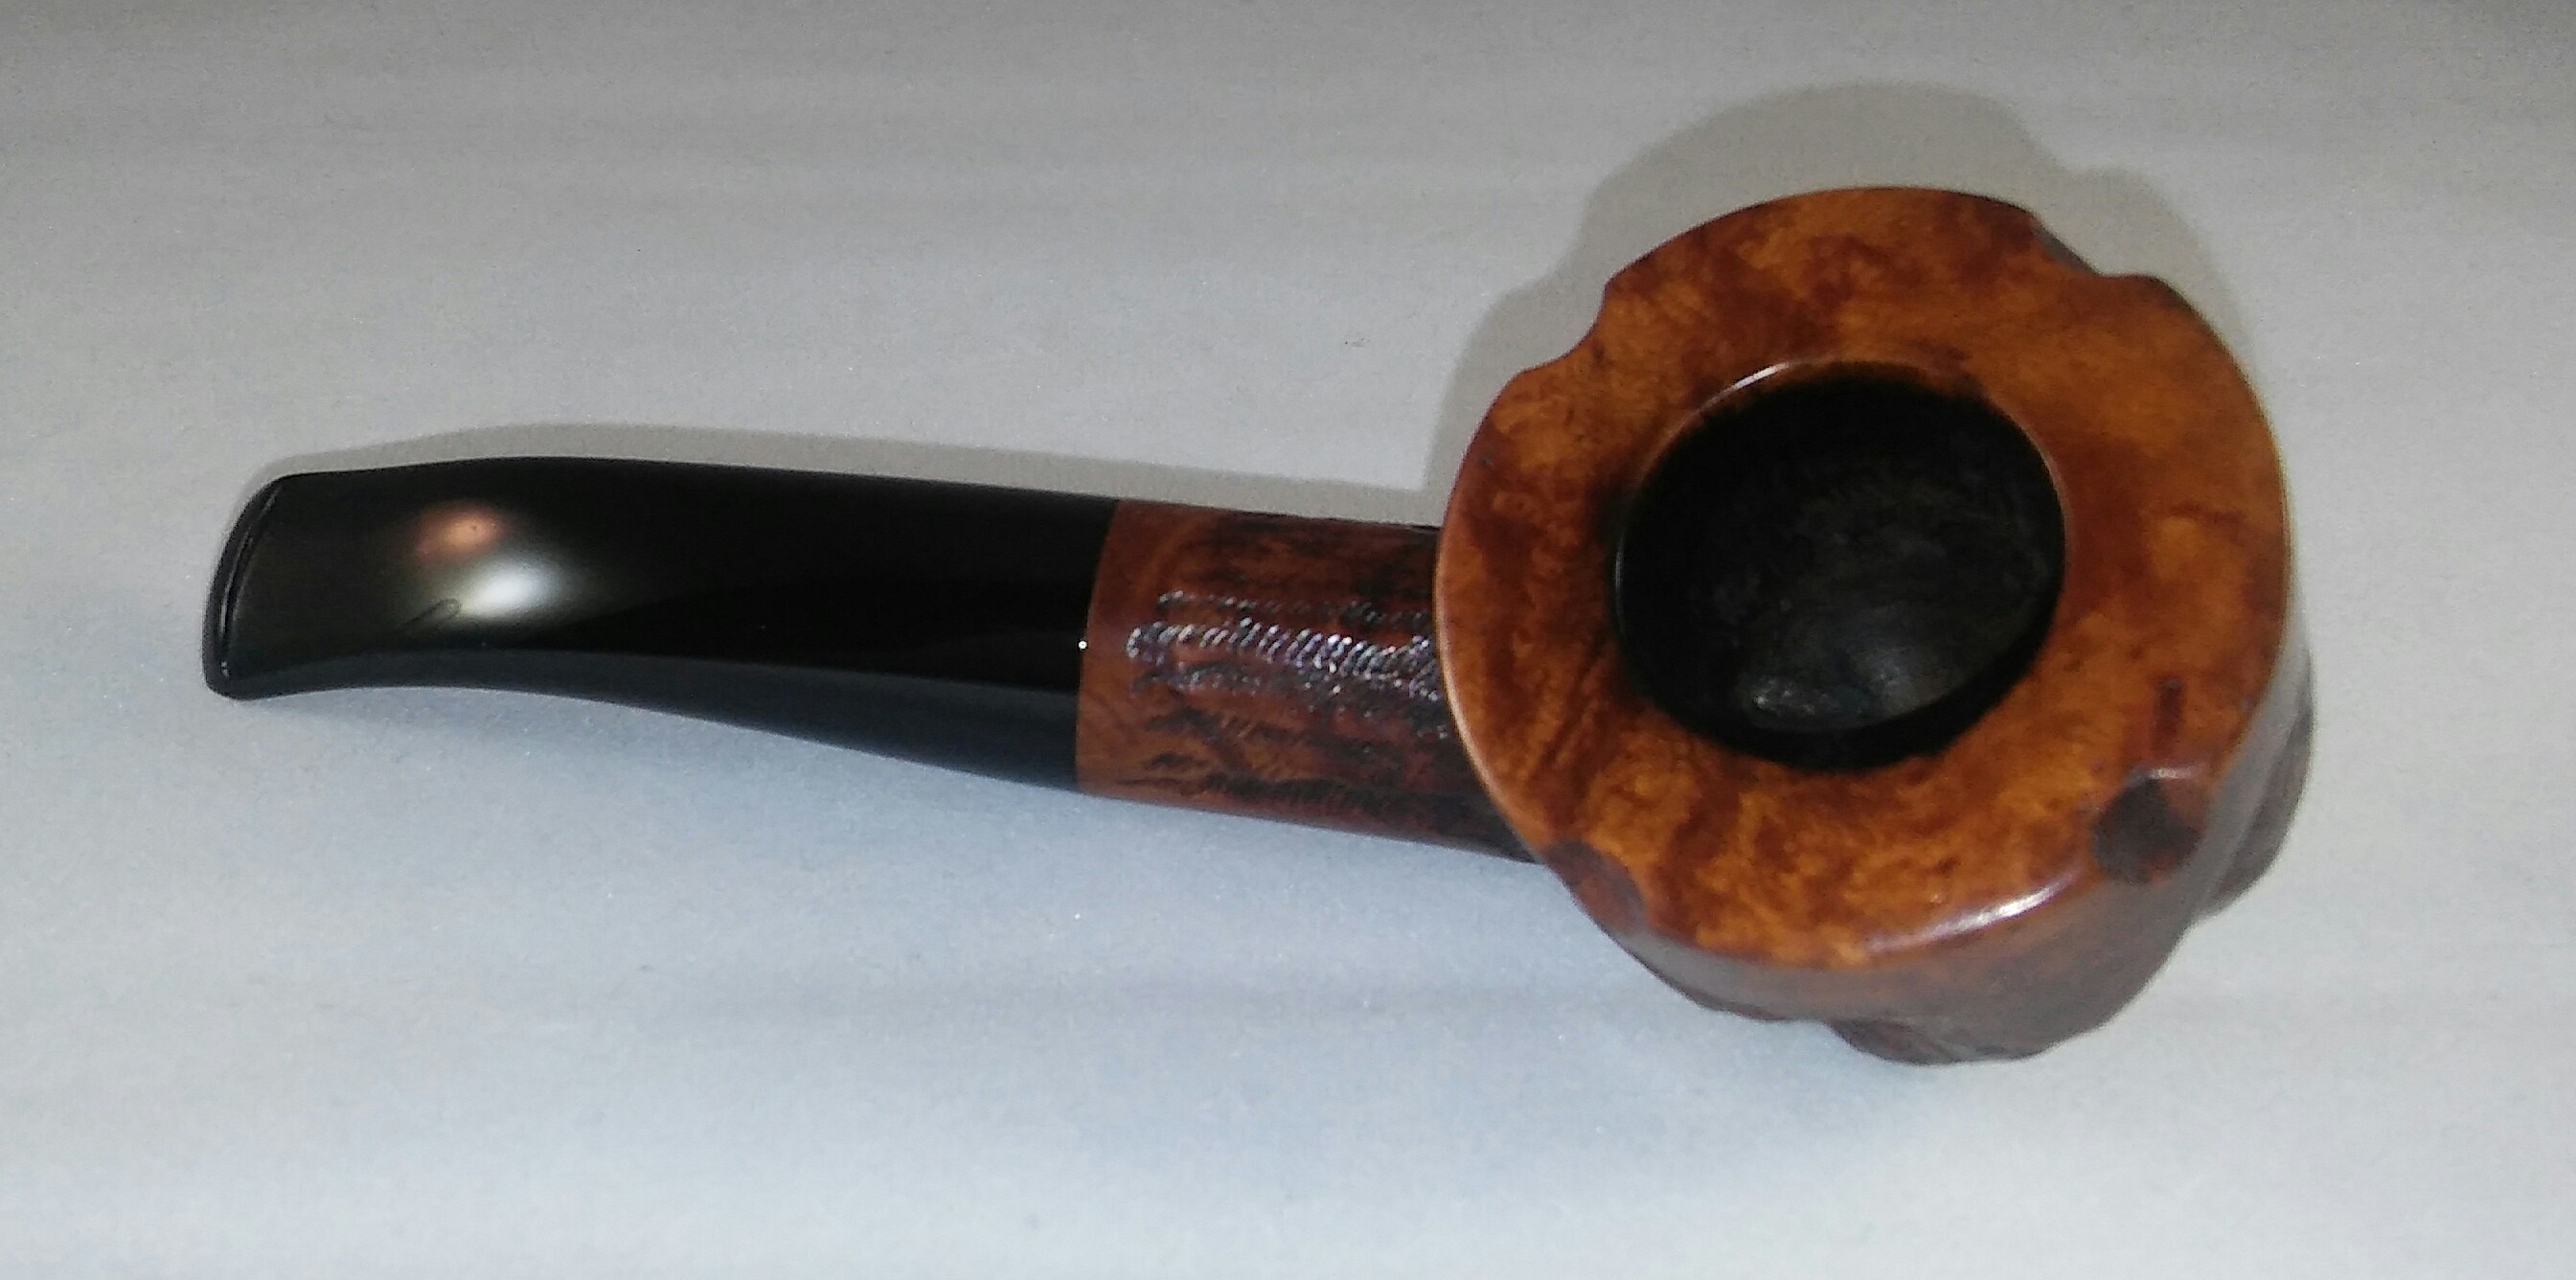
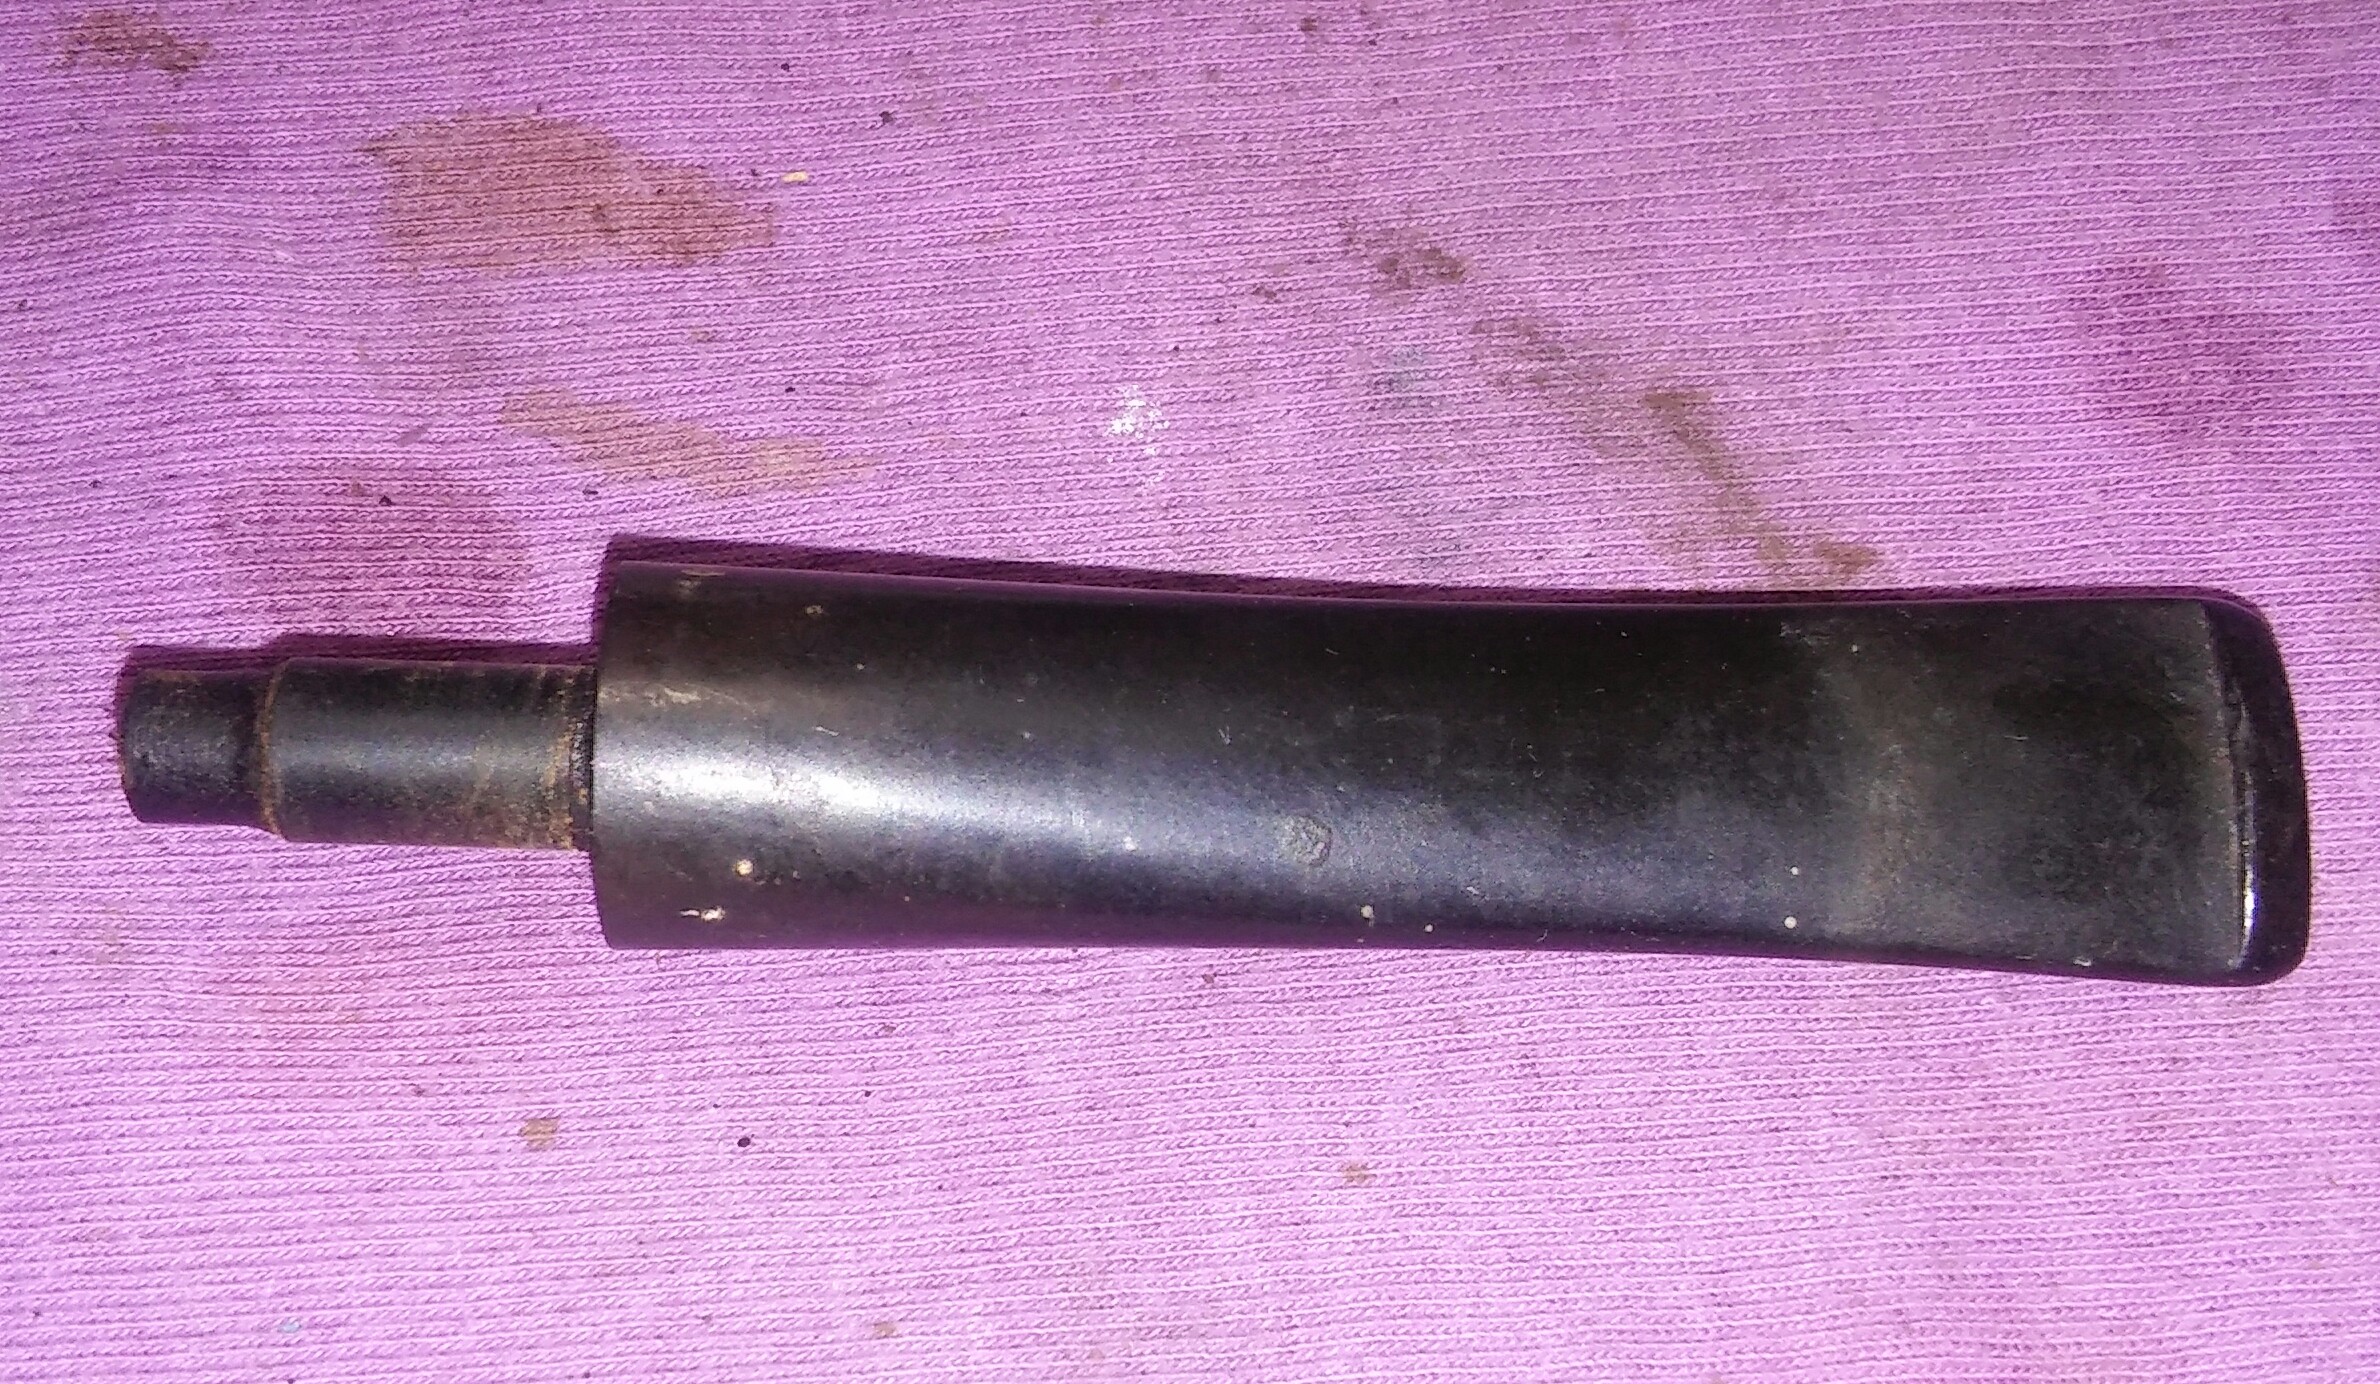
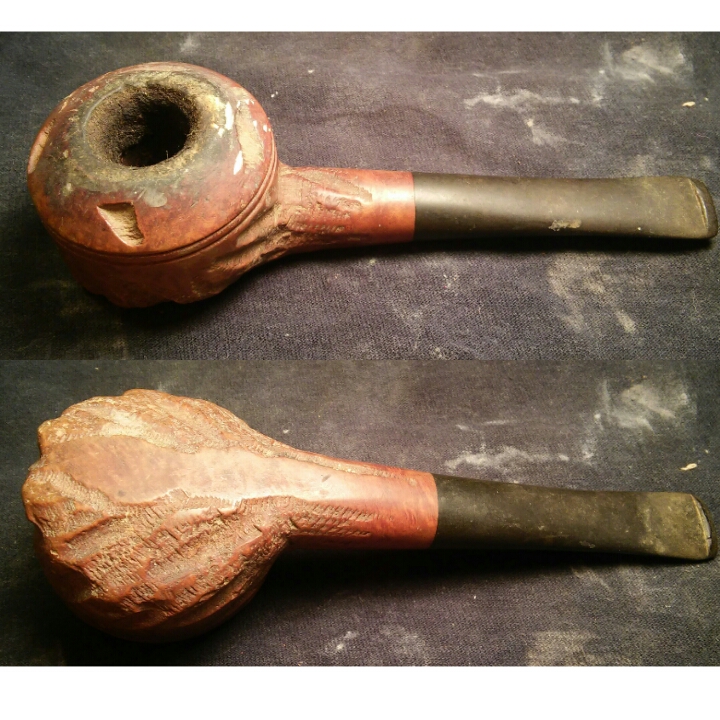
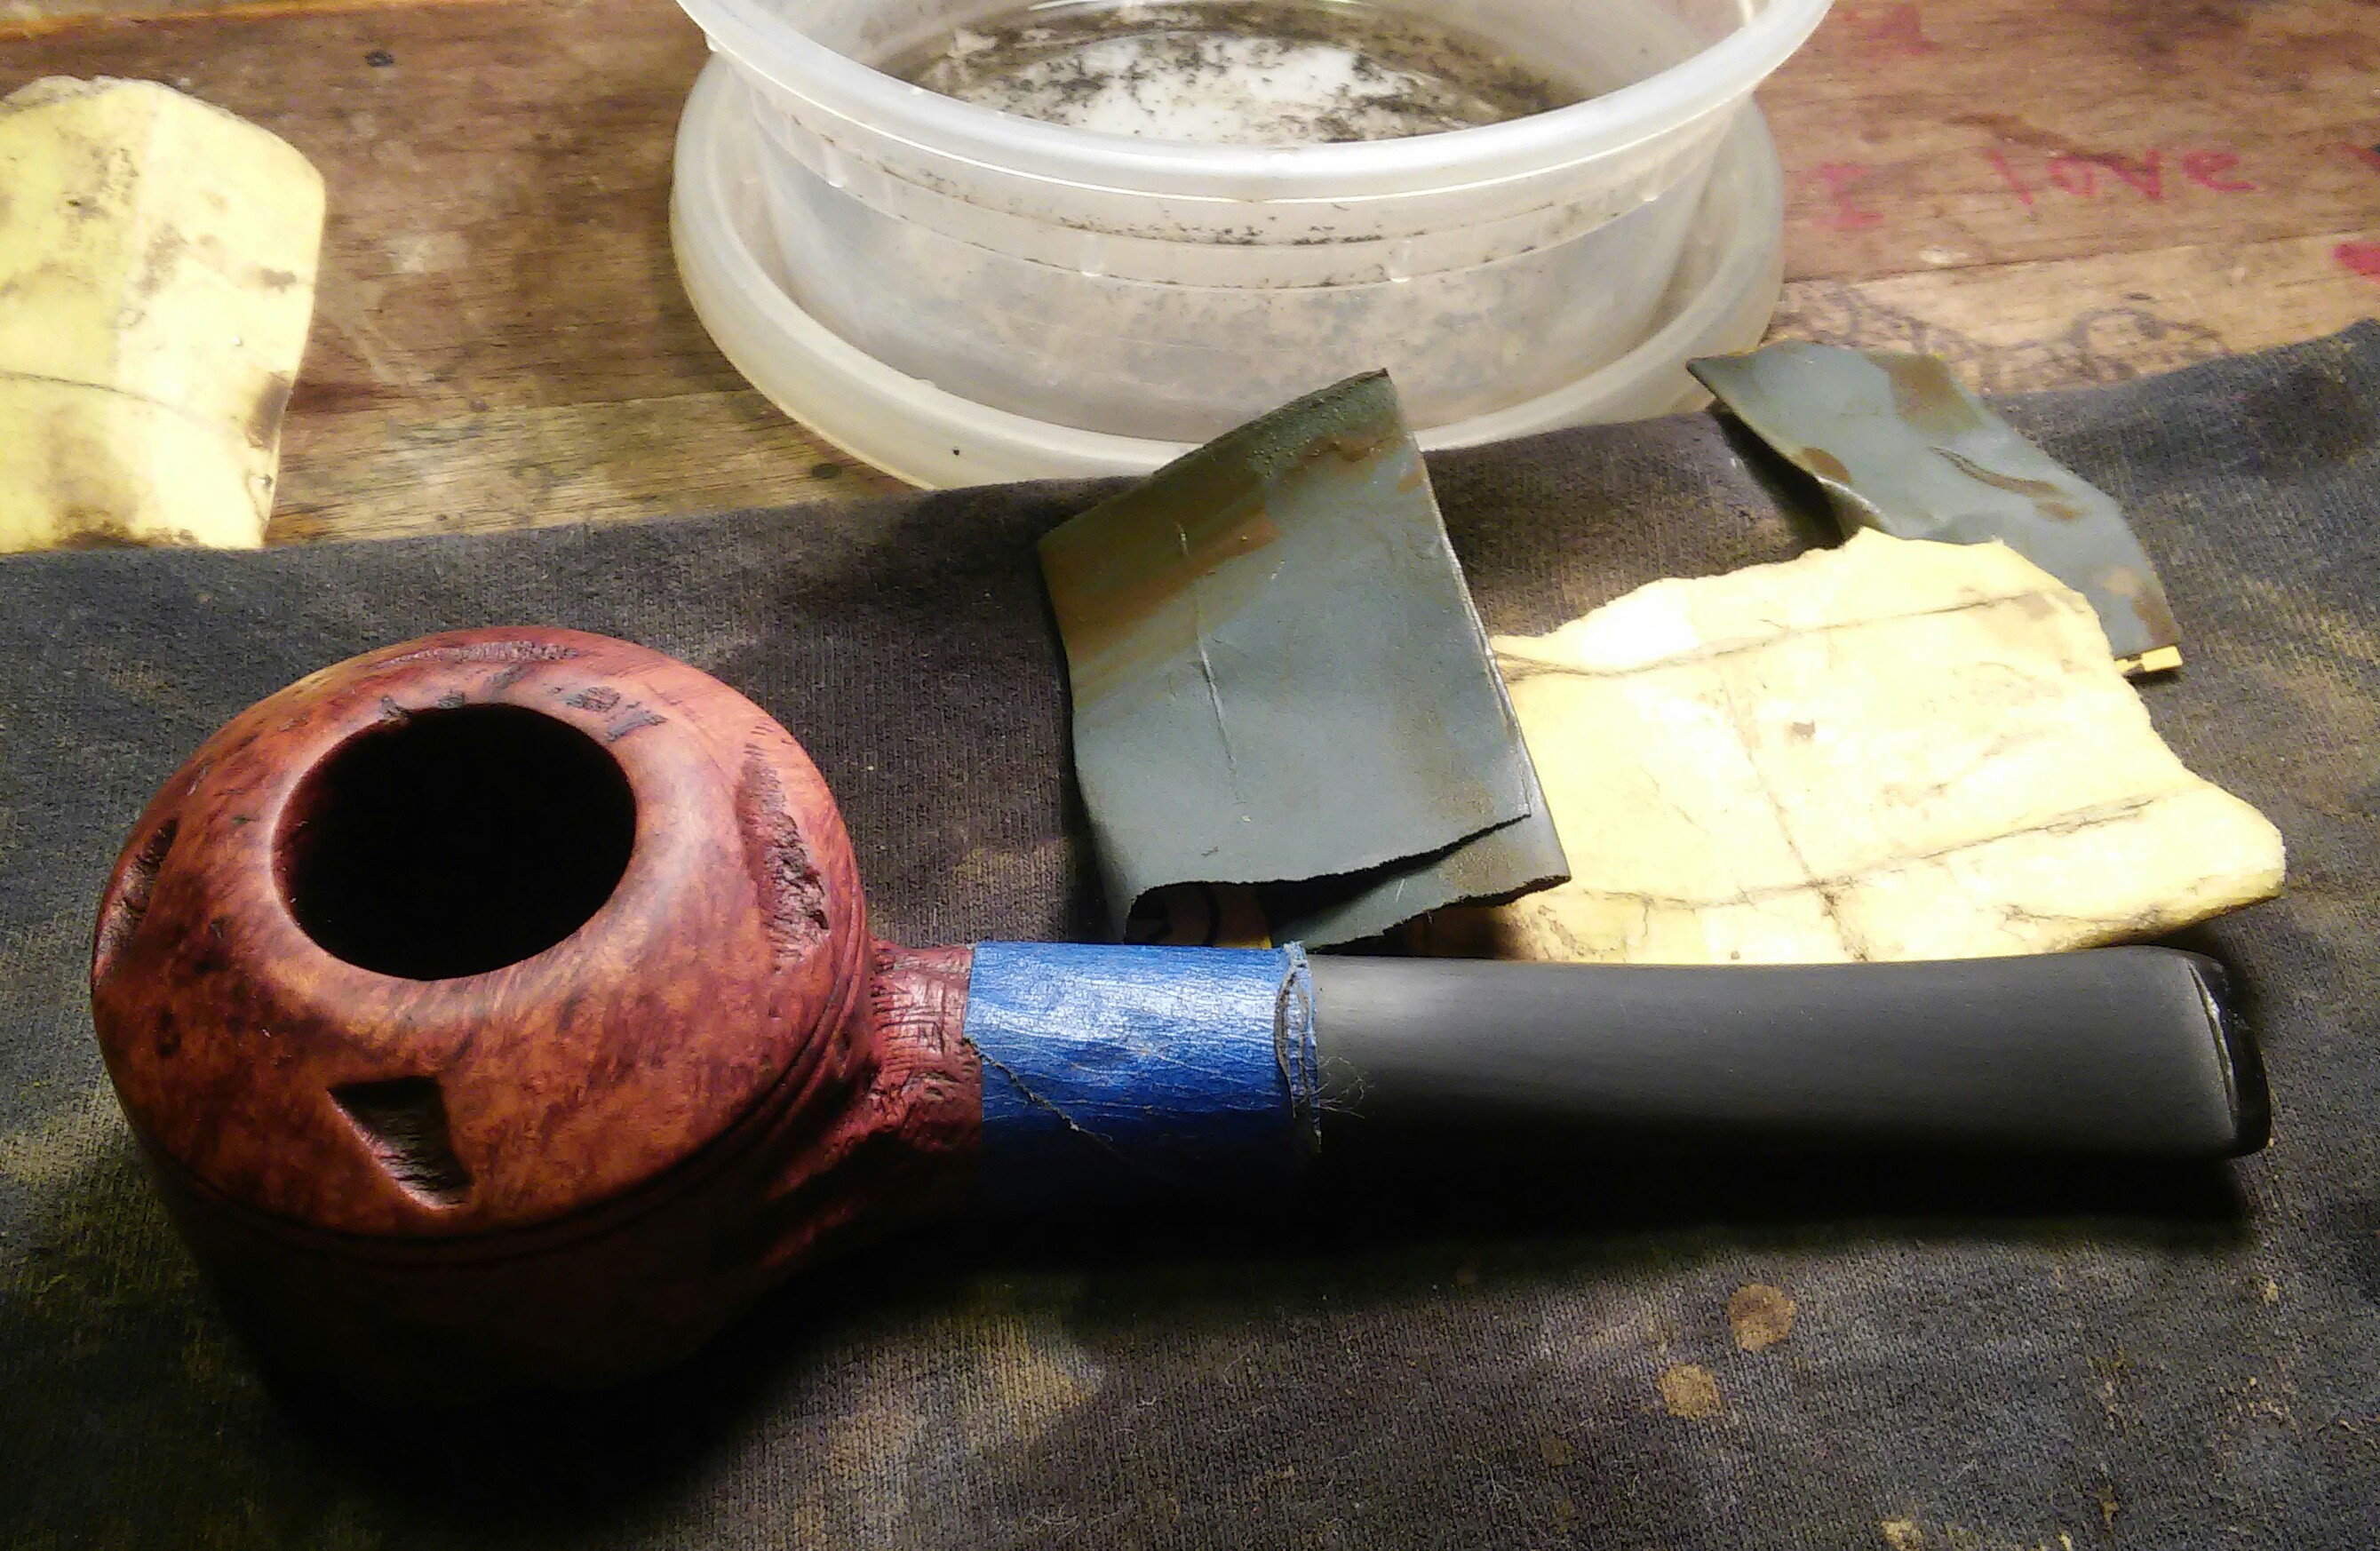
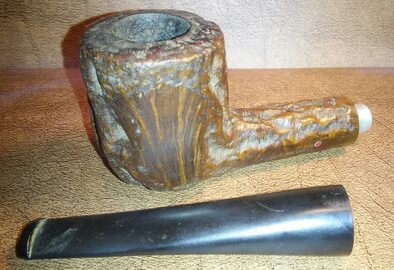
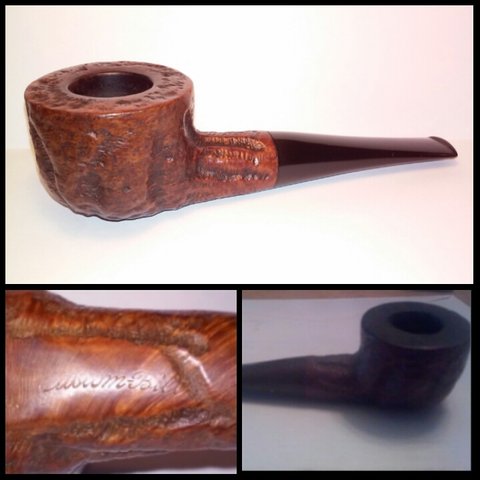
Pipe As Received.


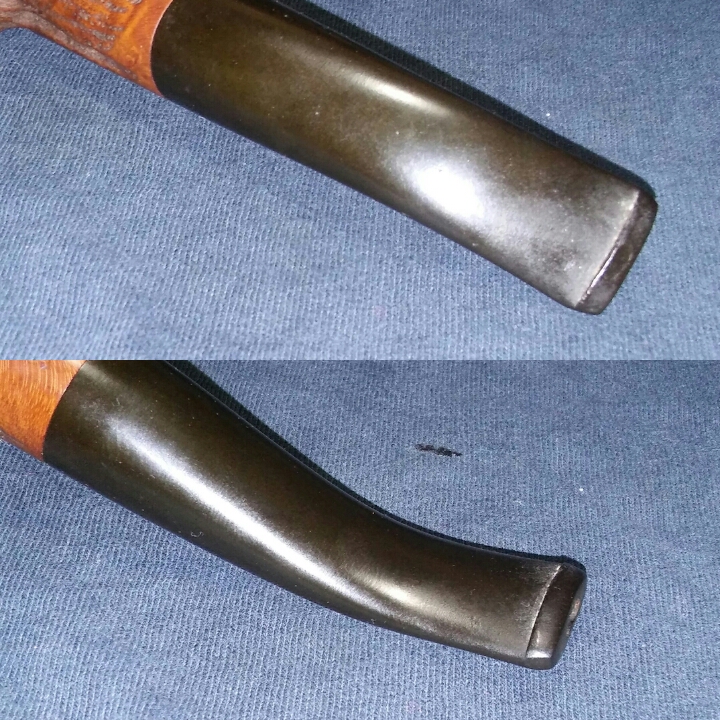
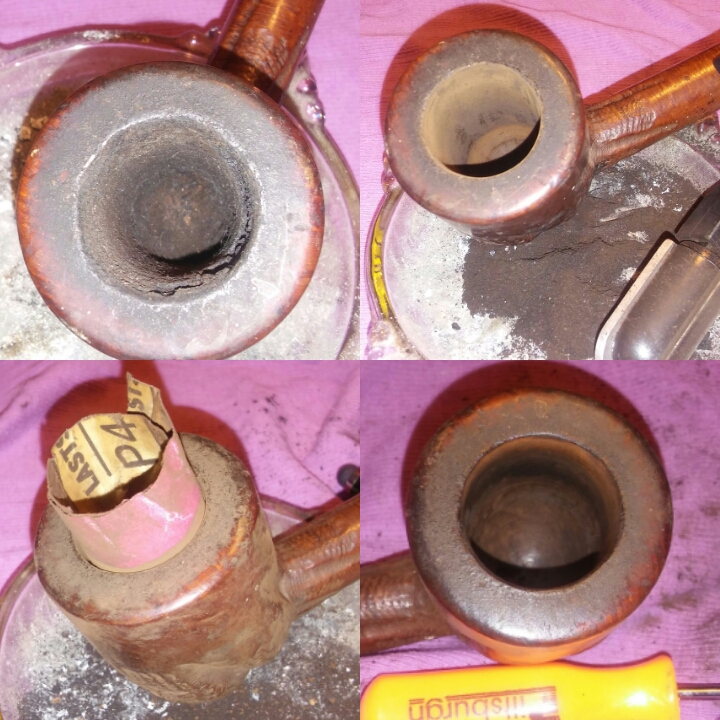
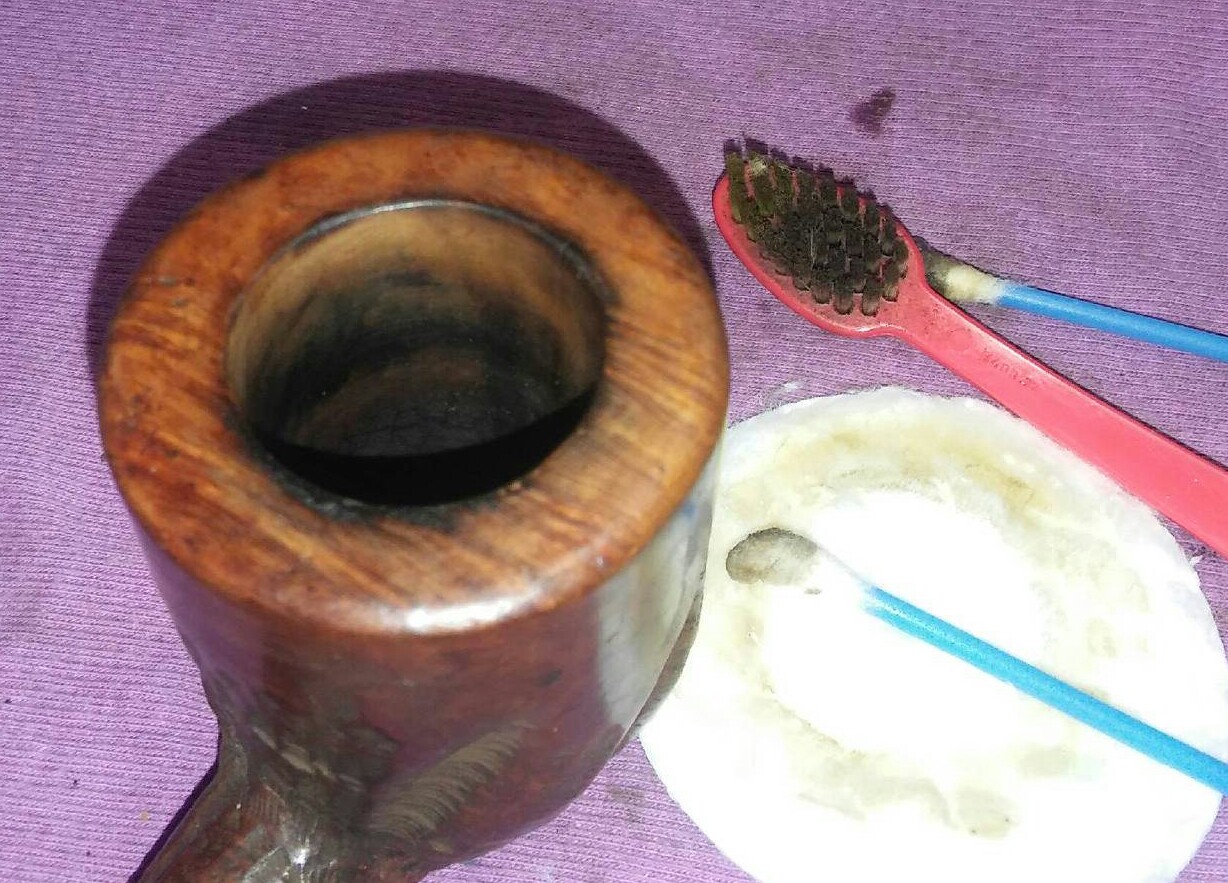
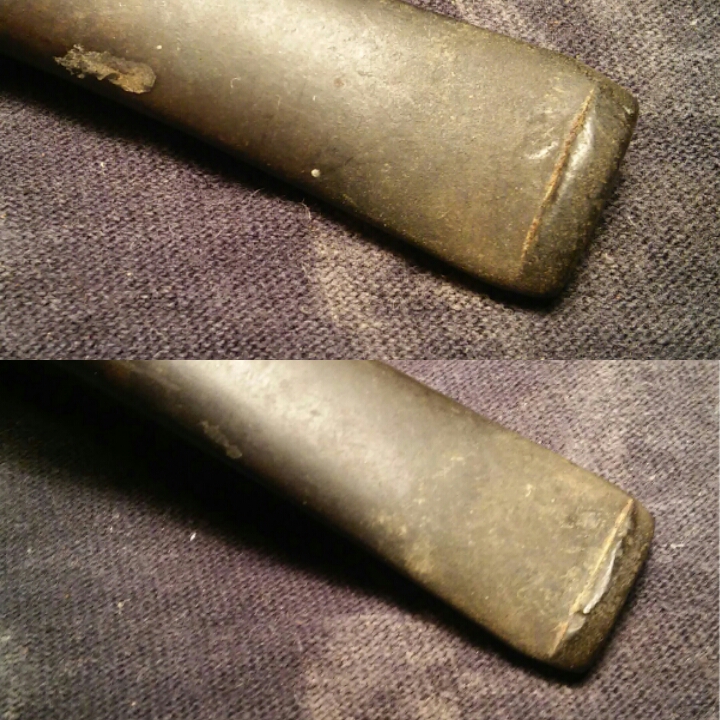
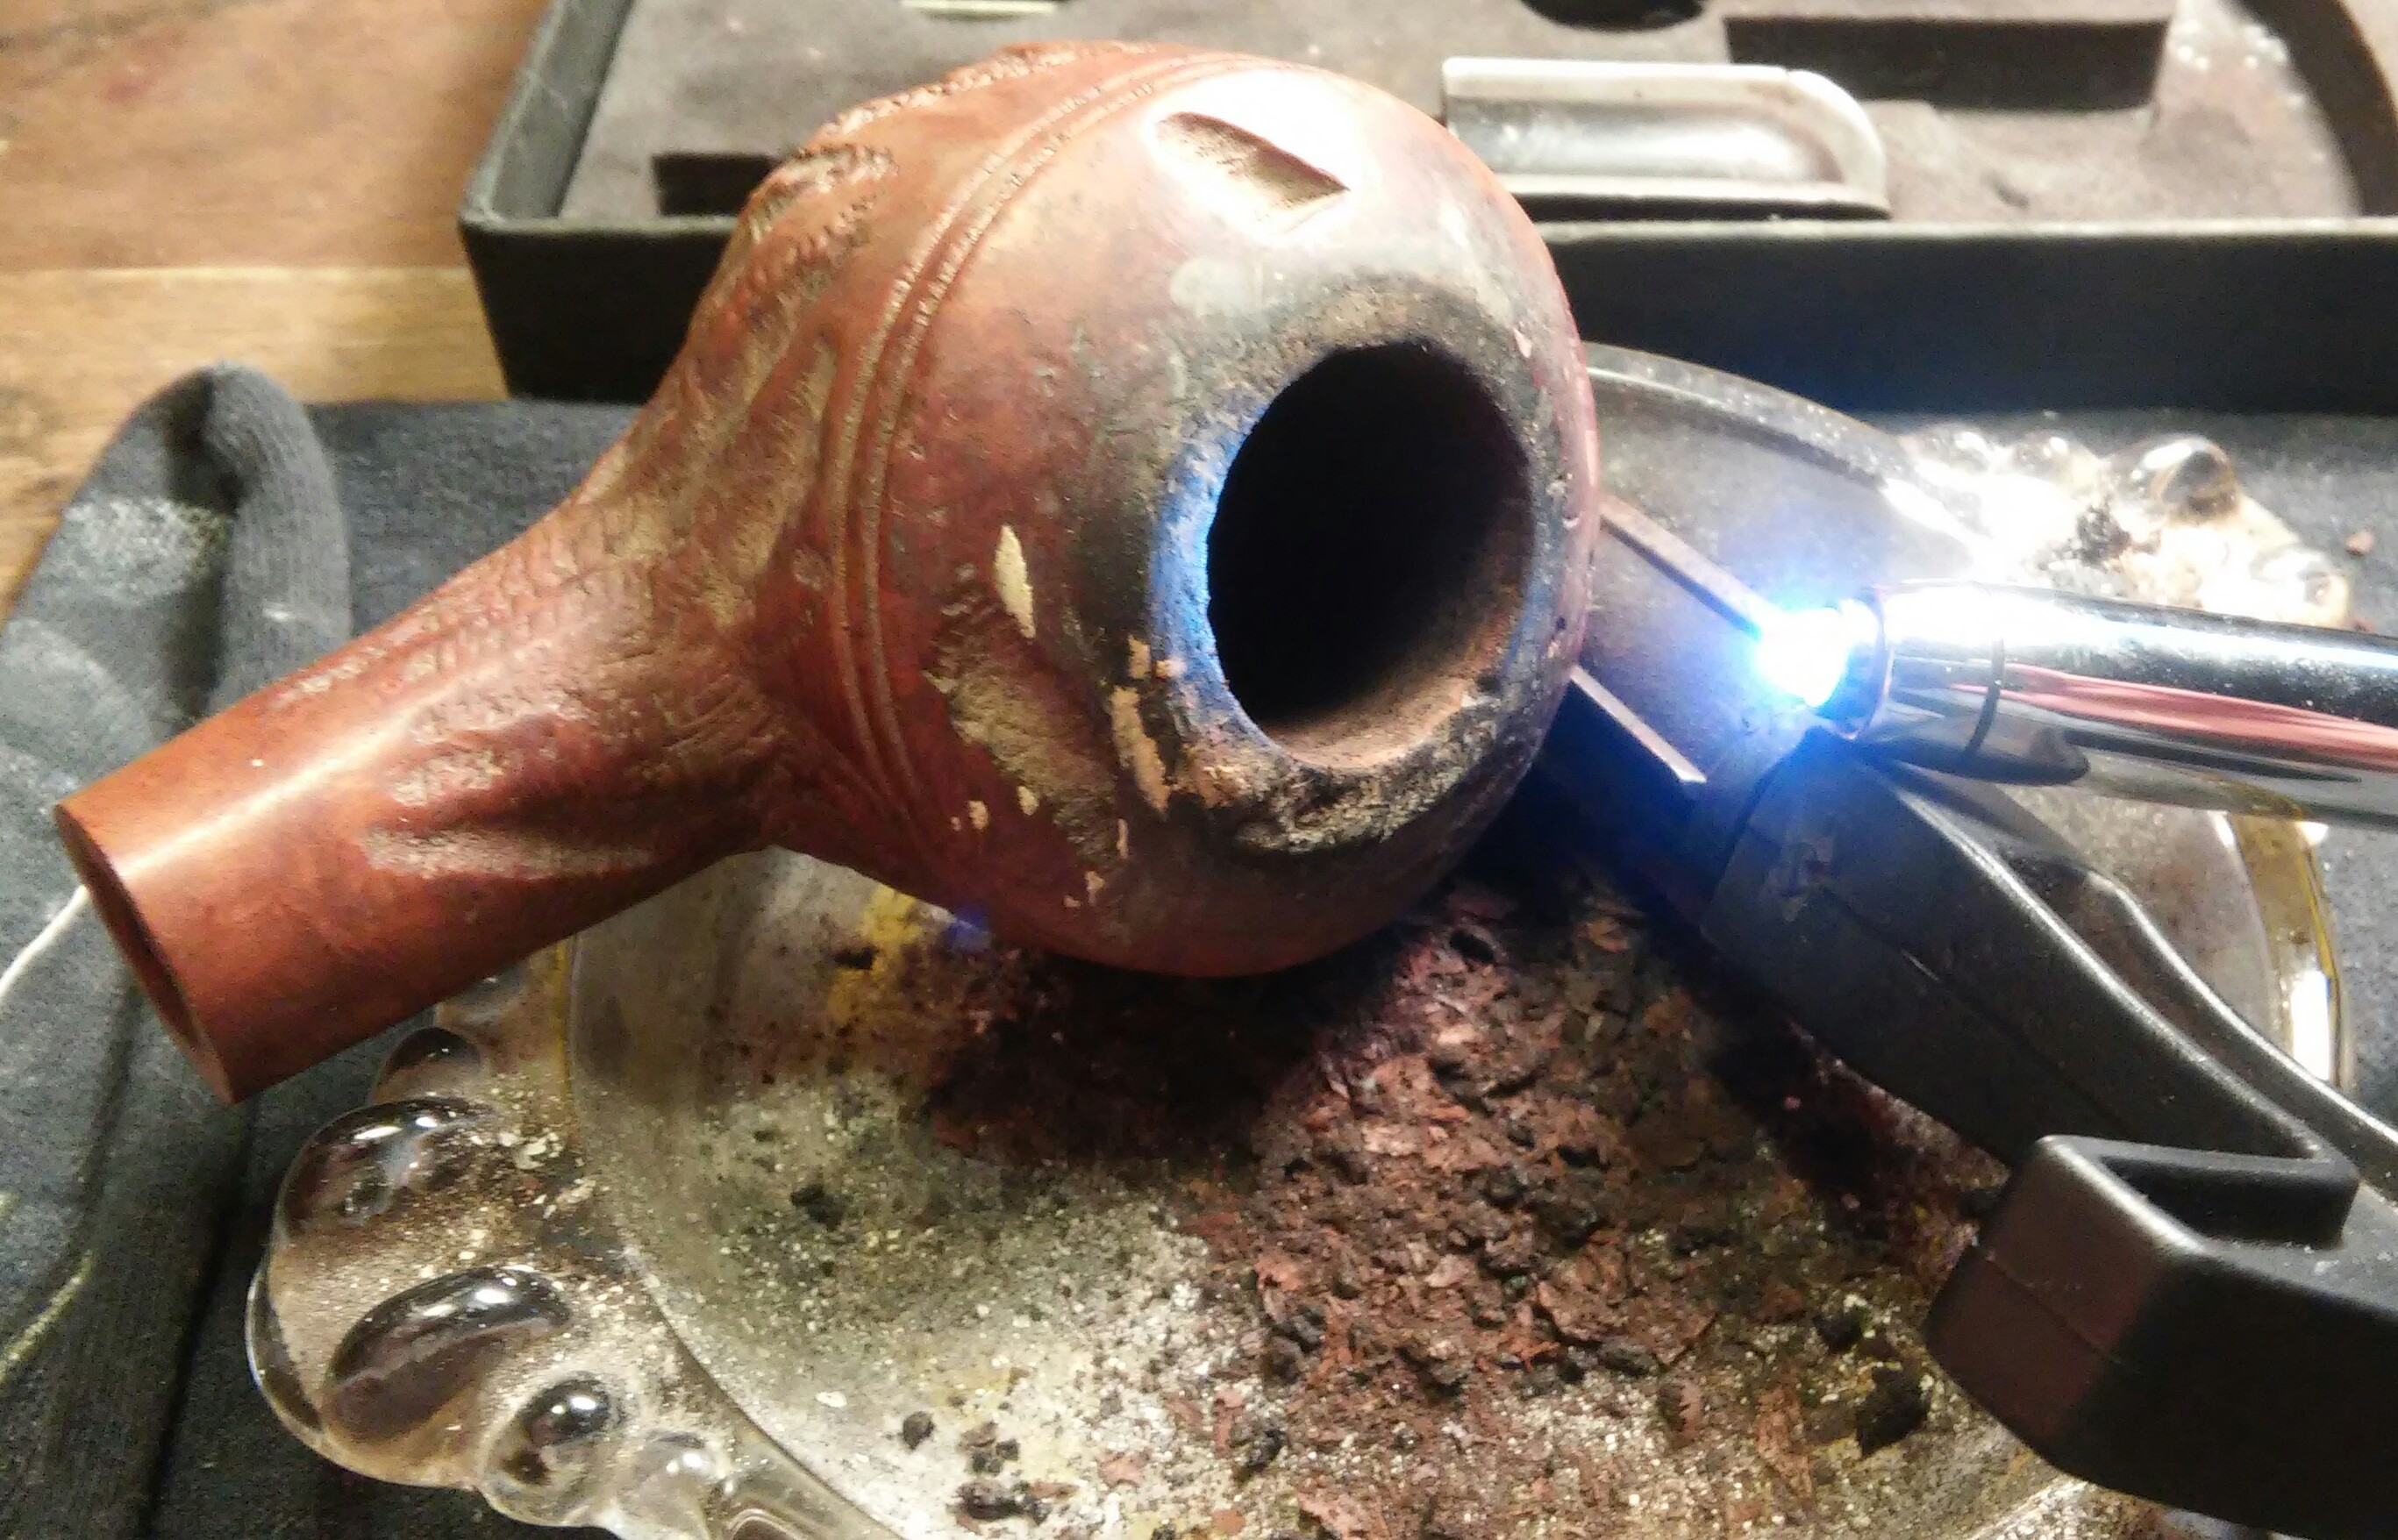
Very well-loved, thick cake, oxidation, worn button, rim char, rim tar and worn finish.
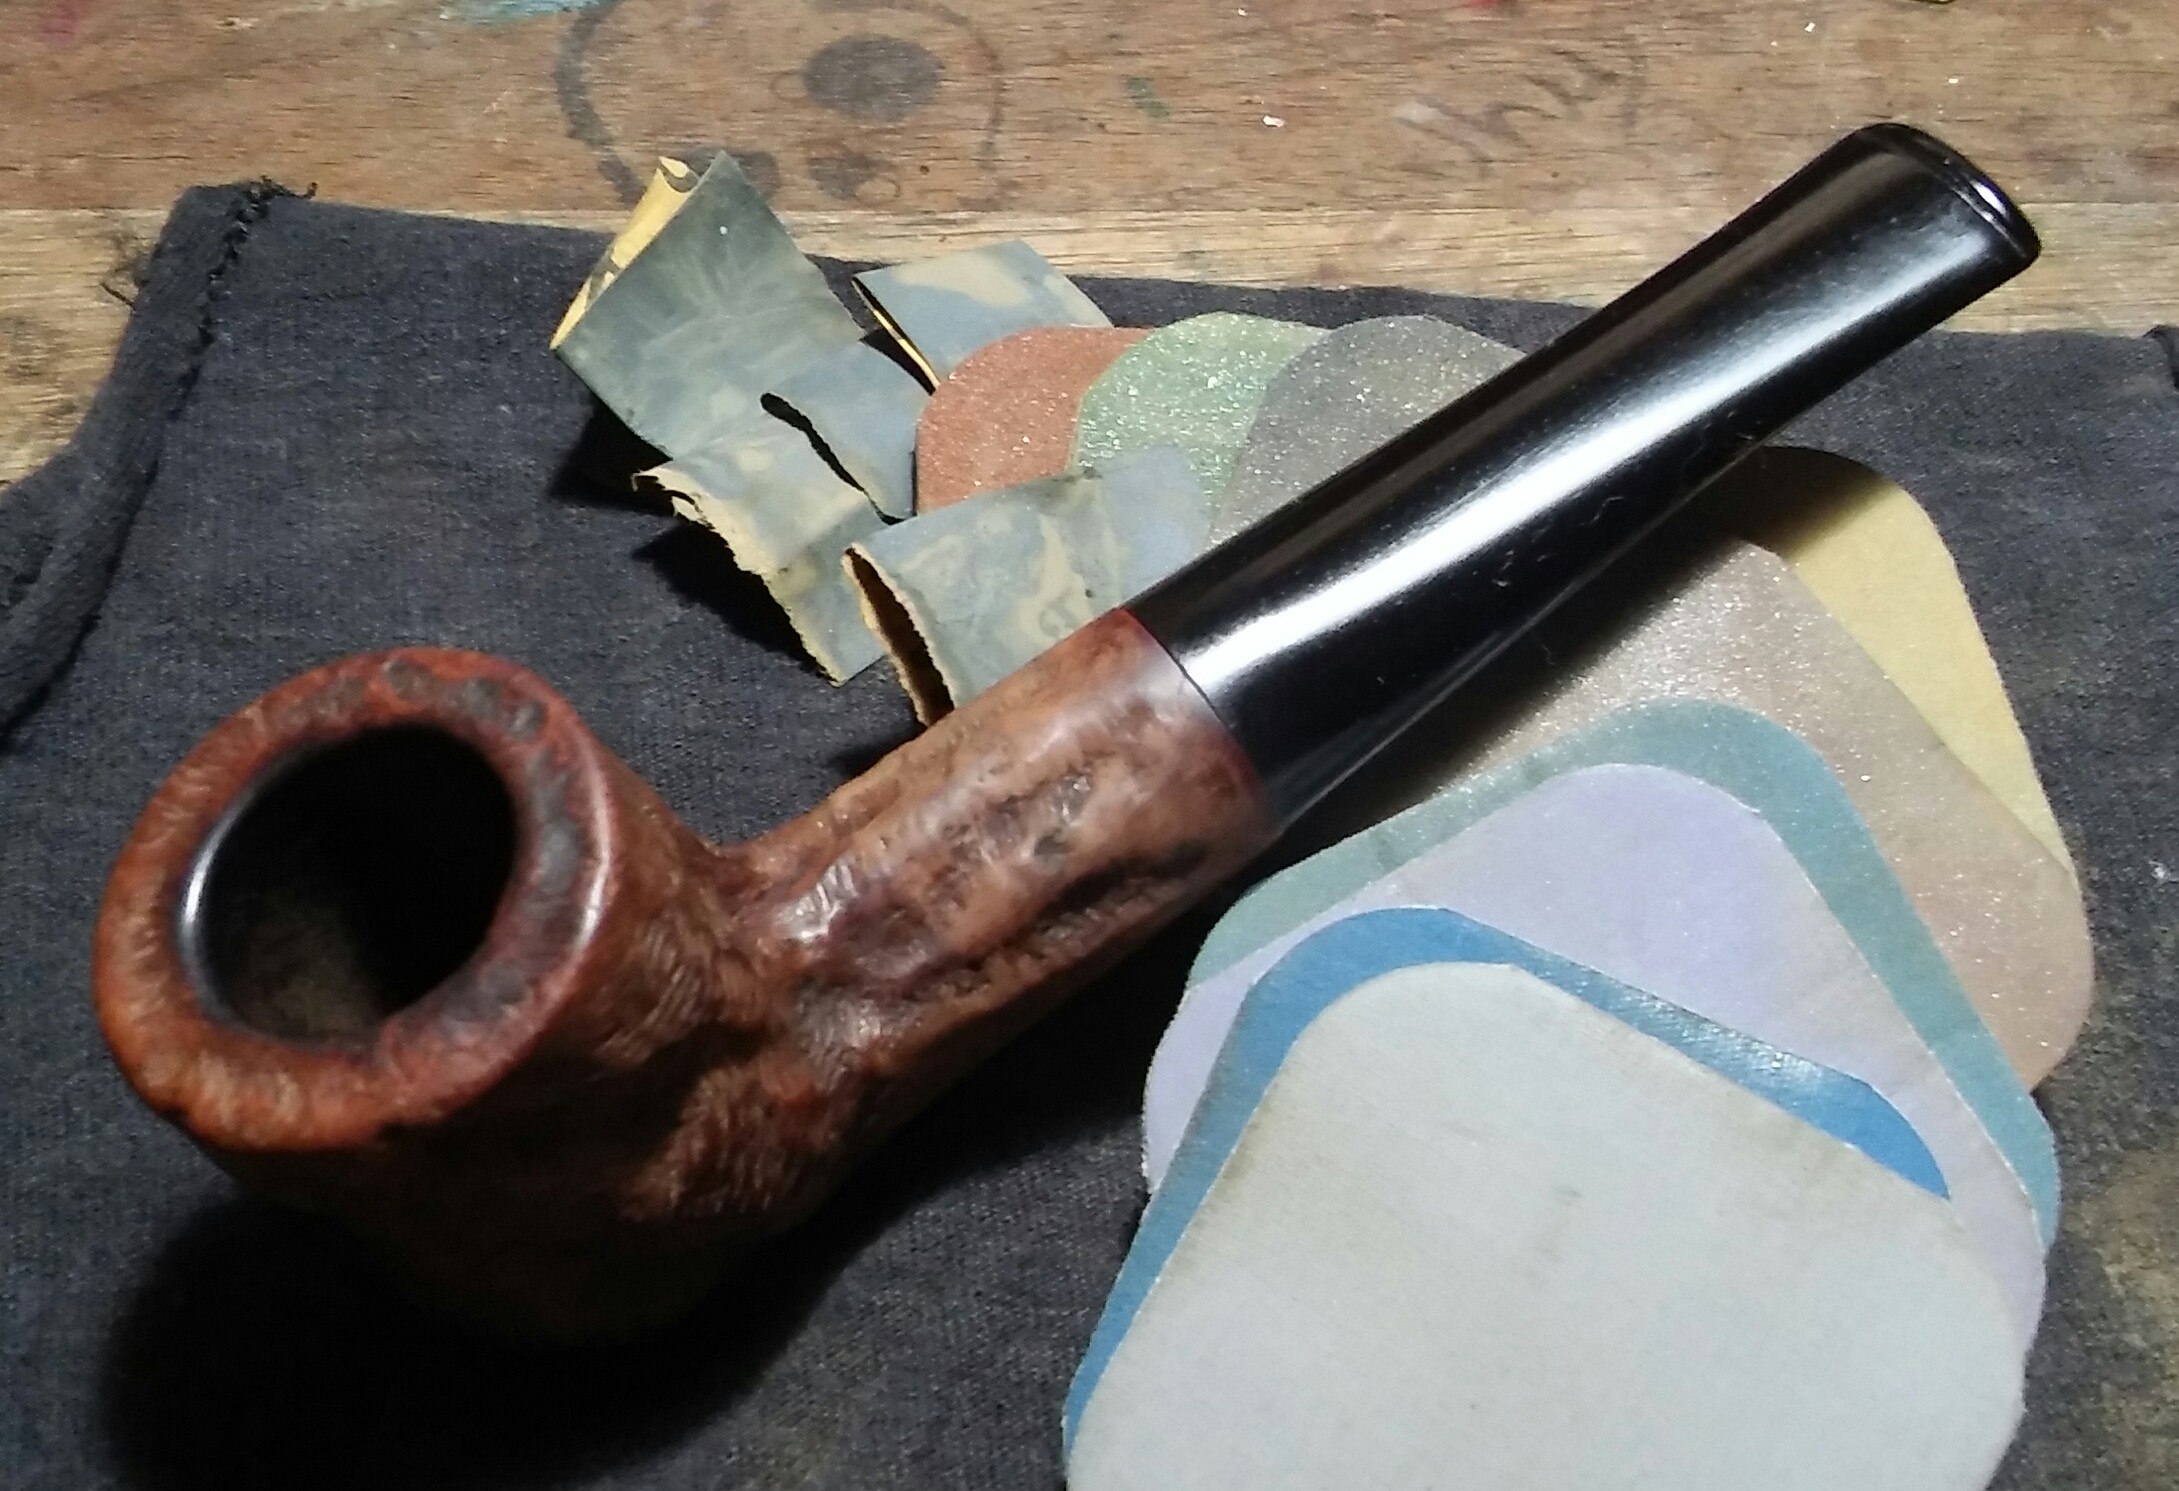
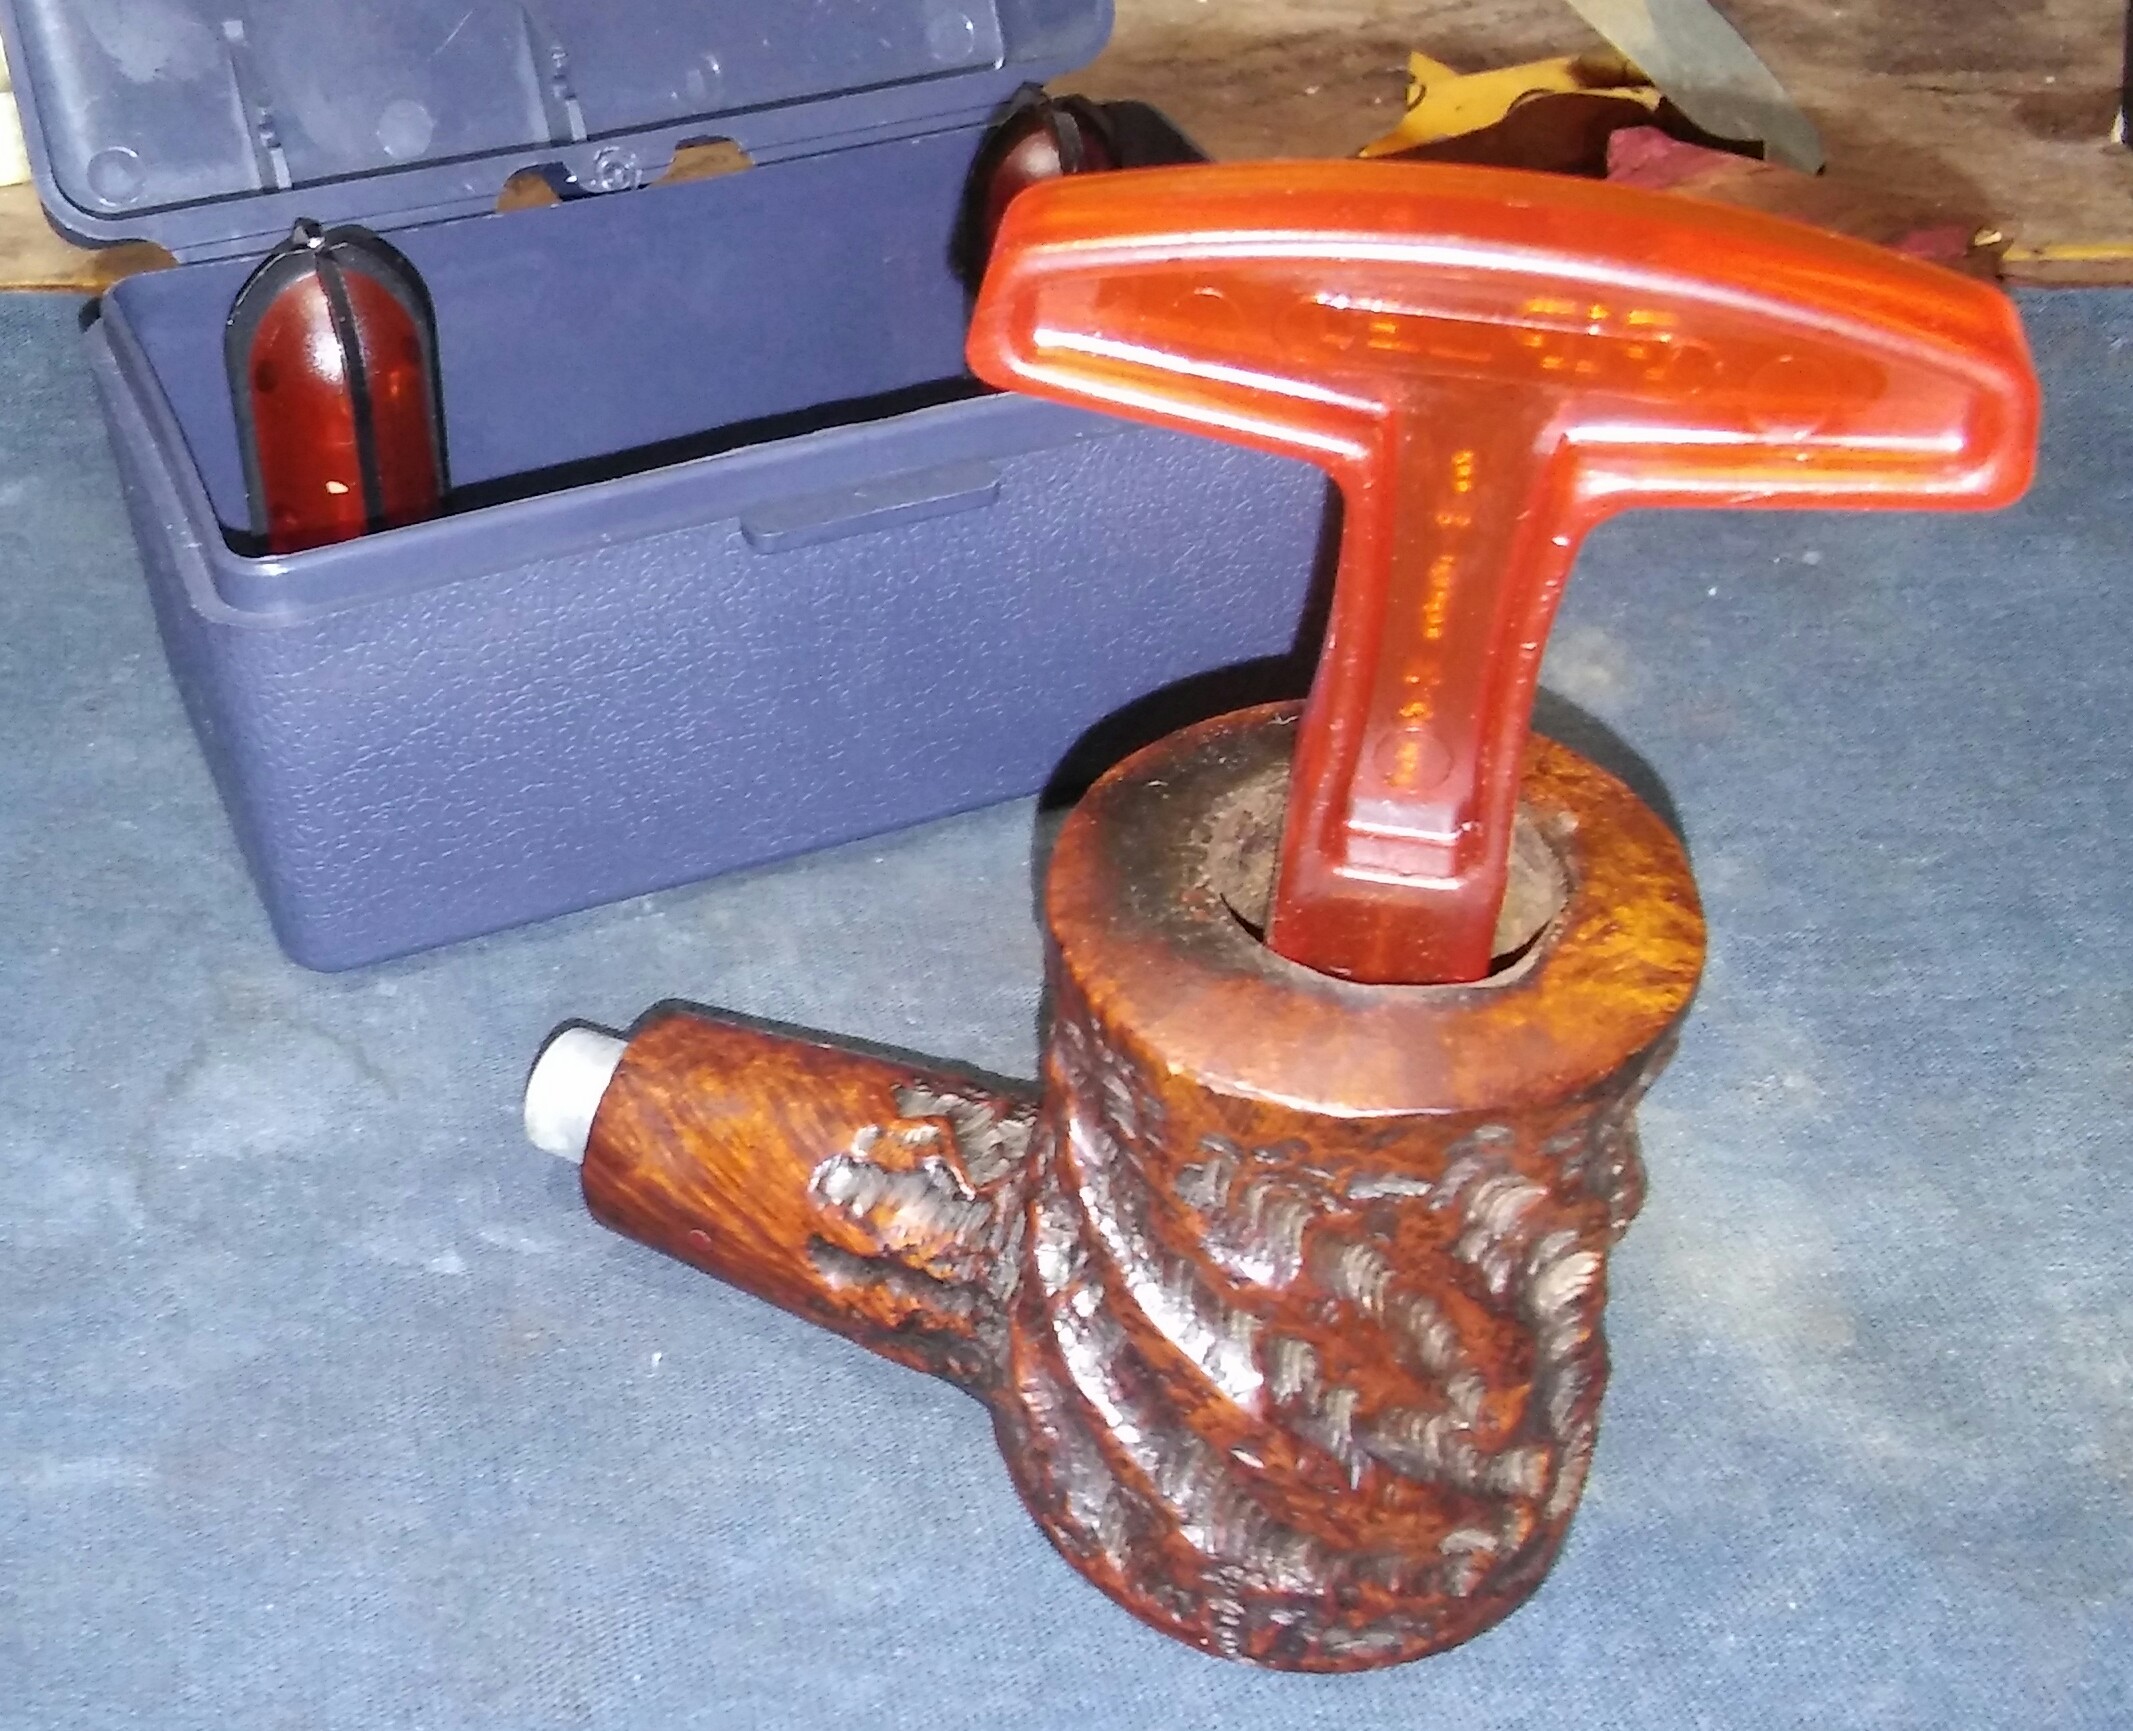
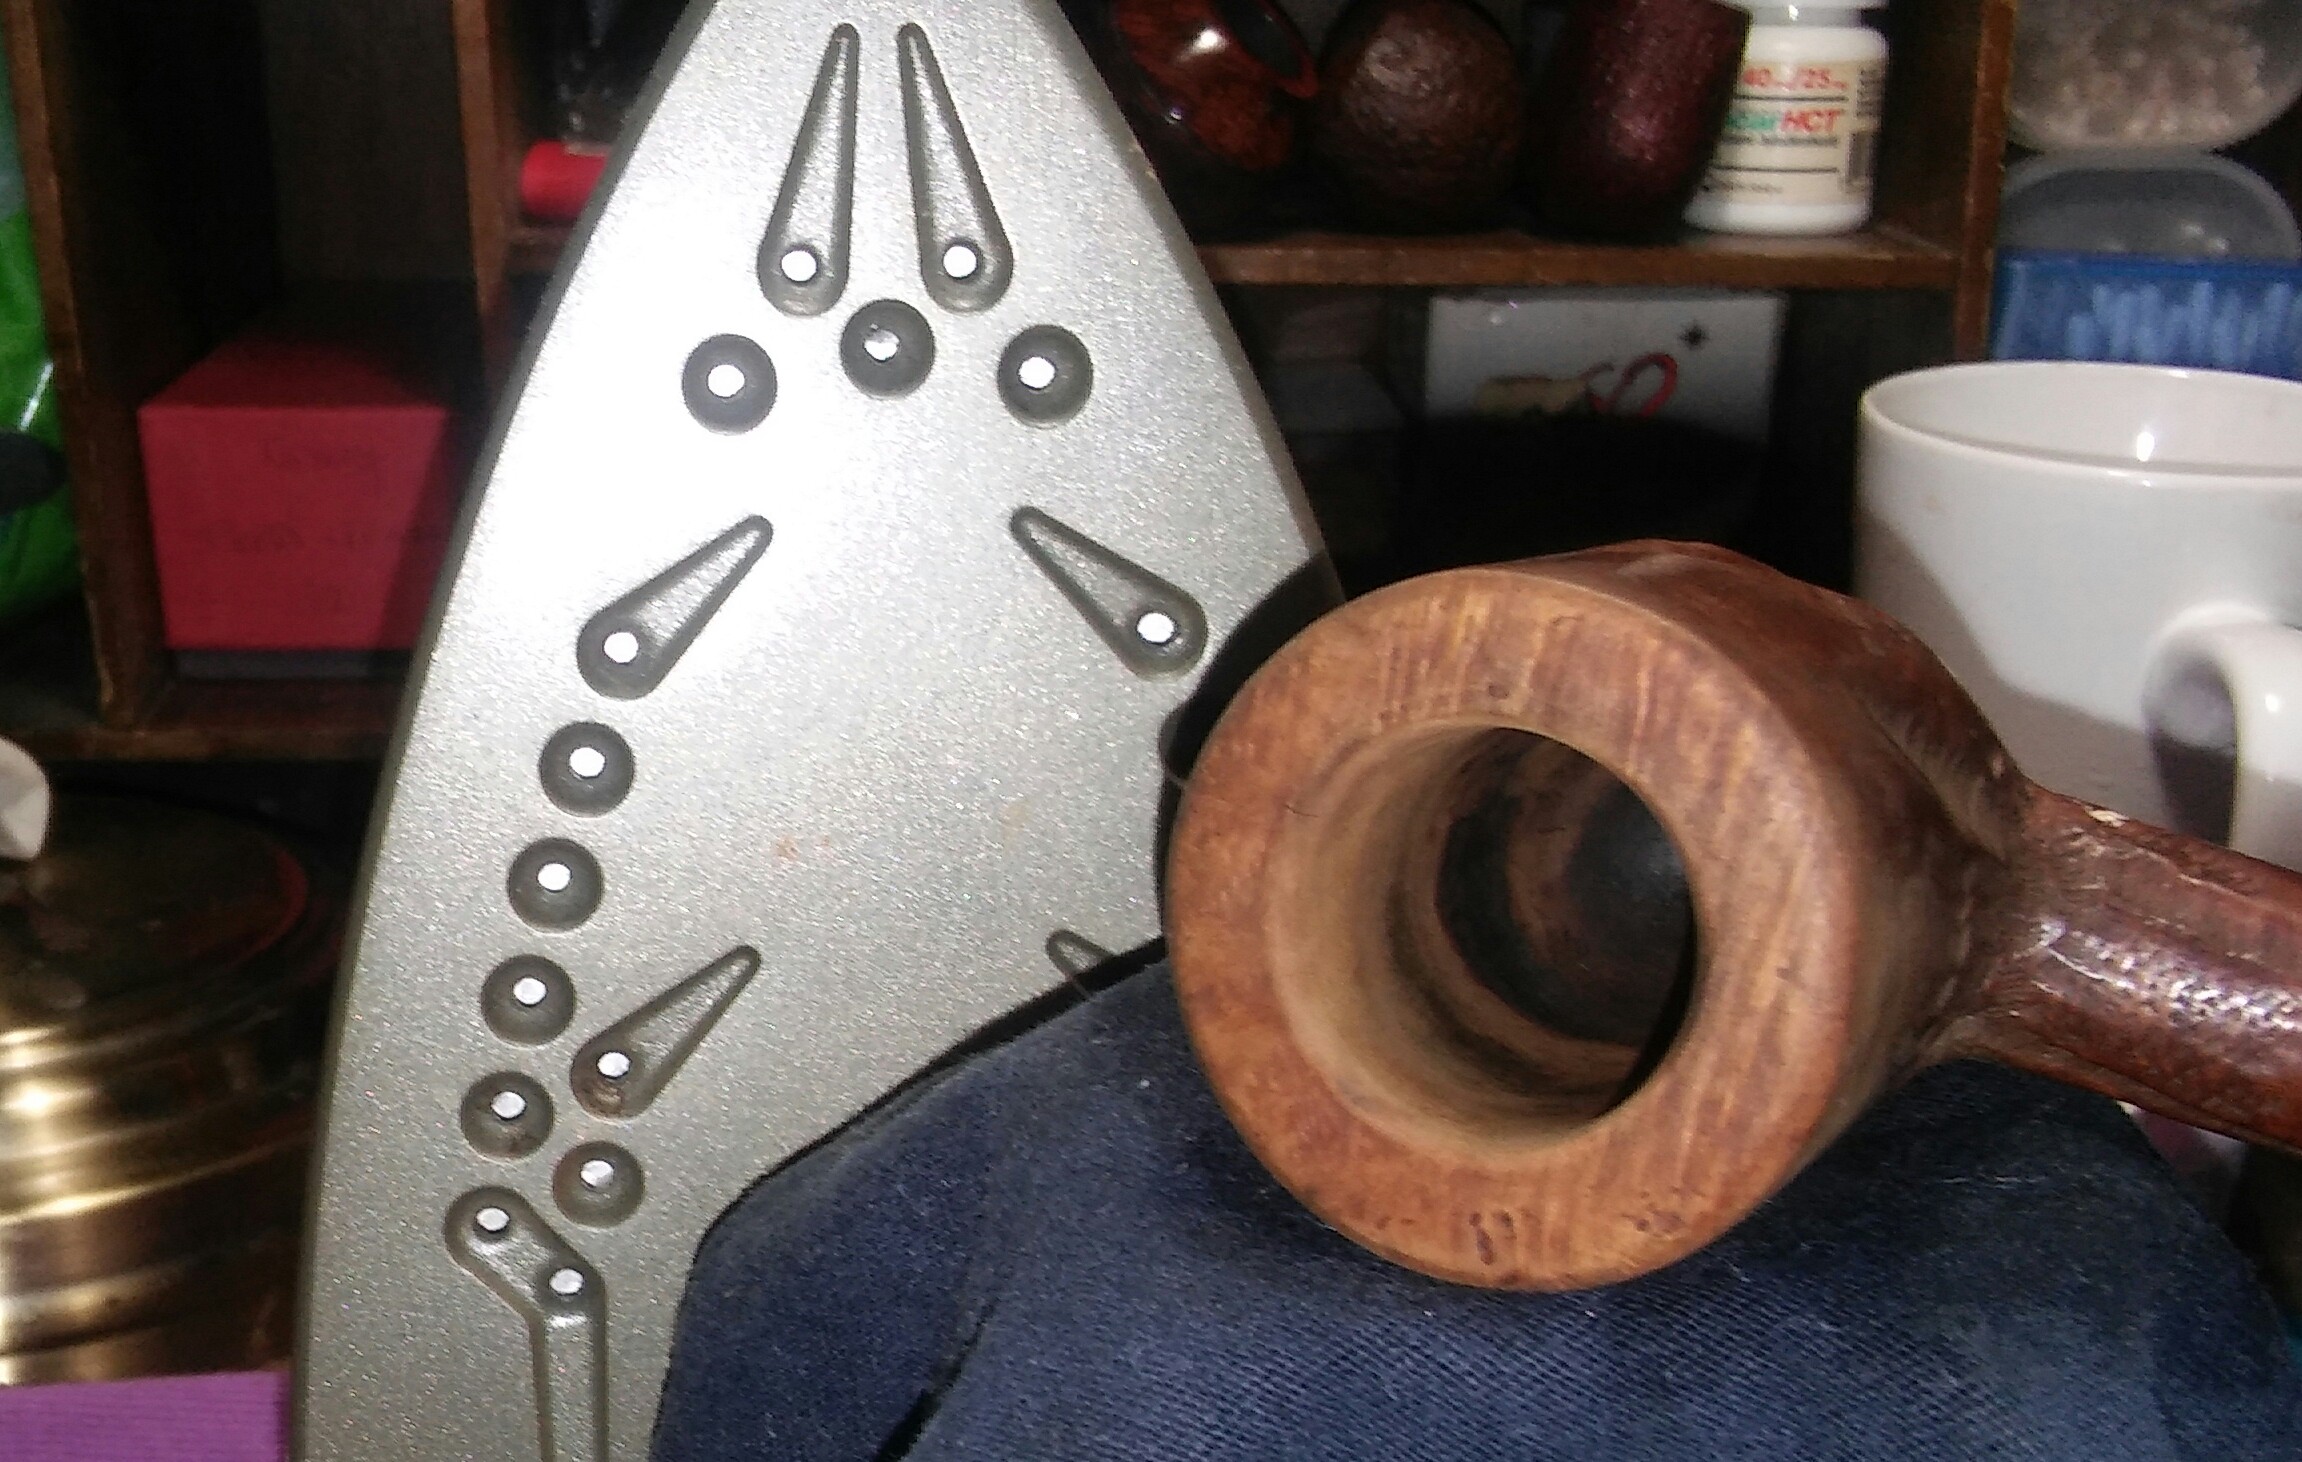
I started with my Pipnet Reamer and the smallest attachment working up to the second largest. Finished with 400 grit sandpaper wrapped around a finger.

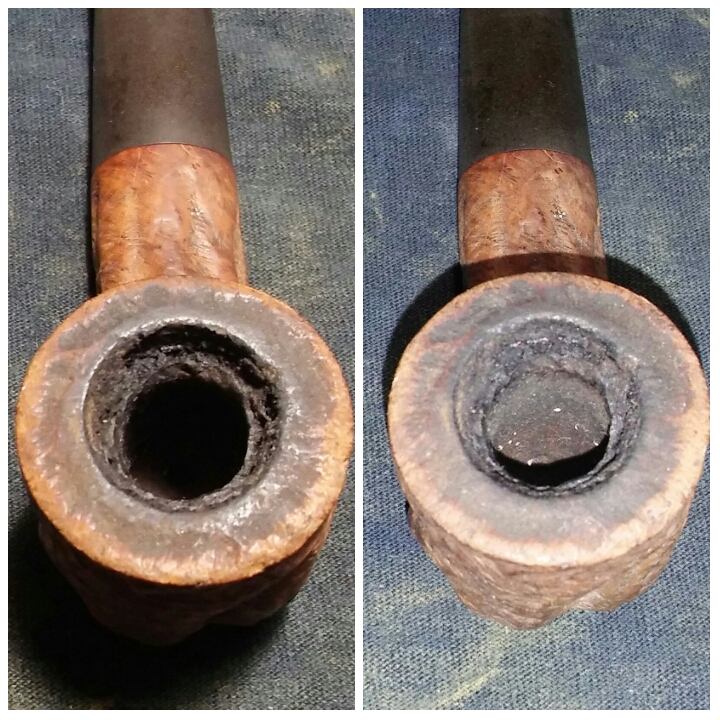
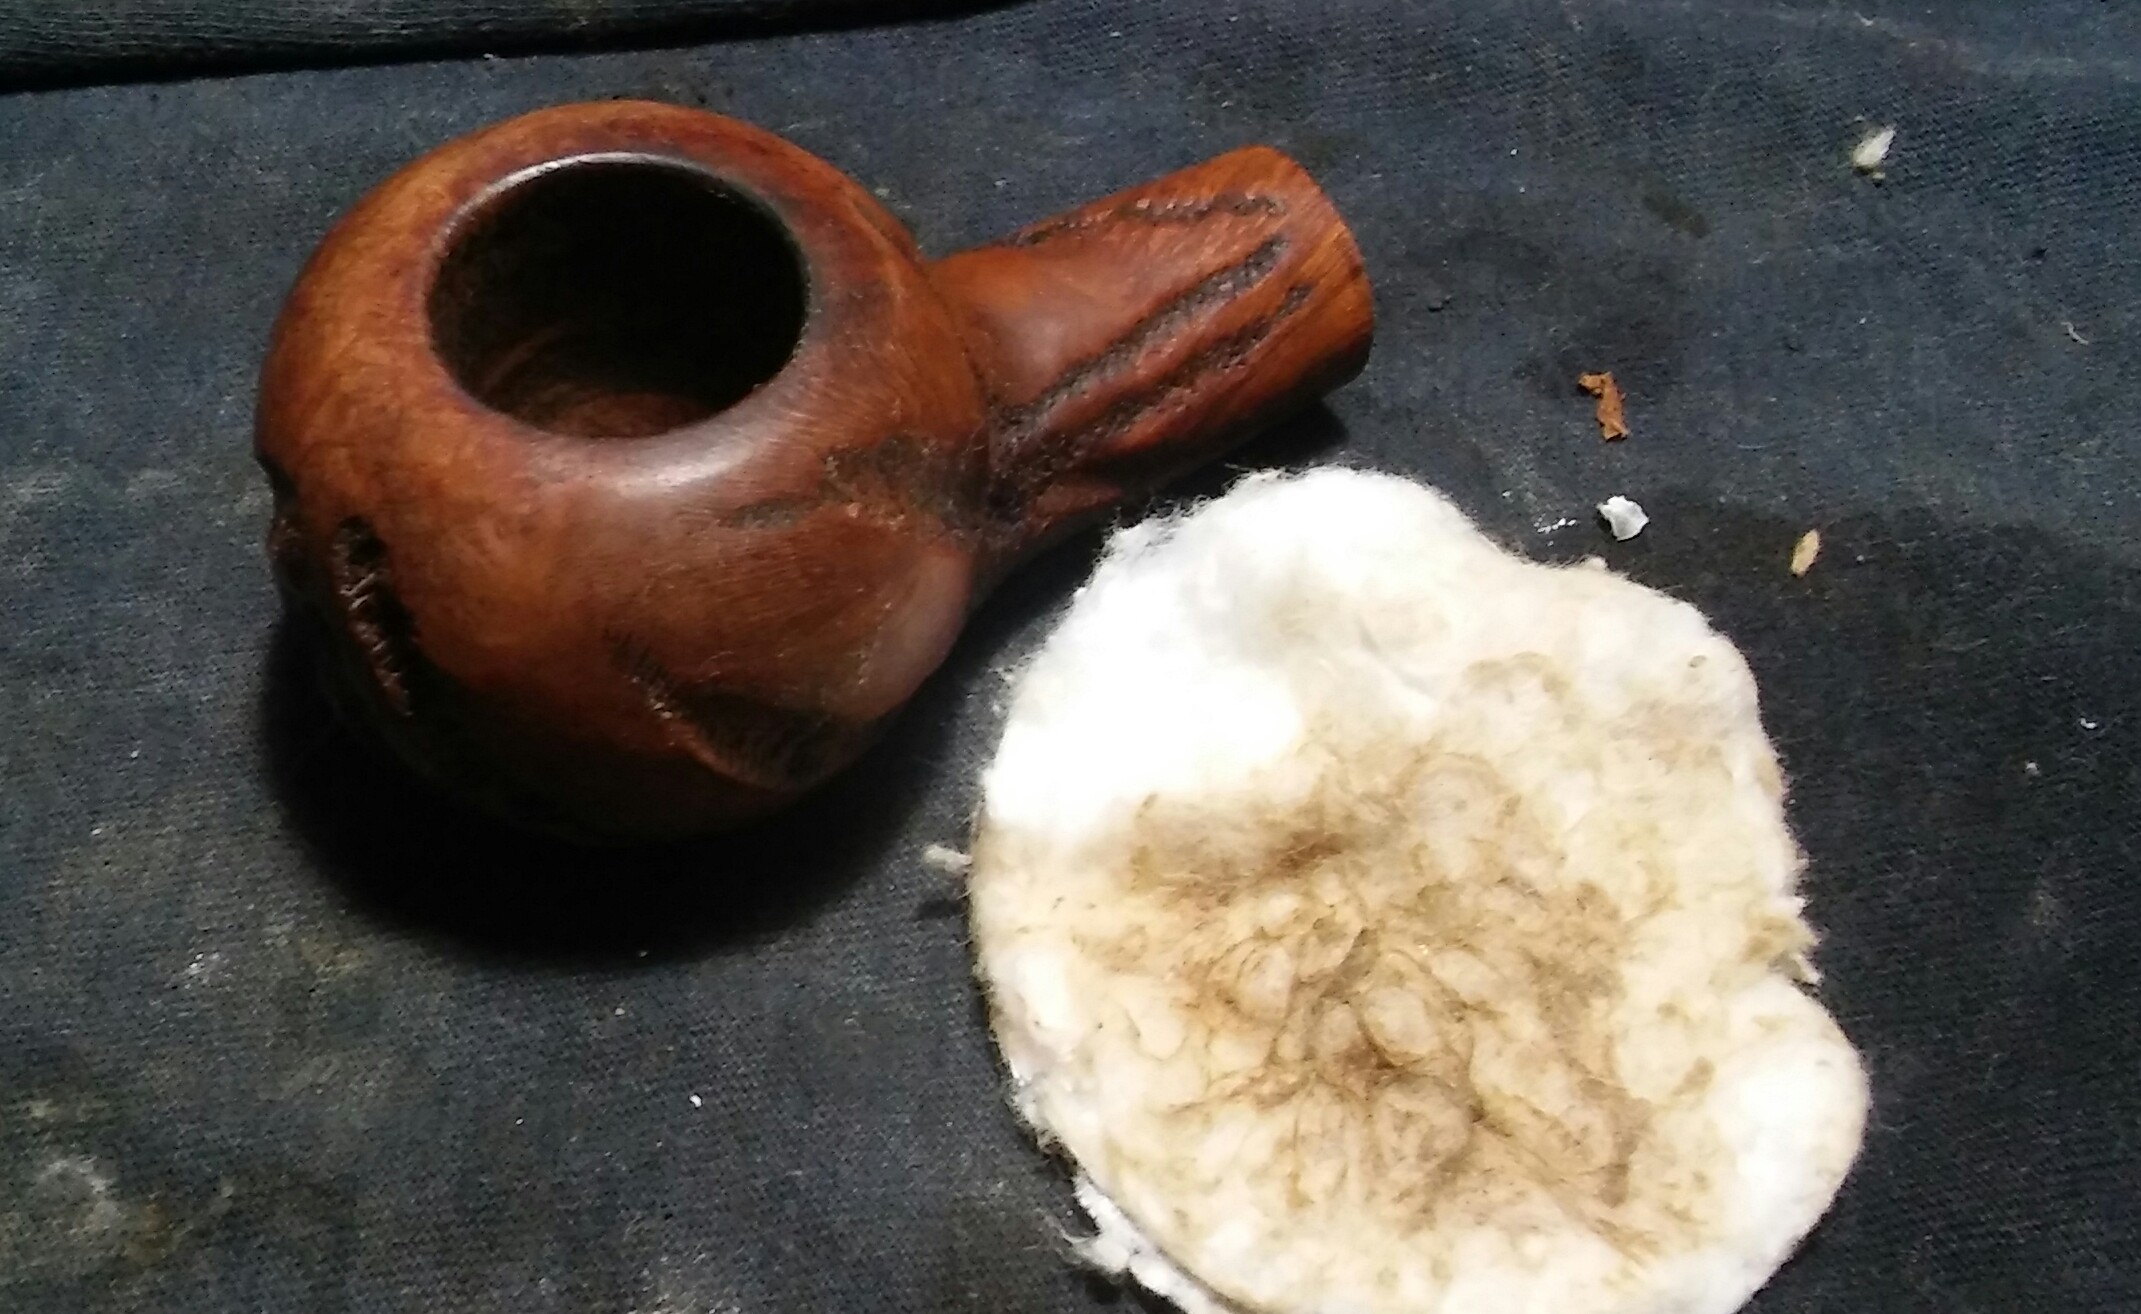
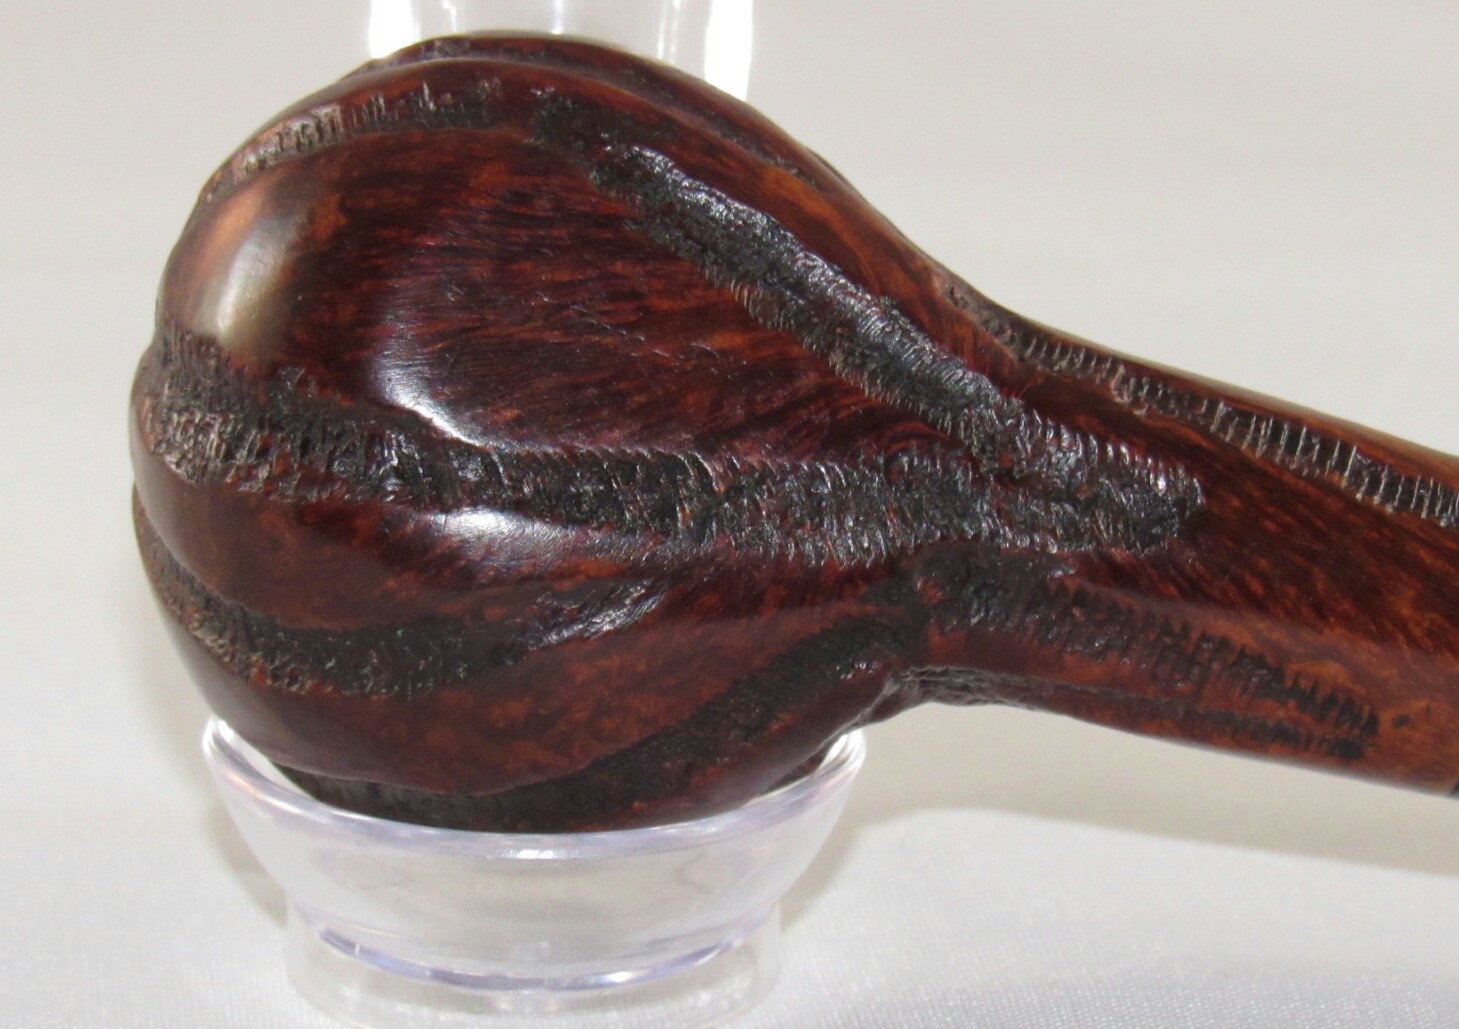
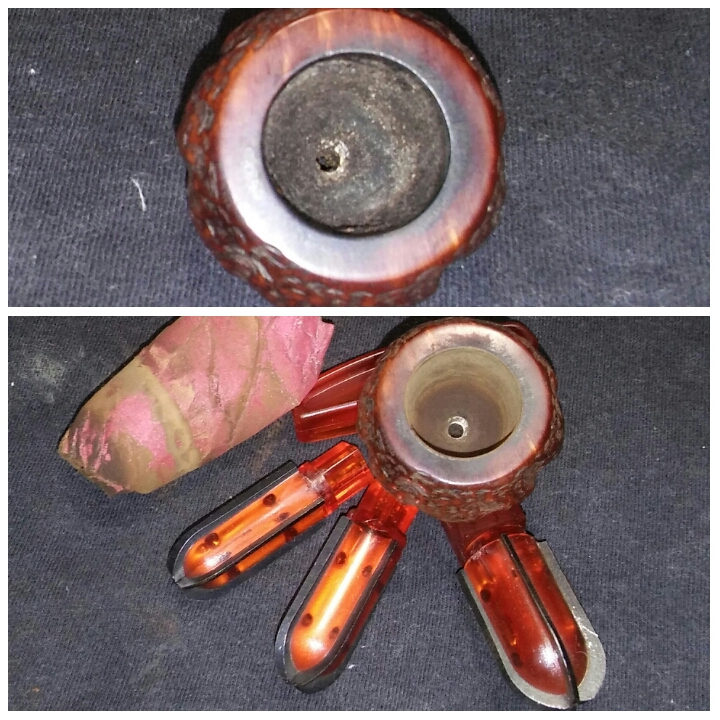
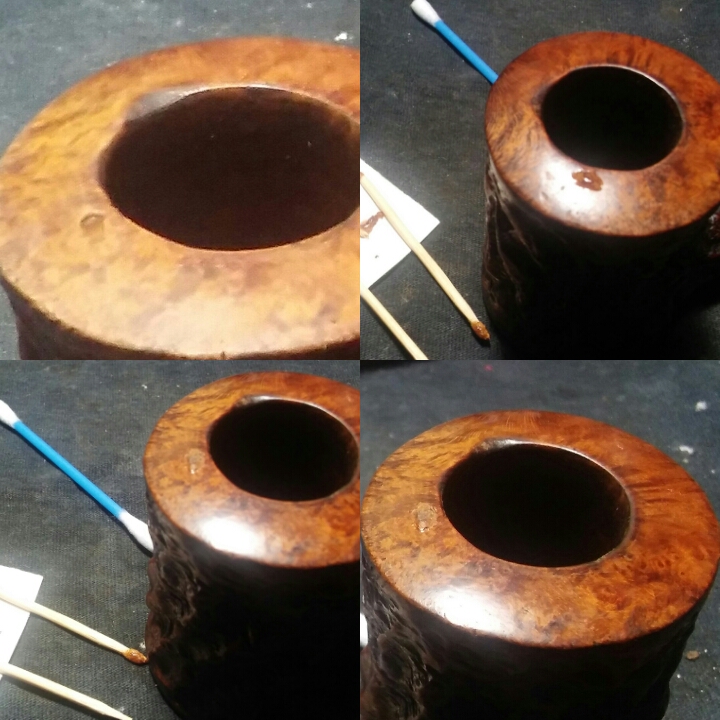
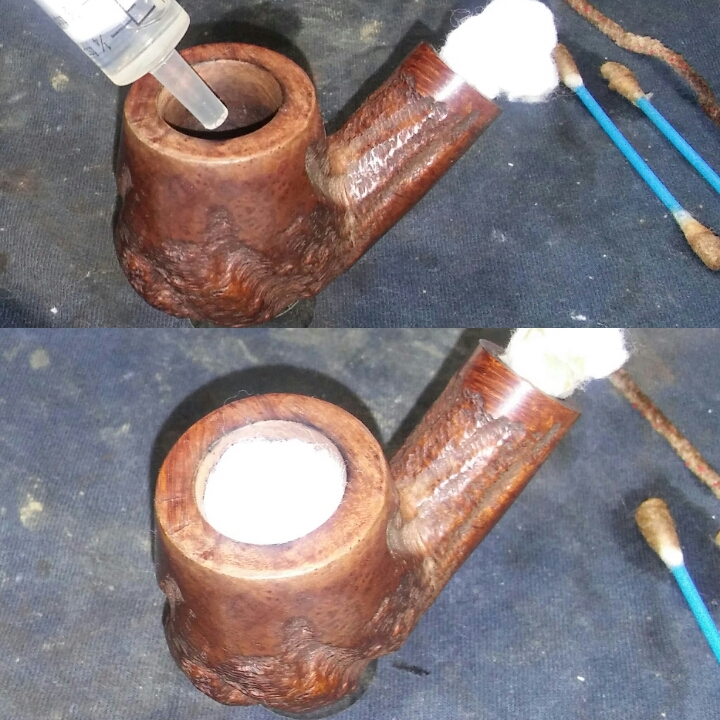
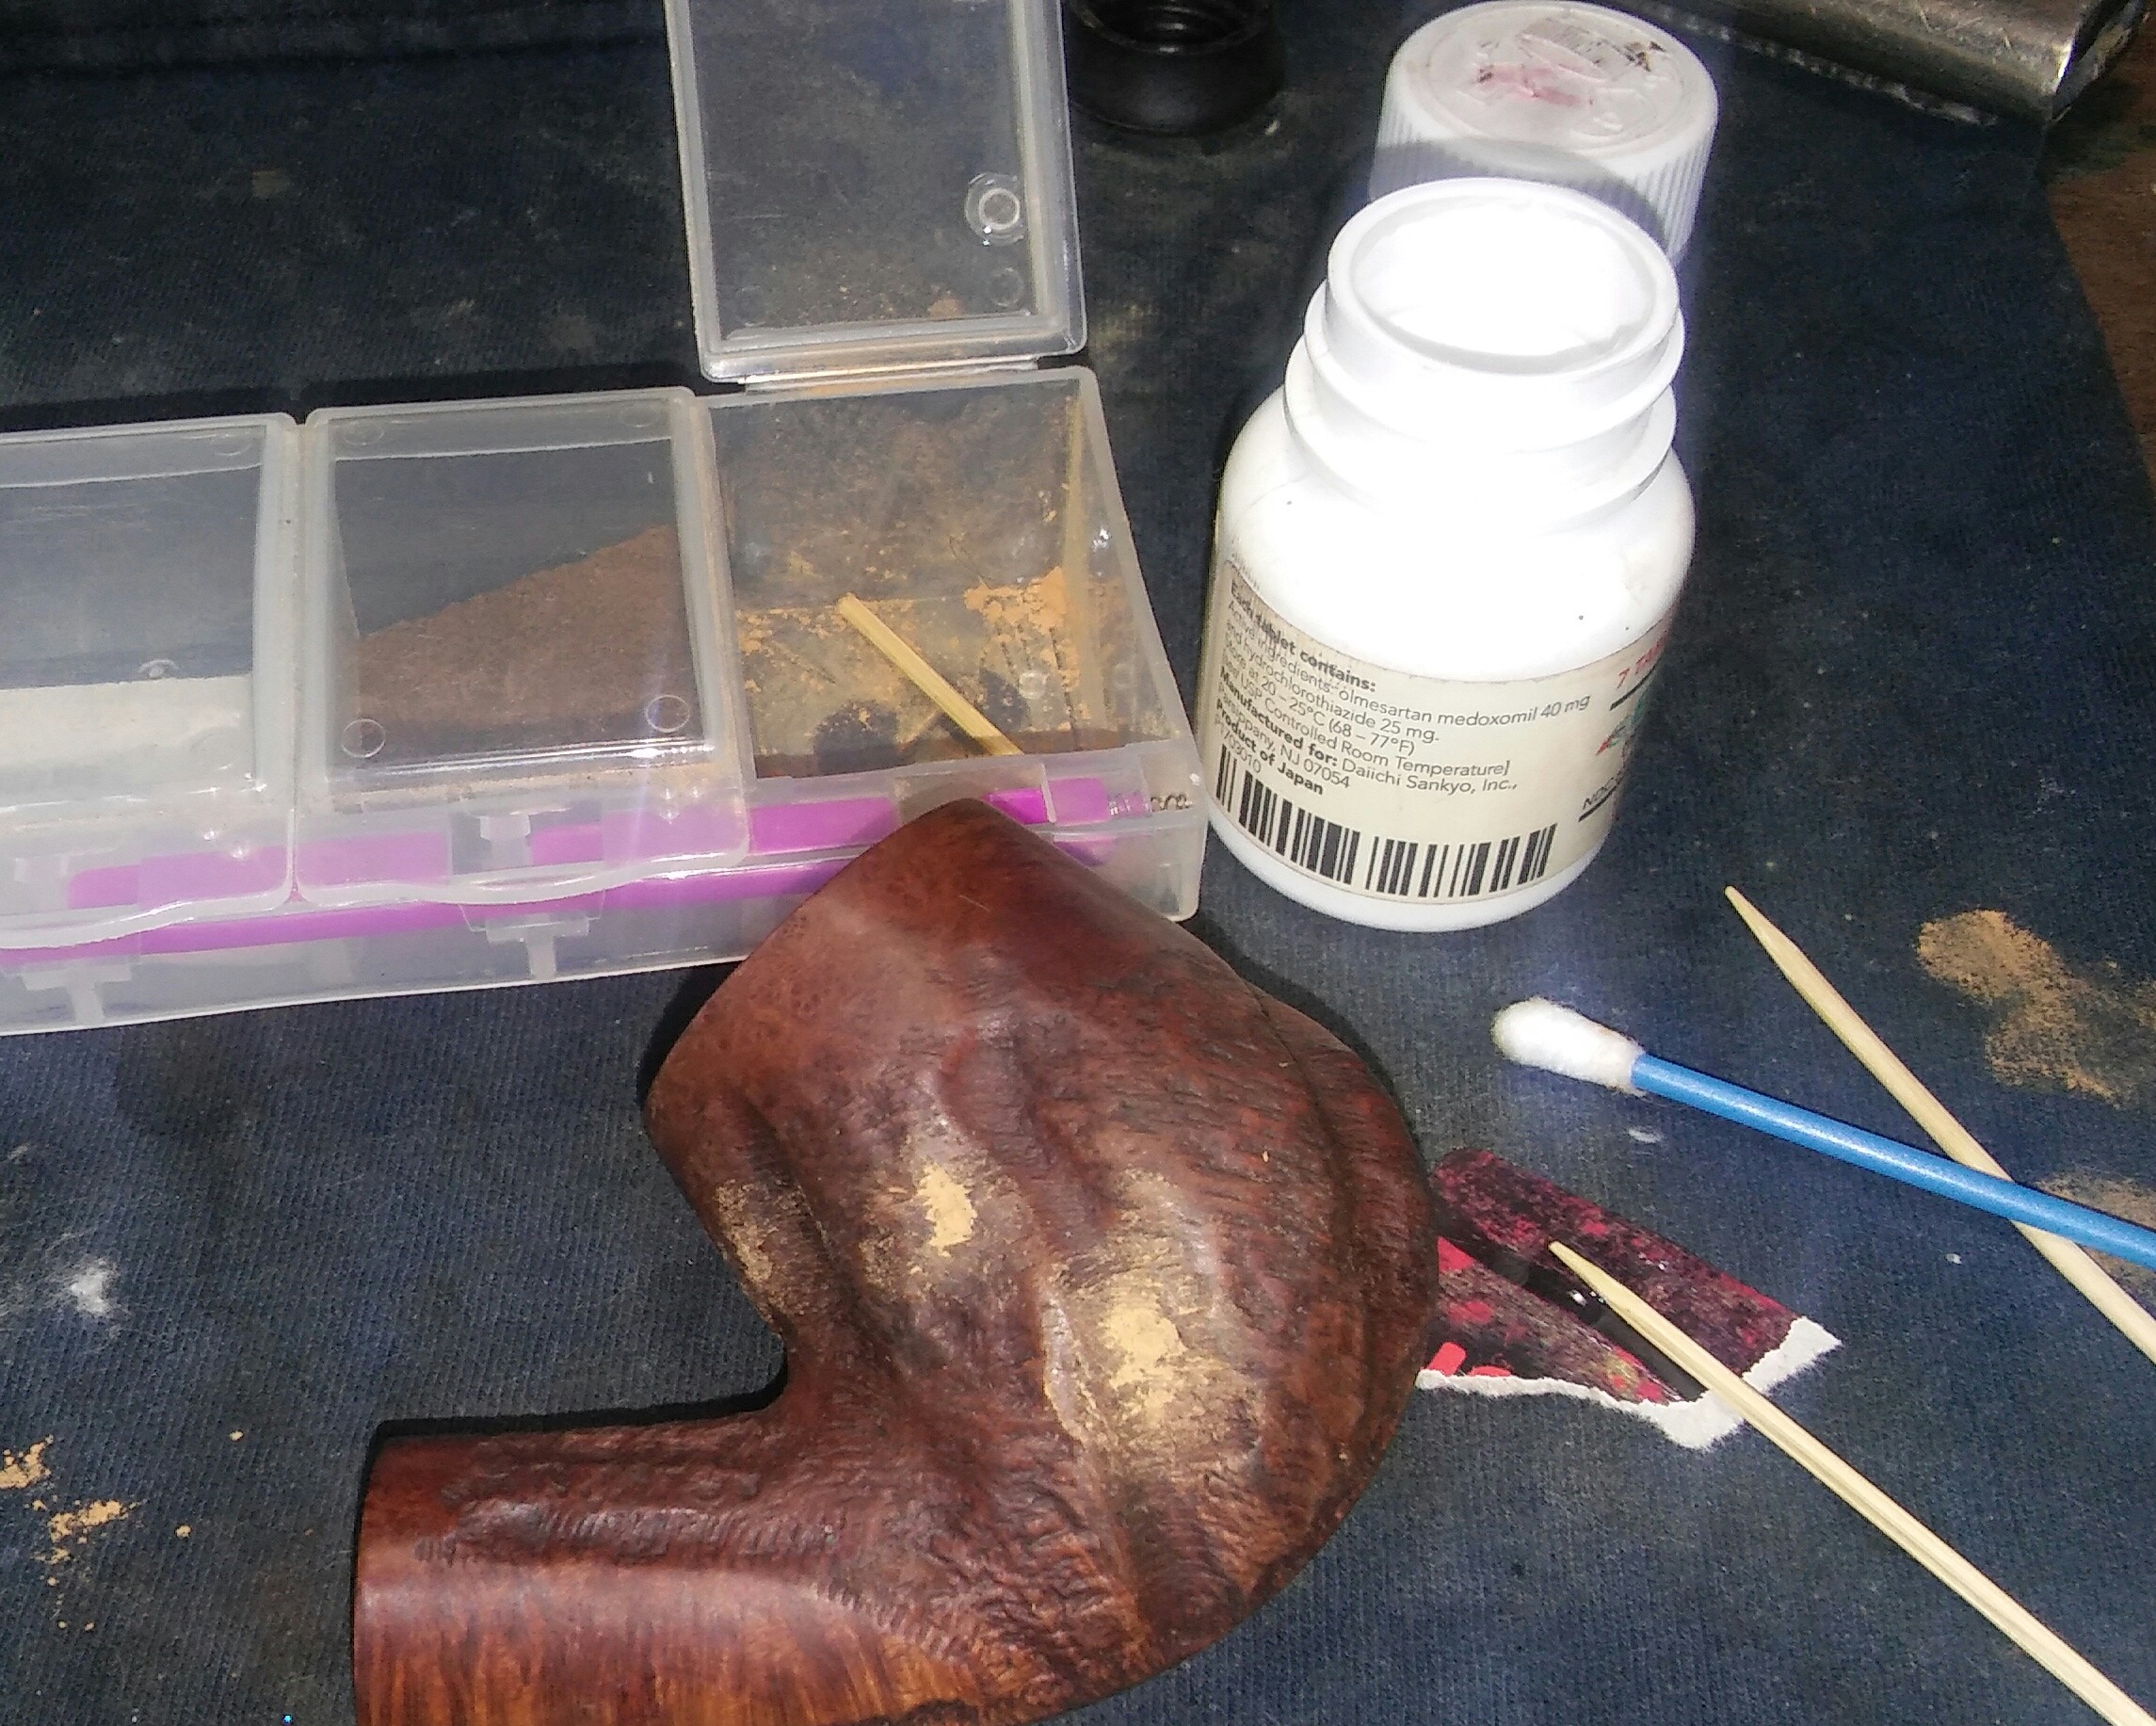
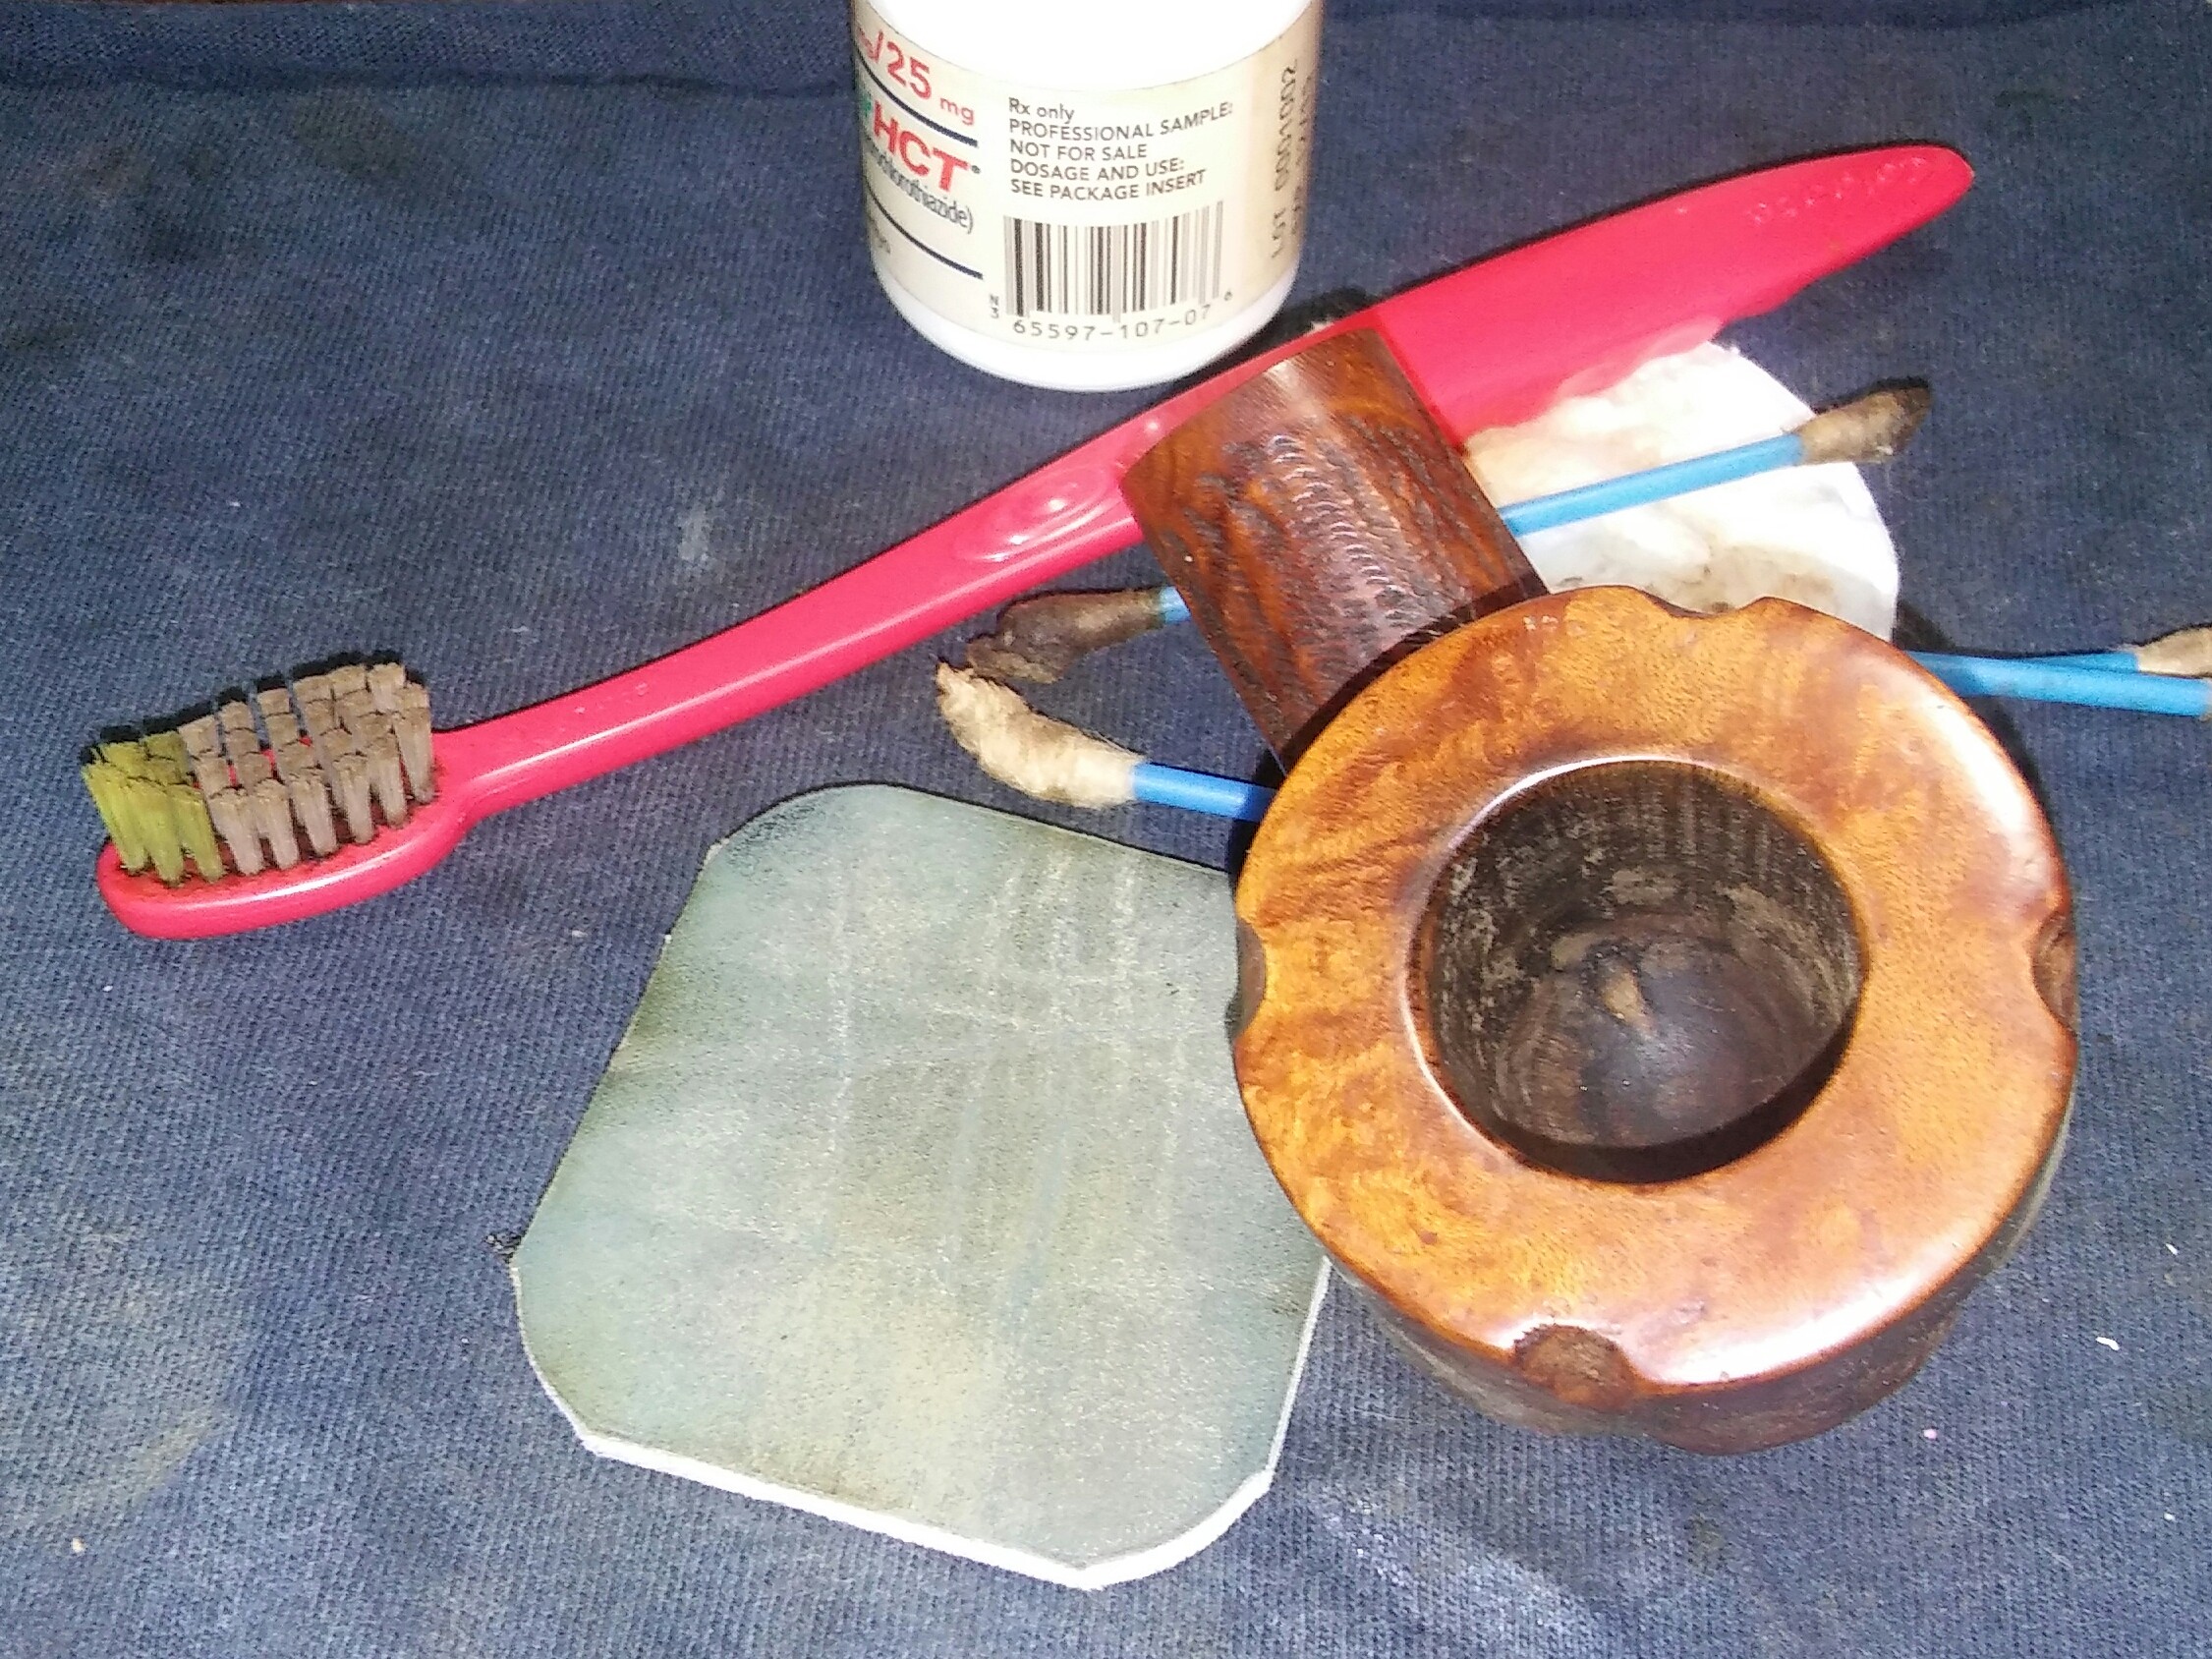
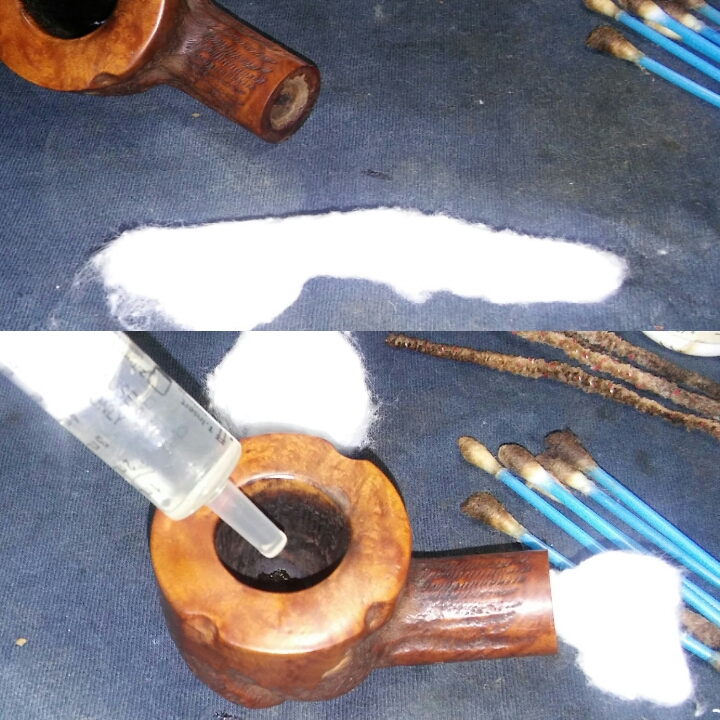
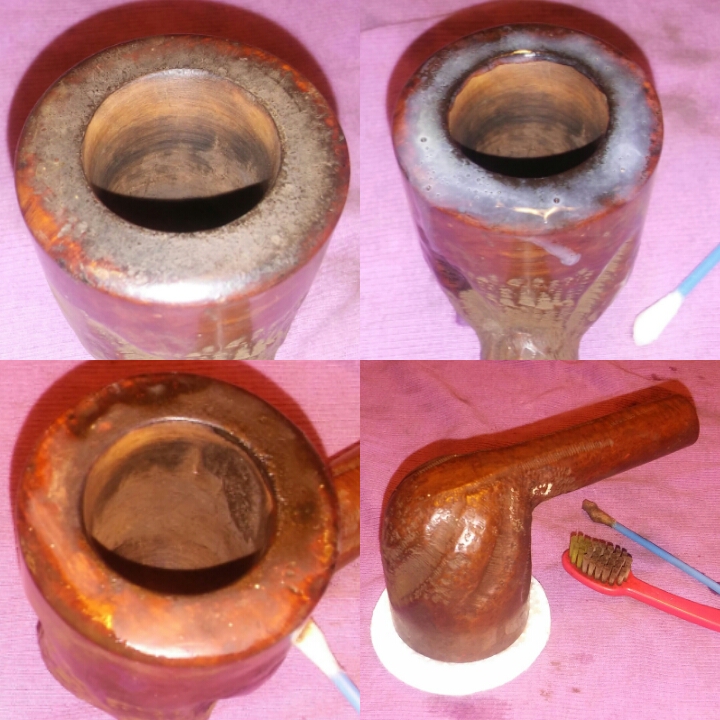
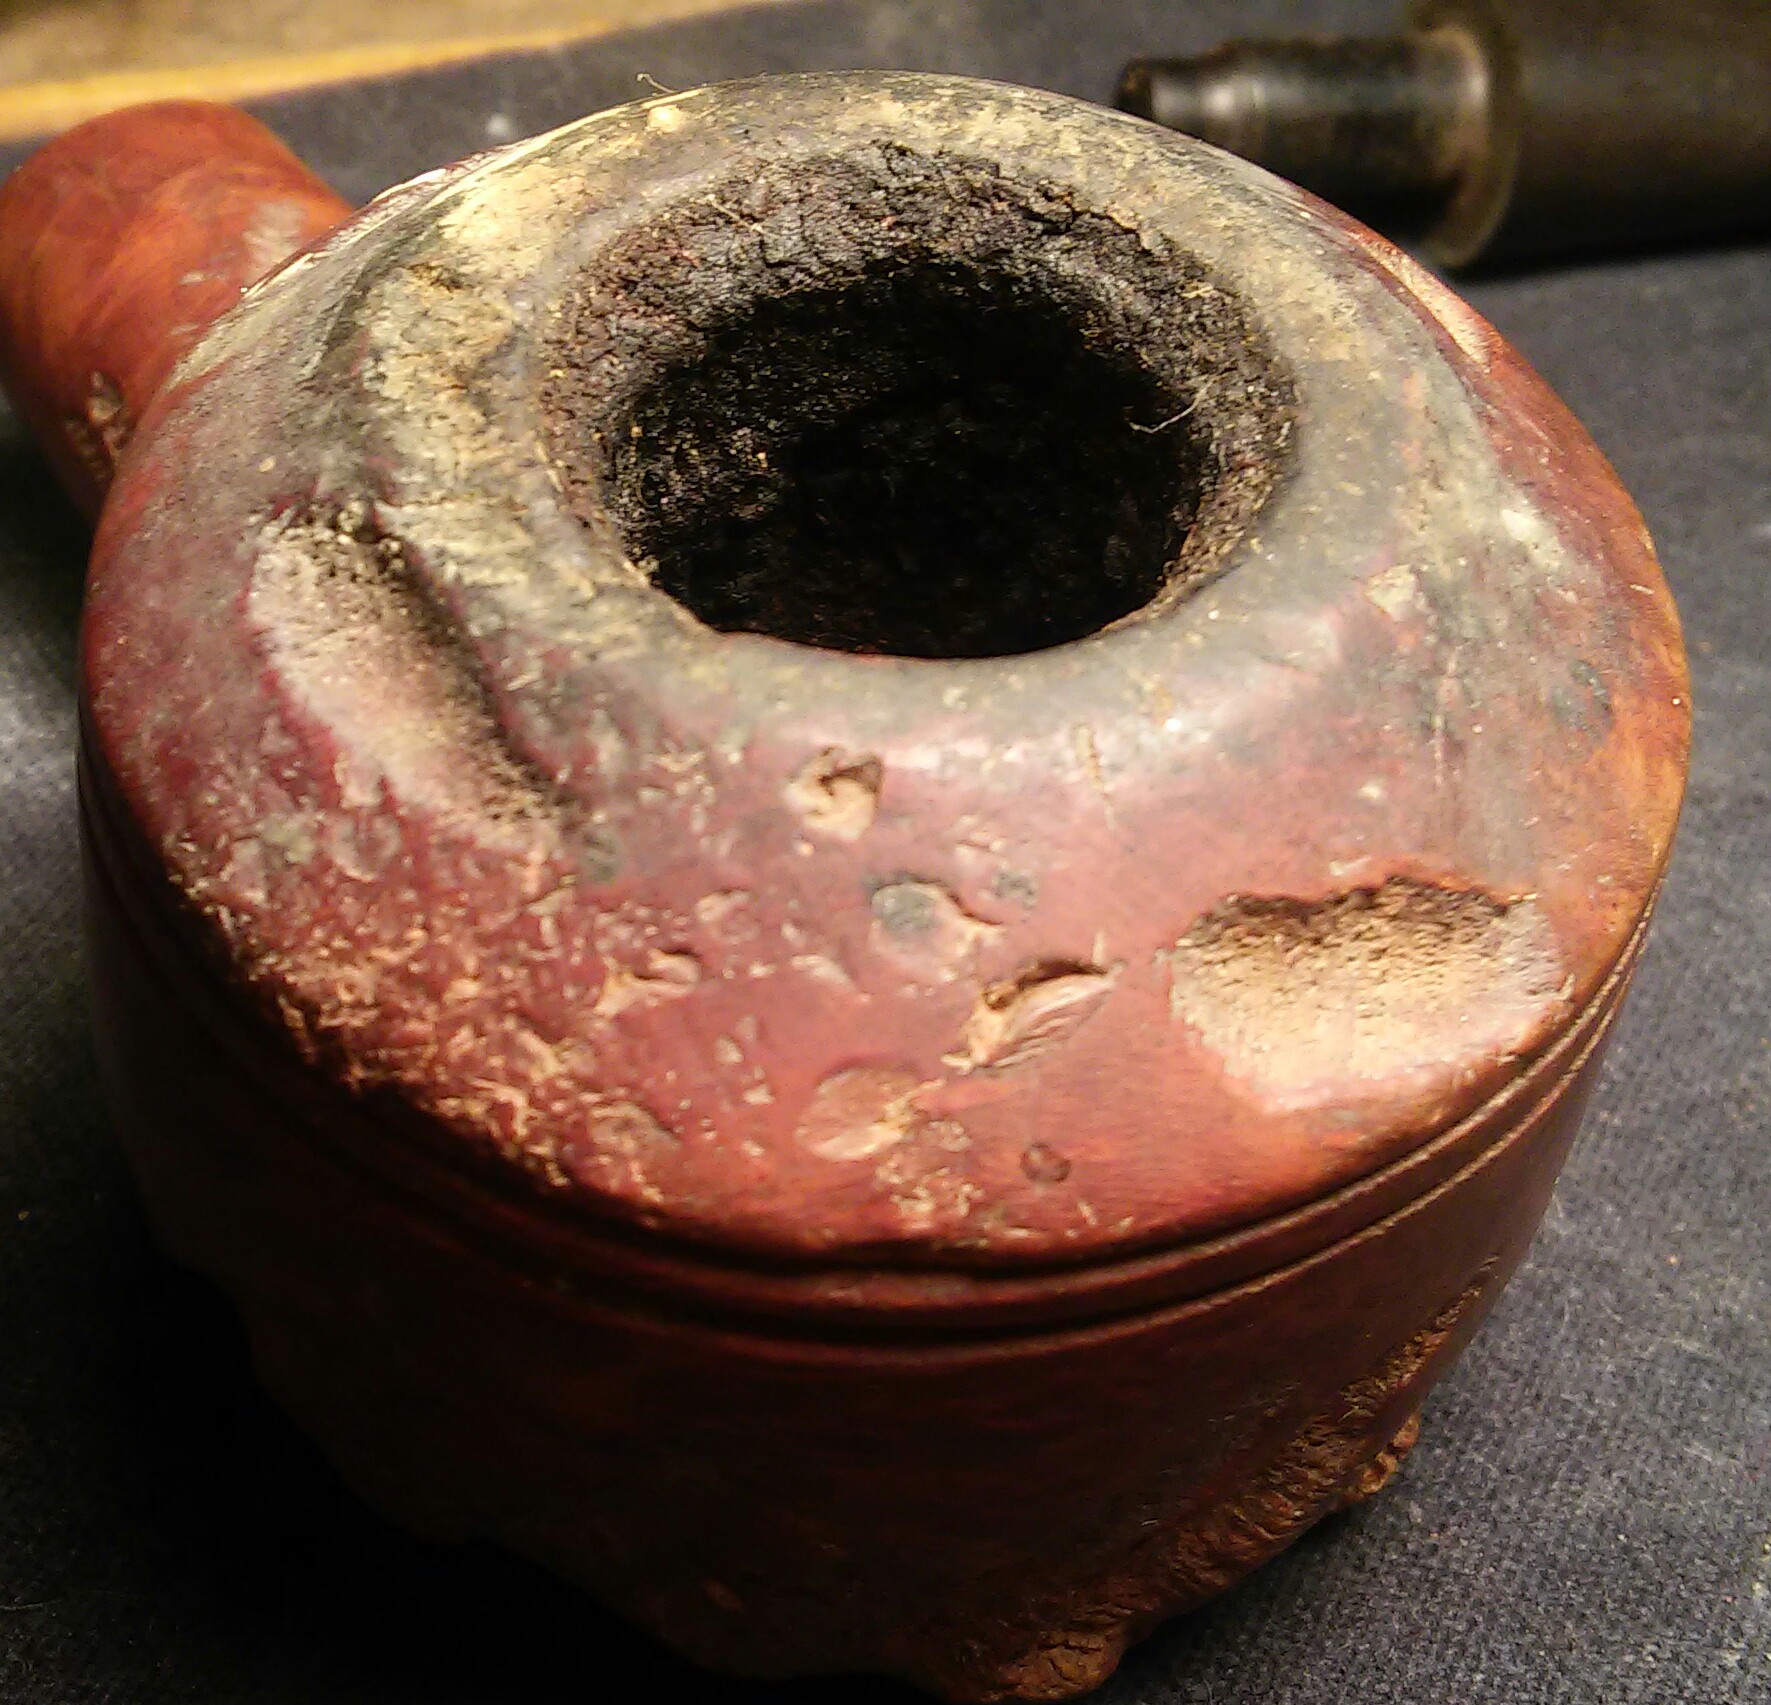
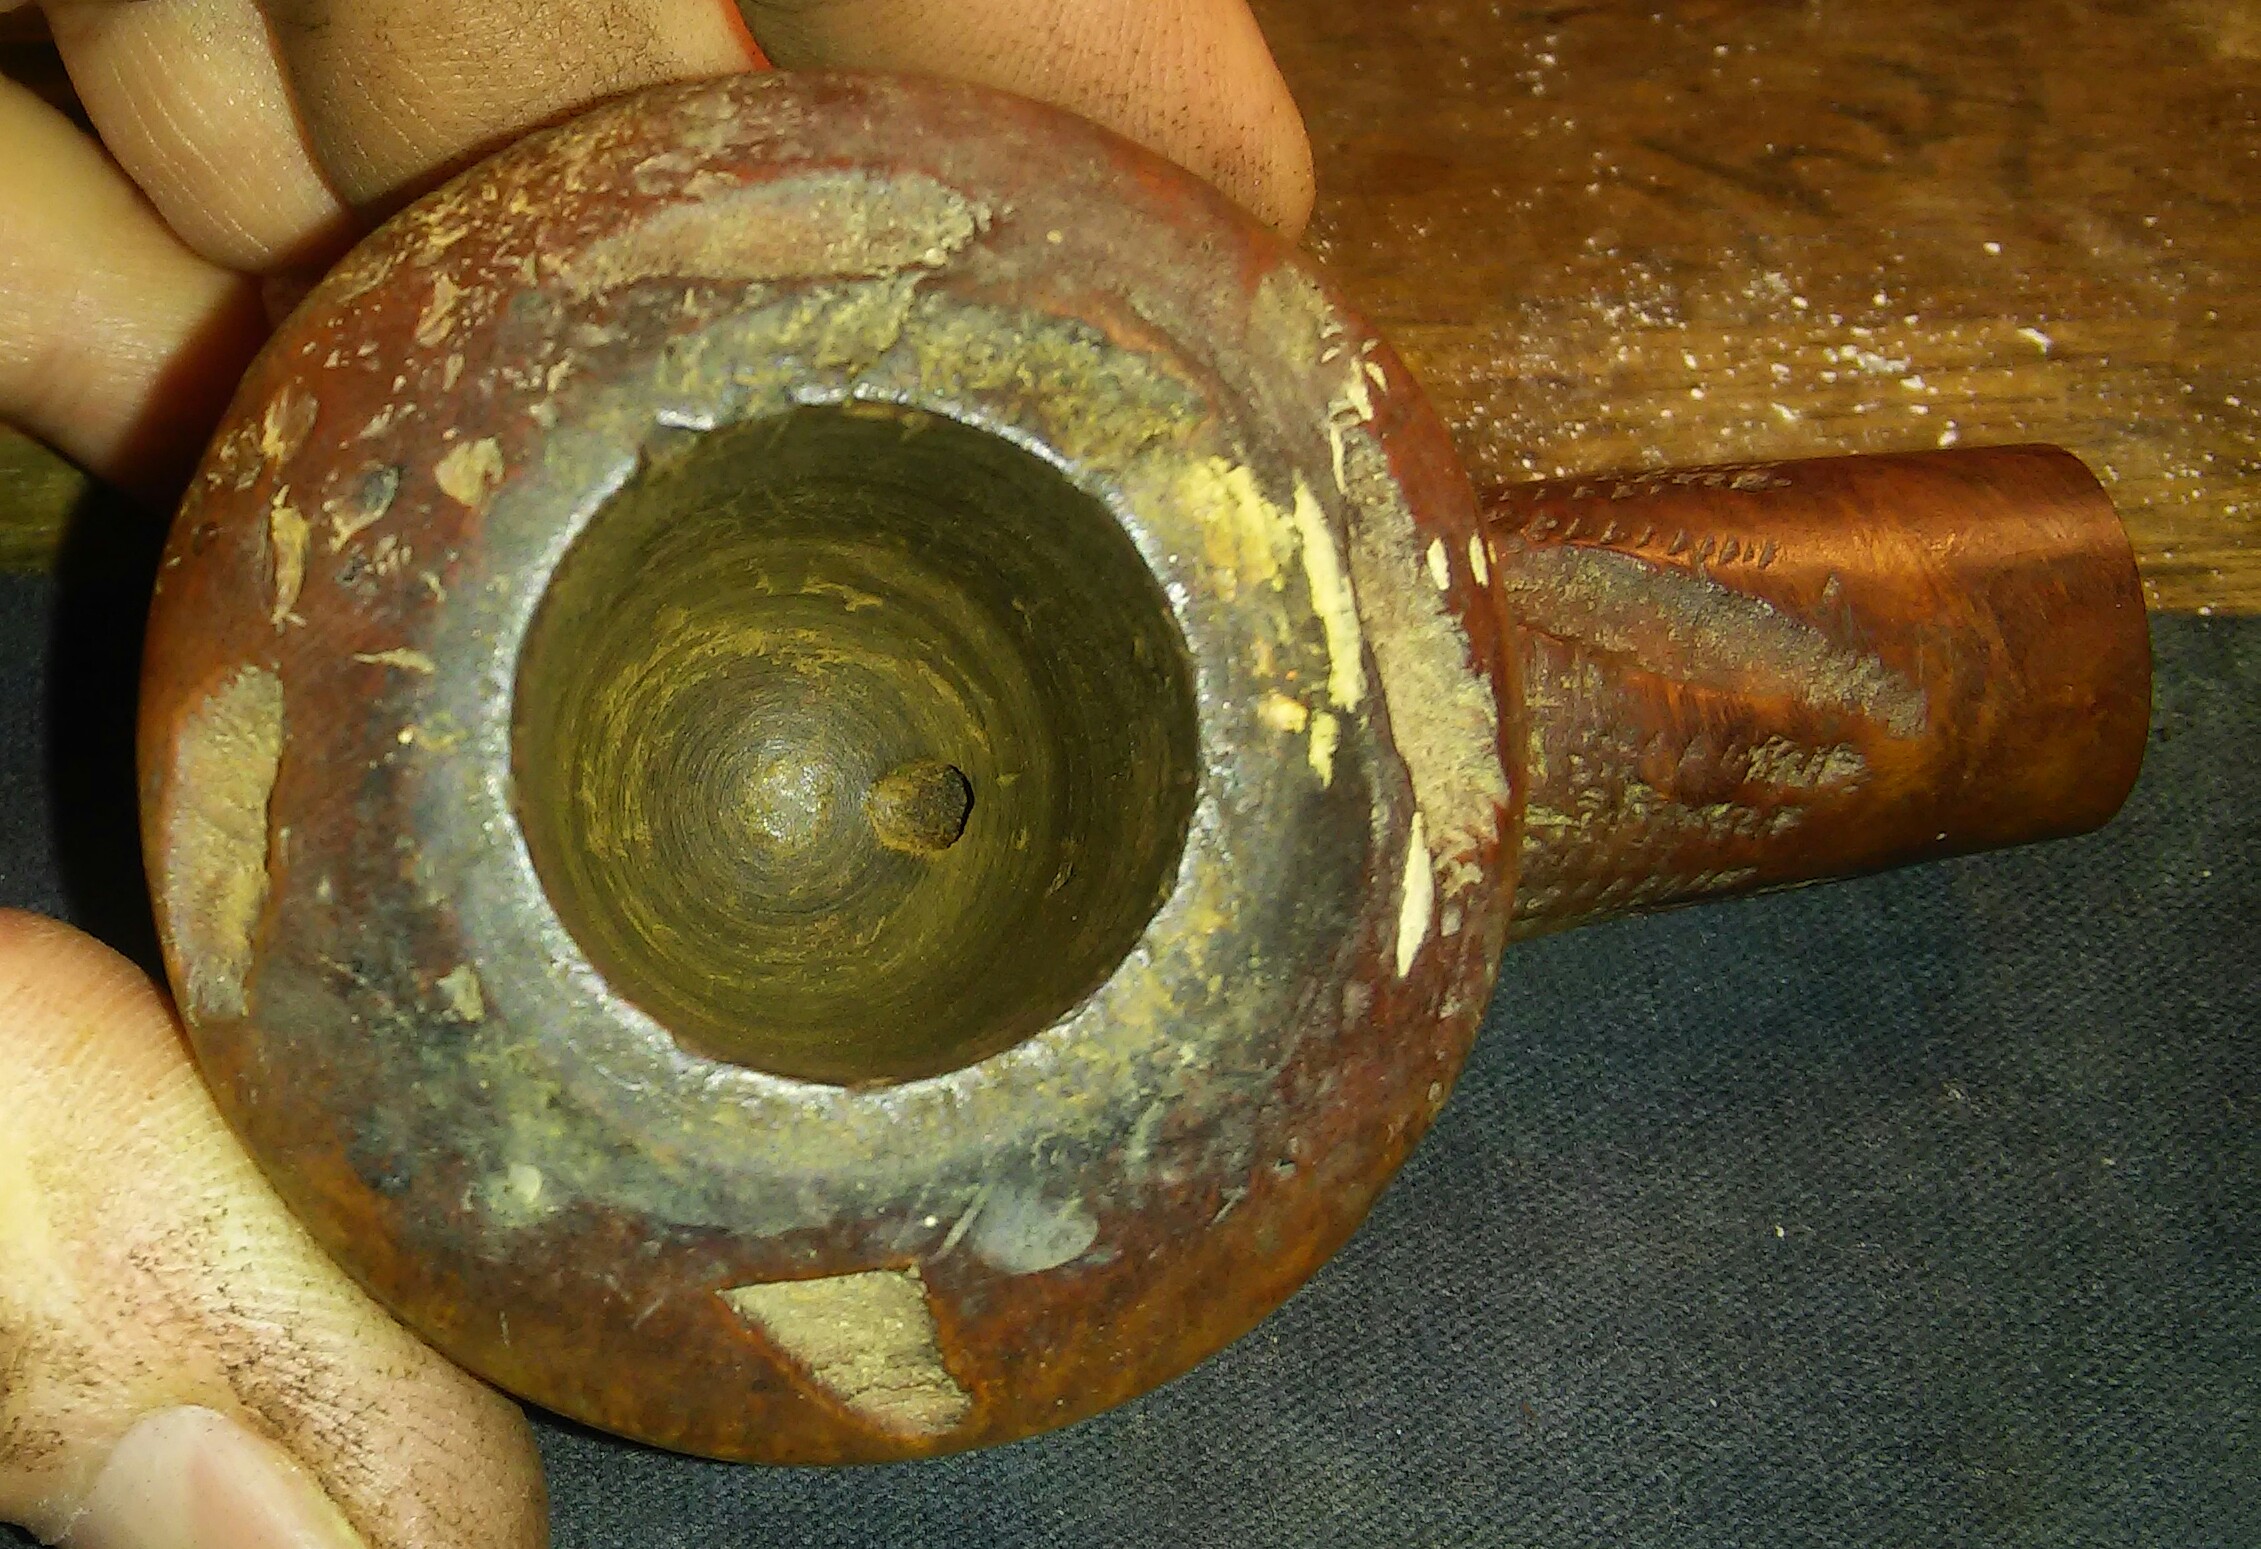
The rim was embedded with tars ,oils and char. I applied a generous amount of Method Good For Wood Polish to the rim and set aside to penetrate the build-up. I removed the build-up with Q-tips. I removed the rim char and darkening with worn micro-mesh until it faded.

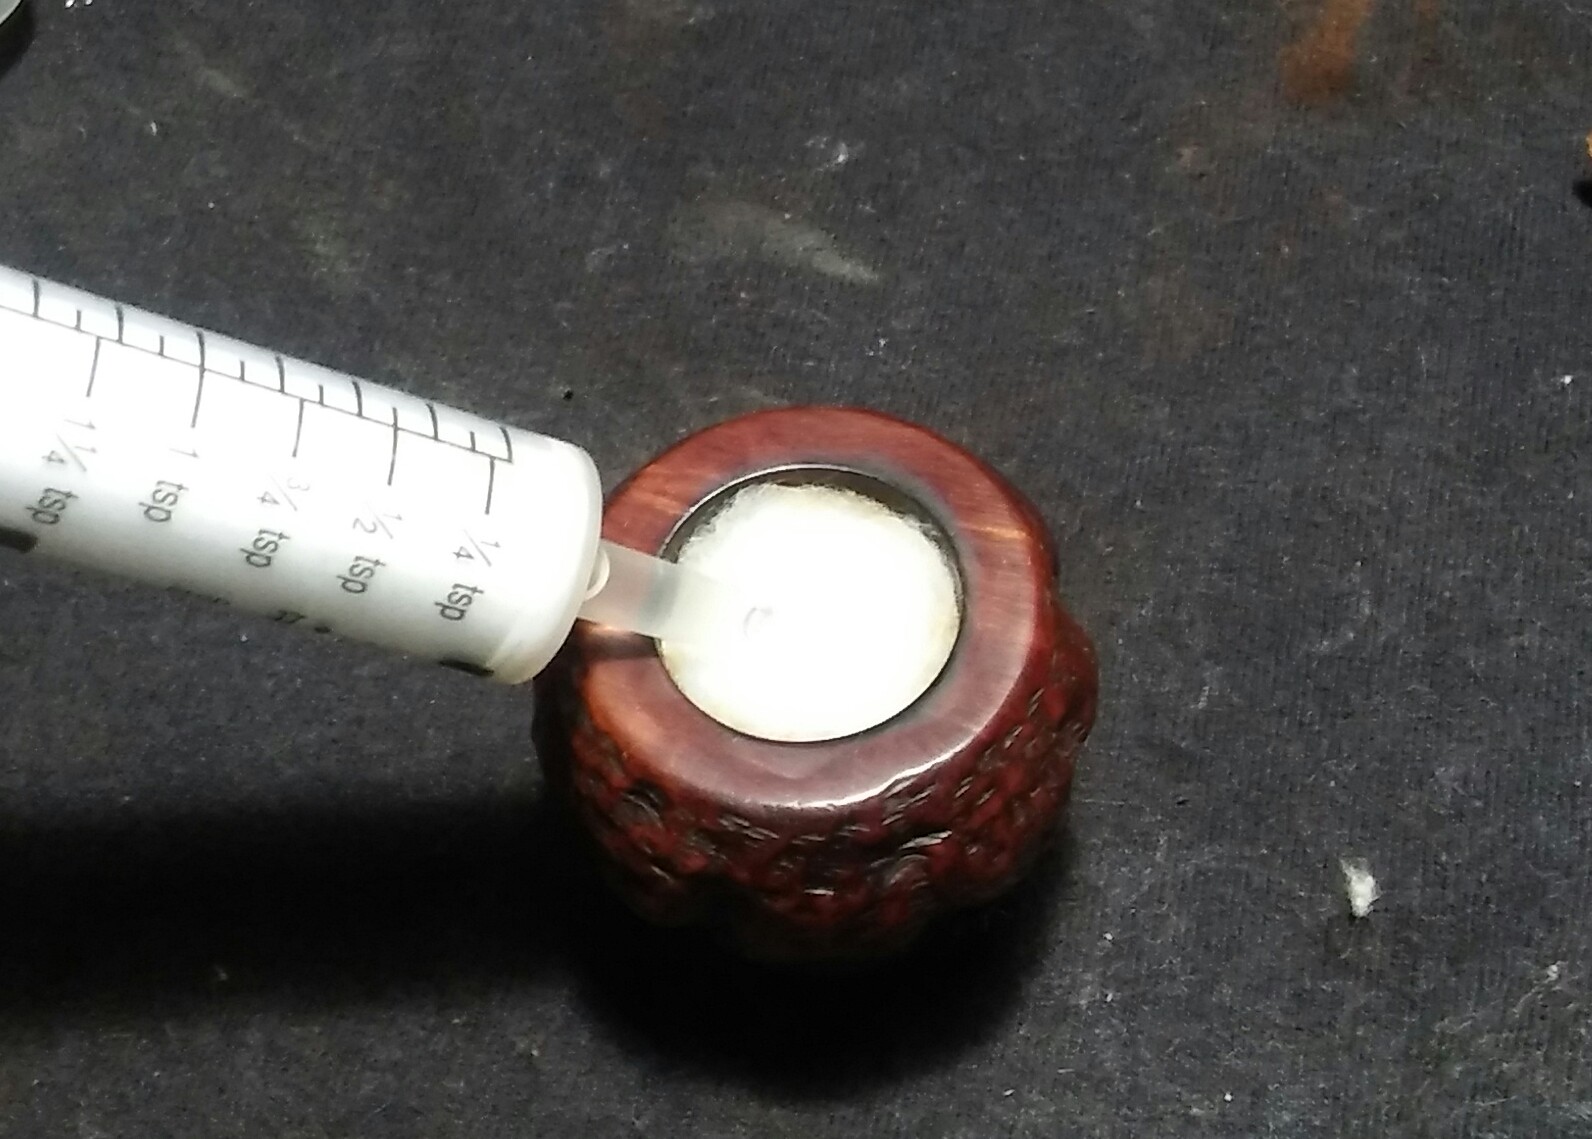
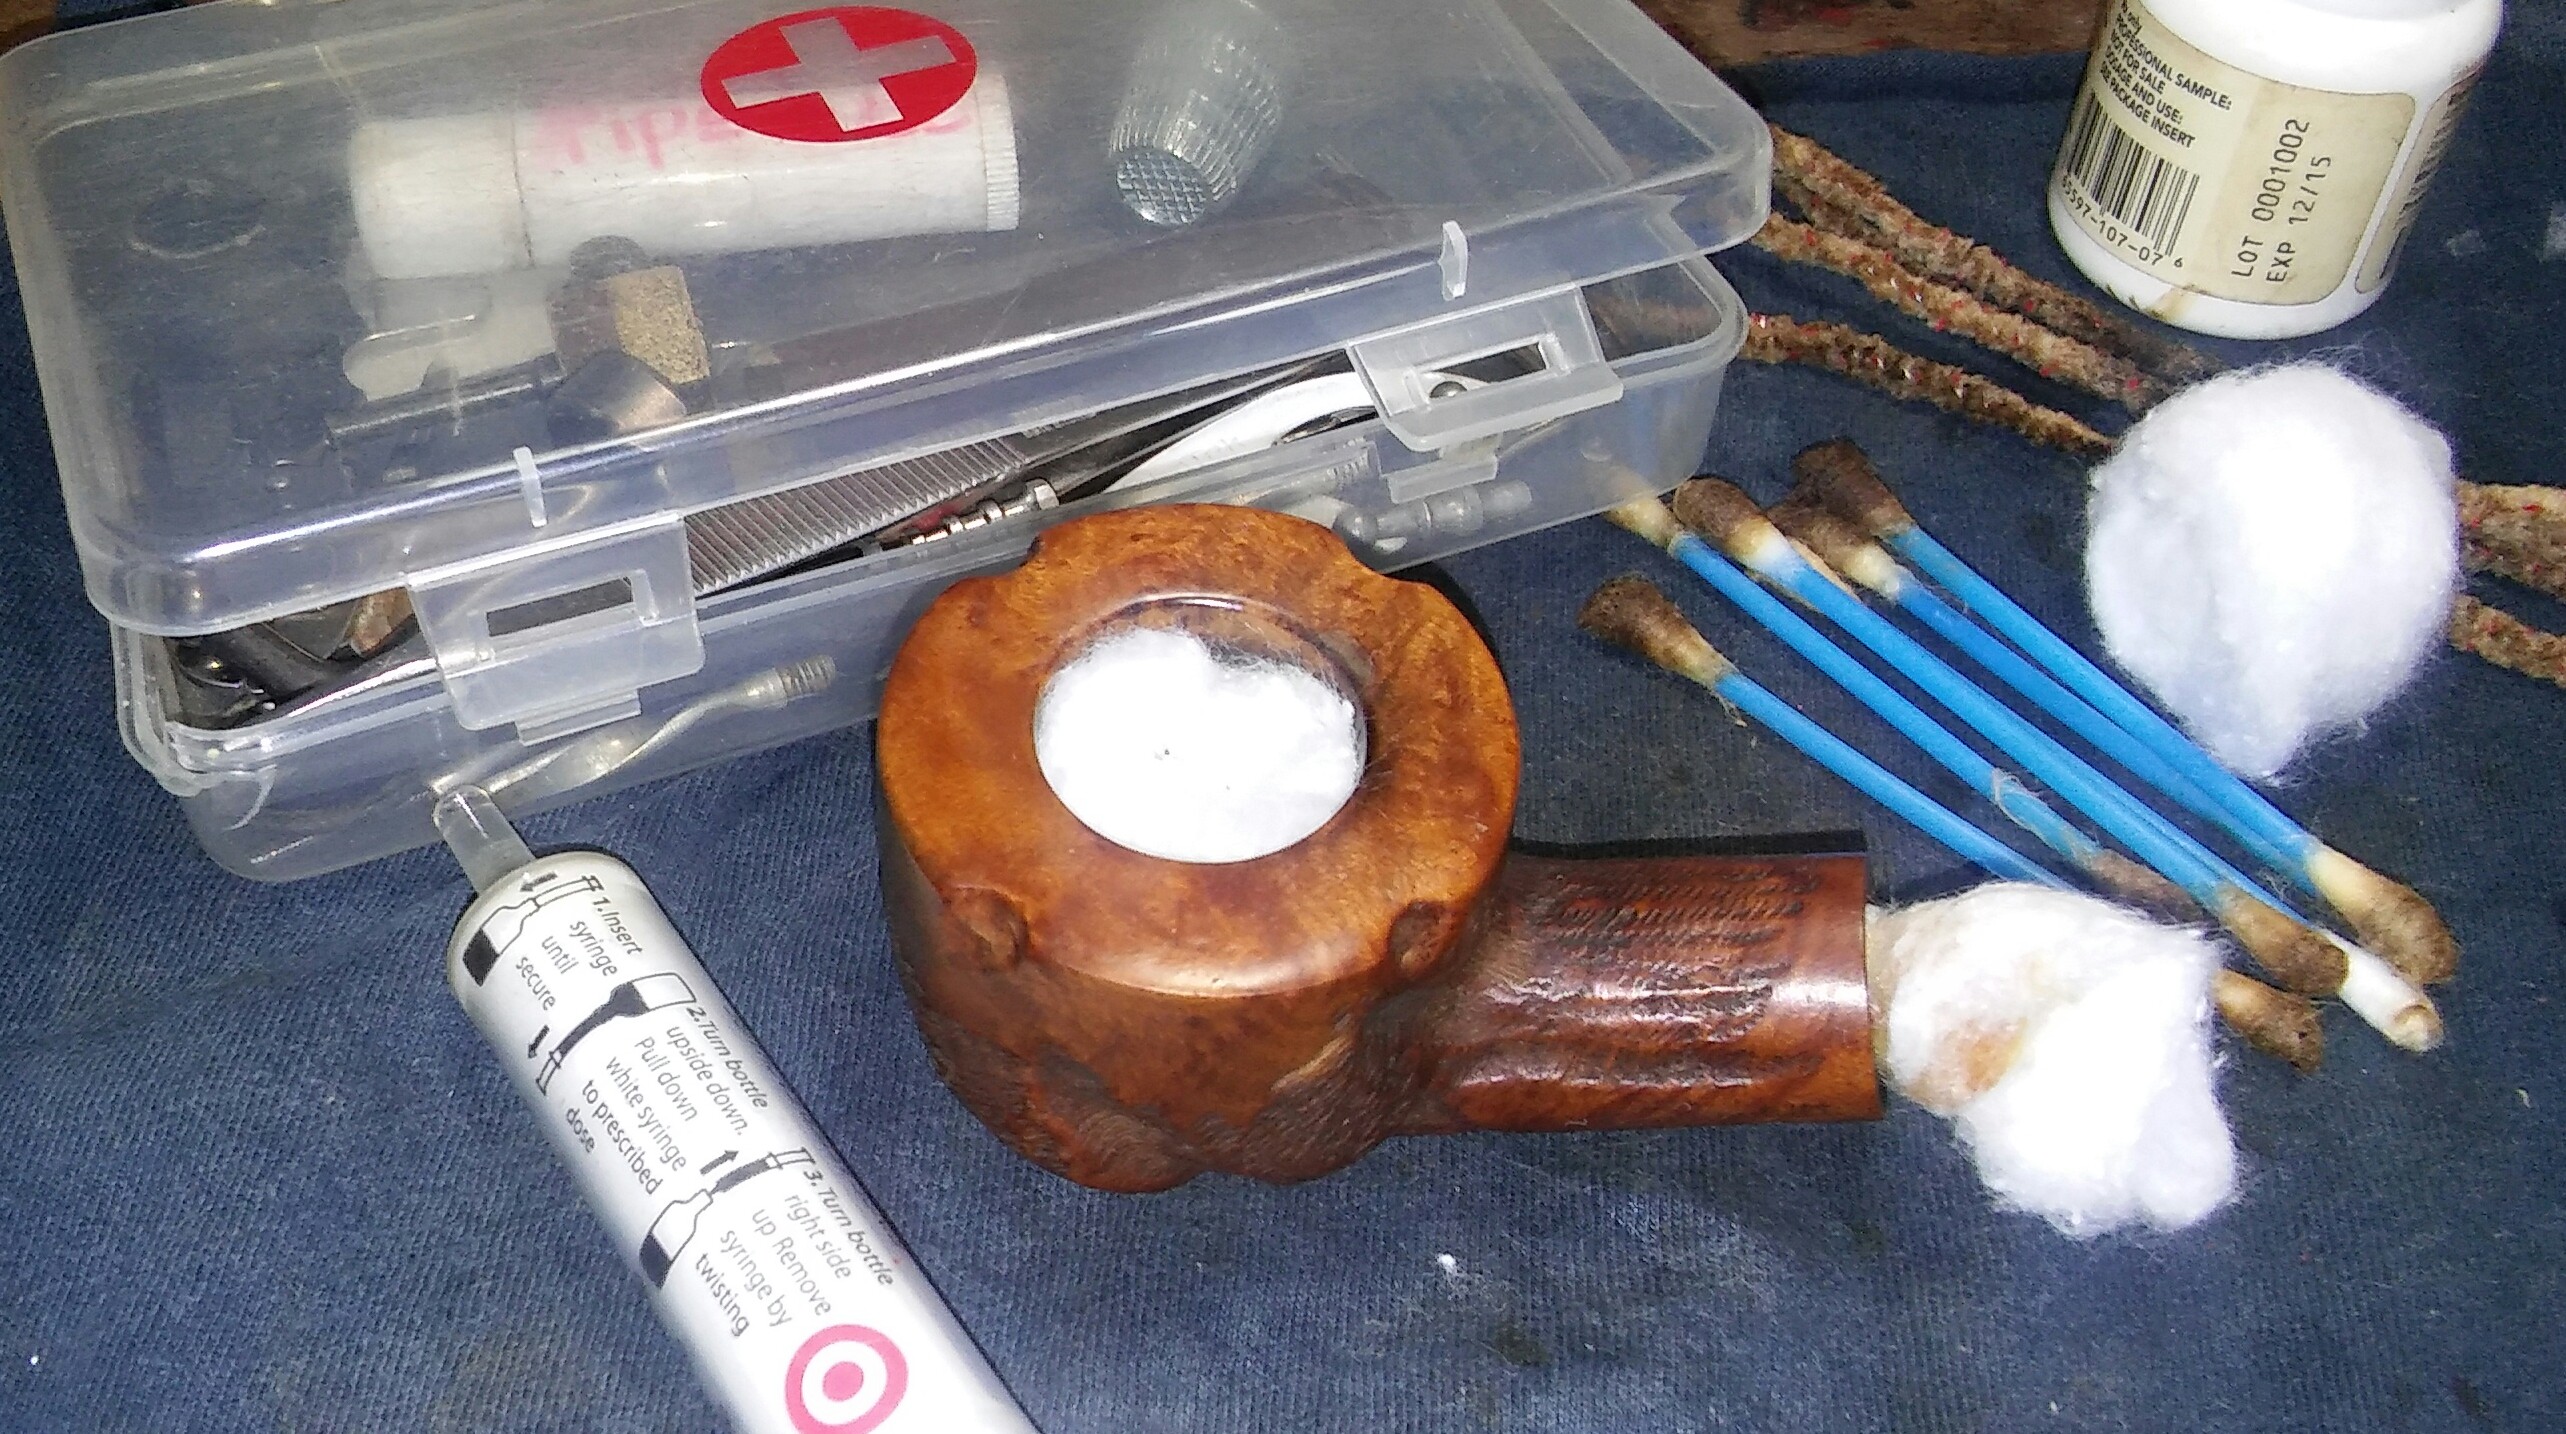
The pipe was heavily smoked, I decided to run a retort using EverClear and cotton balls. I would repeat the process twice to get a good clean.
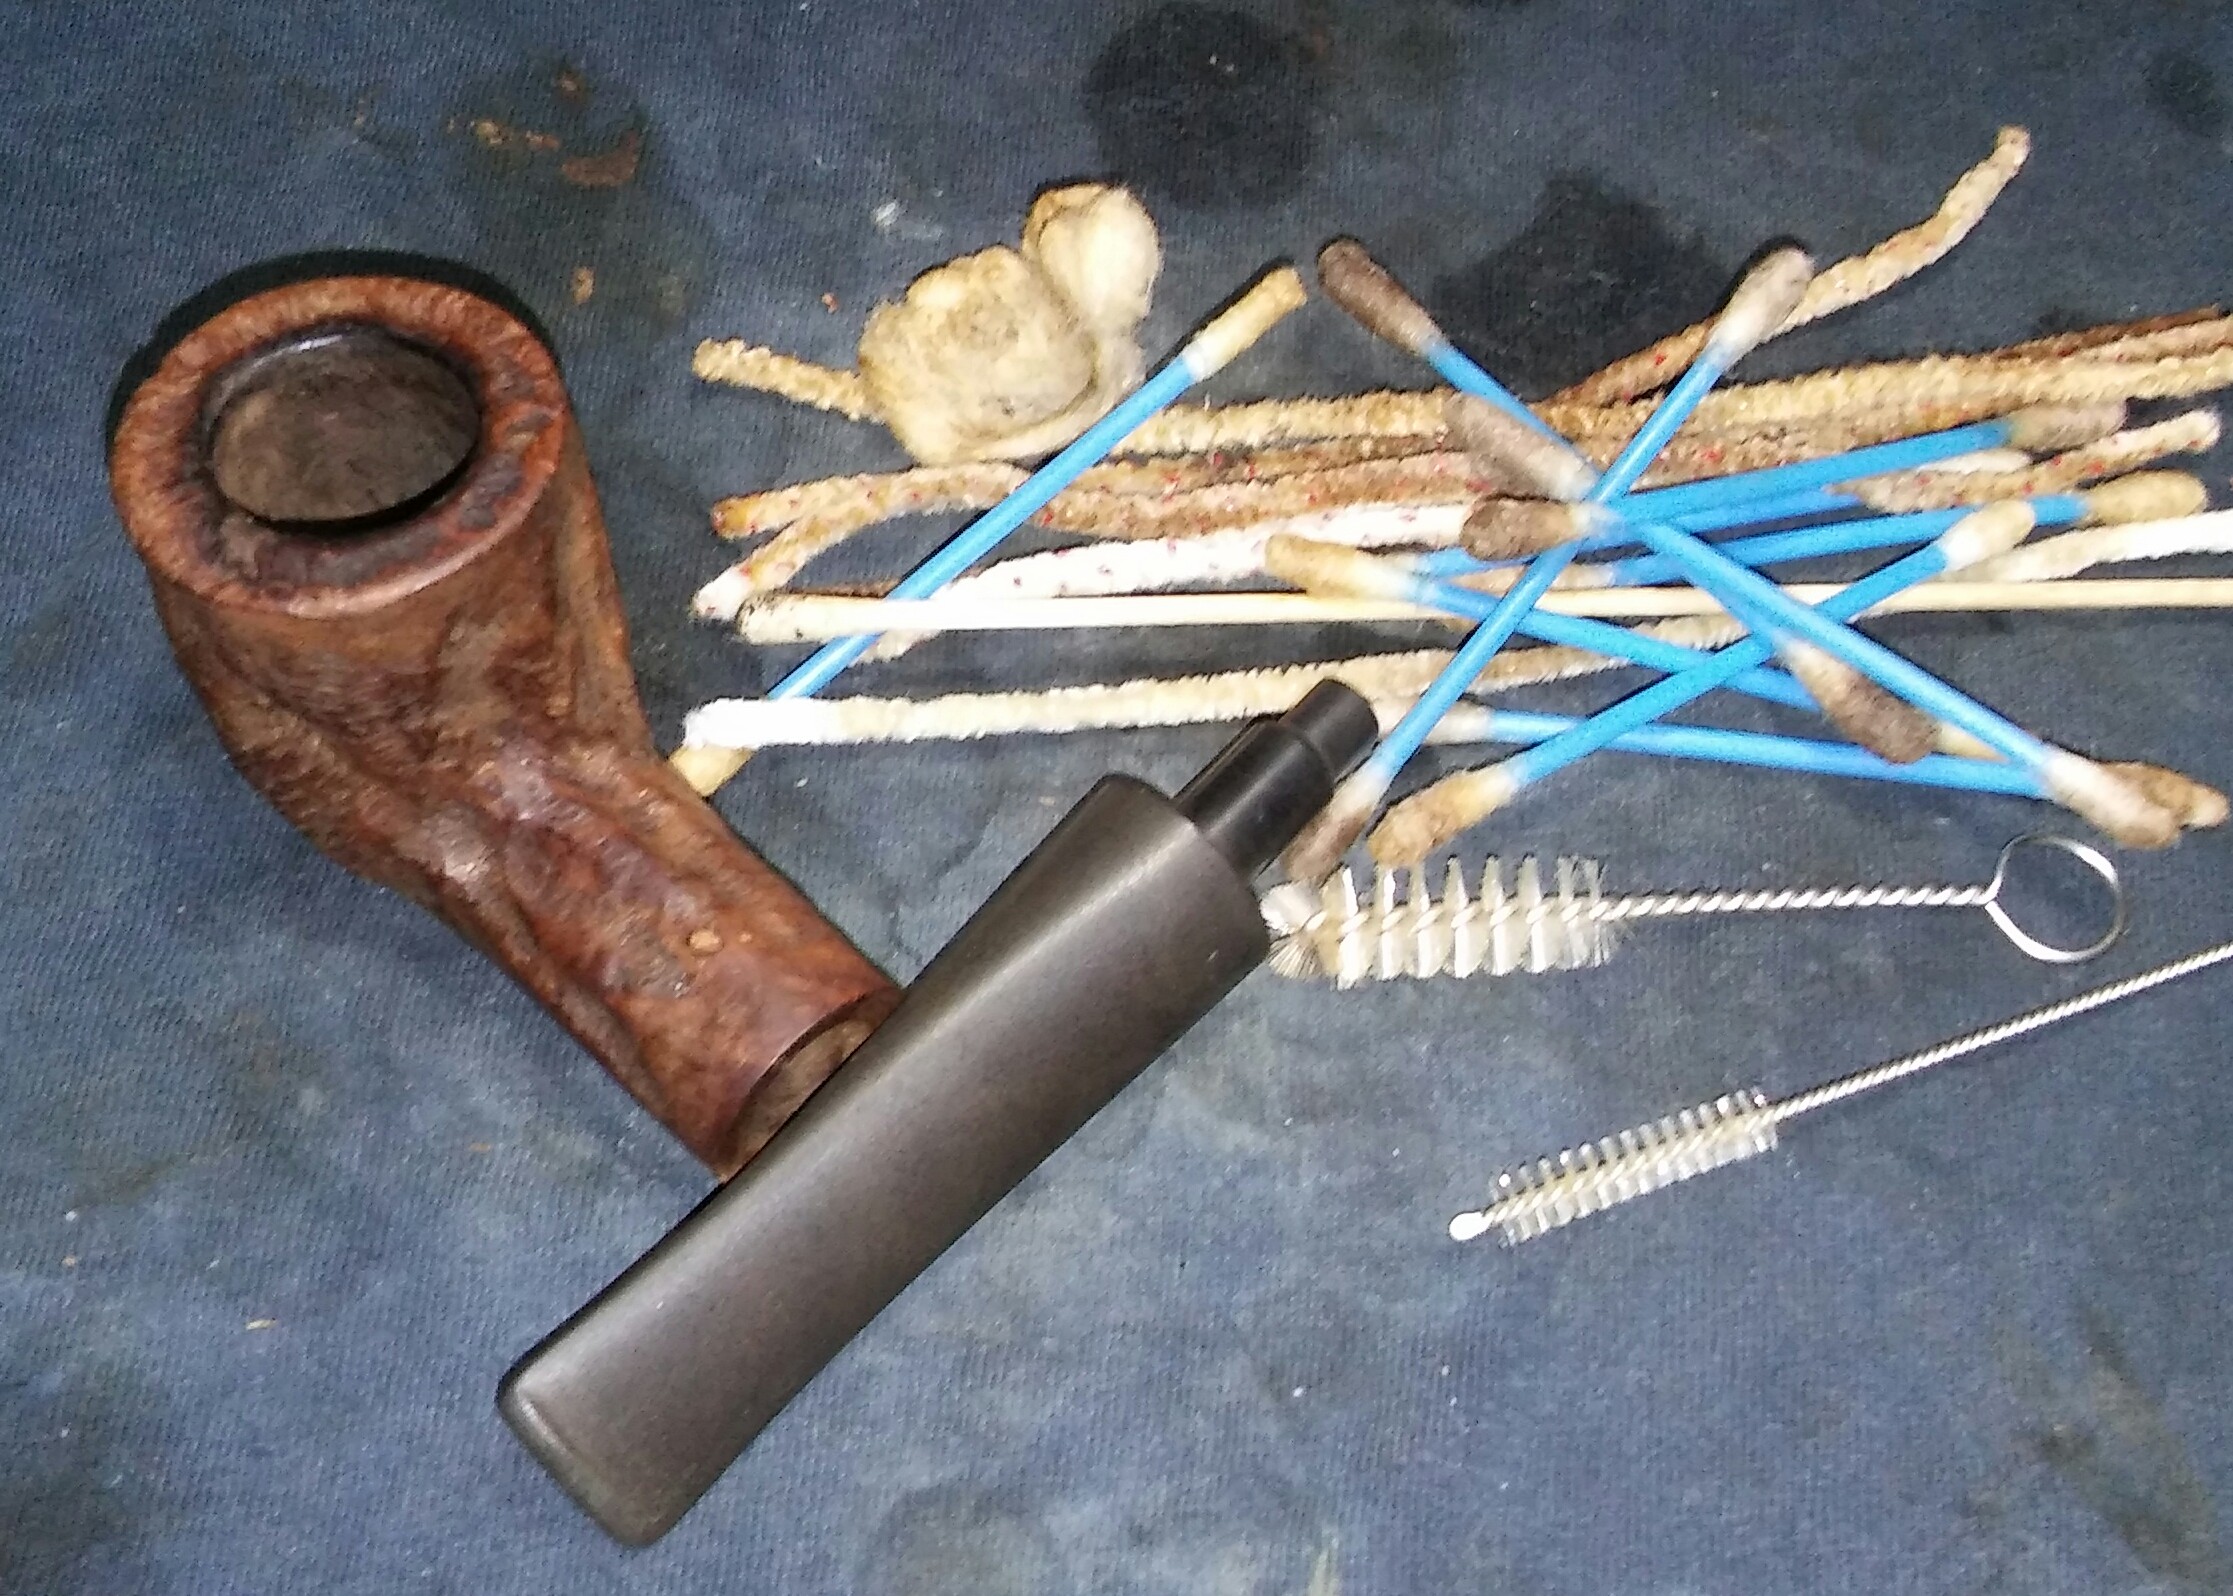
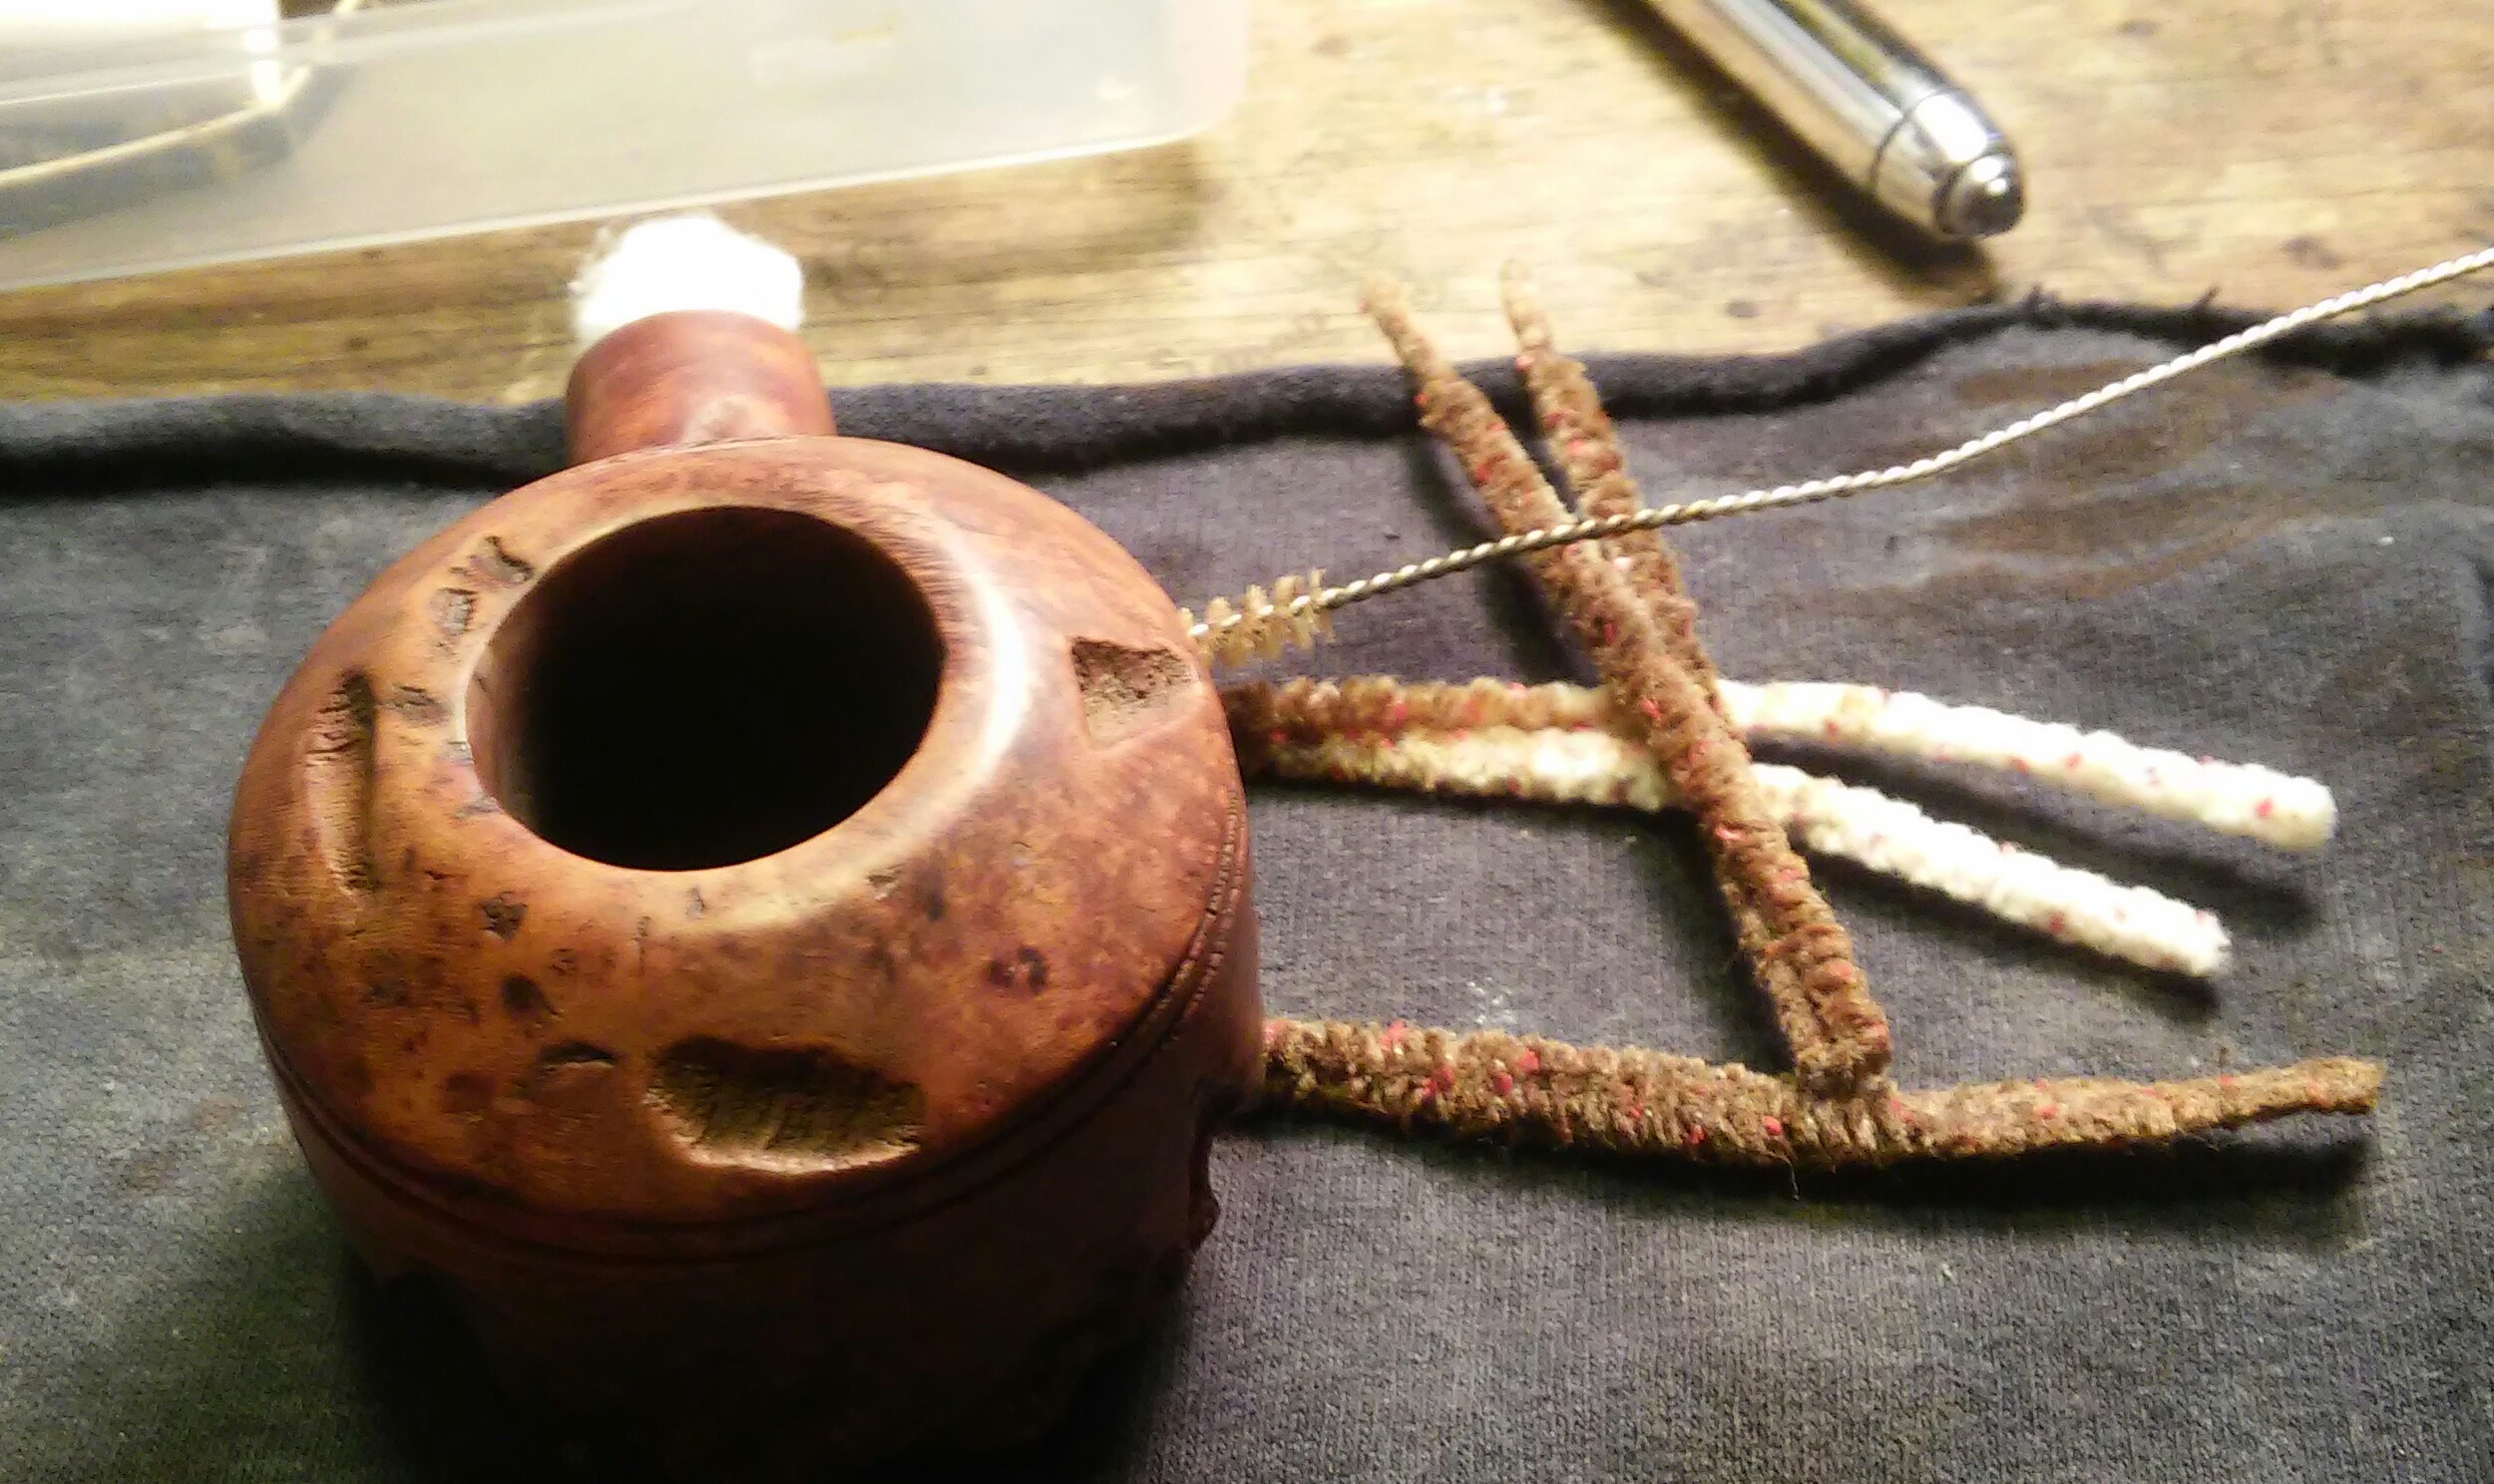
After the retort I cleaned the internals of the stummel and stem with EverClear, Q-tips, stiff/soft pipe cleaners, a mortise brush and a shank brush. Cleaning until the last pipe cleaner came out clean.

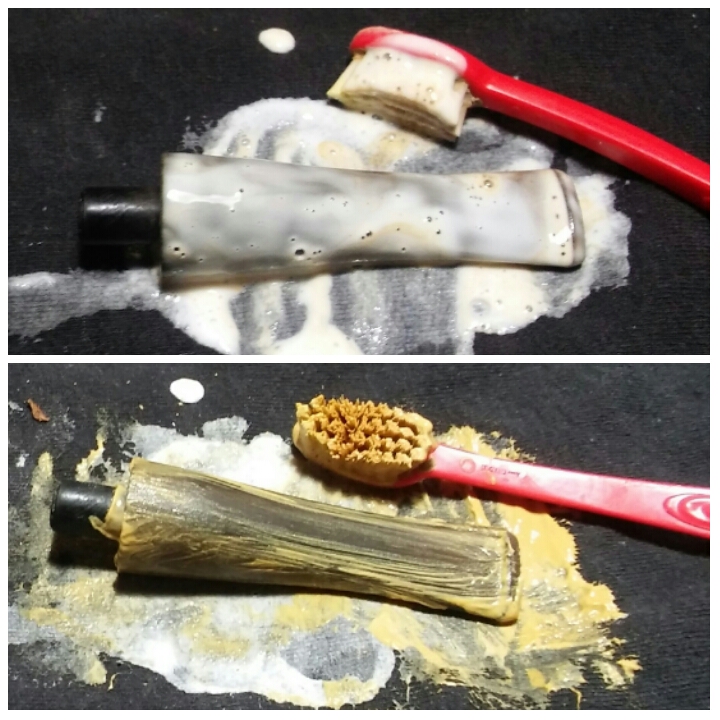
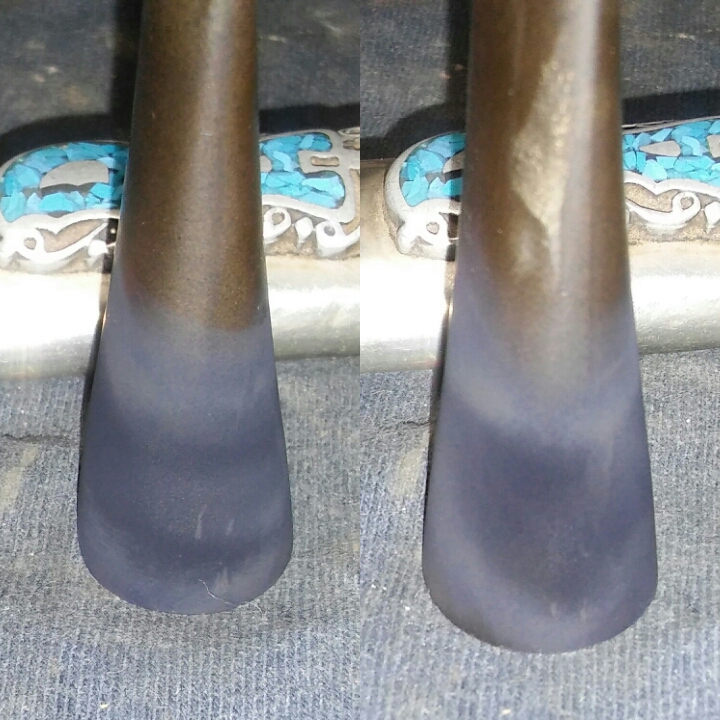
I now turned to the oxidized stem, I applied non-bleach Soft Scrub to the stem with a children’s toothbrush and left it to penetrate the oxidation. Once the Soft Scrub turns from white to a brownish color, I scrubbed vigorously with a rag until the oxidation was removed, finishing up with a damp Magic Eraser to remove the leftover oxidation.
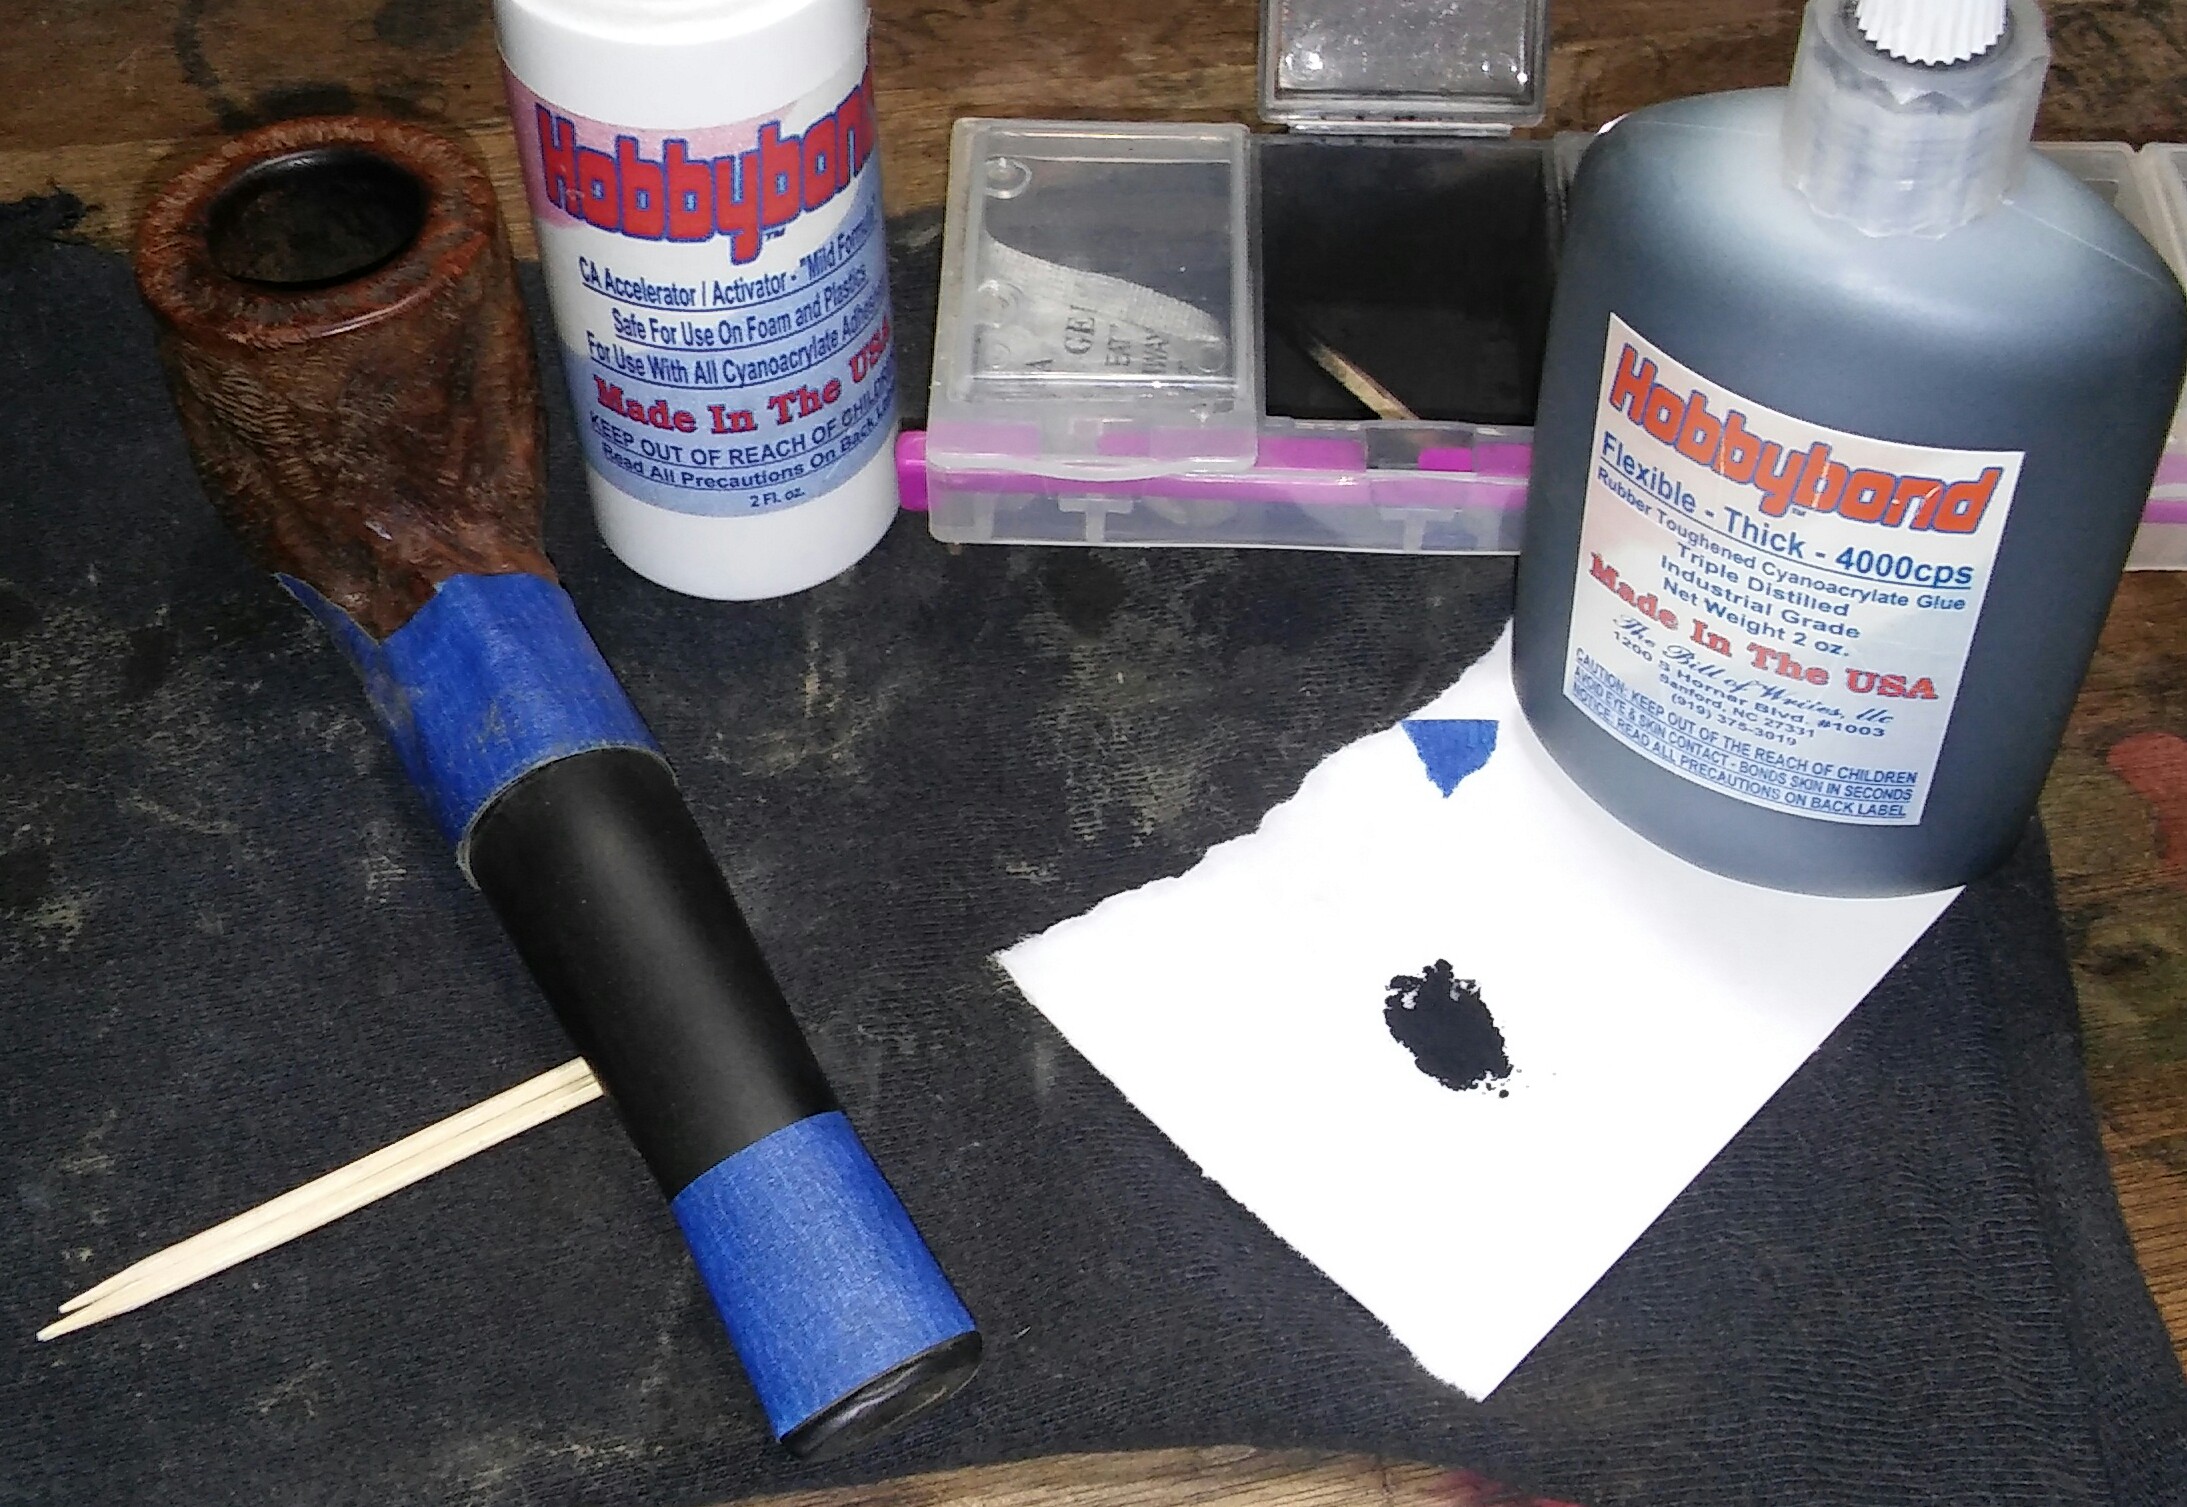
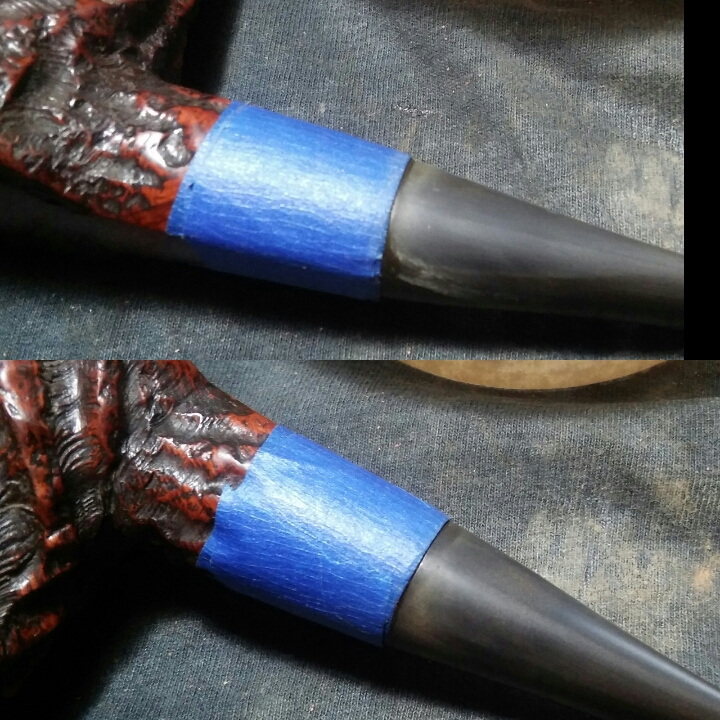
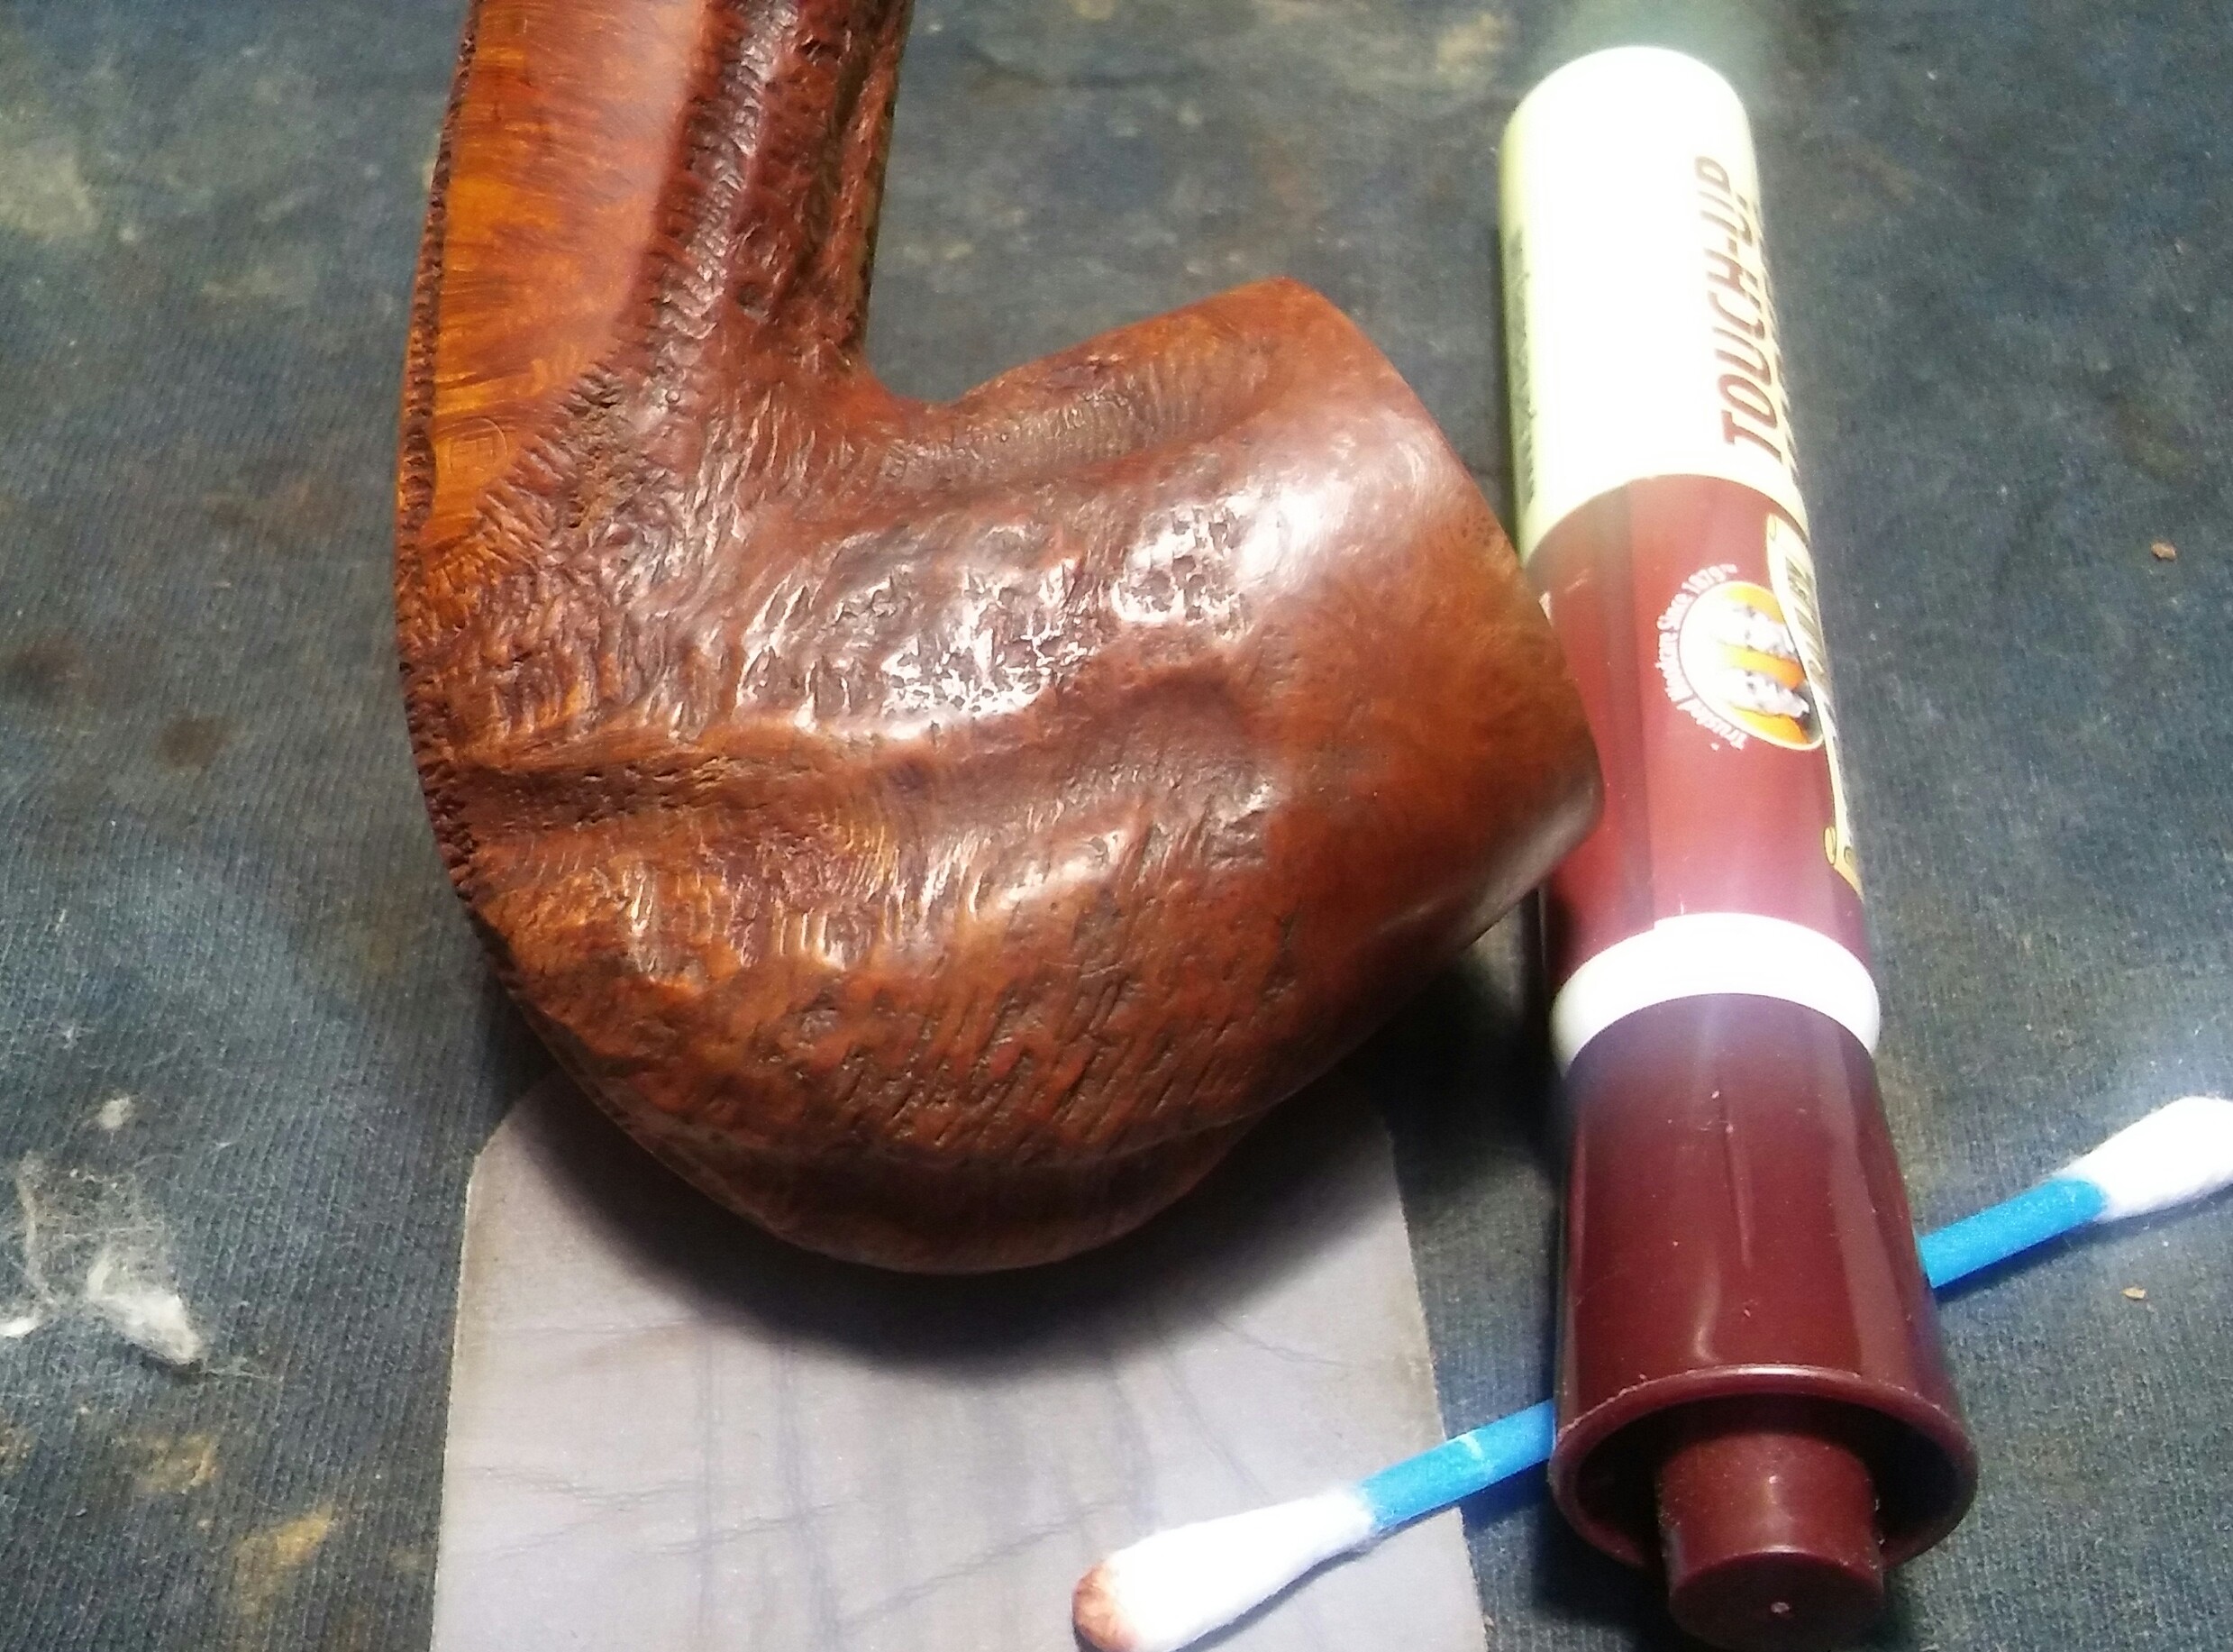
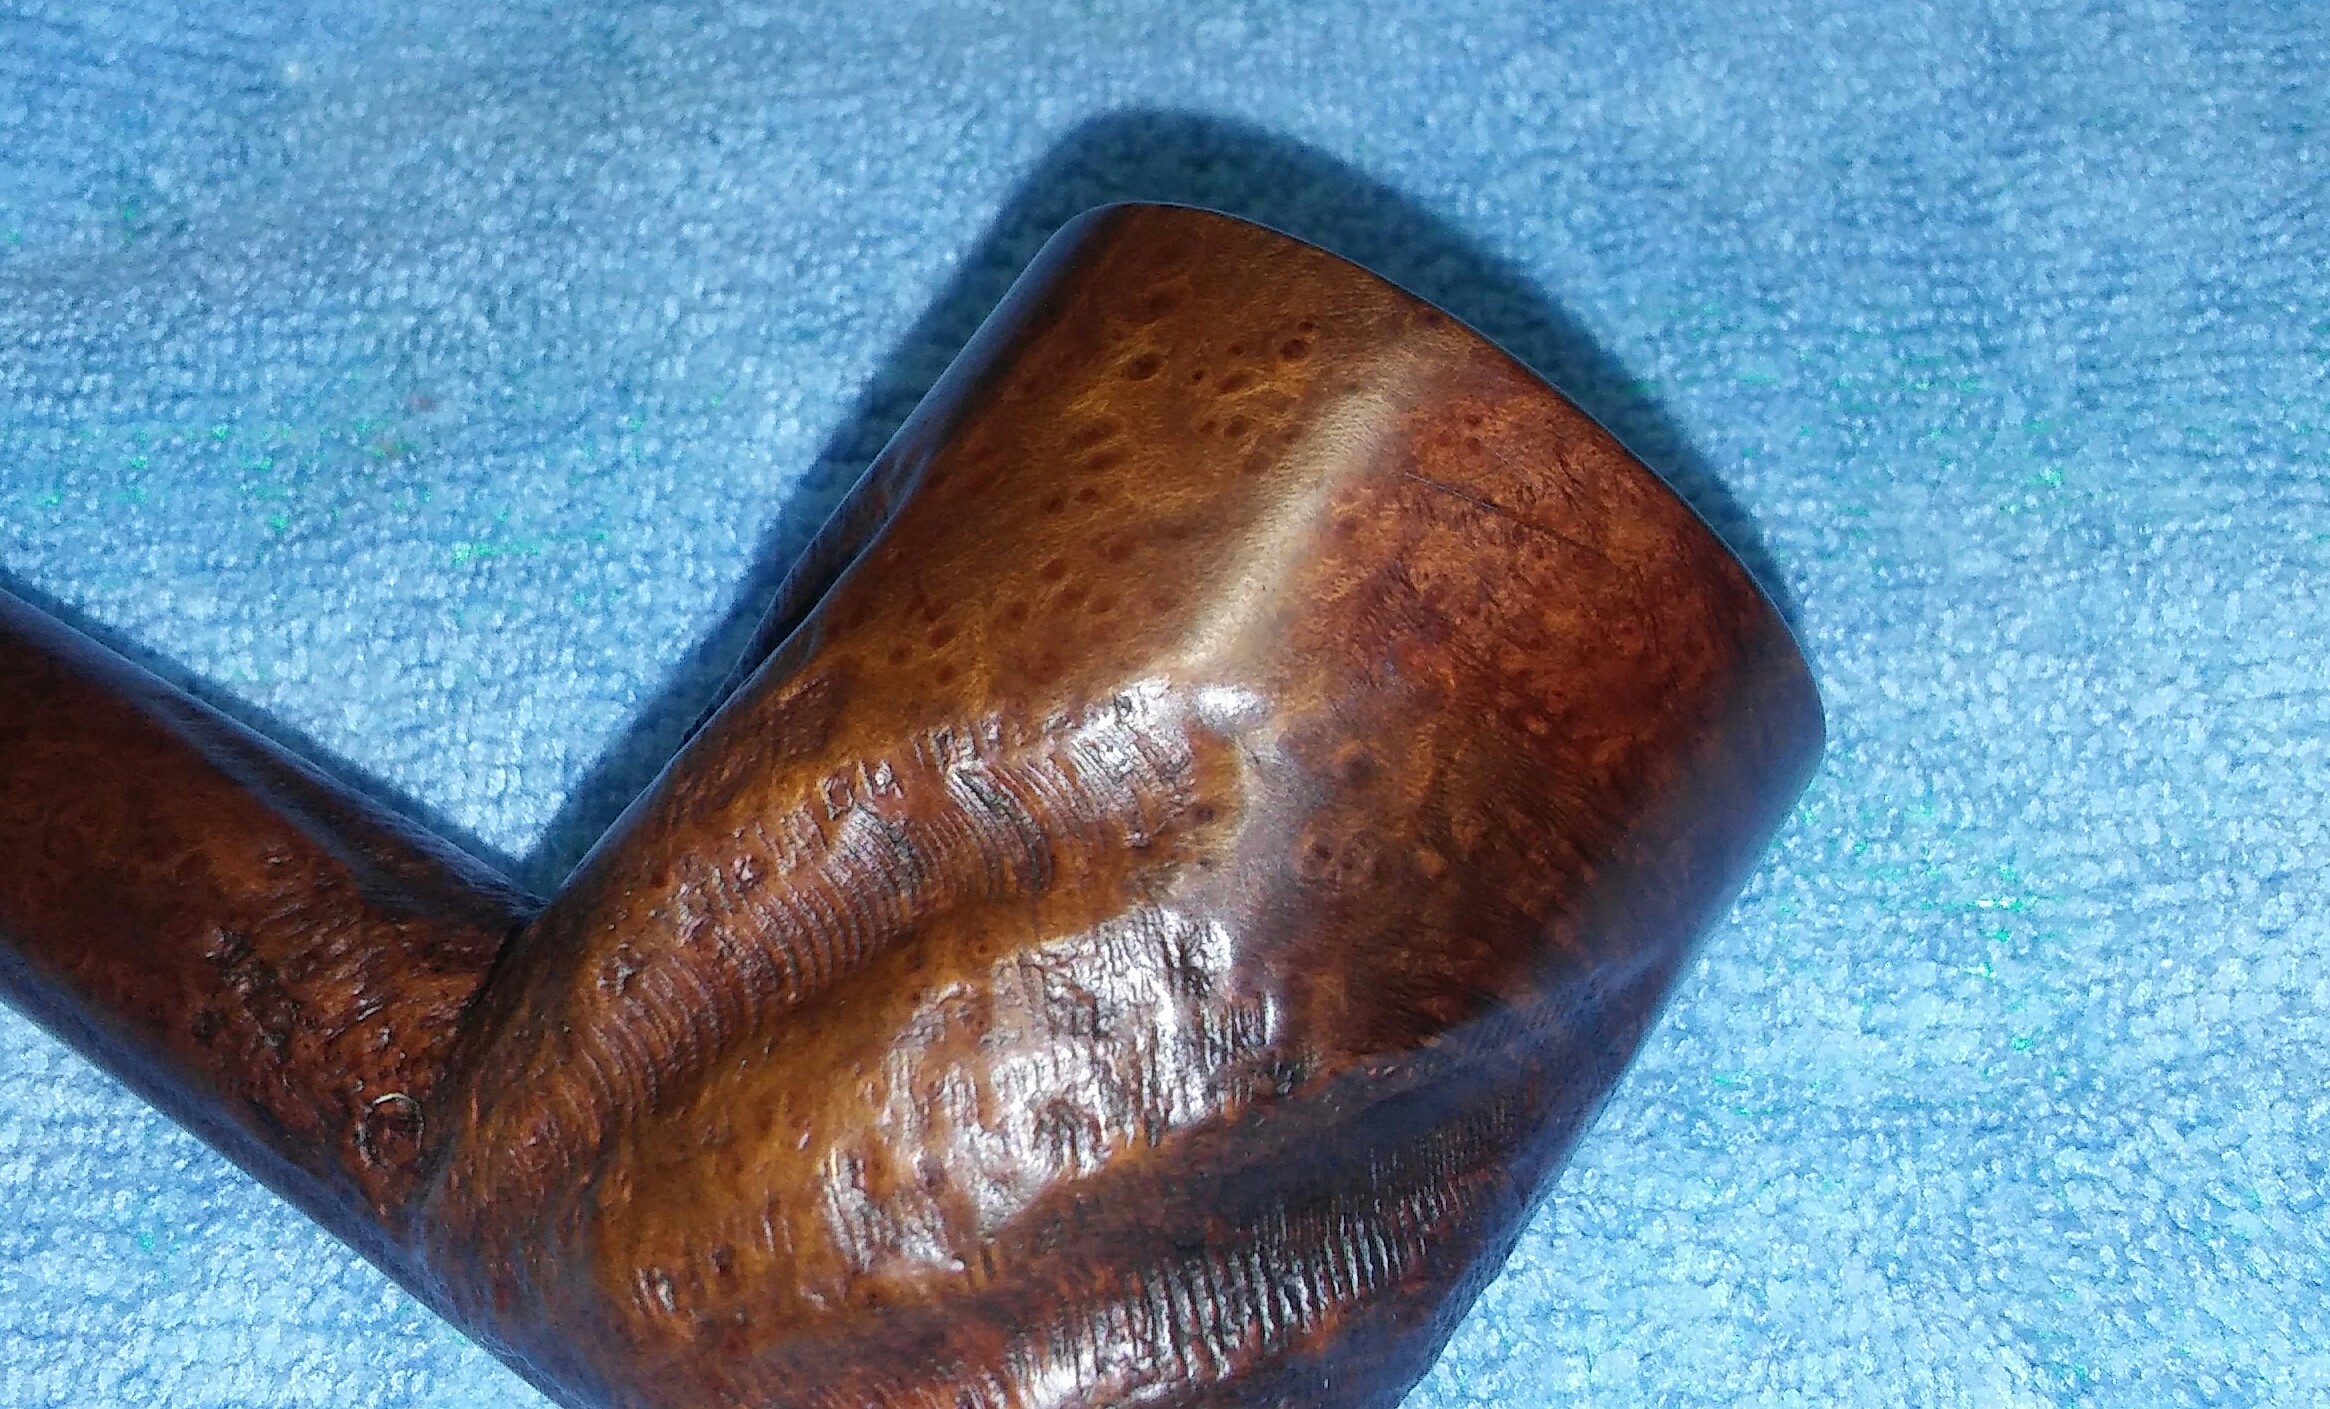
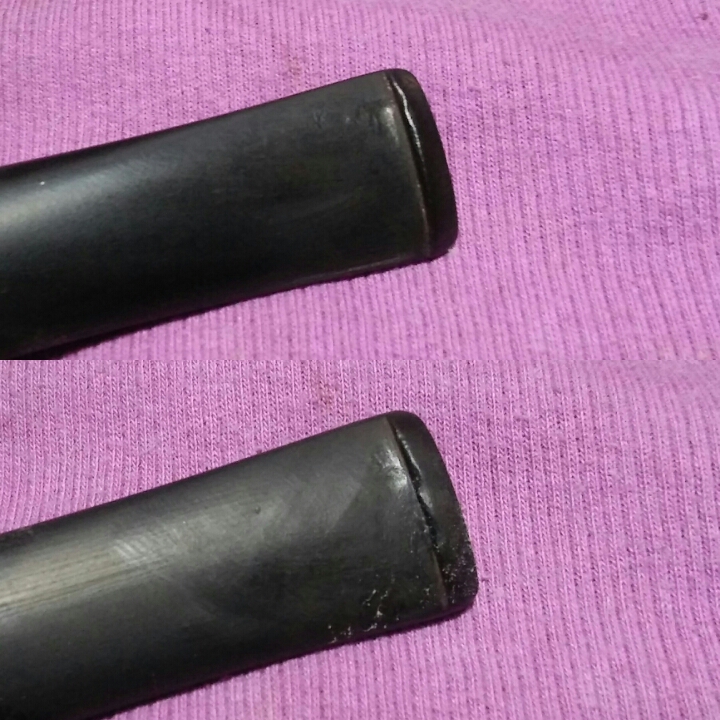
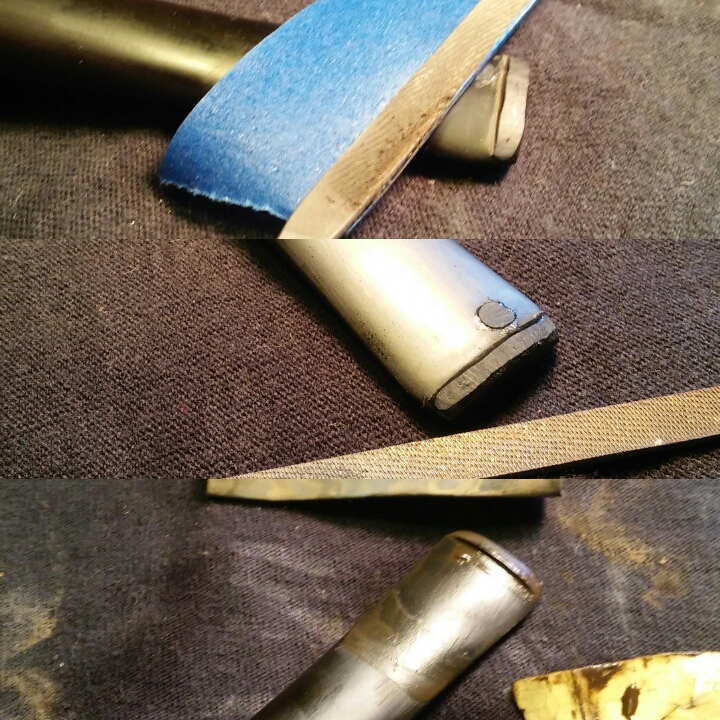
The button was worn down and would have to be built back up. I first taped off the button portion of the stem with blue painters tape so my work would remain in one area. I mixed thick black CA glue and activated charcoal power into a paste .

I applied the paste to the button with a toothpick, then removing the tape just before hitting with the accelerator. I left it aside for a few hours to cure.
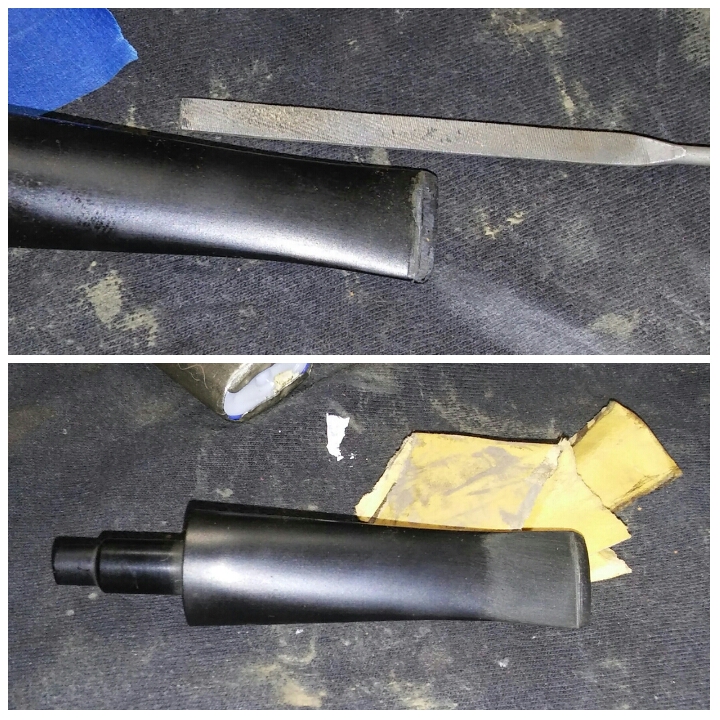
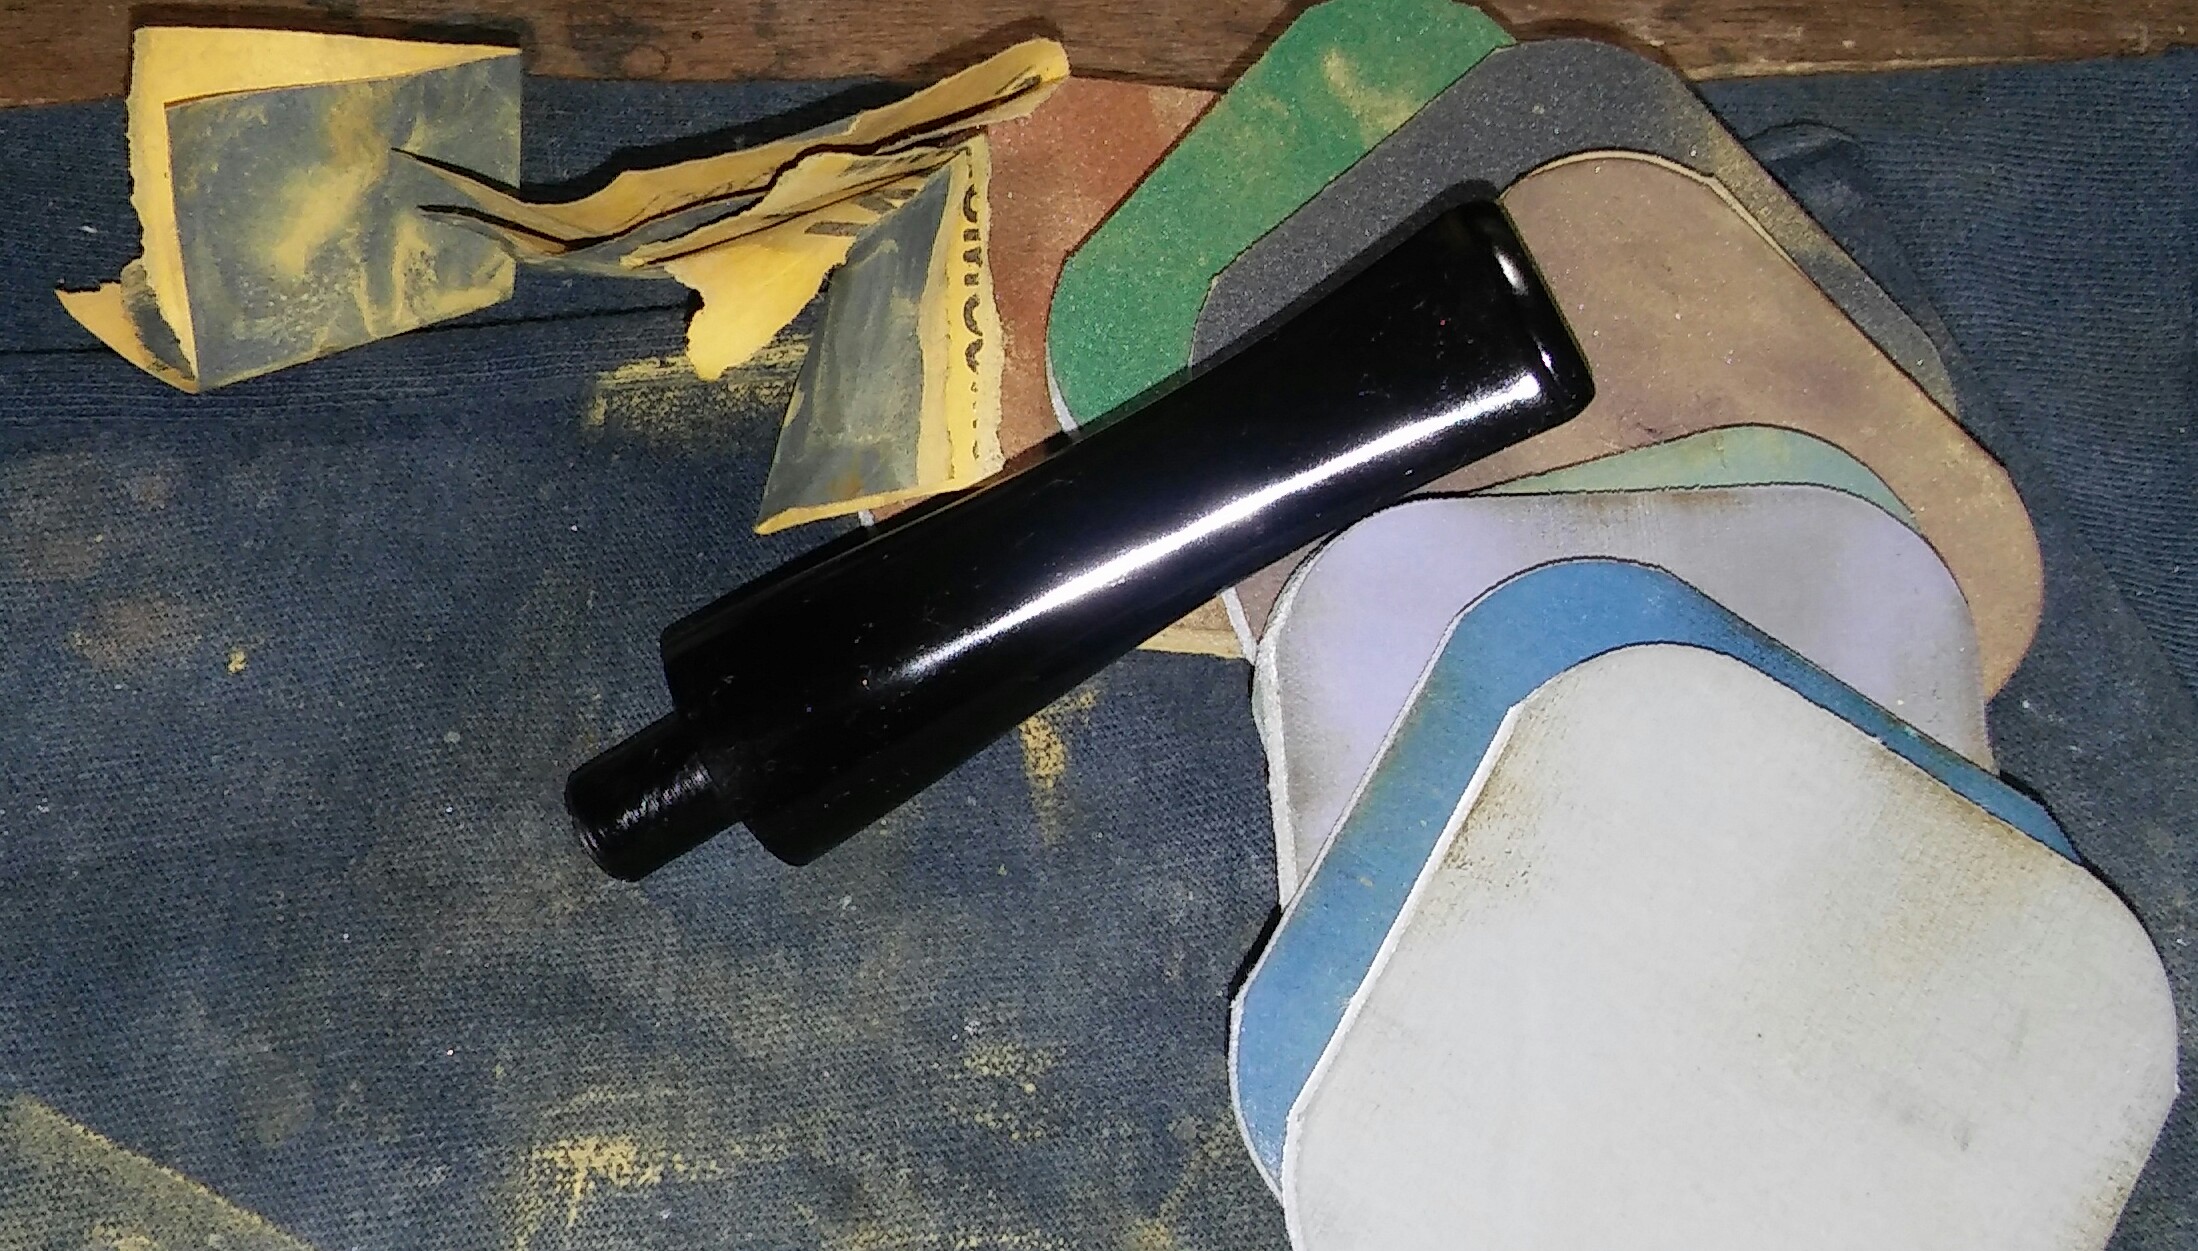
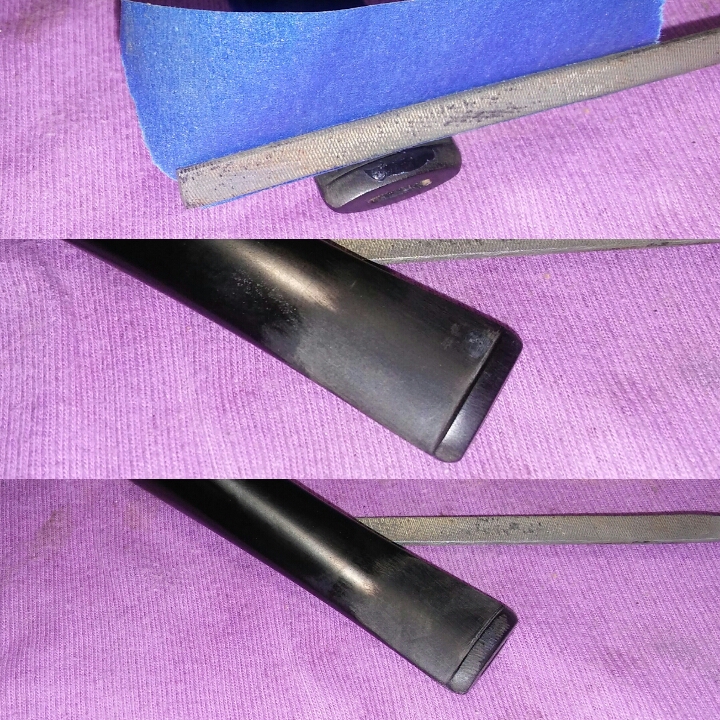
Once the repair had time to cure, I could begin to form the new button. Using needle files I shaped the button to a suitable thickness. I finished up with 400 grit sandpaper wet to remove the file marks.
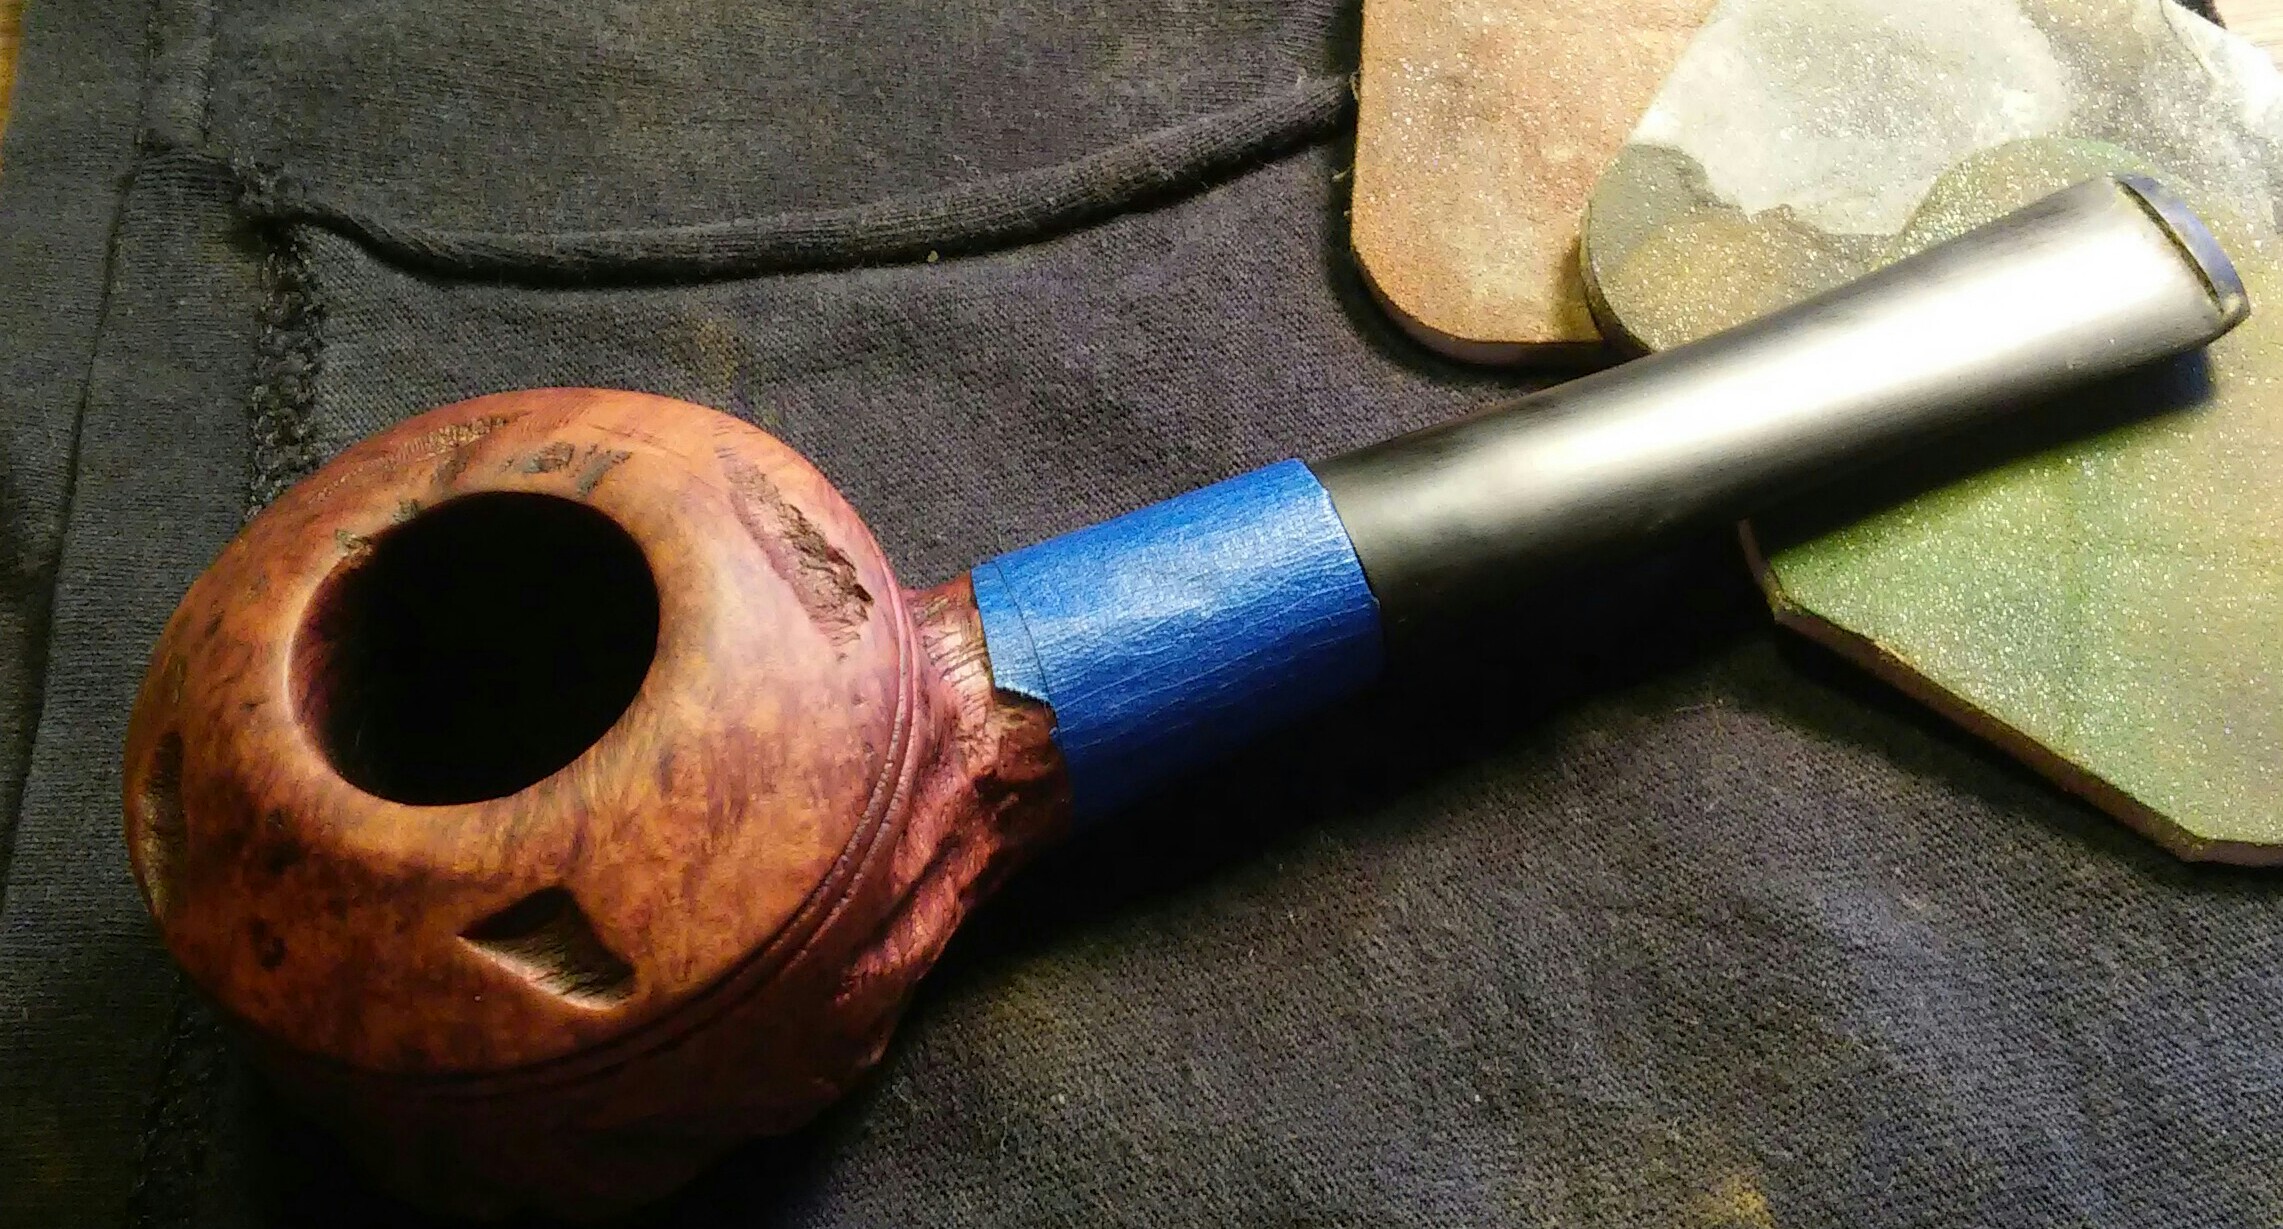
I now ran the stem through the various grits of sandpaper and micro-mesh. 1000 grit sandpaper wet, 1500 mesh wet, 1800 mesh wet, 2000 grit sandpaper wet and 2400 mesh wet. Then finishing up with the rest of the micro-mesh pads 3200-12000 dry.

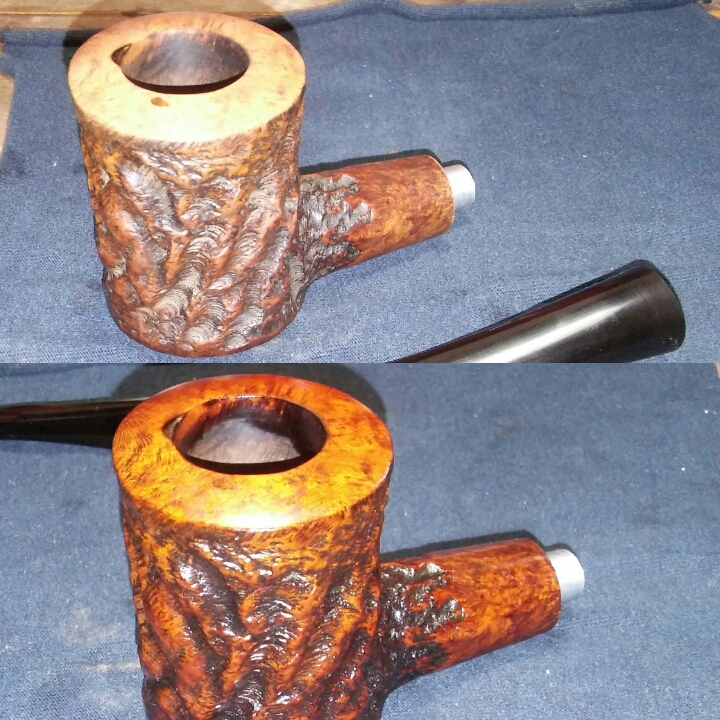
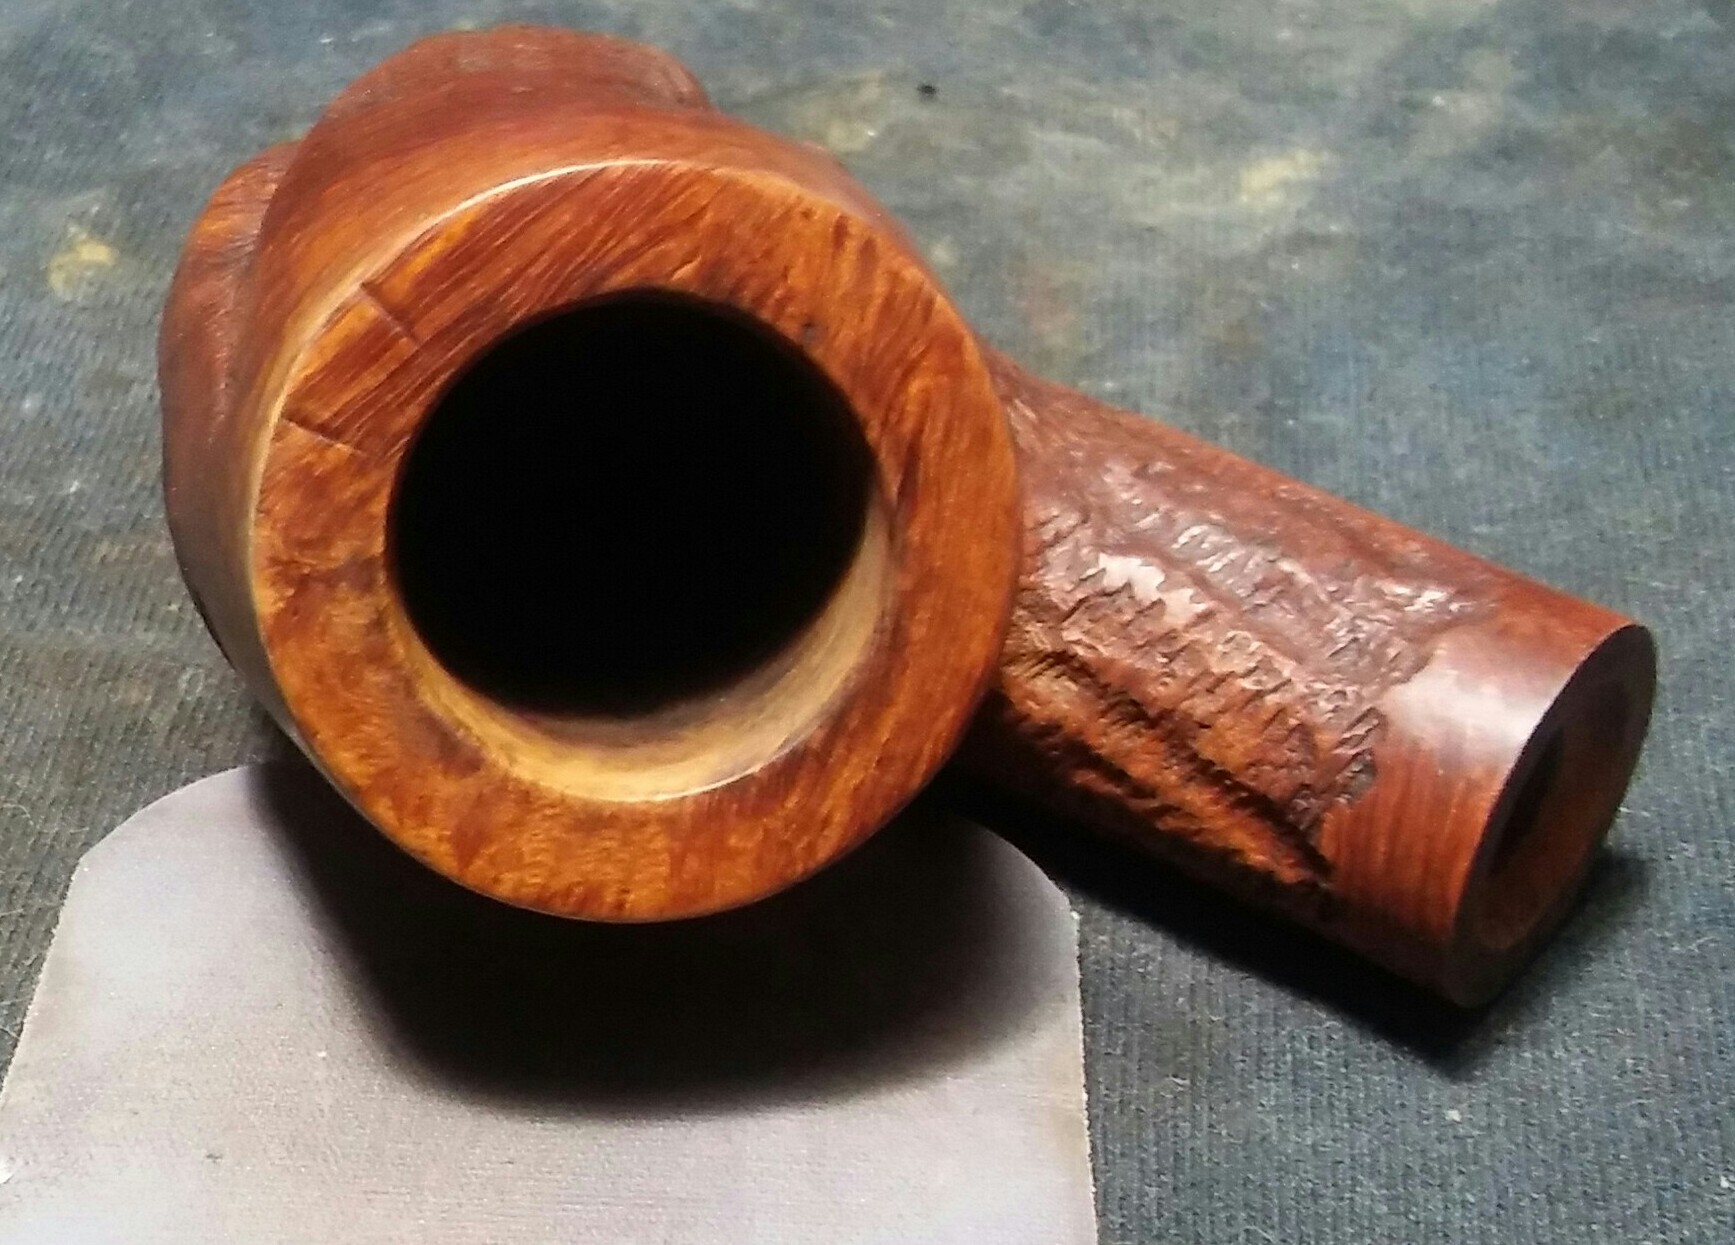
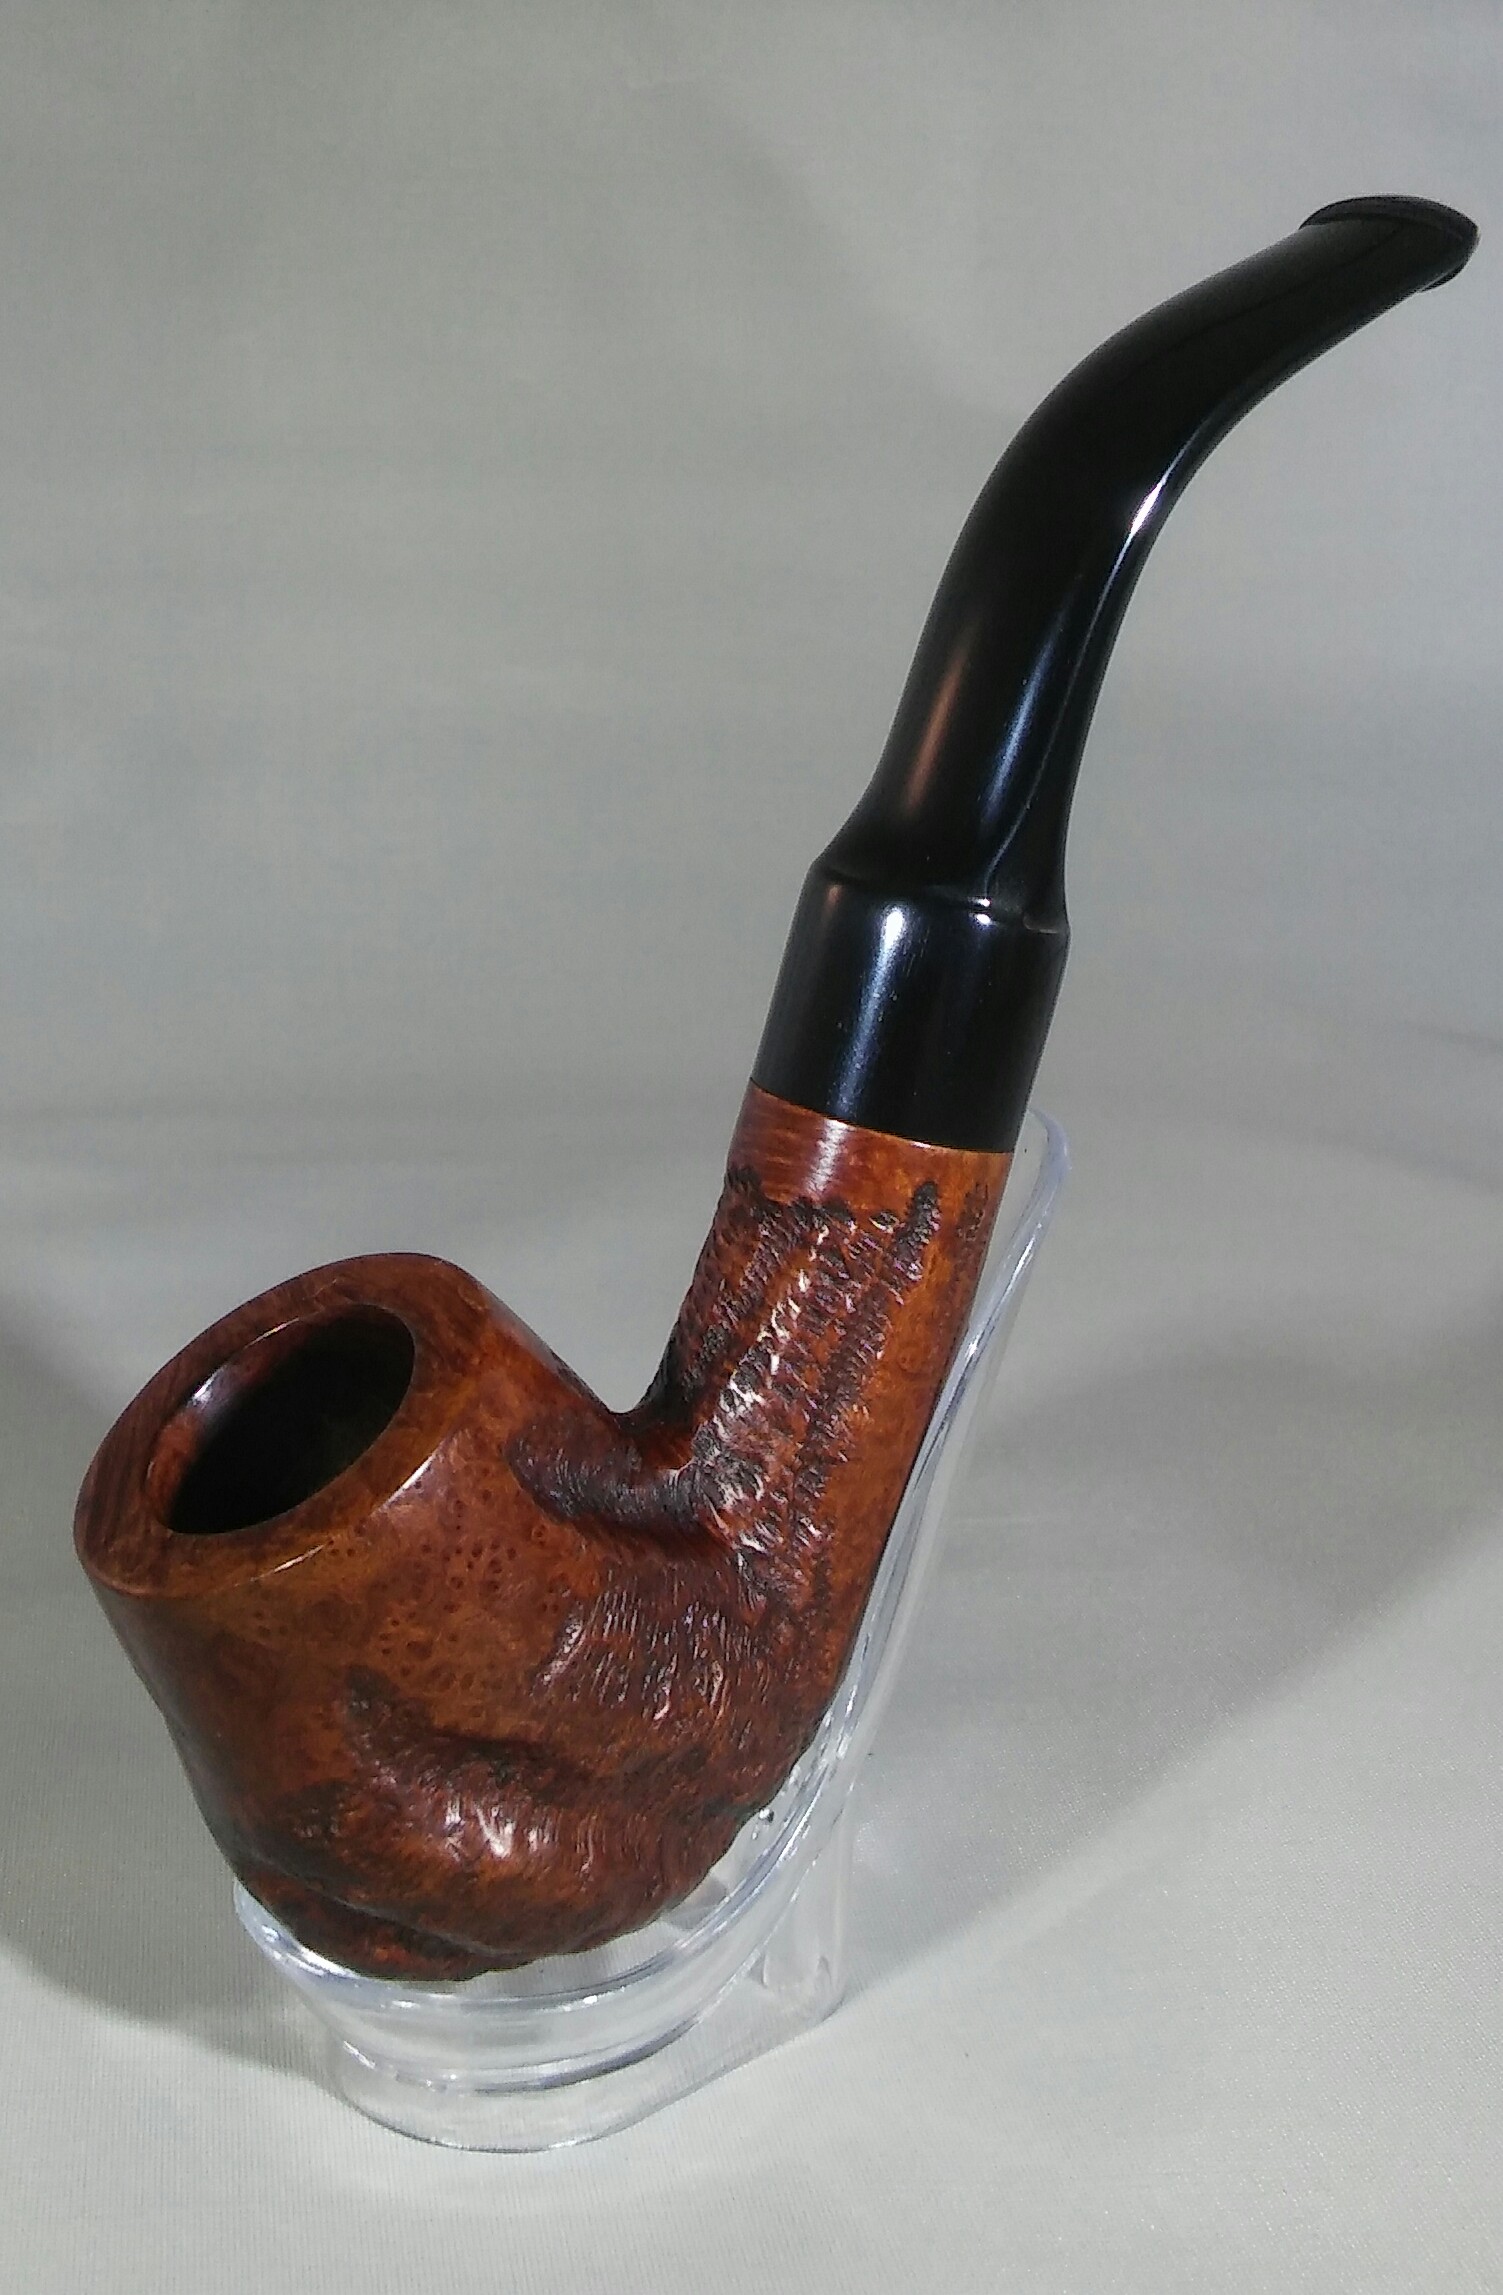
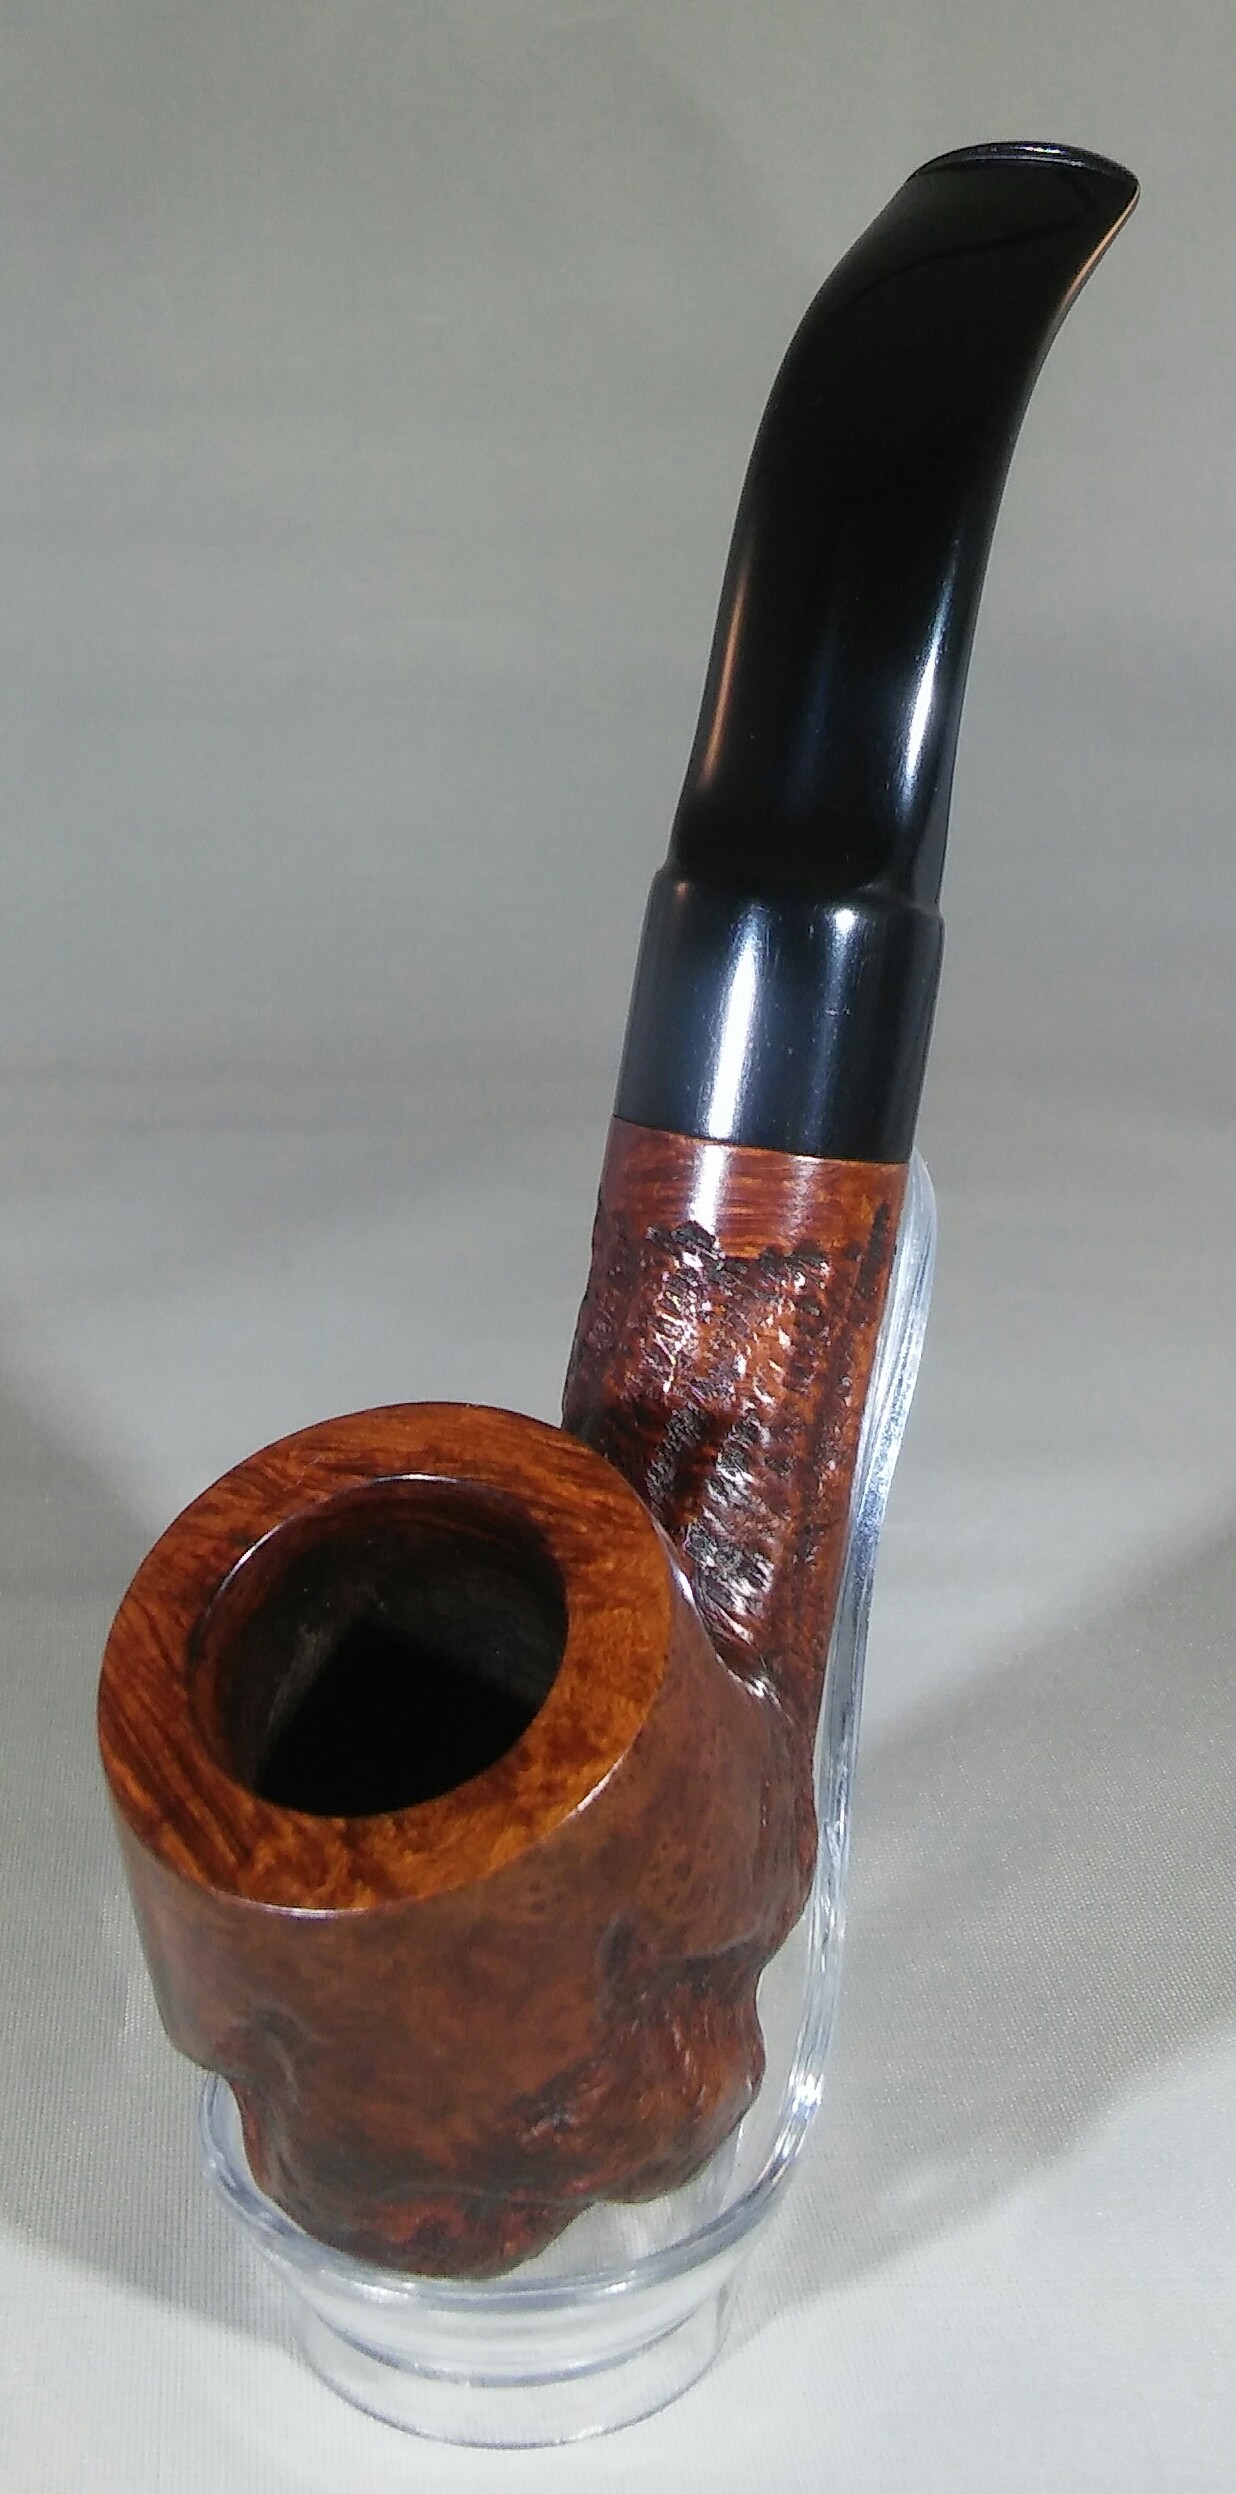
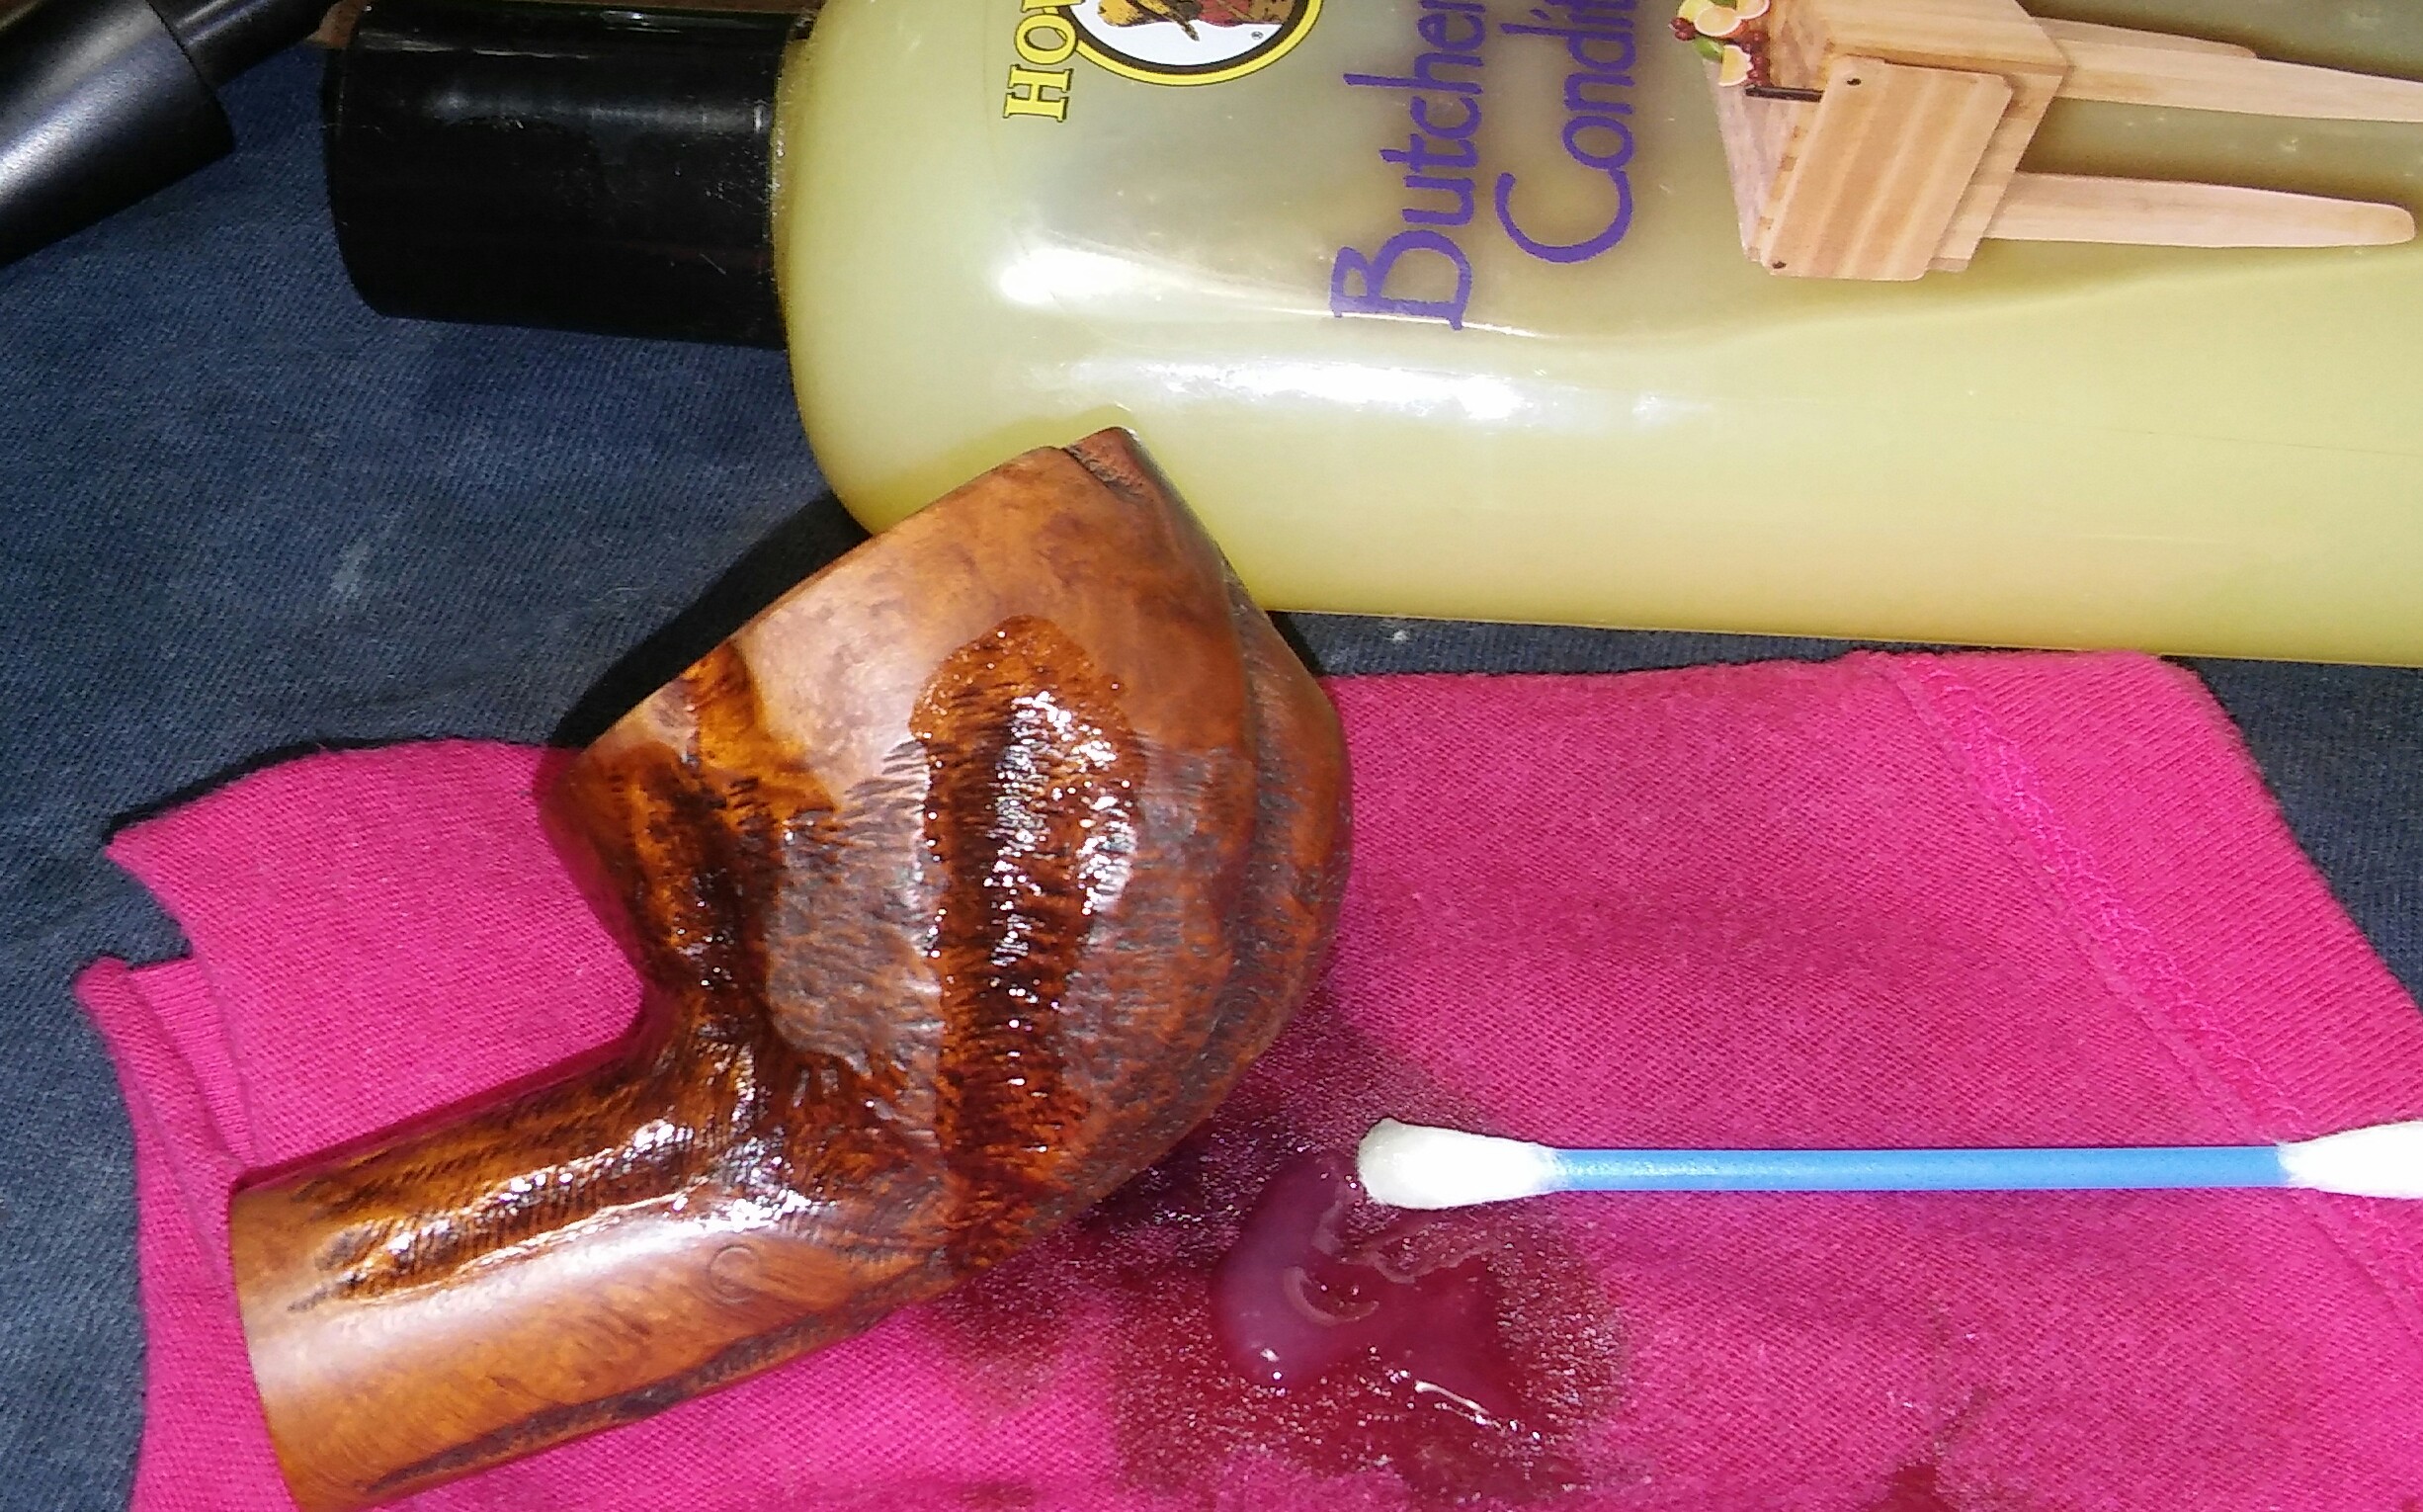
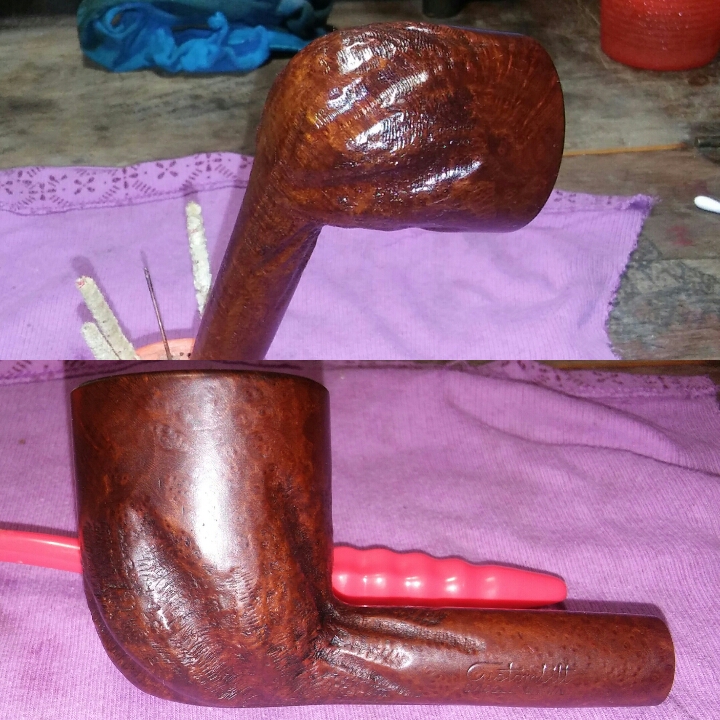
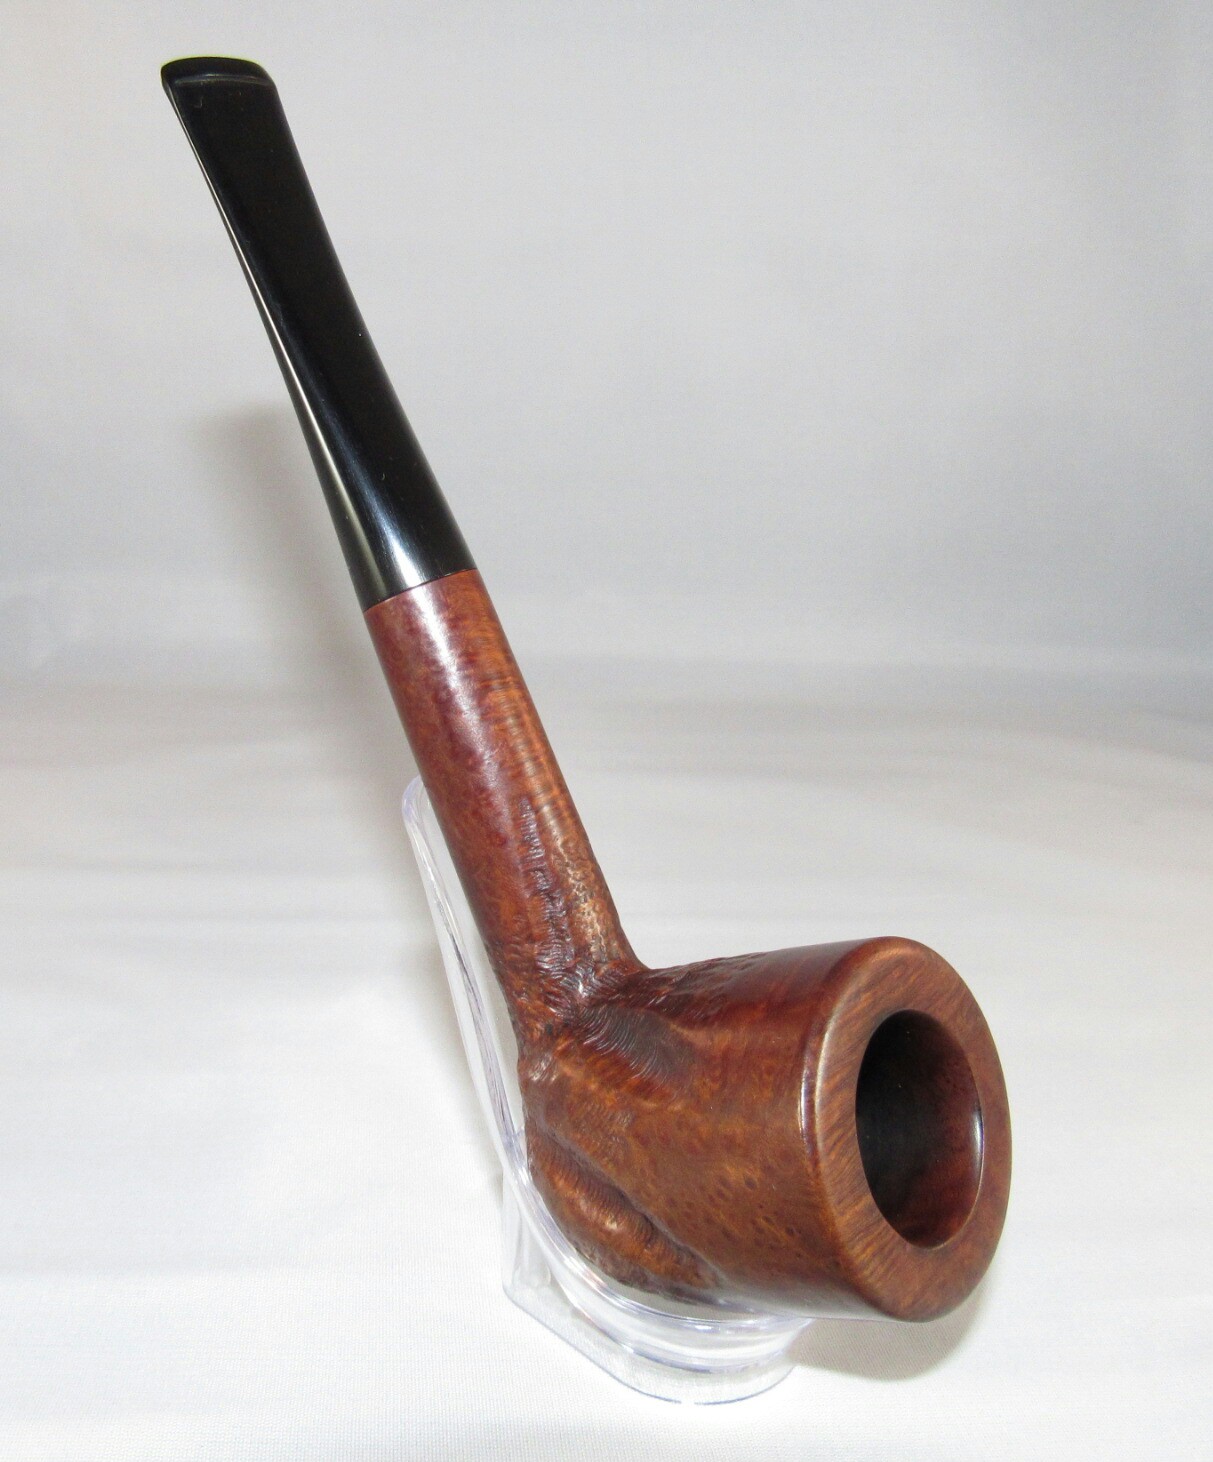
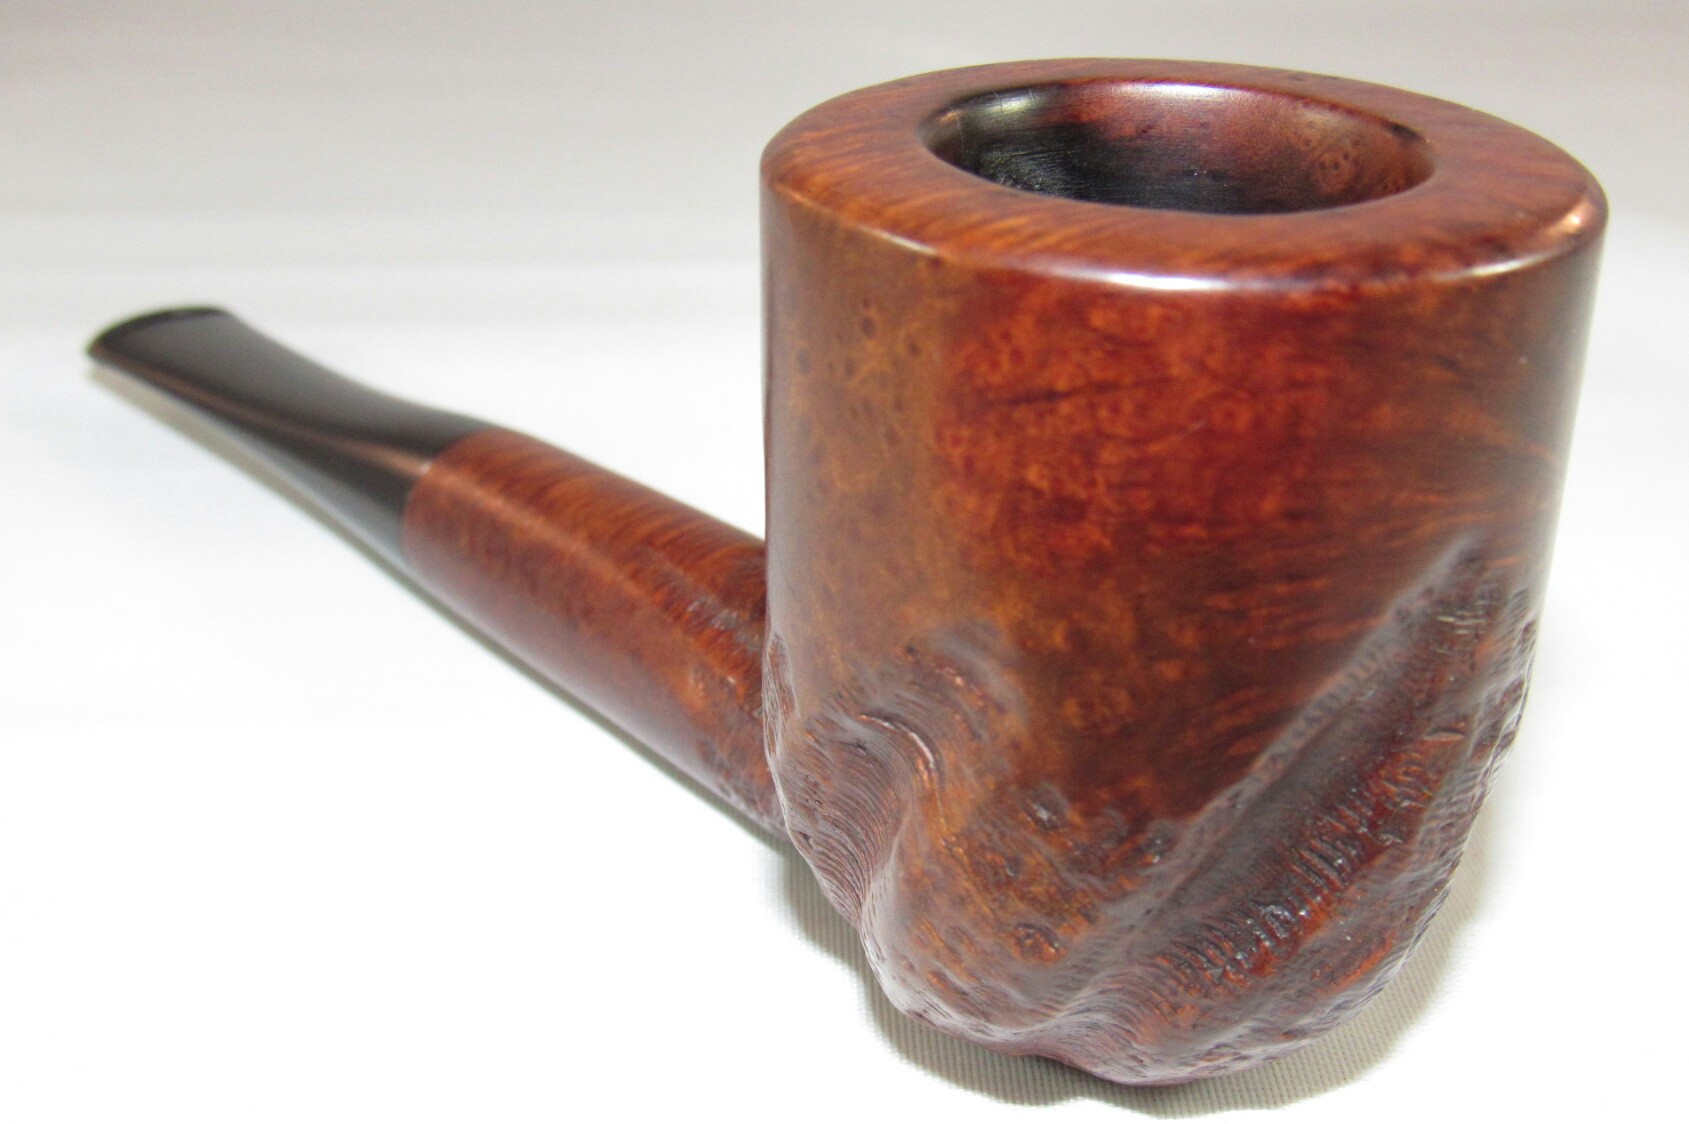
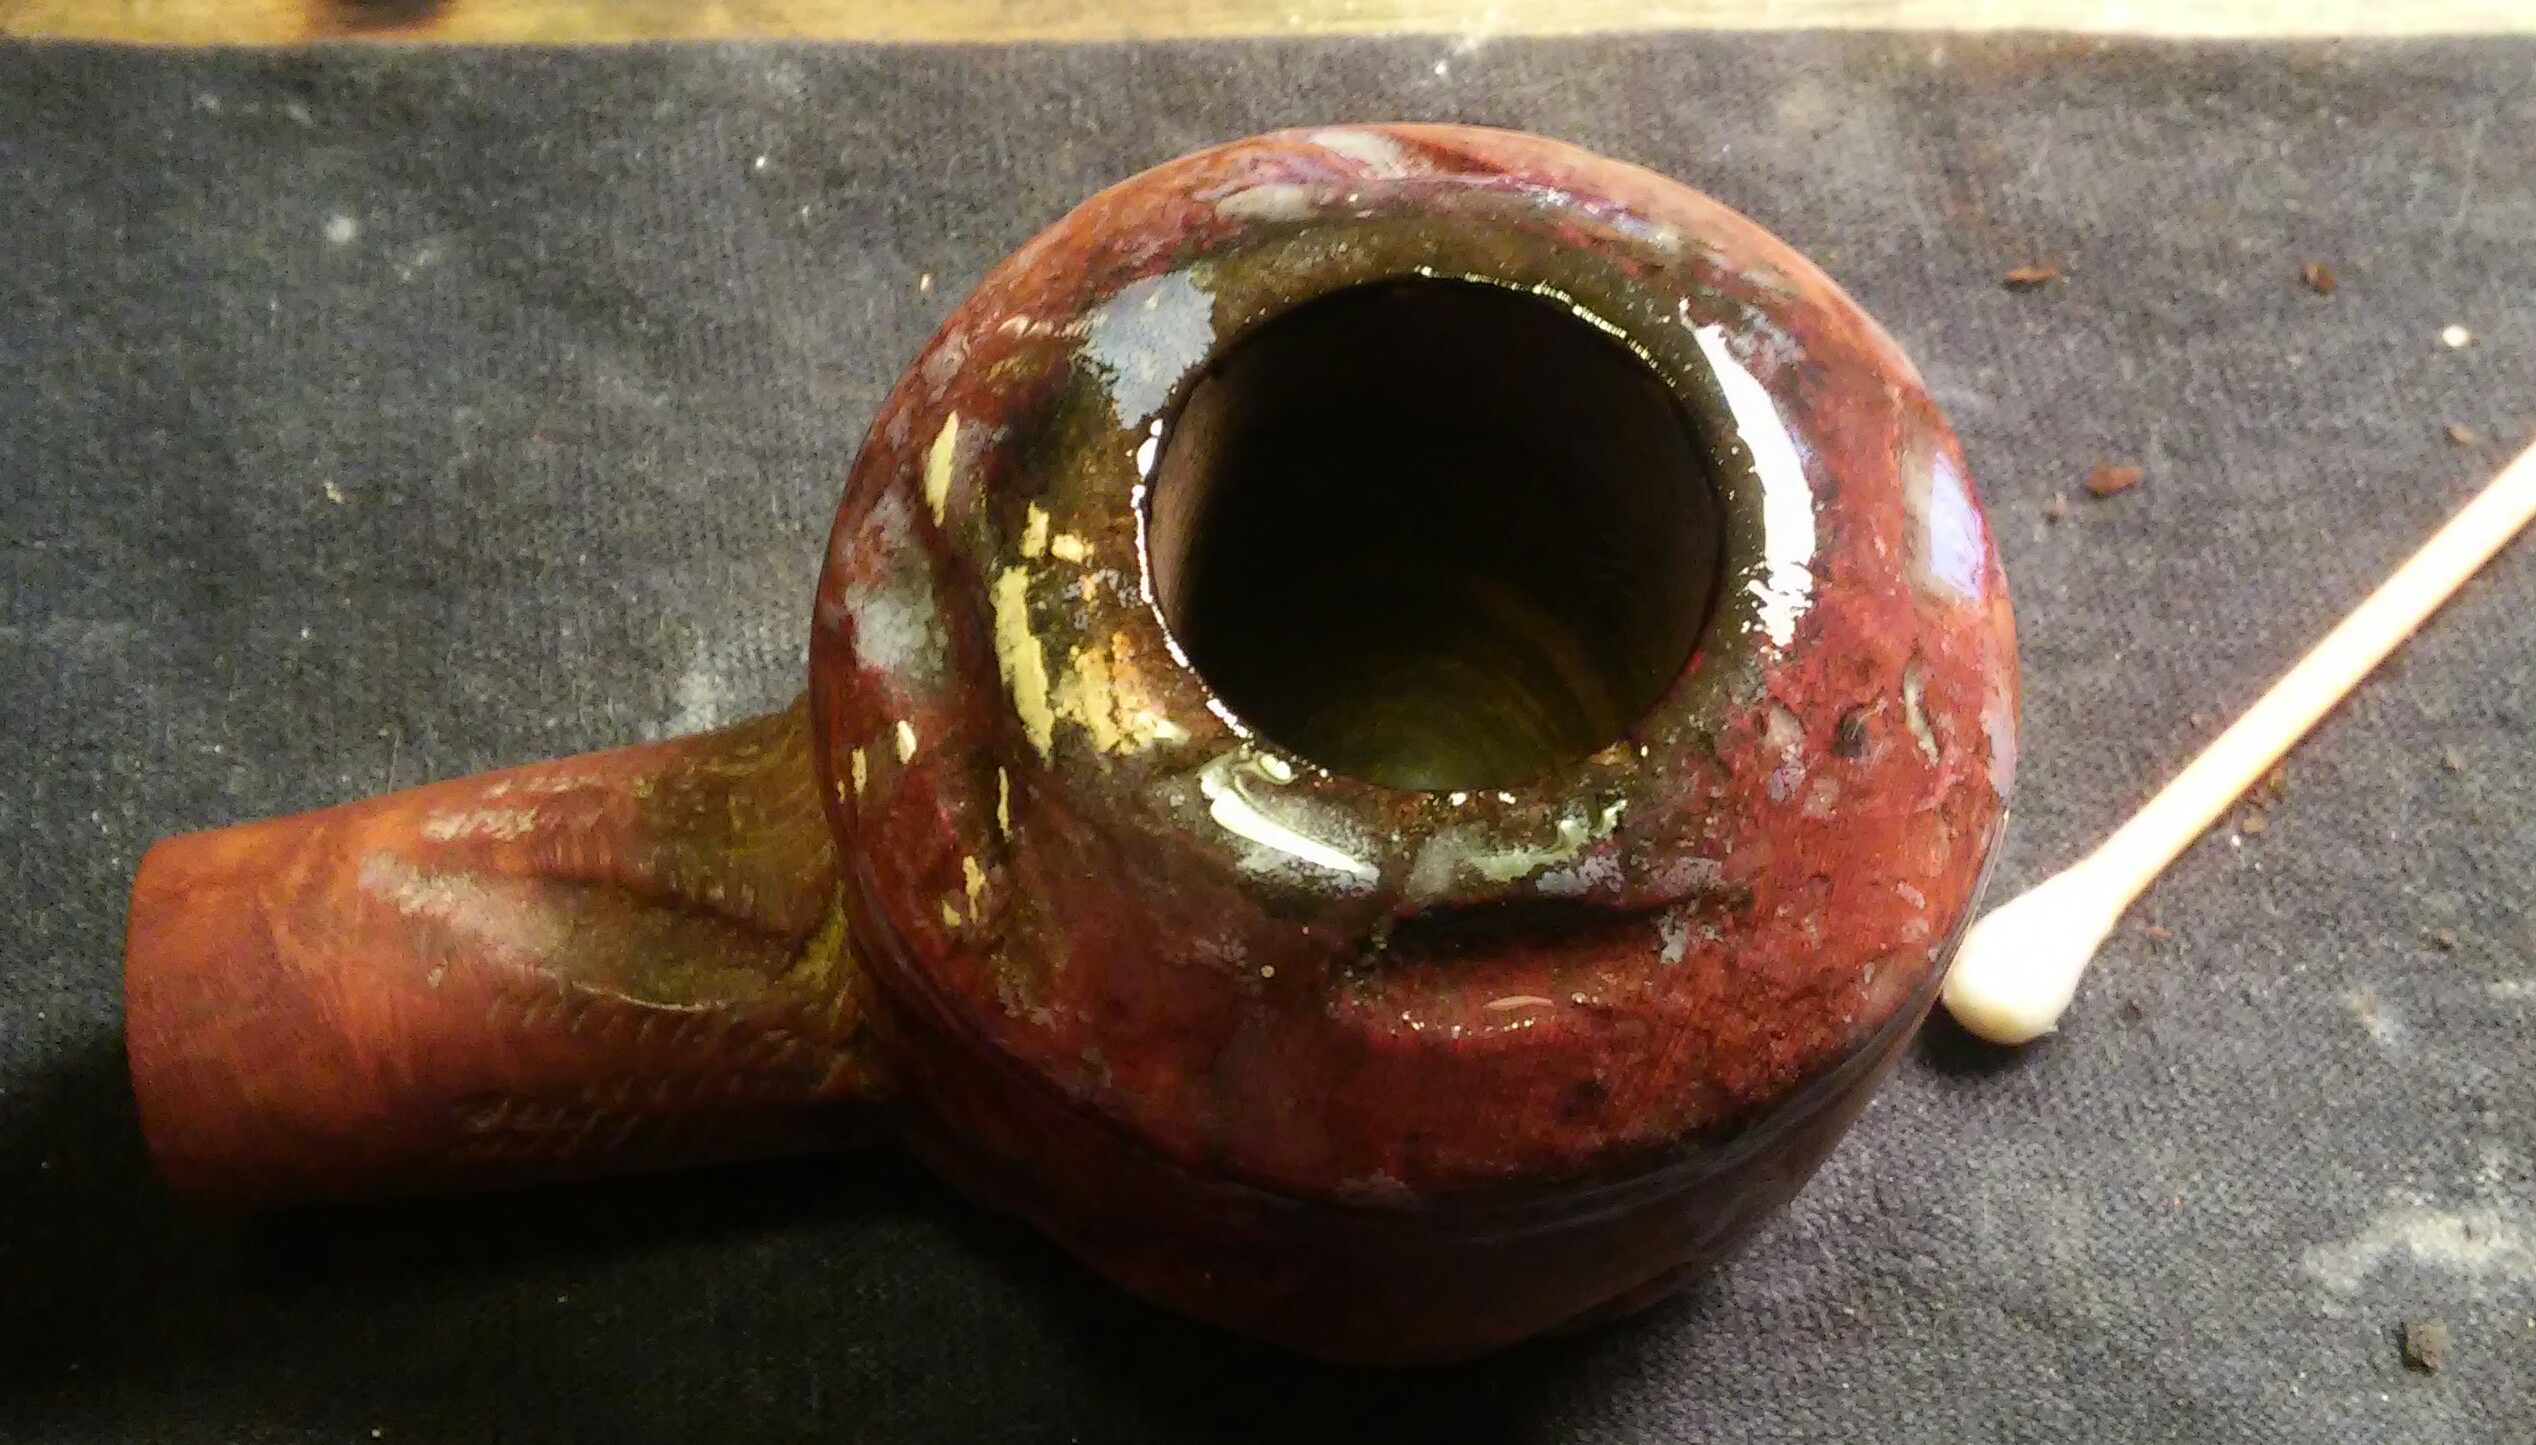
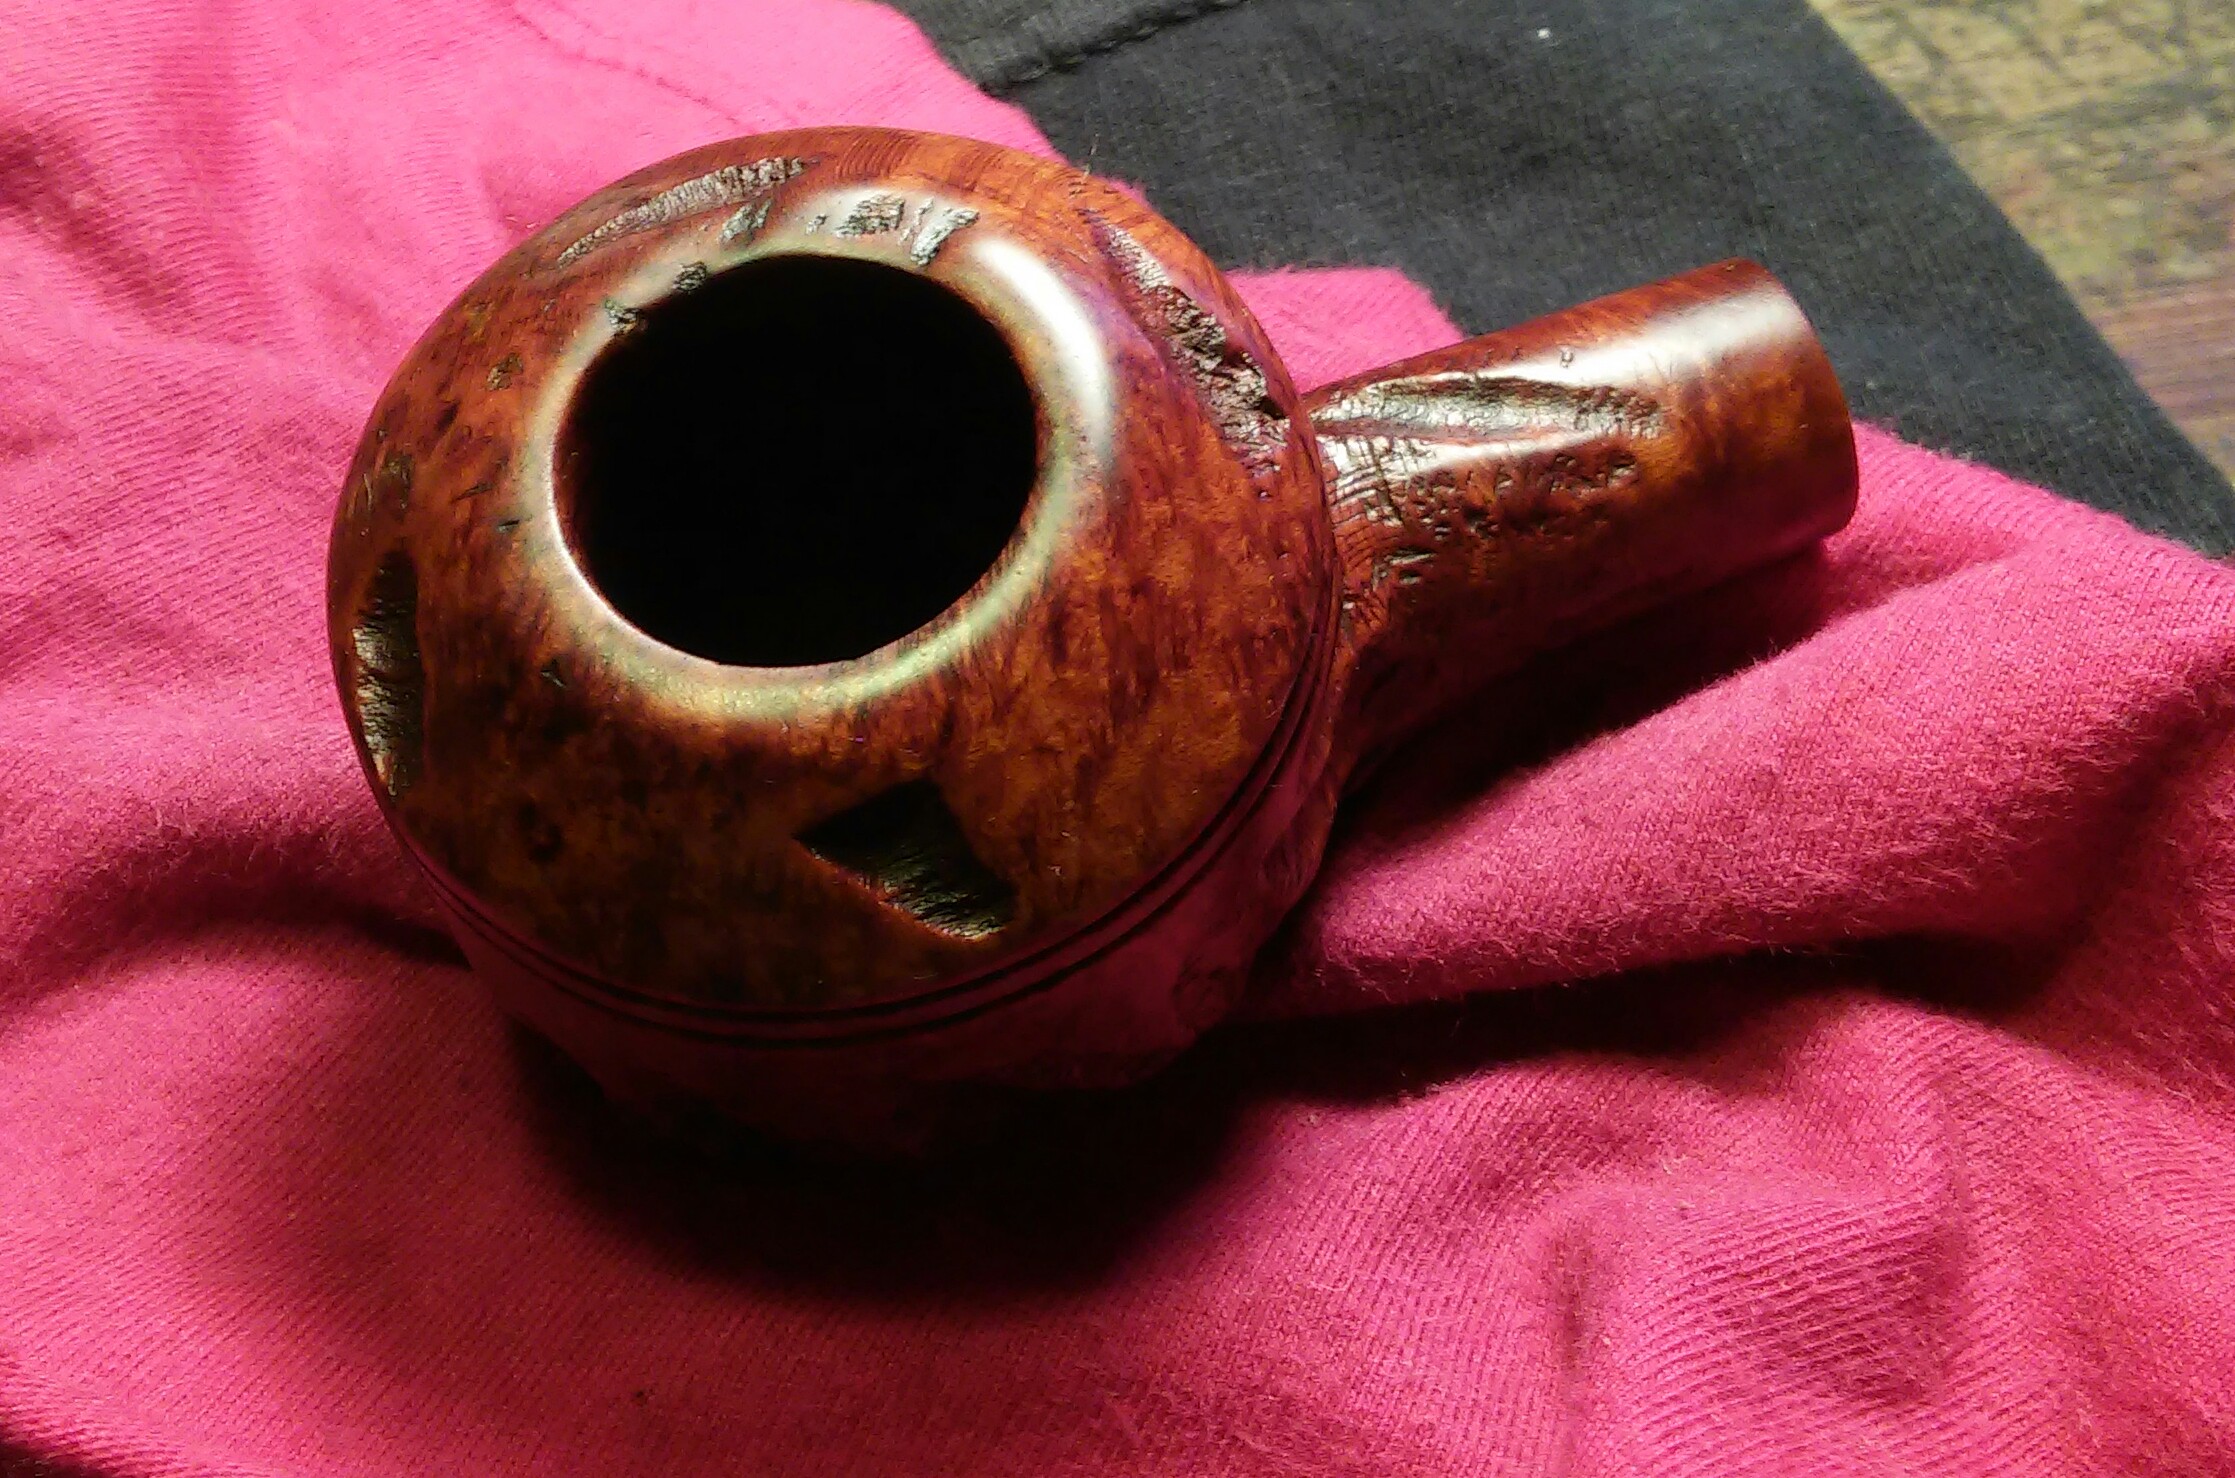
Just before hitting the wheel I applied Howard’s butcher block conditioner to the stummel with a rag and let it penetrate for a few minutes hand buffing off the excess with a clean rag. The change in coloring of this pipe was incredible after applying the Howard’s Conditioner. I use Howard’s butcher block conditioner on all my Custombilt, Tom Howard, BP Jum and Kaywoodie Handmade pipes before buffing.
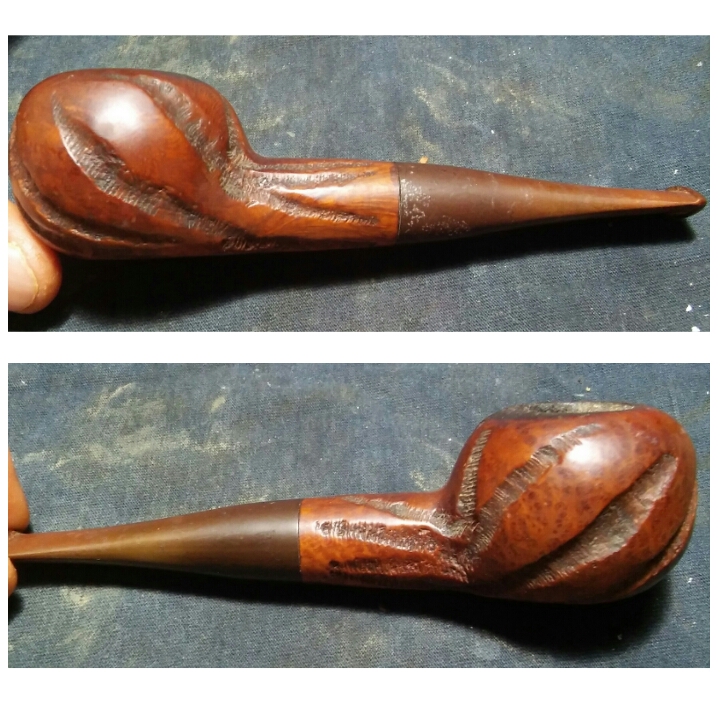
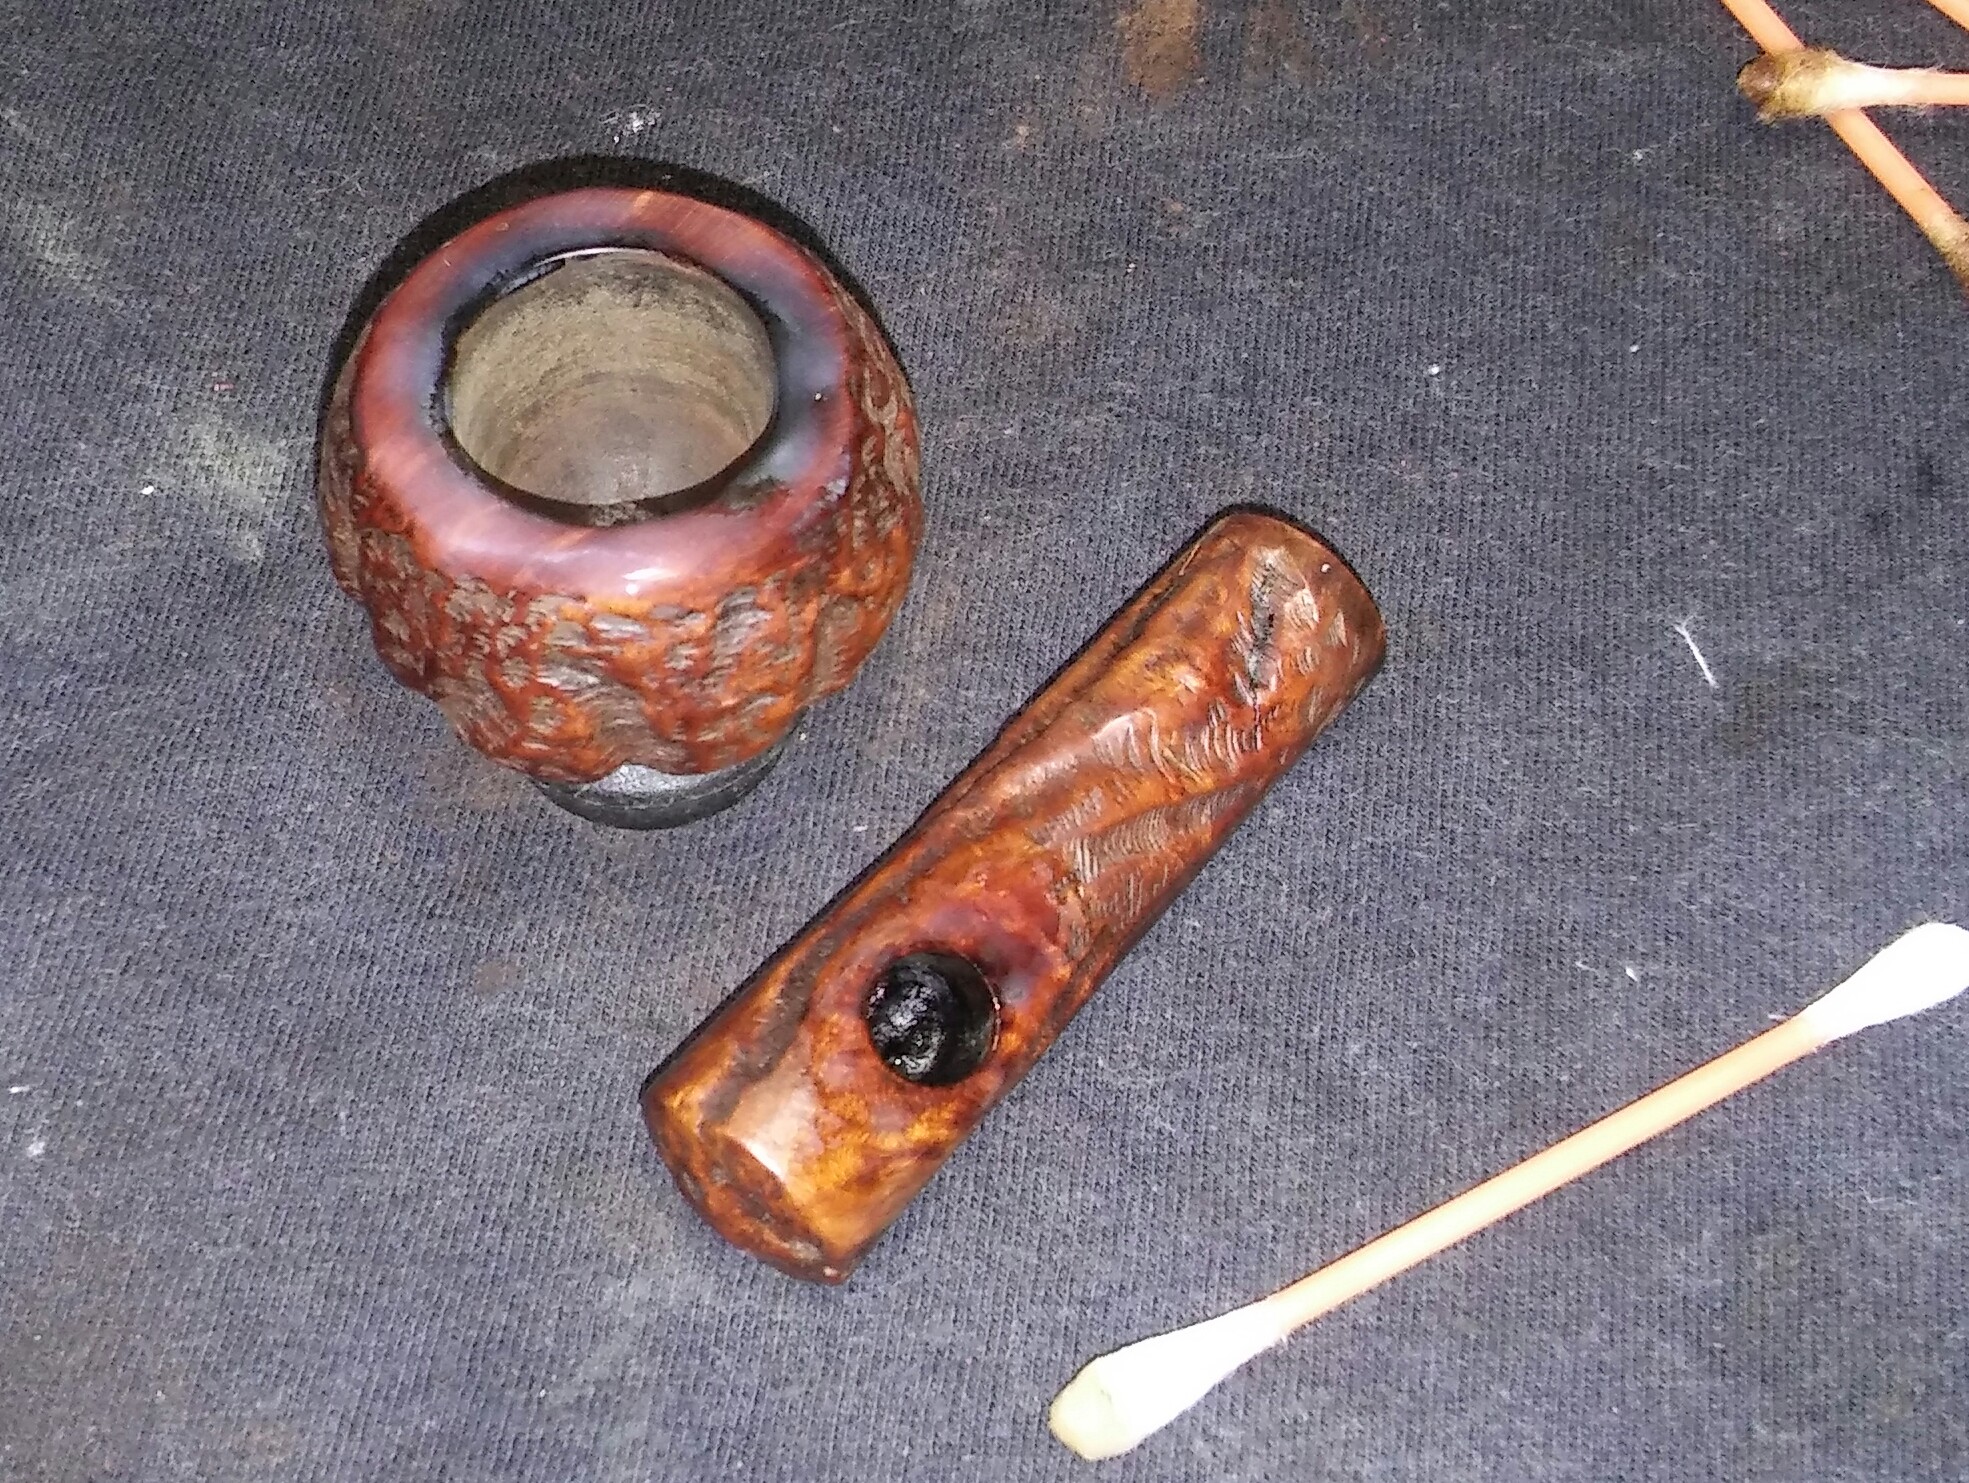
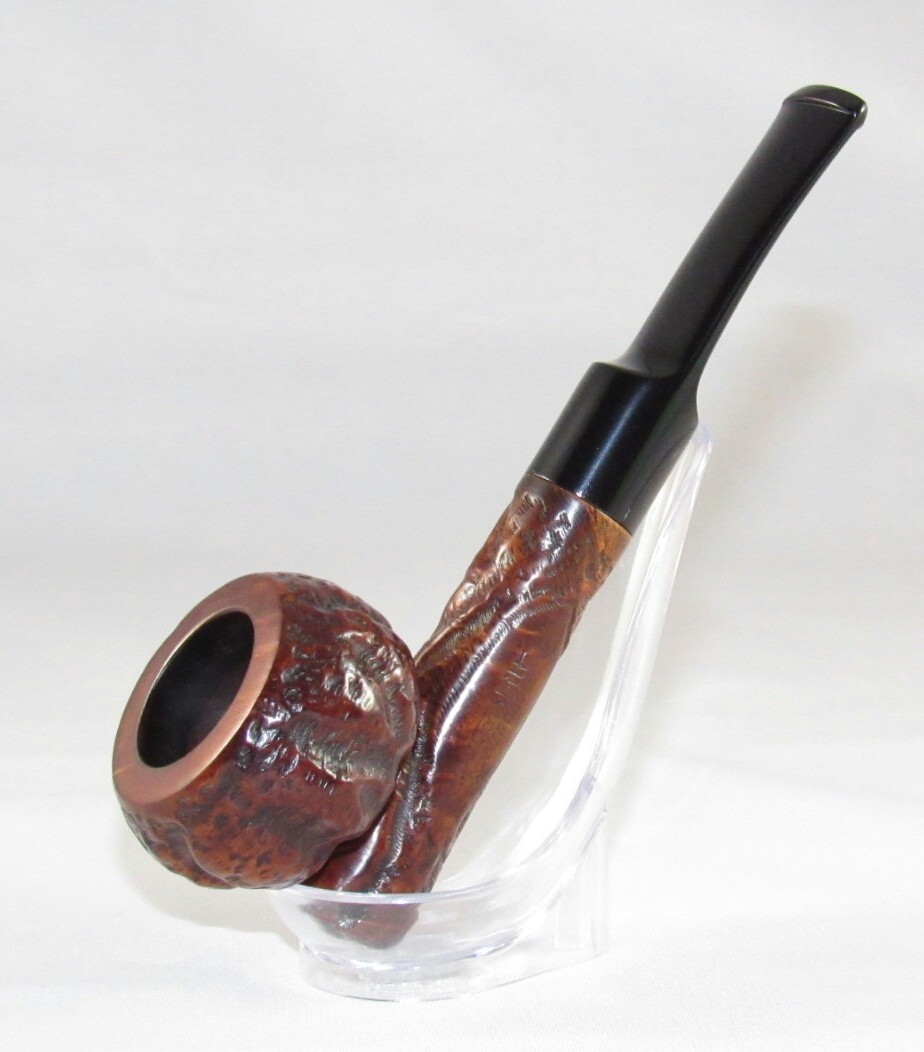
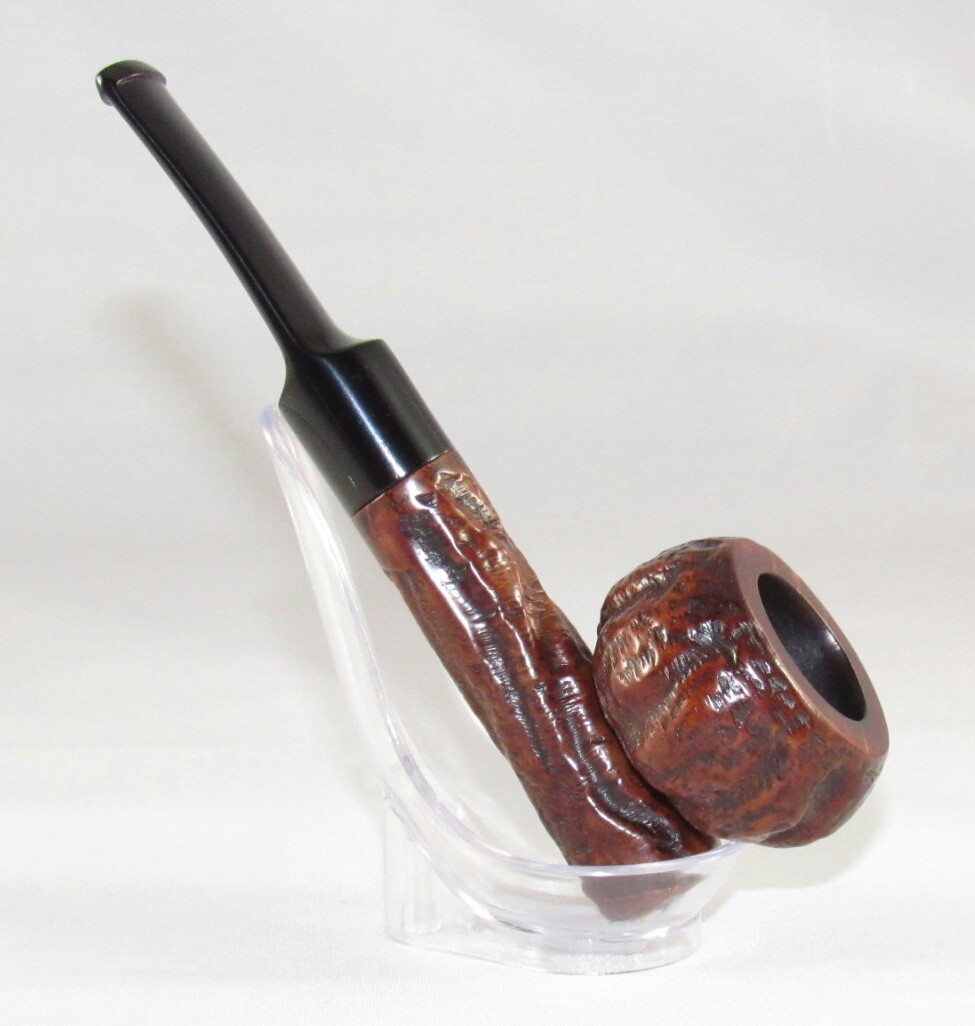
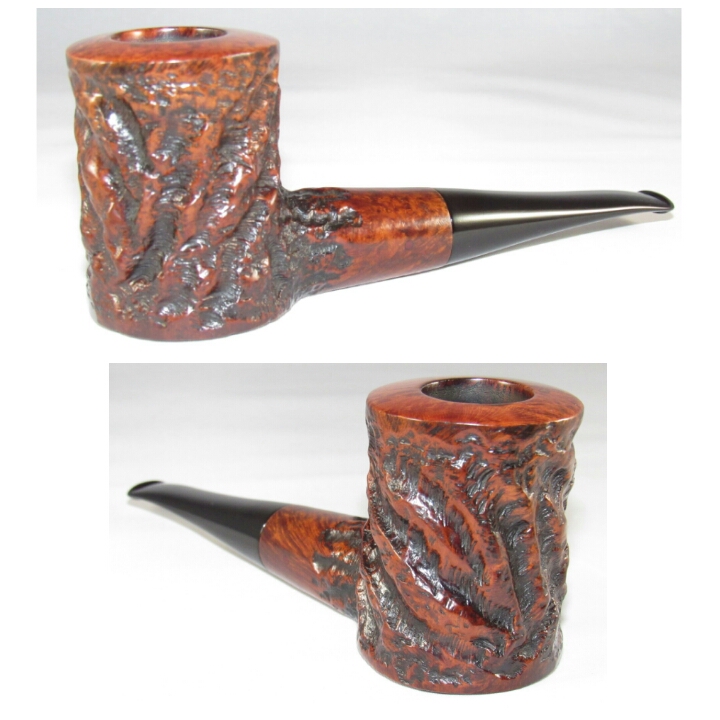
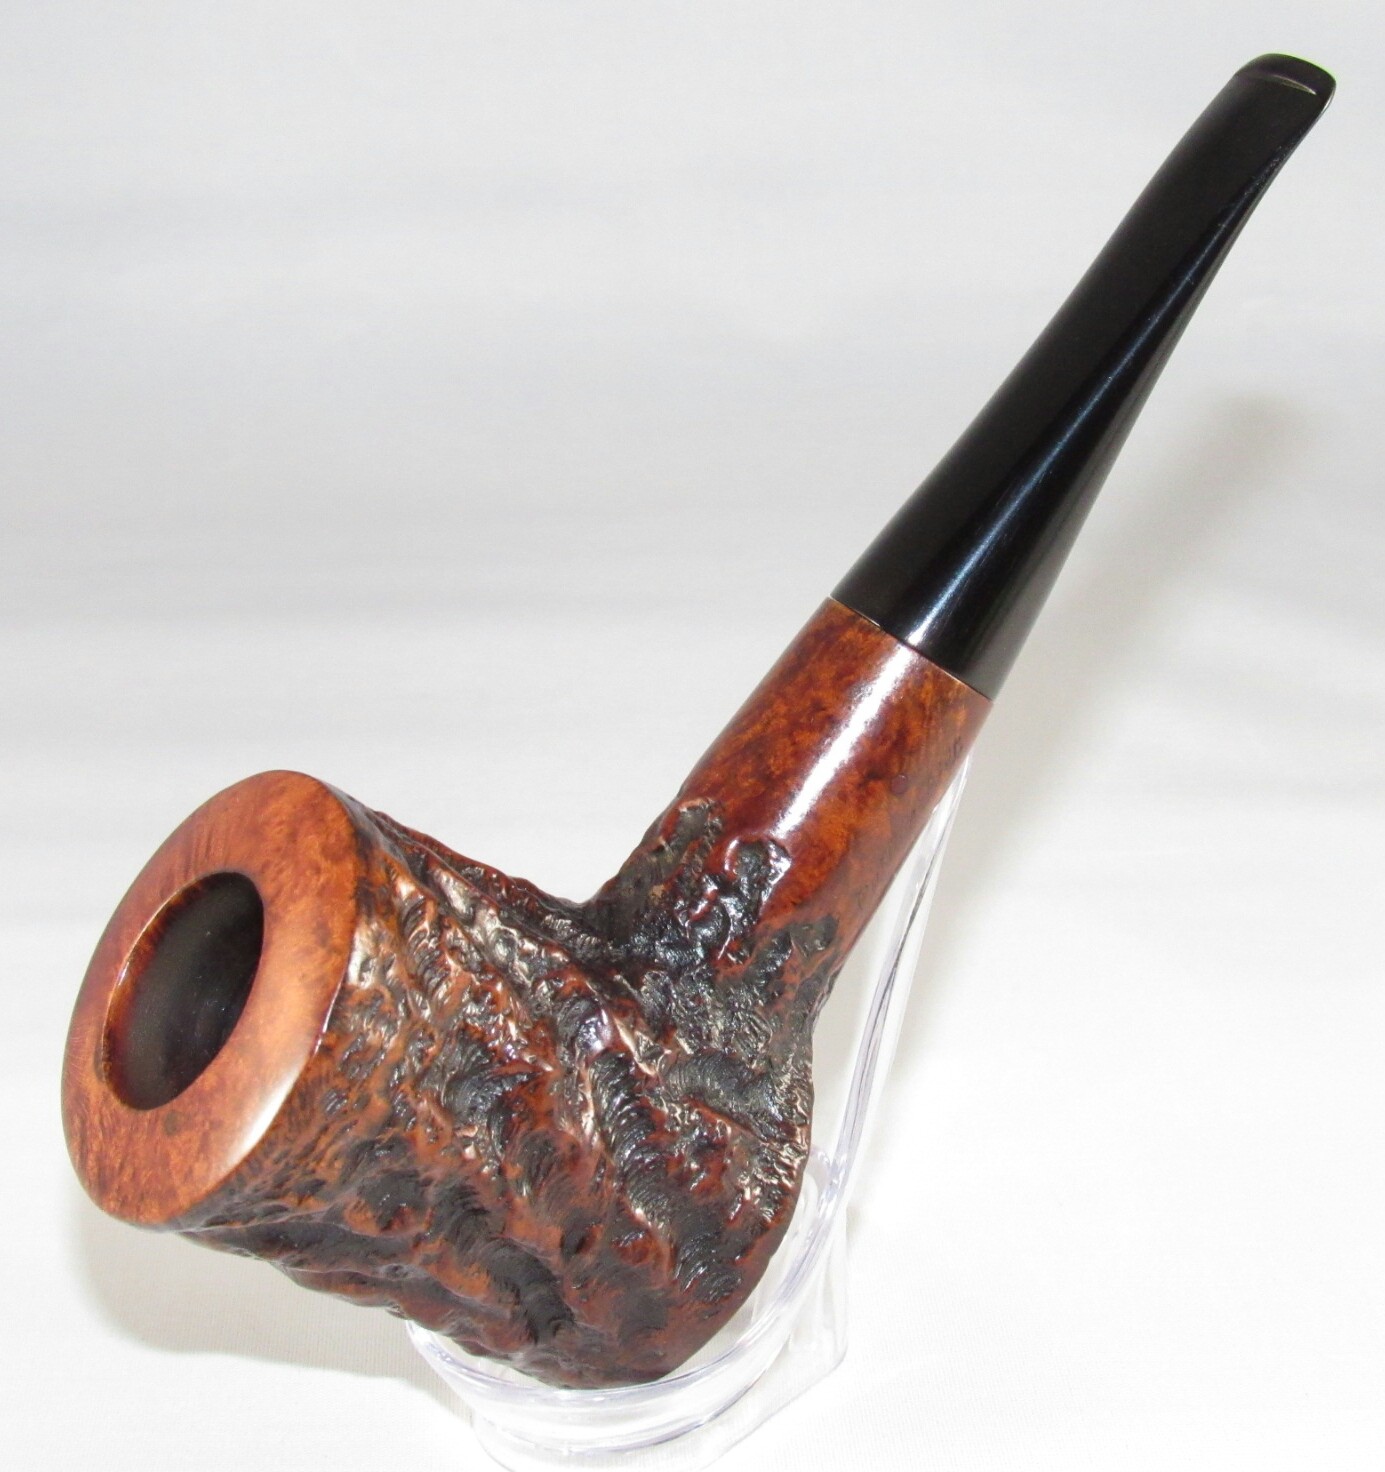
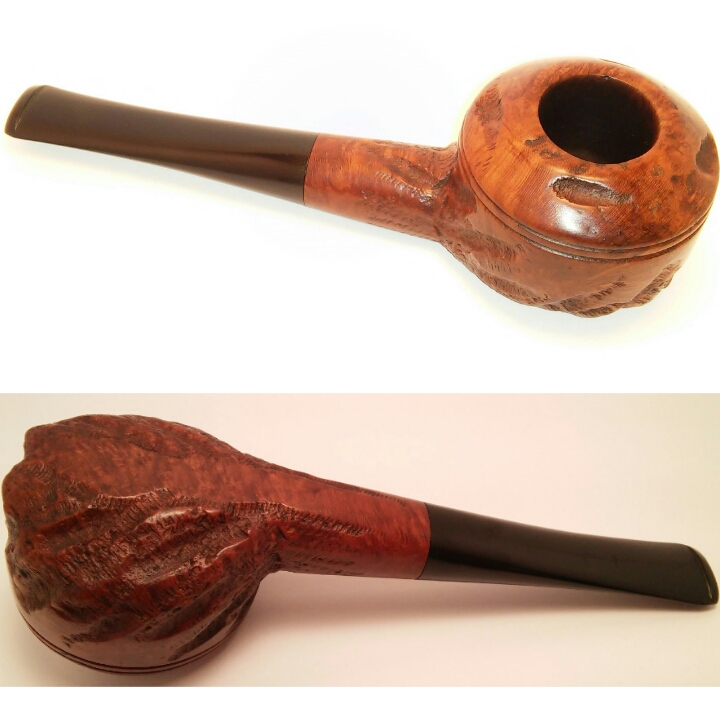
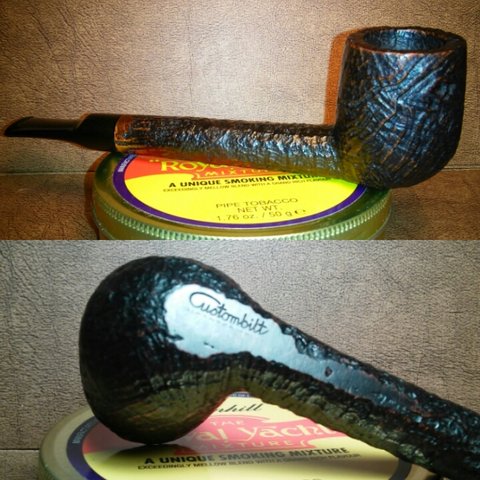
Complete


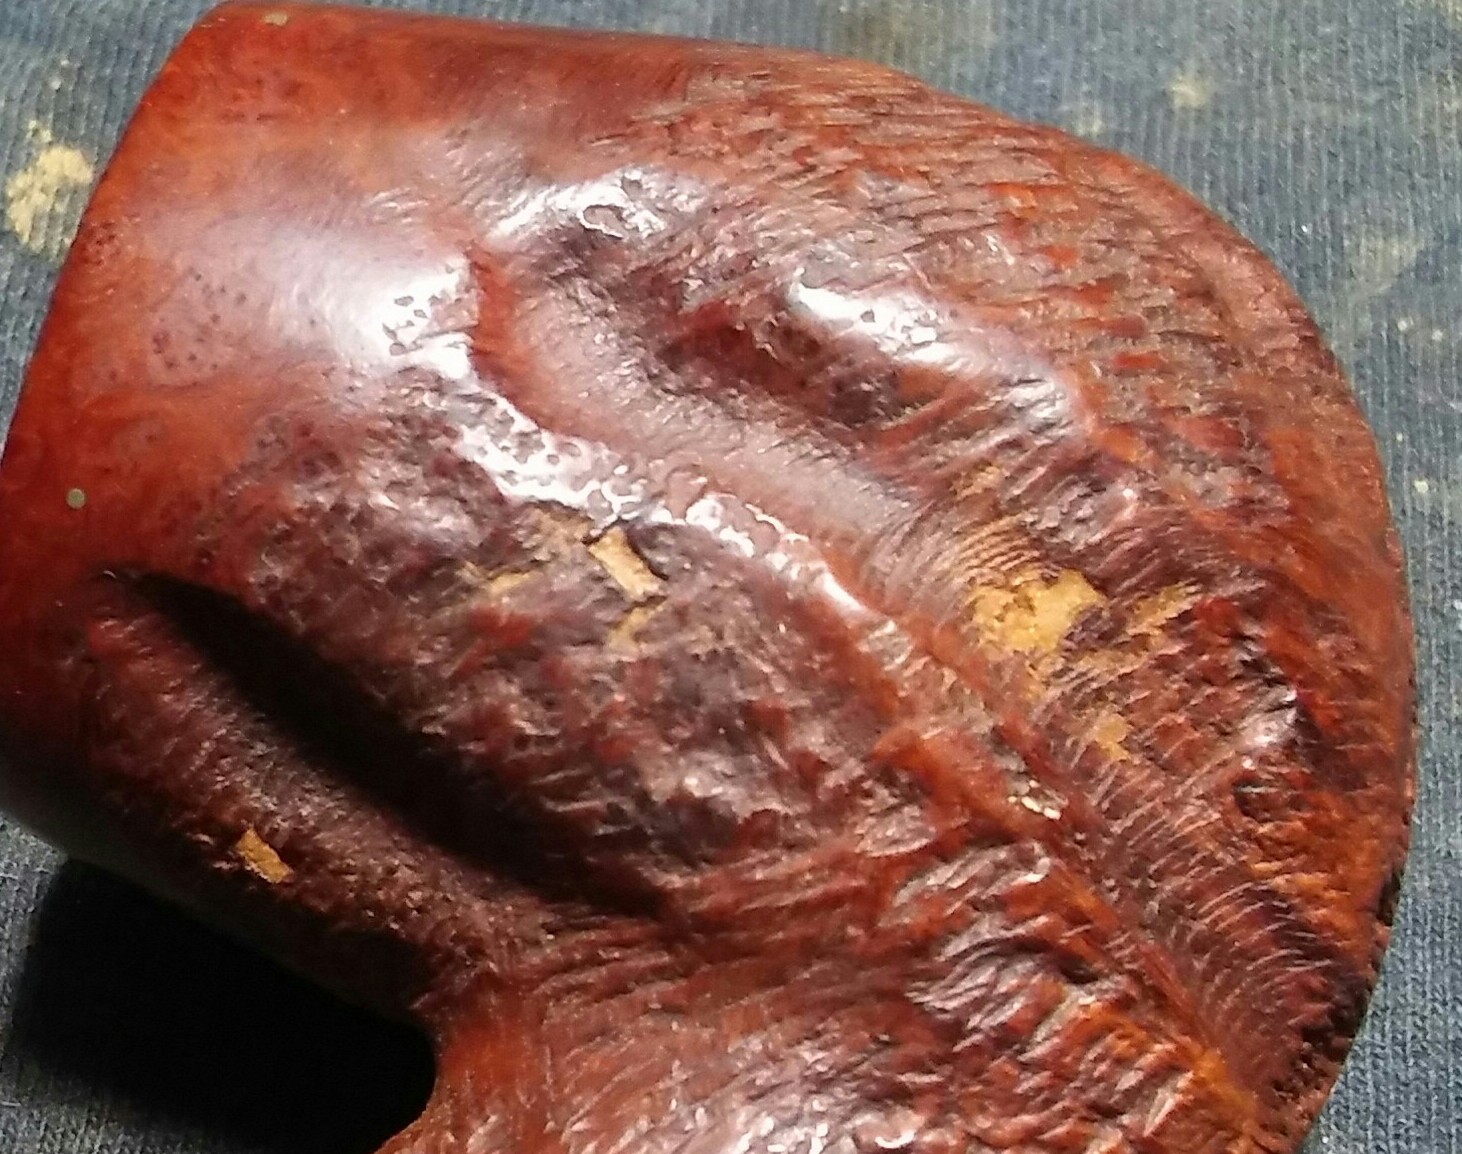
I finished her up on the wheel with white diamond, a few coats of carnauba and a microfiber hand buffing. Buffing the stem with blue compound.


You must be logged in to post a comment.