

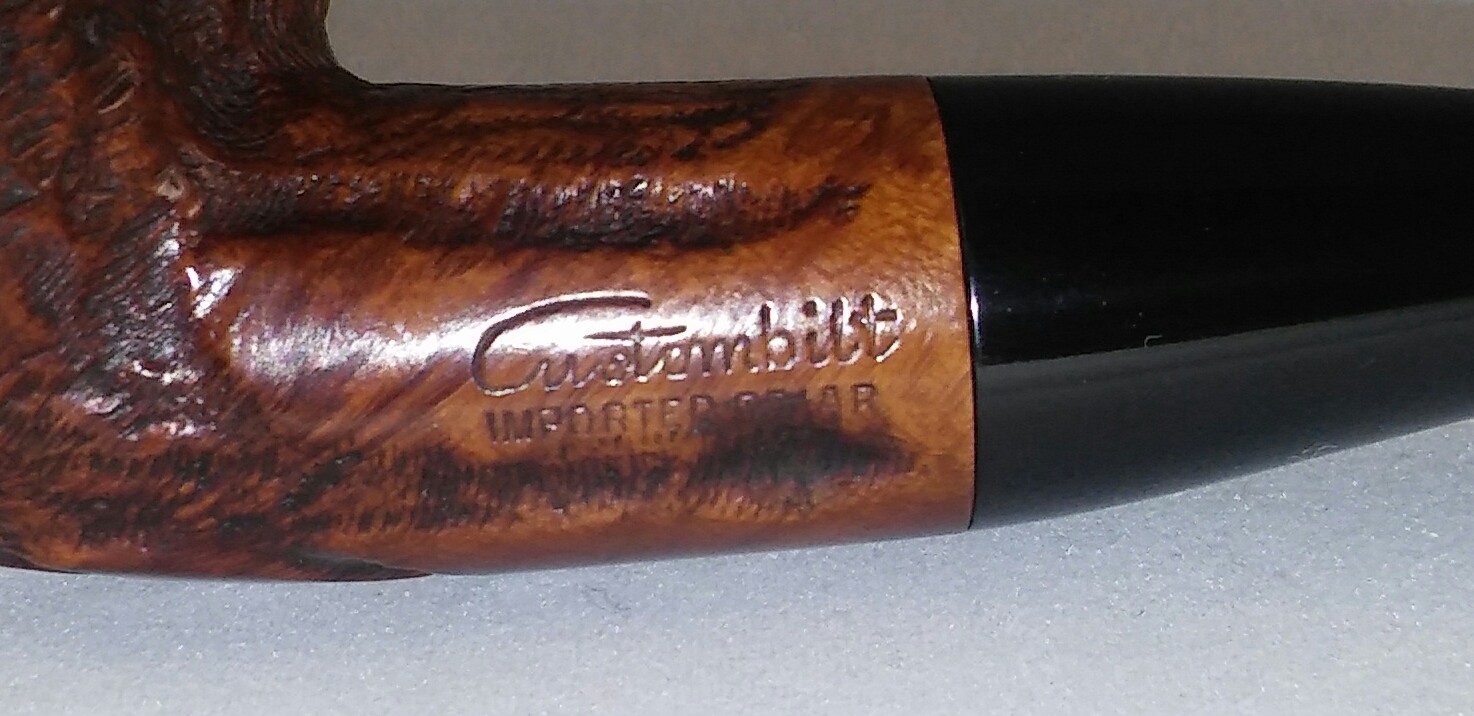
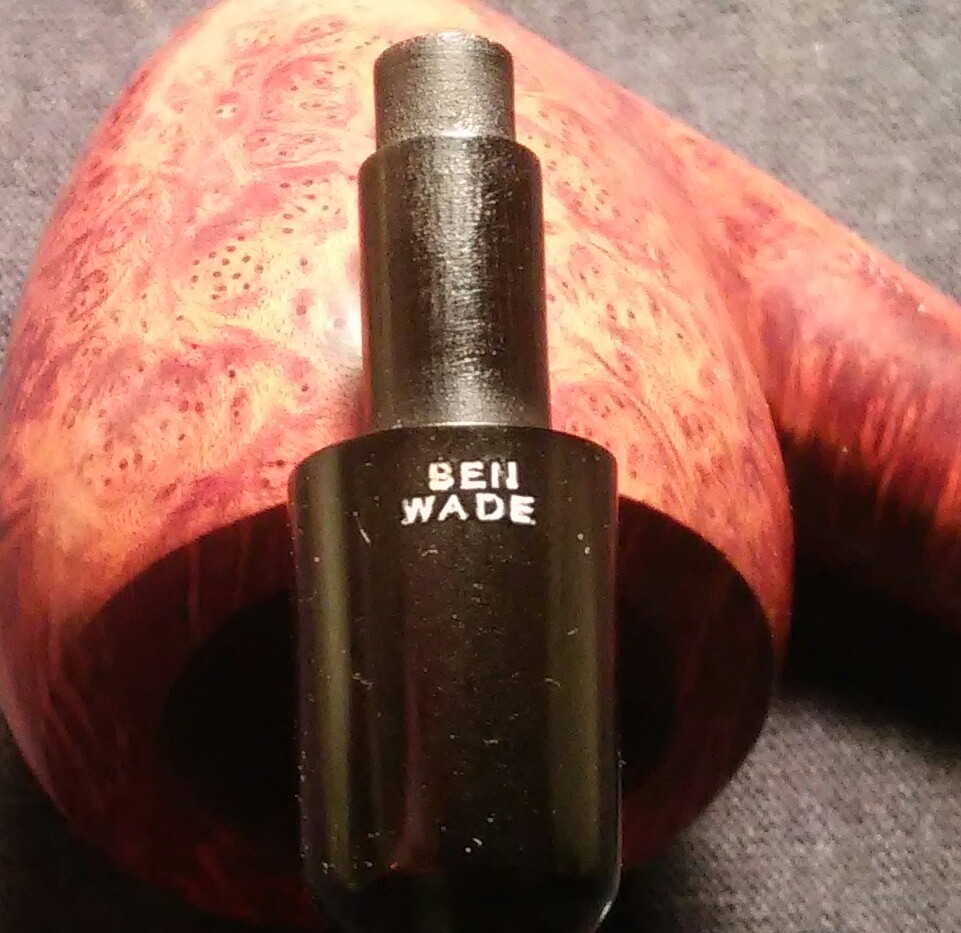
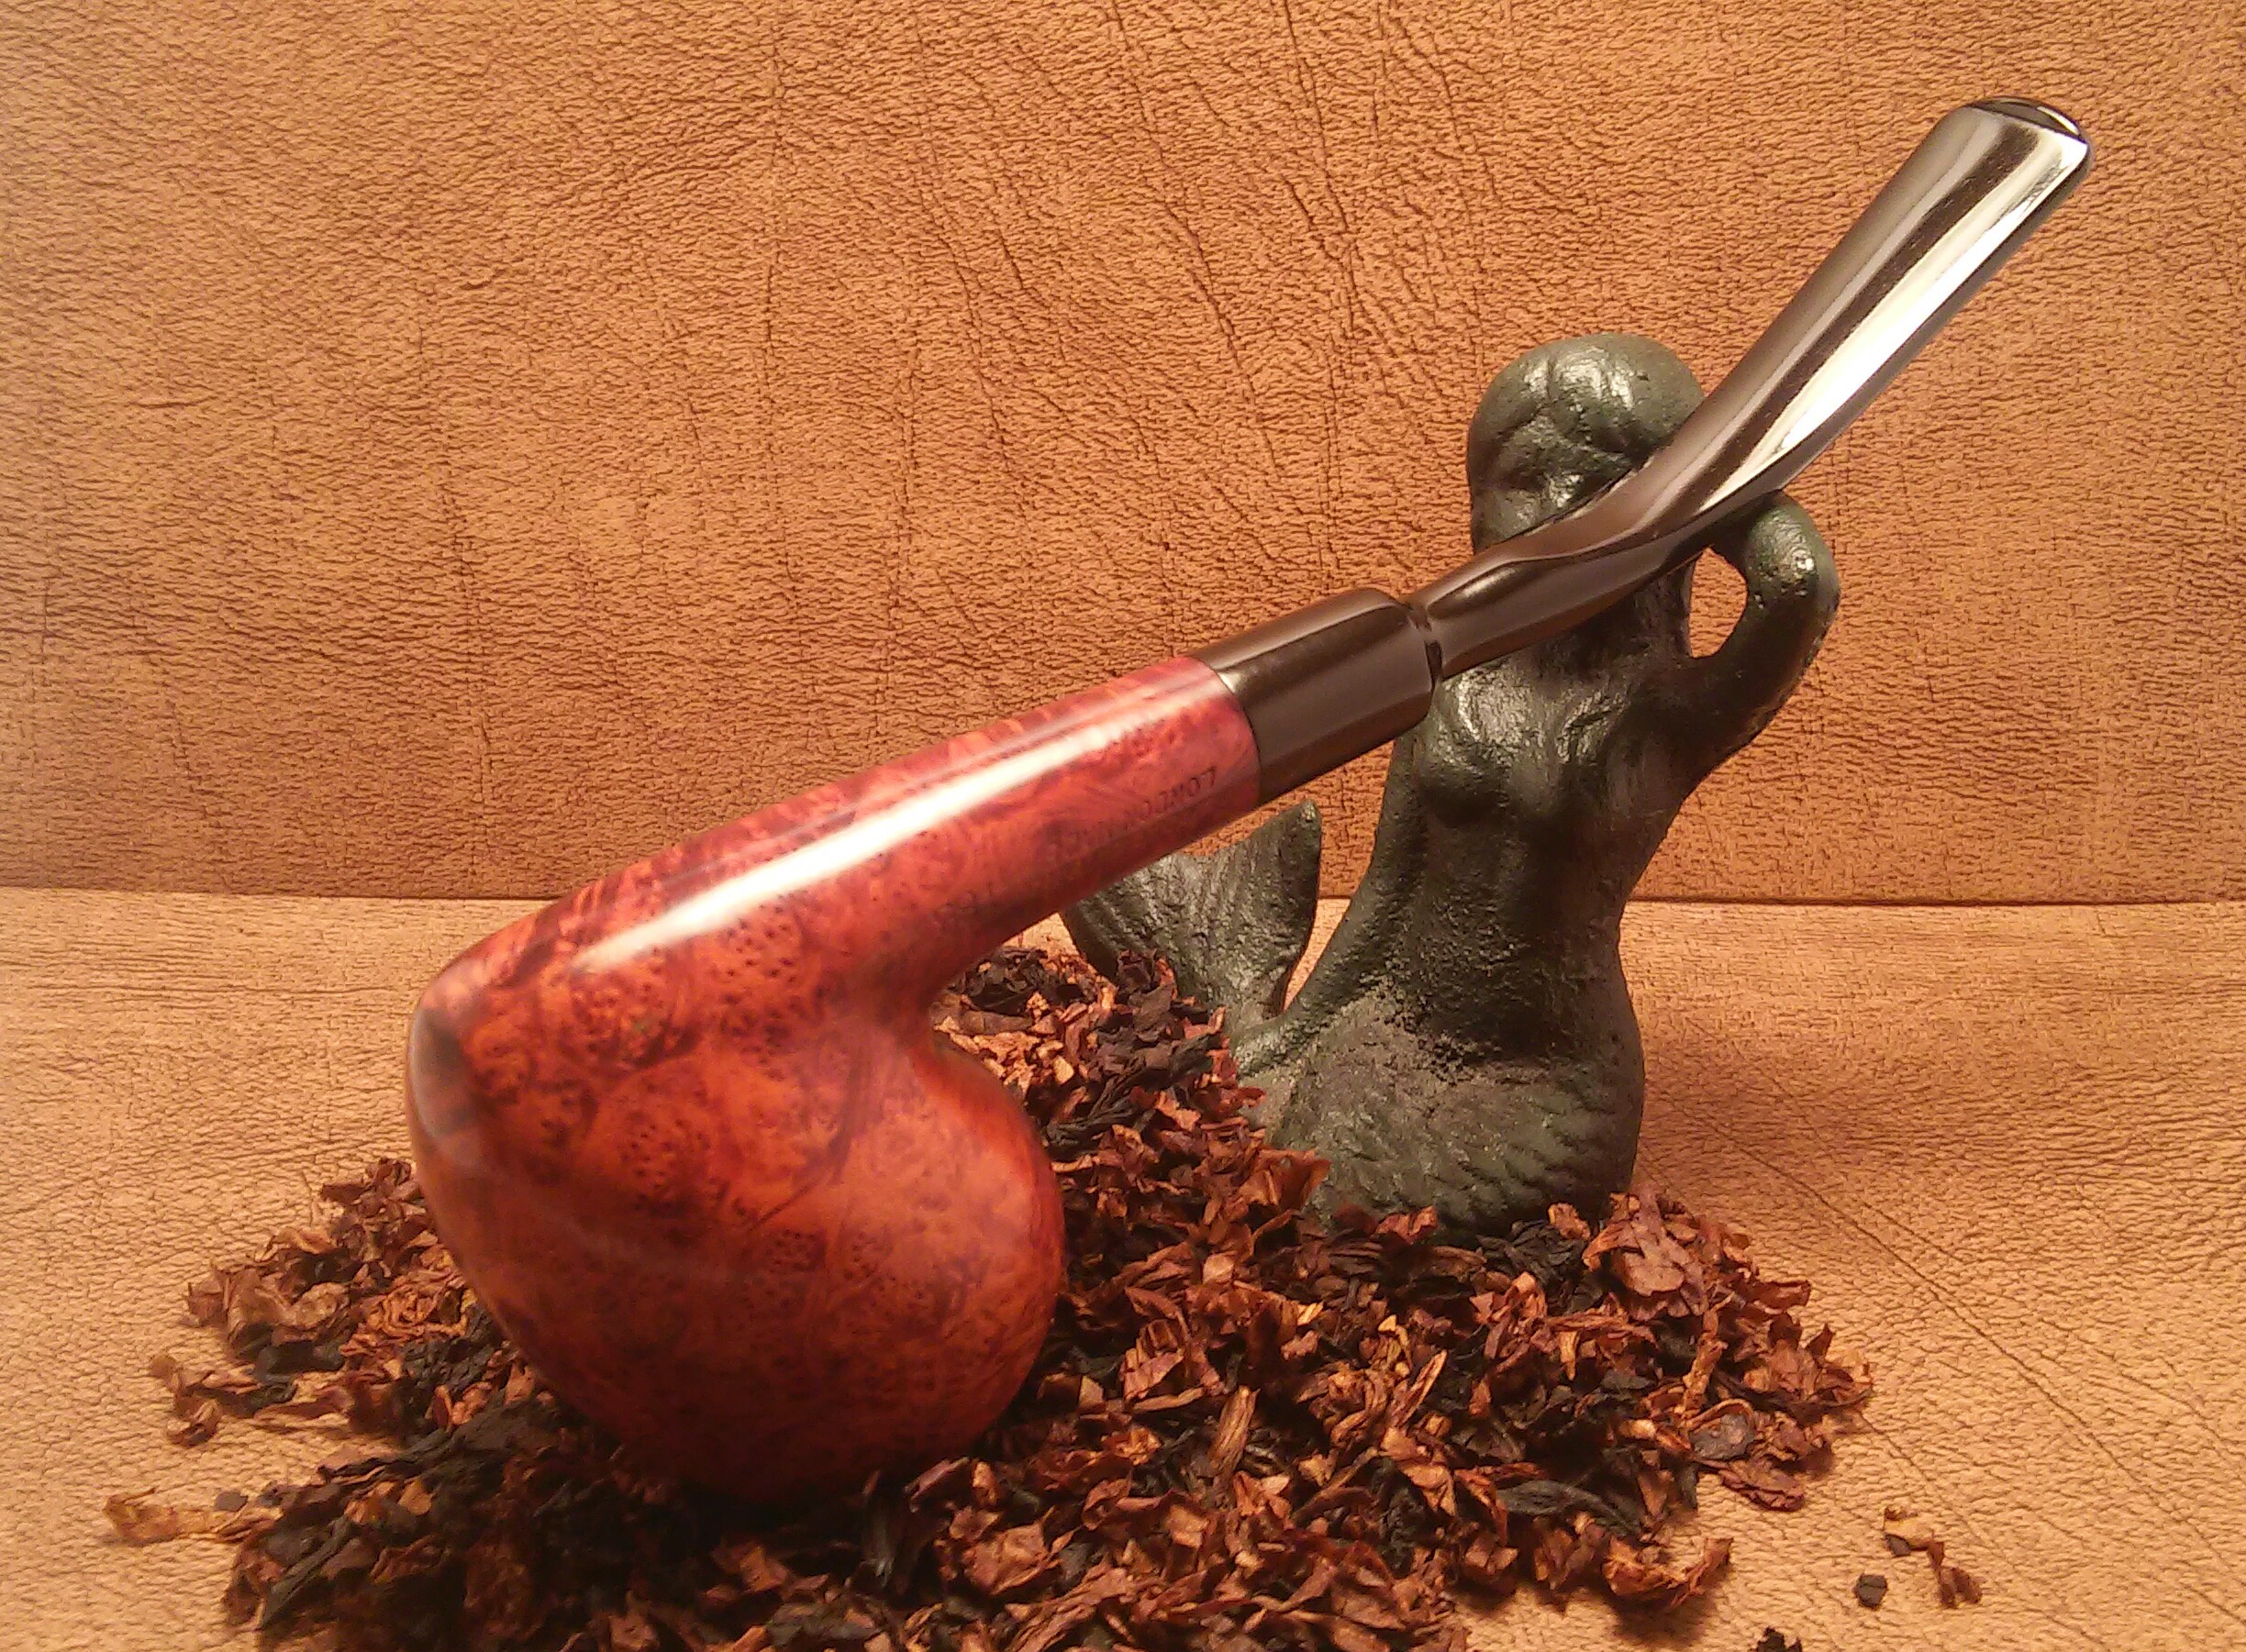
Pre-Transition Sasieni Two Dot 73
(1961-1979)

The baby blue dots,
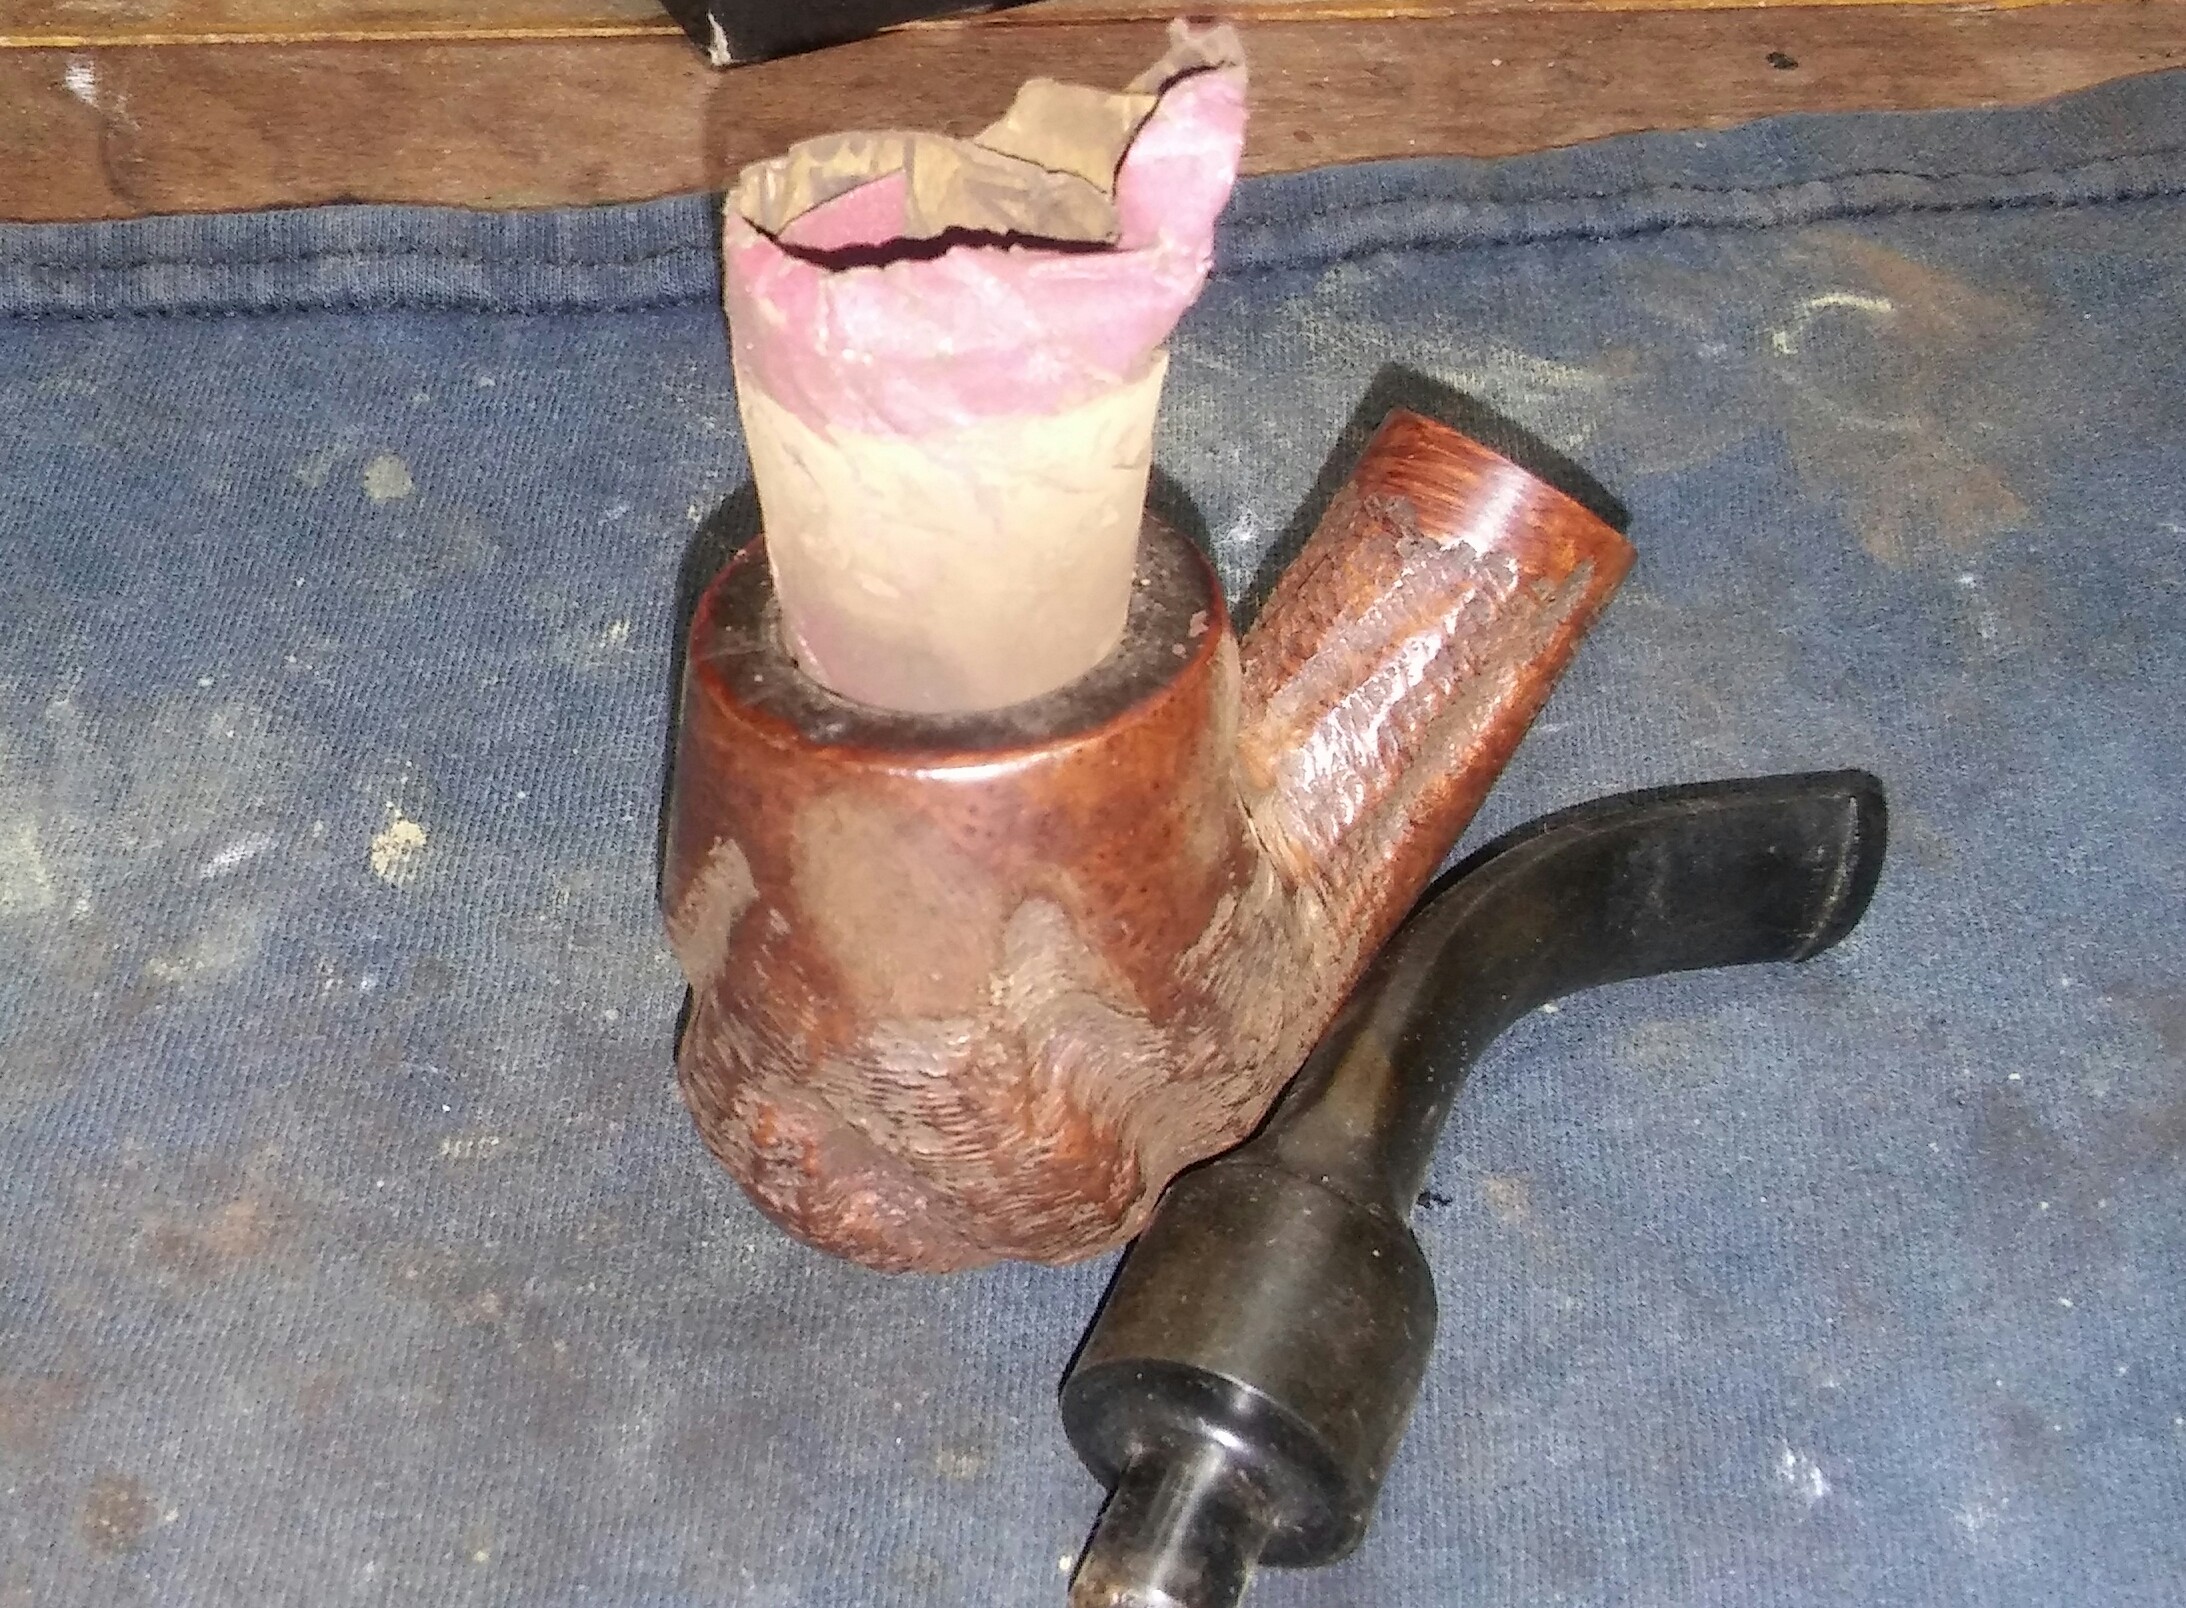
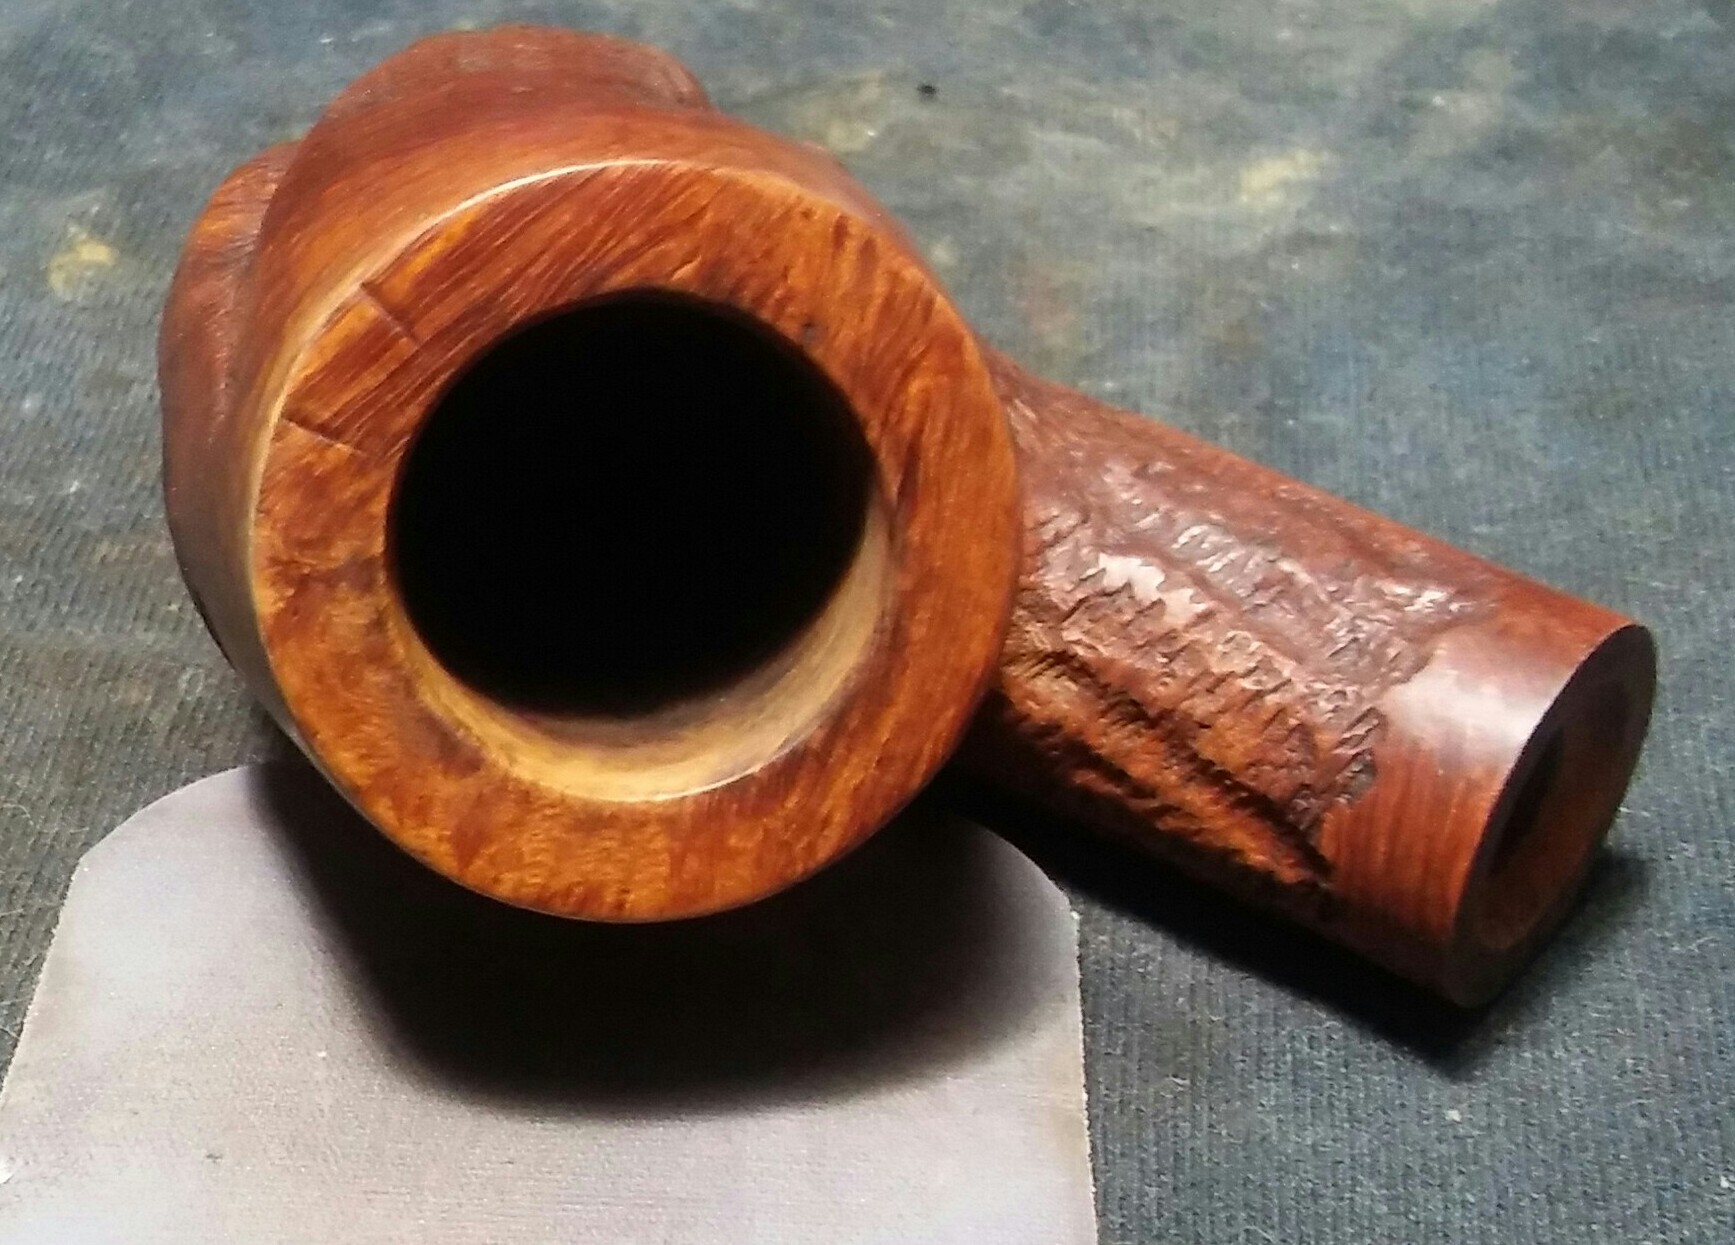
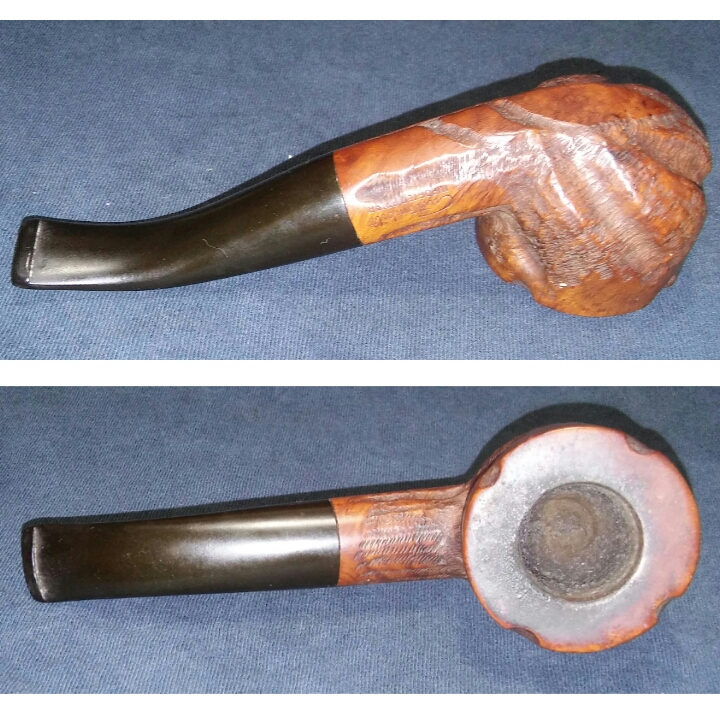
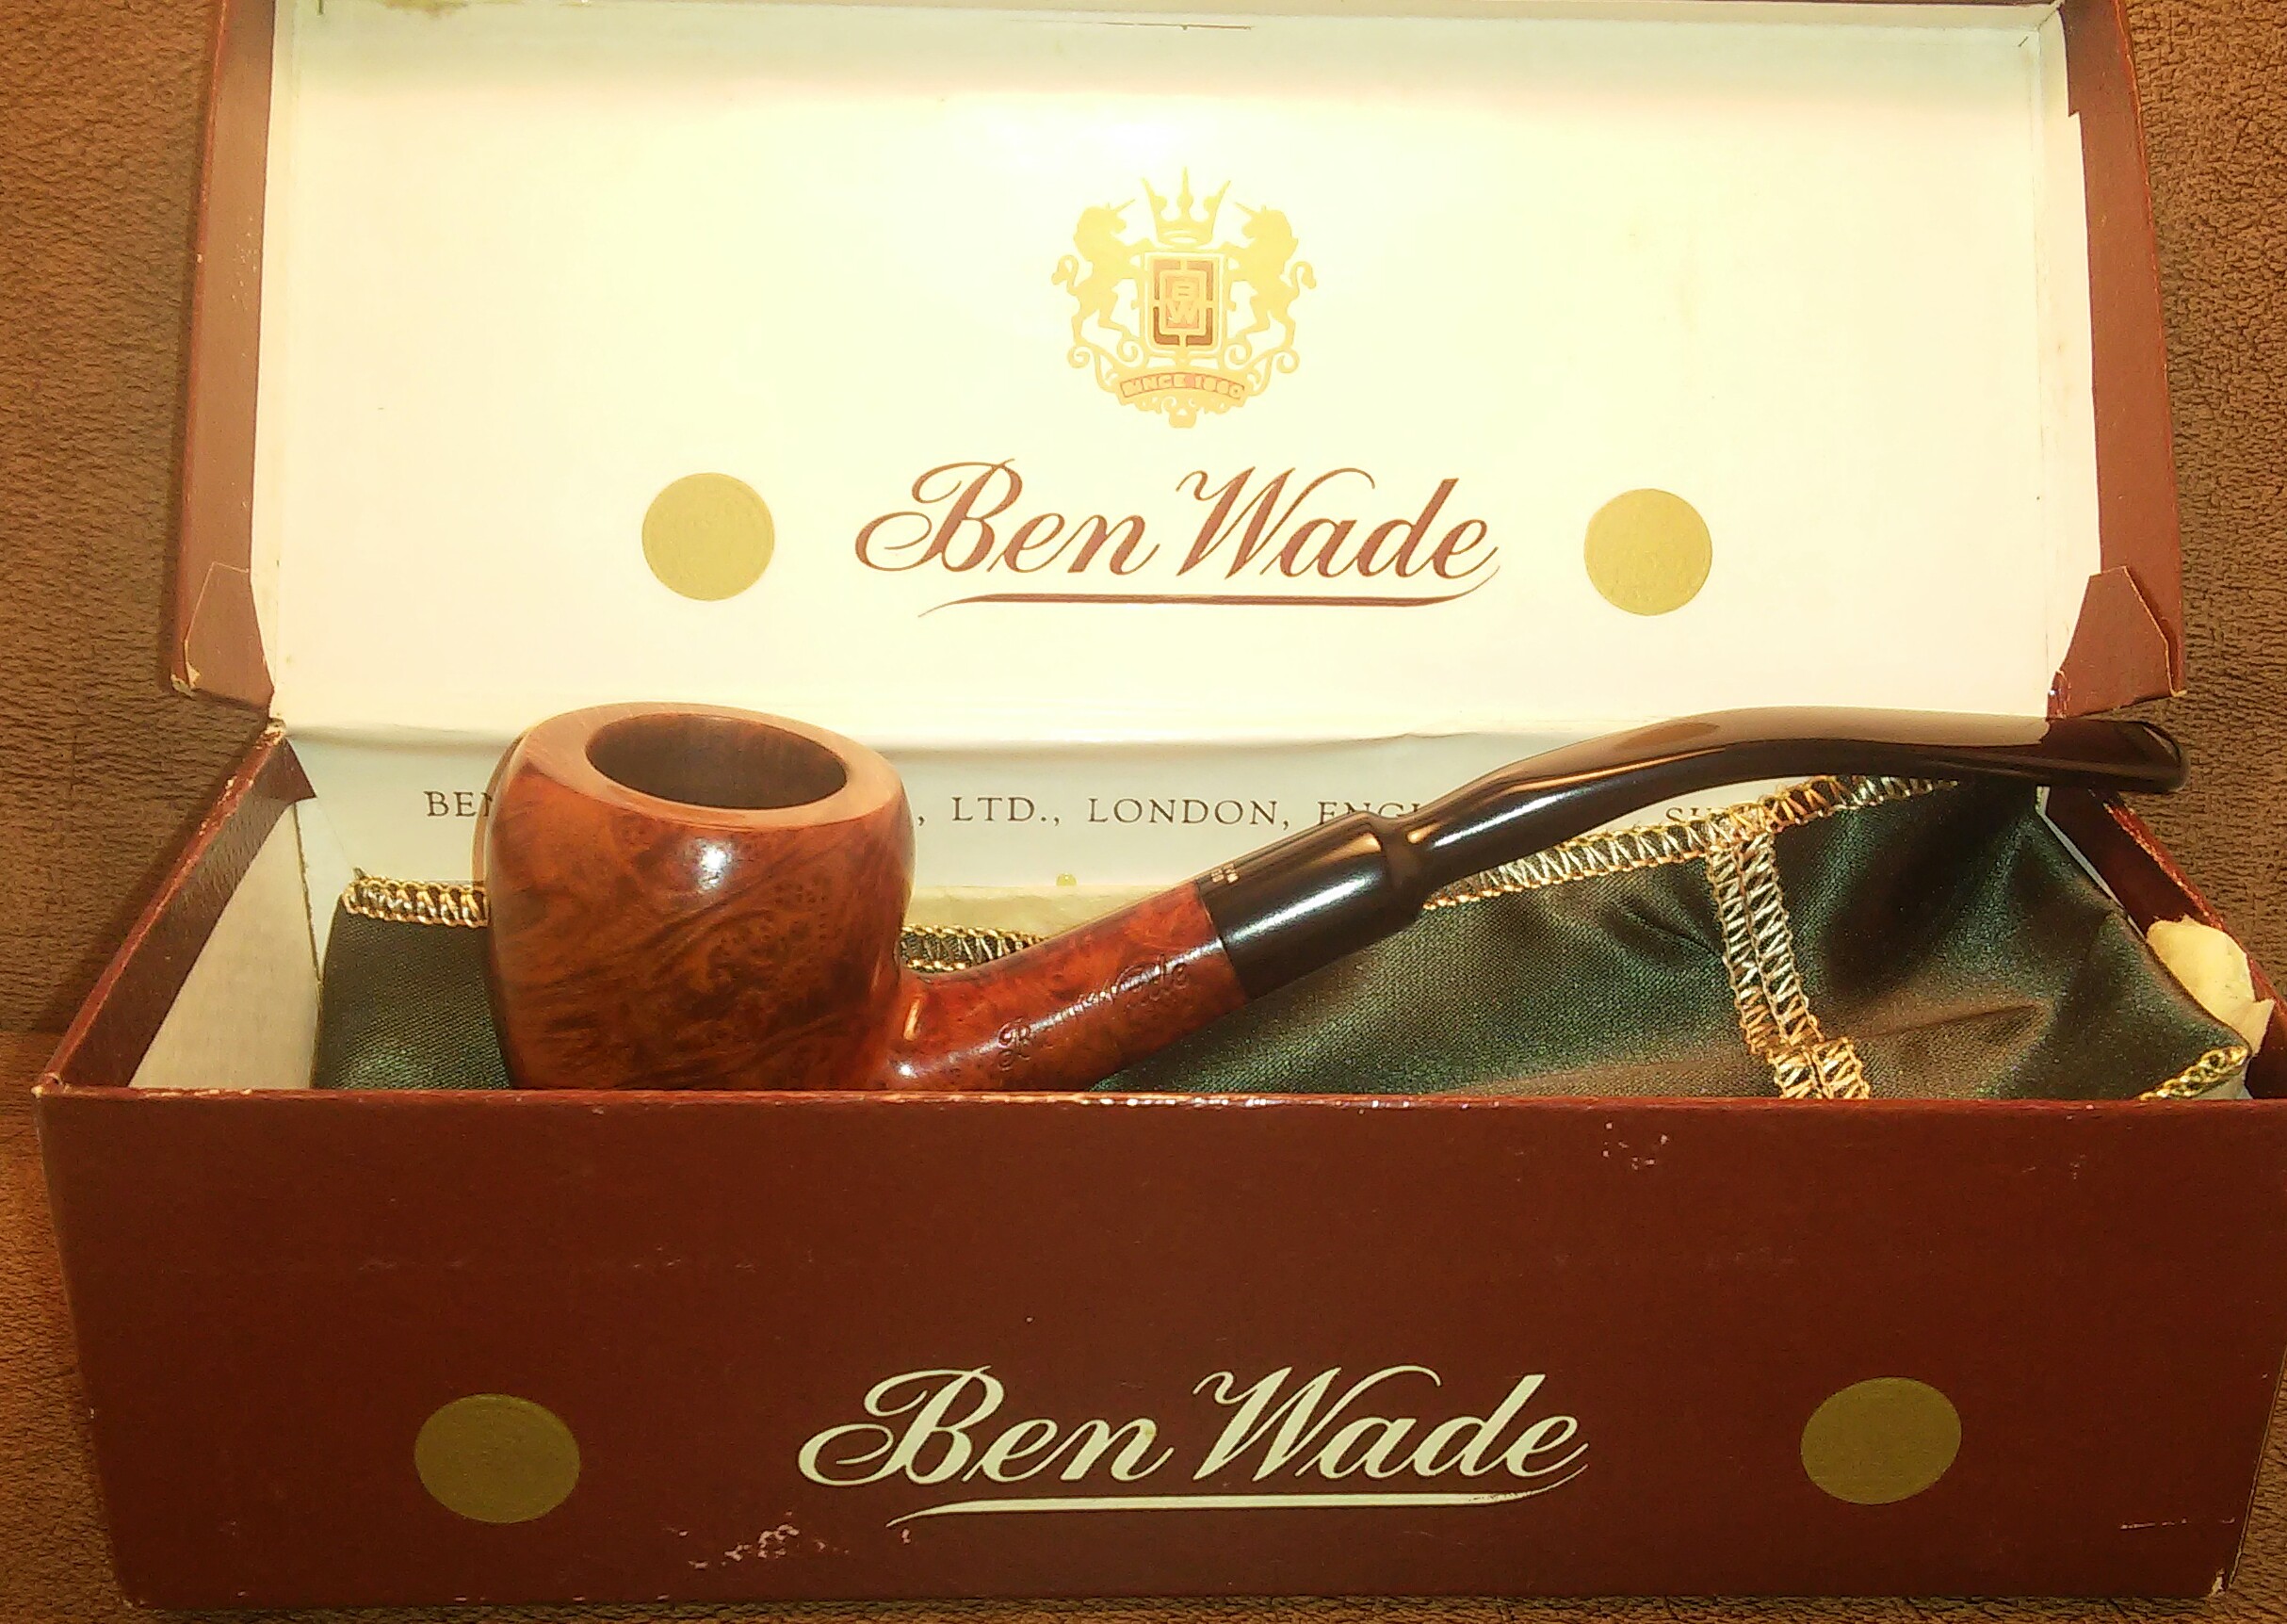
I’ve always been a fan of Sasieni pipes and there history. In fact the kick off to my estate refurbishing and collecting stated with a lot of pipes from a friends fathers estate. Included was nine or ten boxed smoked and Un-Smoked Sasieni two dot pipes. Many had the dreaded pink filler but a few I could never figure out why they were two dot and not four . I have two left in my collection , one Un-smoked Two Dot Oom Paul 80sxs with one small spot of filler and the one I’m writing about a thick walled, stubby Two dot 73. For life of me I cannot find one flaw, its been in the rack about three years now and with winter here I thought I could use a nose warmer.
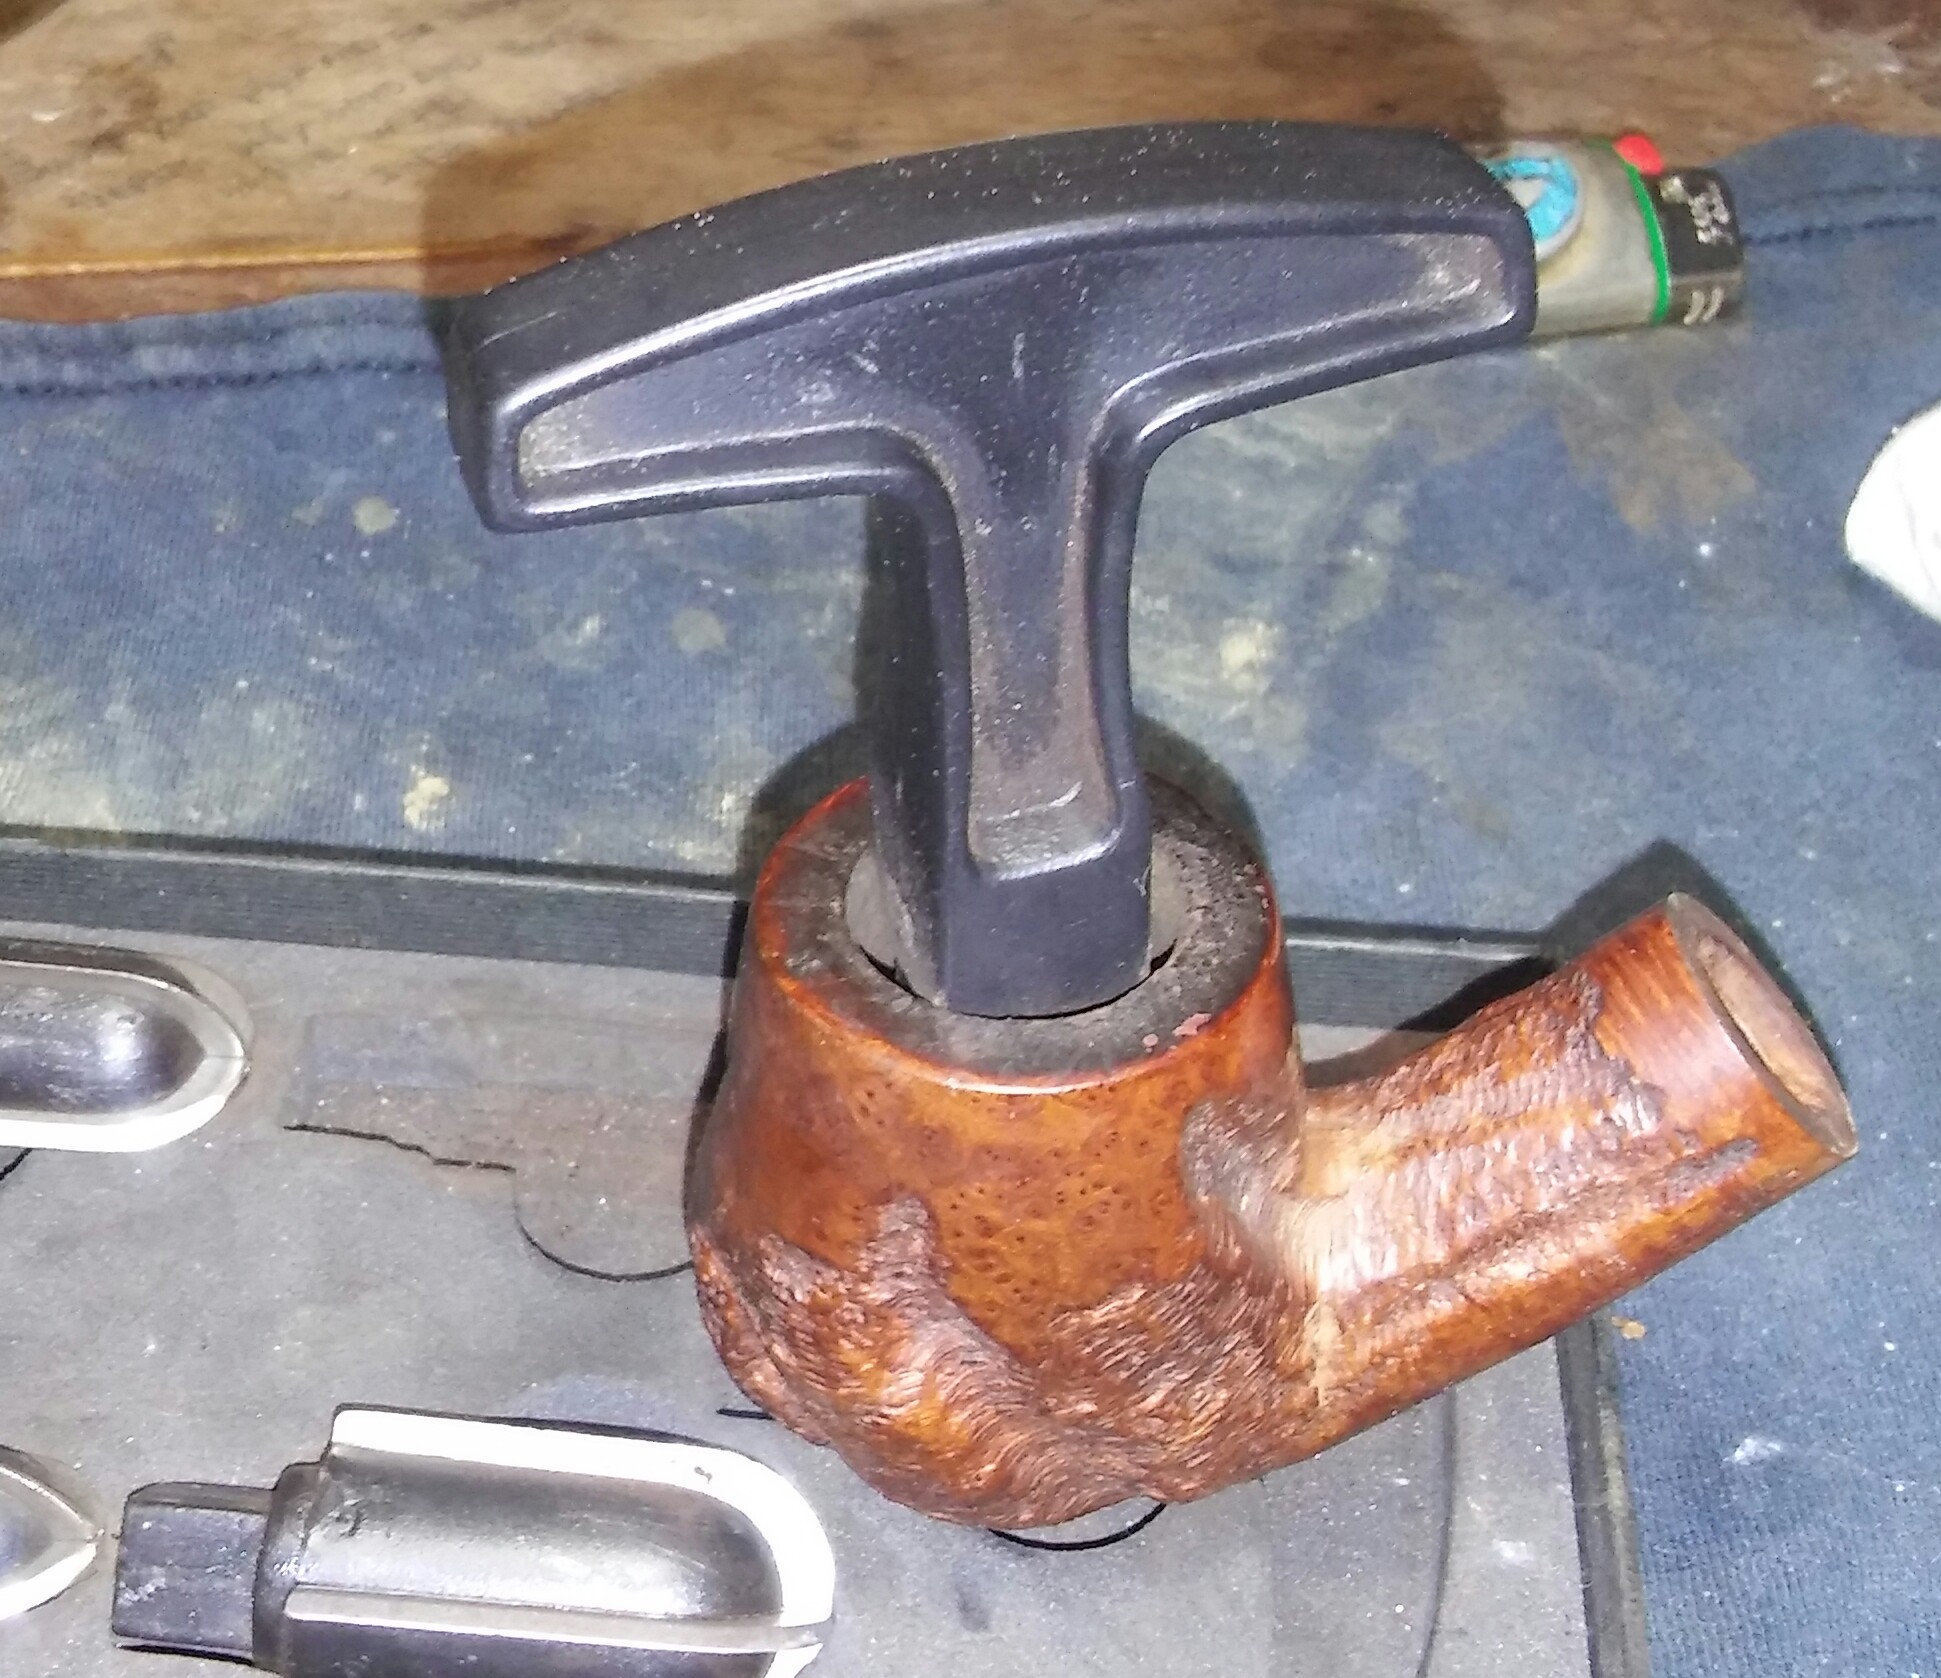
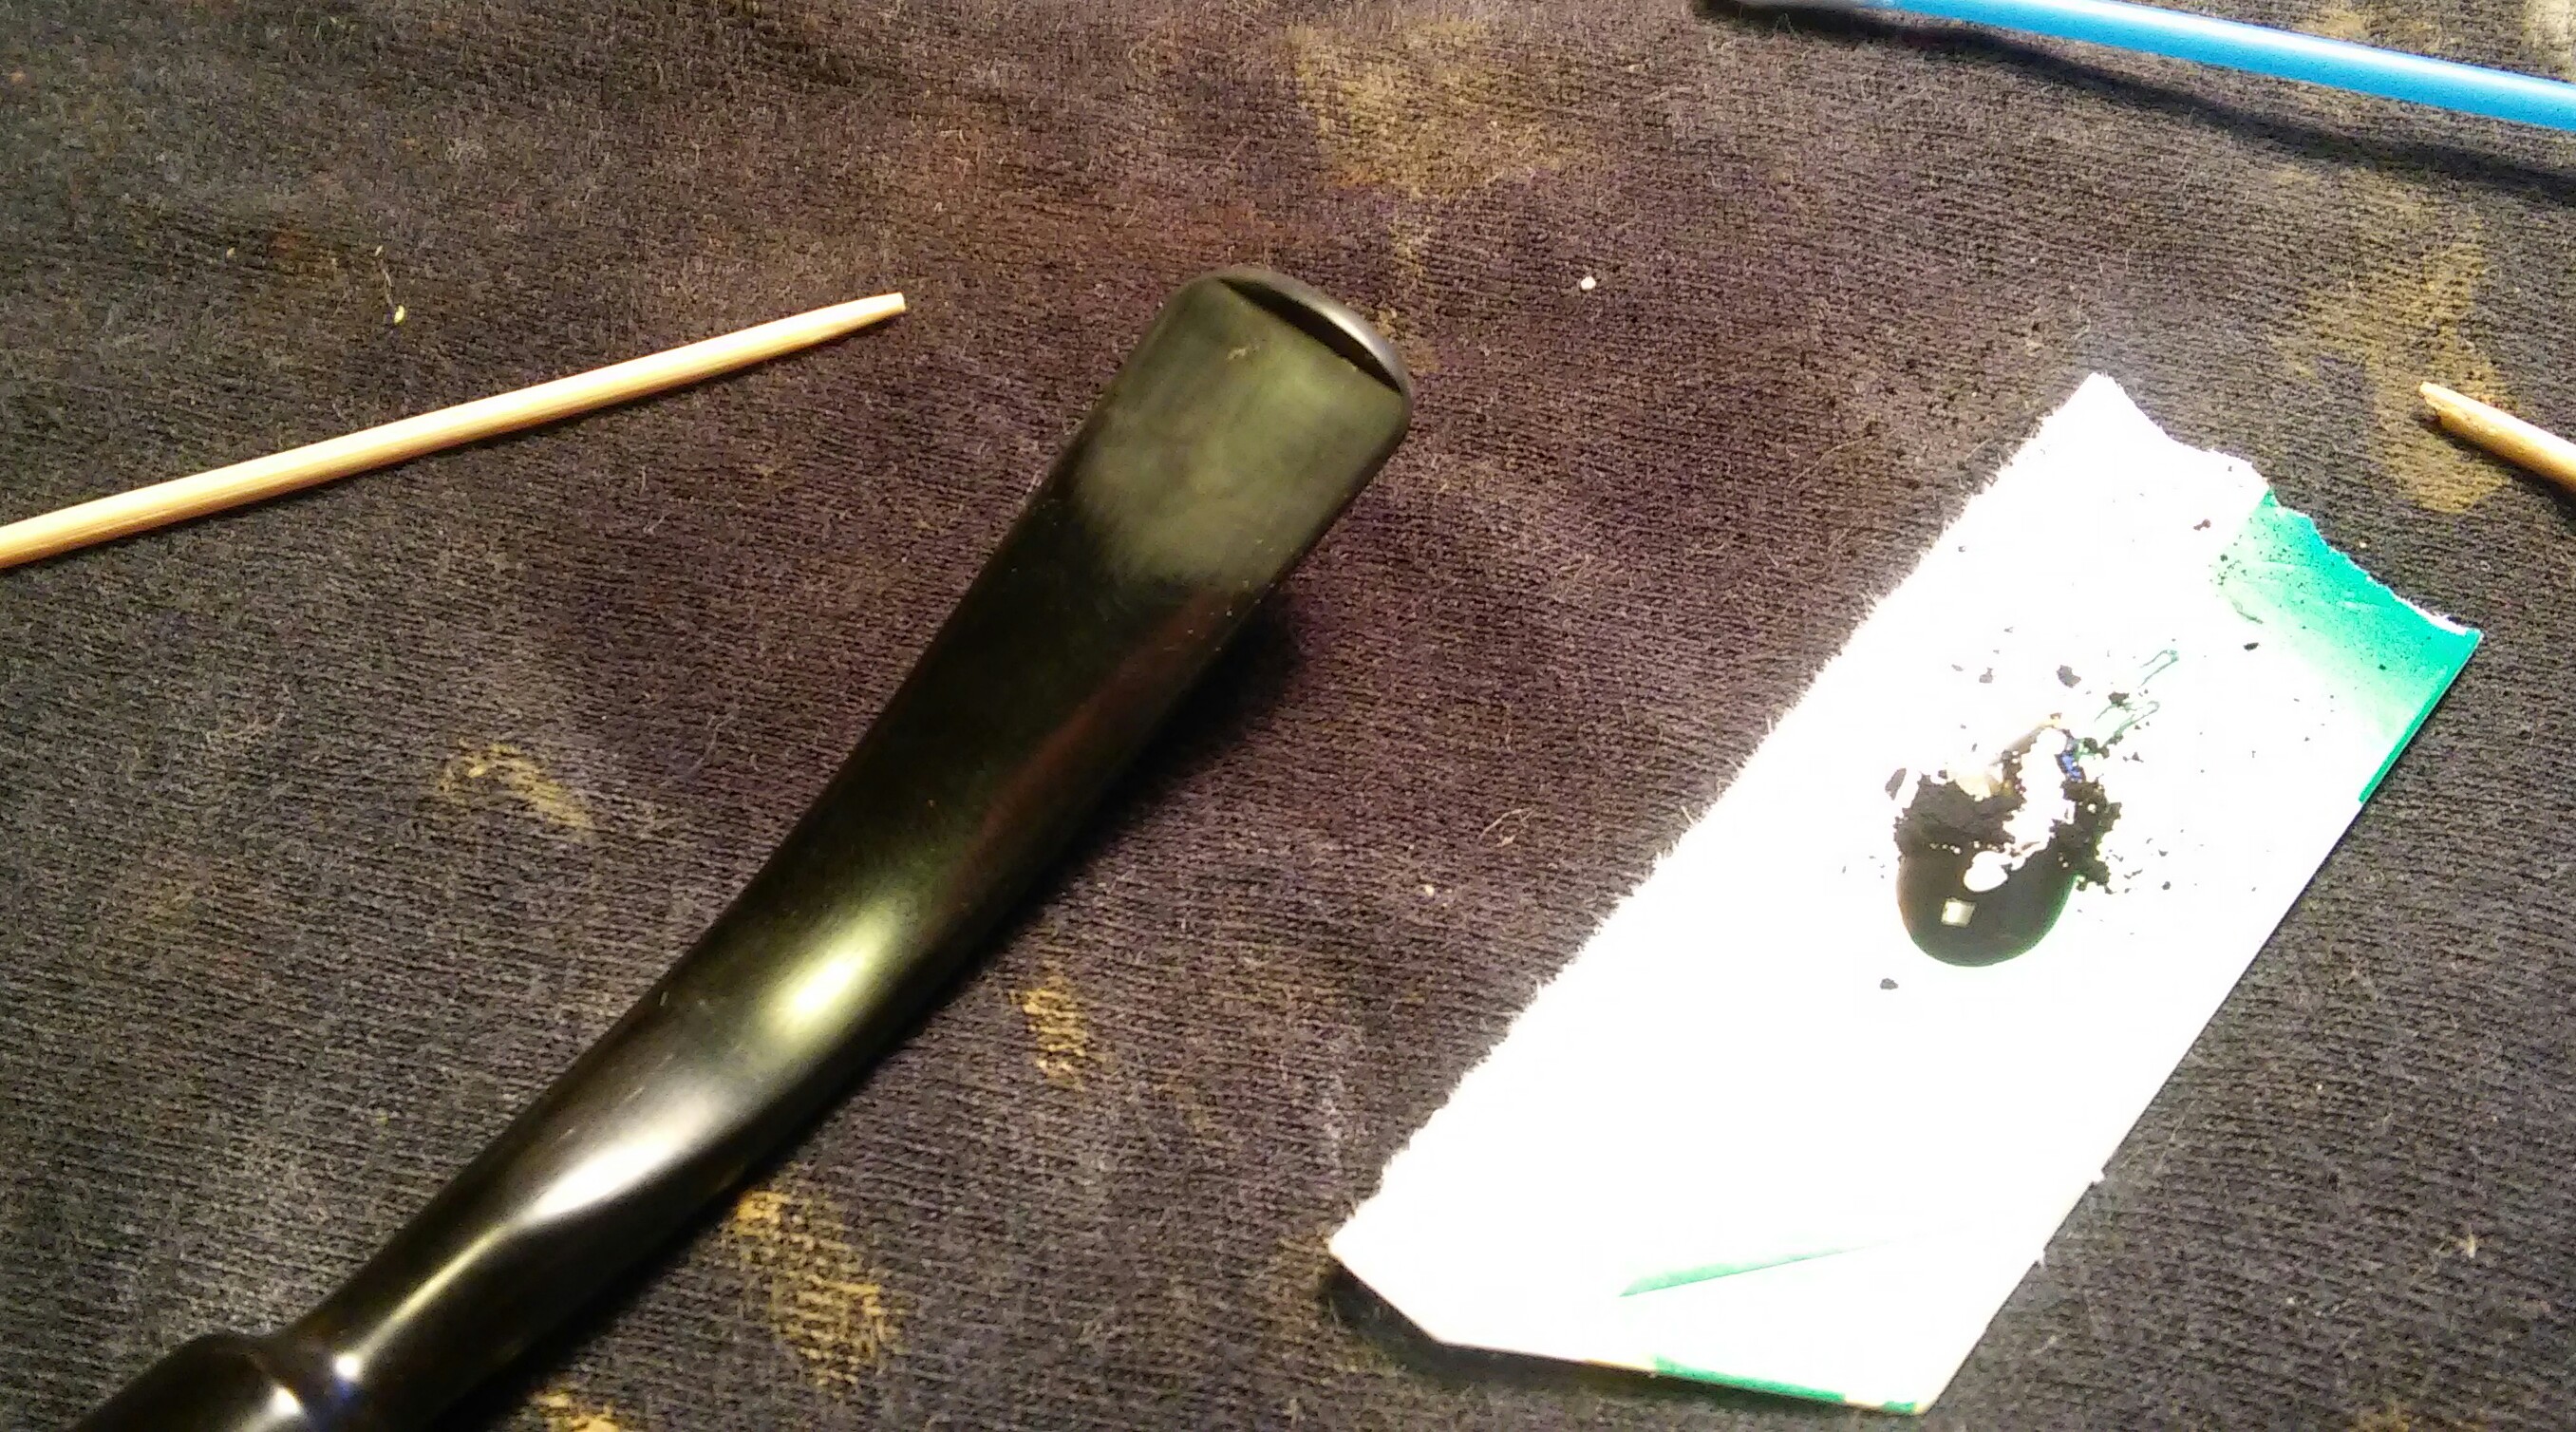
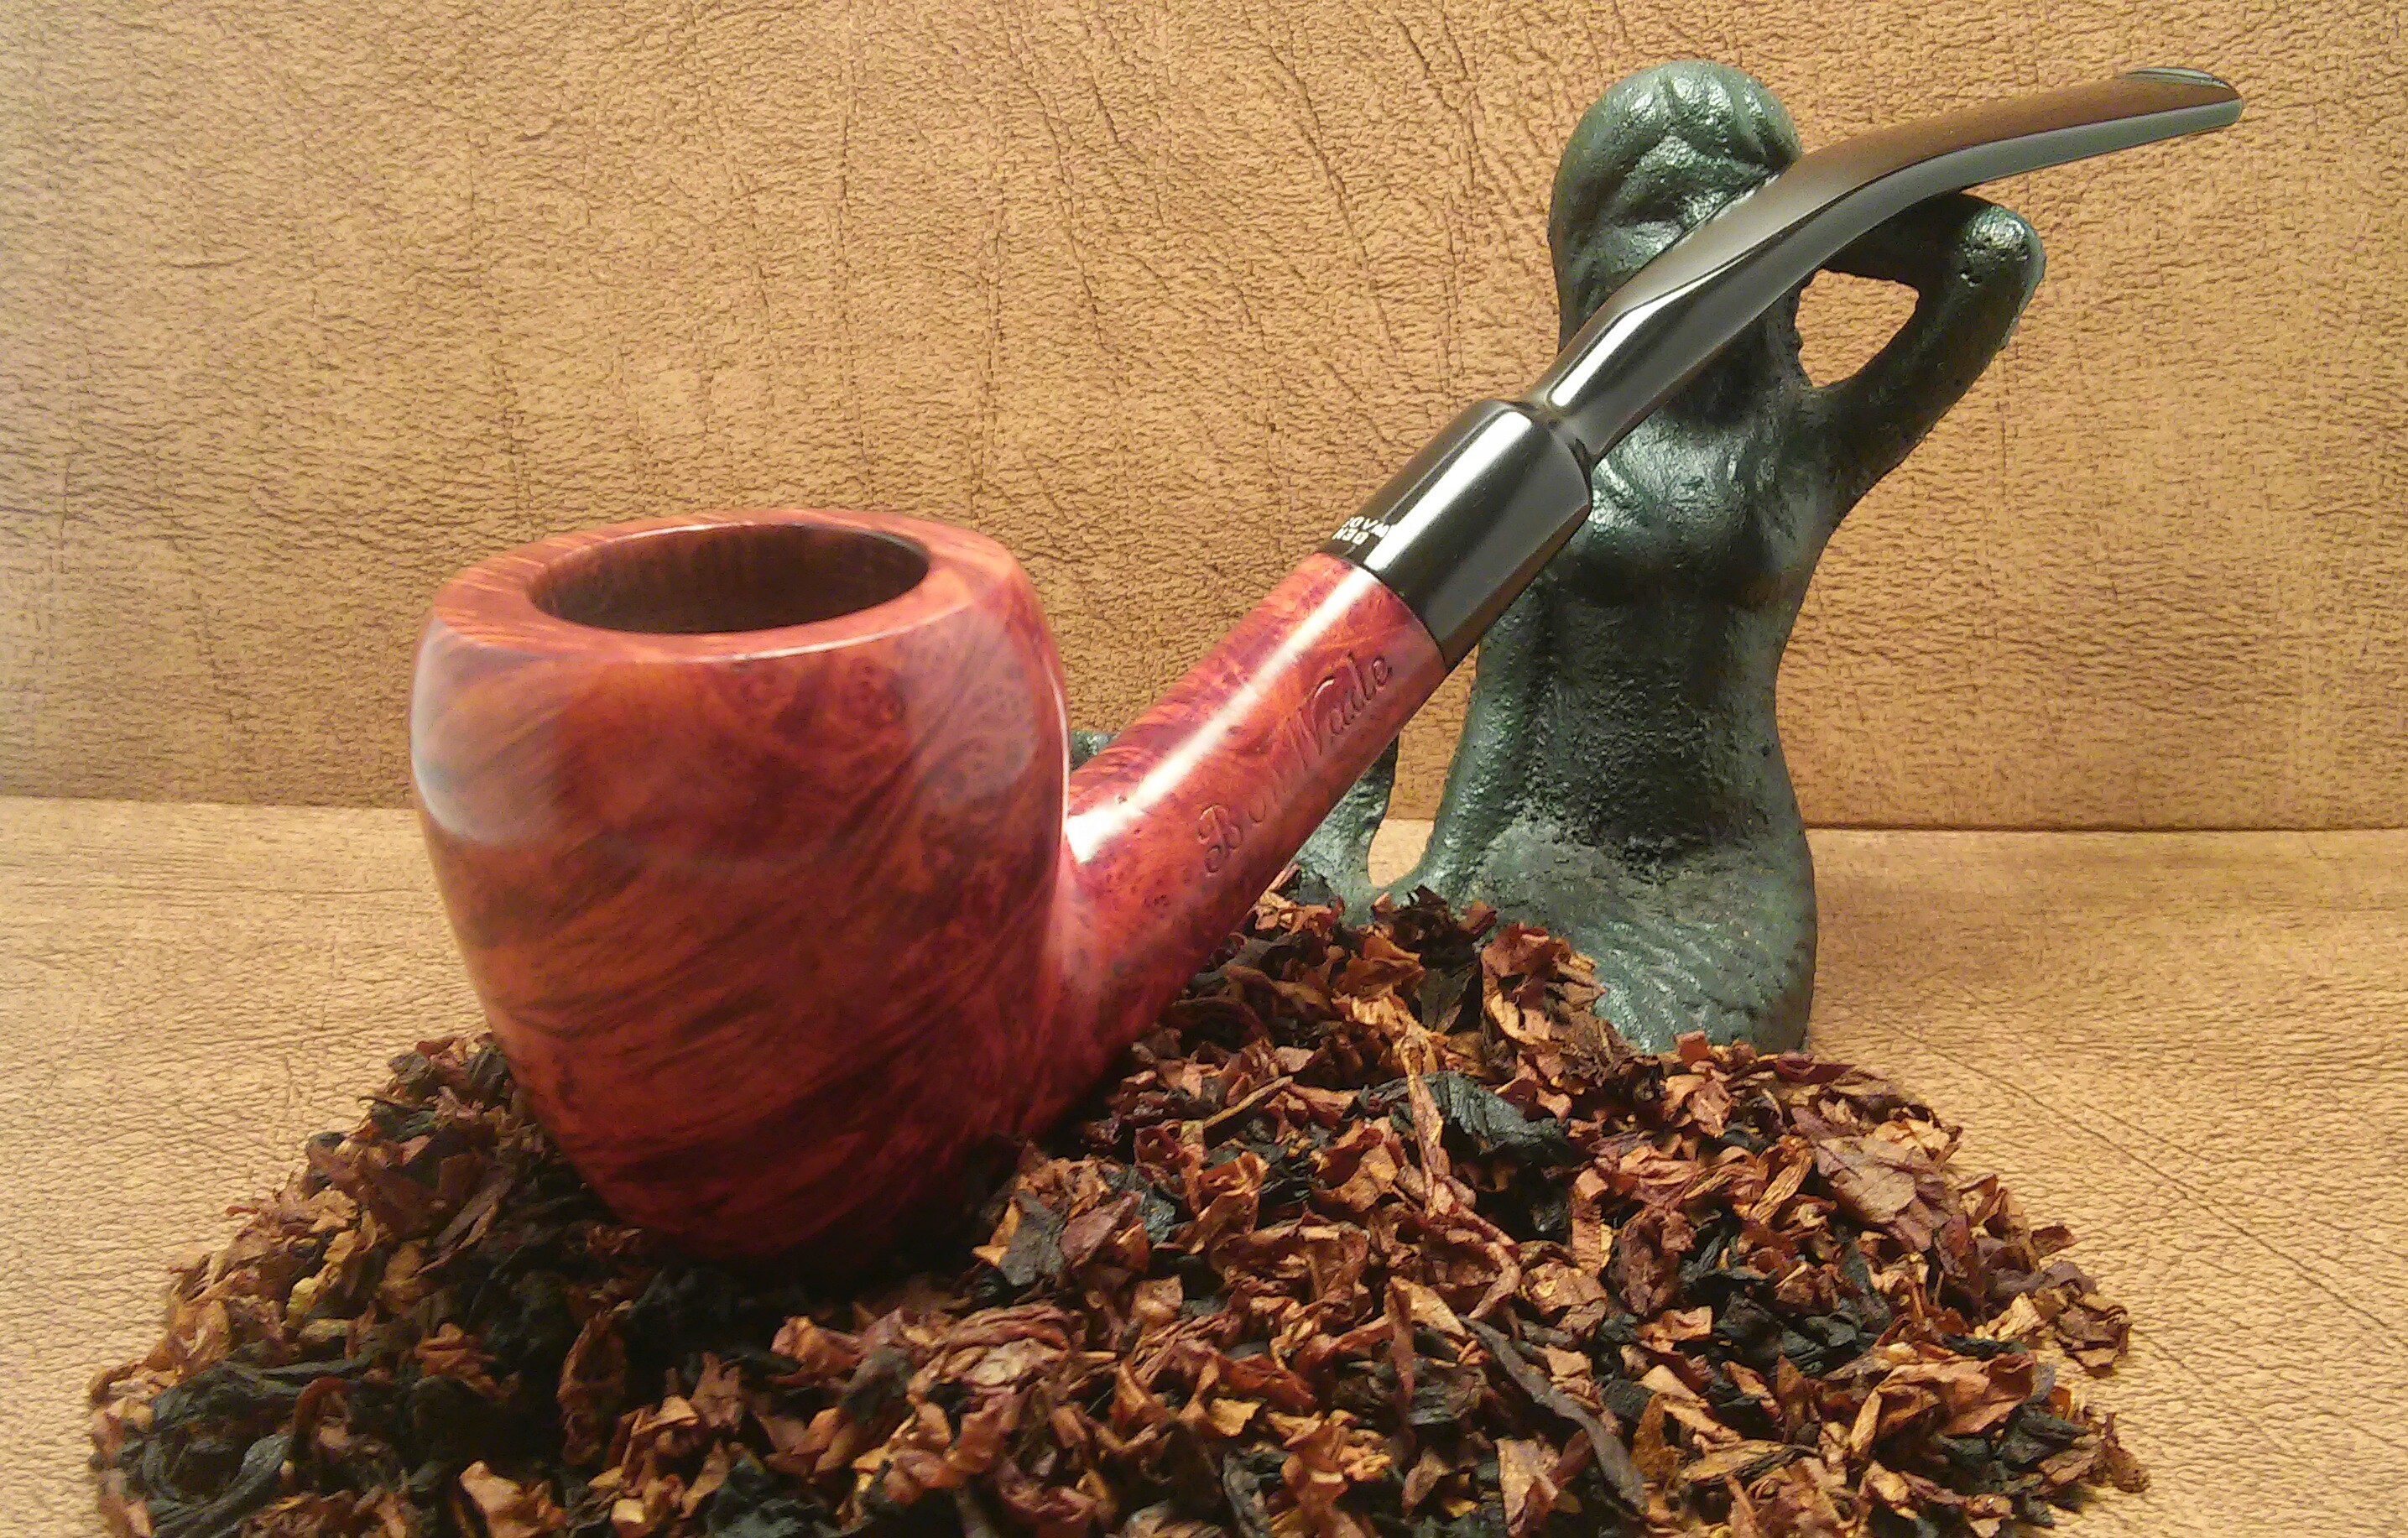
The unappreciated subject
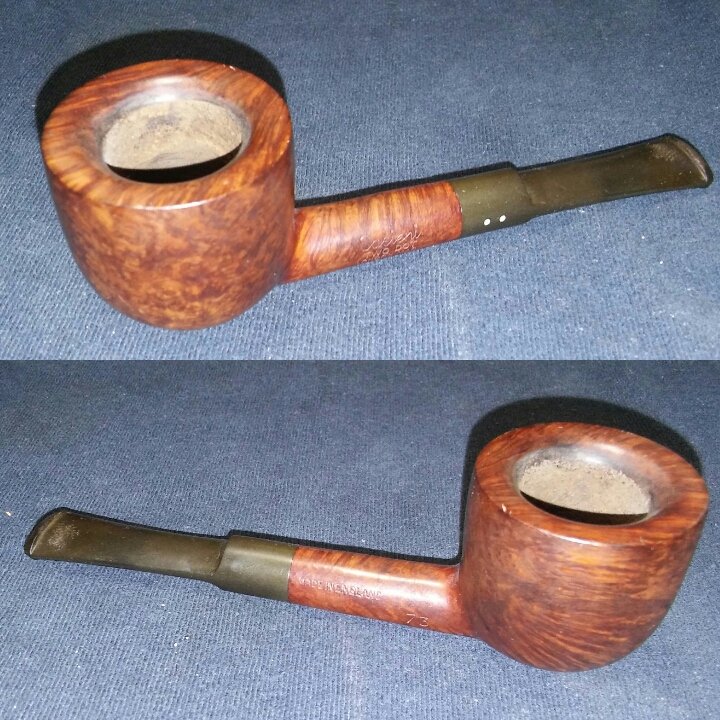


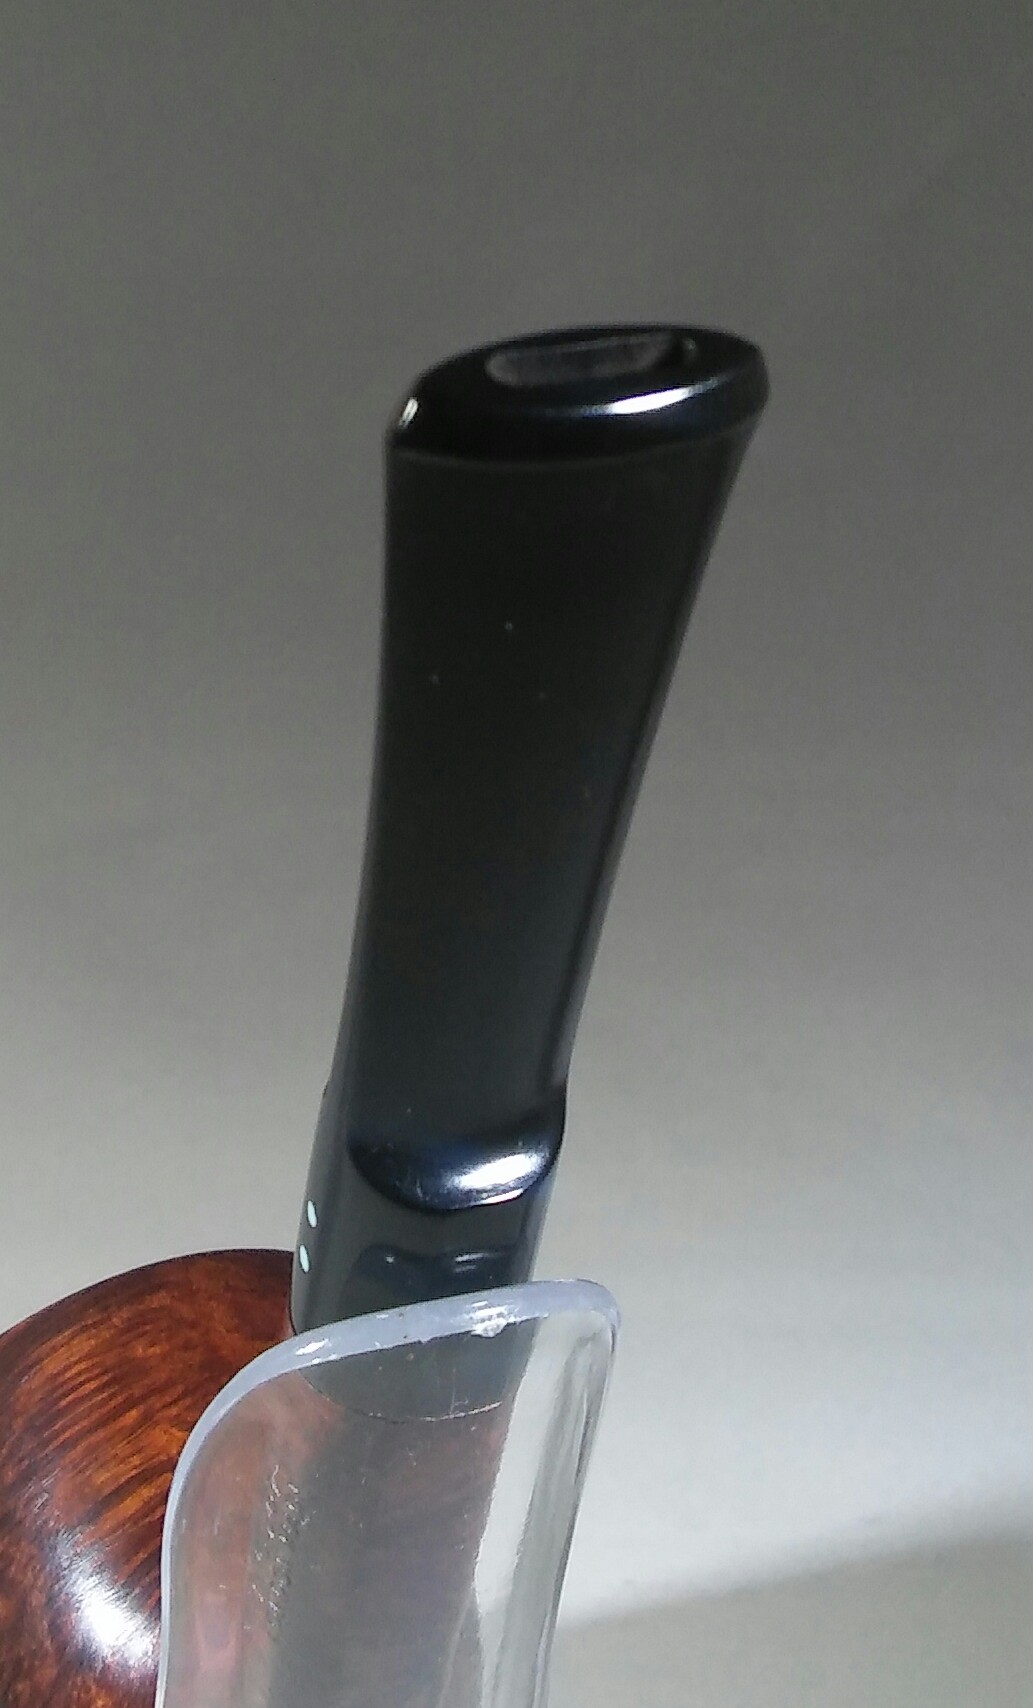
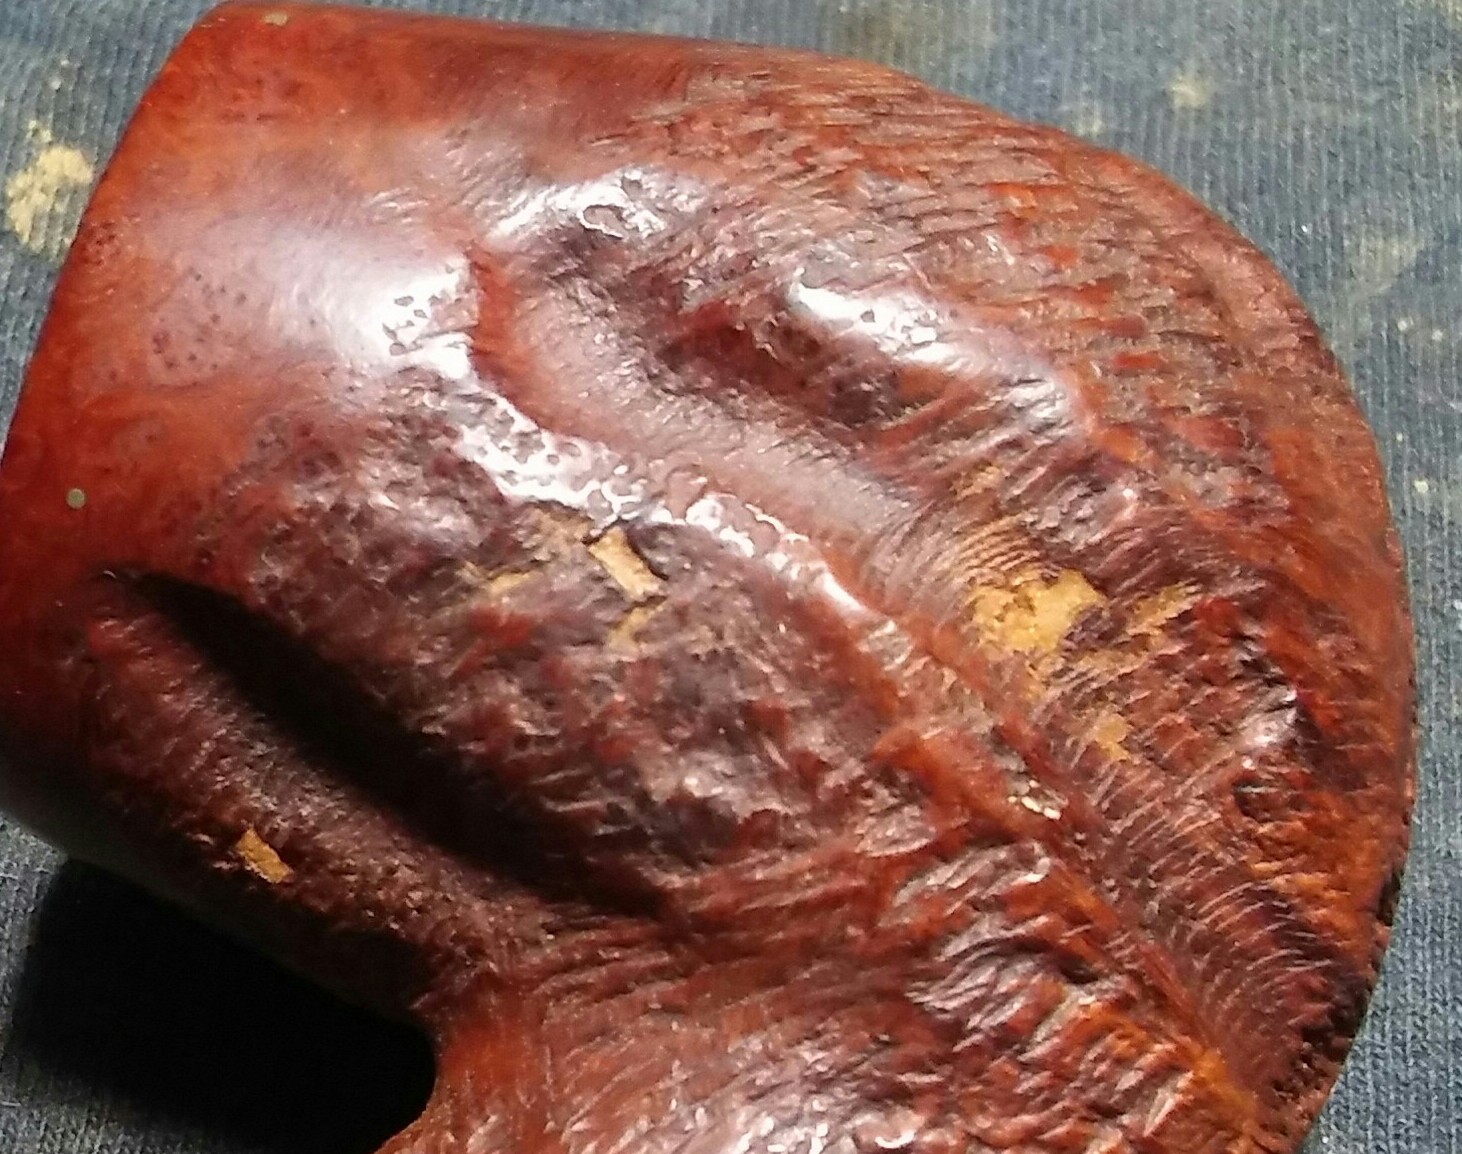
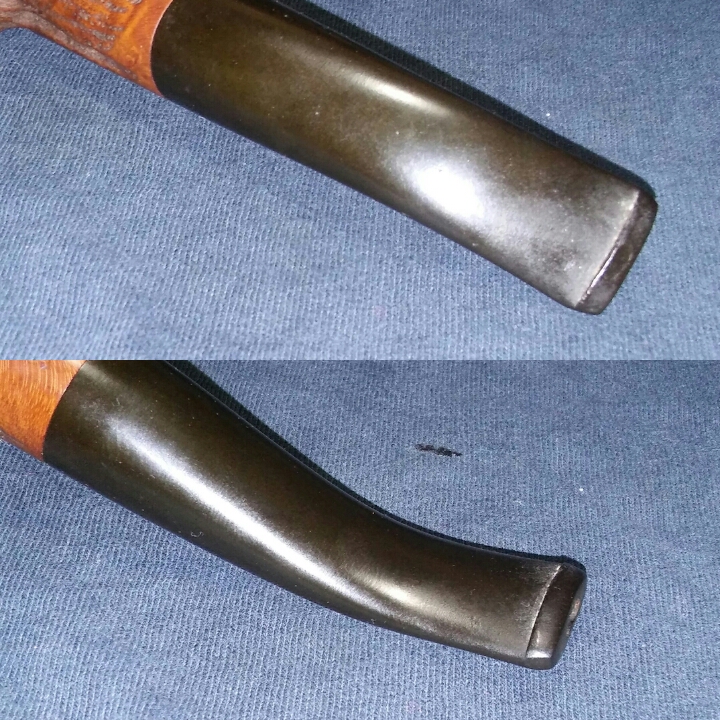
She was redone five years ago and went untouched for three. The stem has since oxidized, a little tar&char and a few impressions that would need attention.

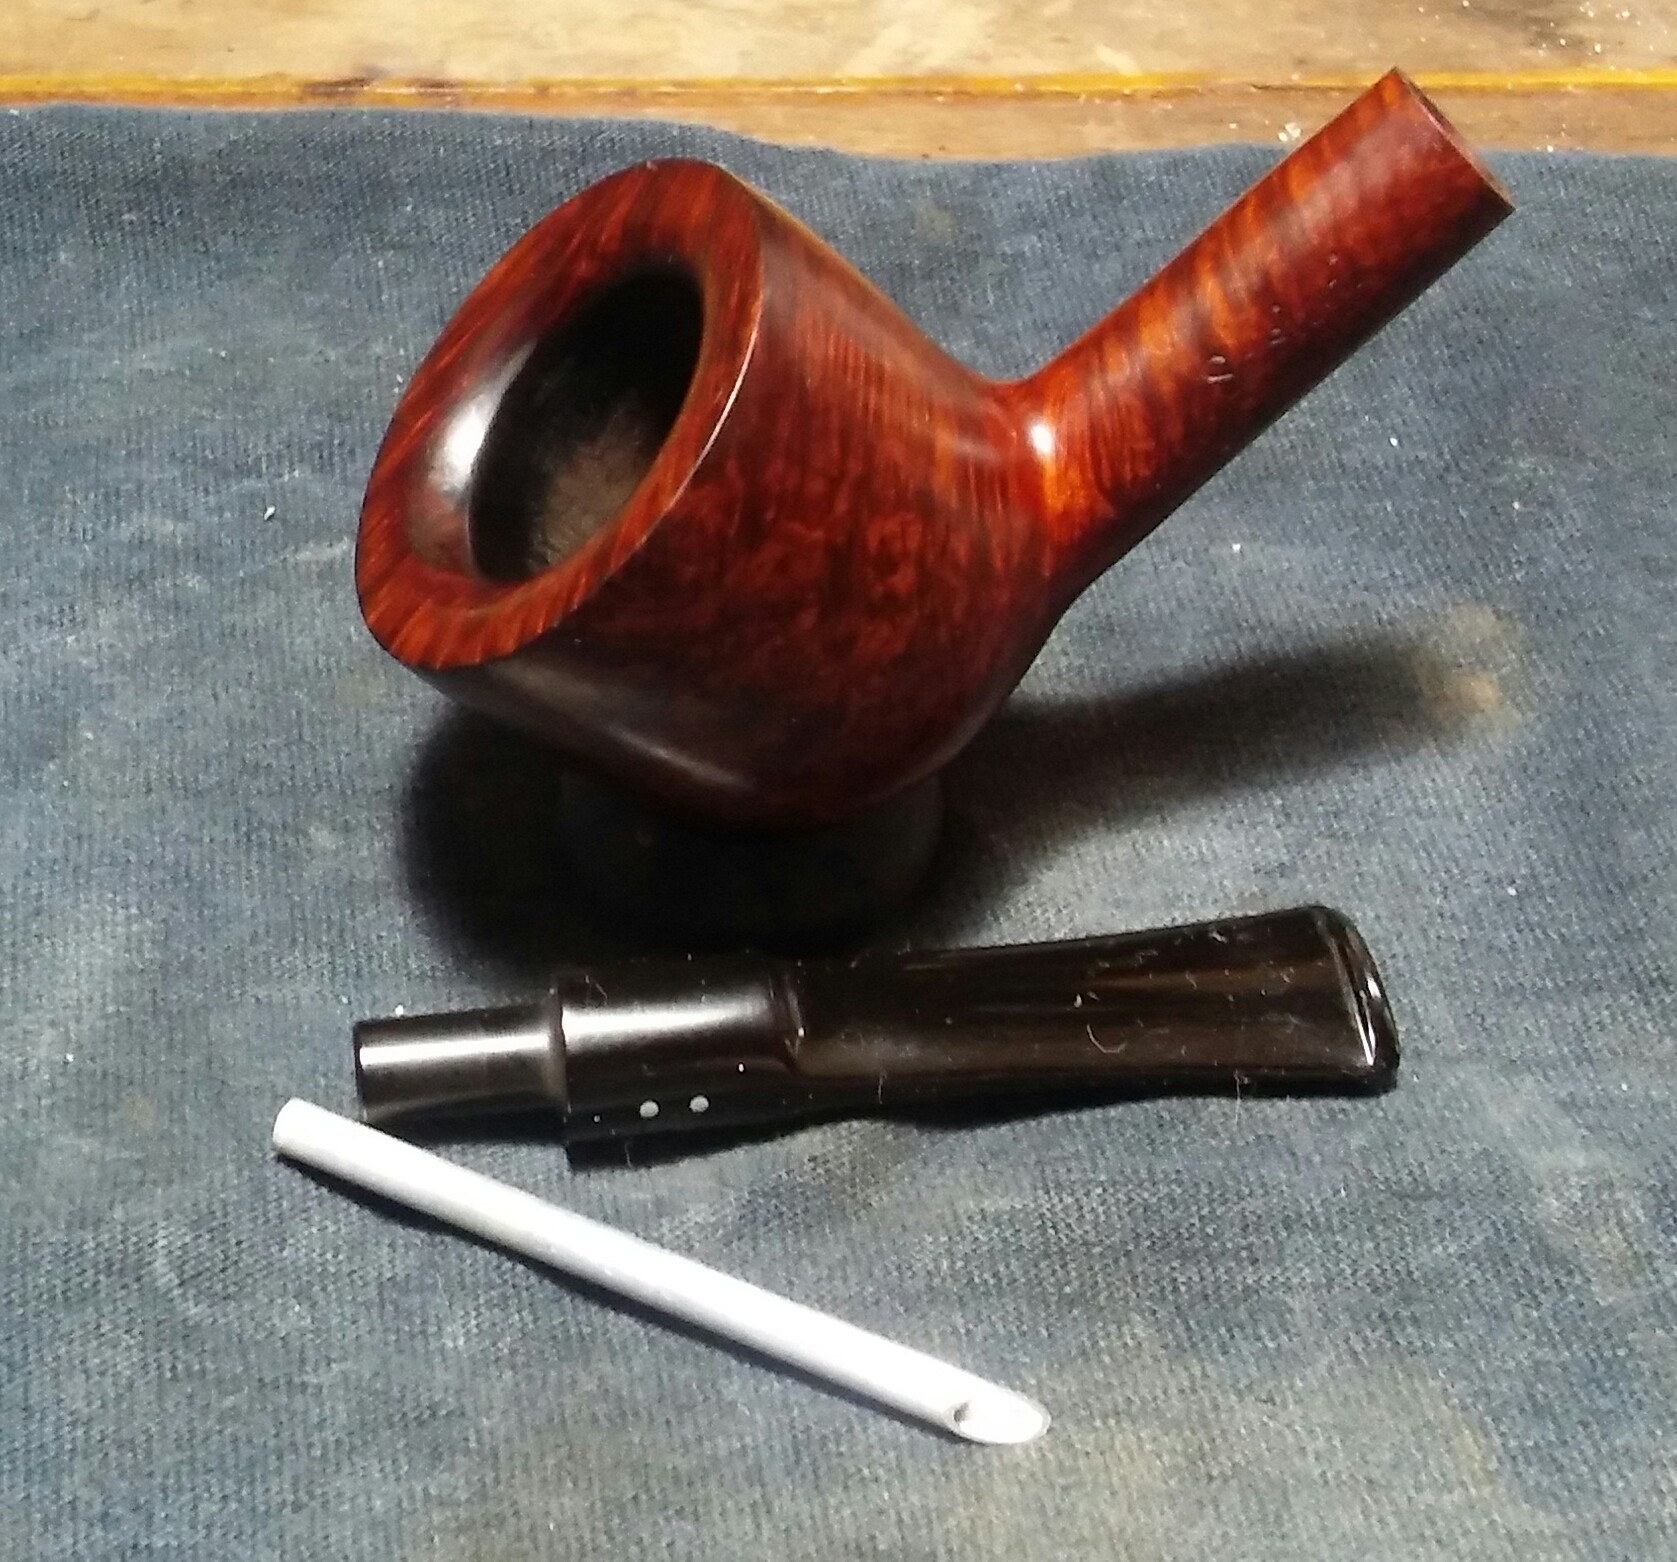
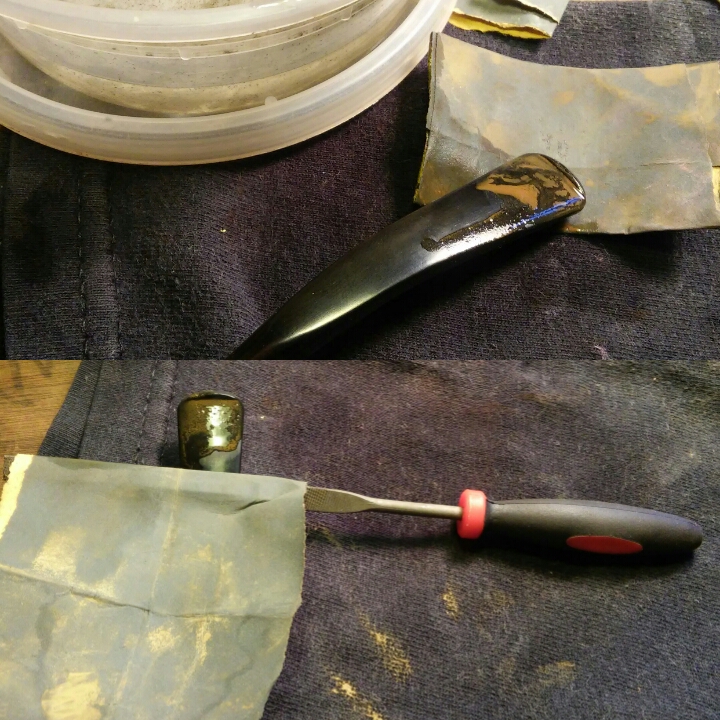
The new toy, my Castleford reamer has reached its end the attachments no longer stay in its handle. After reading many reviews and fellow refurbishing bloggers giving the thumbs up on the Pipnet reamer, my wife picked one up for me. I must say its a different world, the shape of the reamer attachments are far superior to the Castleford set, in that it reaches the bottom of the chamber more evenly and producers a cleaner cut through the cake.
I’m impressed.


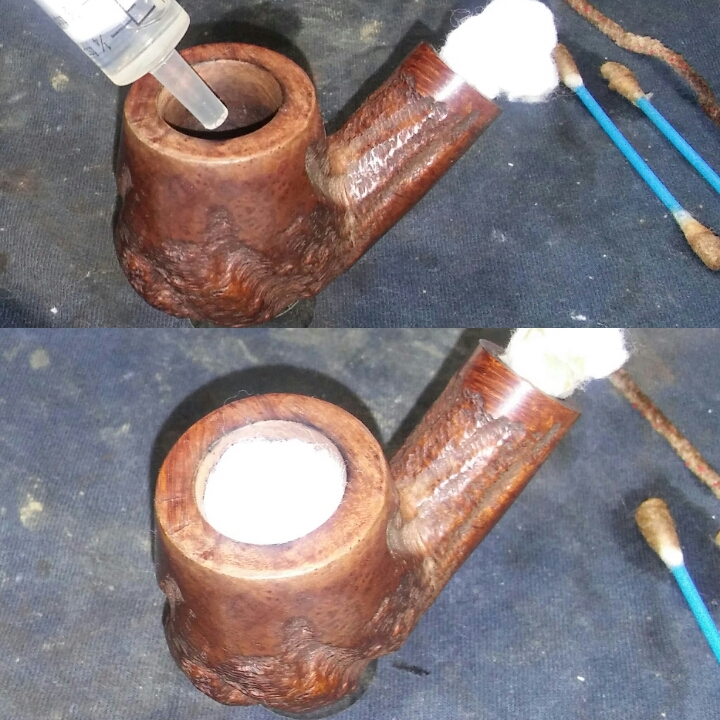
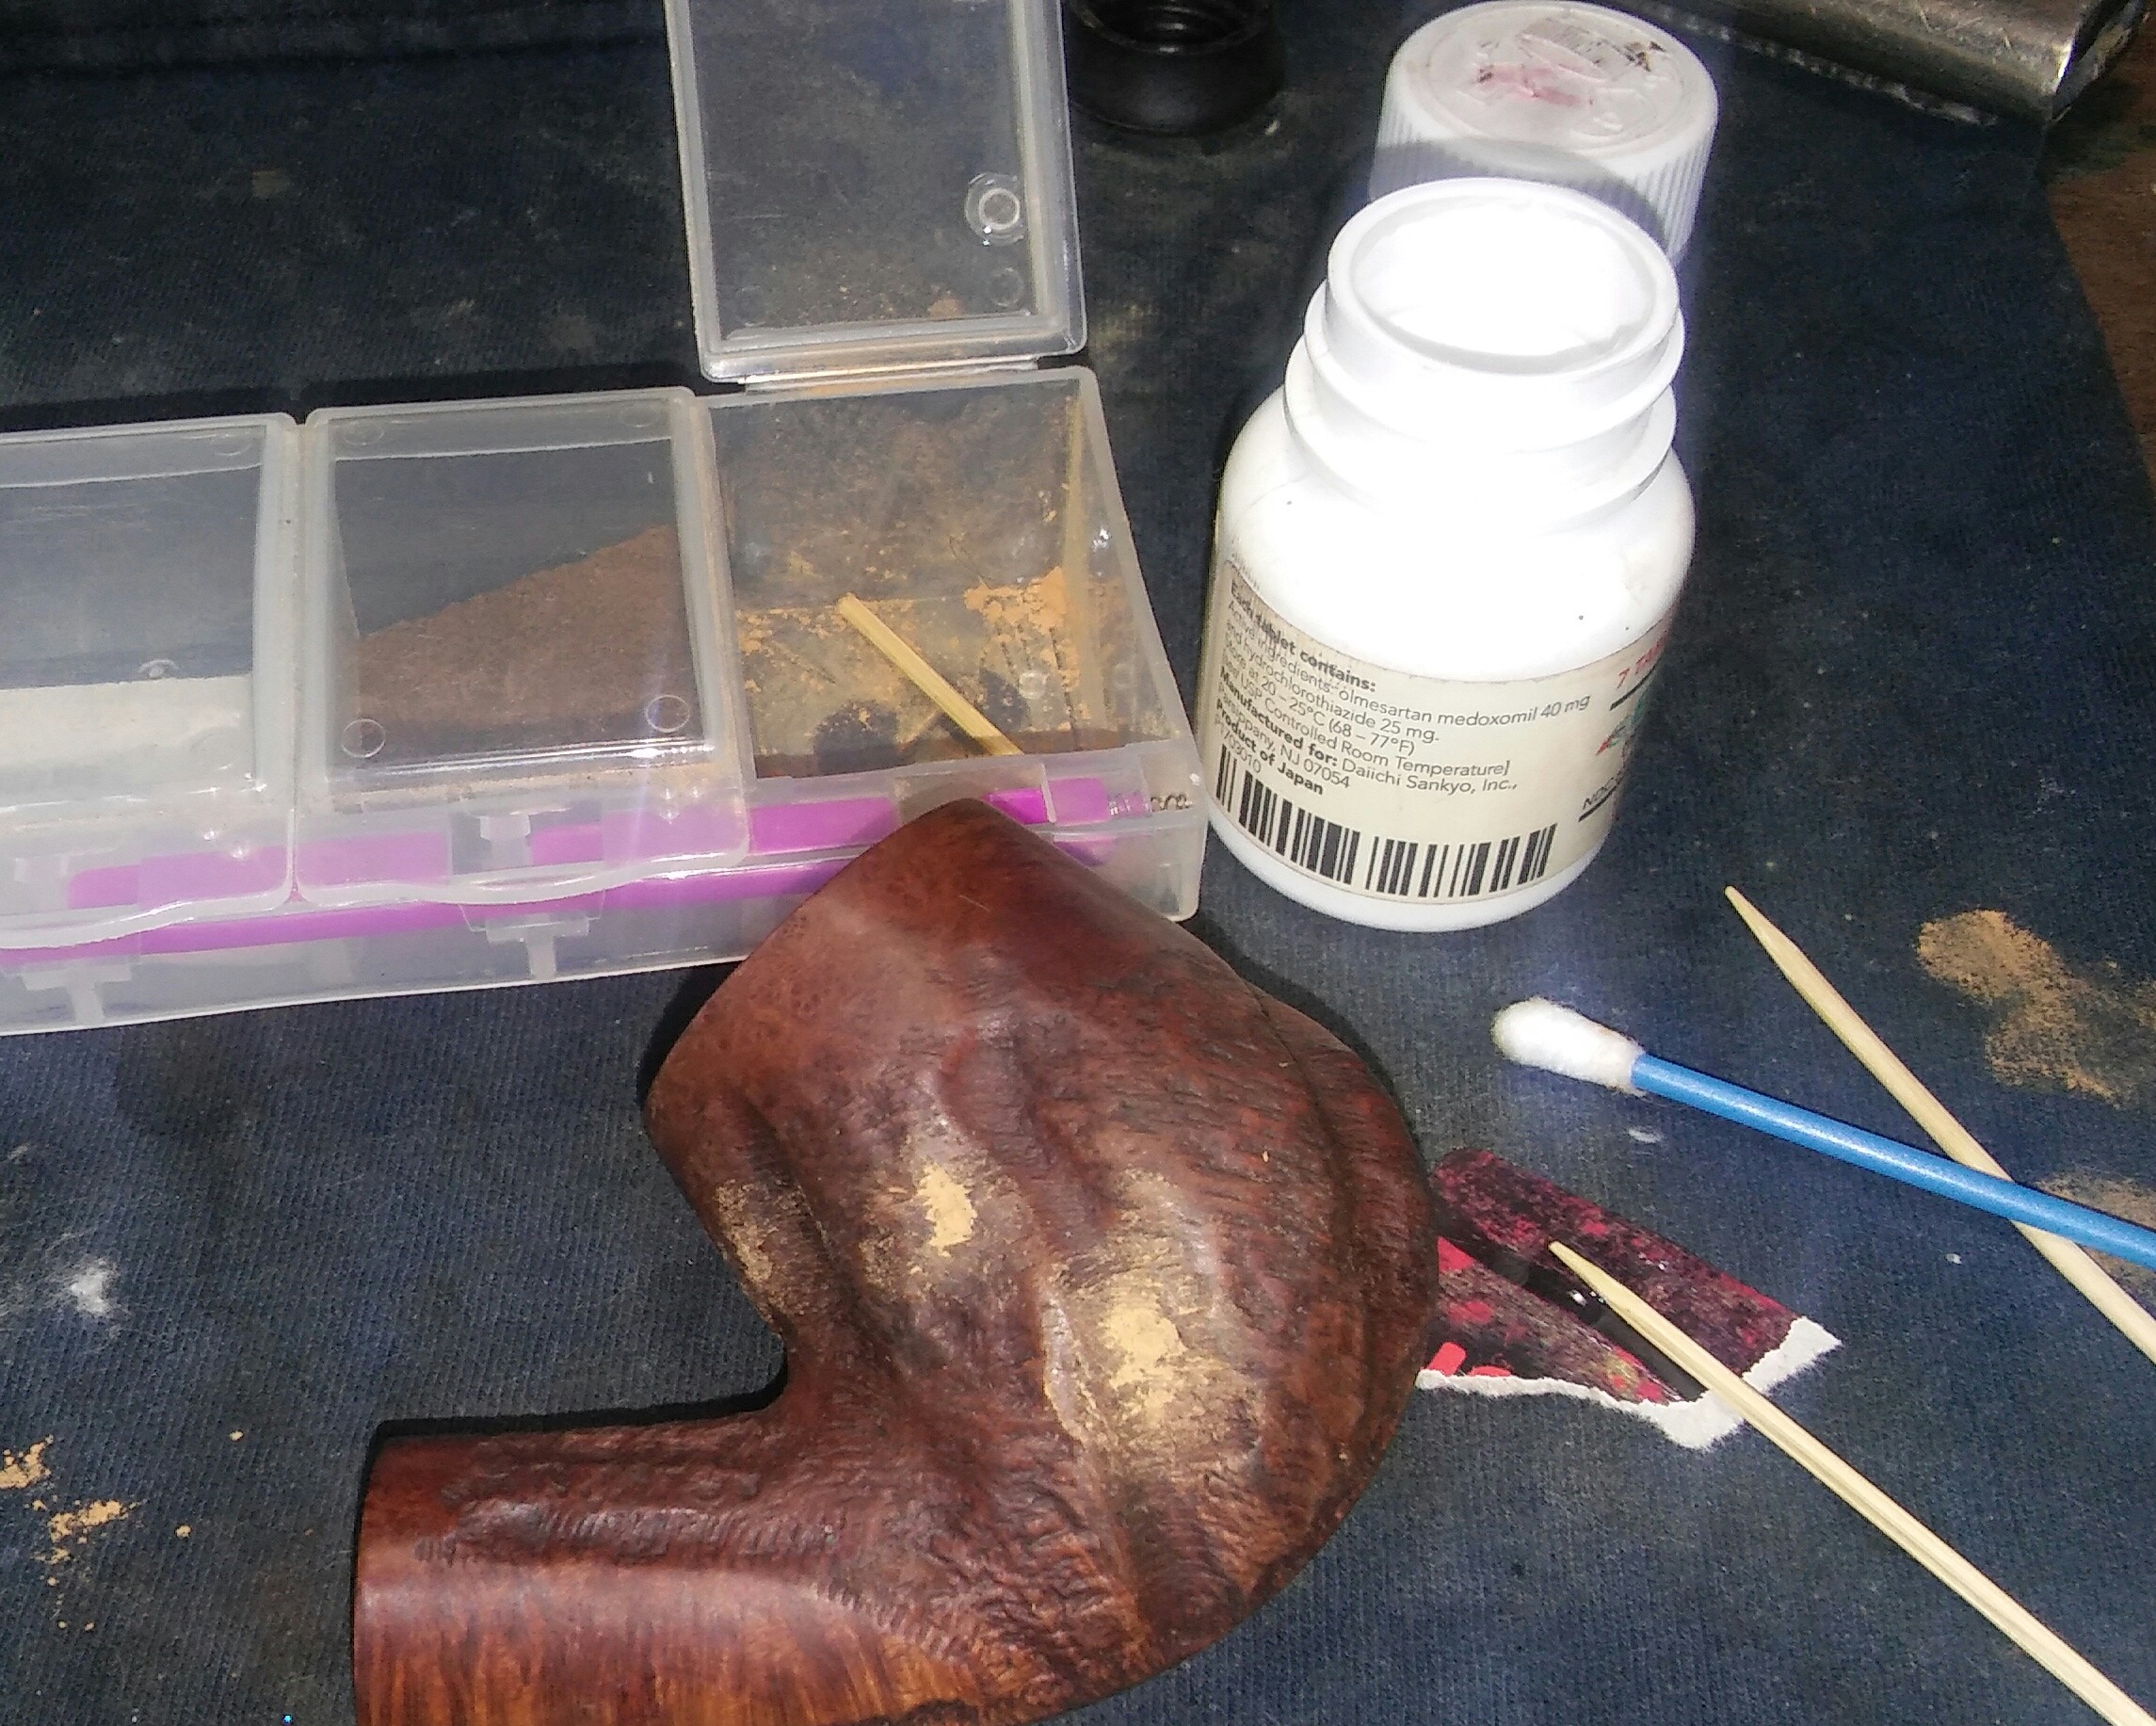
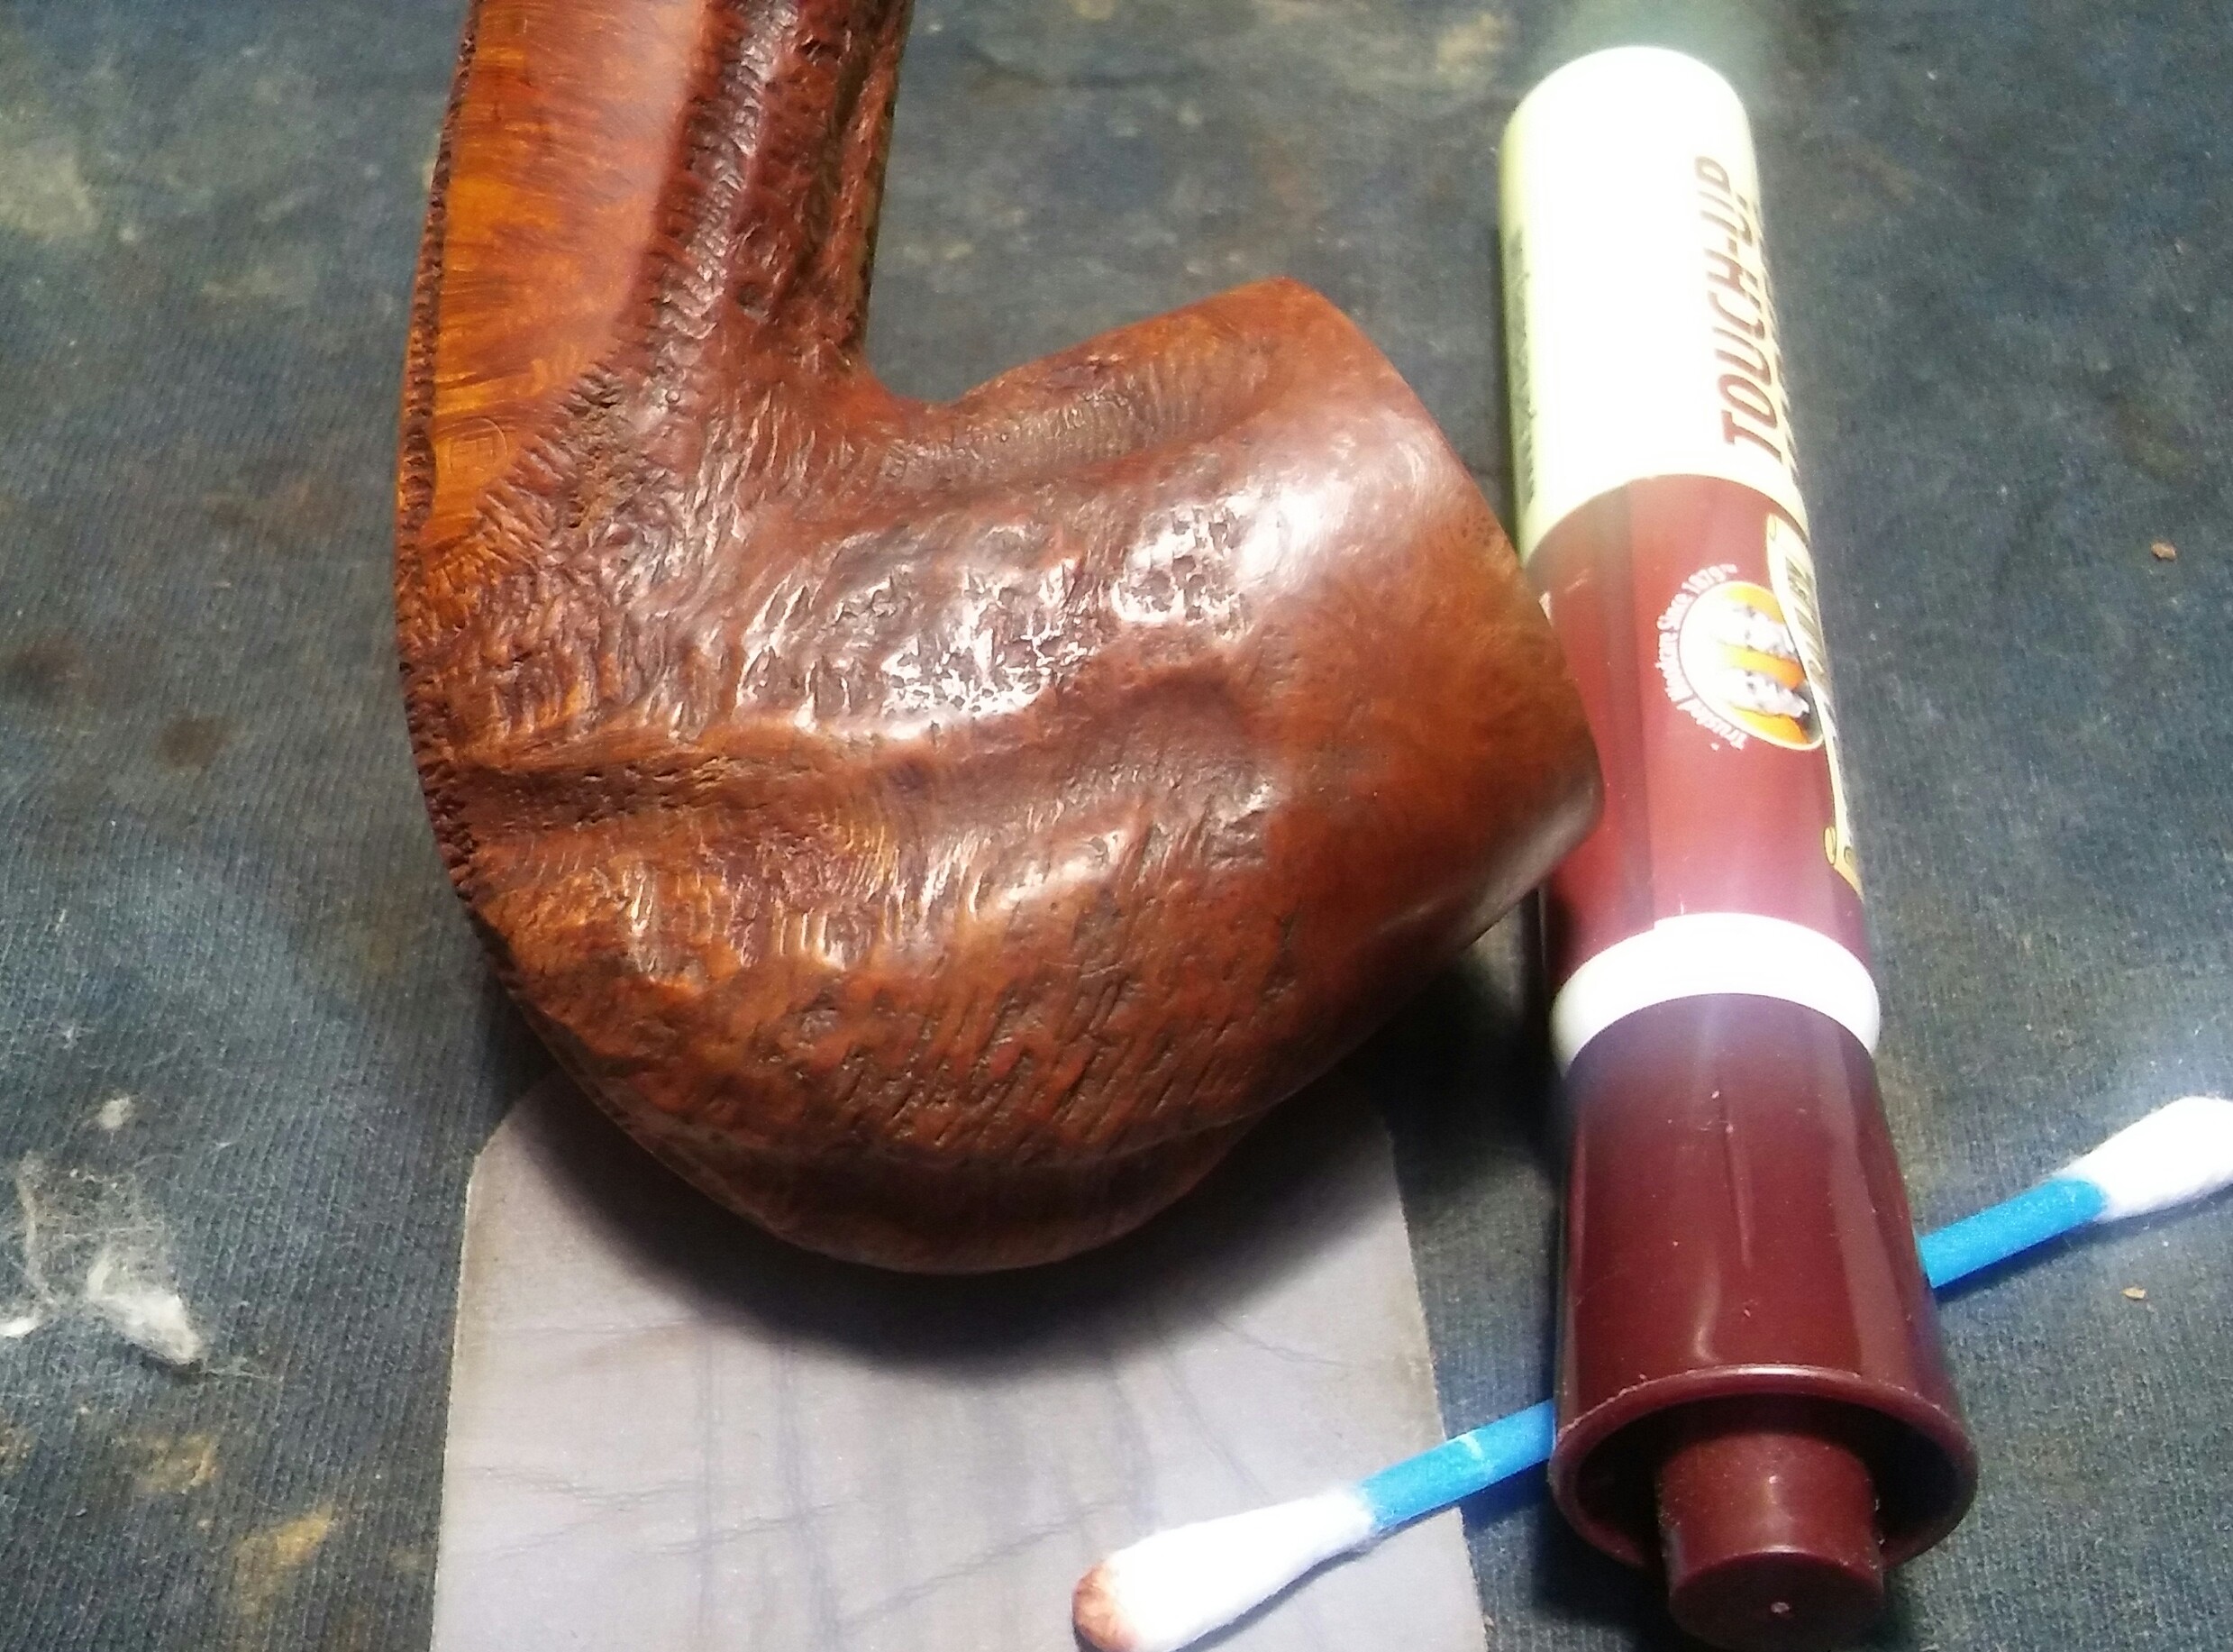
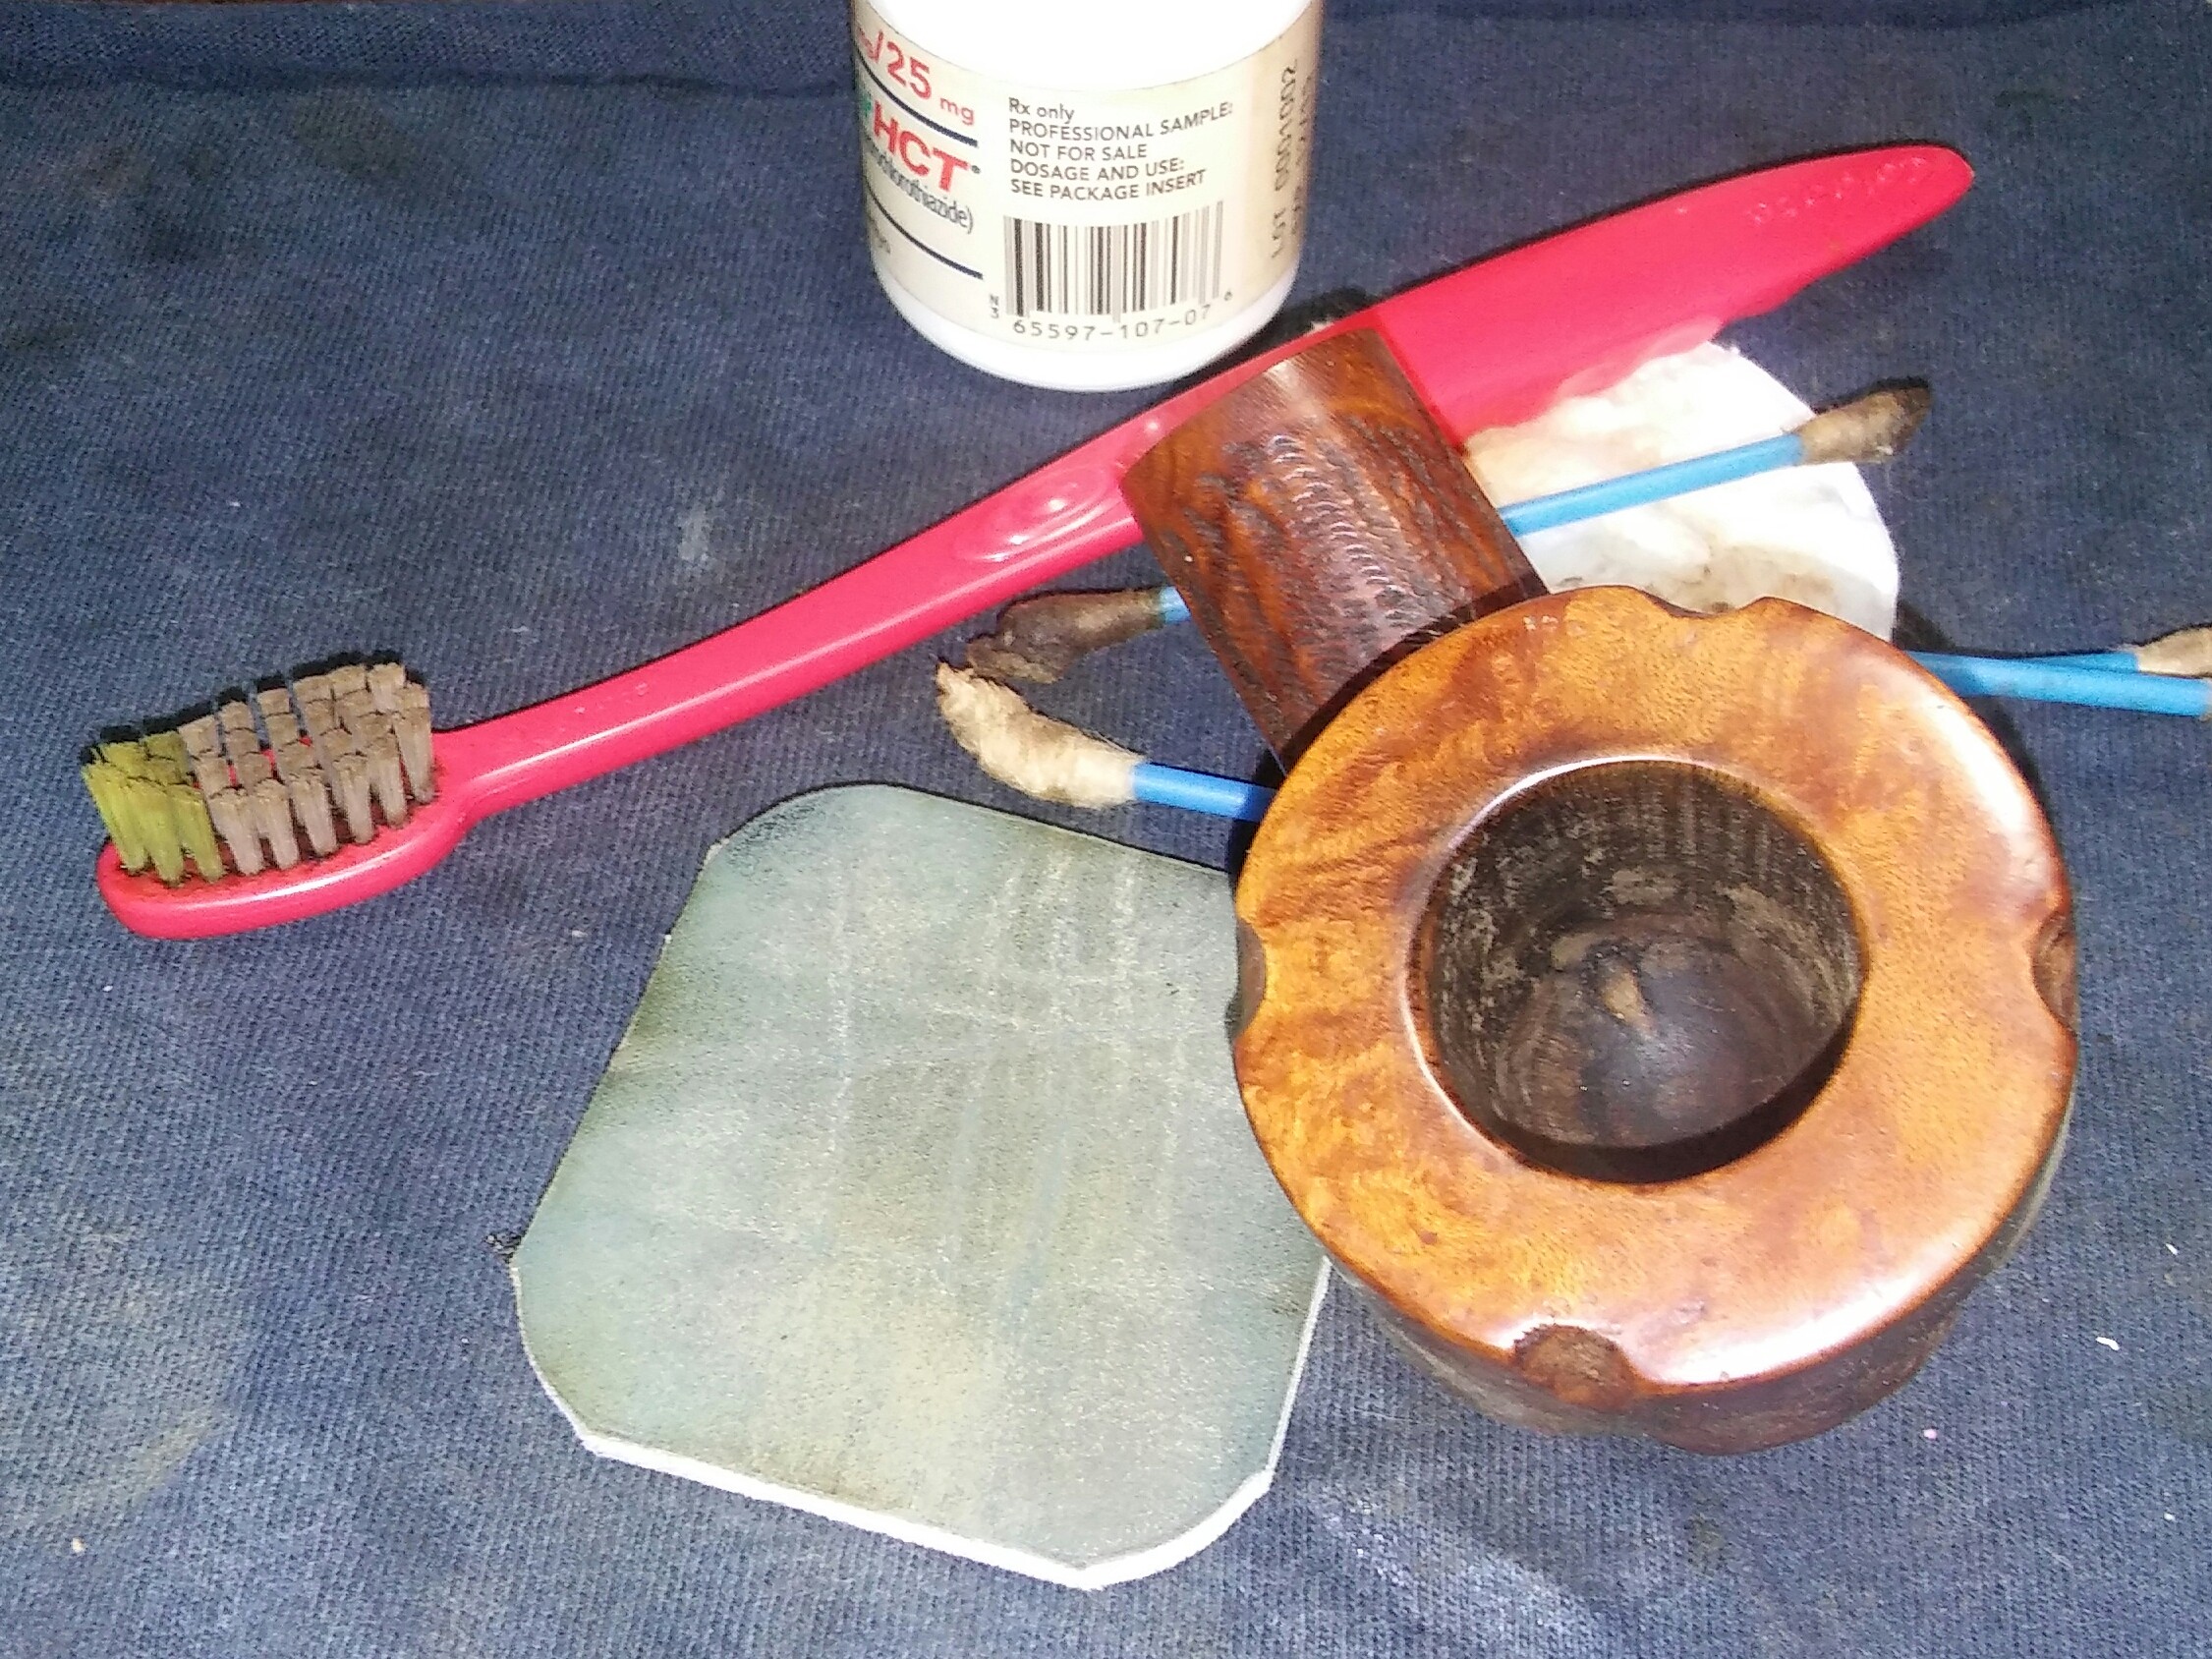
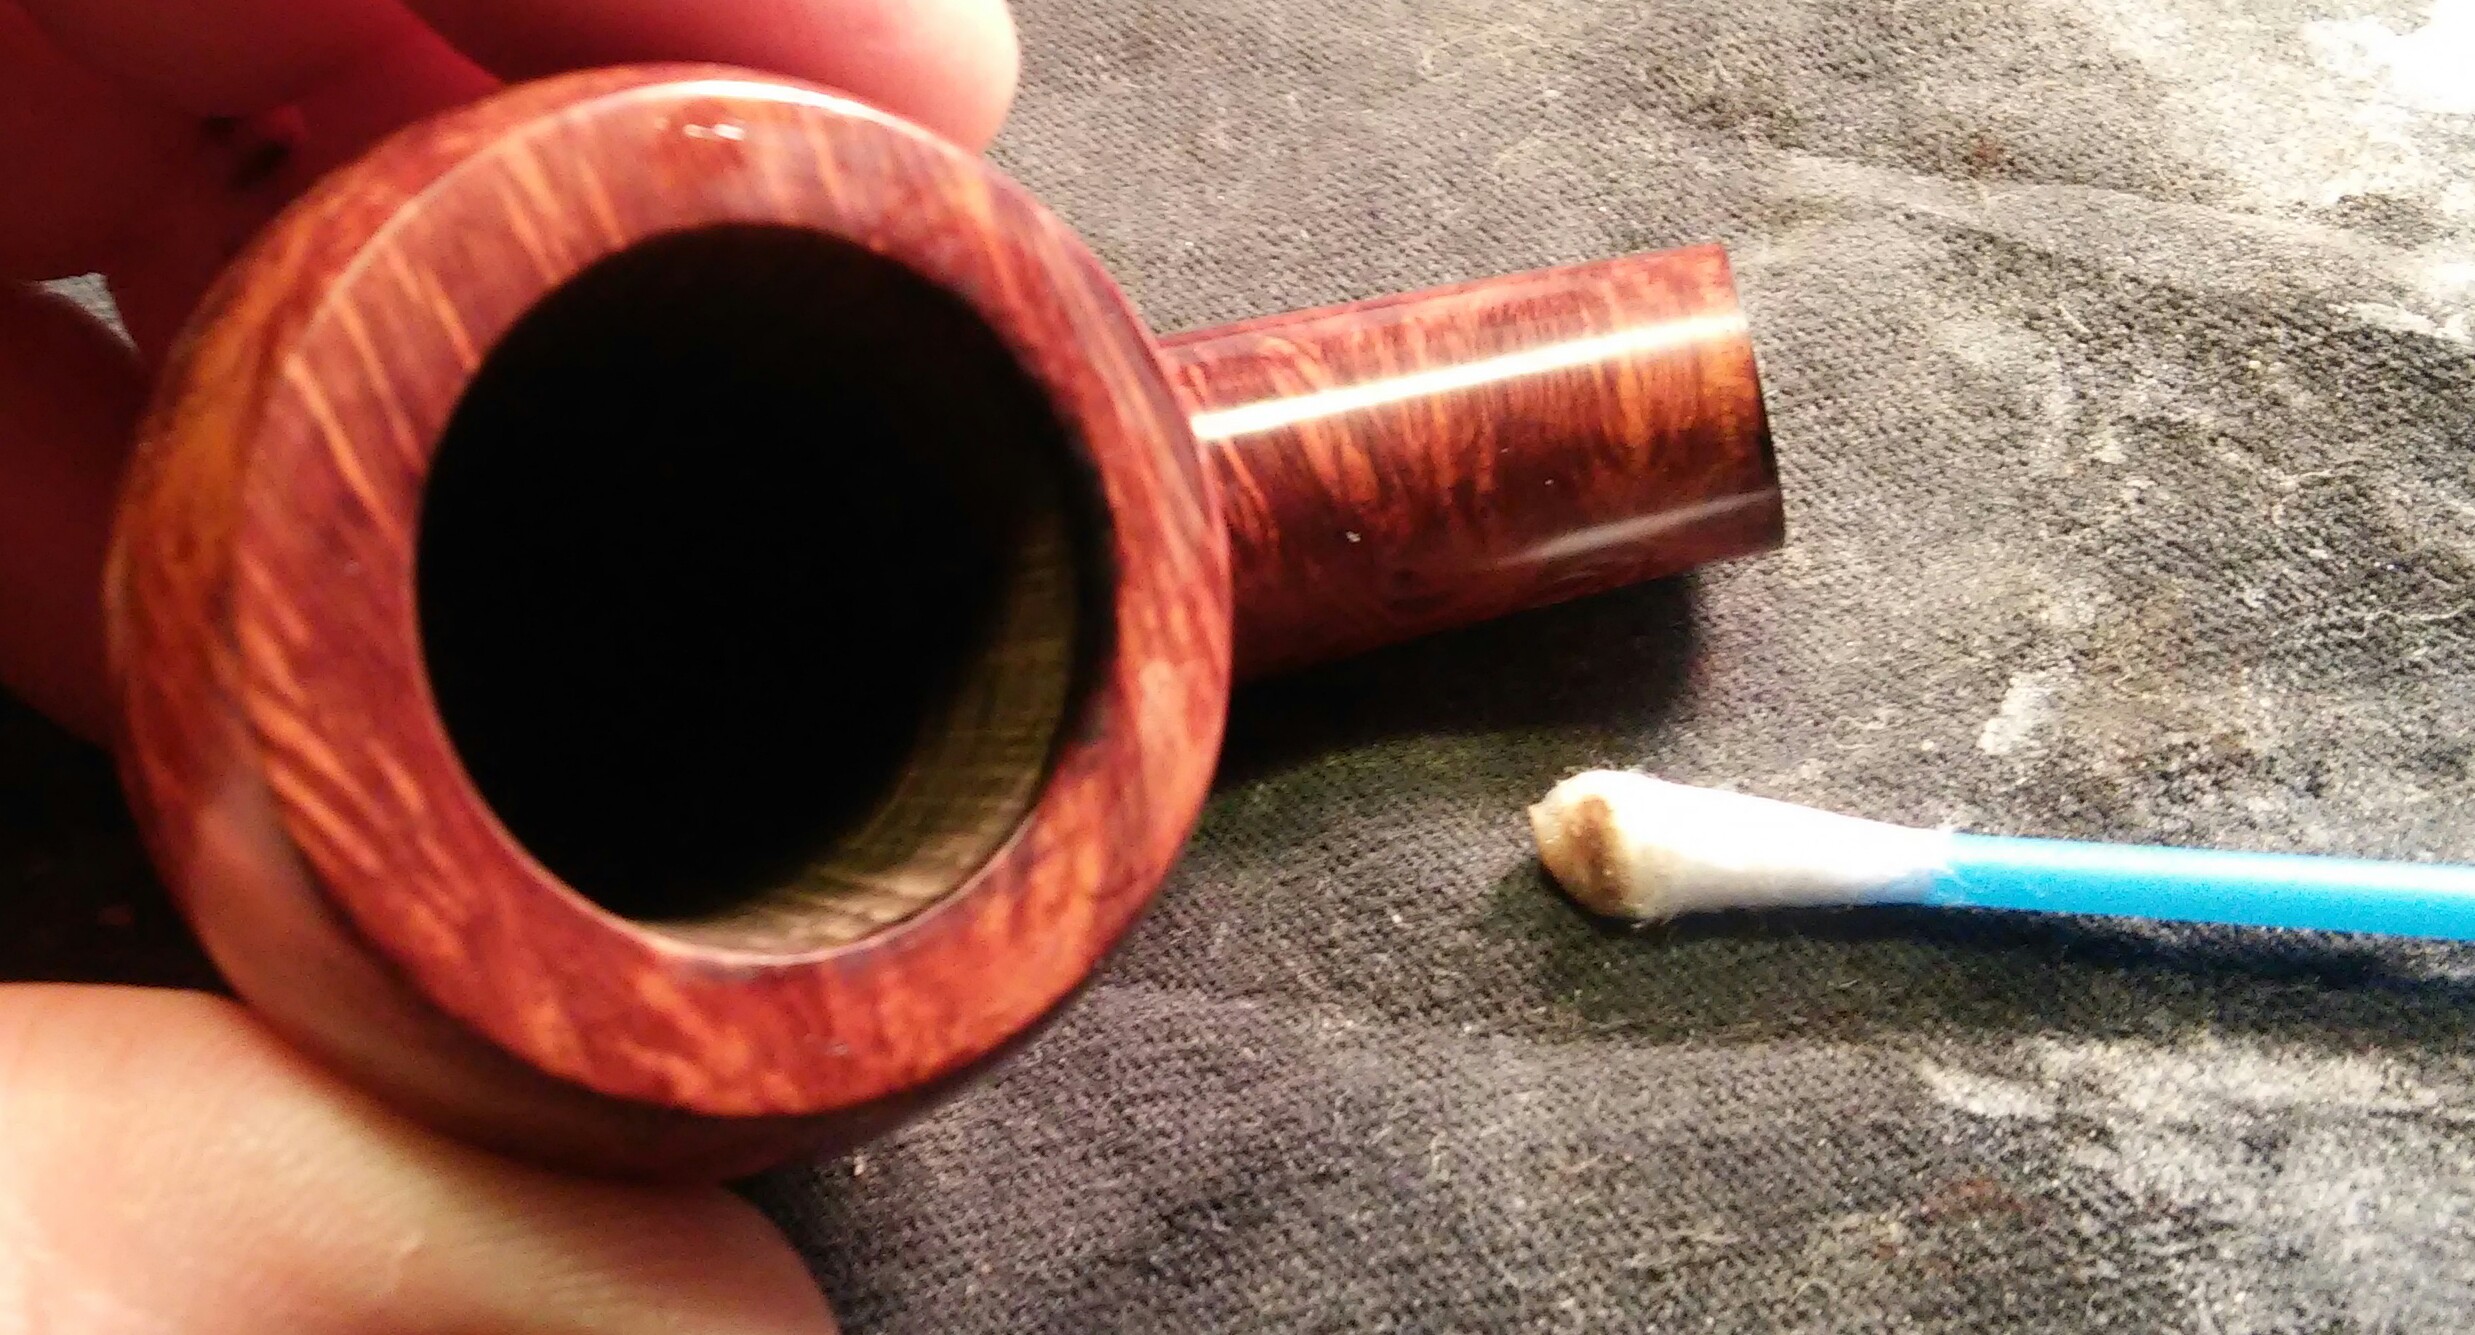
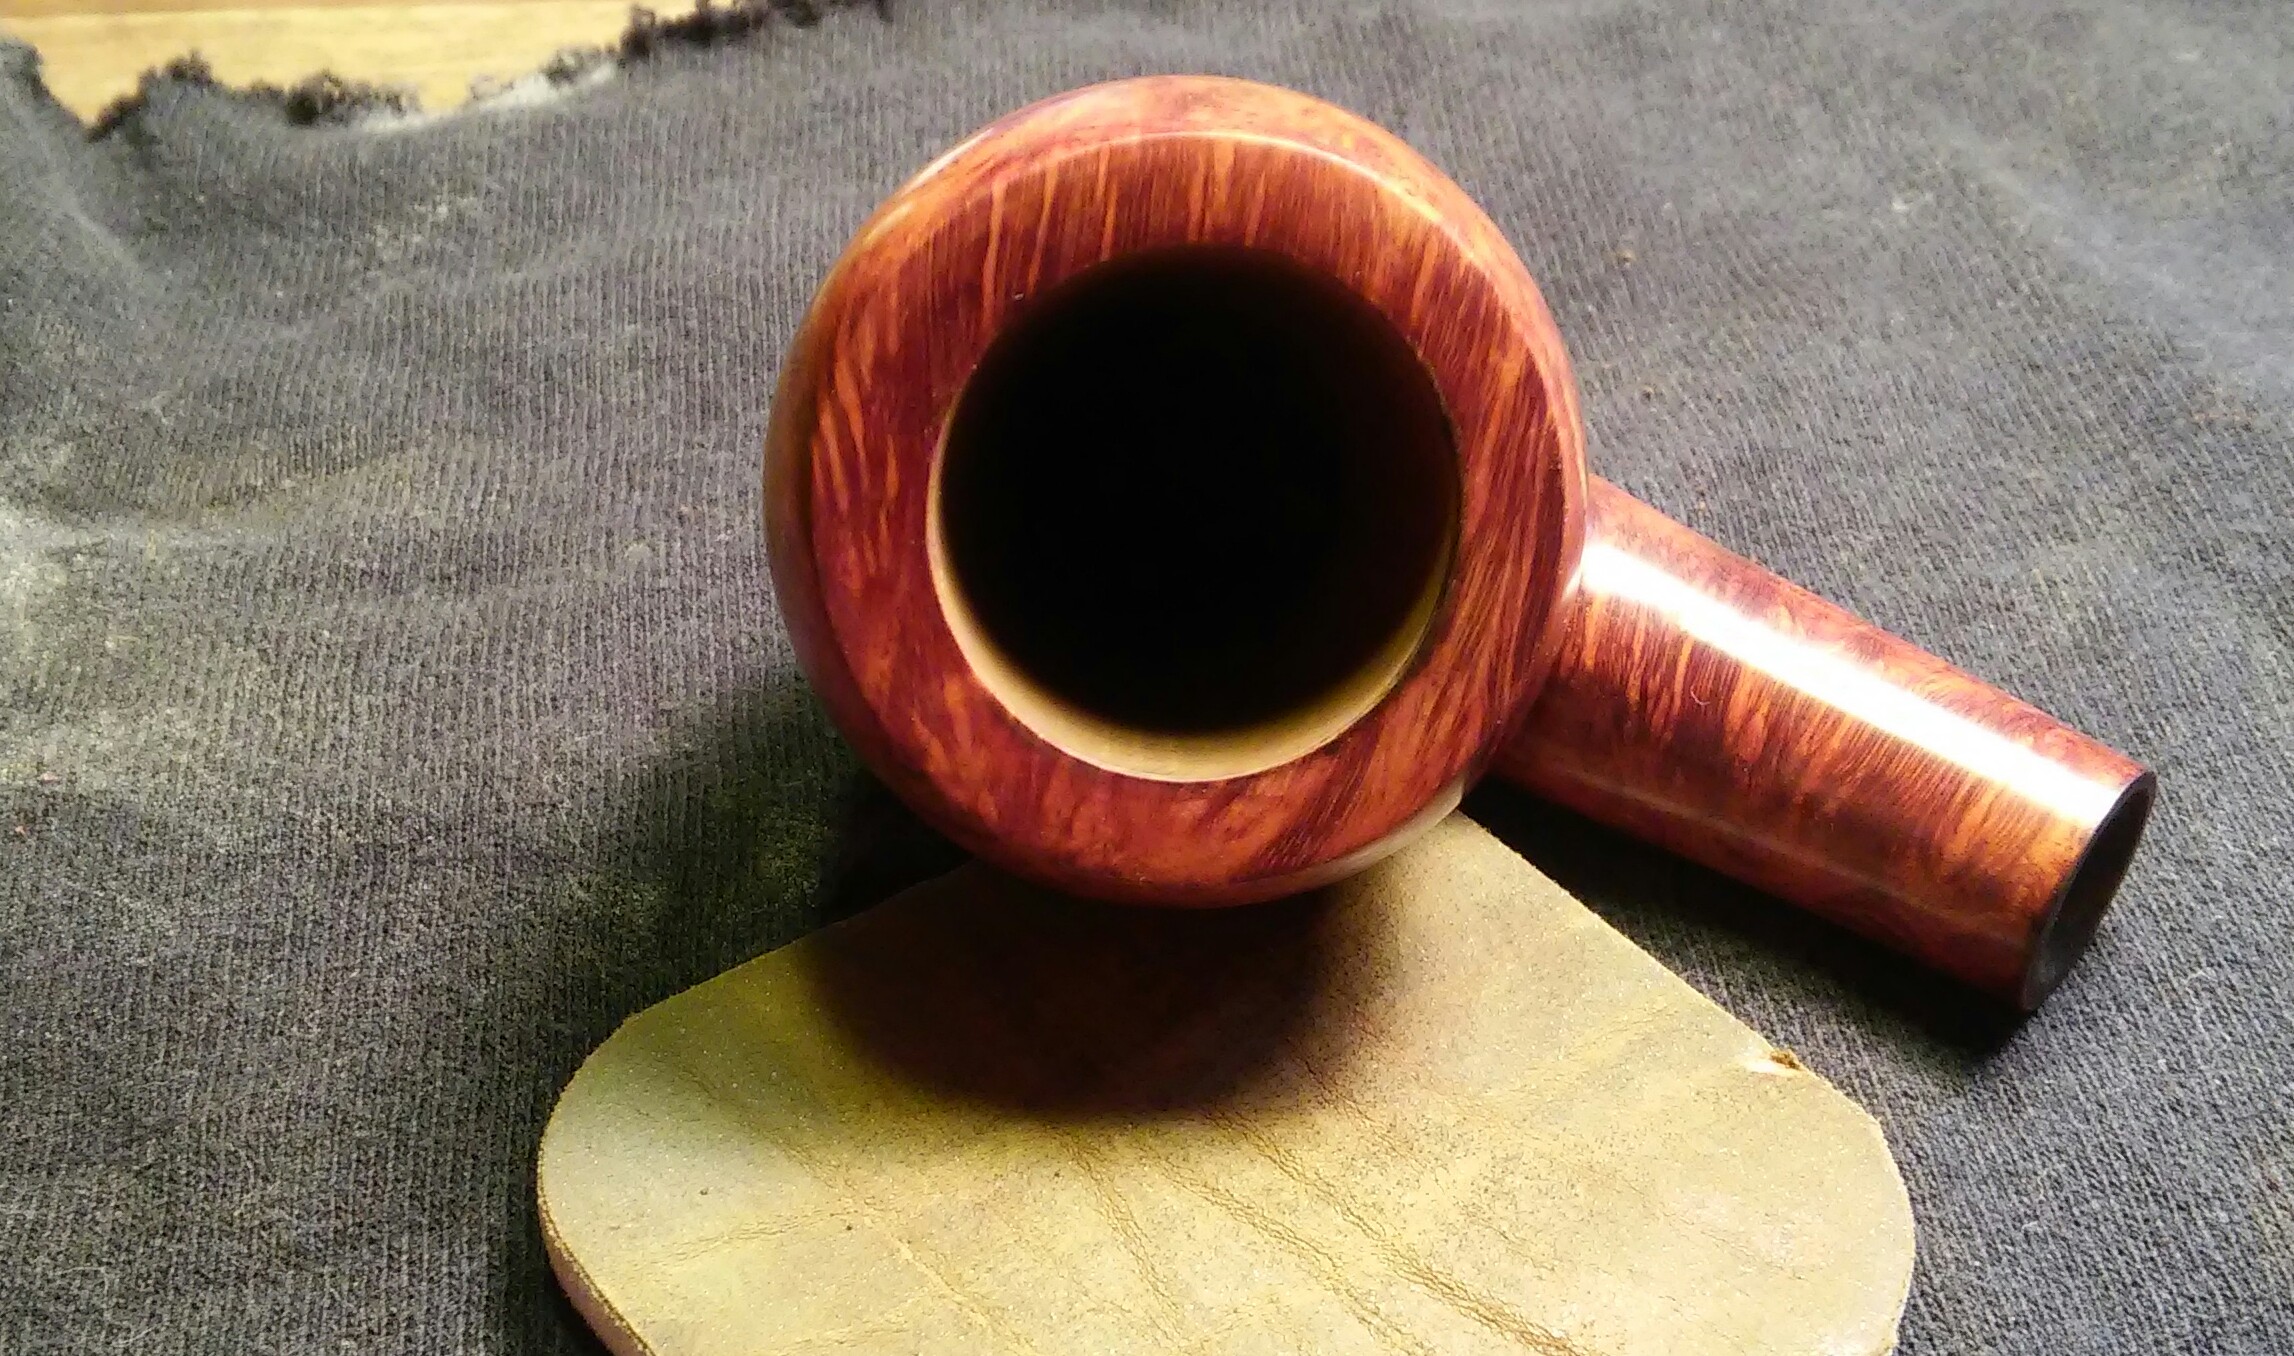
Starting with the stummel and my Pipnet reamer I cut back what little cake there was, first with the smallest attachment and working up to the third, then I lightly sanded the chamber with 1000 grit sandpaper. There was a little rim tar&char, I applied a little Method Wood For Good Polish with a Q-tip and allowed the polish to soften the build up. With the build up removed I worked on the rim darkening with worn micro-mesh until it faded.

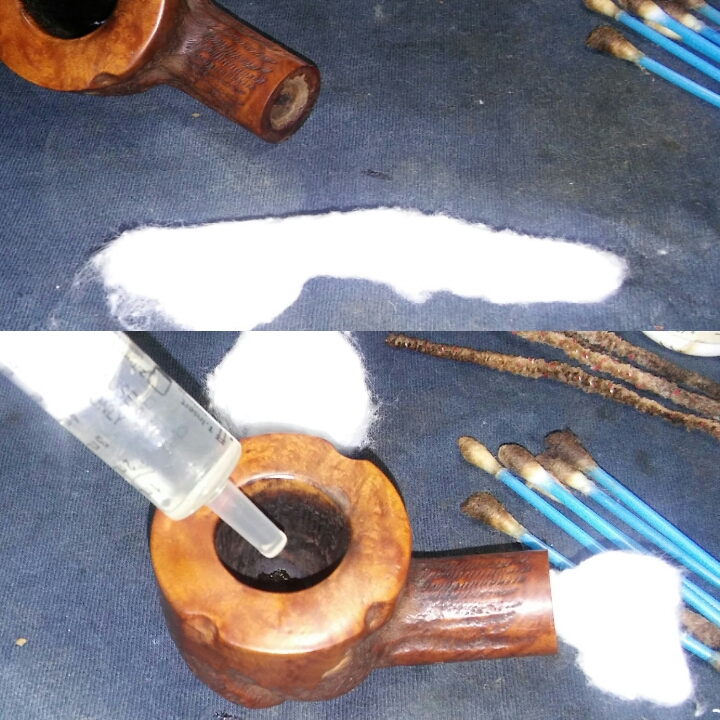
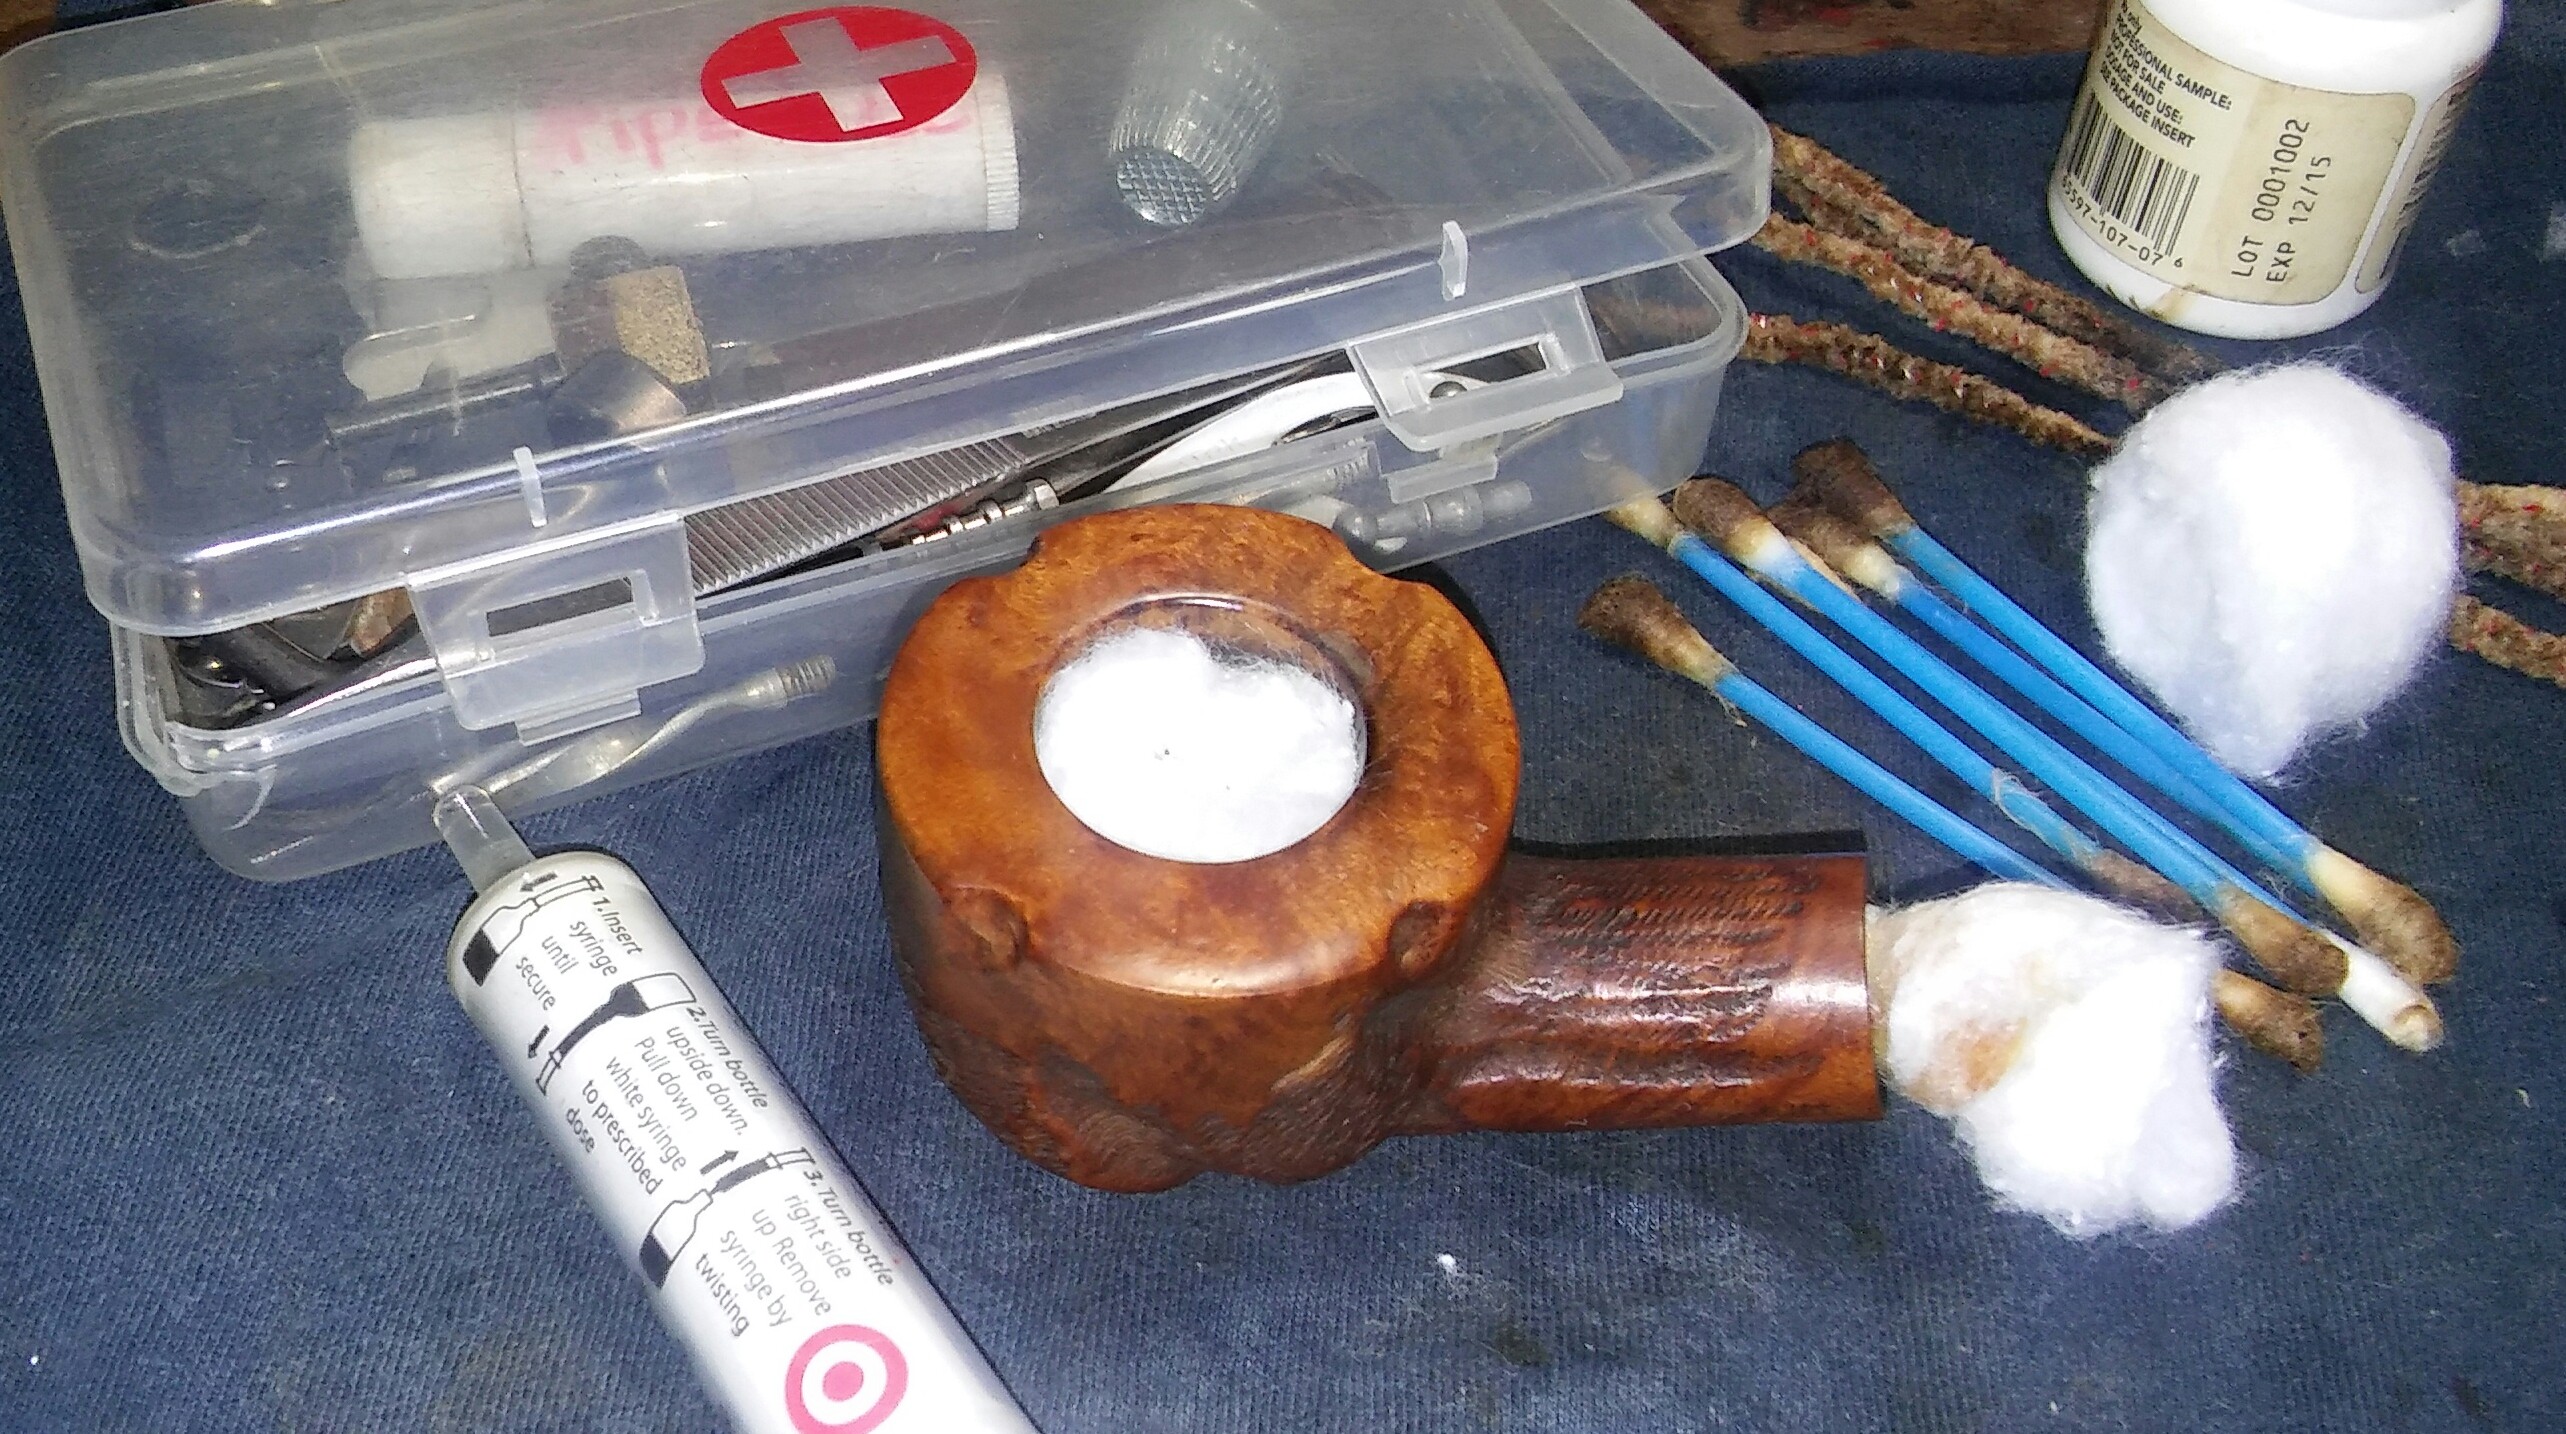
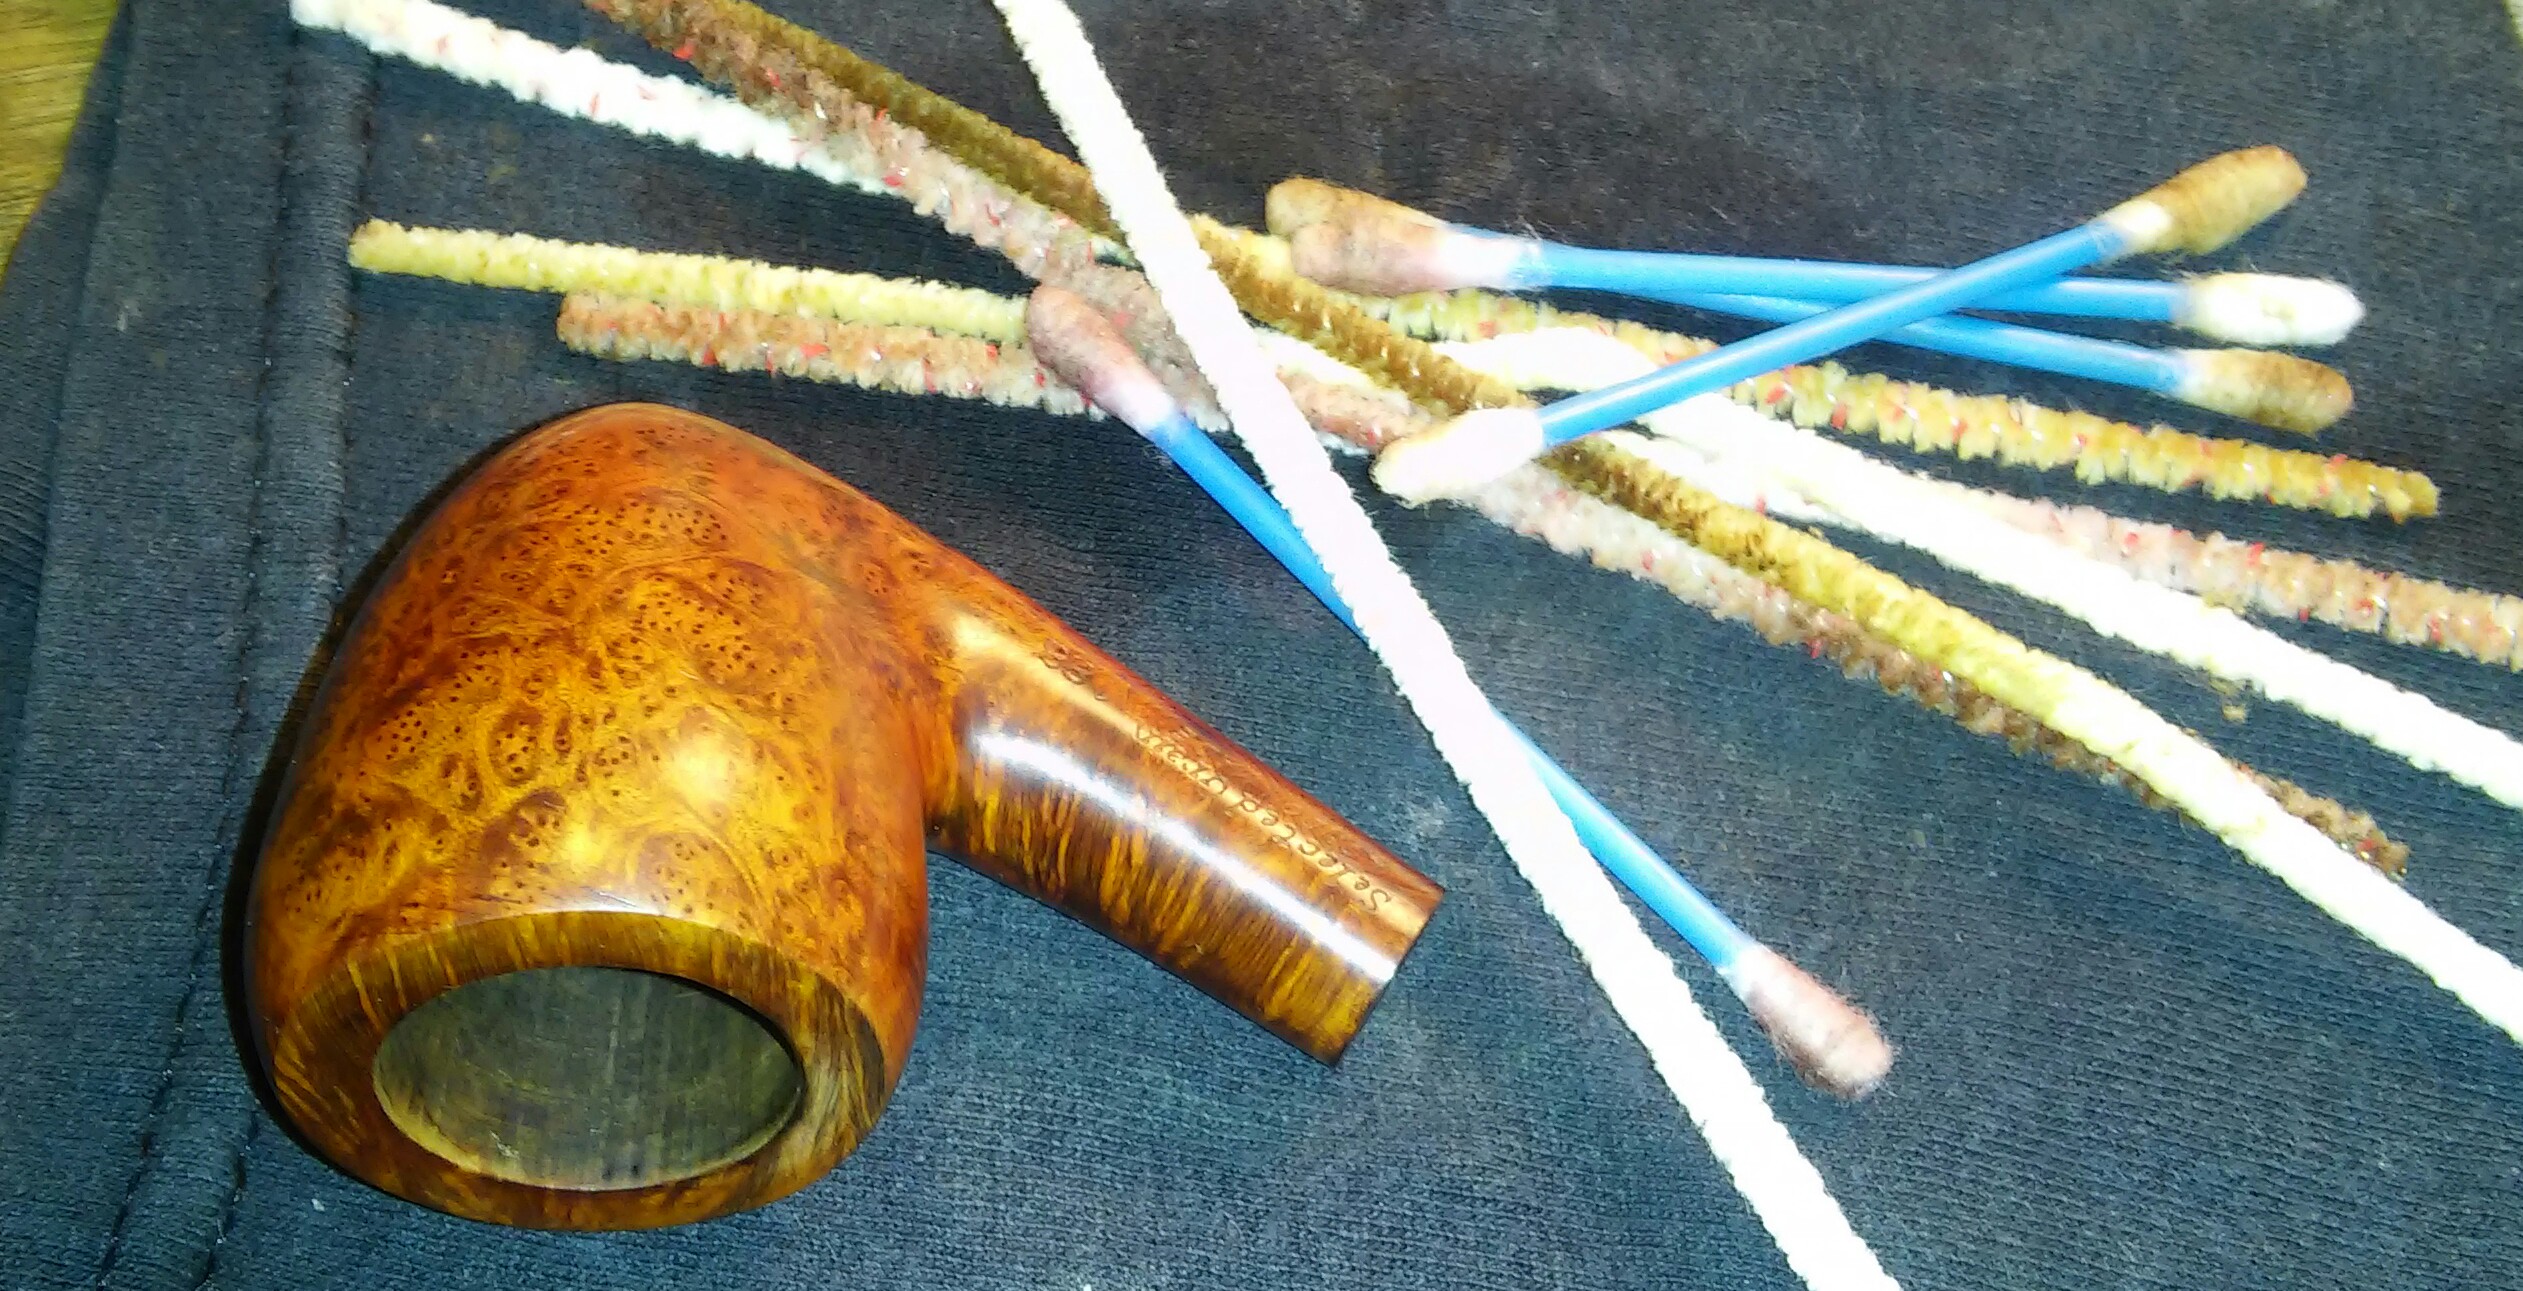
I now moved on to the internals. Using EverClear, Q-tips, makeup pads and stiff/soft pipe cleaners I cleaned the mortise, chamber, inner tube and the stem internals until the pipe cleaners came out as they went in. I cleaned the stem exterior with EverClear and a makeup pad.

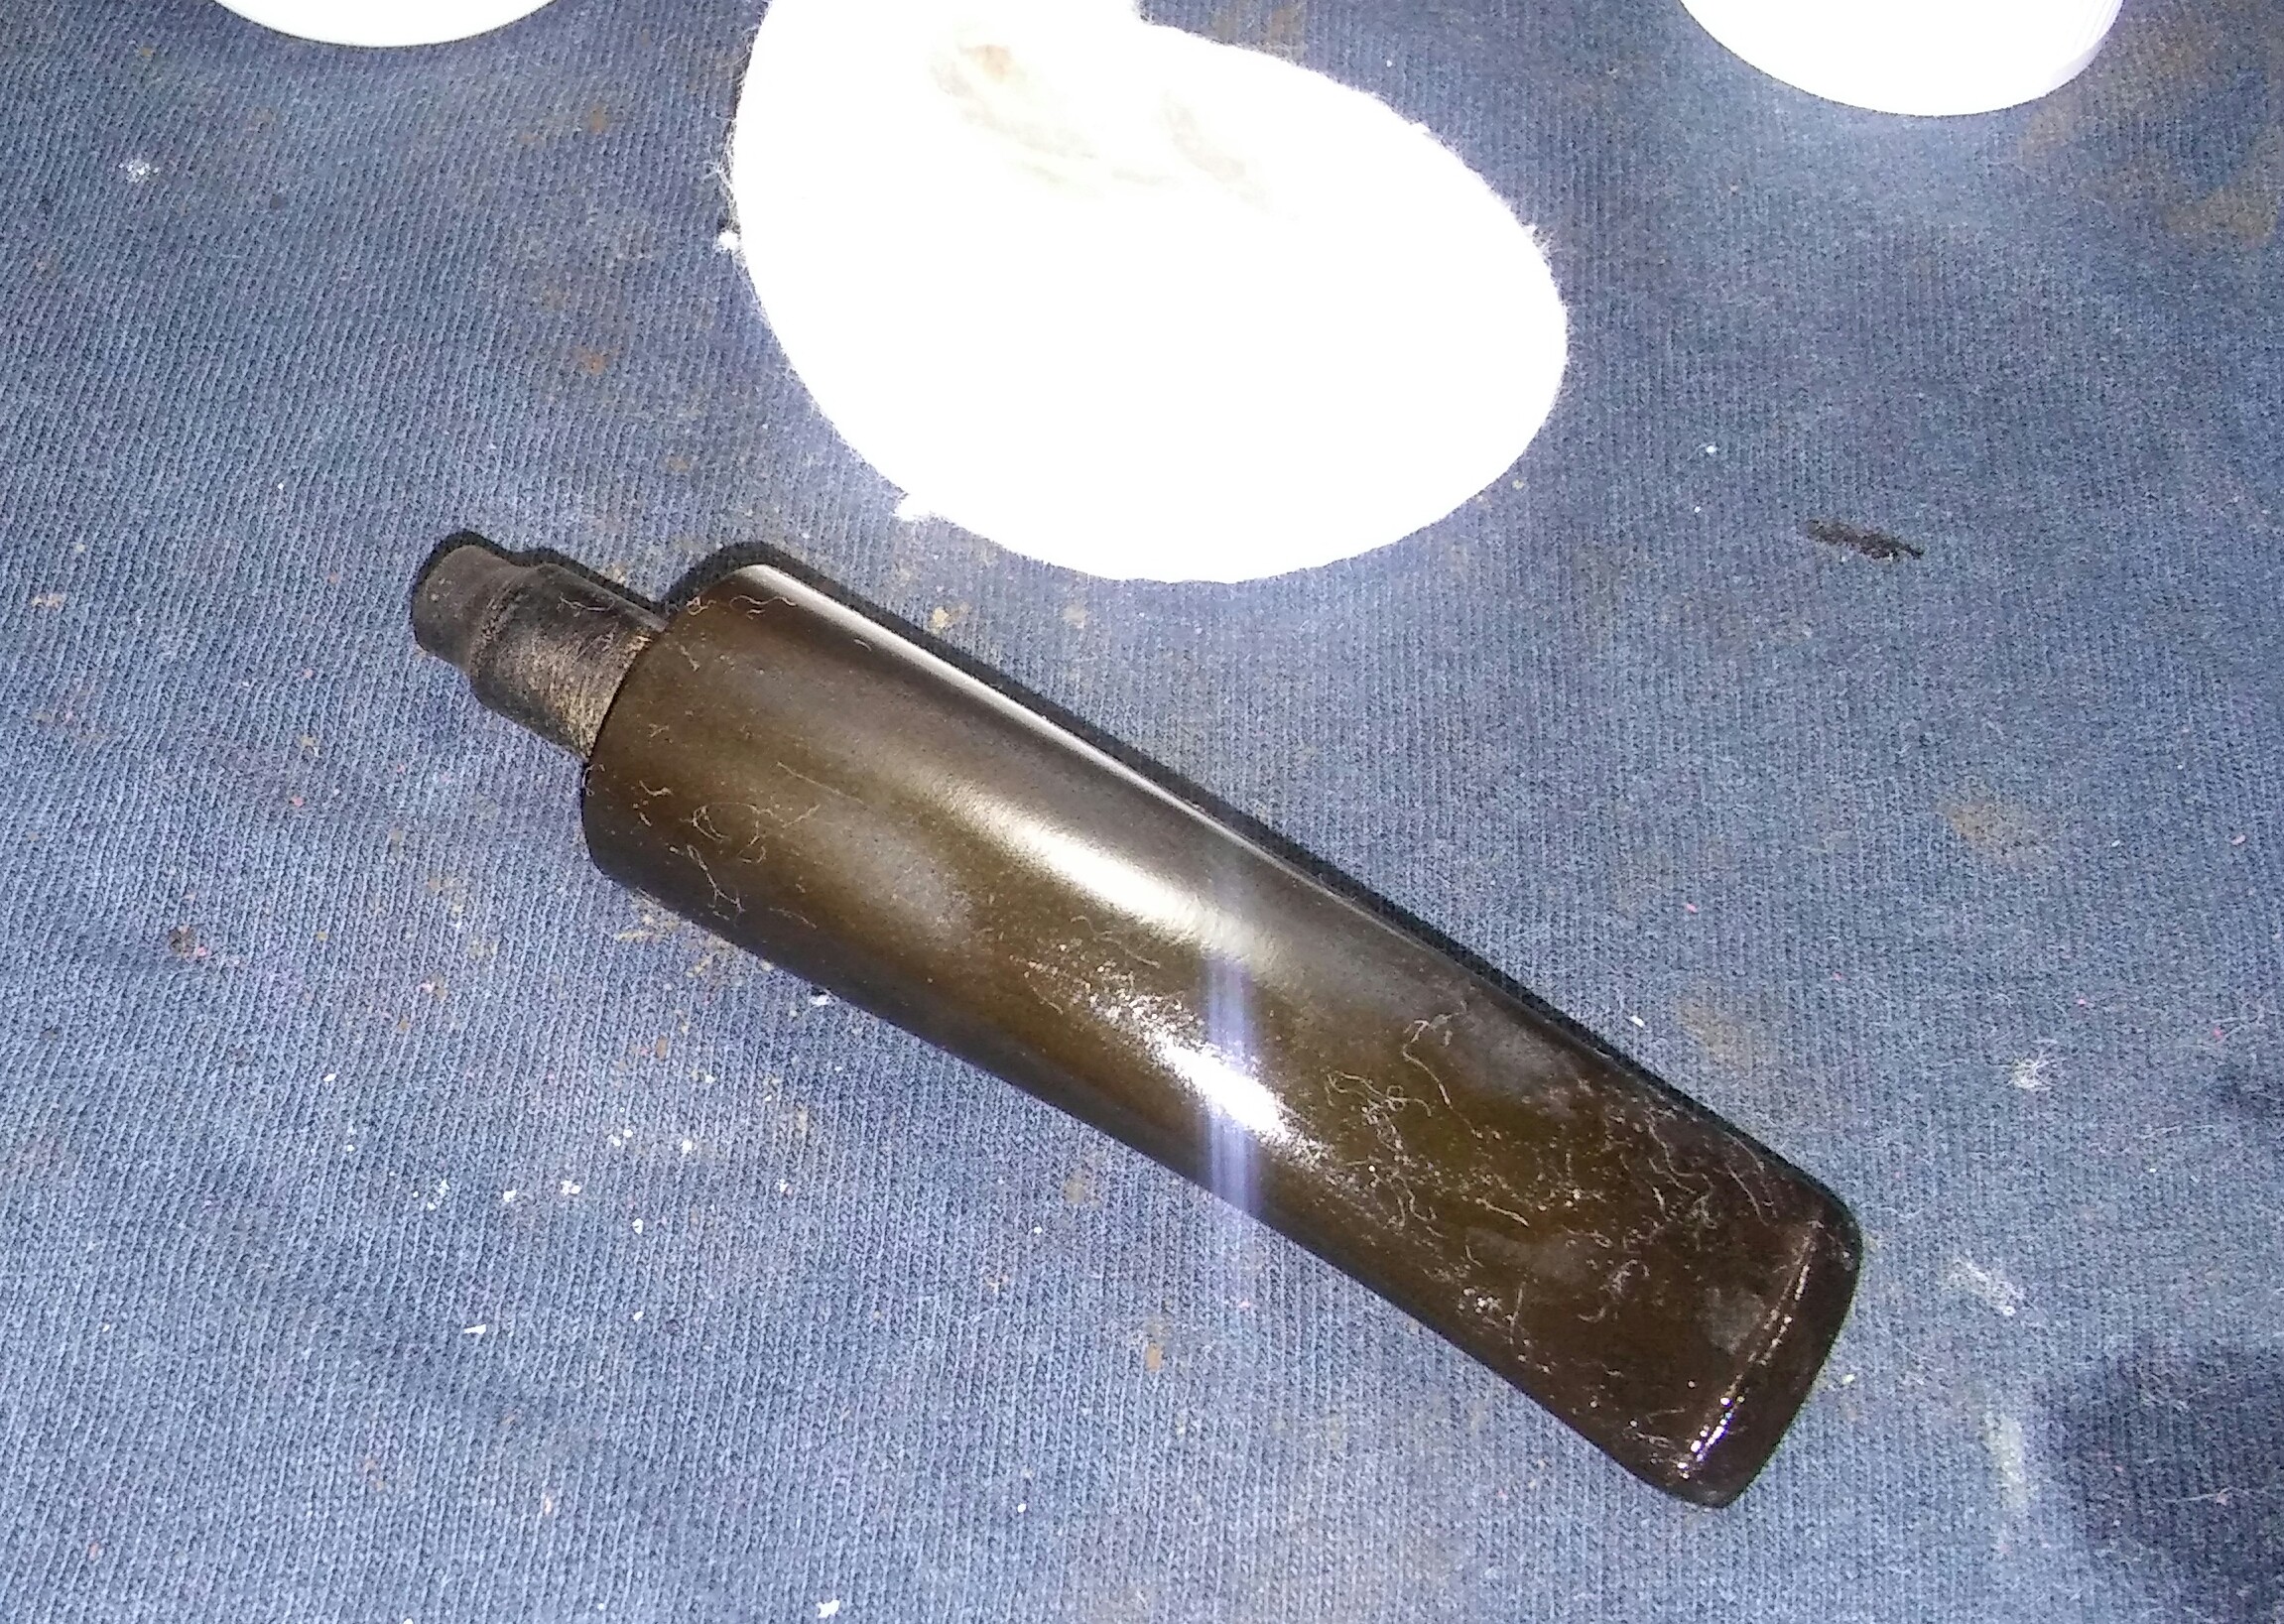
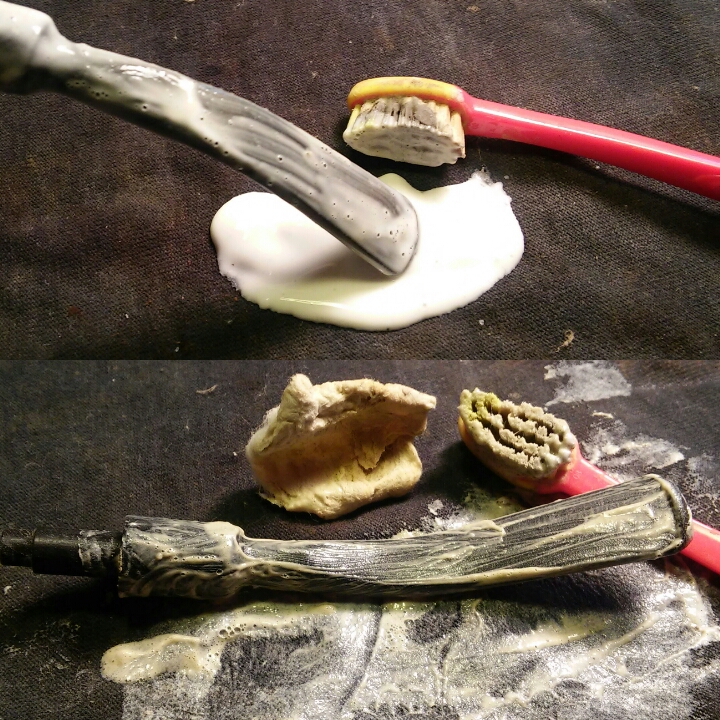
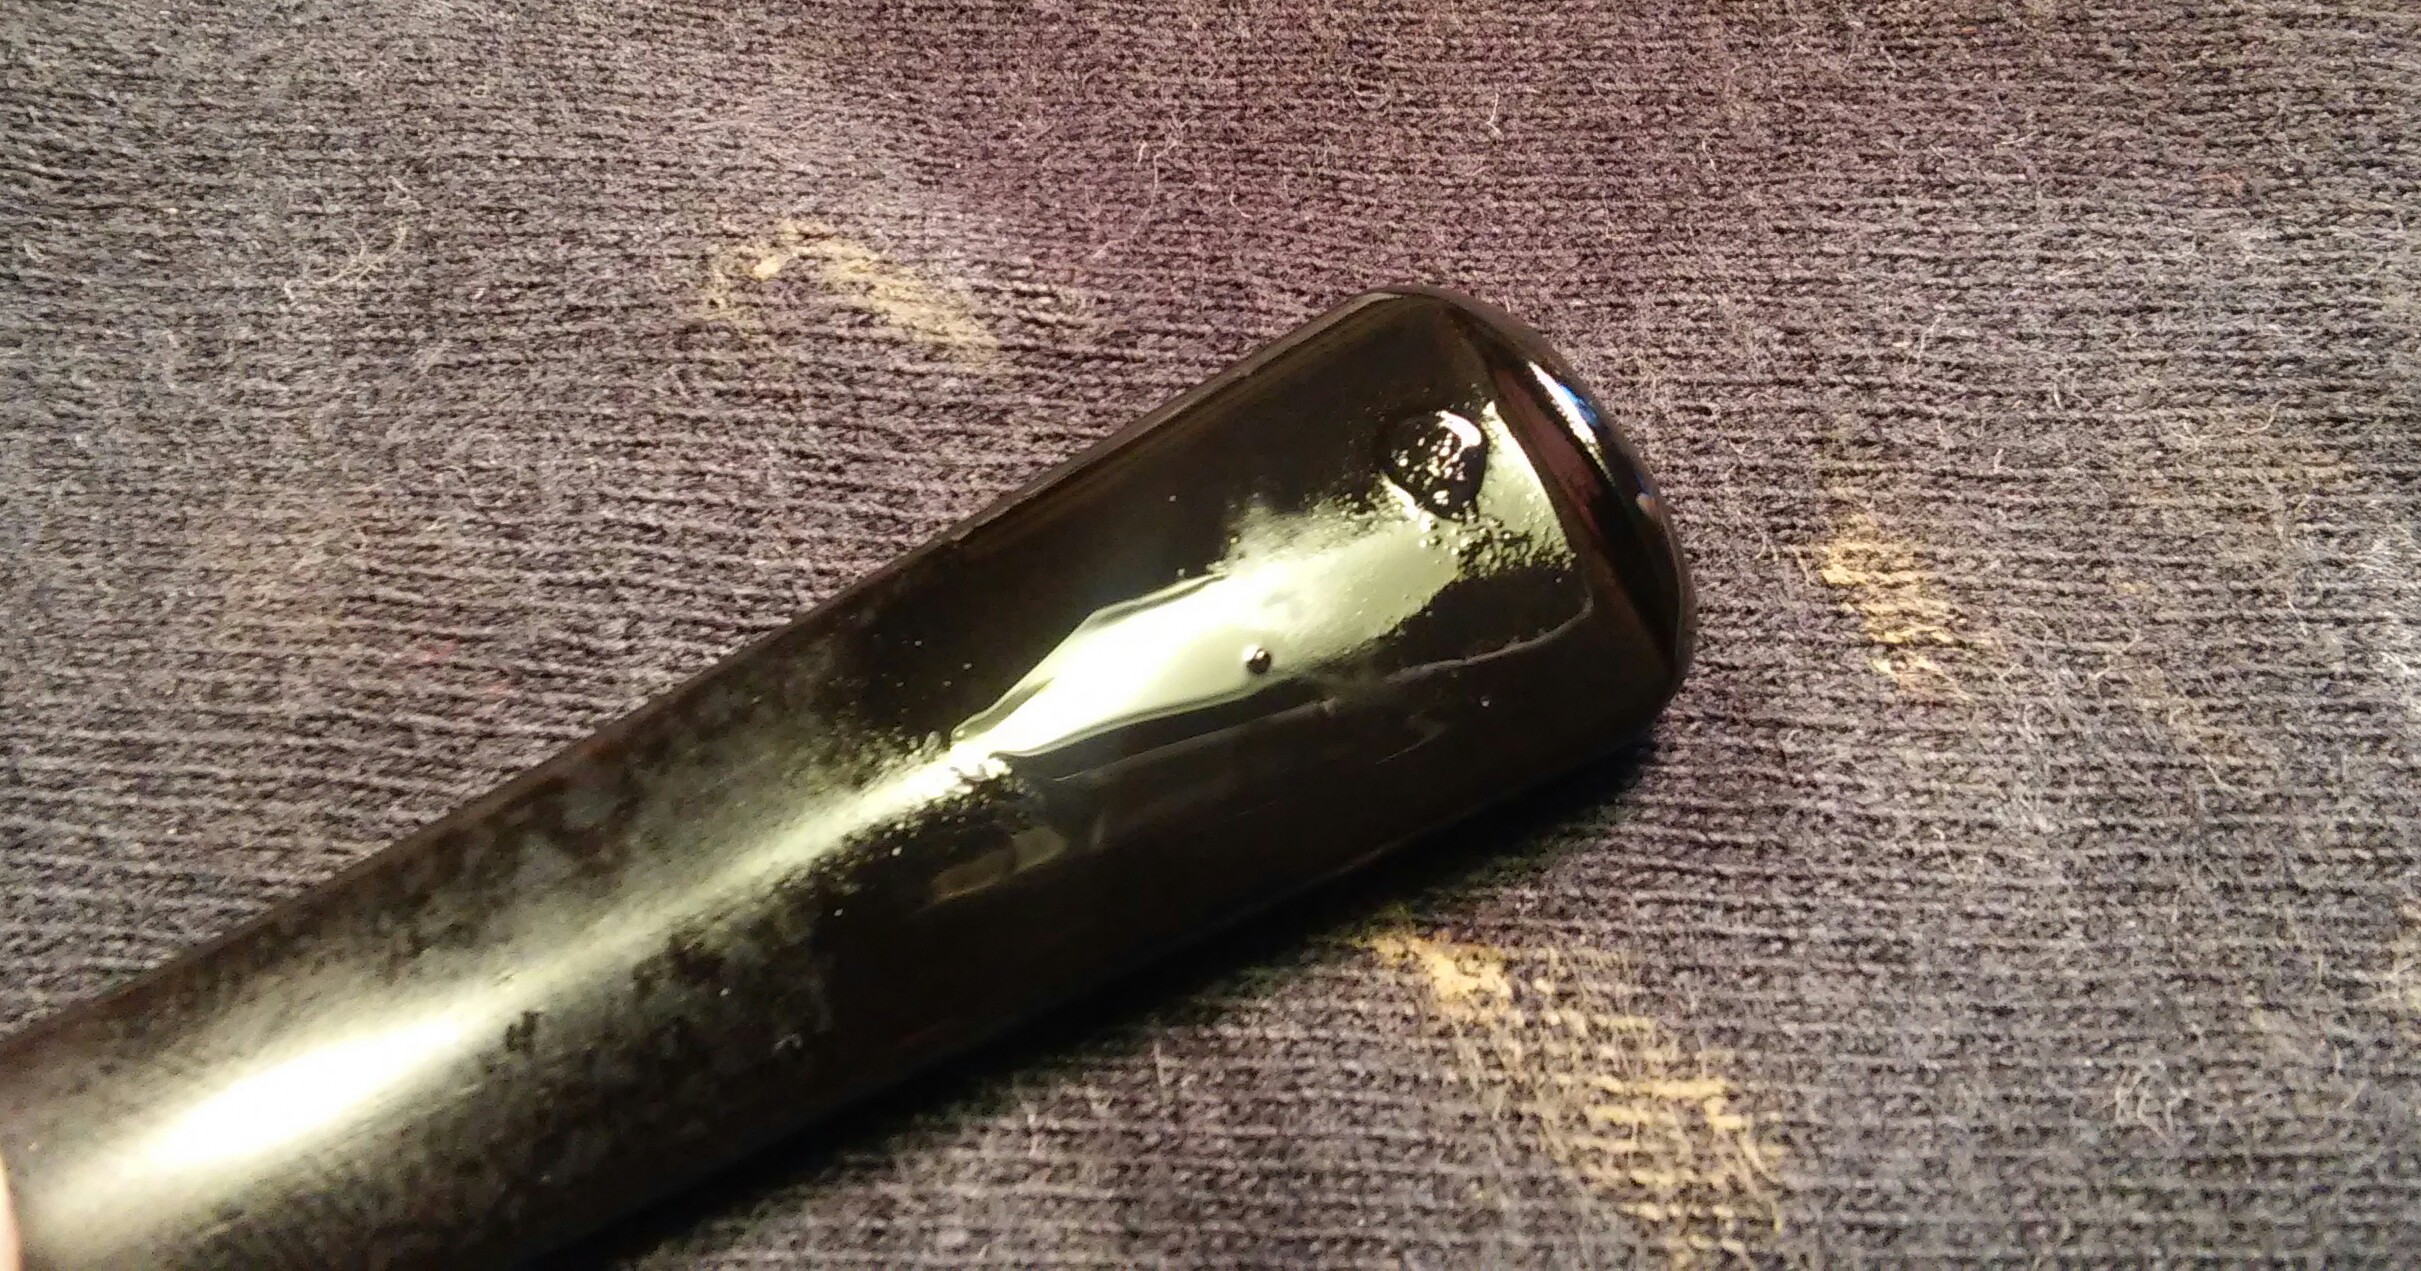
I applied Soft Scrub to the oxidized stem with a children’s toothbrush and left until the Soft Scrub turns from white to a brownish color.

Once the Soft Scrub turns from white to a brownish color its time to introduce the old elbow grease. Scrubbing vigorously with a rag until the oxidation is removed, then finishing with a damp Magic Eraser to get off the last bit of oxidation.

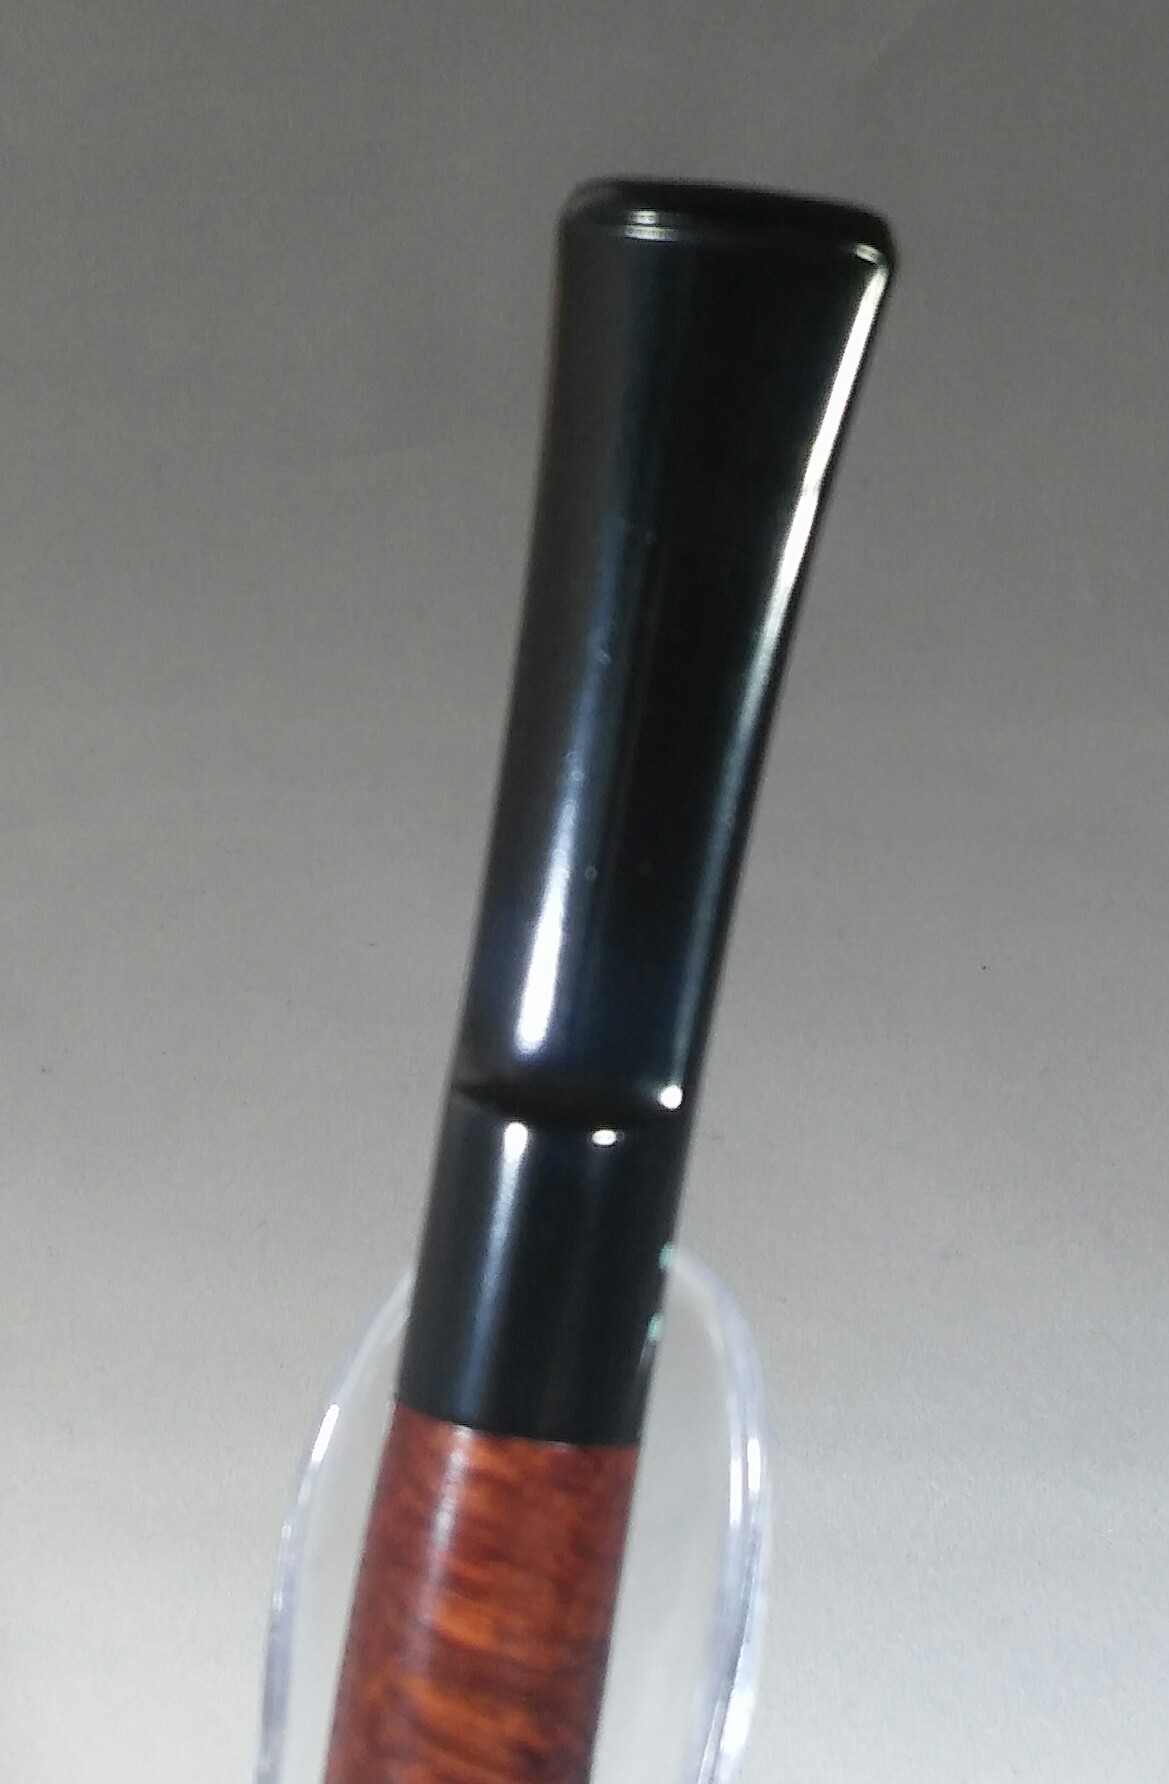
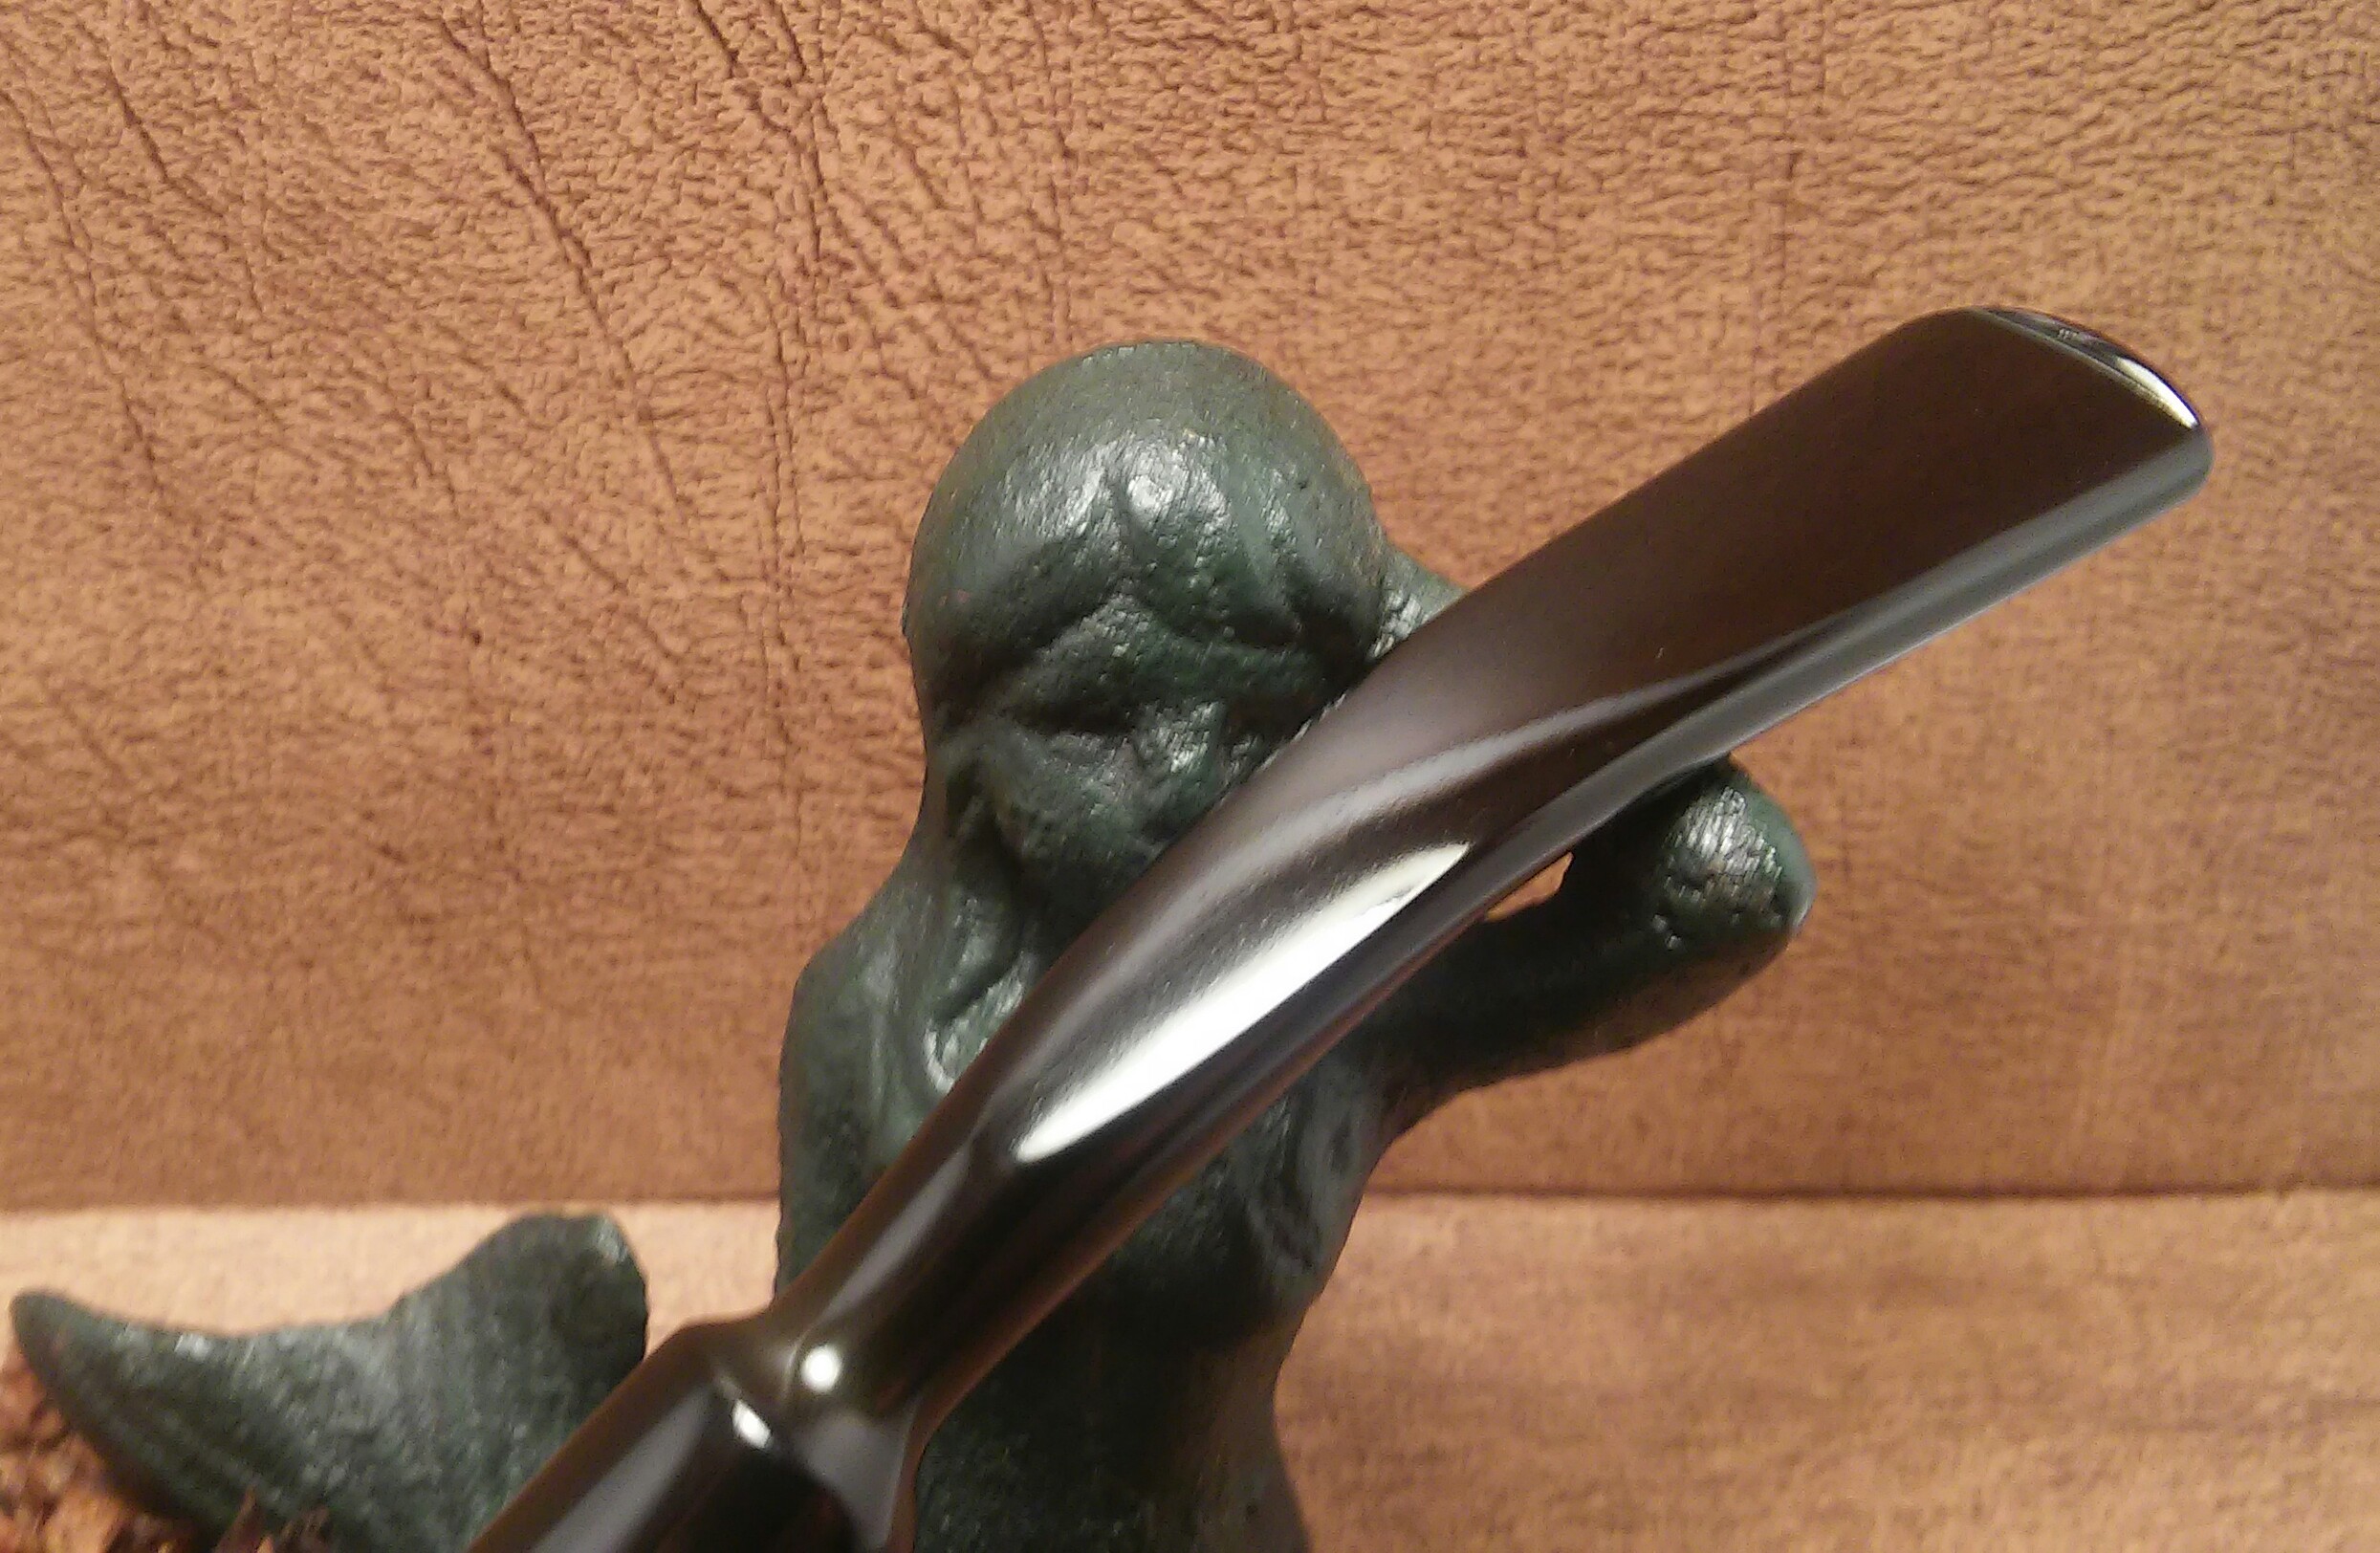
Now the chatter, I attempted to raise the chatter with heat to no avail. The Soft Scrub and Magic Eraser removed all the oxidation and the stem other then the chatter was in great shape. So I taped off the bit/button portion of the stem with blue painters tape so my work would remain in one area. I removed the impressions with 400 grit sandpaper wet and then ran the stem through the various grits of sandpaper and micro-mesh 1000-2400 wet, then 3200-6000 dry. I removed the painters tape before sanding with the last two micro-mesh pads and sanded the entire stem with 8000 and 12000 dry to shine it up before buffing.


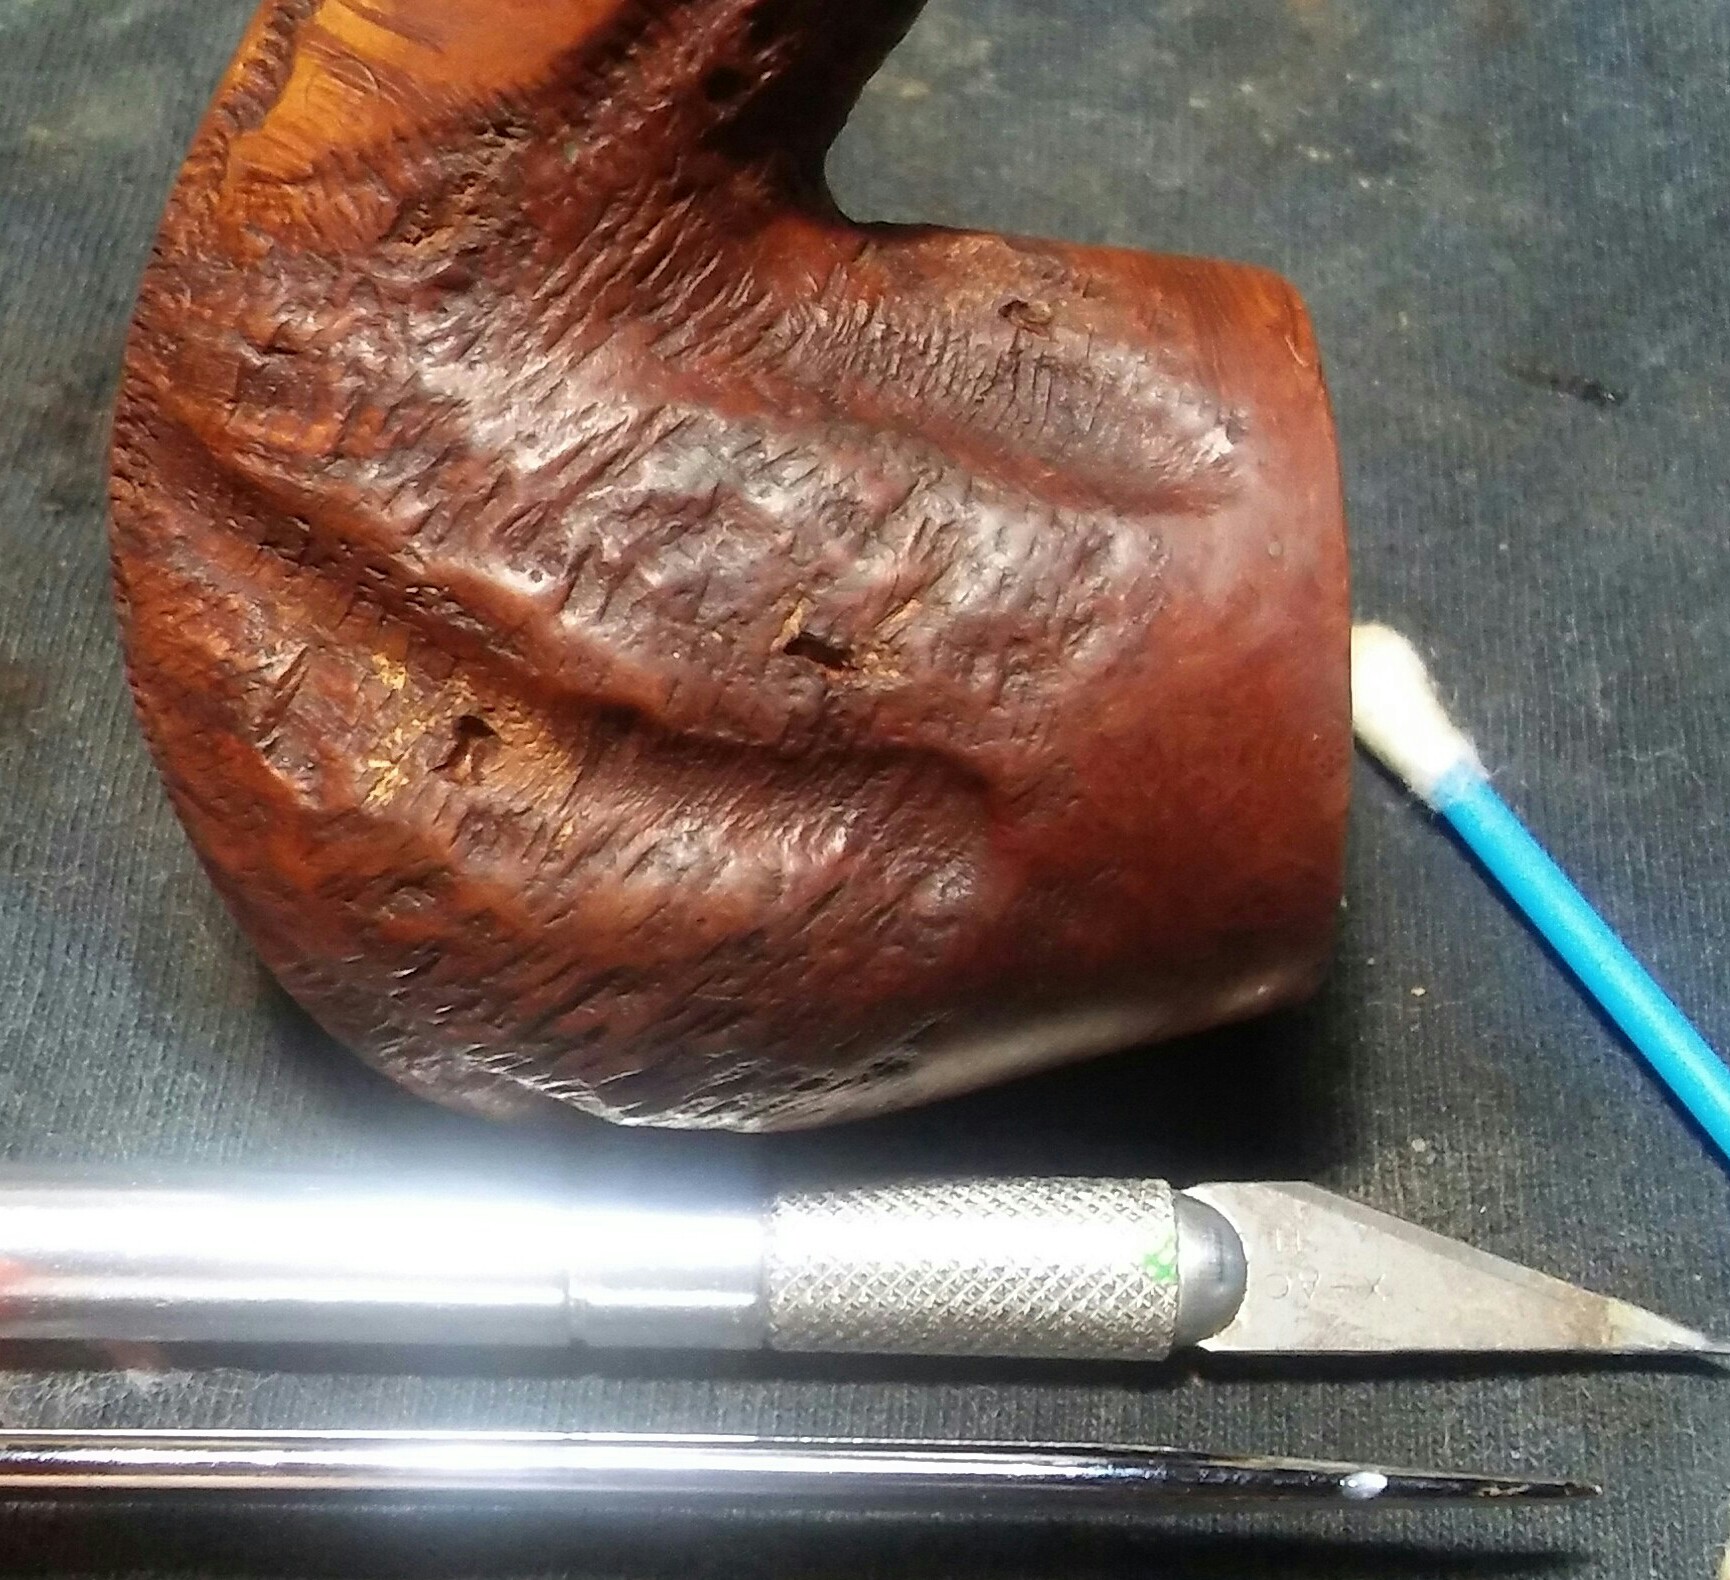
Its hard to see in the photos but there were a few dings in the rim. Using a hot iron and damp rag I steamed out the imperfections.
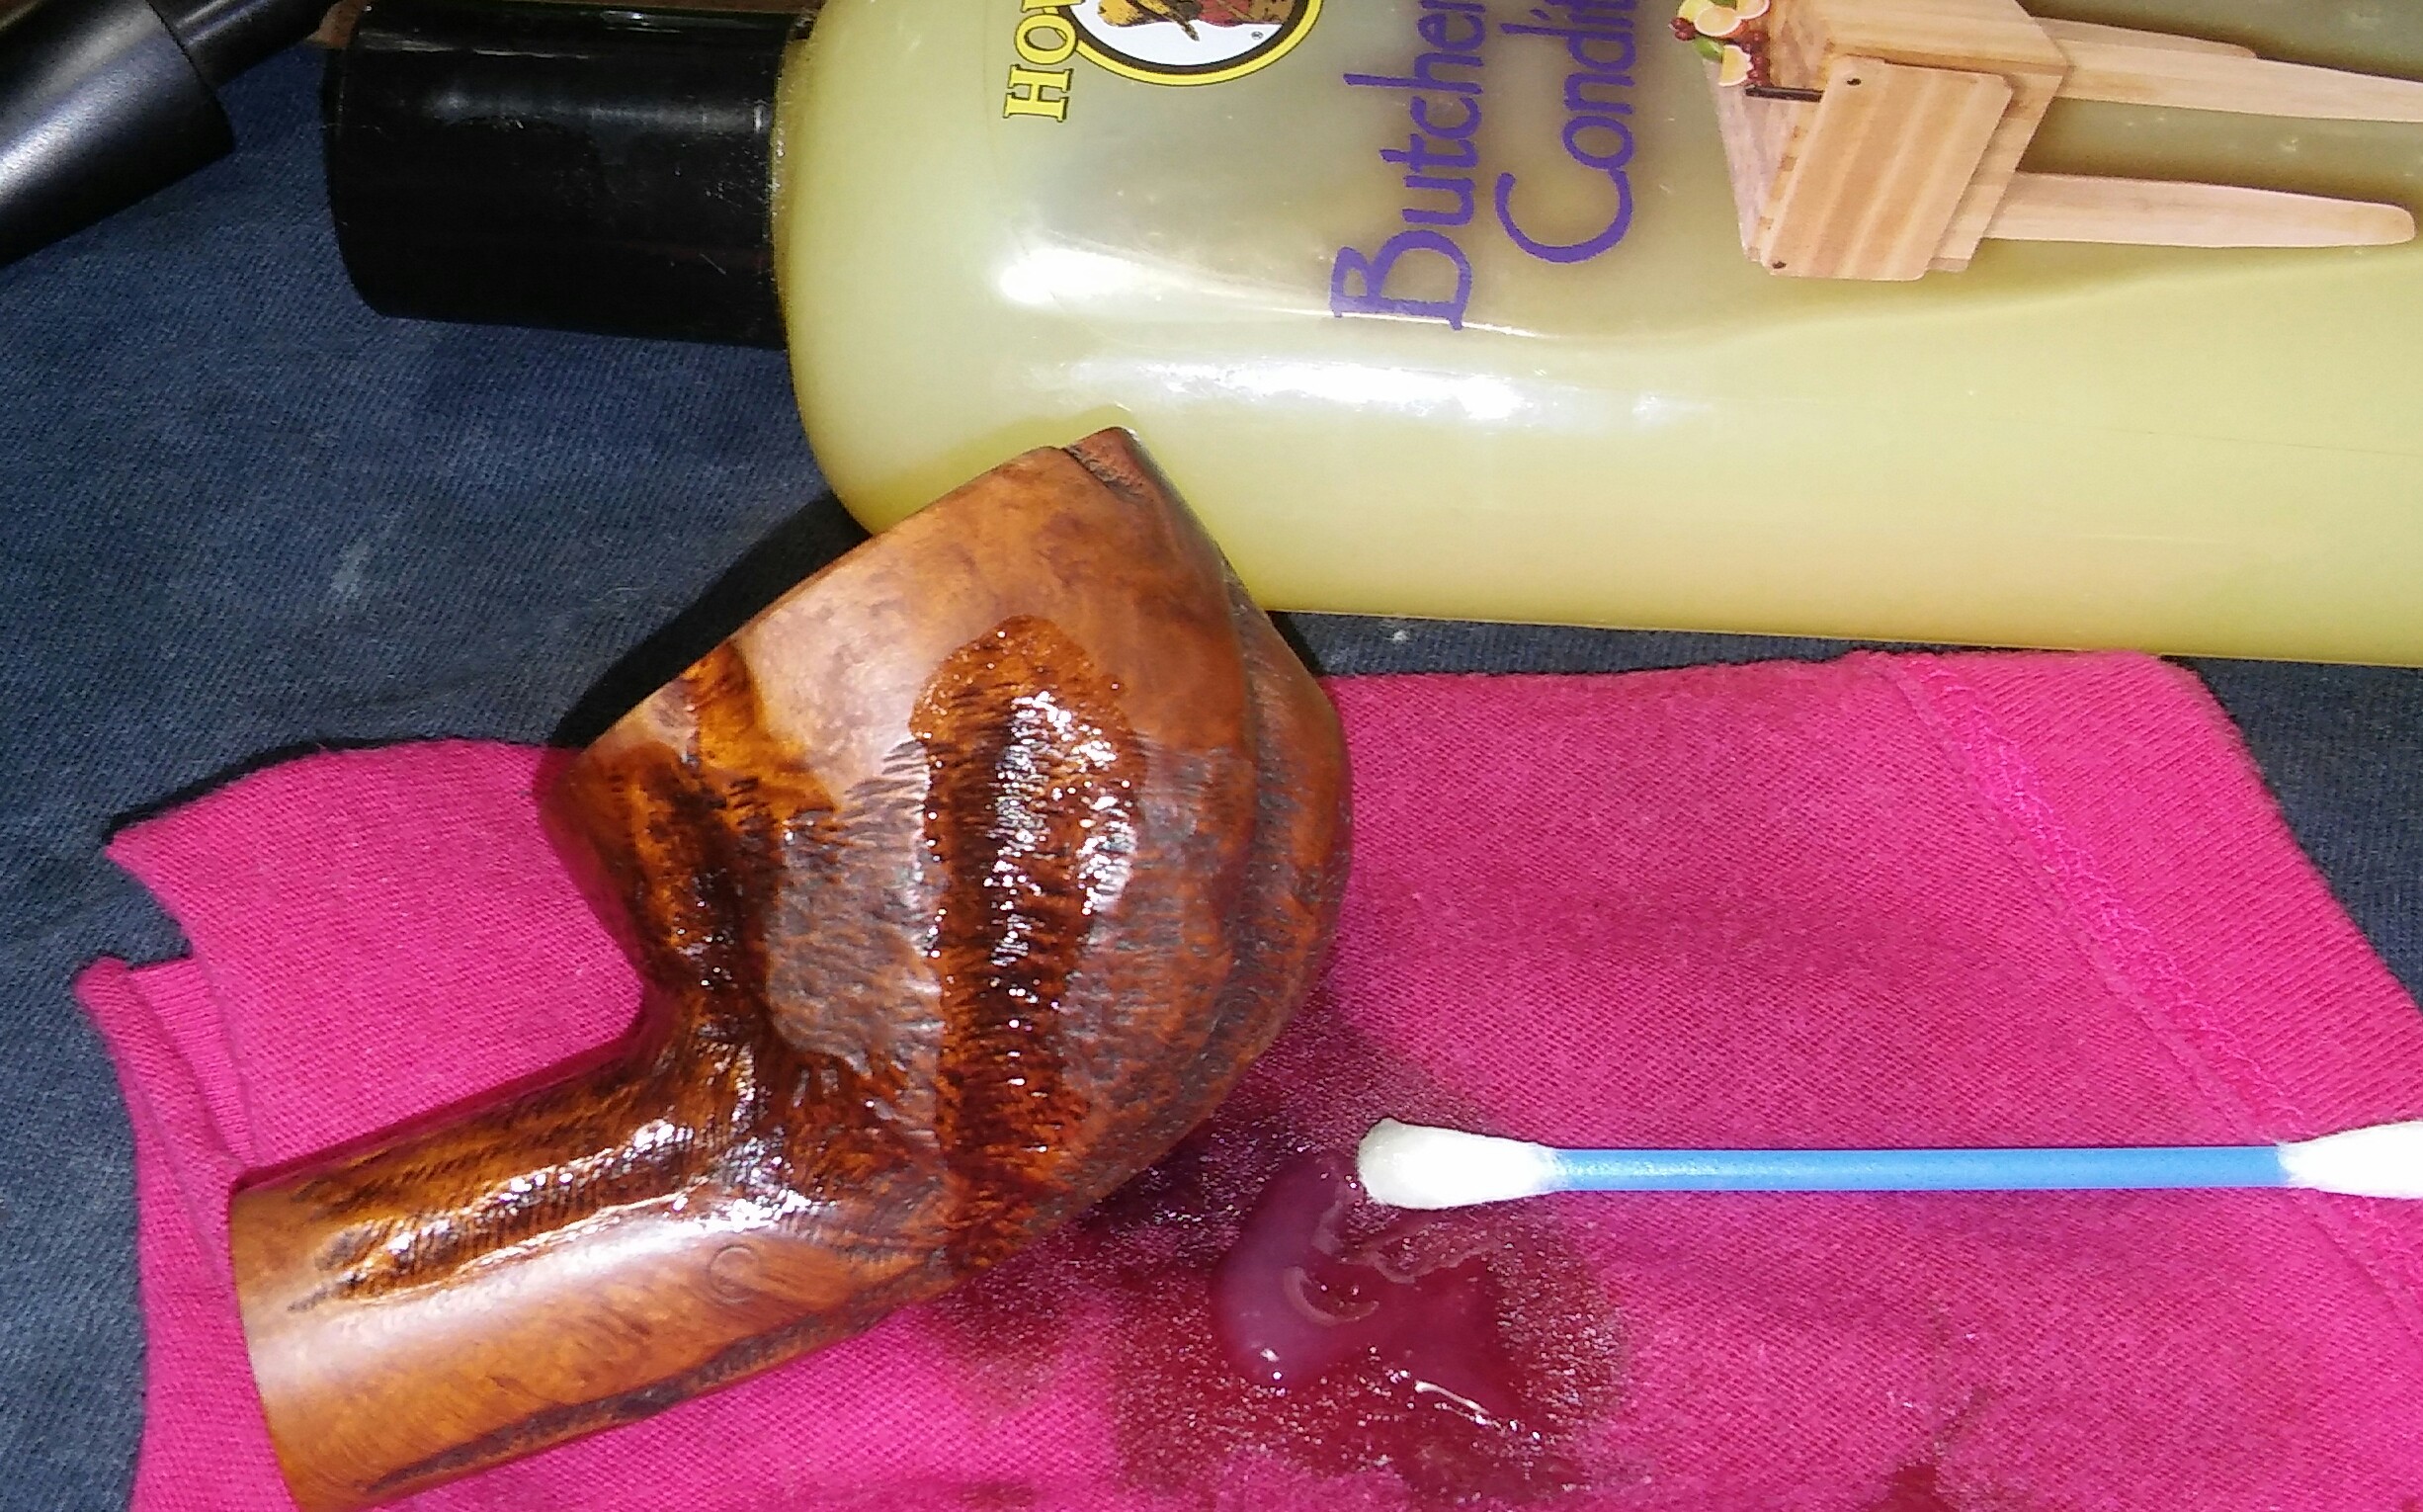
Just before hitting the wheel I wiped down the stummel with Method polish and let dry.
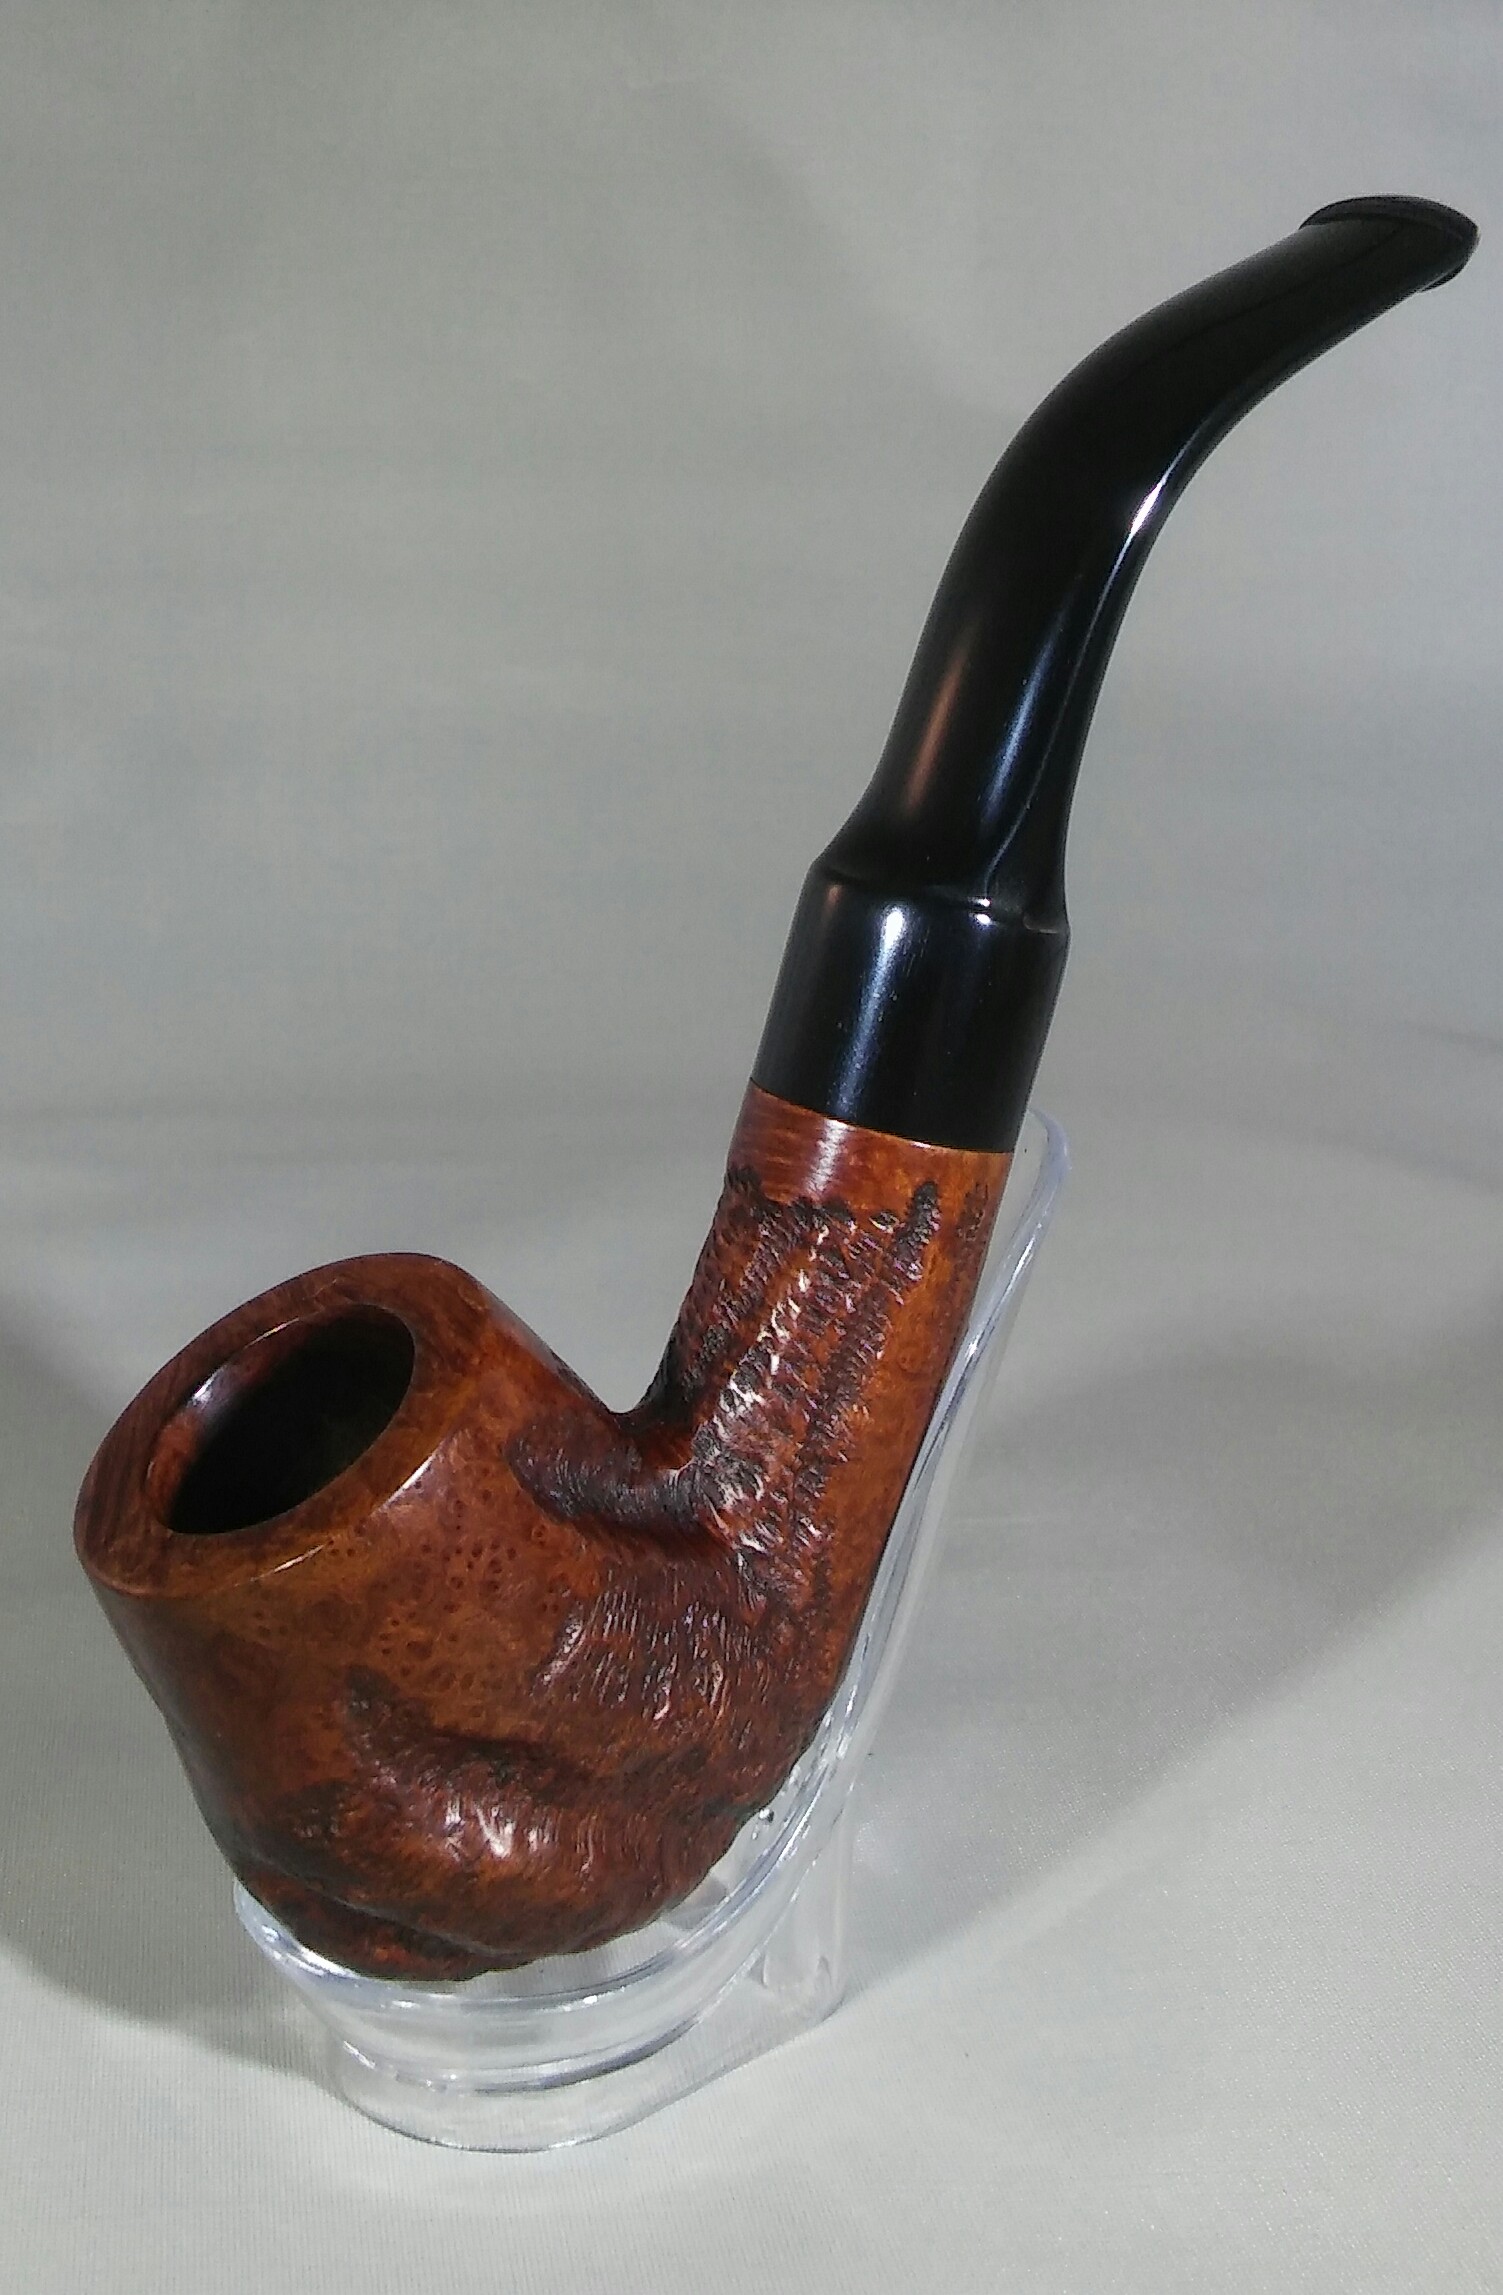
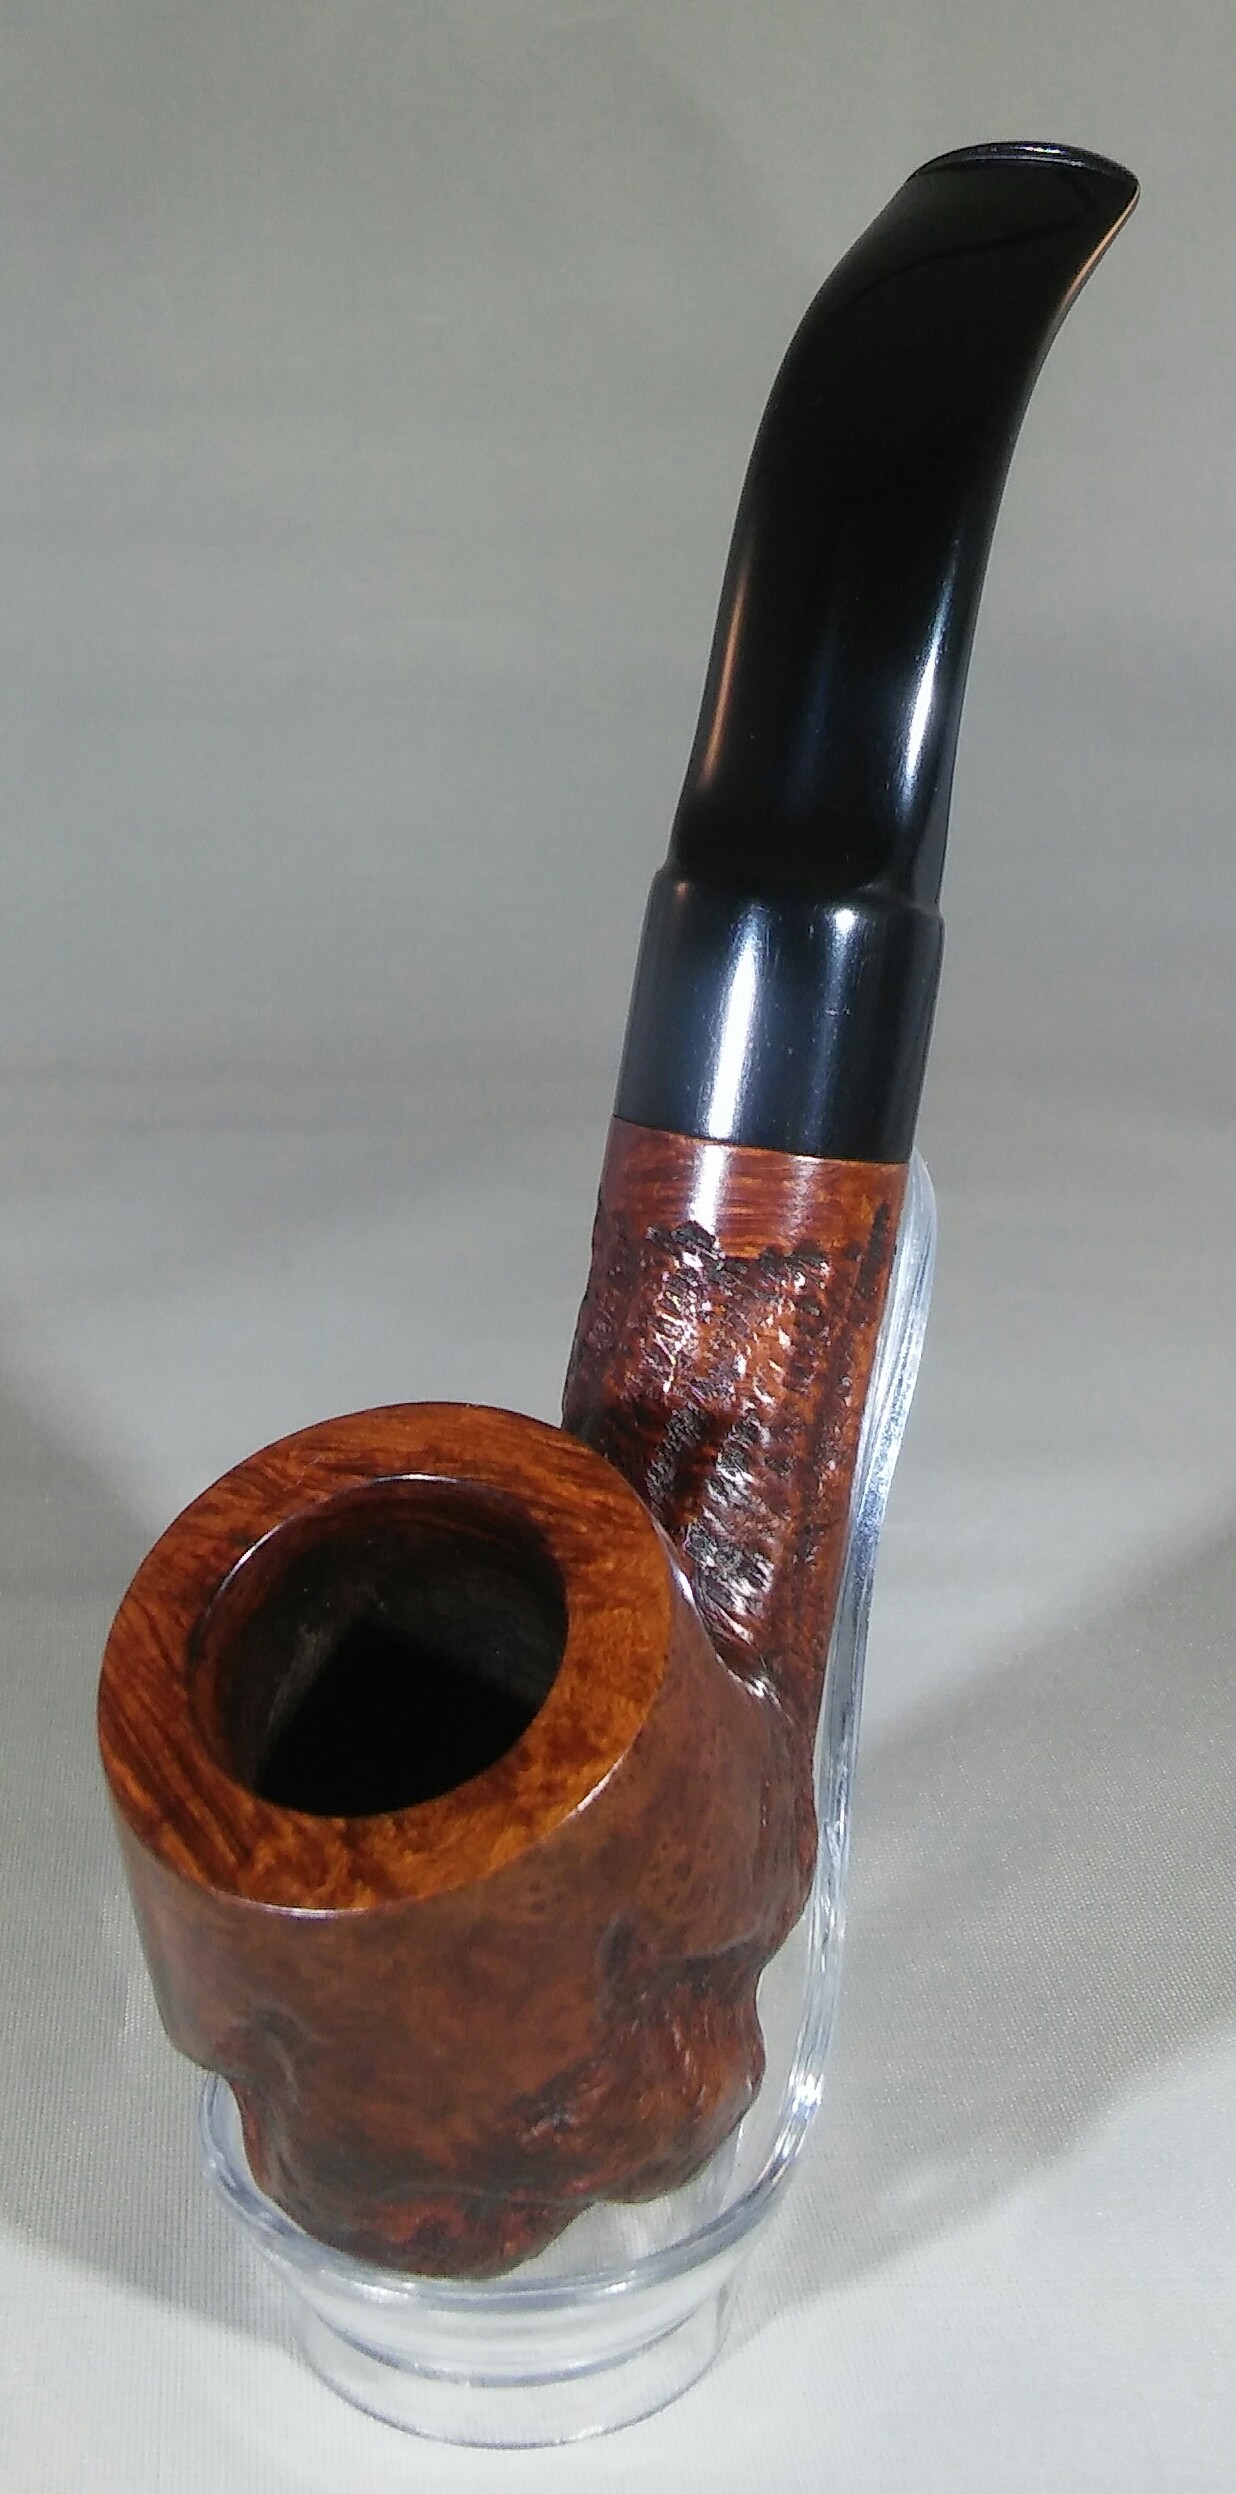
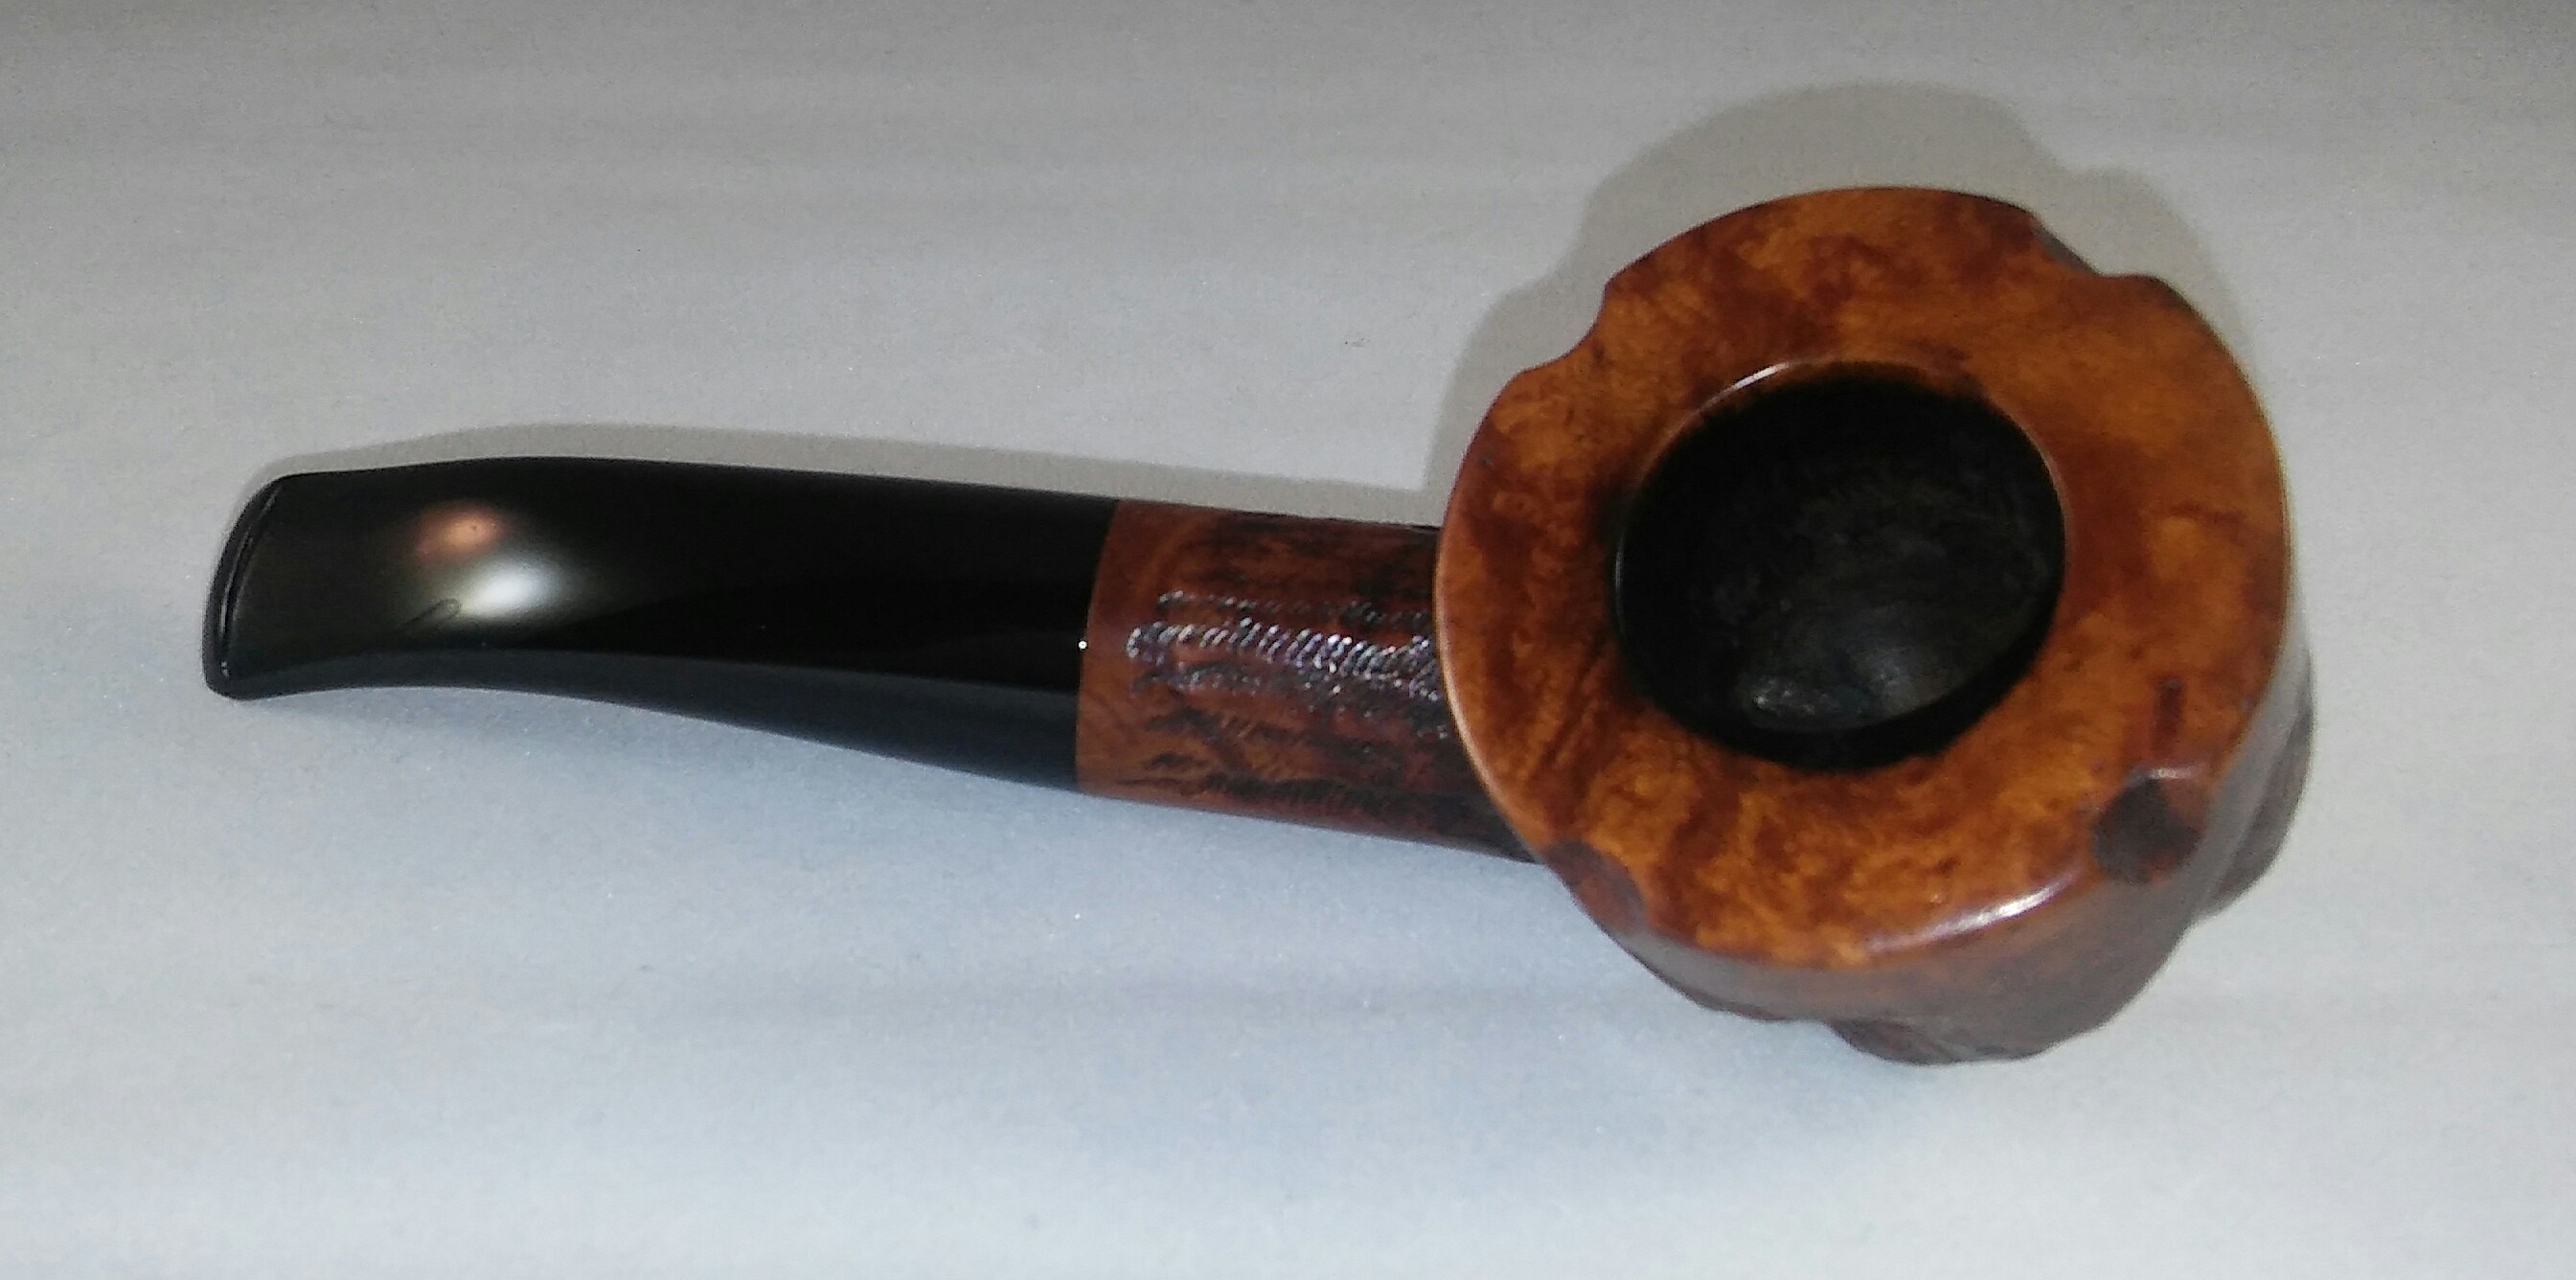
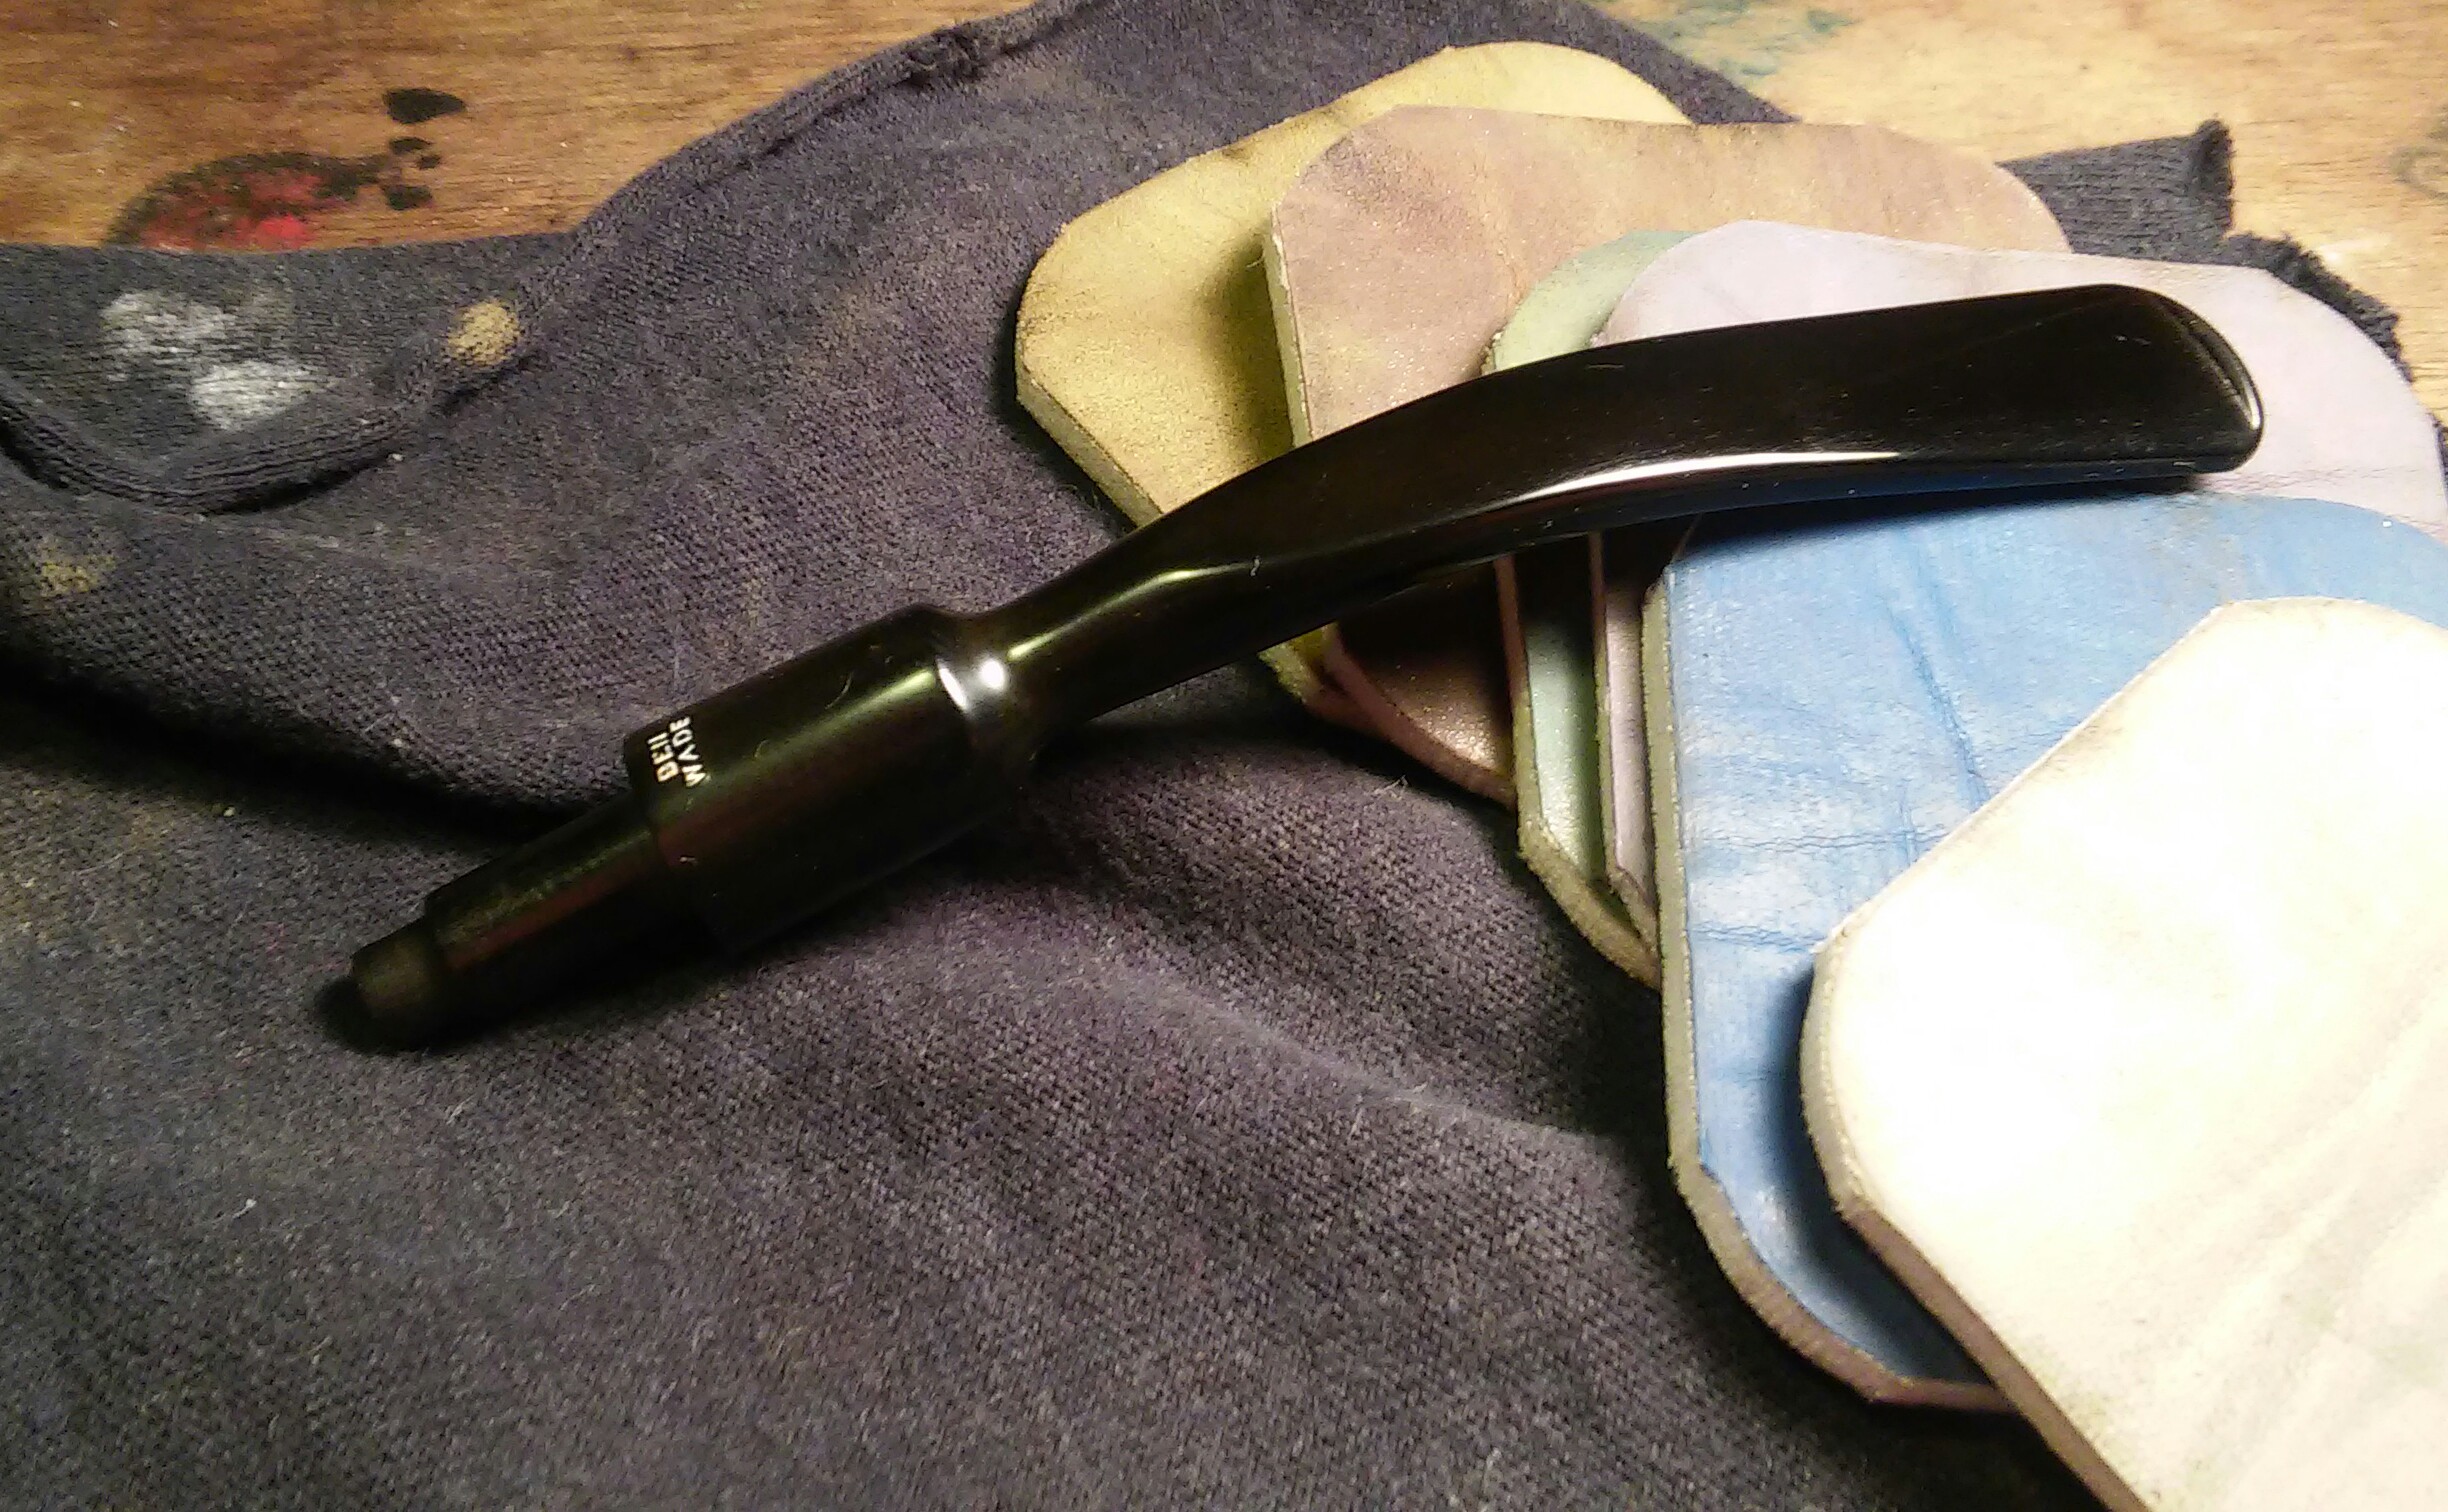
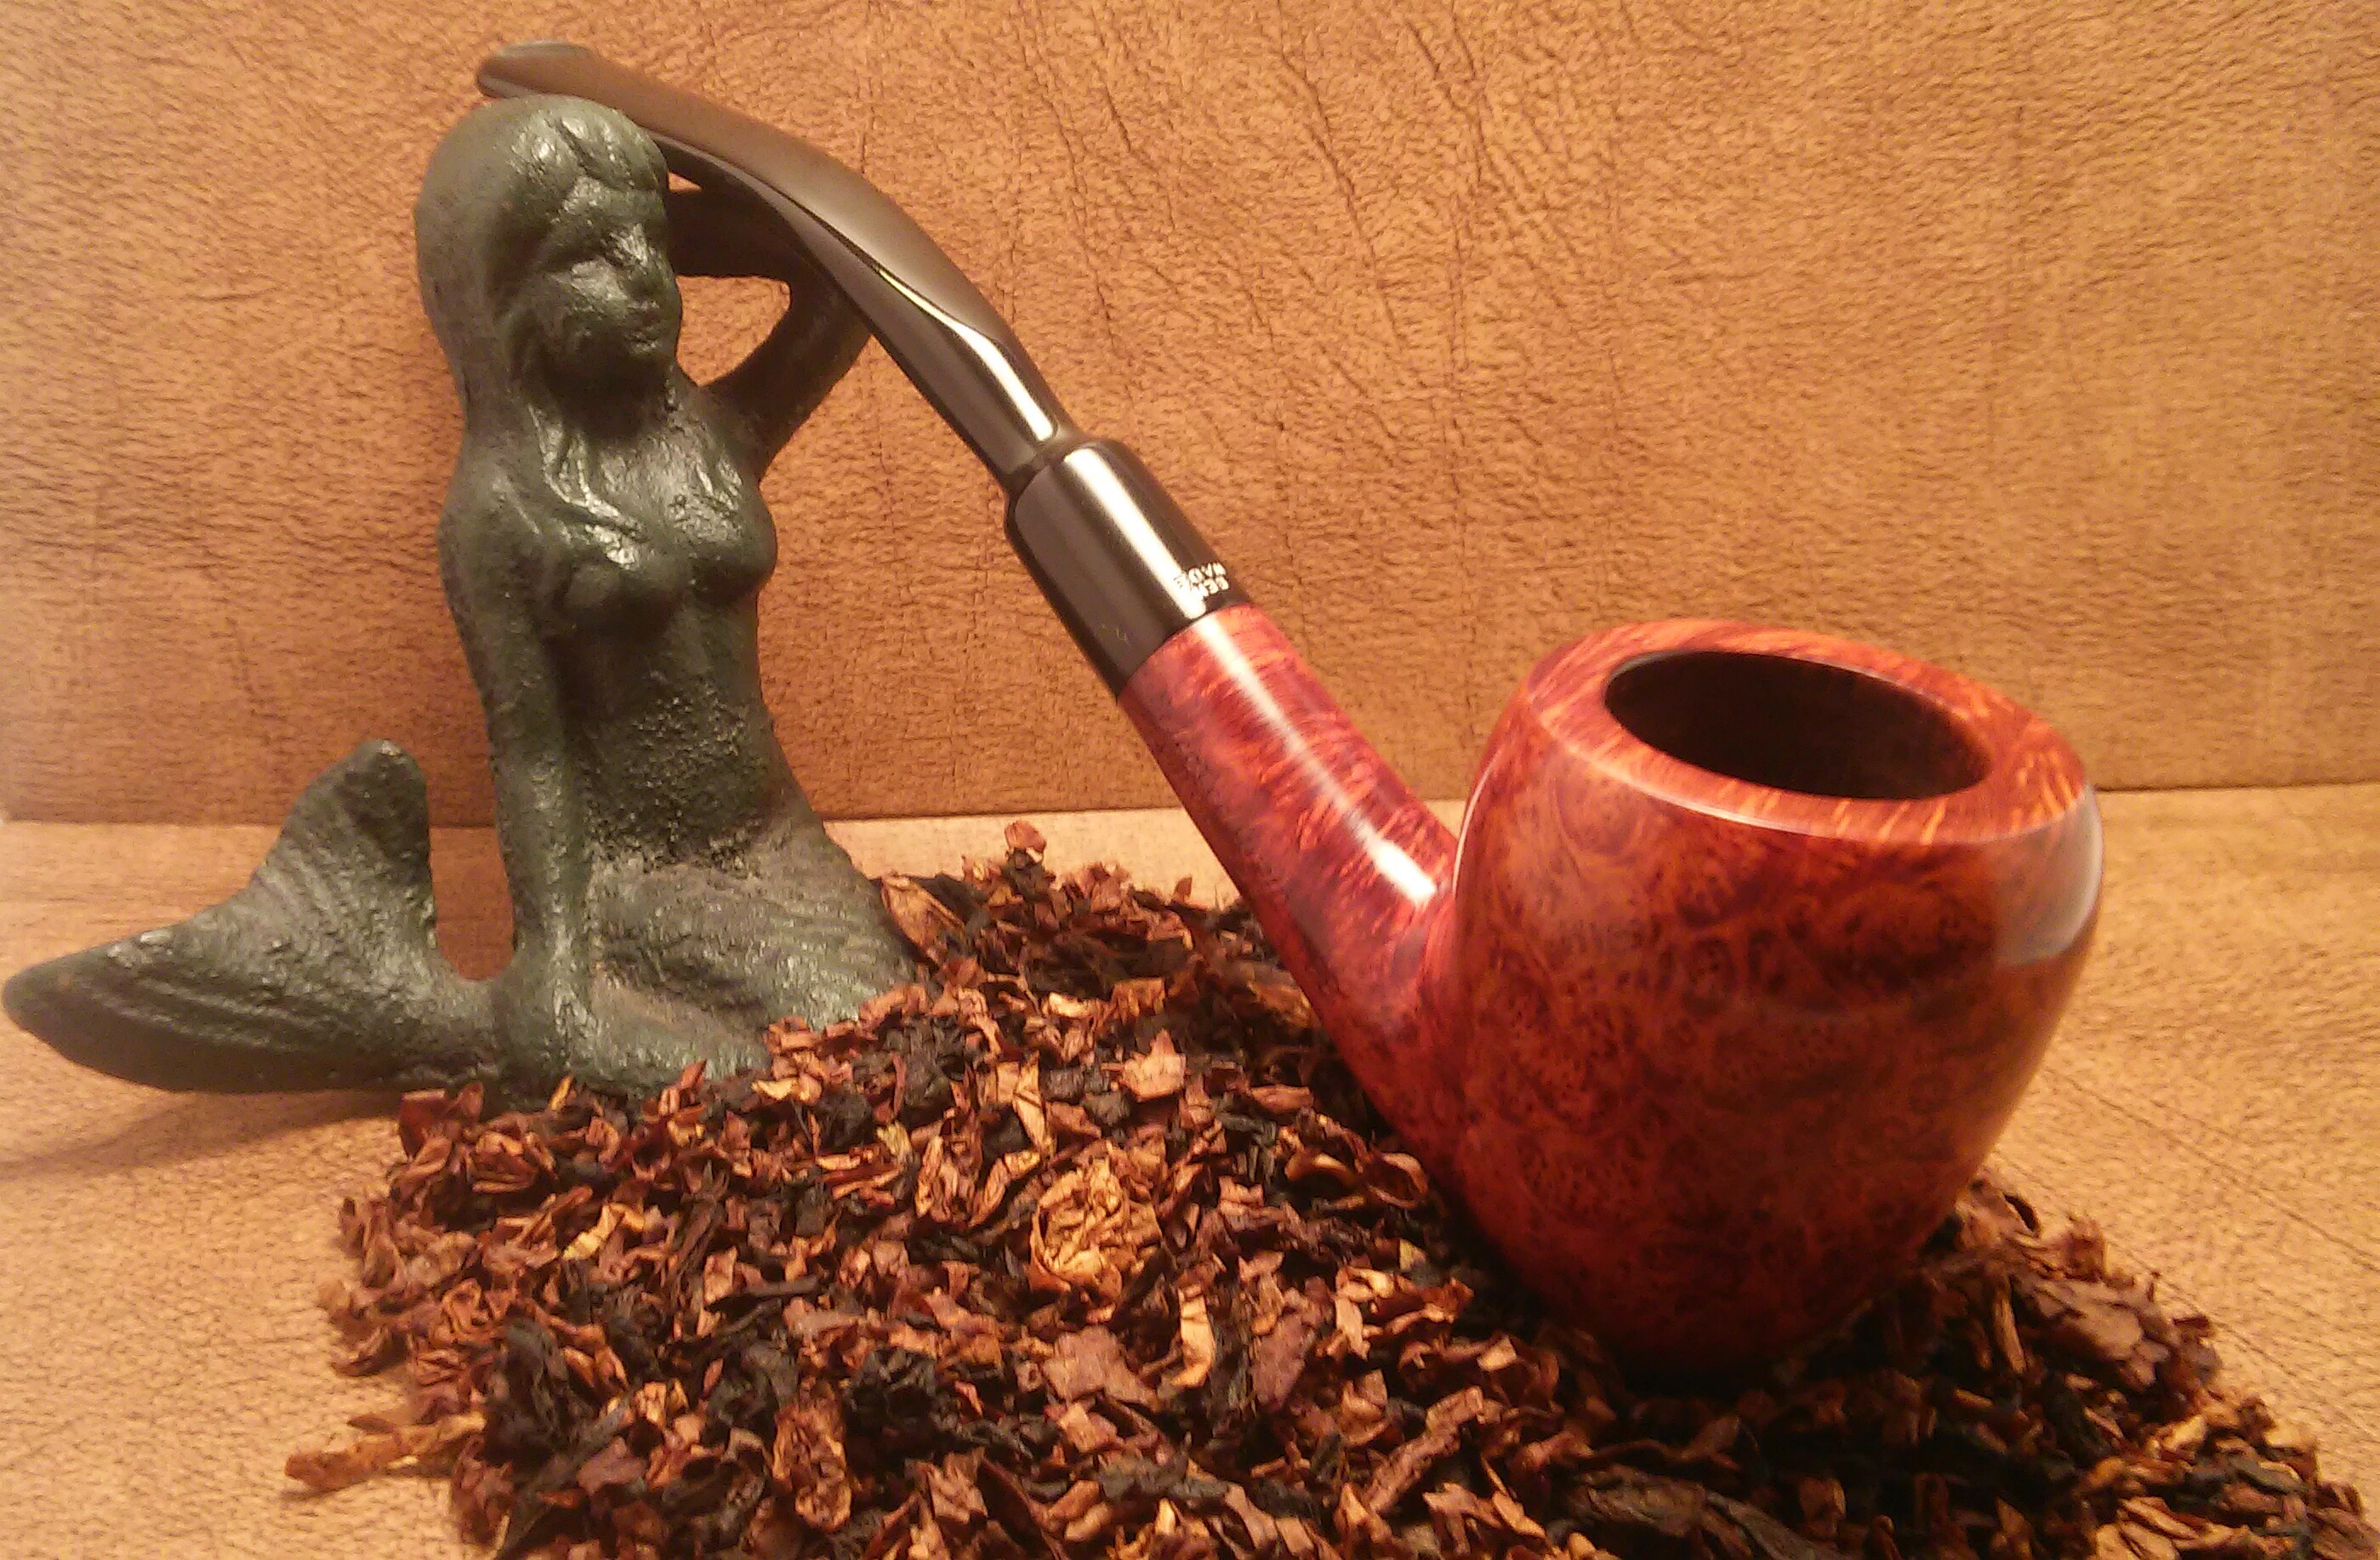
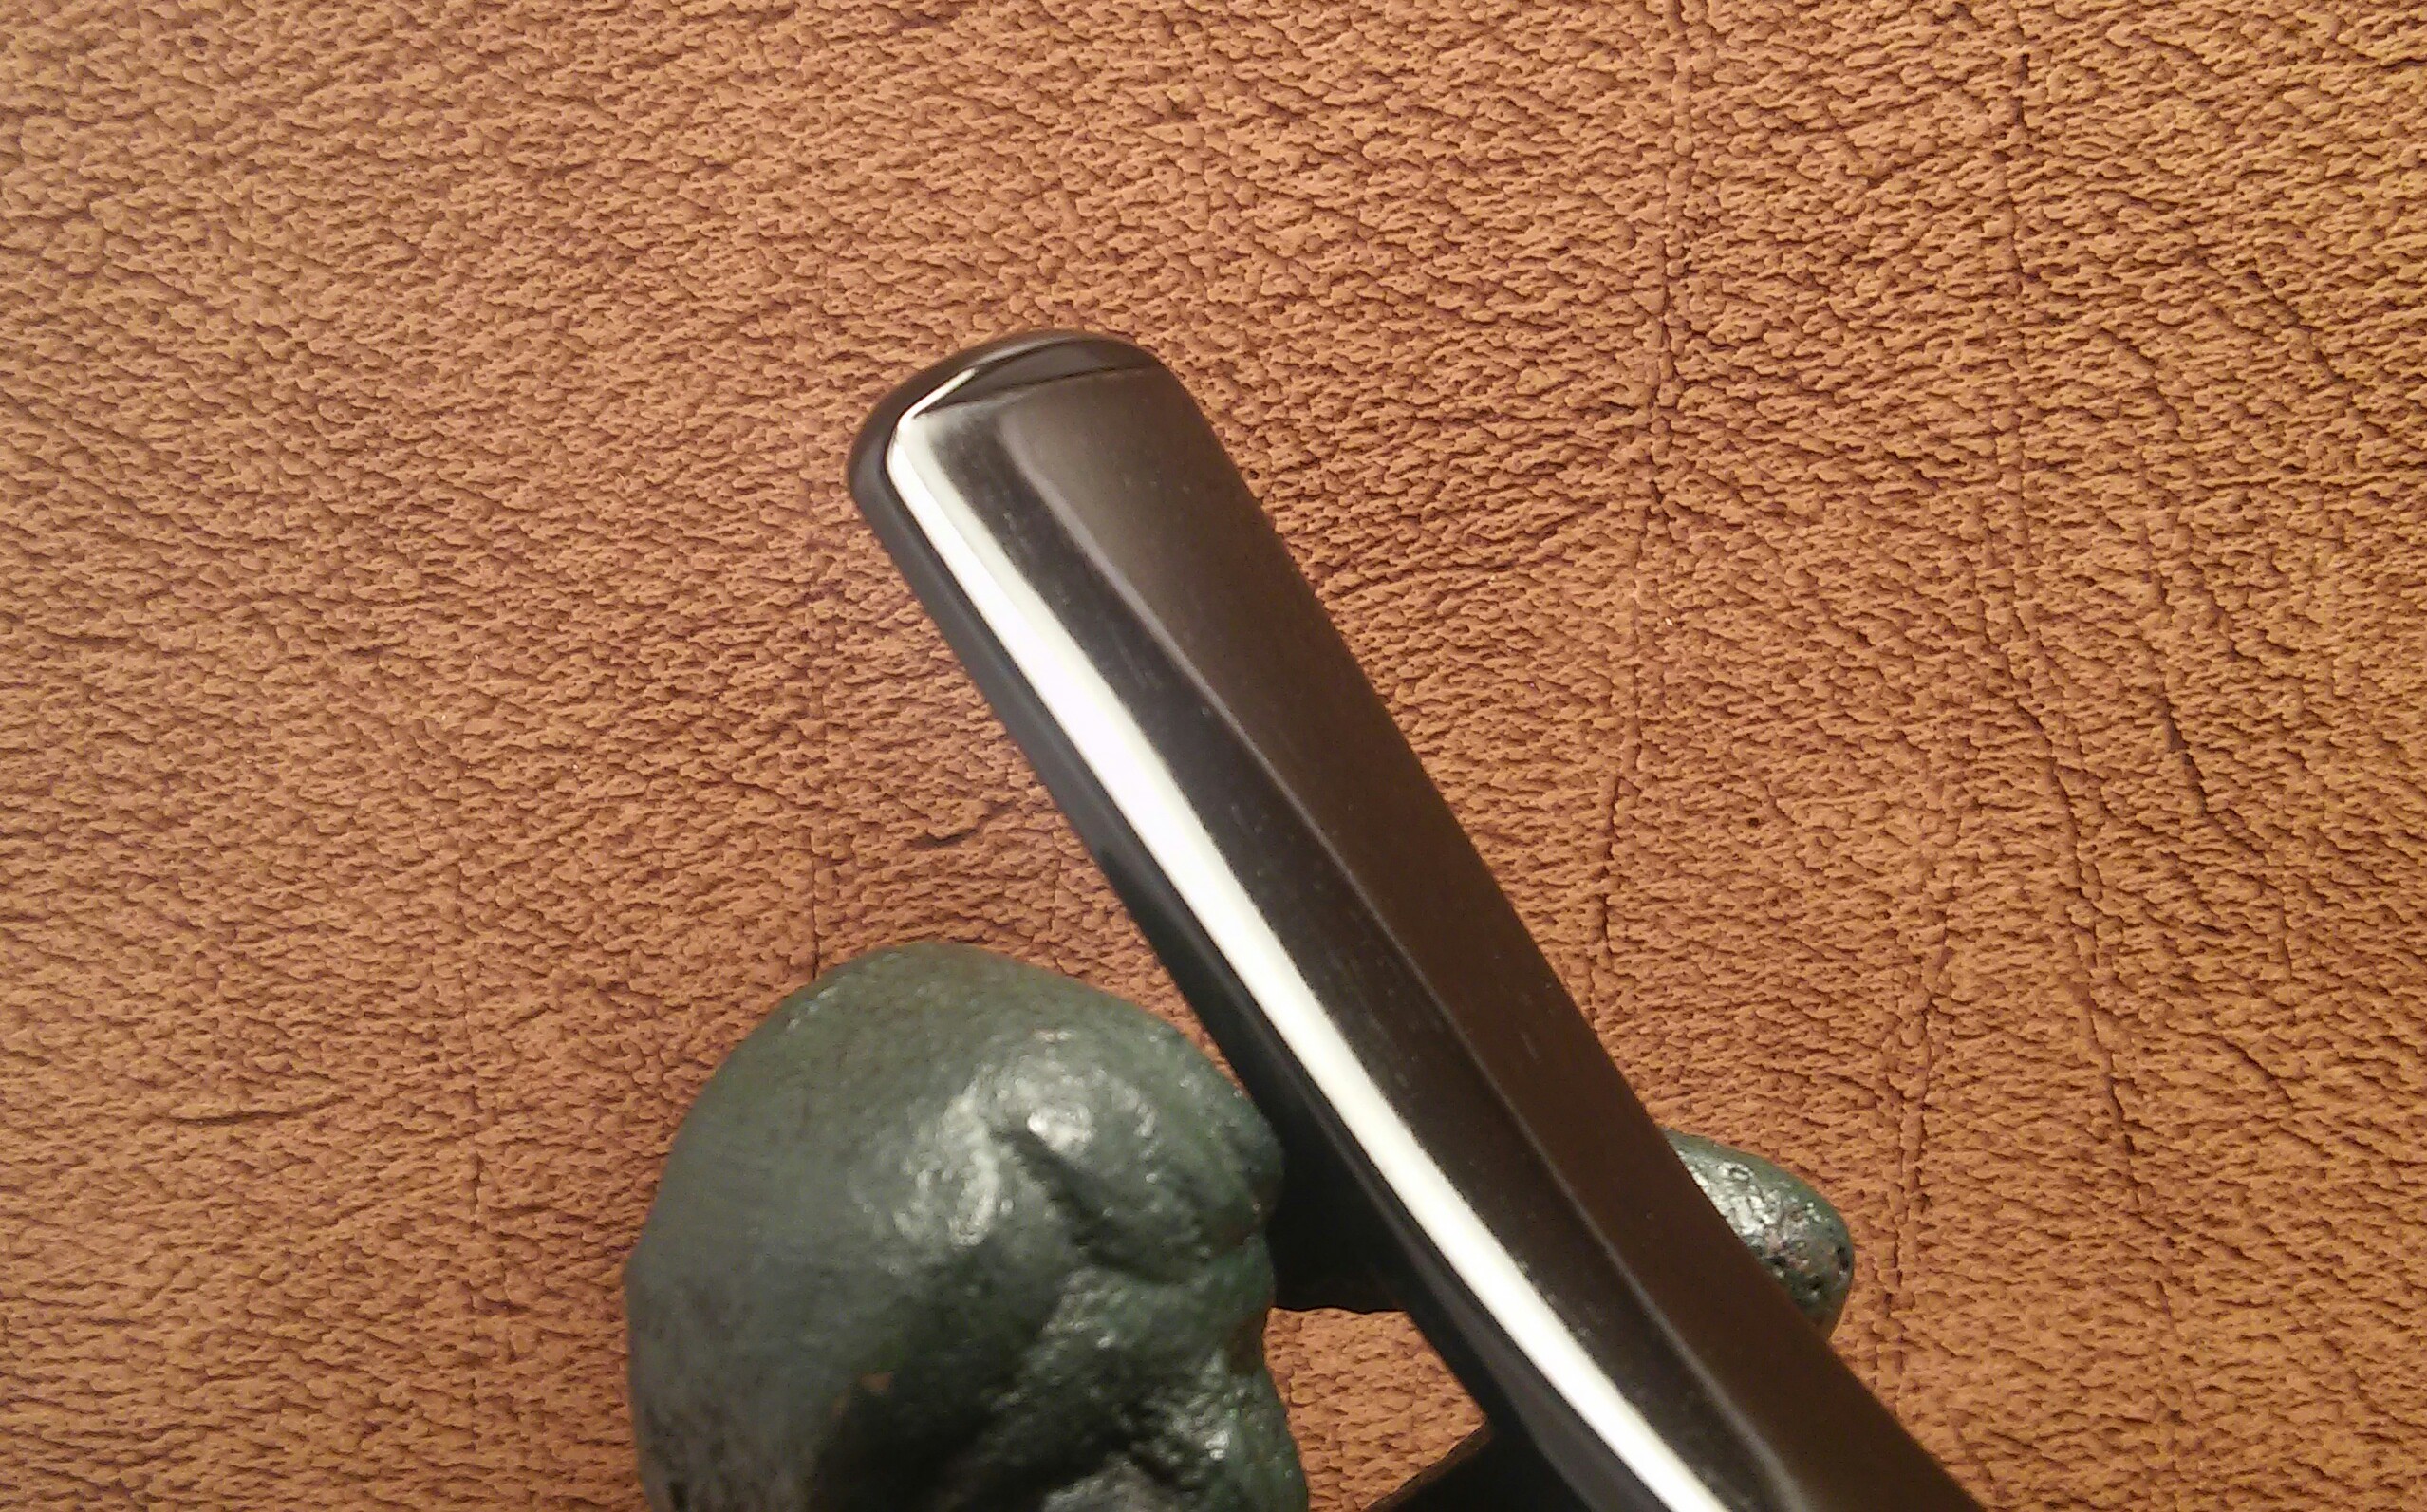
Complete


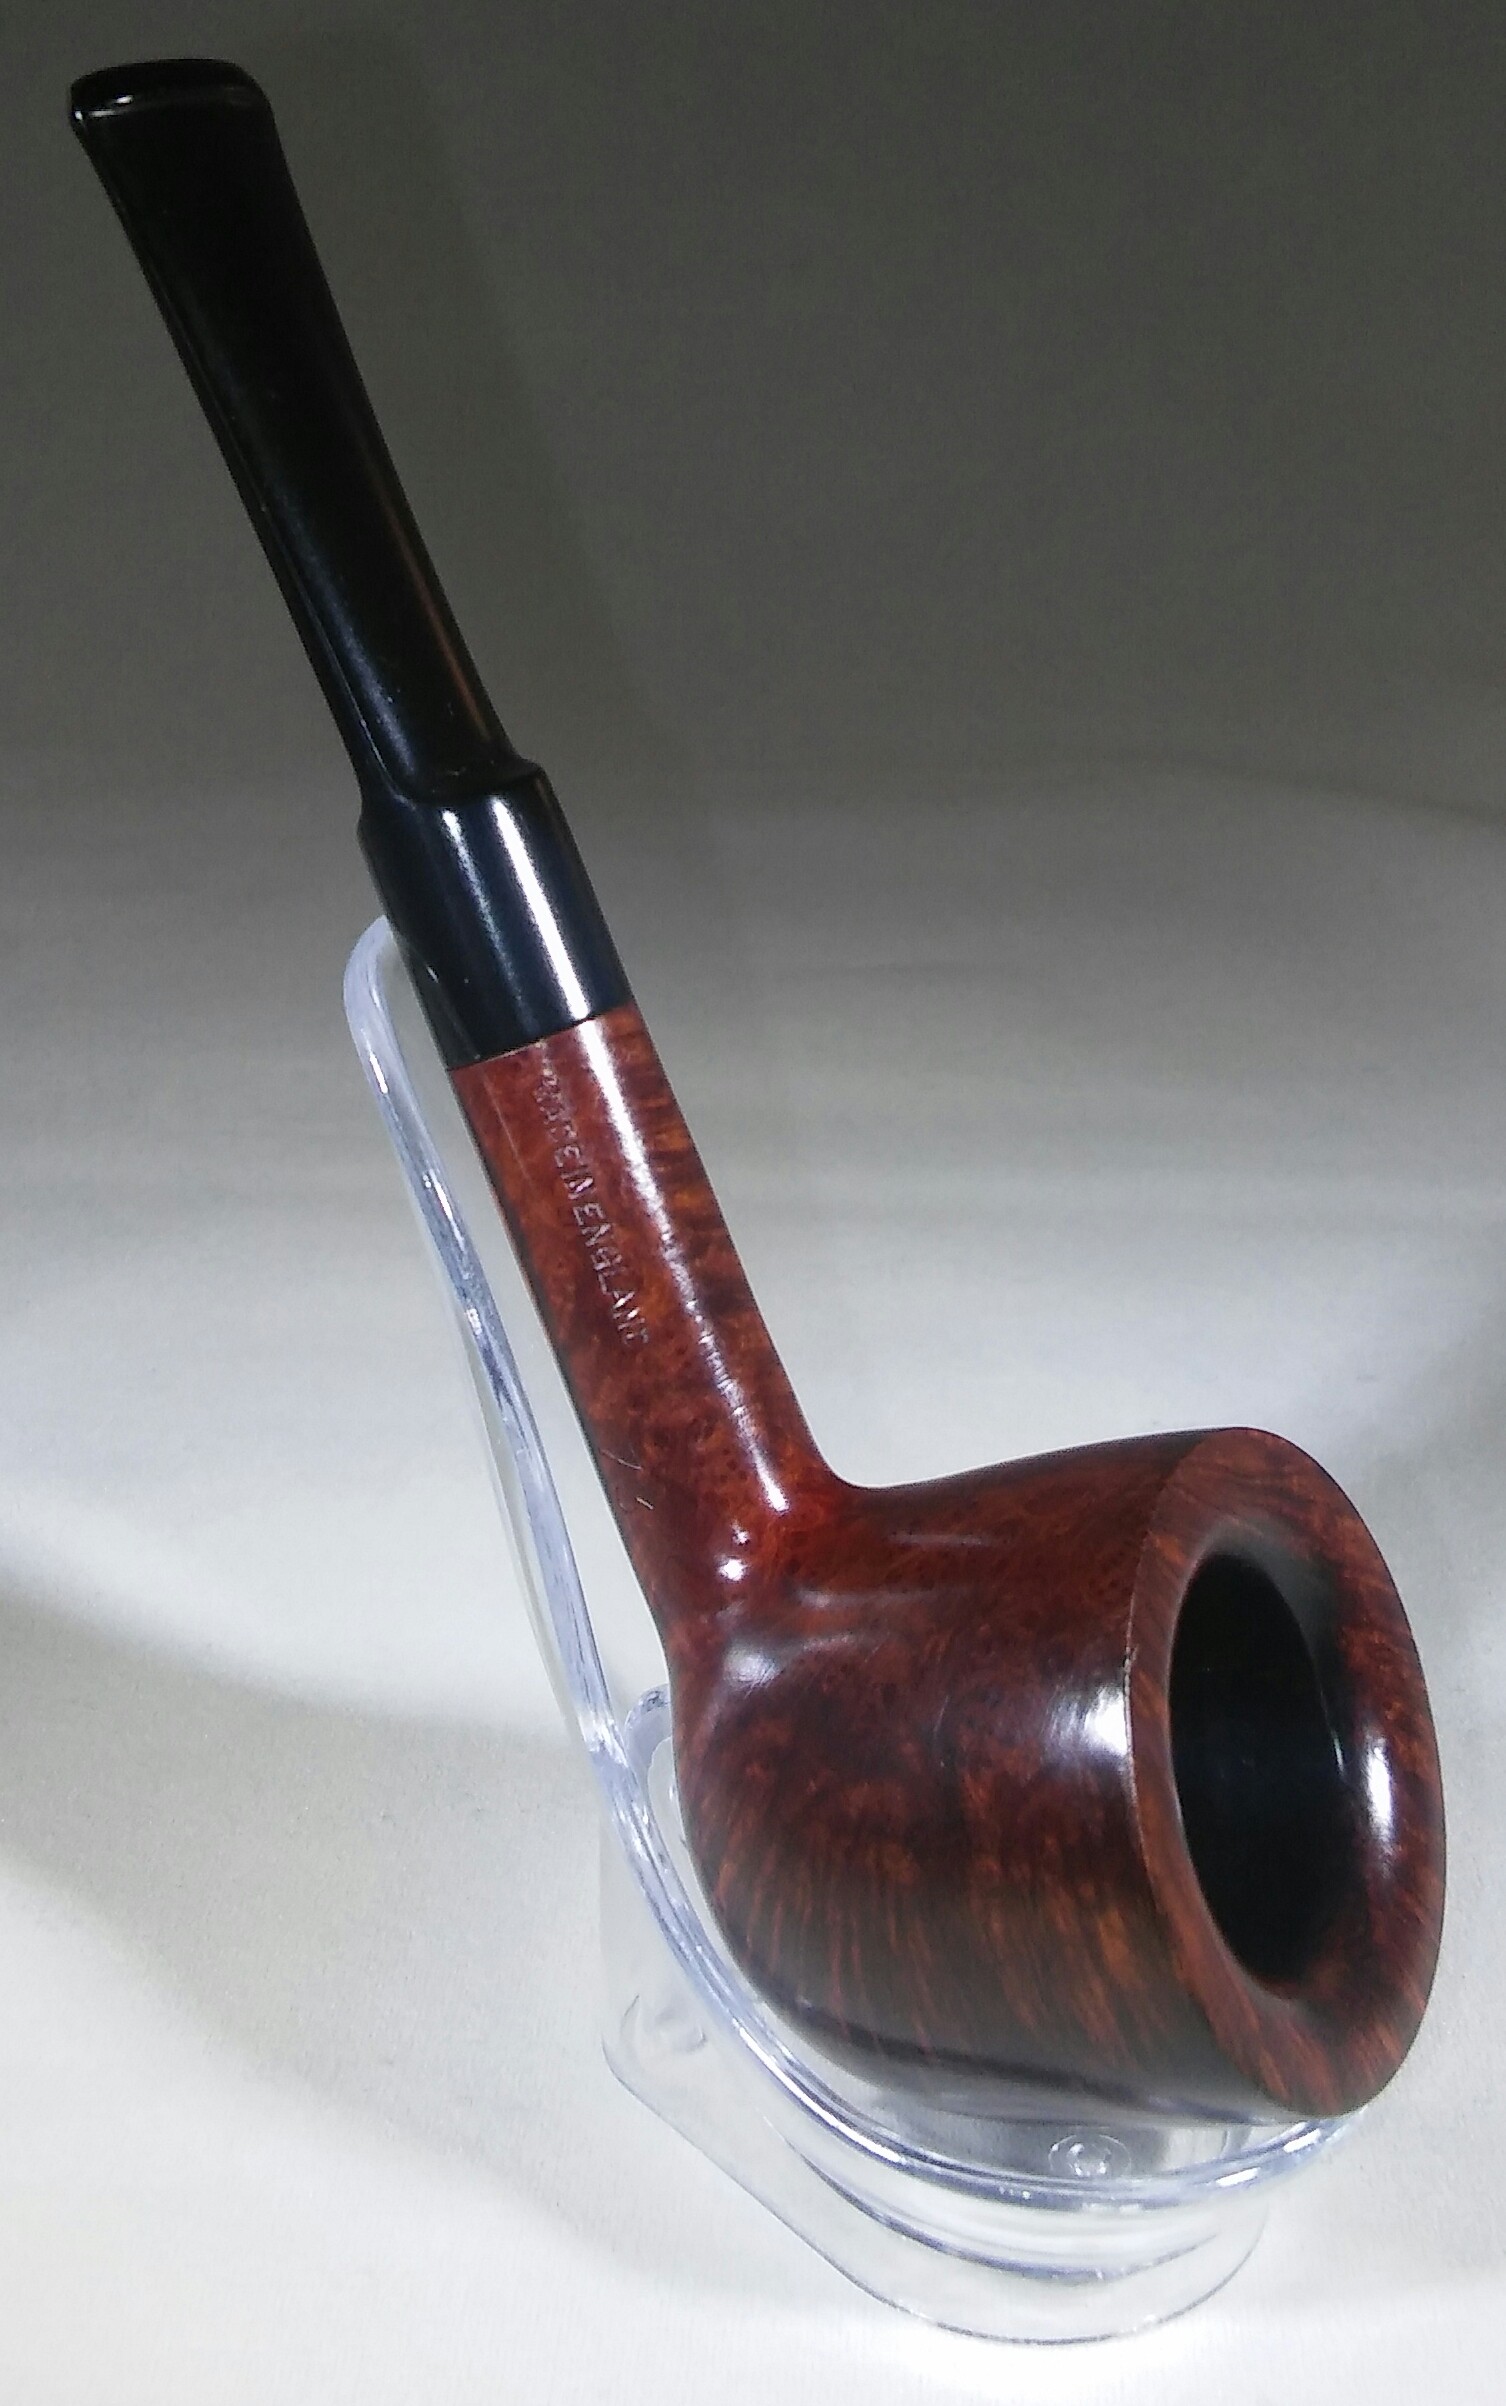

Finished her up on the wheel with white diamond, a few coats of carnauba and a microfiber hand buff. I buffed the inner tube with black emery compound.


You must be logged in to post a comment.