


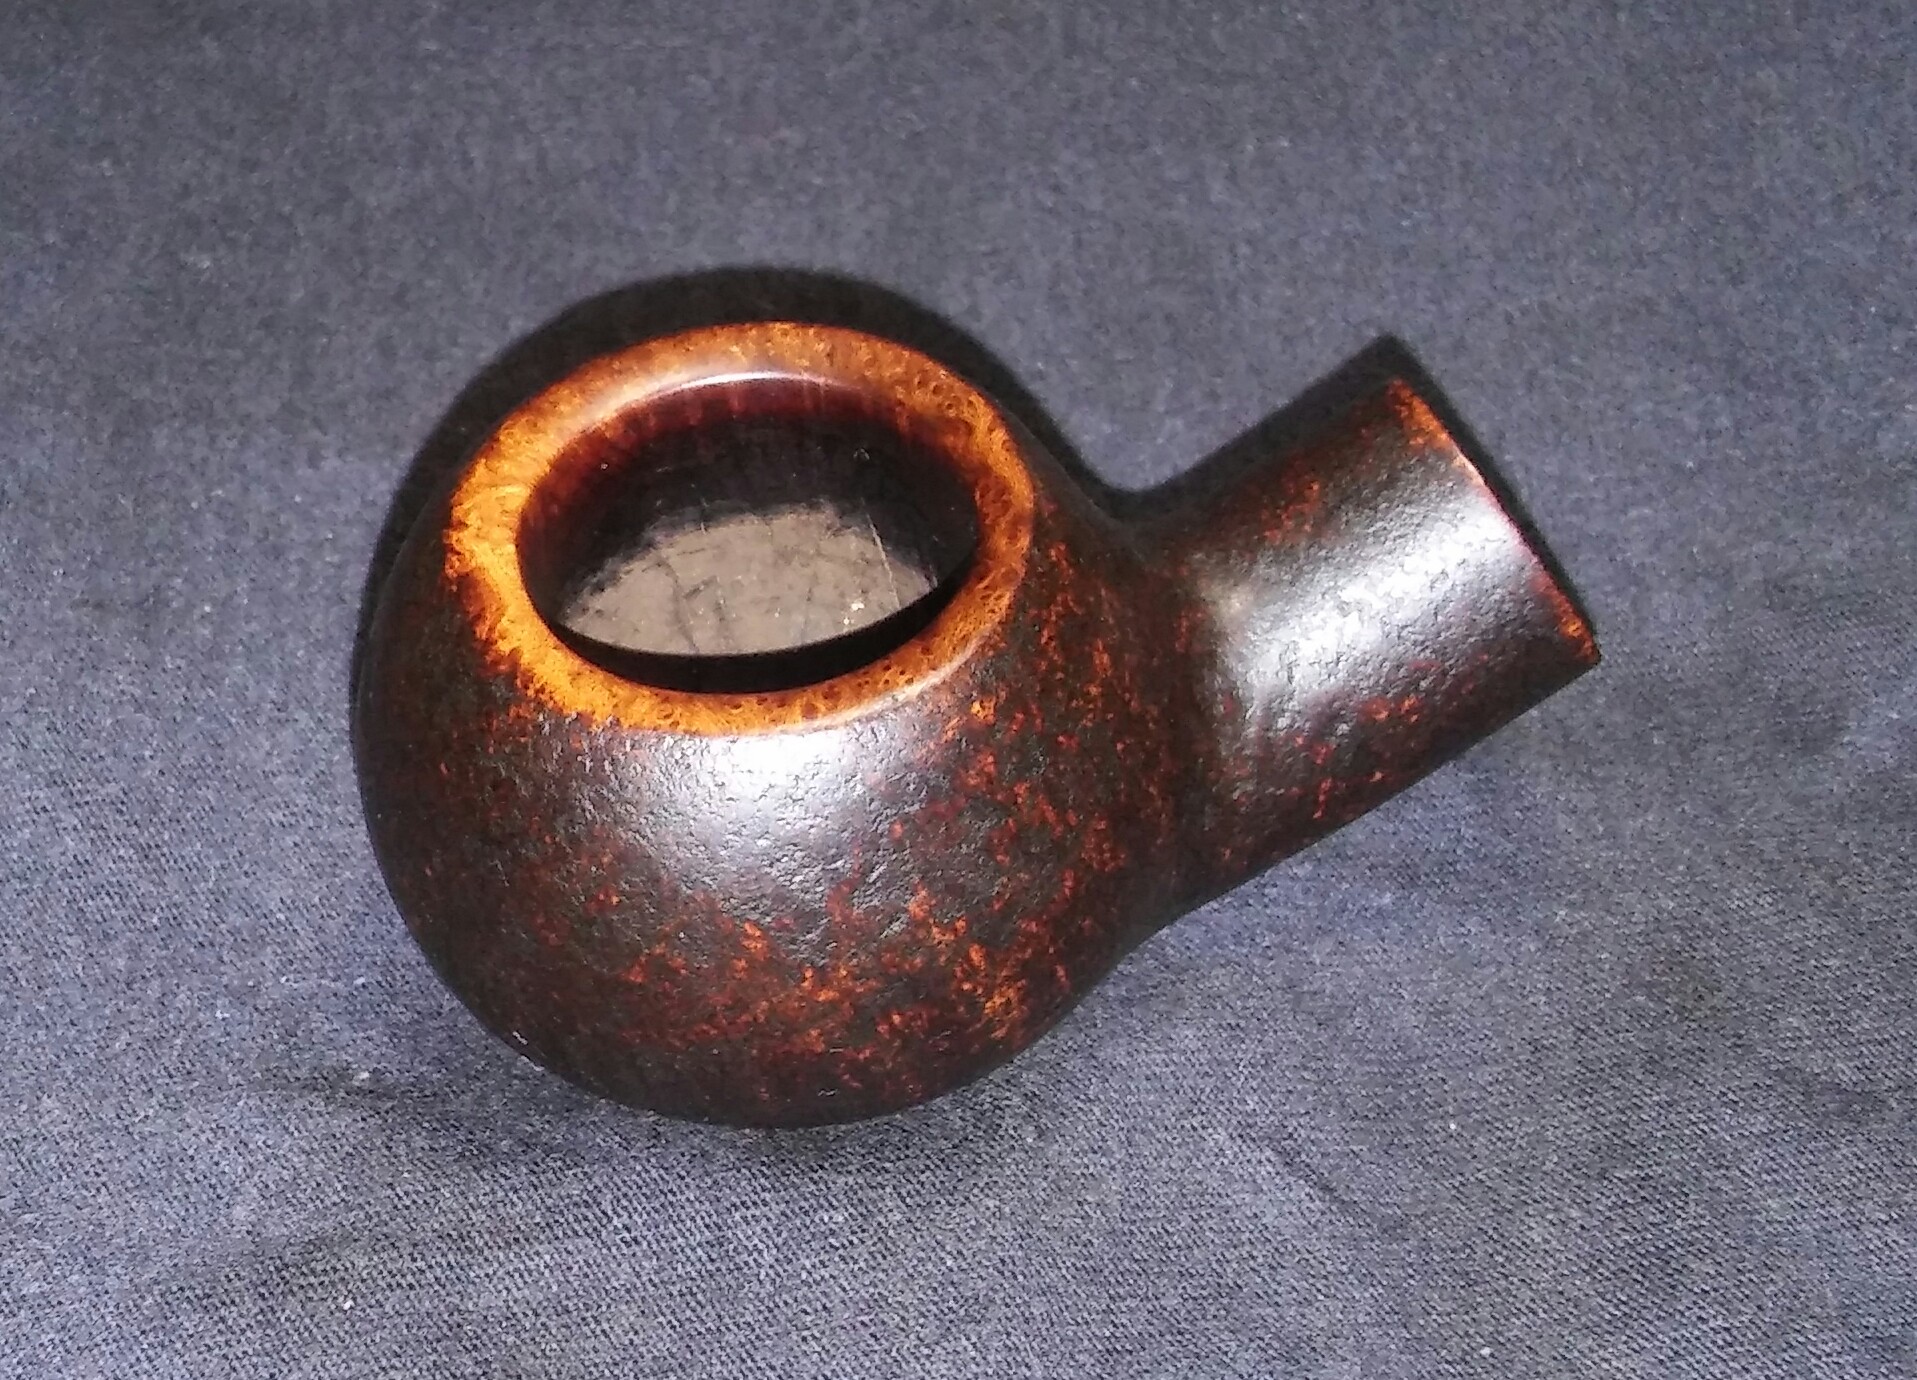
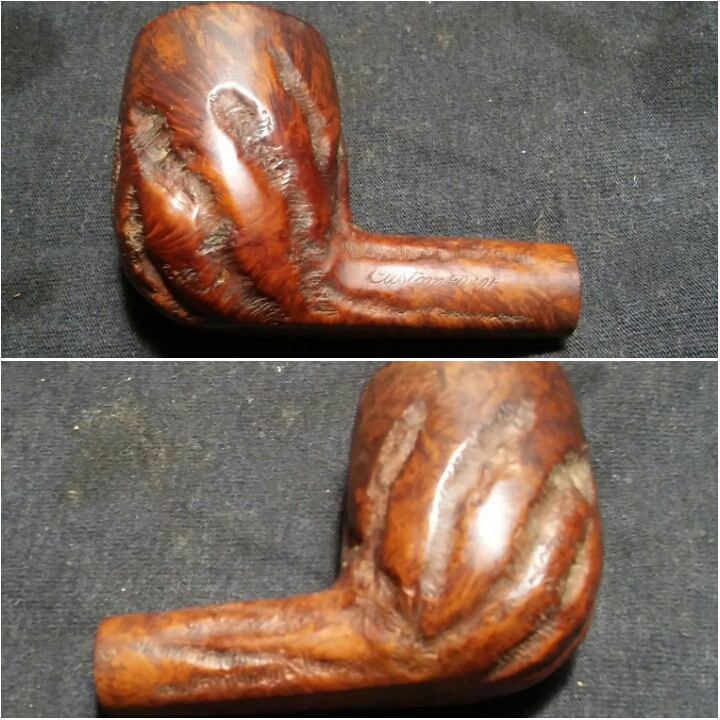
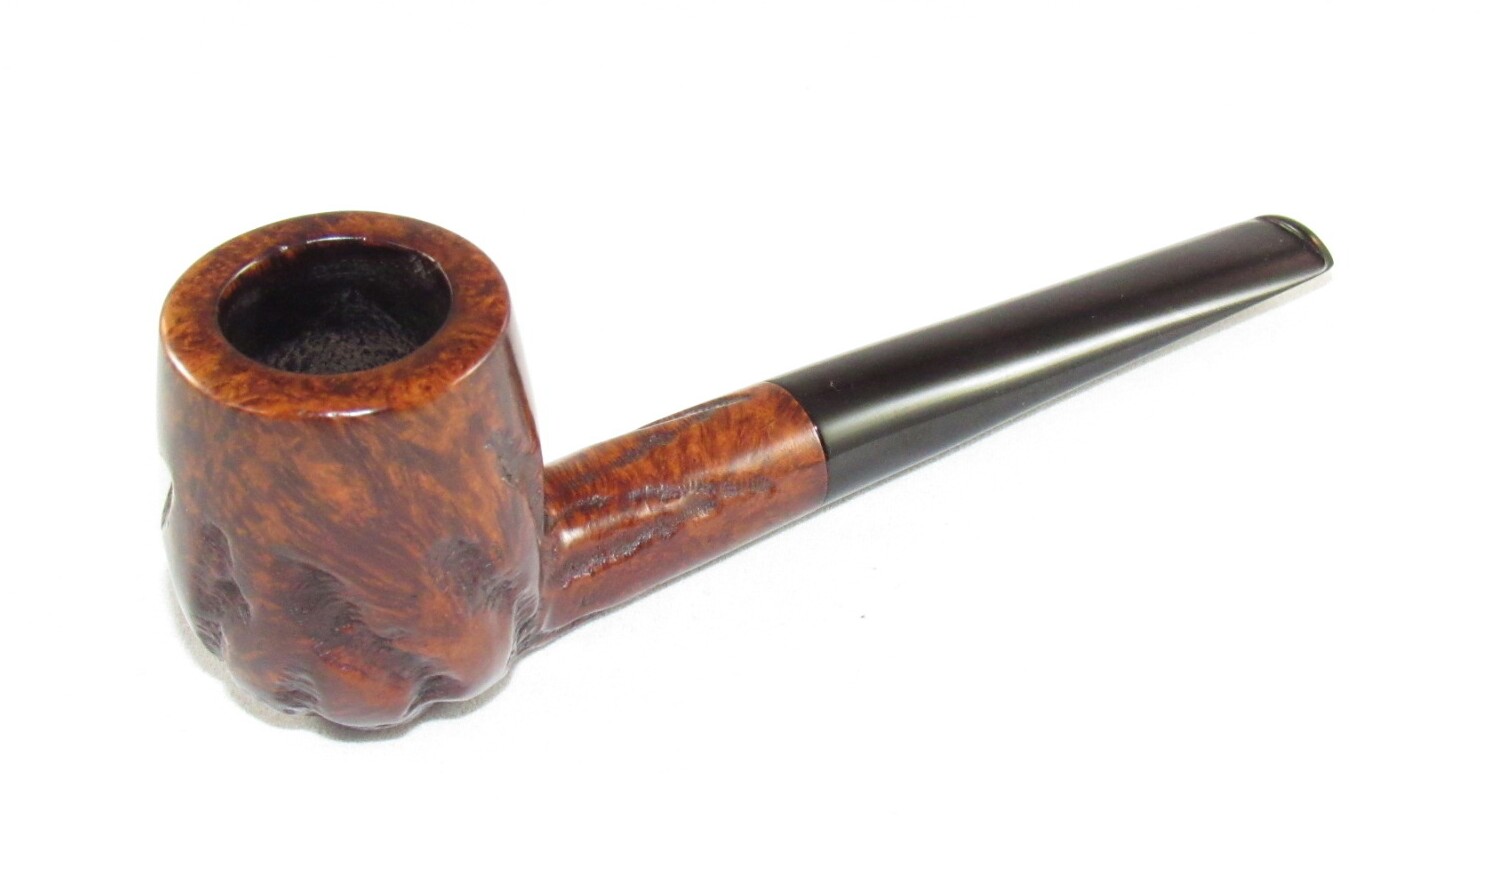
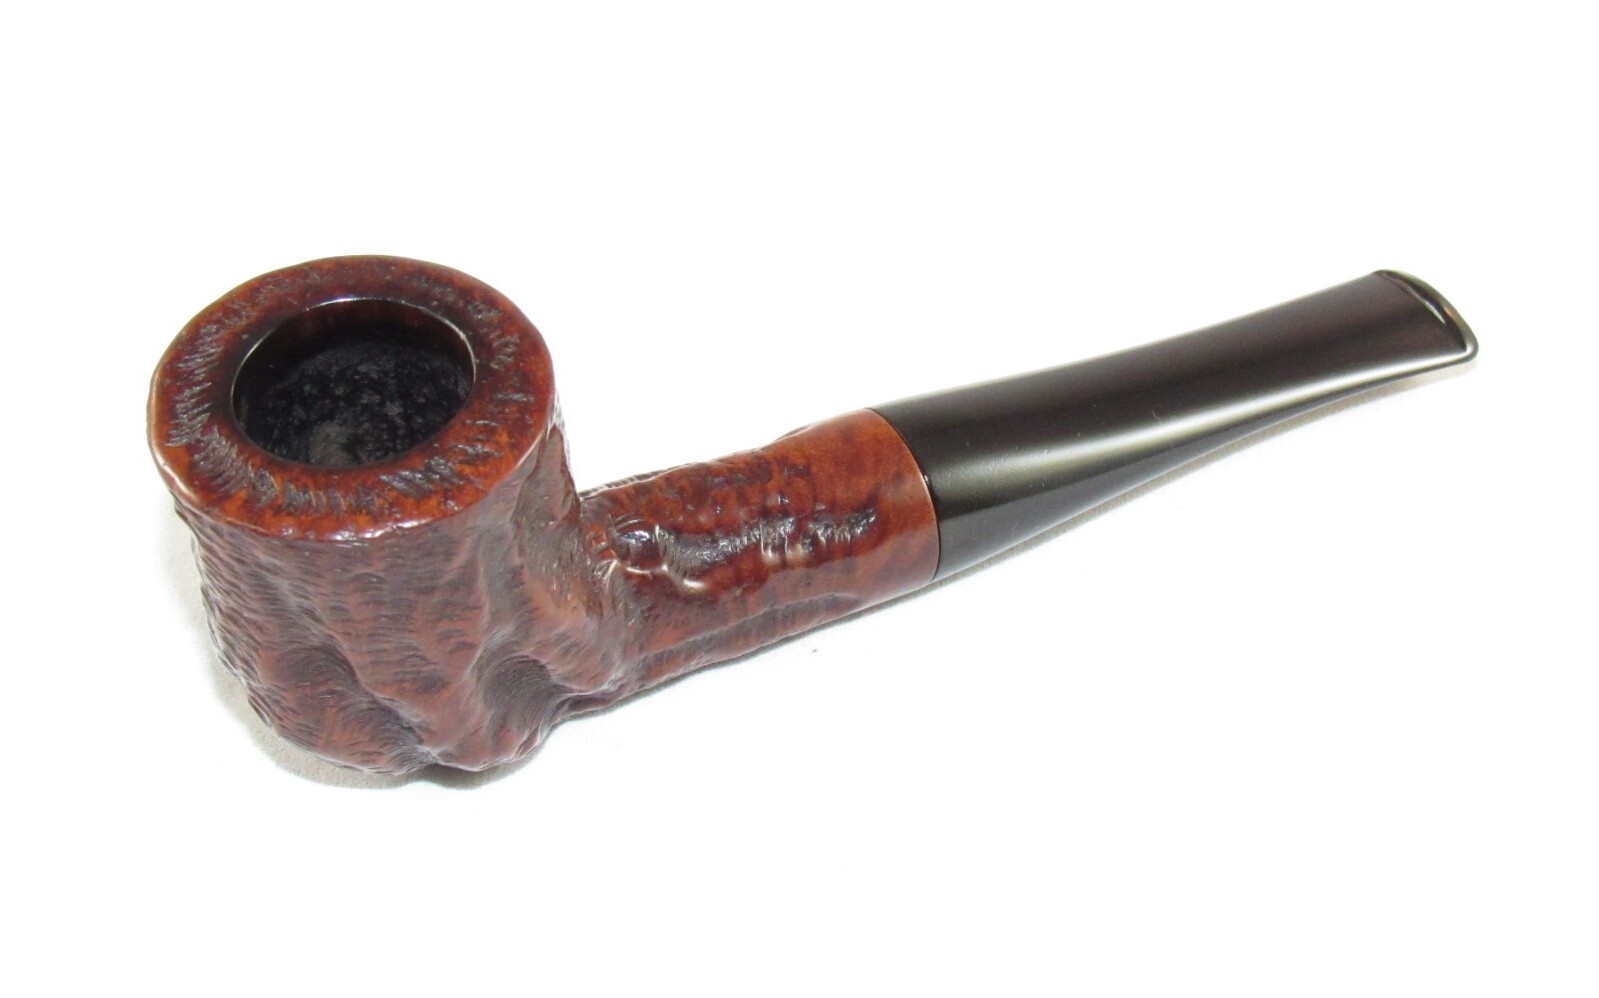
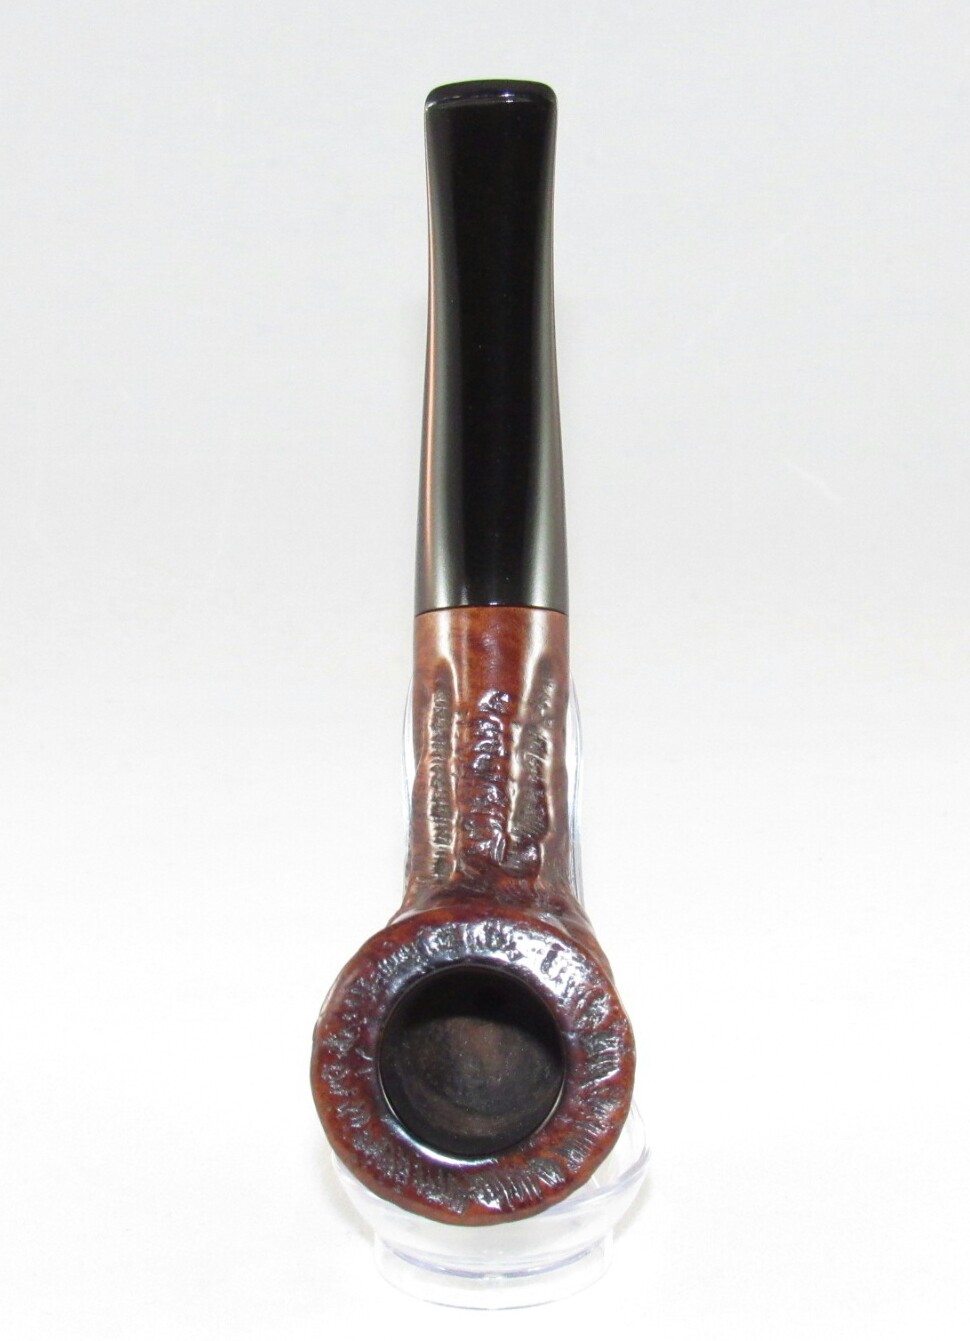
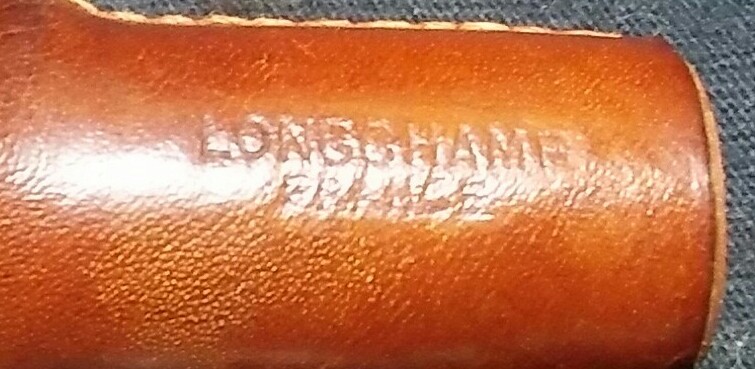
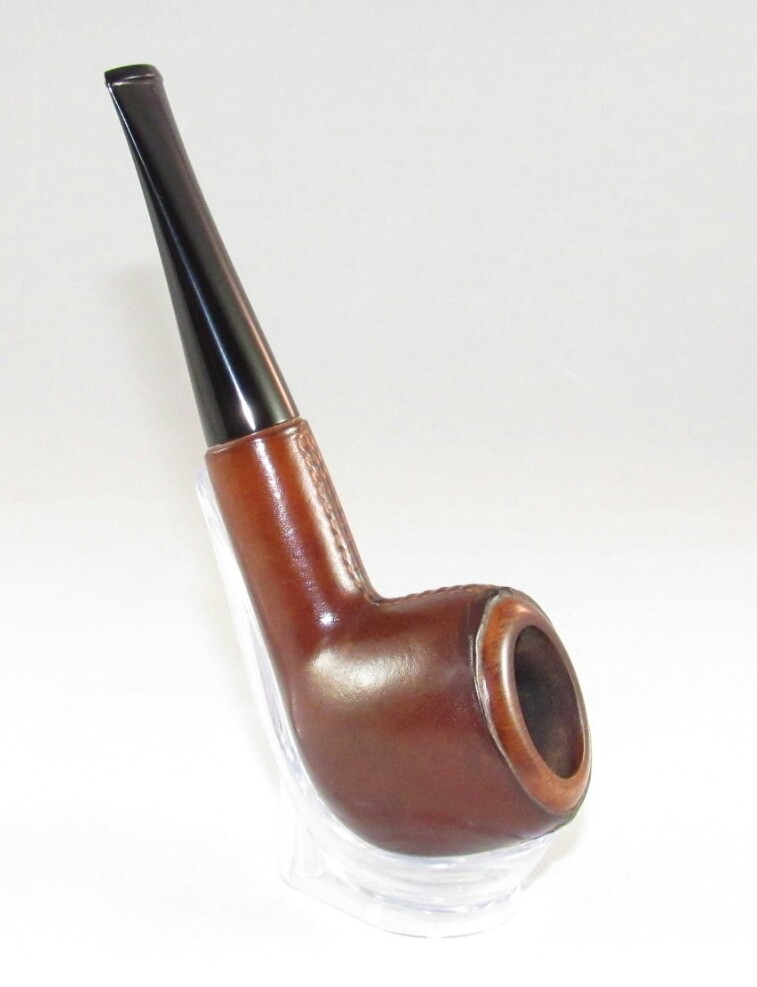
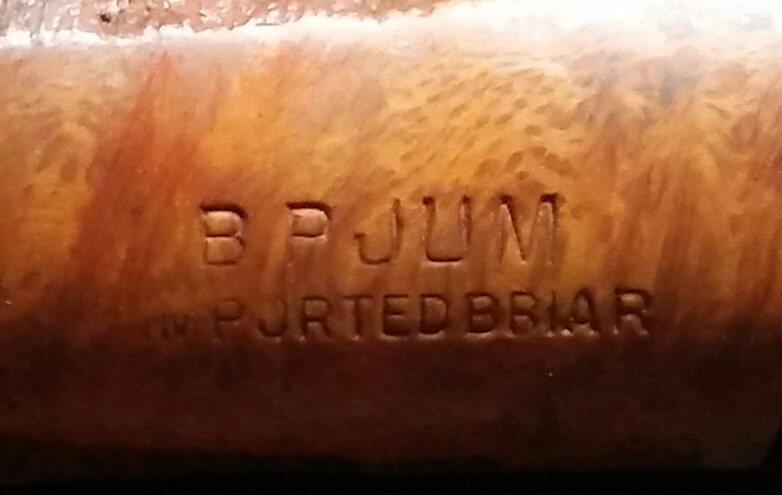
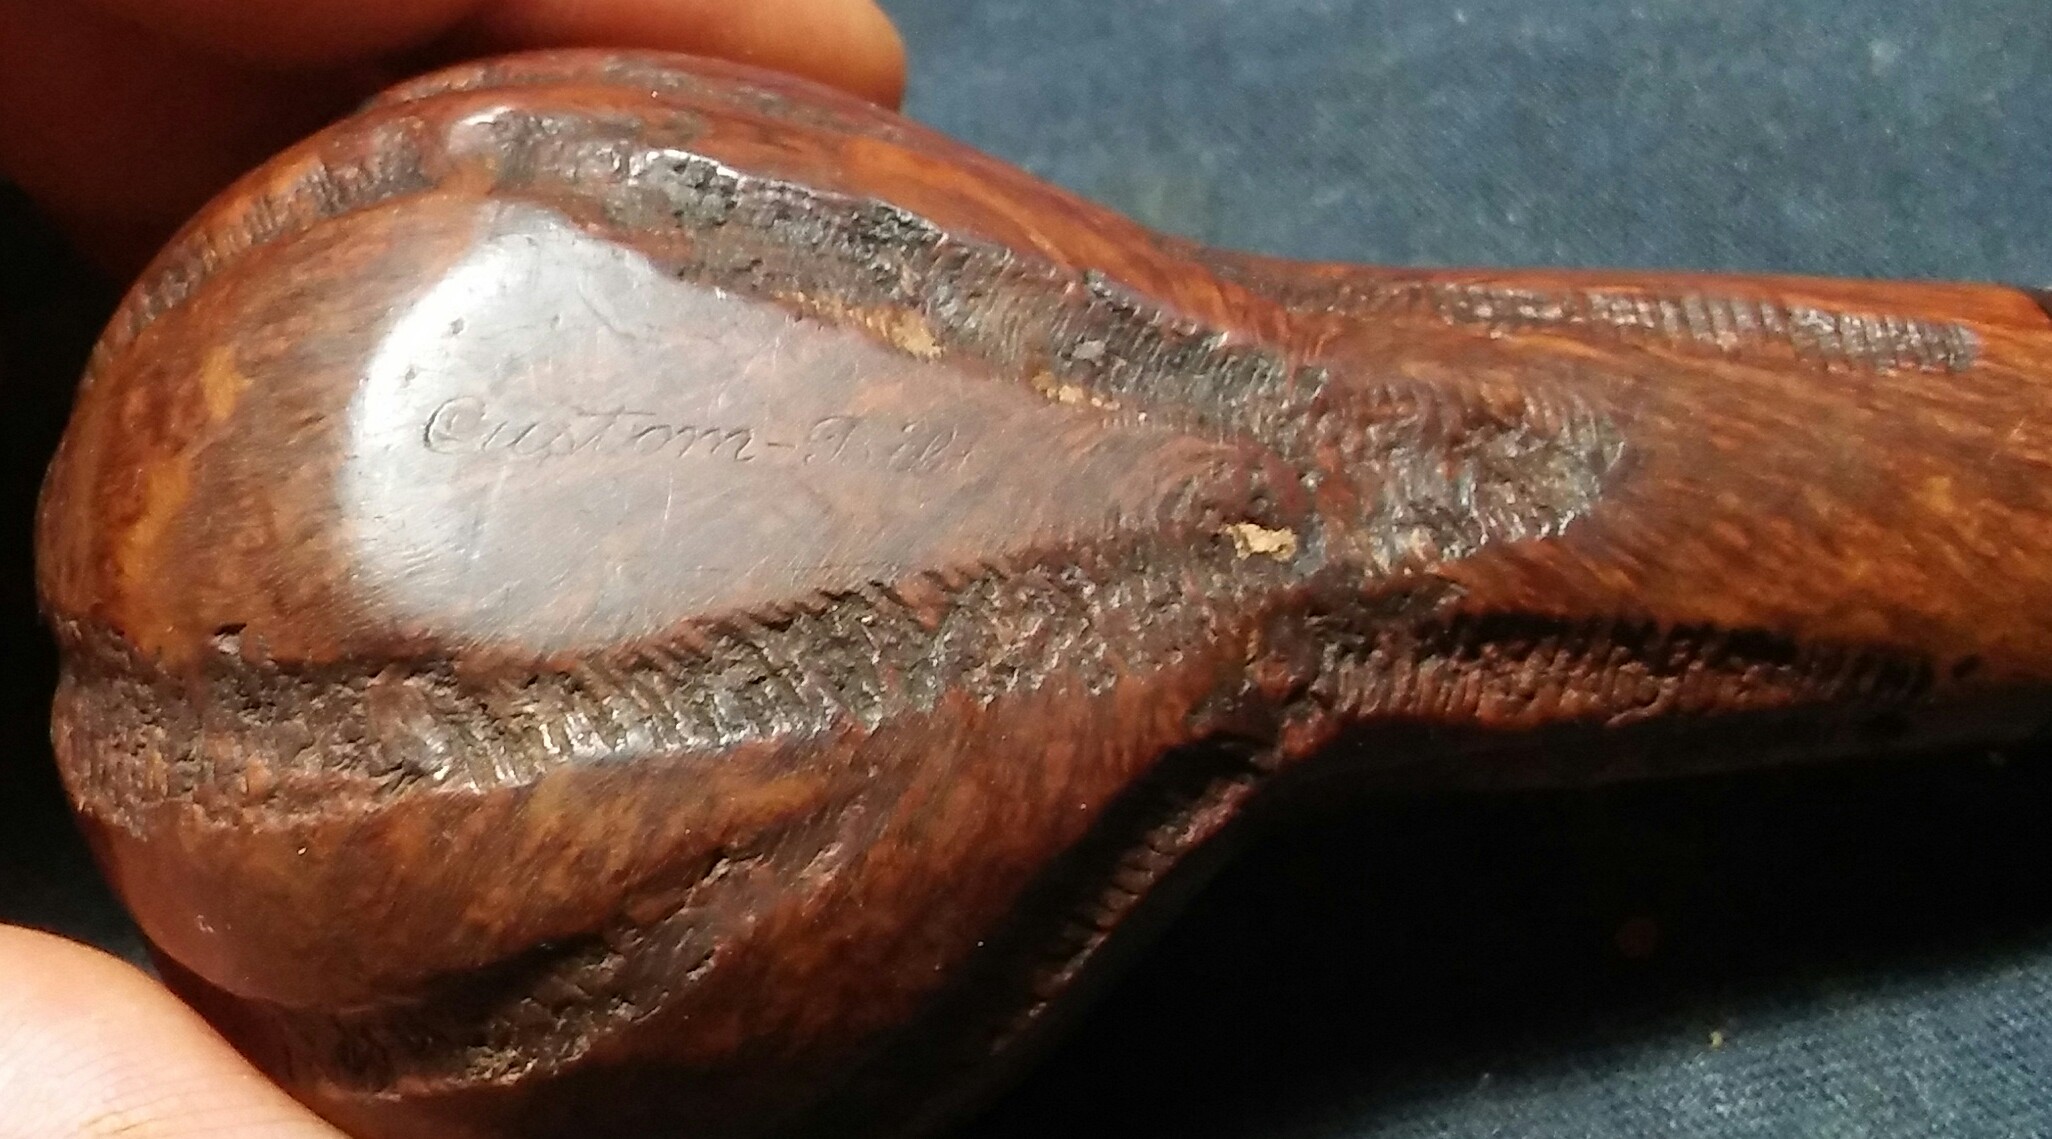
This is the first of eleven pipes I recently acquired. The Peterson System Standard 306 is the first sitter in my small Peterson collection. I am unsure of its age as it does not have a made in or hallmarks, which I found odd as all my other Petes have some sort of way to date them. The only markings on the pipe is Peterson of Dublin System Standard 306 and K&P Peterson on the band.
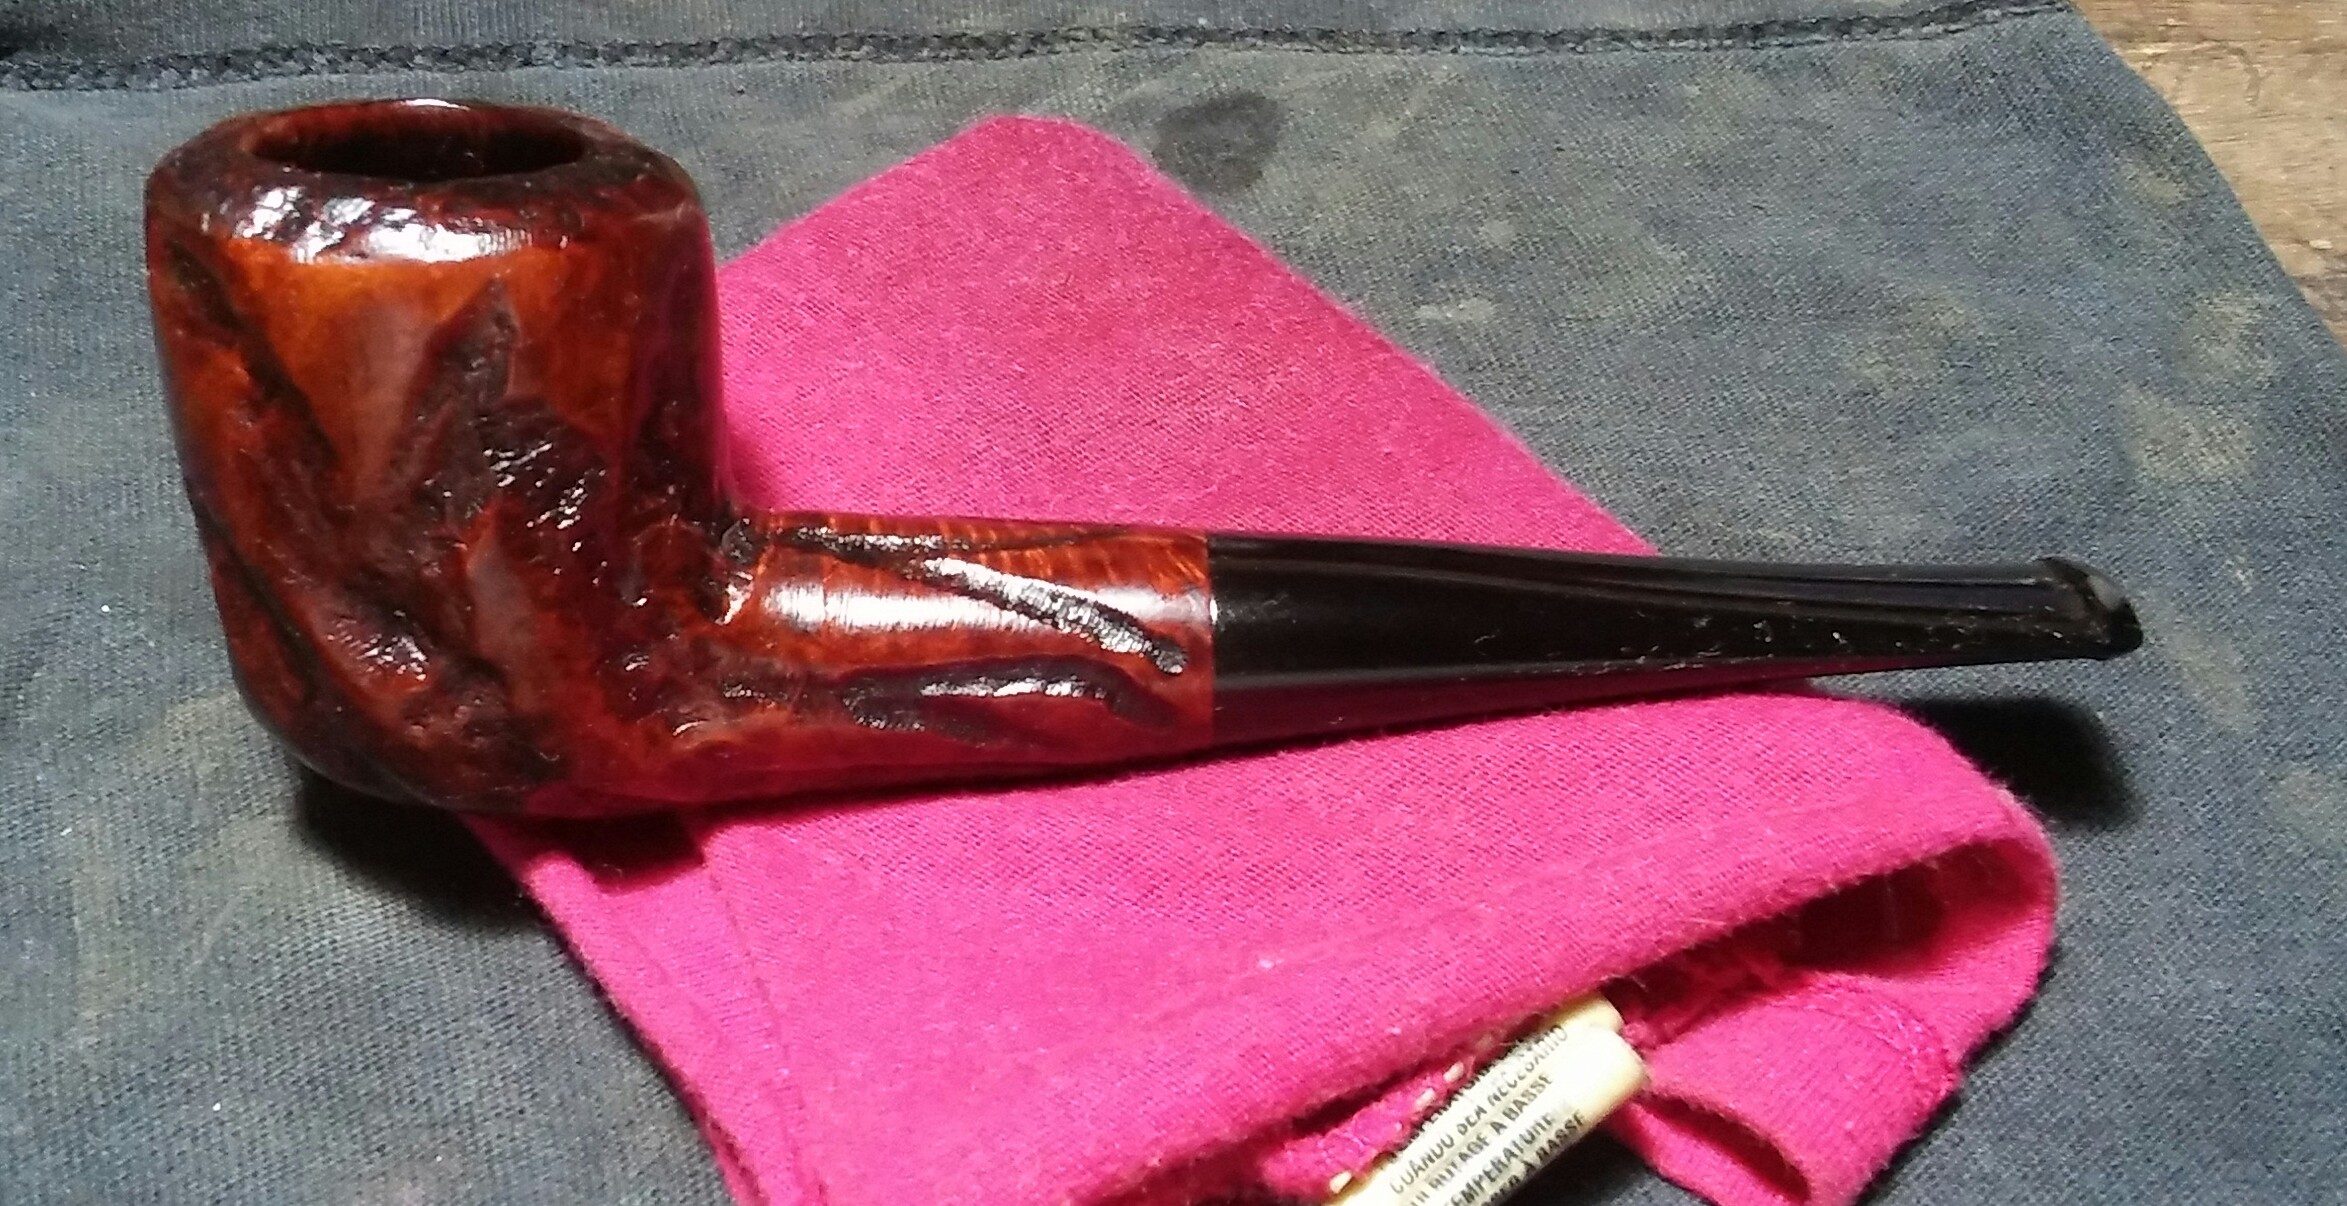
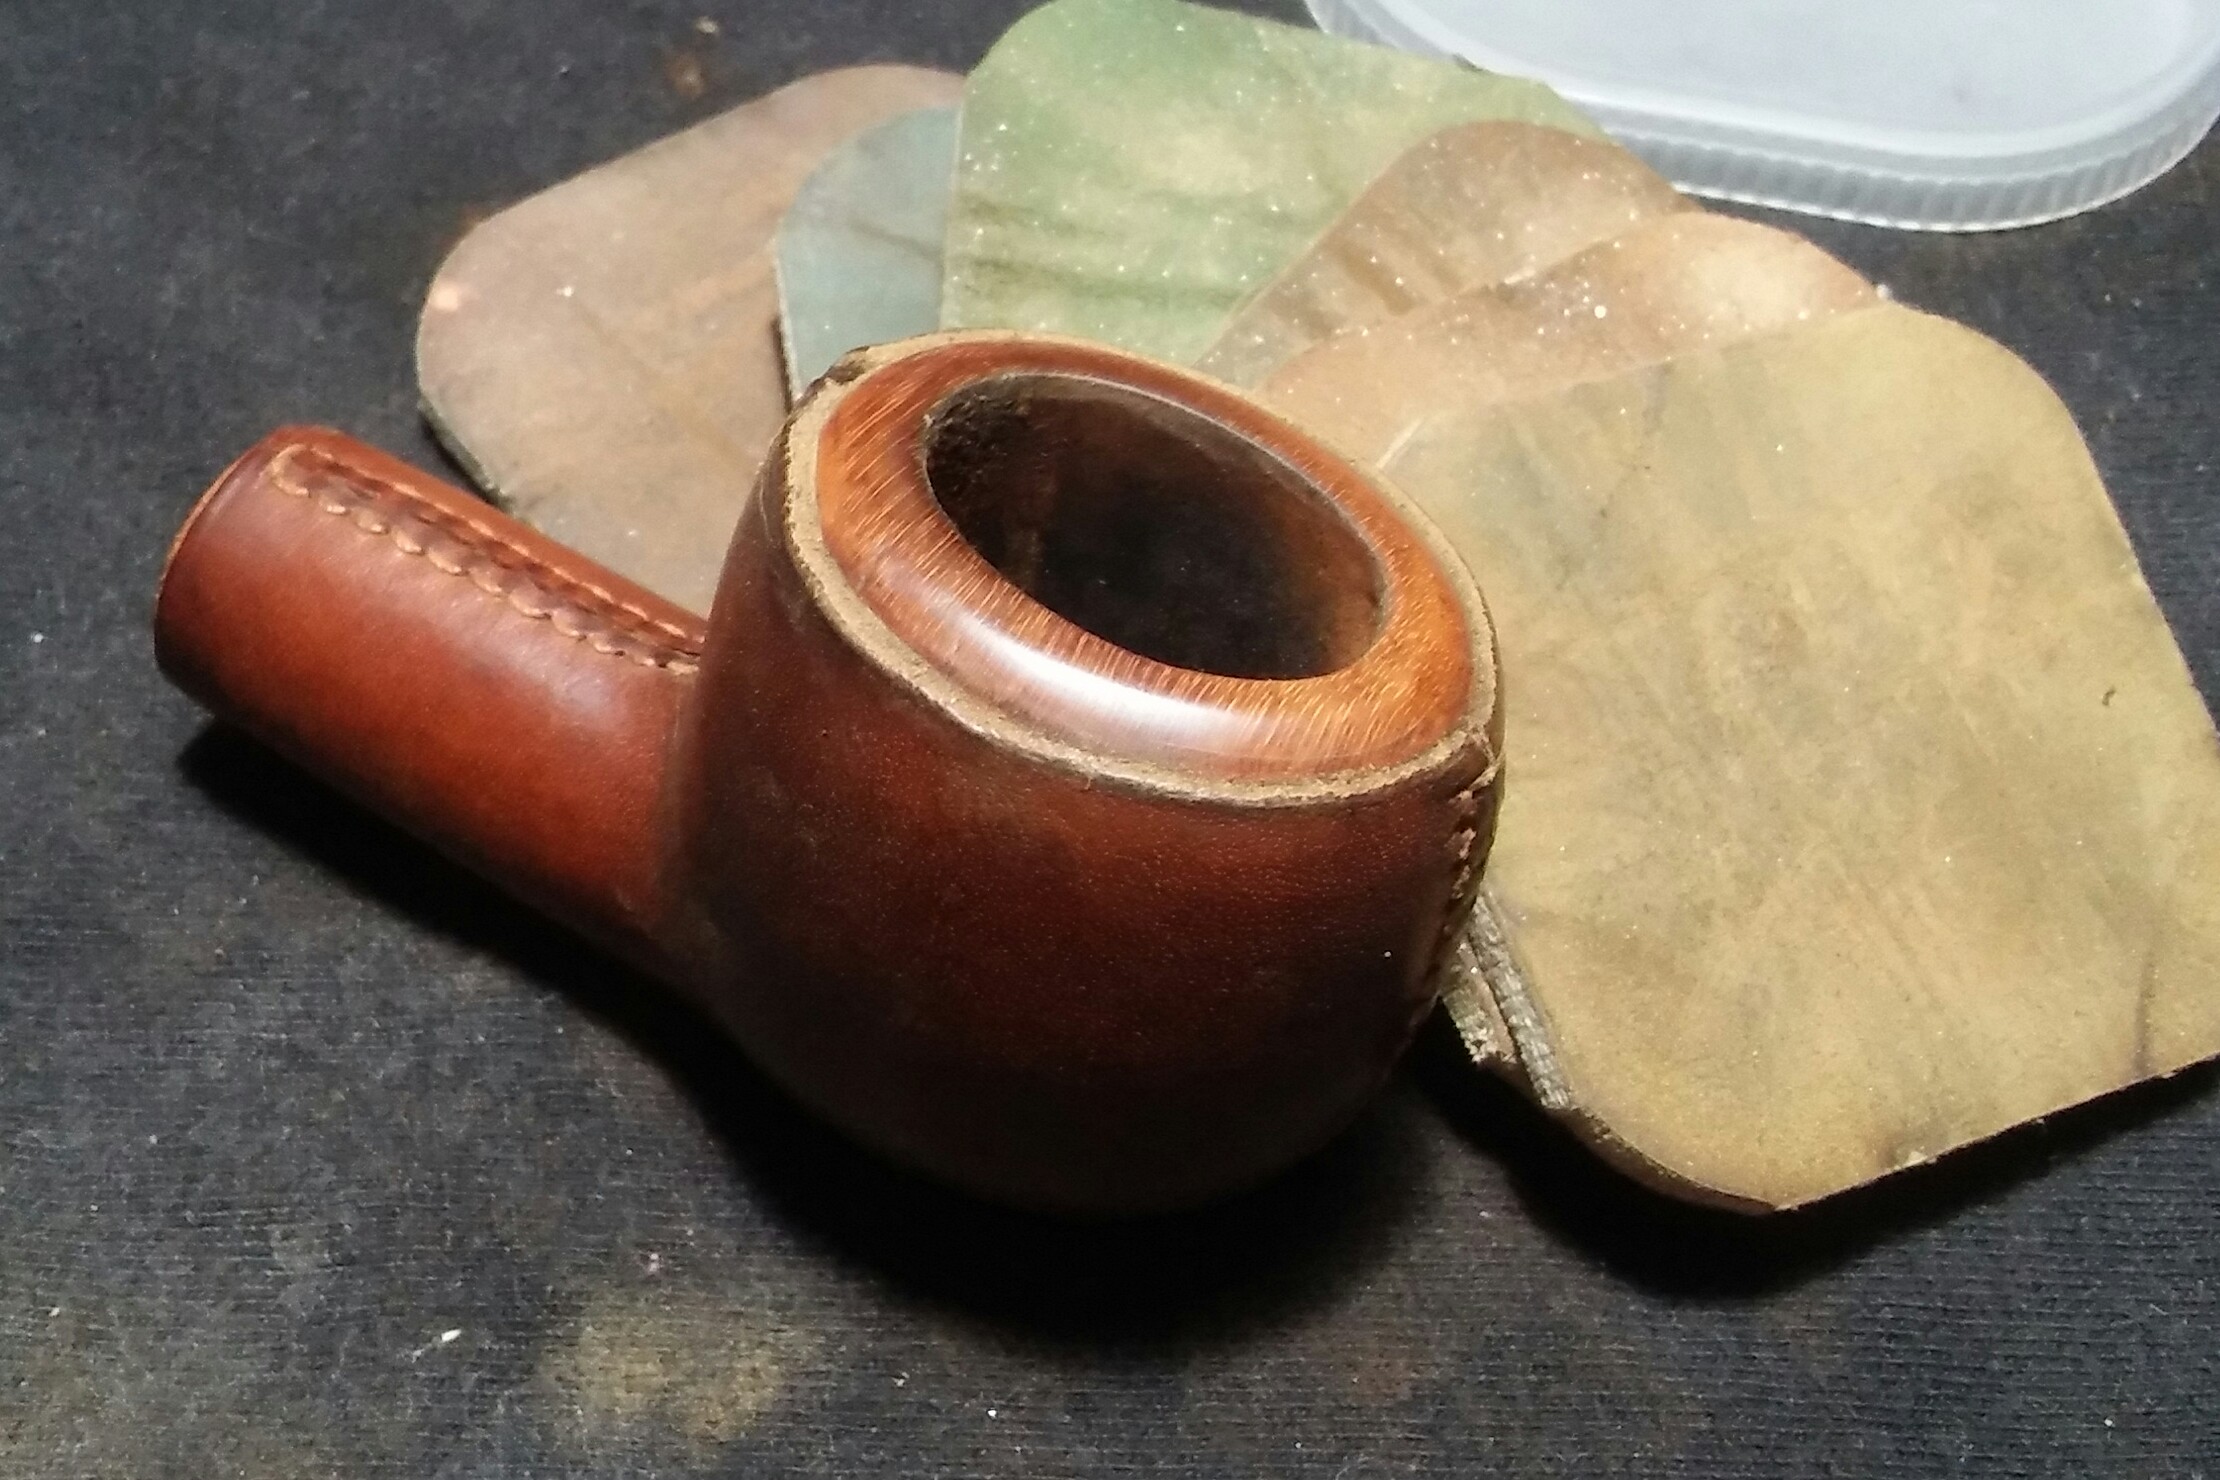
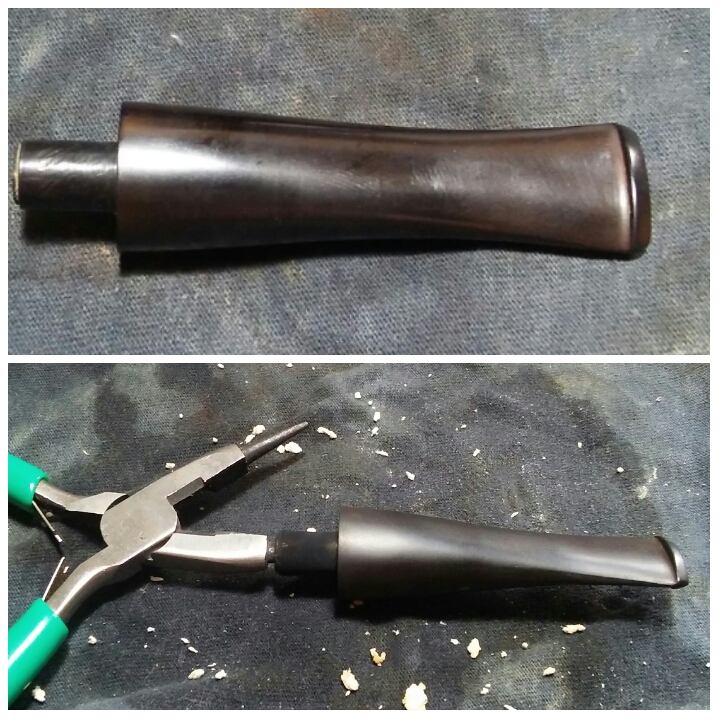
As Received.

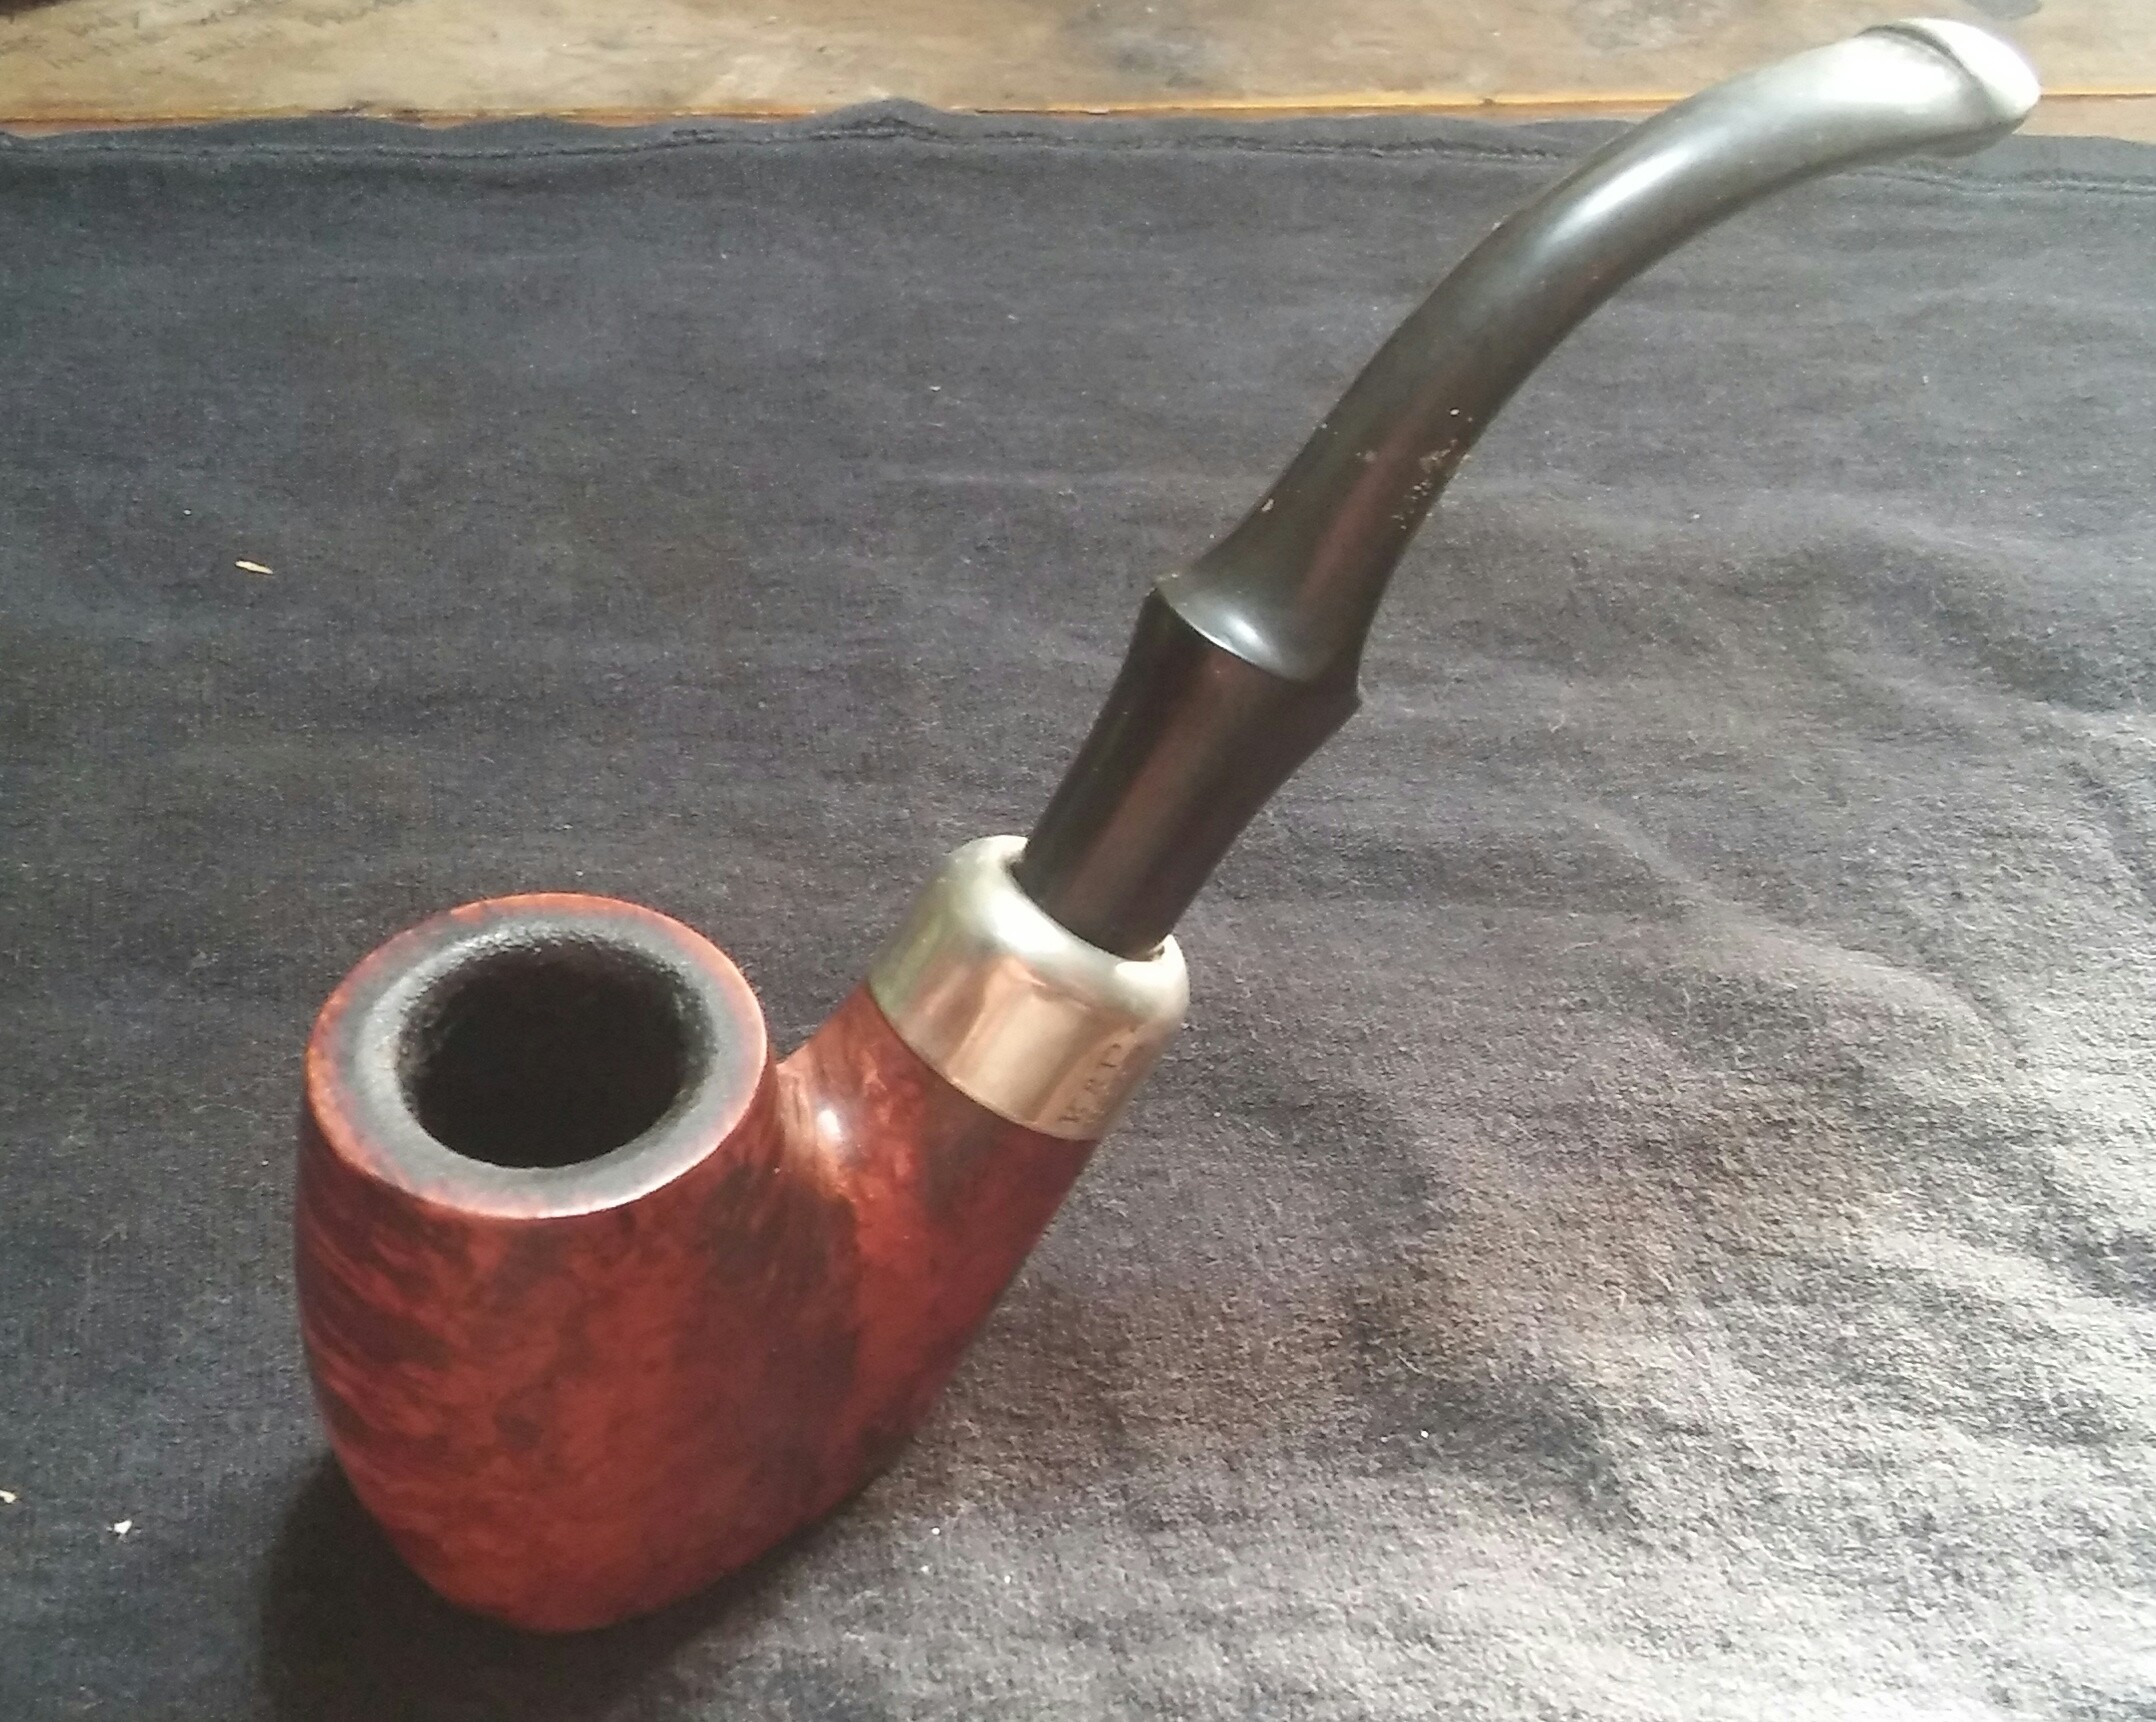


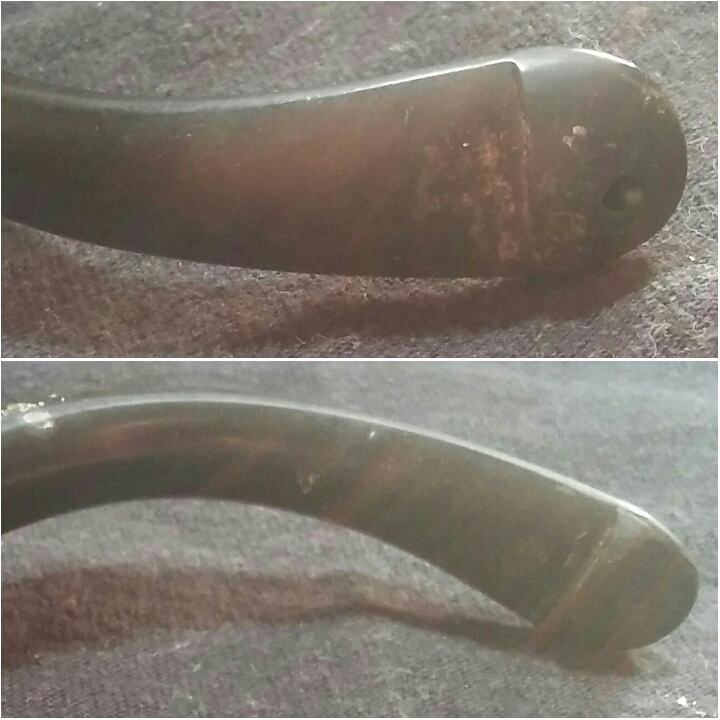
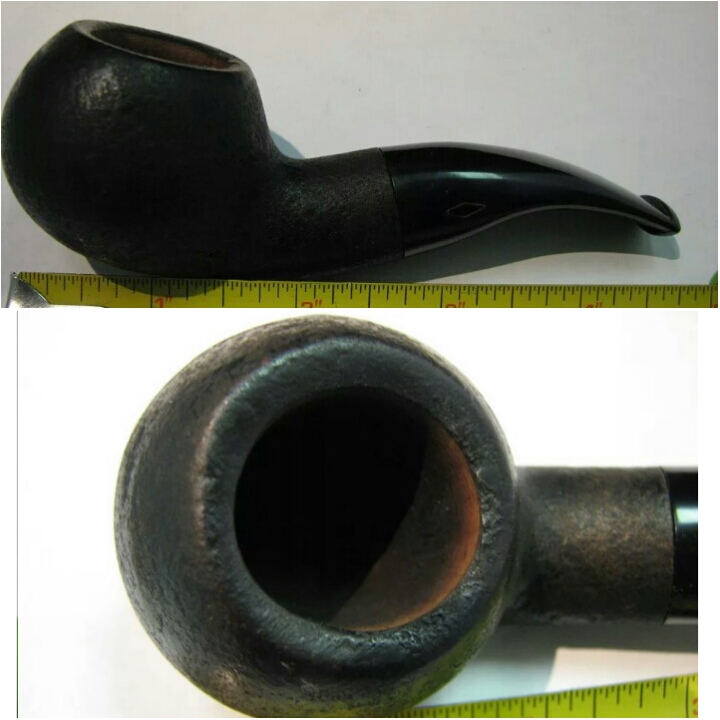
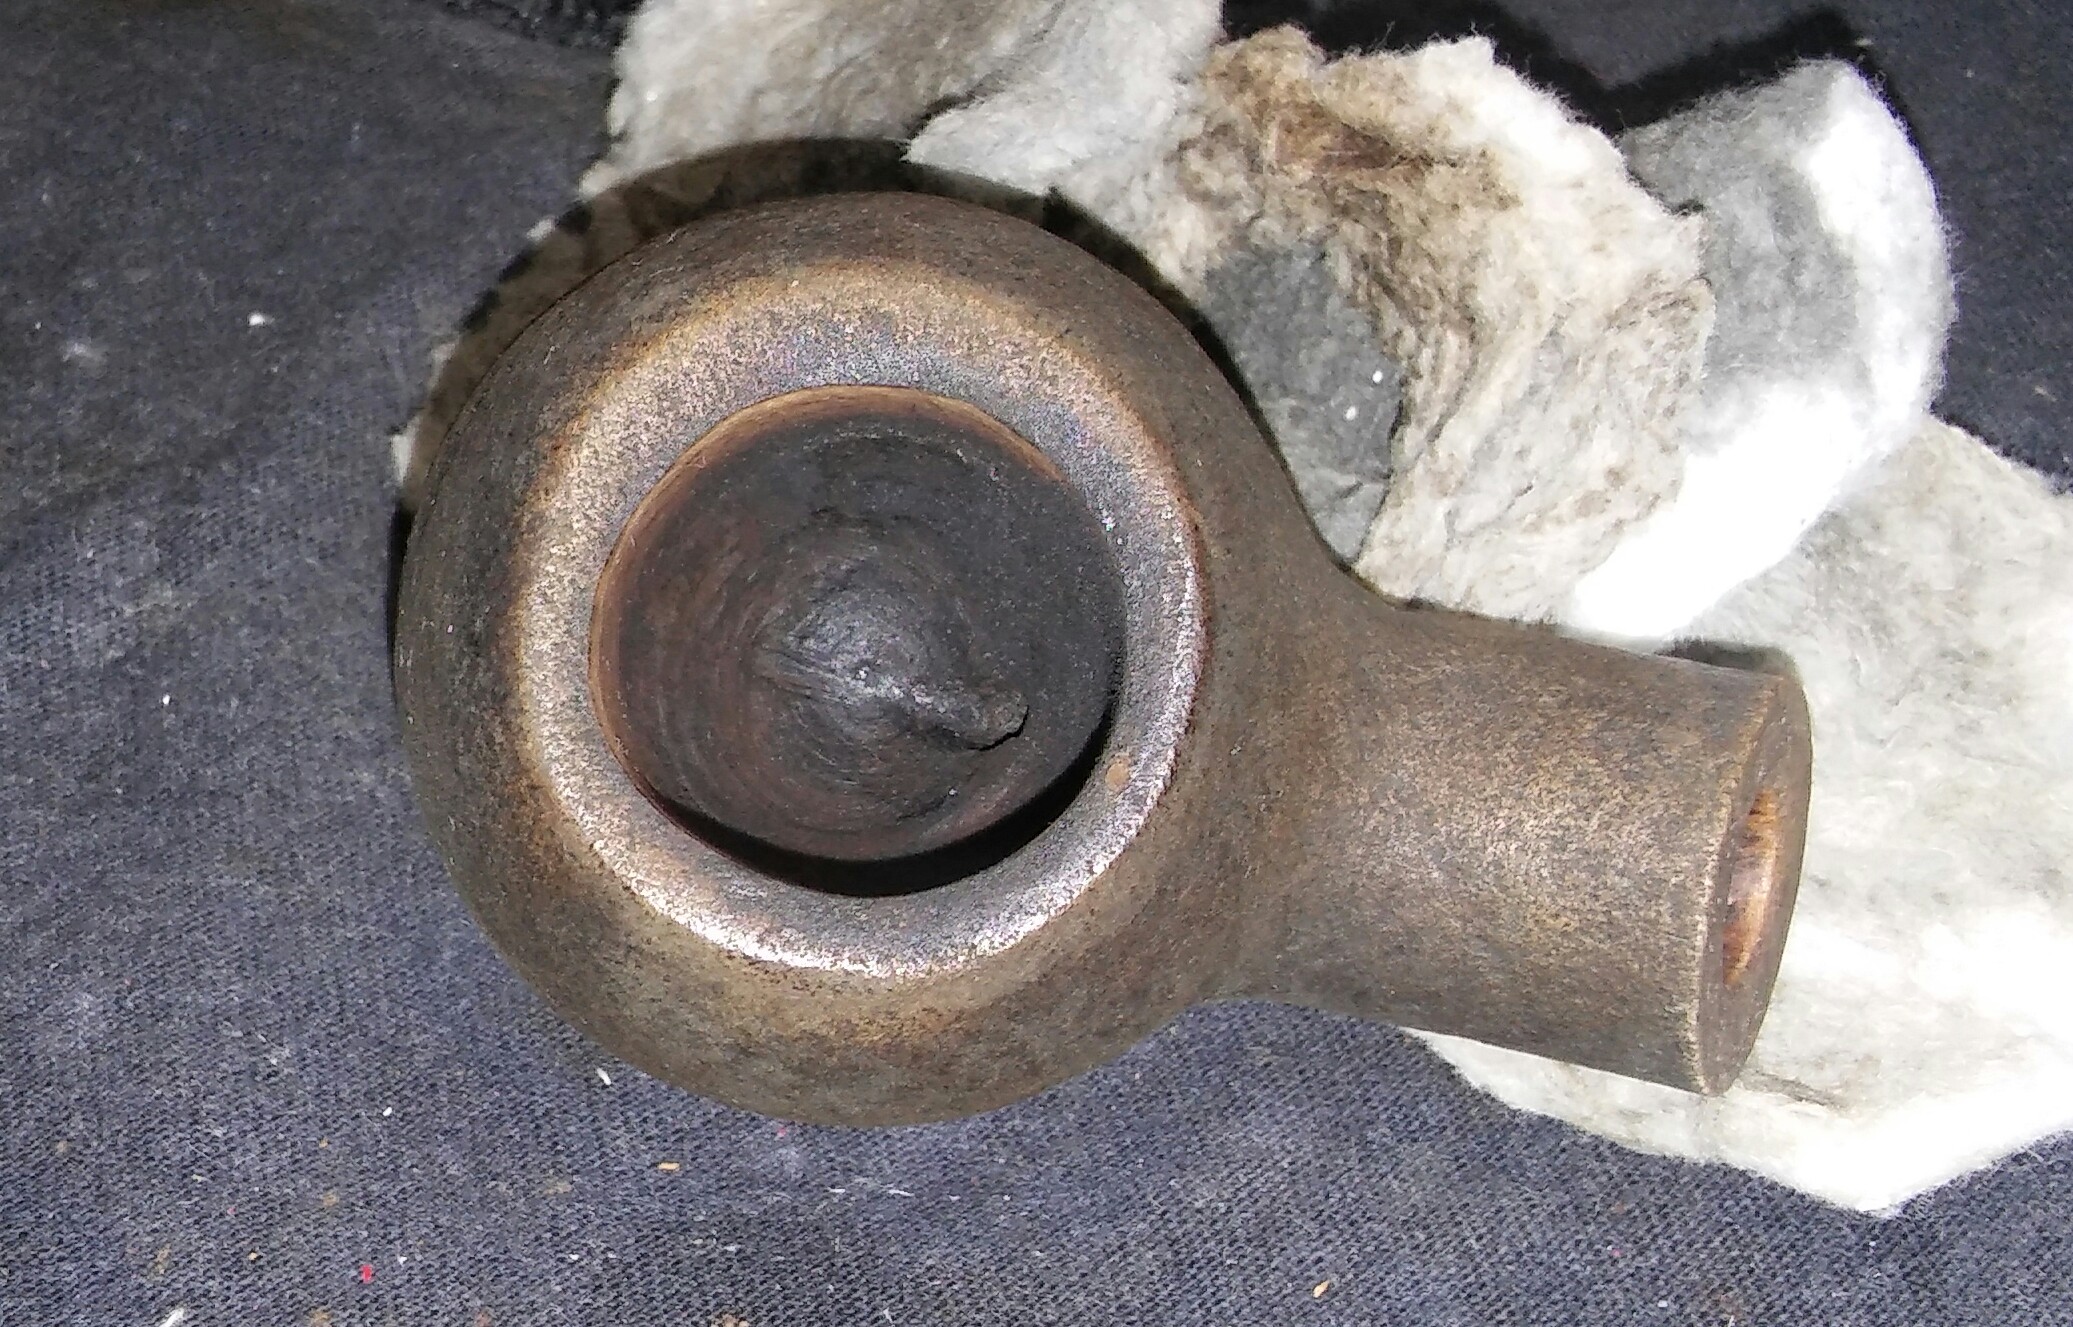
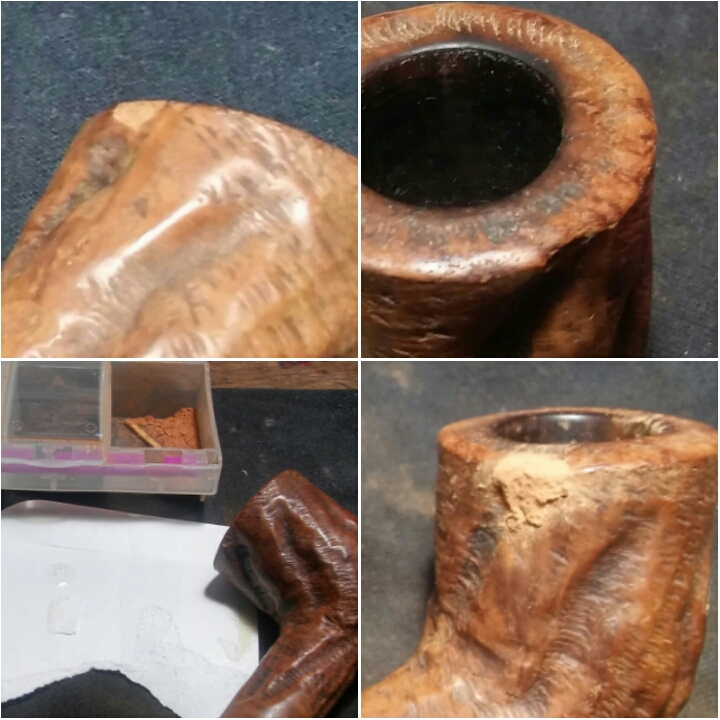
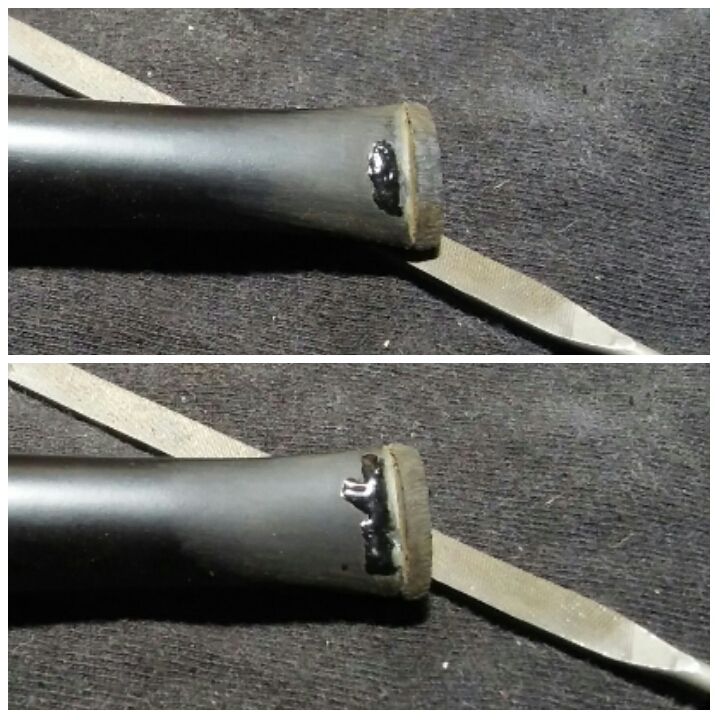
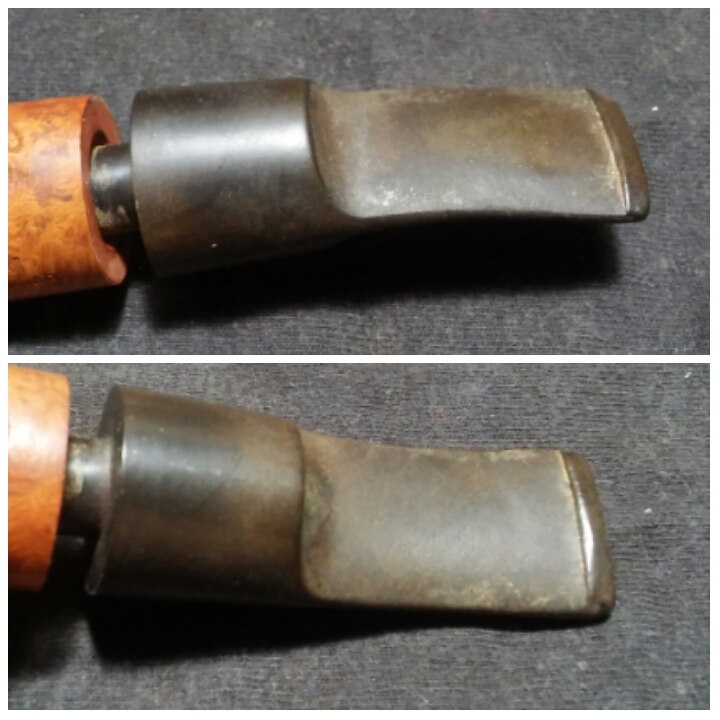
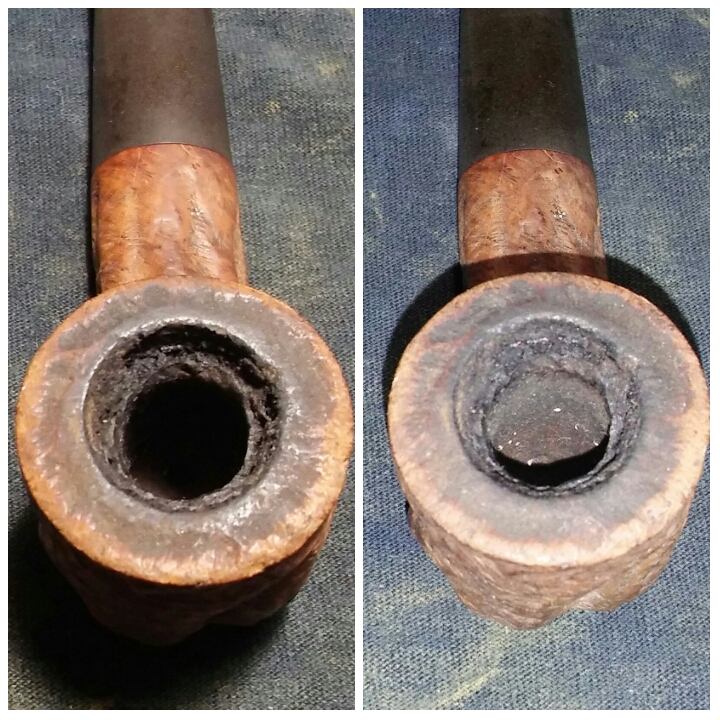
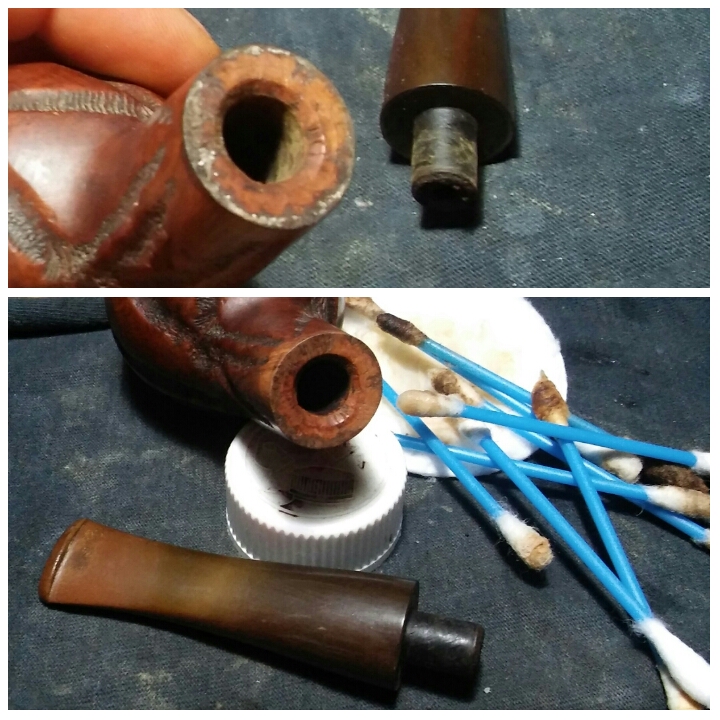
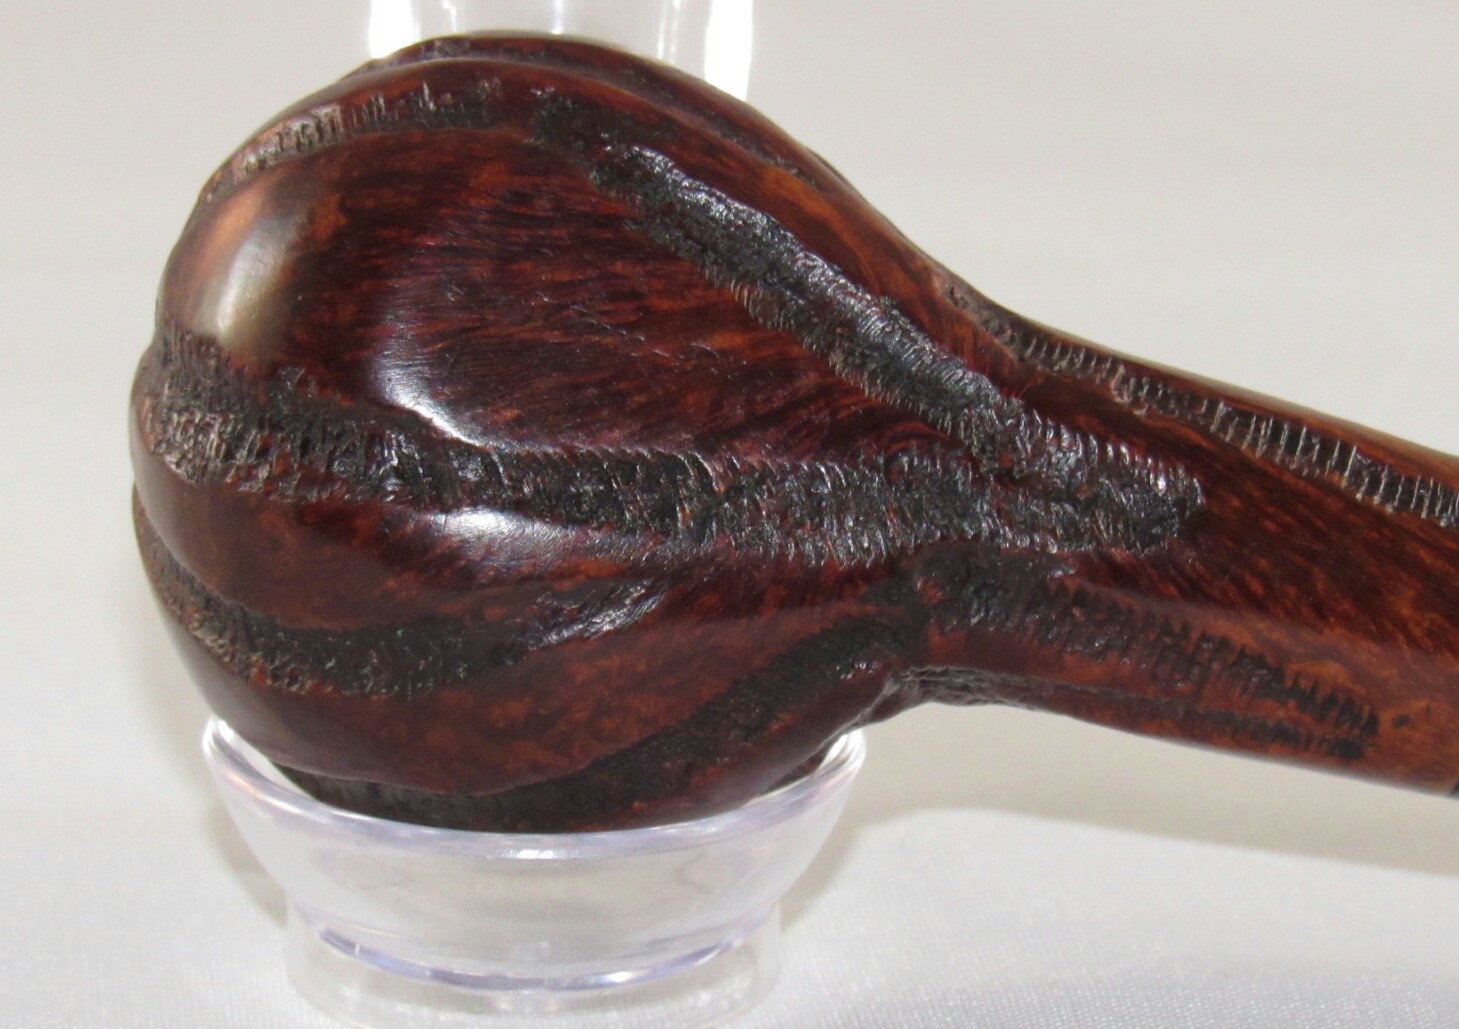
Over all in pretty descent shape, the stem was oxidized and a few tooth impressions. The chamber had an uneven crumbling cake and the rim was built up with old tar/oils, there is also charring around the inside edge of the rim. The finnish was worn and tired and one small spot of filler. The biggest hurdle was the Lakeland ghost.
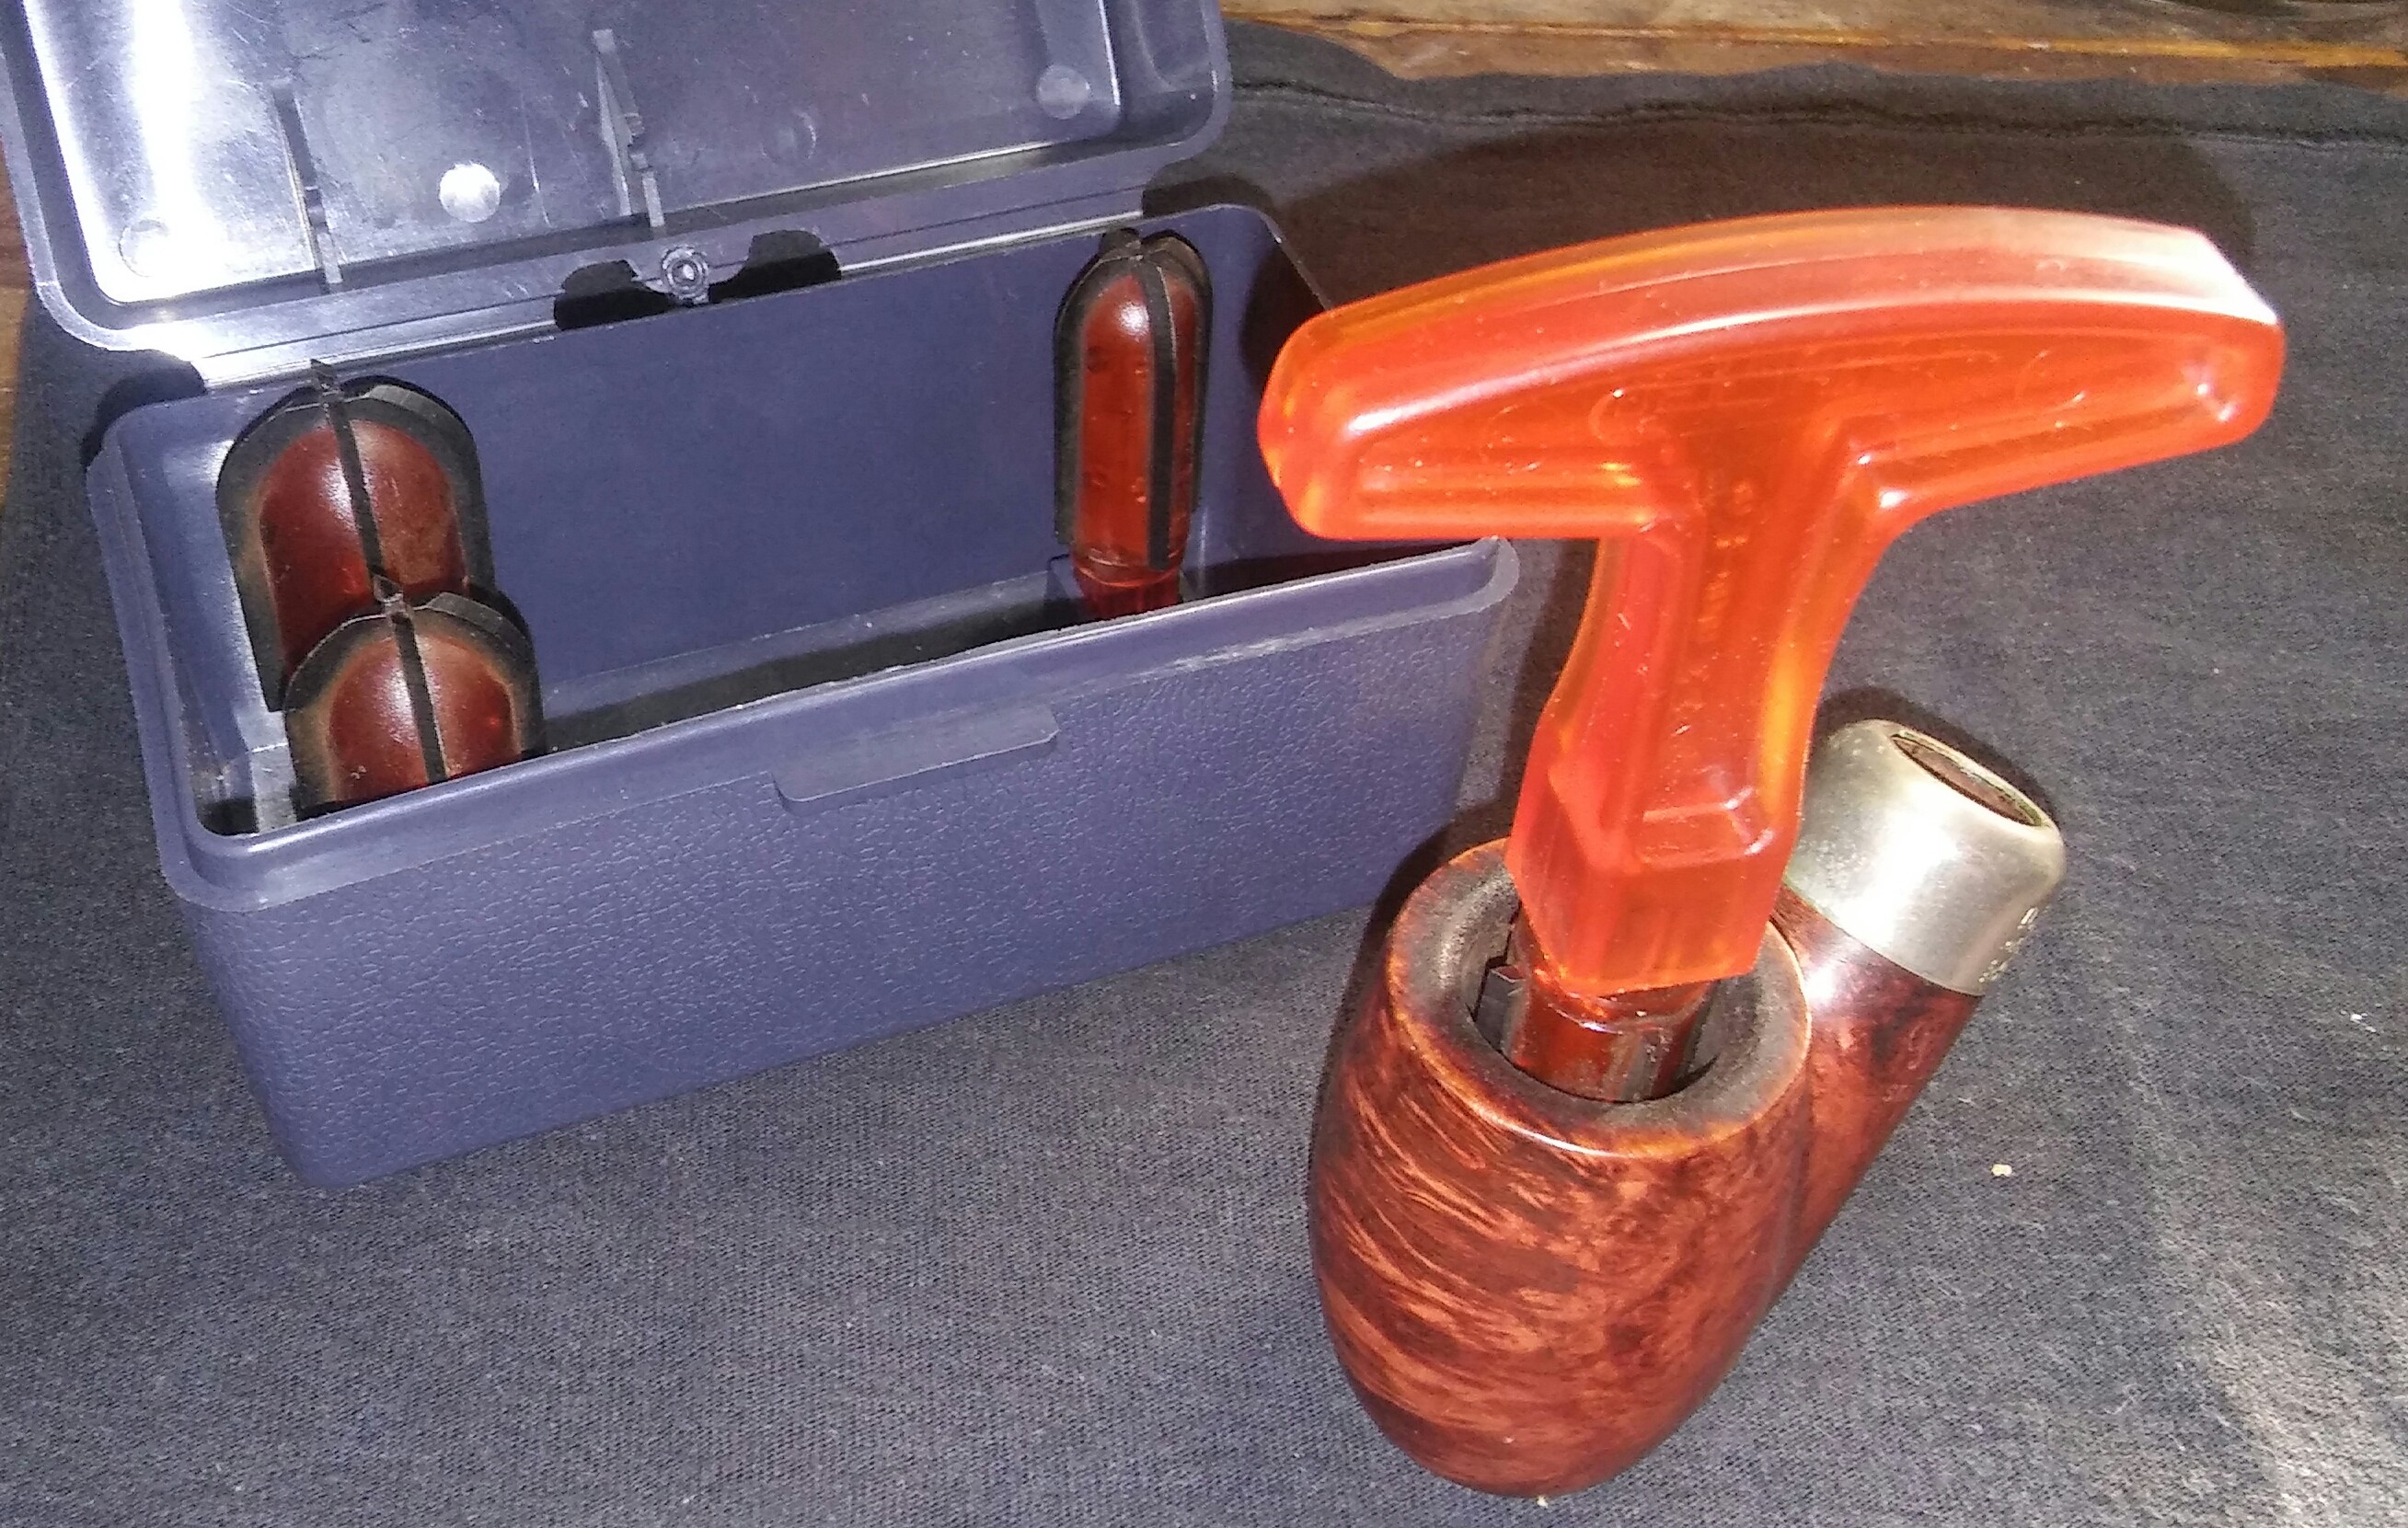
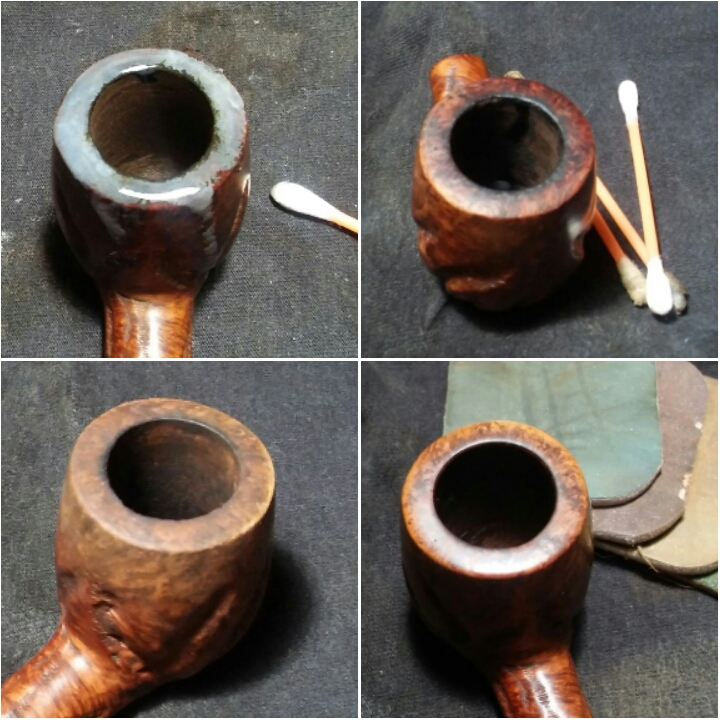
I started with the stummel and my Pipnet Reamer. Starting with the smallest attachment and working up to the second largest, I brought the chamber back to briar, it was free of burn or pitting. I smoothed things out with 400 grit sandpaper wrapped around a finger .

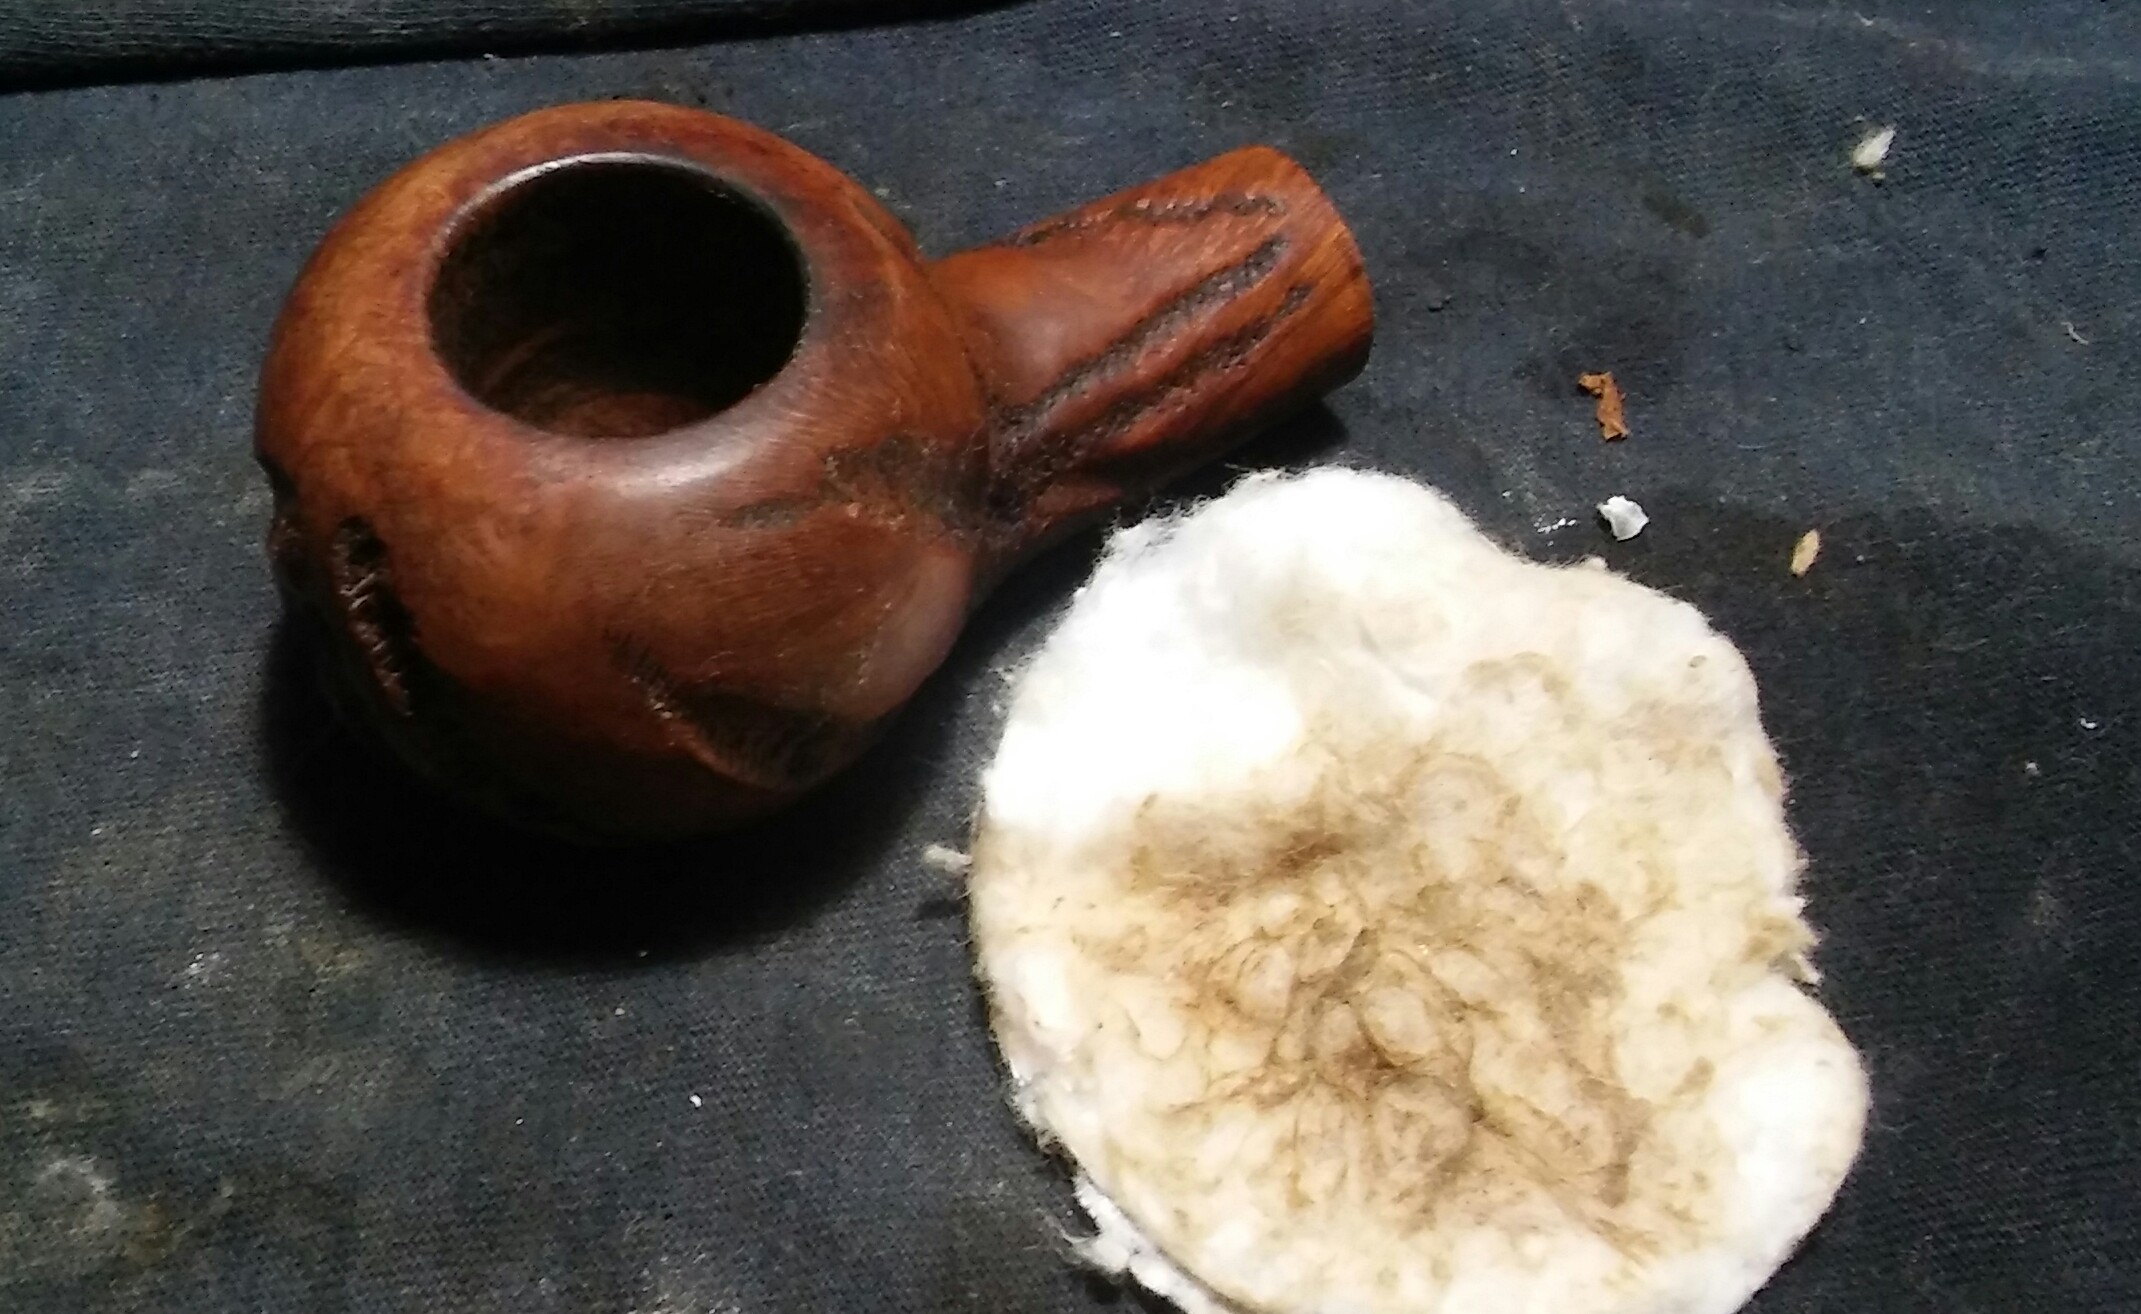
Next I could tackle the caked and charred rim. I applied a generous amount of Method Good For Wood Polish to the rim and set it aside to penetrate the build-up for a few minutes. Using Q-tips I removed the rim build-up, I would repeat this process a few times to remove all the debris. After the build-up was removed the rim darkening was still present, using worn micro-mesh I was able to fade most of the darker spots of the rim.

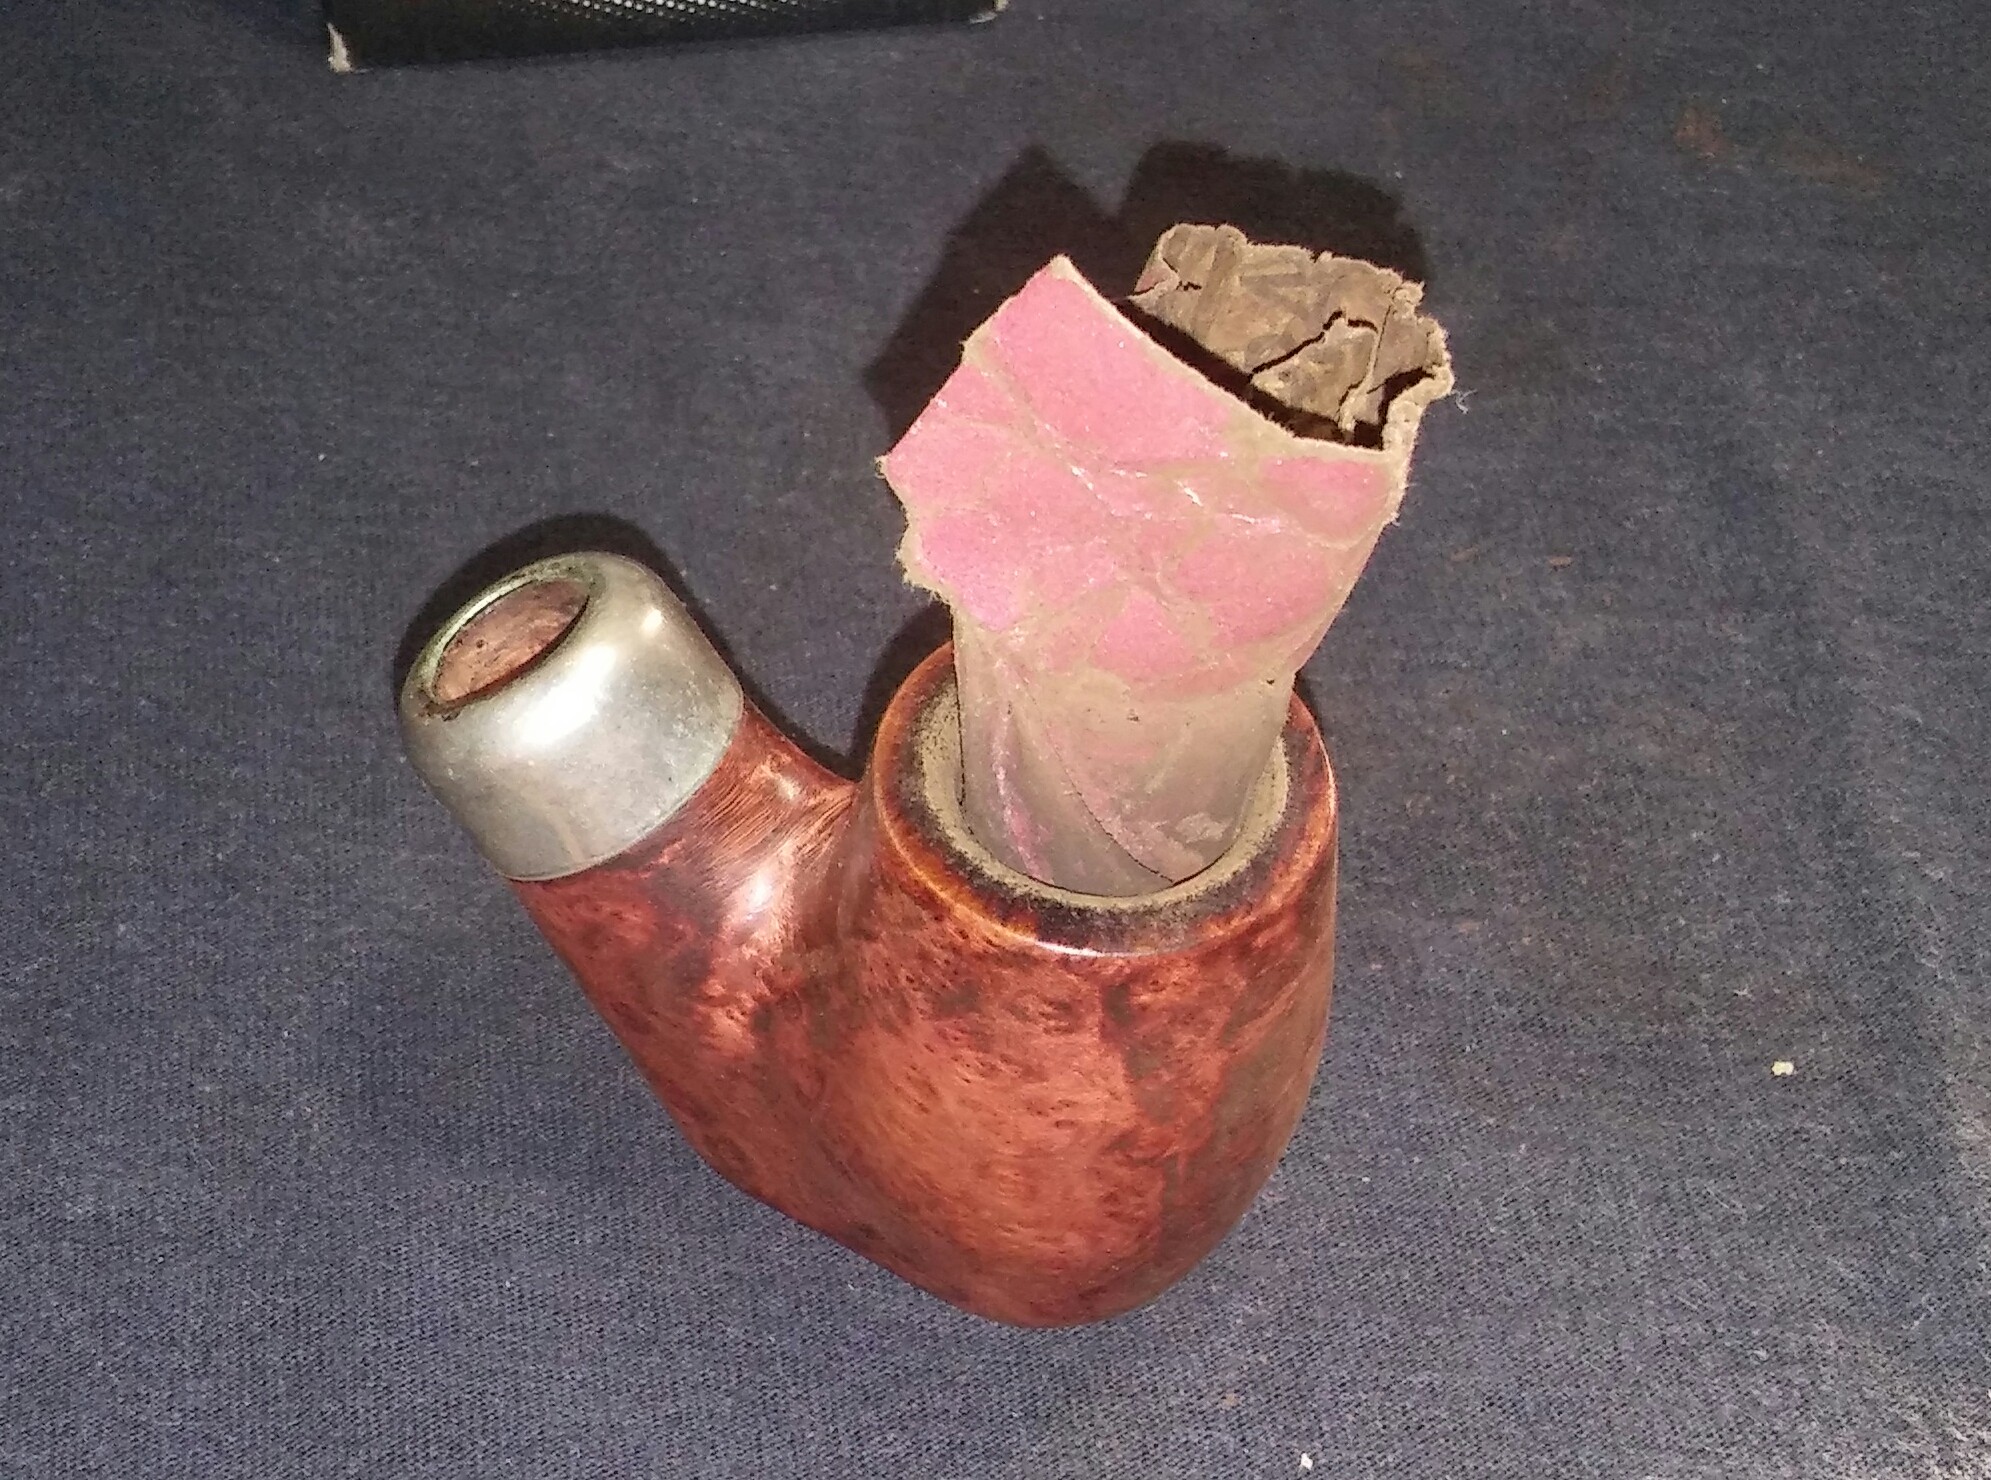
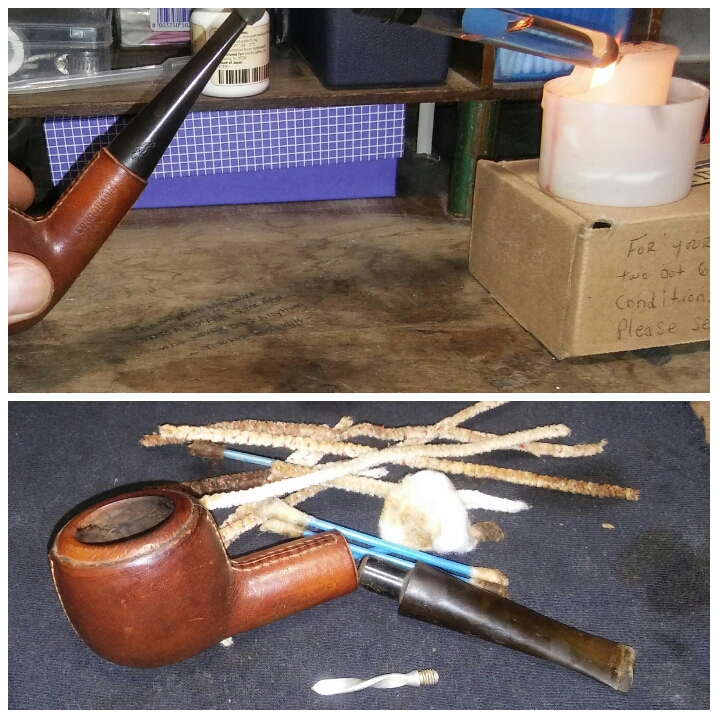
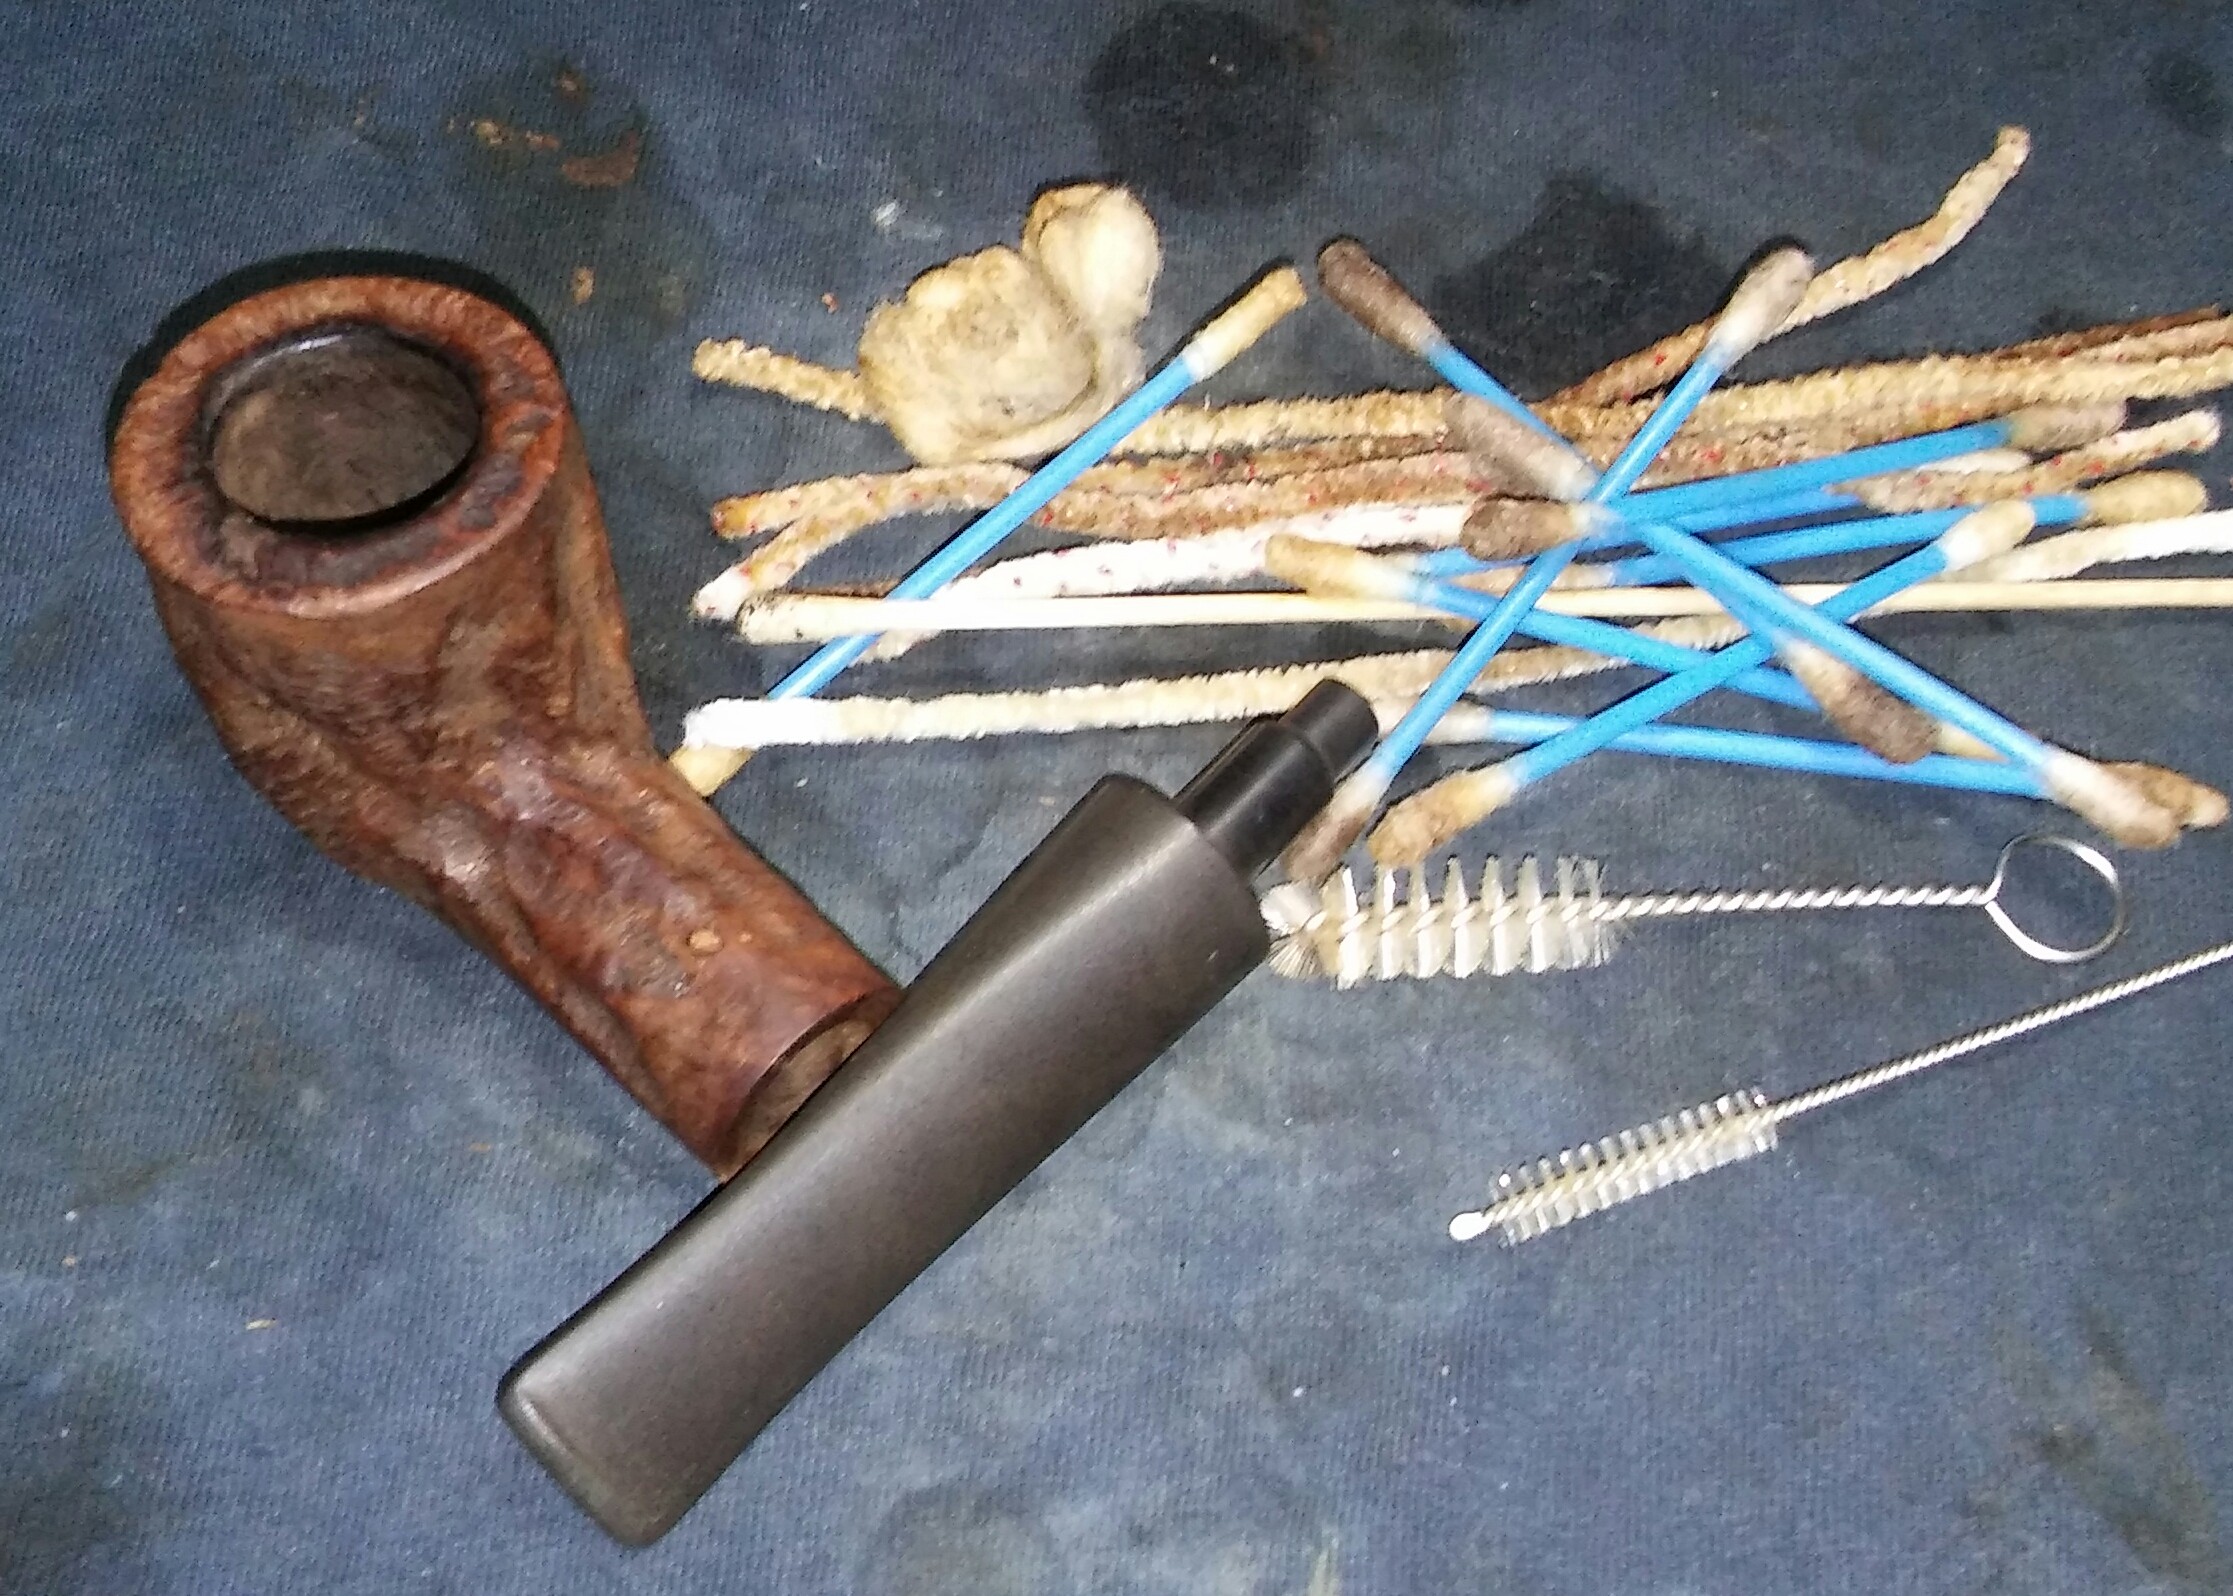
Next I gave the internals a good cleaning. Using EverClear, shank brushes, Q-tips and stiff/soft pipe cleaners. Cleaning until the last pipe cleaner came out as it went in. I now filled the chamber and mortise with cotton balls and added EverClear until the cotton balls were saturated and set it aside for a few hours to absorb the tars and oils. The Lakeland ghost would not give up, the stummel was left over night with EverClear and cotton balls and hopefully did the trick.
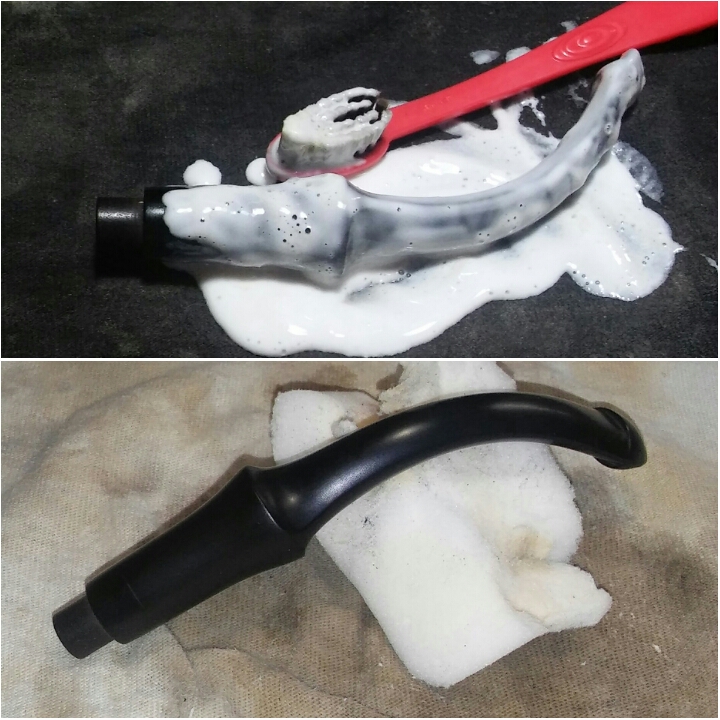
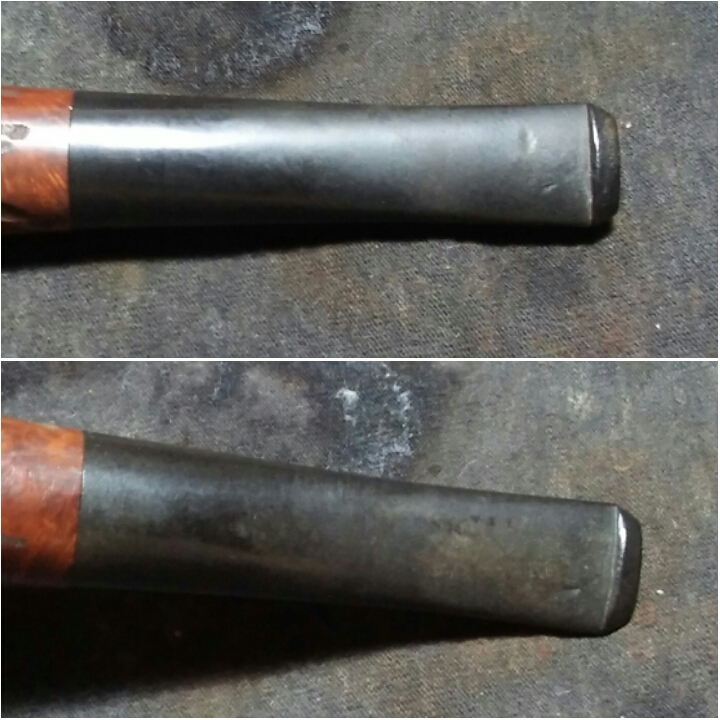
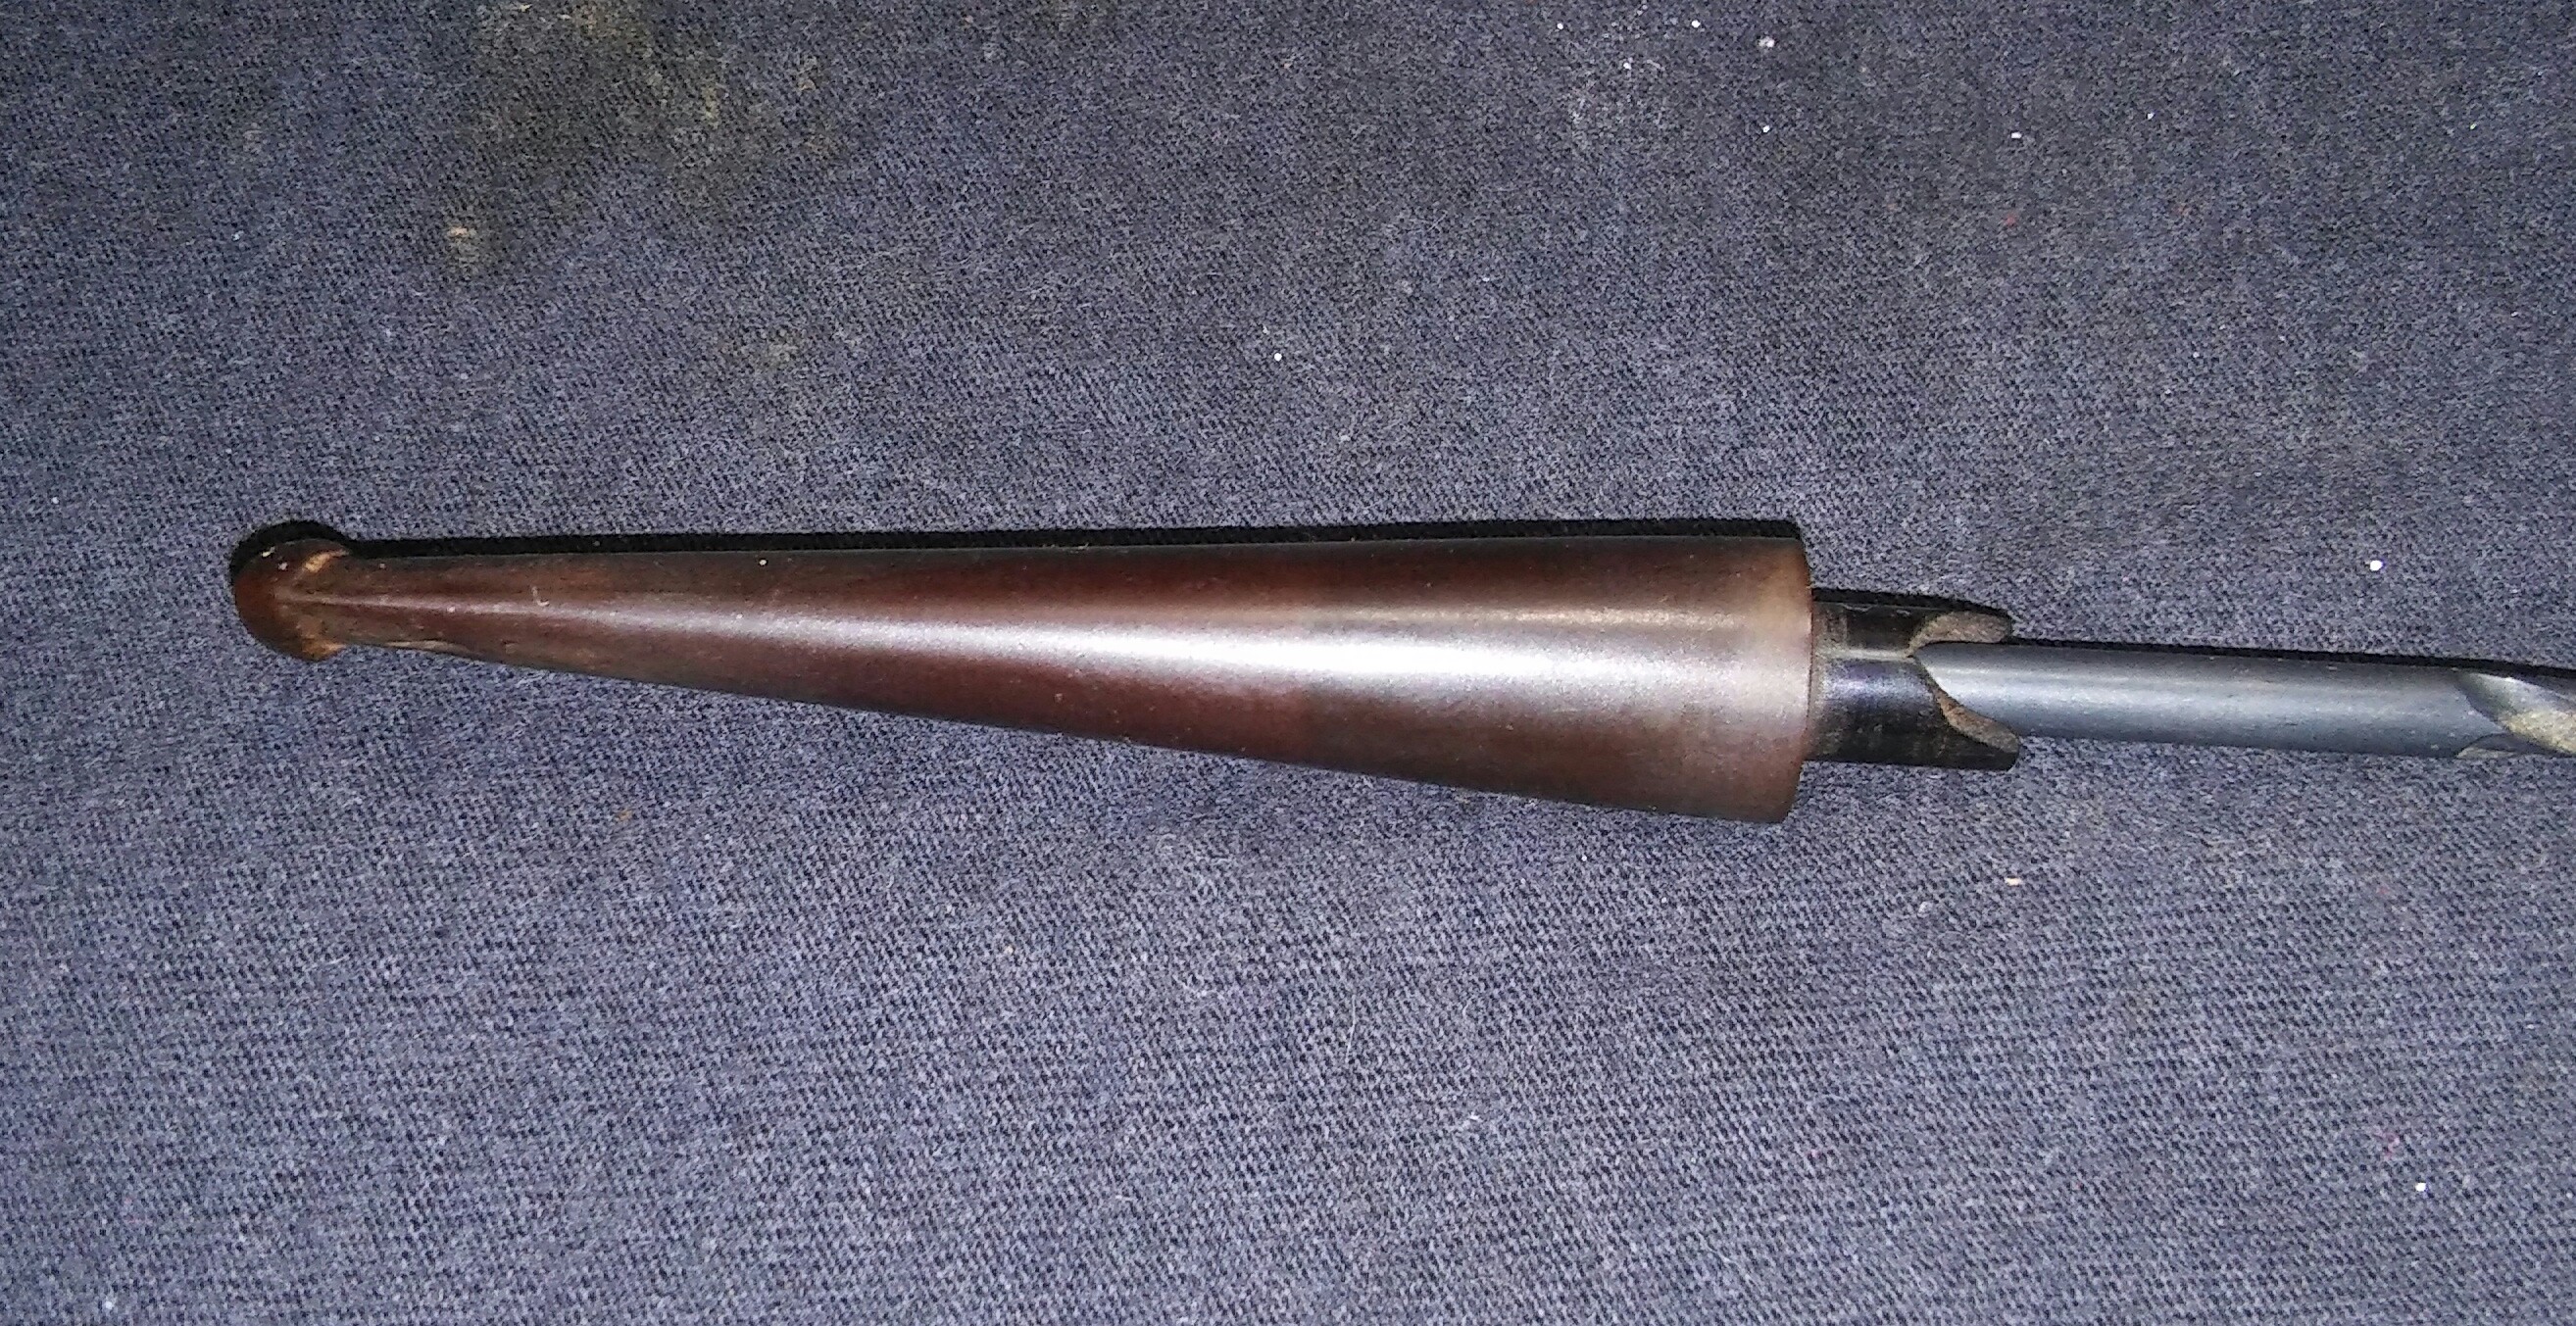
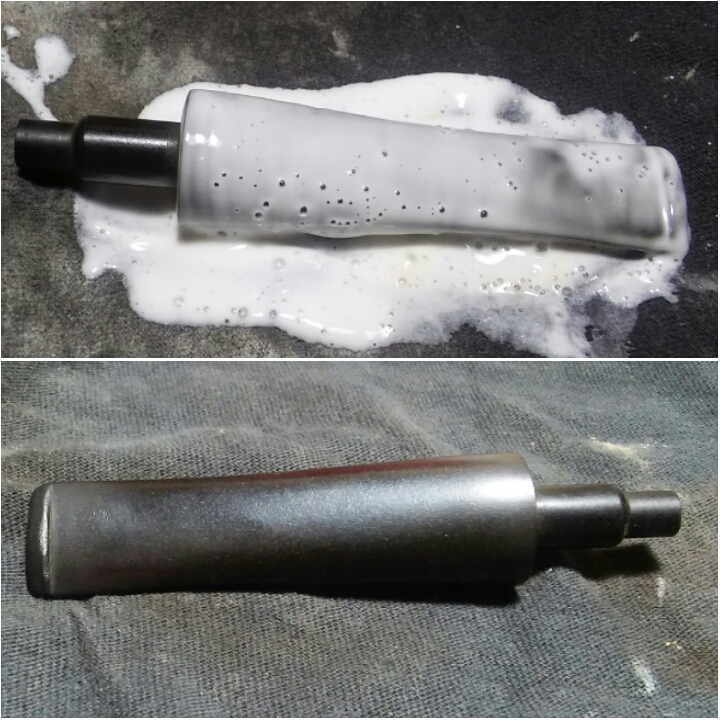
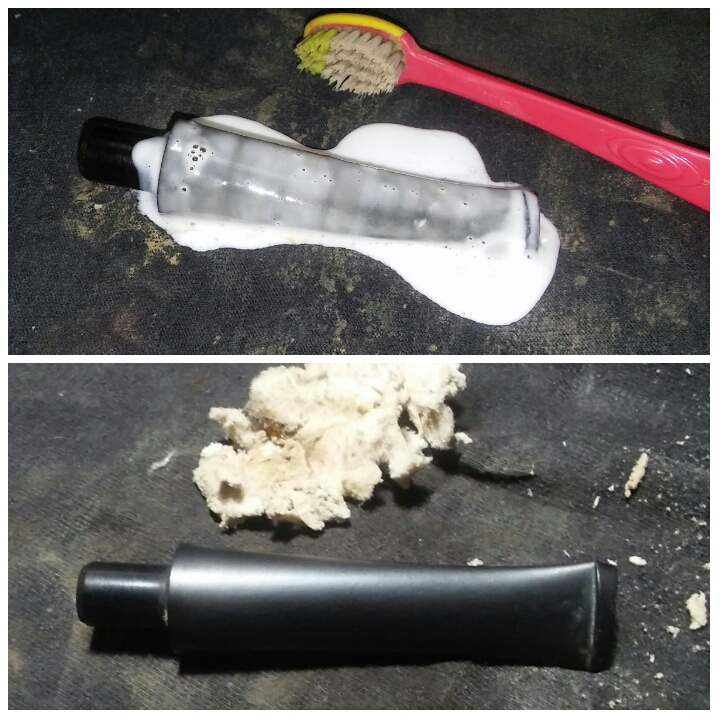
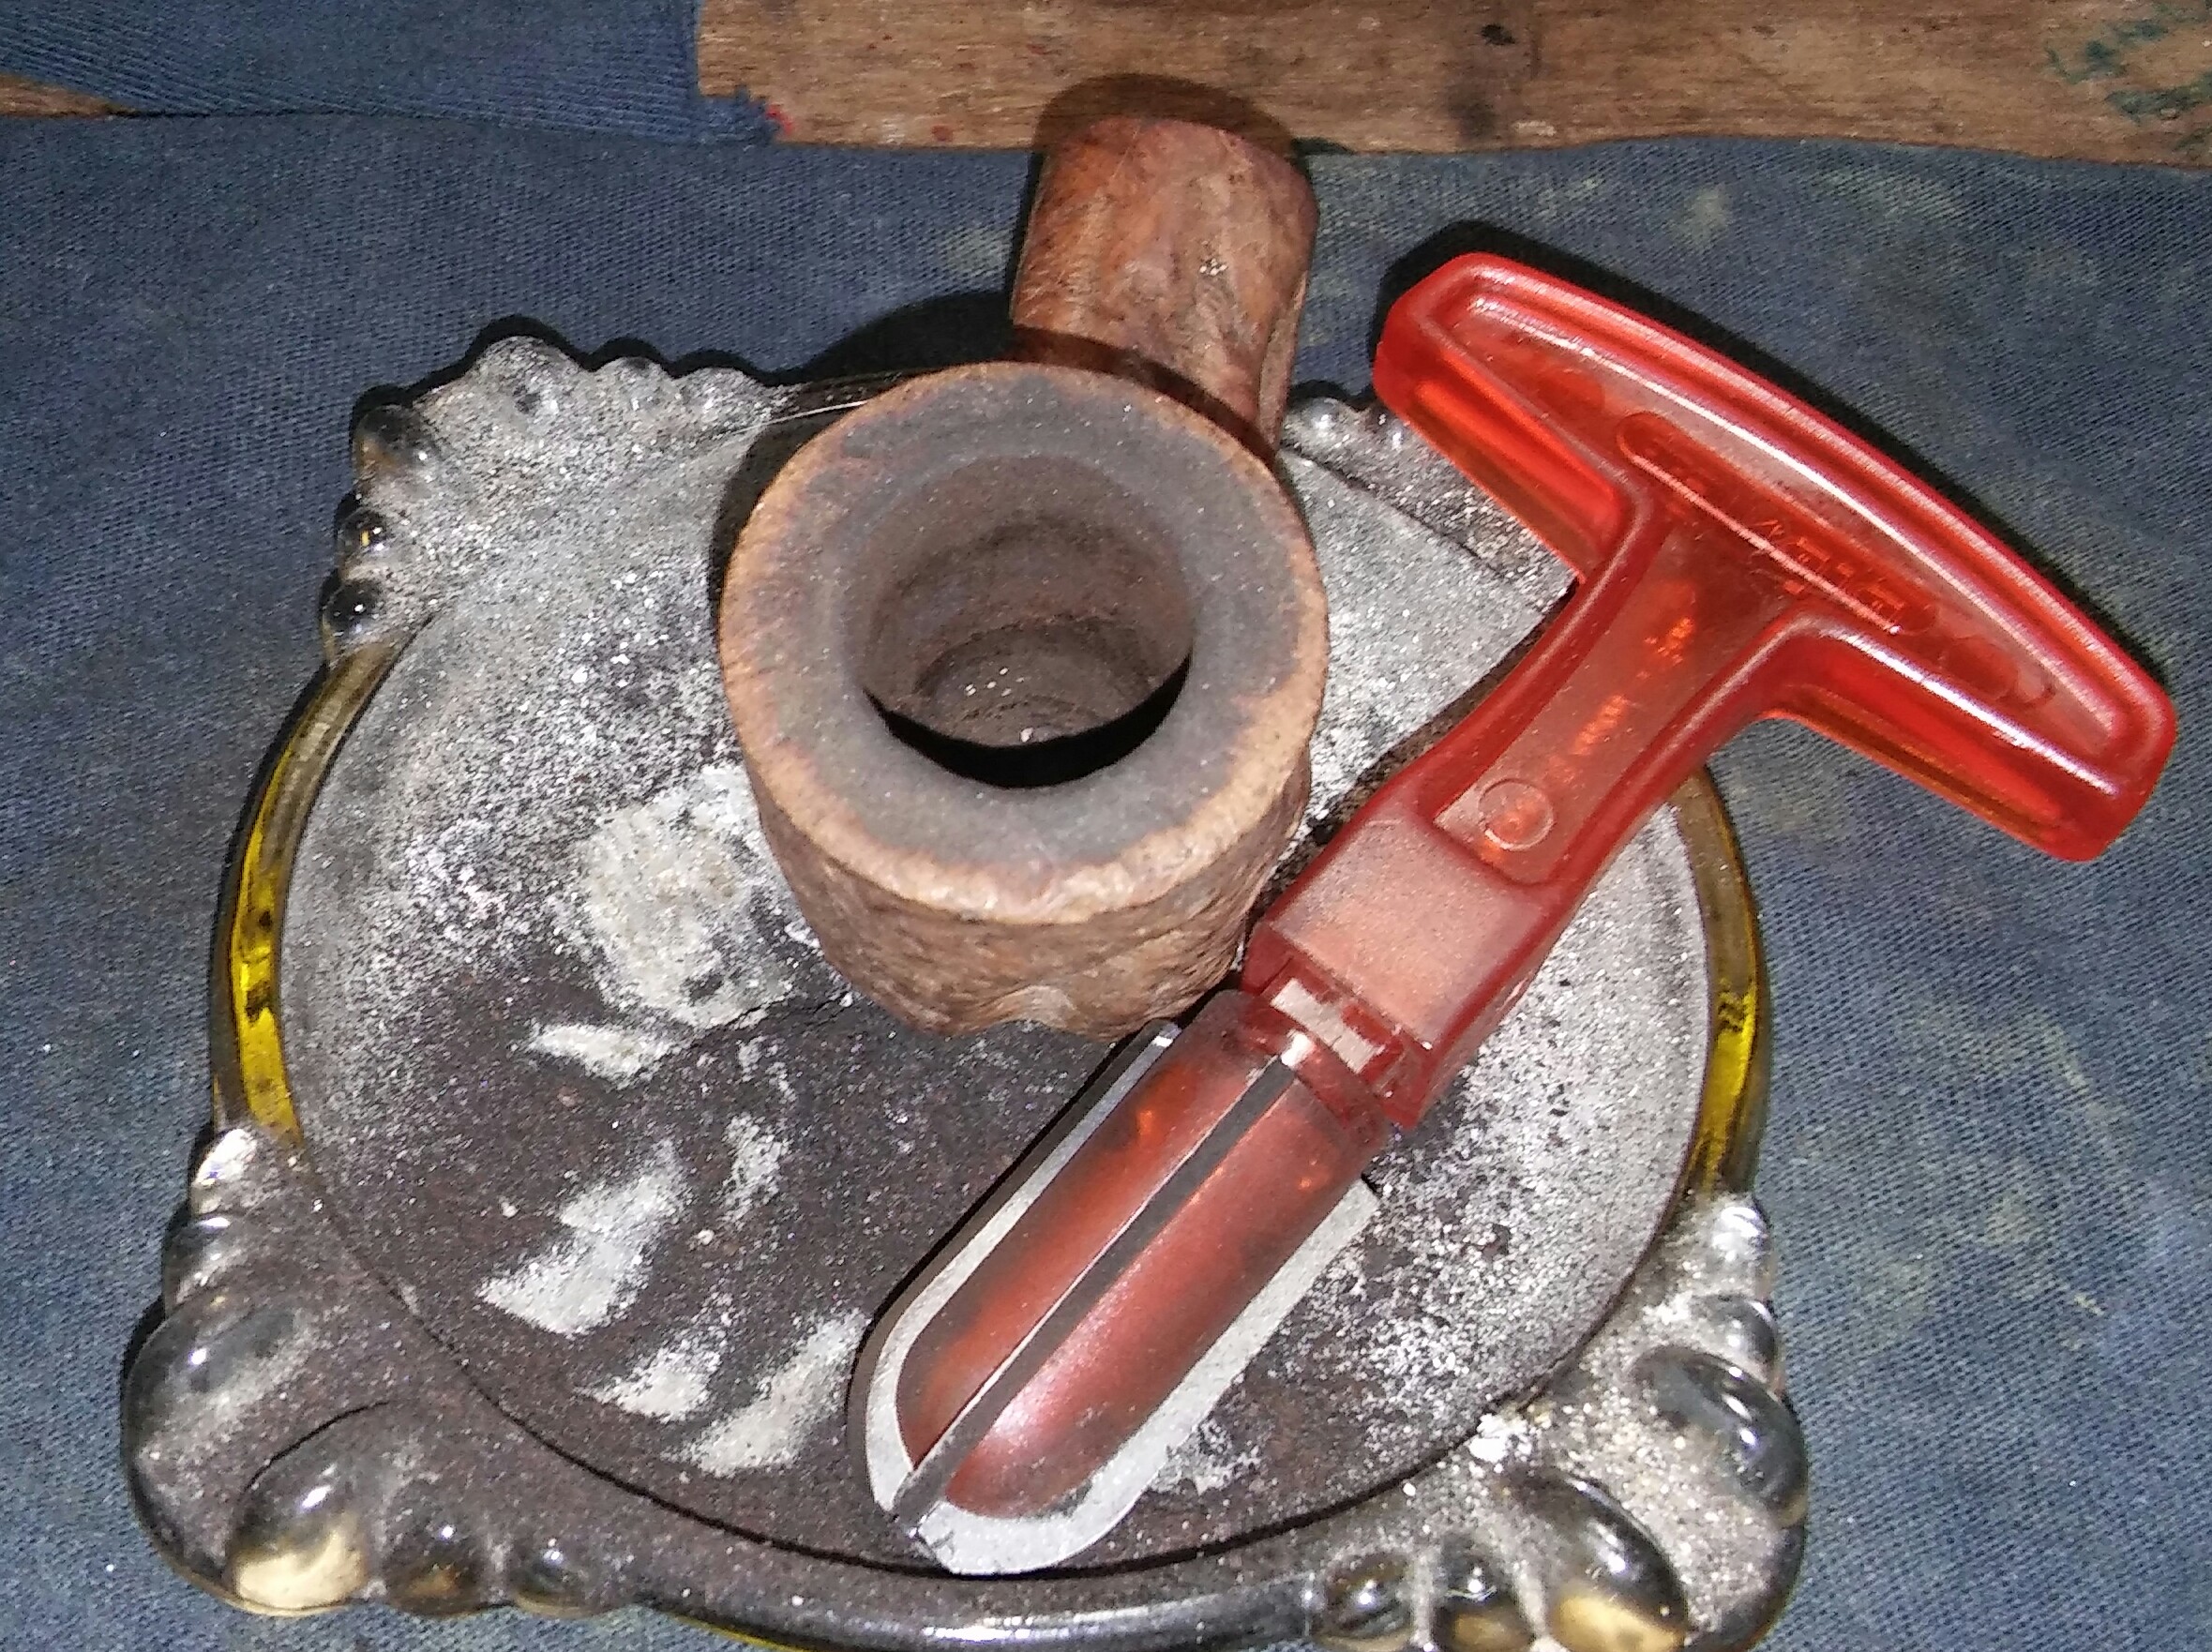
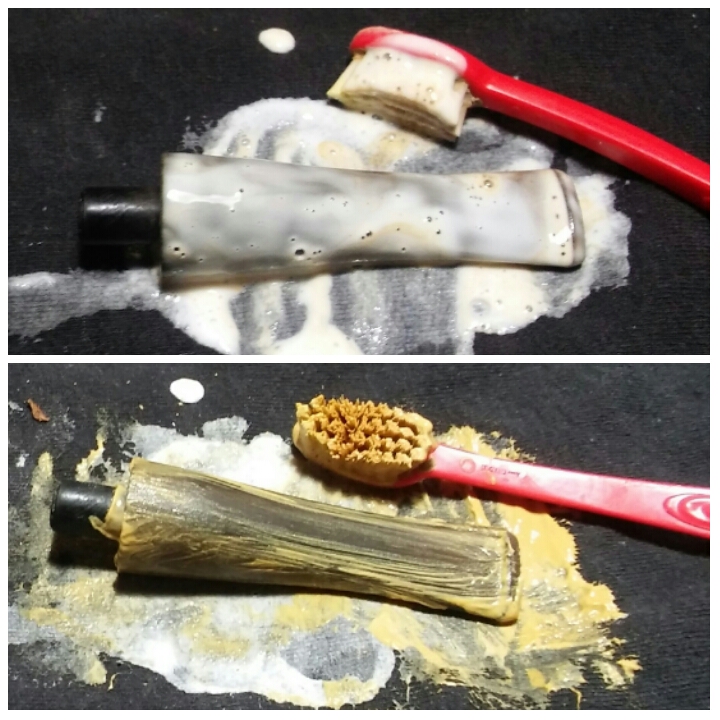
My attention now turned to the oxidized stem. I applied non-bleach Soft Scrub to the stem with a children’s toothbrush and left it aside to penetrate the oxidation. Once the Soft Scrub turns from white to a brownish color its time to introduce the old elbow grease and scrub vigorously with a rag until the oxidation is removed. I finished up with a damp Magic Eraser to remove the leftover oxidation.
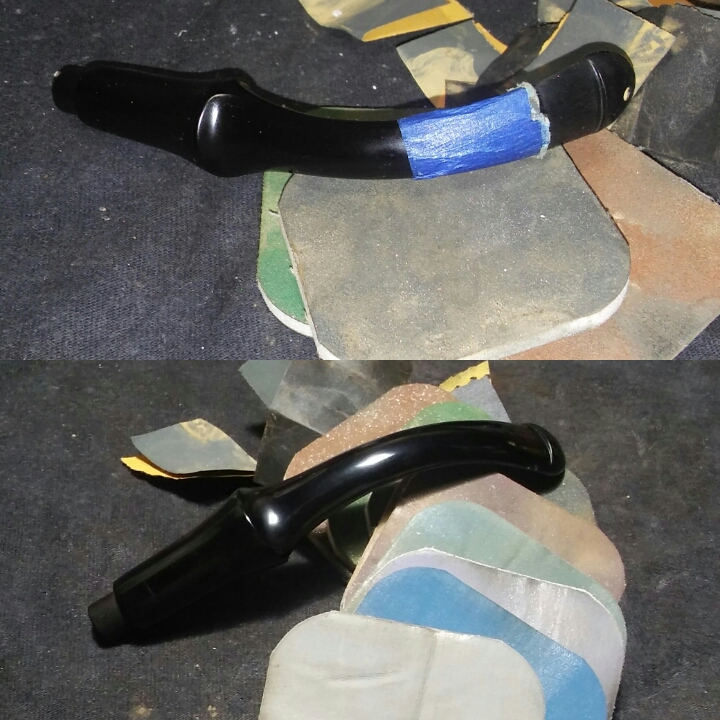
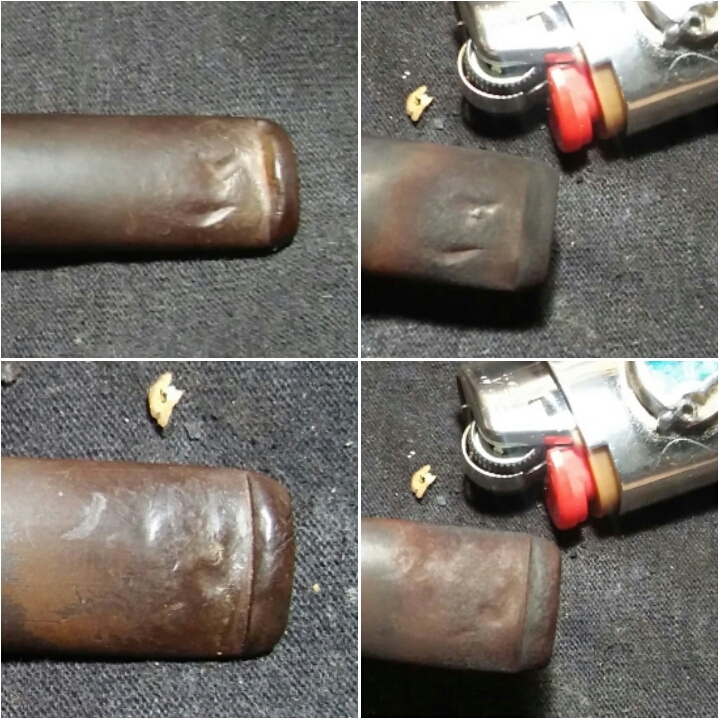
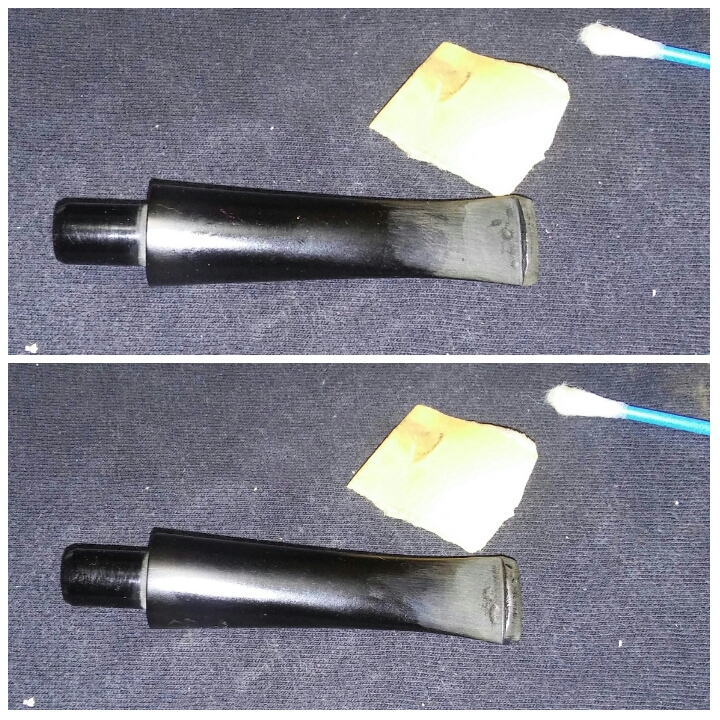
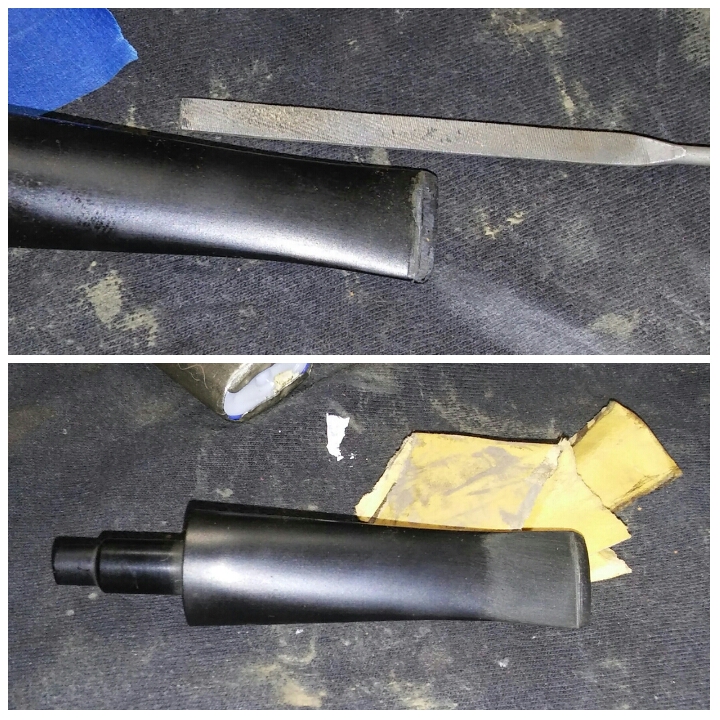
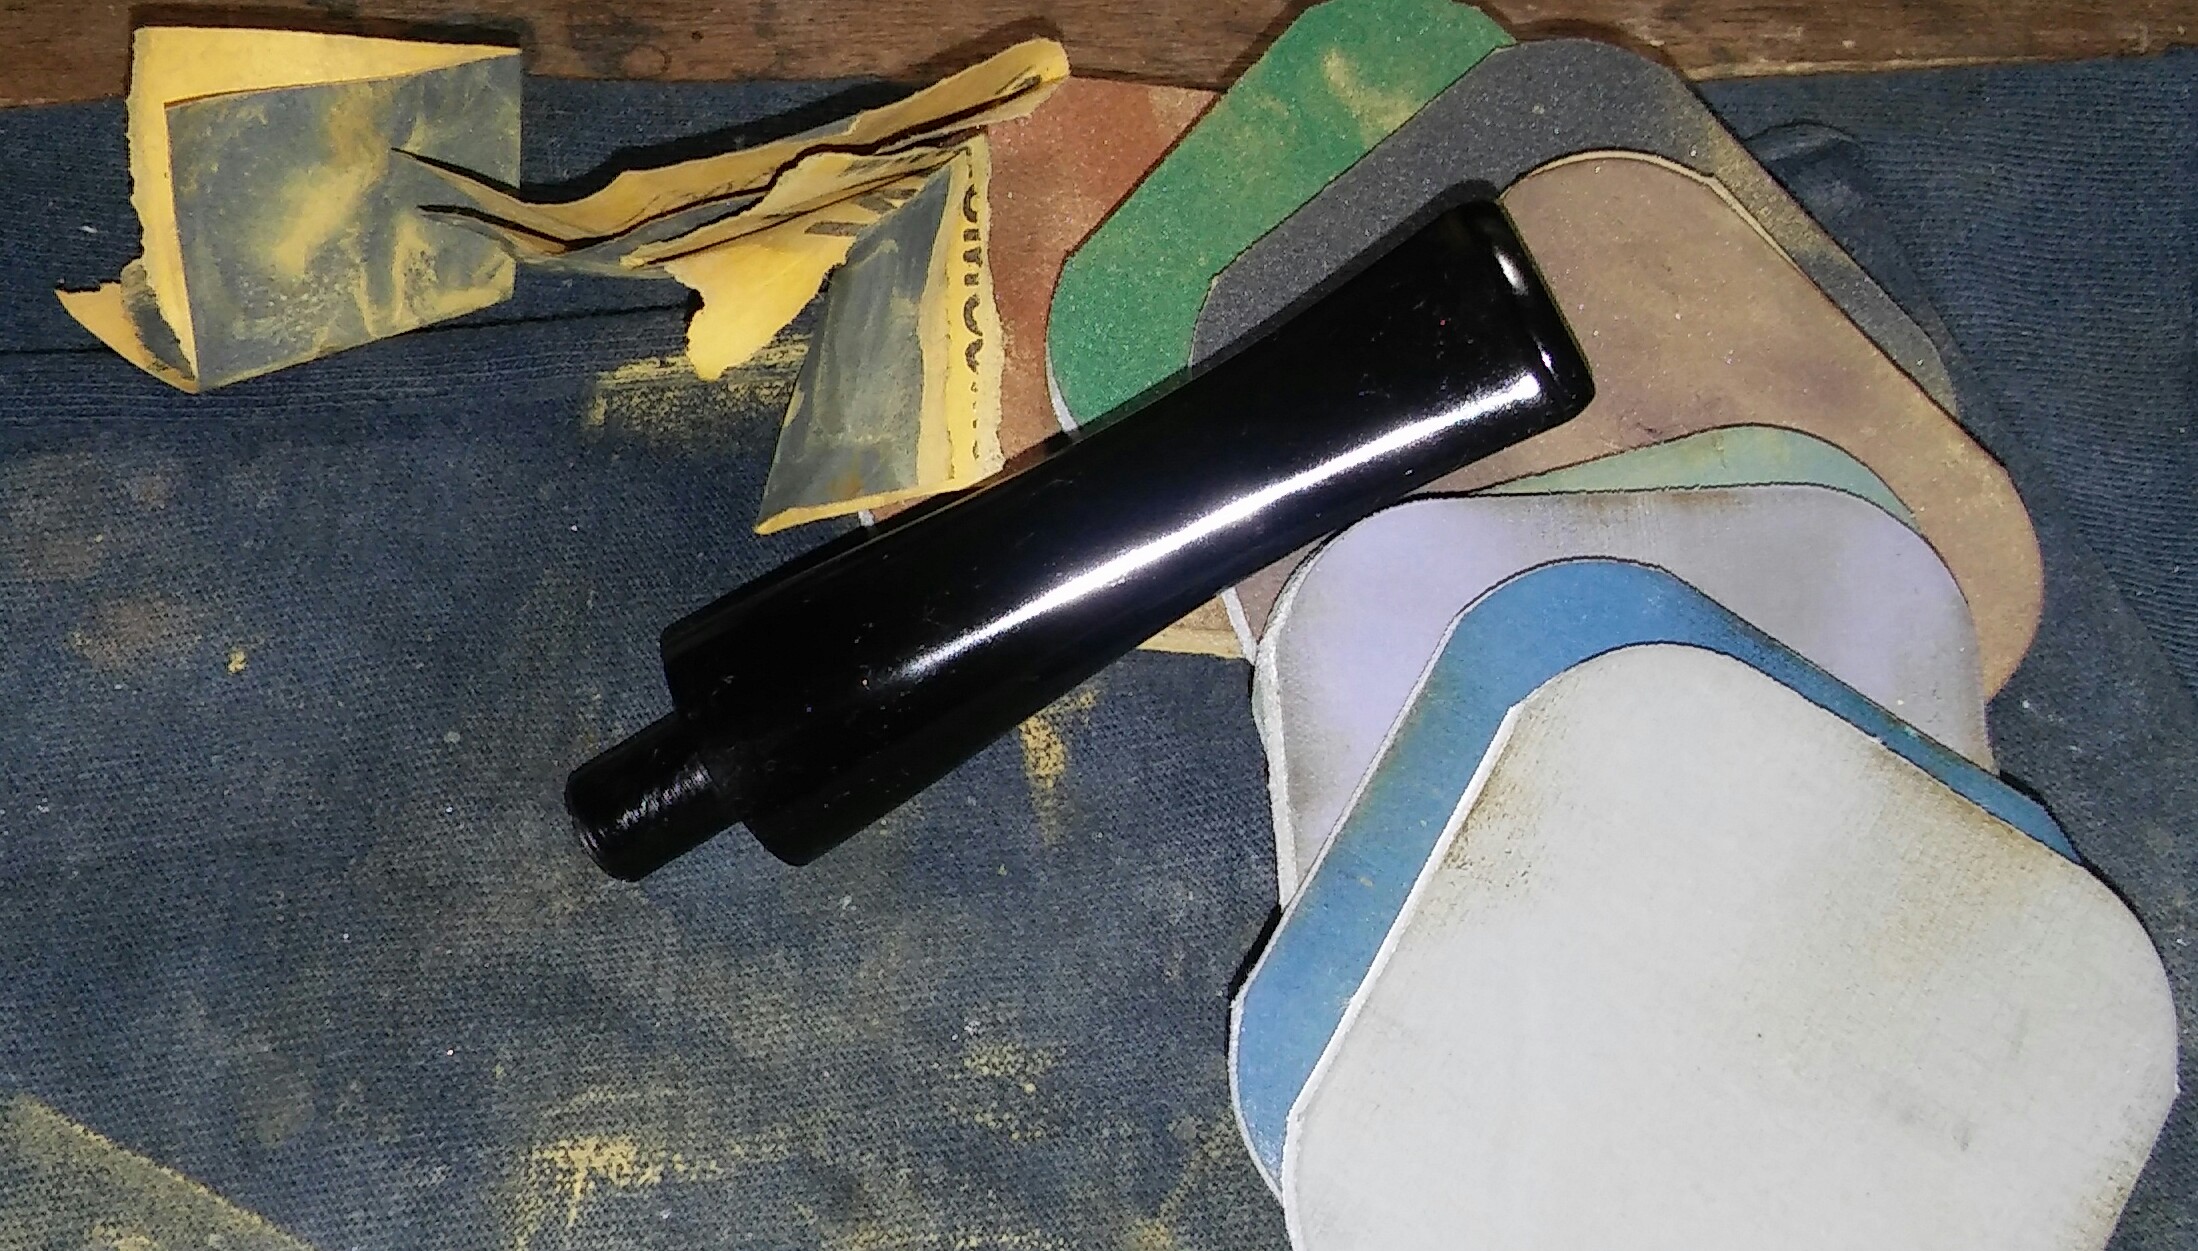
With the oxidation removed I could begin removing the impressions at the bit. I tapped off the stem with blue painters tape just before the P-lip so my rough sanding would remain in one area, the rest of the stem would not need as abrasive grit. Starting with 400 grit sandpaper wet I removed the deep impressions, then working through 800, 1000 grit sandpaper wet, 1500, 1800 micro-mesh wet, 2000 grit sandpaper wet and finally 2400 micro-mesh wet until smooth. Before sanding with the finial six micro-mesh pads I removed the painters tape and dry sanded the entire stem 3200-12000.

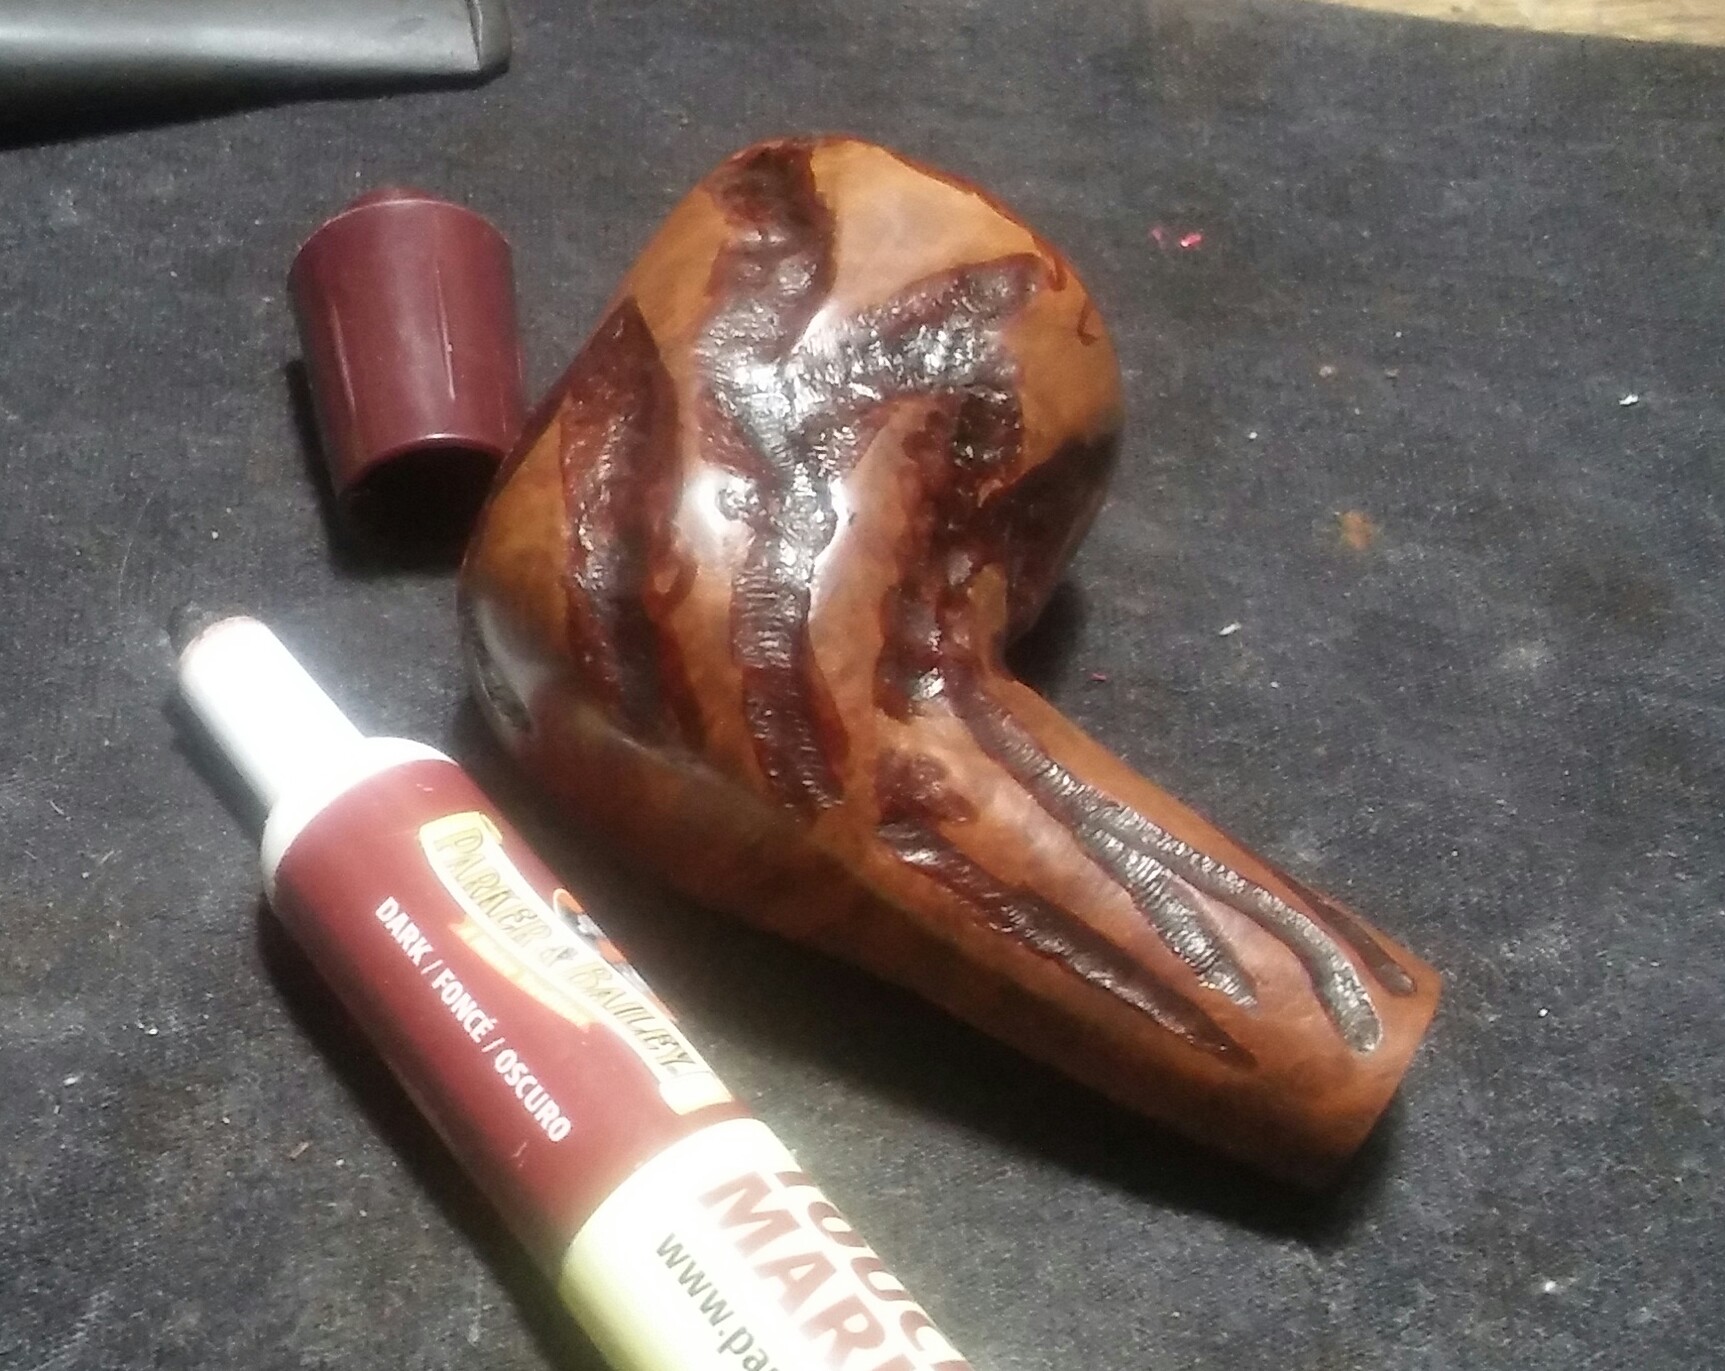
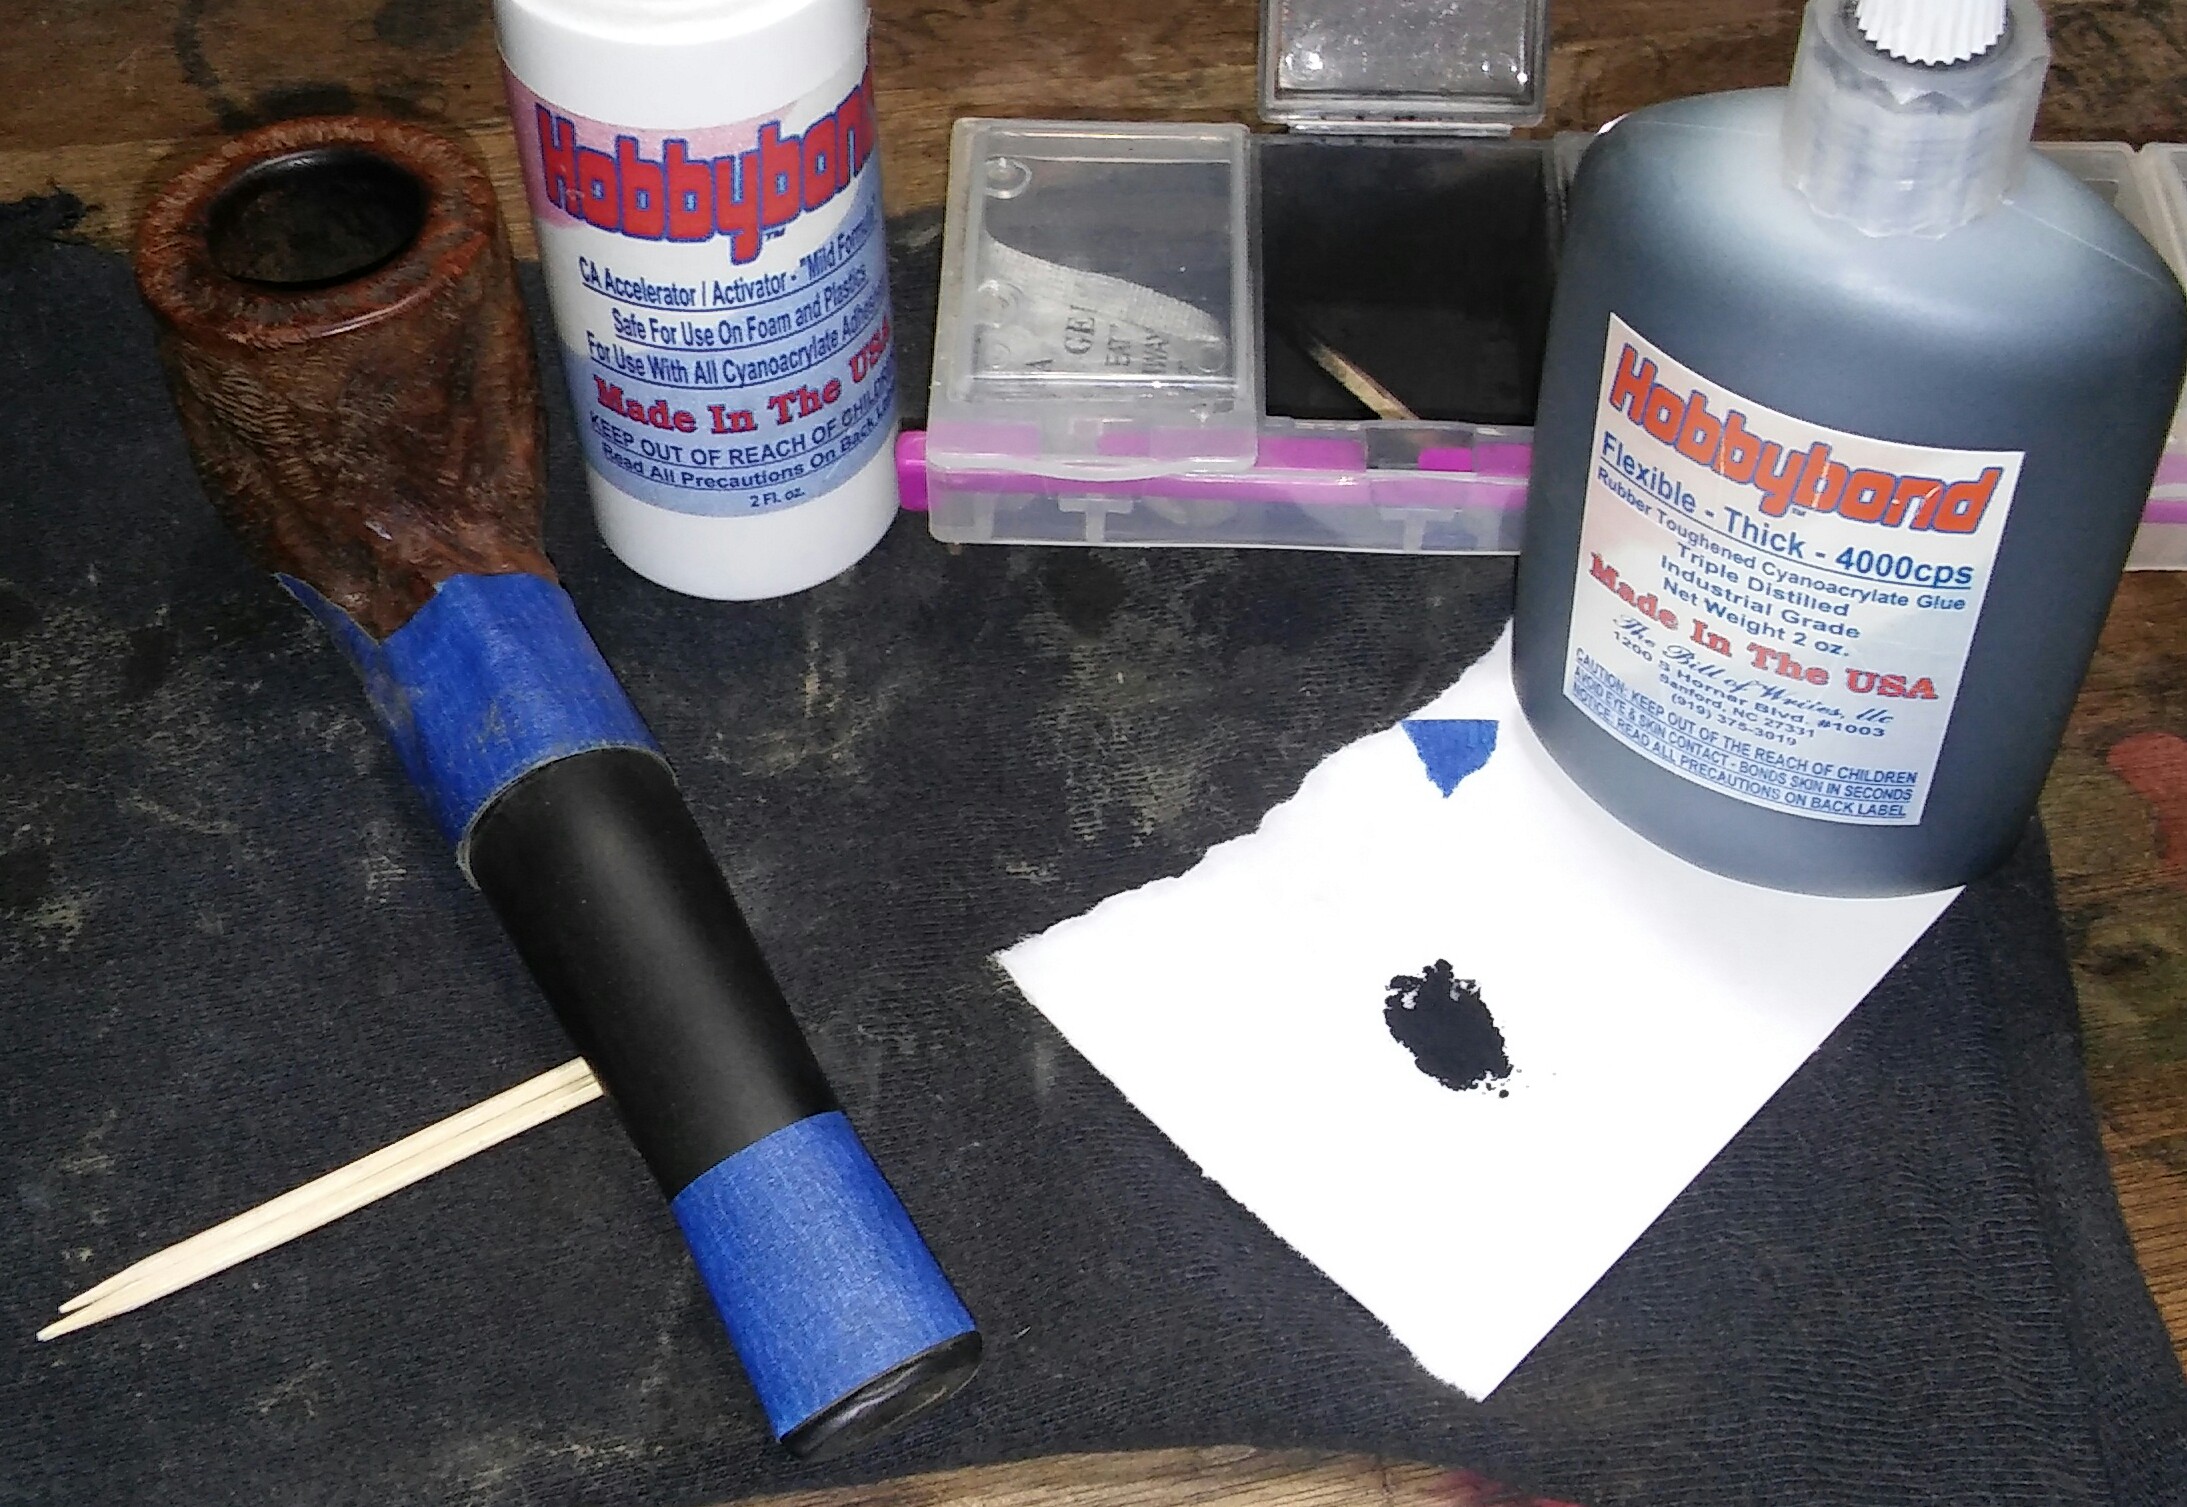
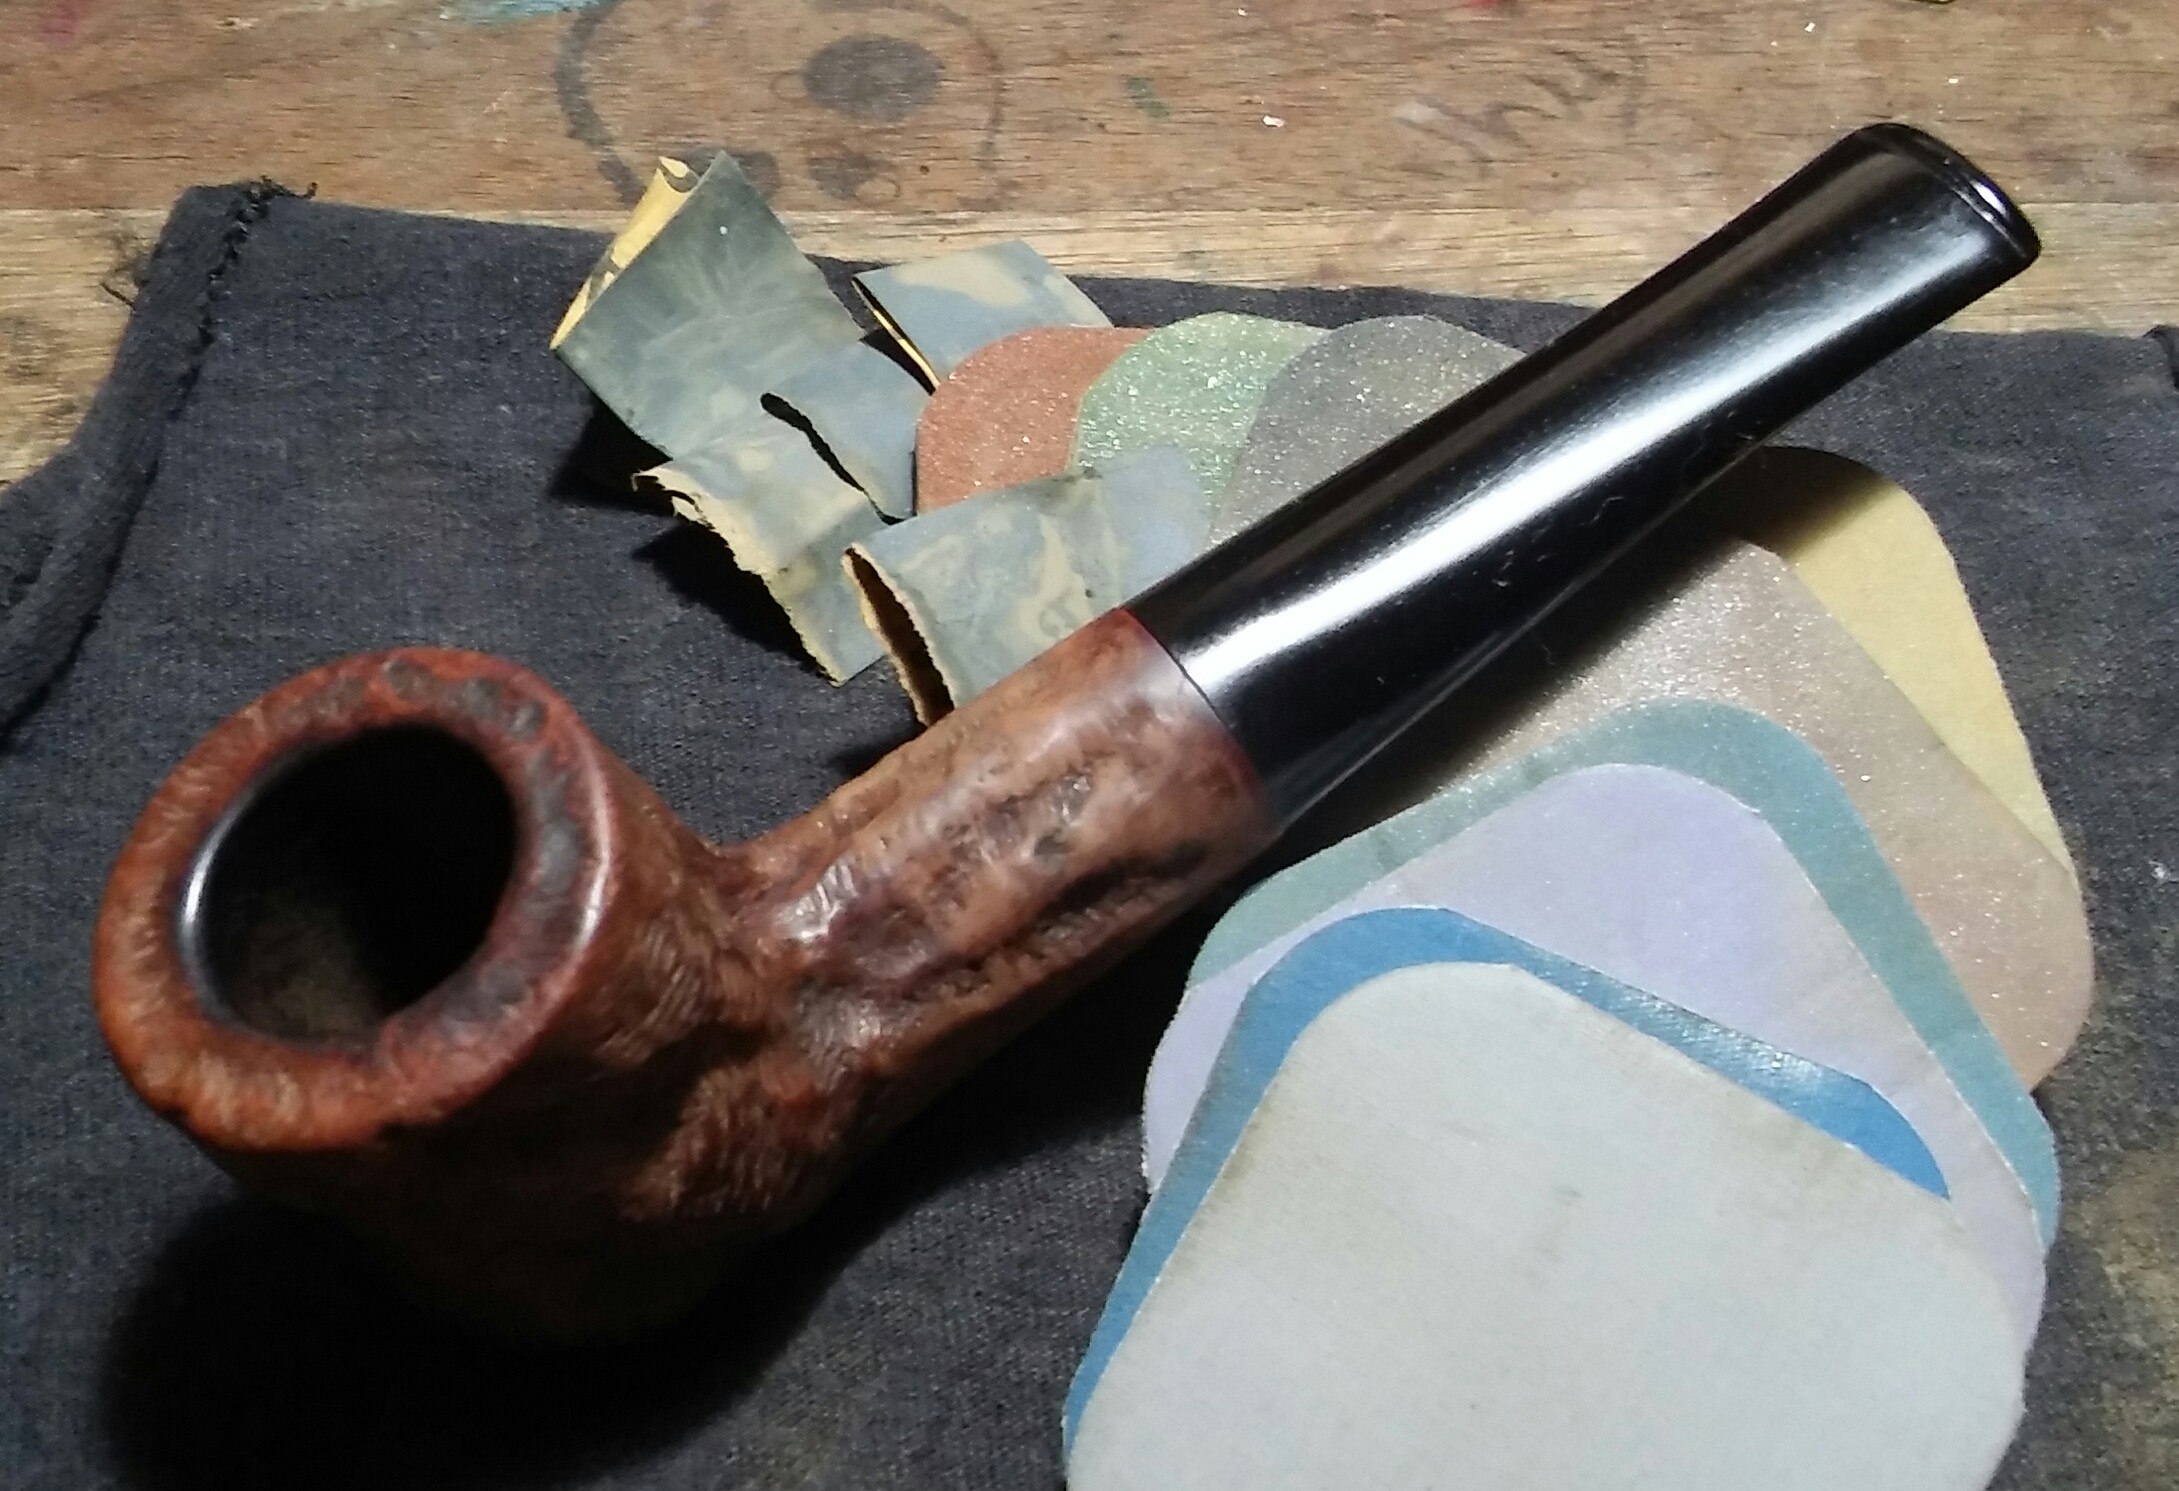
There was one small spot of filler that would need to be removed. To remove I used Method Good For Wood Polish, an X-ACTO knife and a Q-tip, I applied a small amount of the polish with a Q-tip to the filler and left it aside to soften up. Once softened I removed the filler with the X-ACTO knife, I then cleaned the area with a Q-tip and EverClear to remove any oils or debris. I filled the pit with Gorilla Glue and briar dust and allowed it to dry. Once dry I sanded the area with worn micro-mesh until the repair was flush.
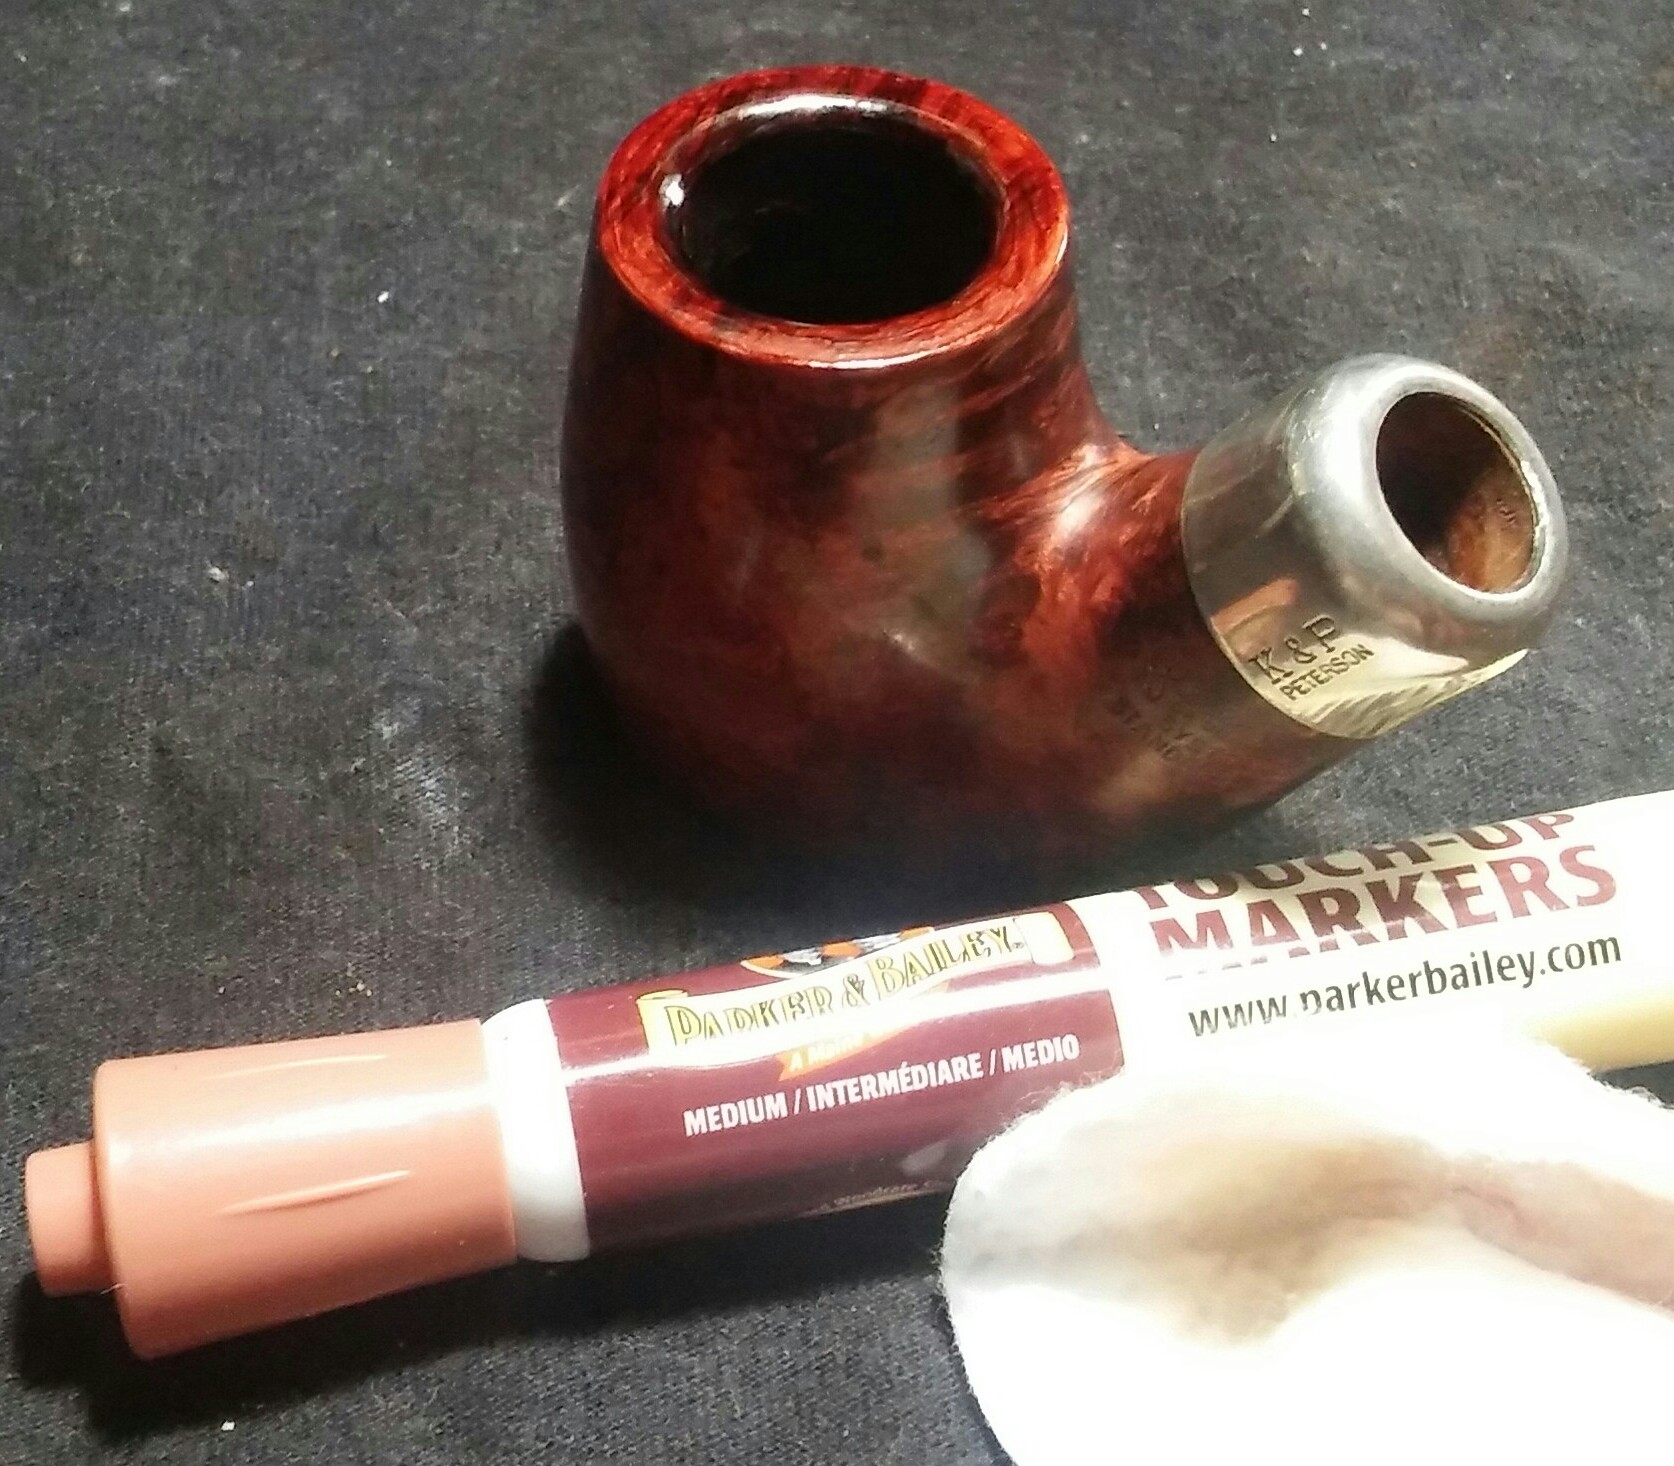
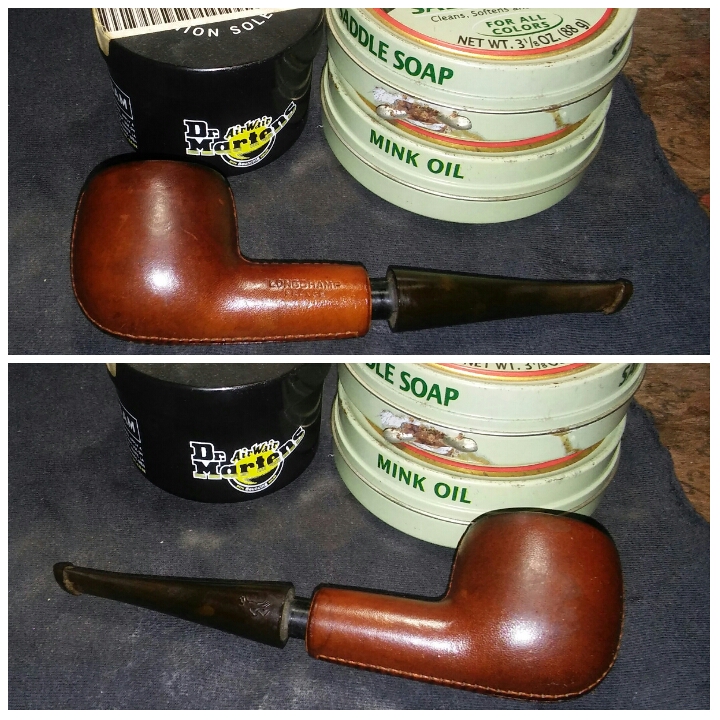
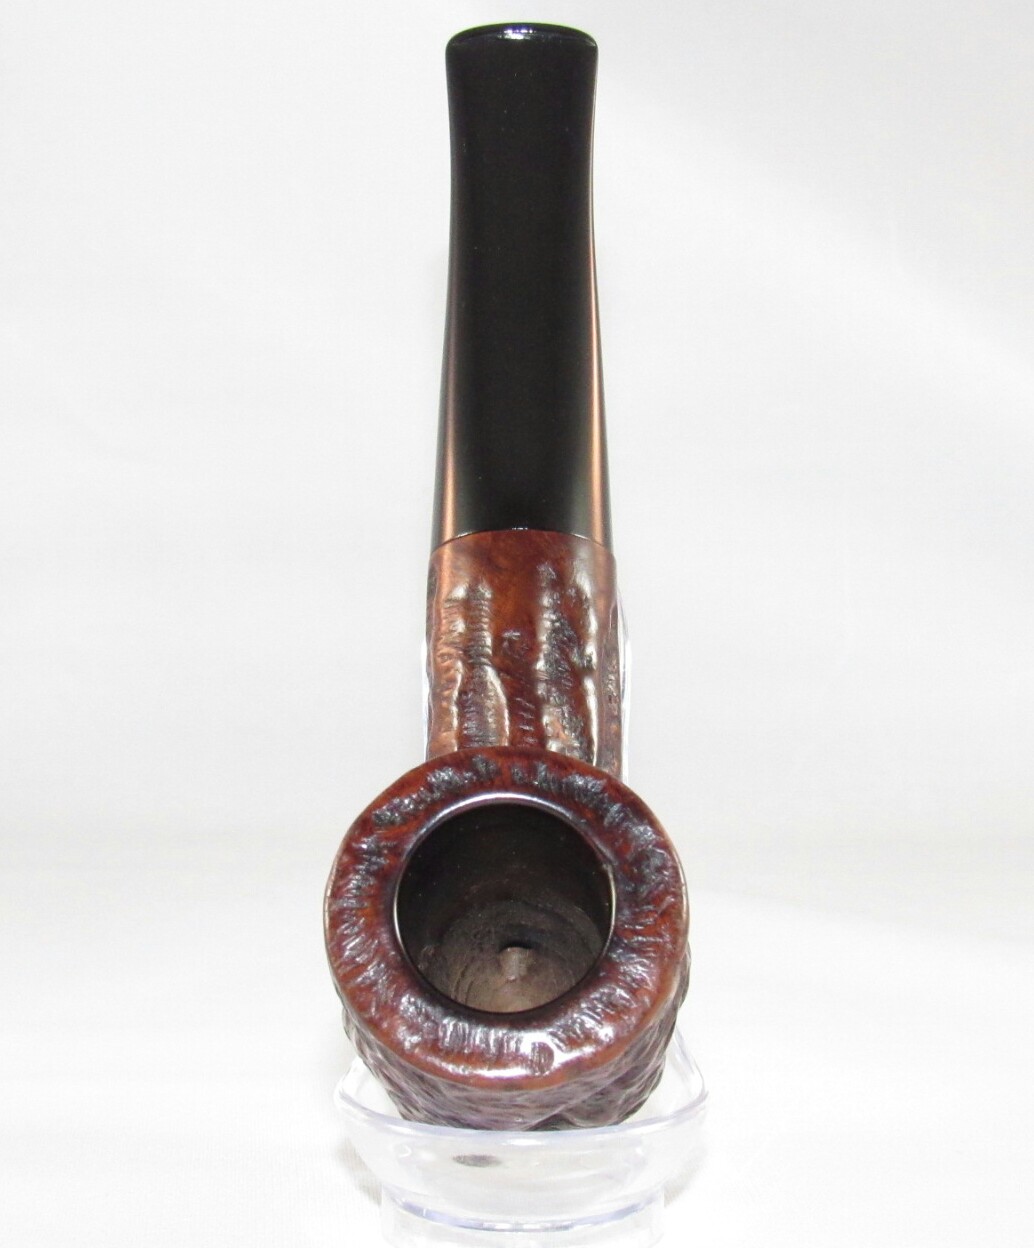
The rim and filler spot was left lighter after sanding with the micro-mesh, using a touch up marker I was able to blend the faded rim and filler spot into the rest of the finnish. Coloring in the rim and filler spot with the marker allowing to dry and removing the excess with an alcohol dampened rag. In the end I could not exserminate the Lakeland ghost completely but with smoking it will likely dissipate.
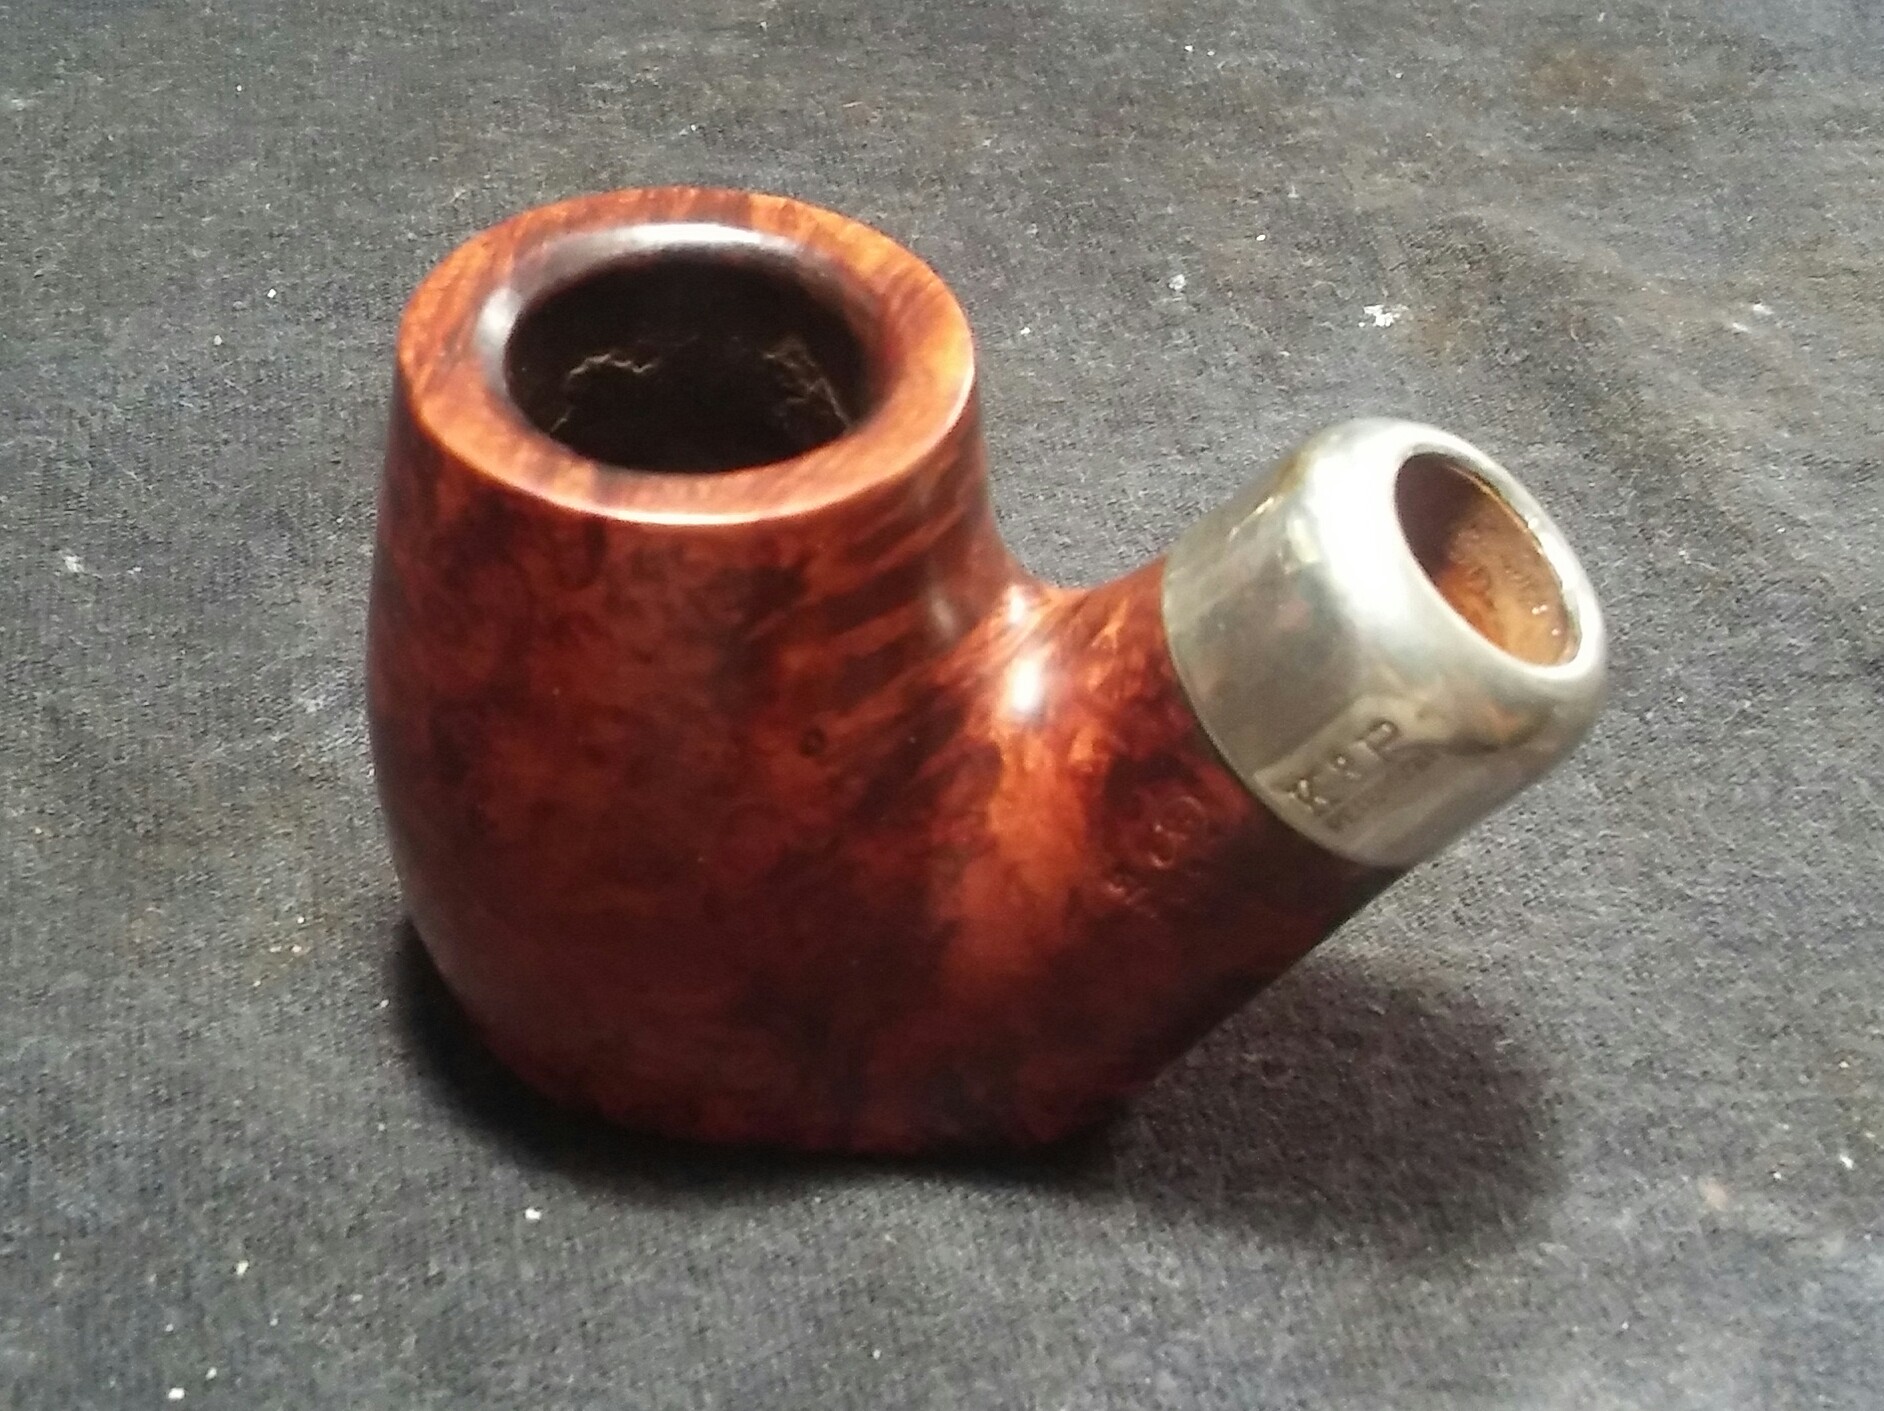
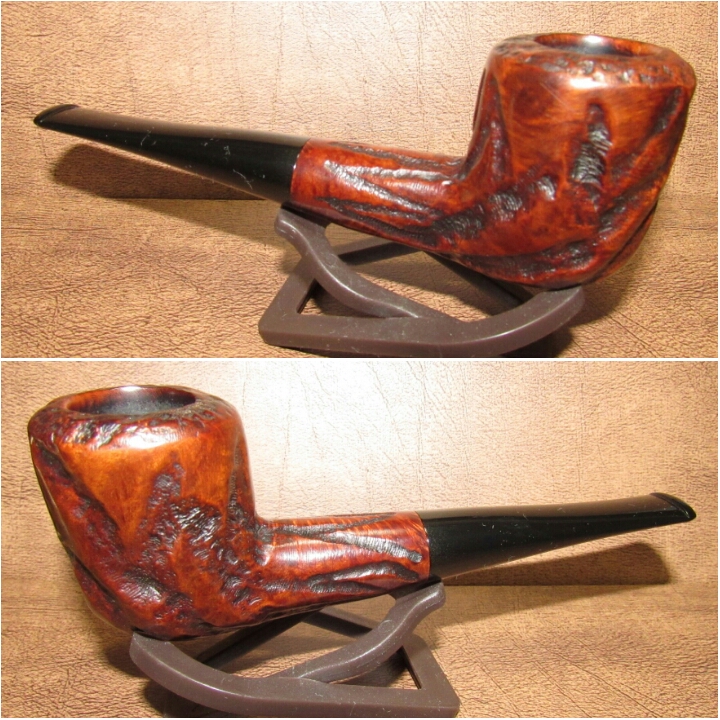
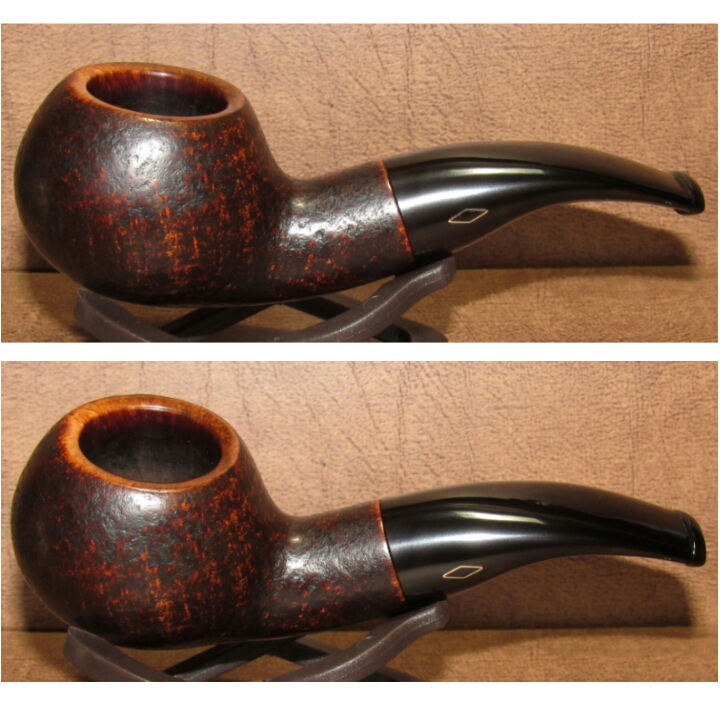
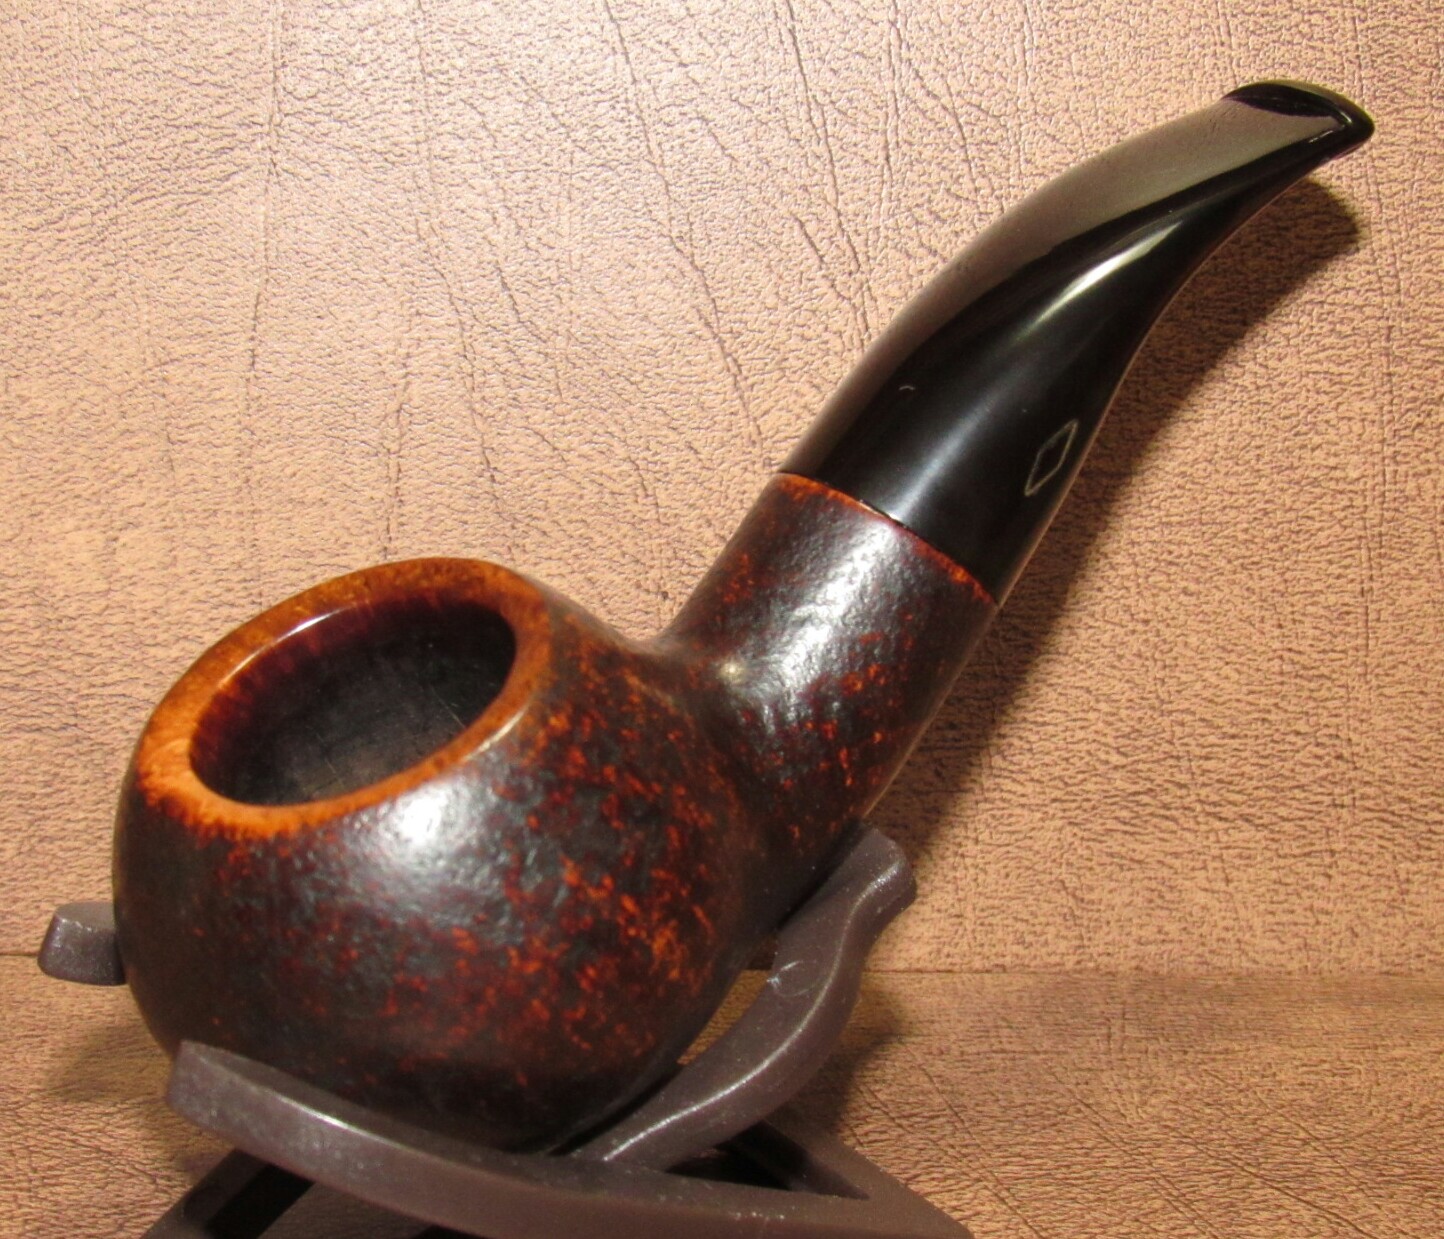
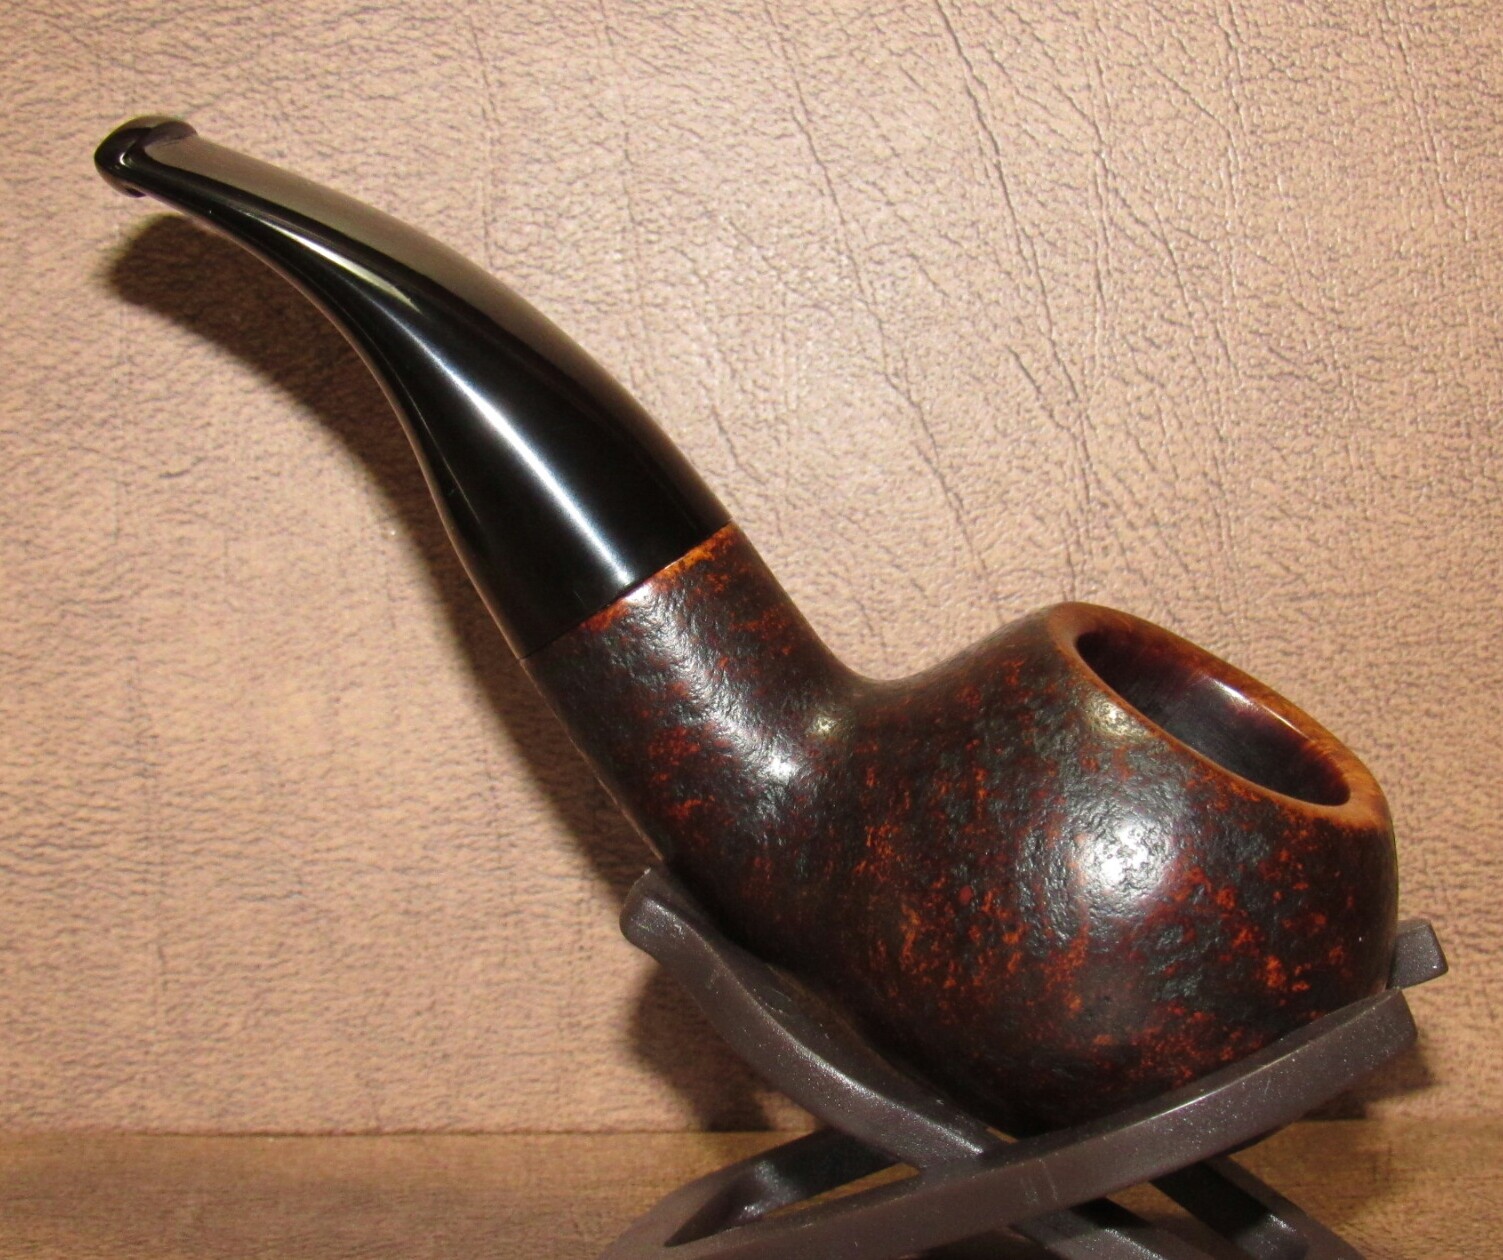
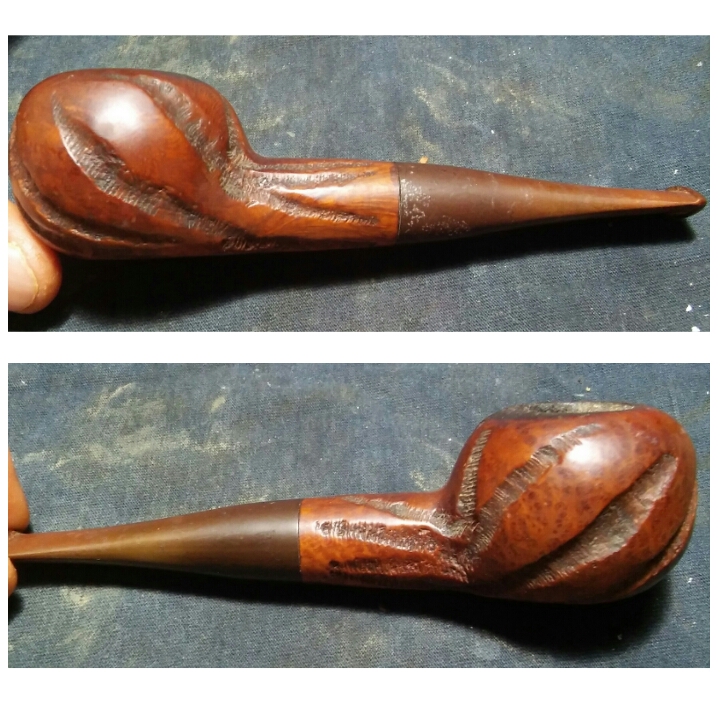
Complete.

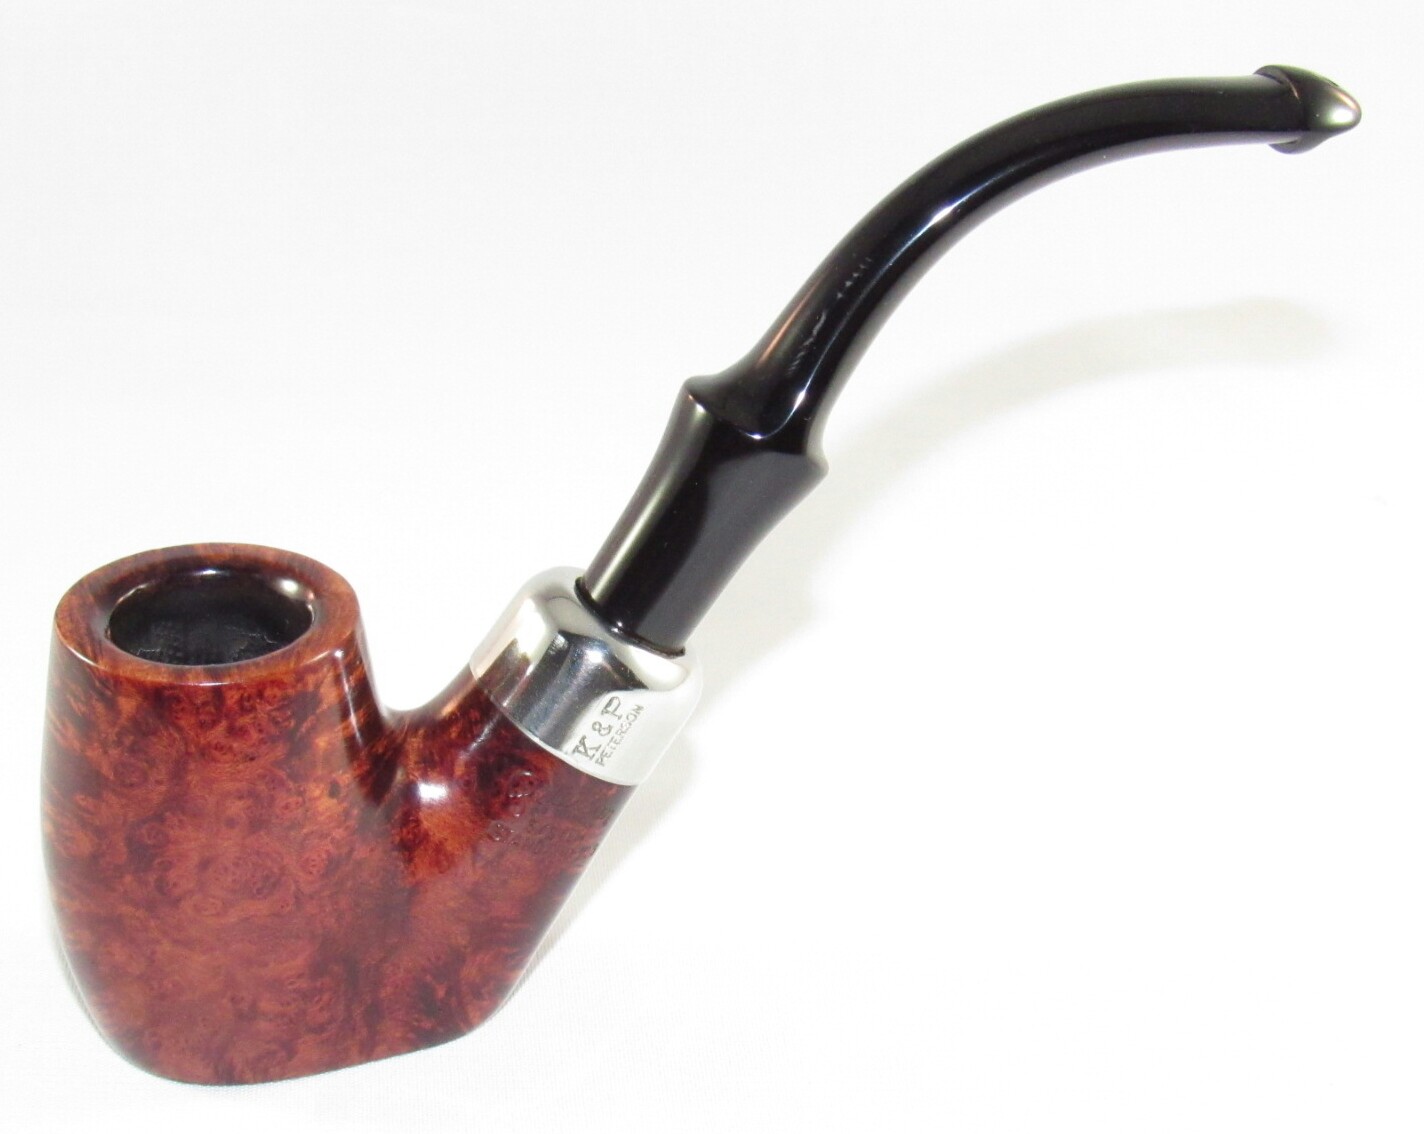


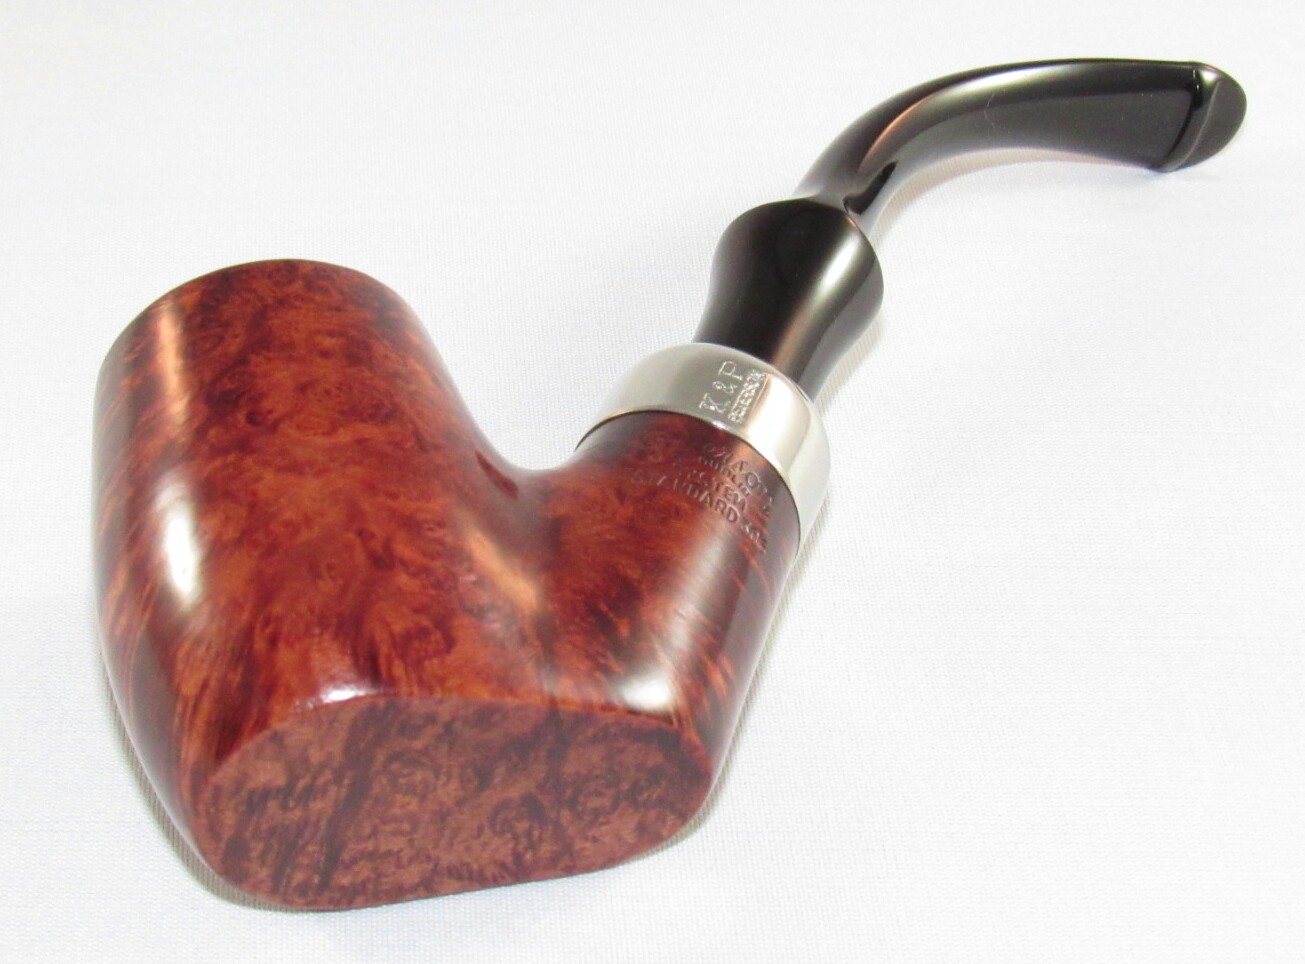
I finished up on the wheel with white diamond, a few coats of carnauba and a microfiber hand buffing. Buffing the stem with blue compound.


You must be logged in to post a comment.