


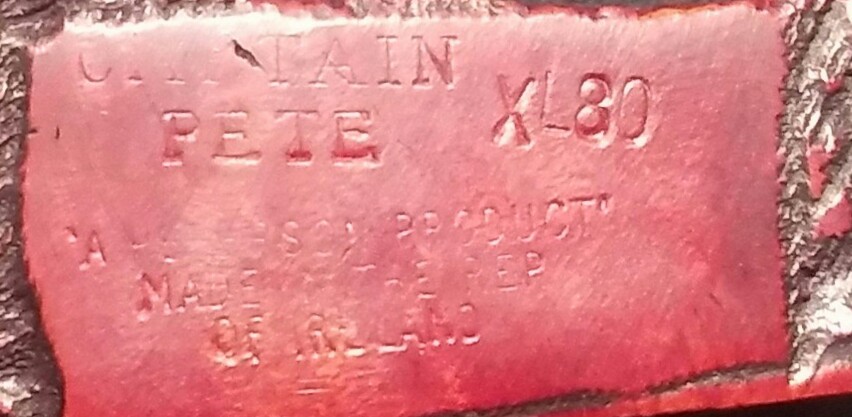
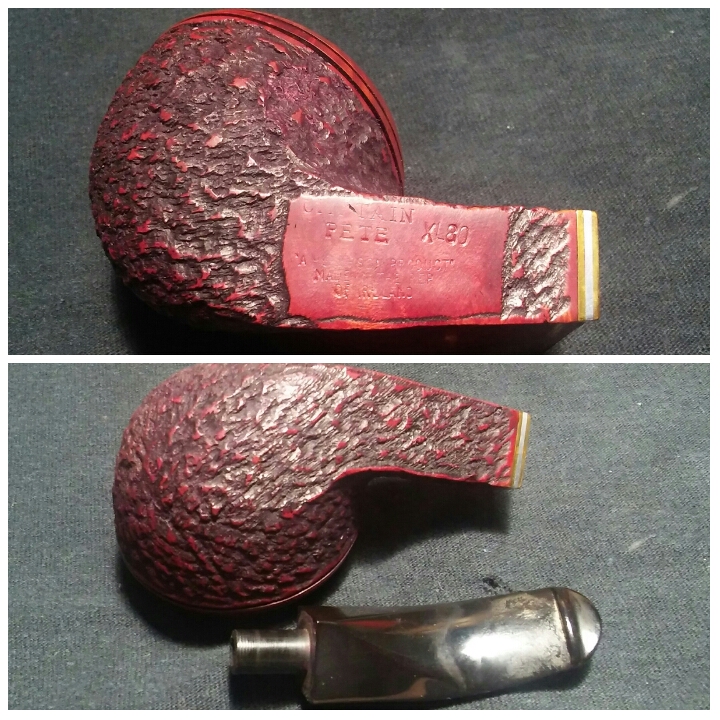
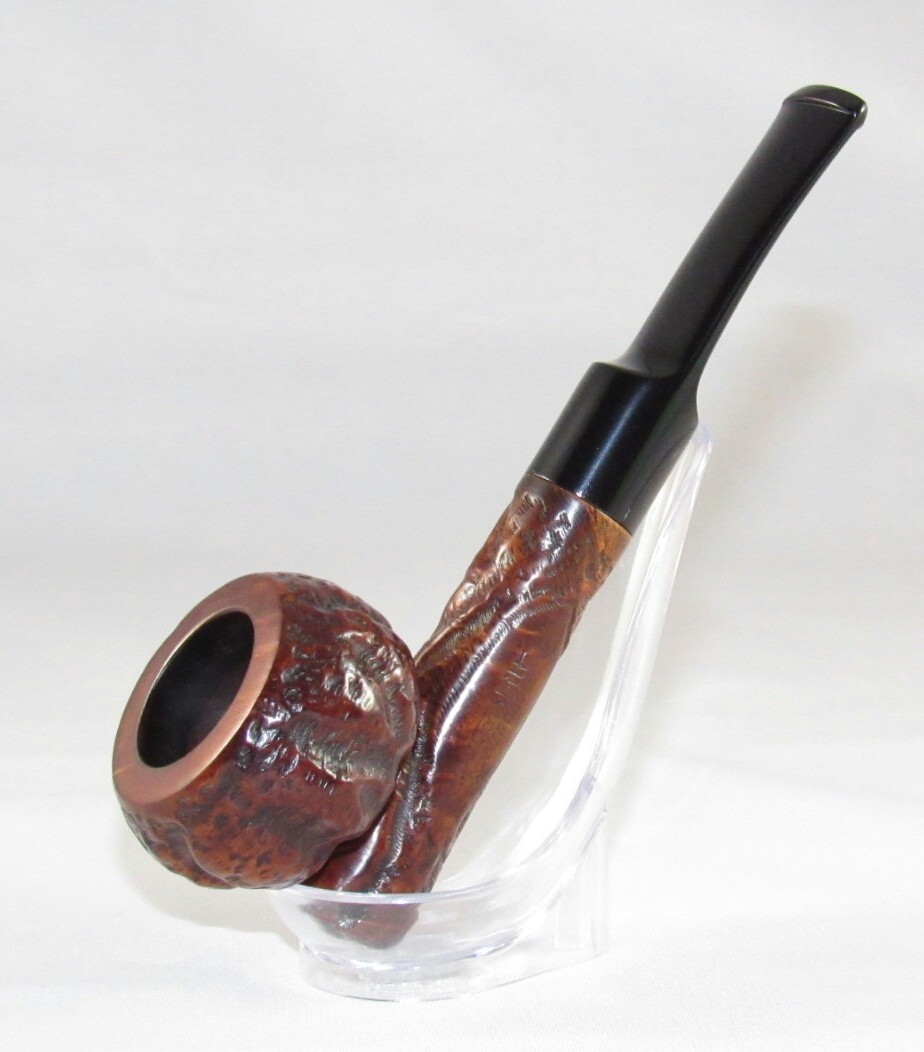
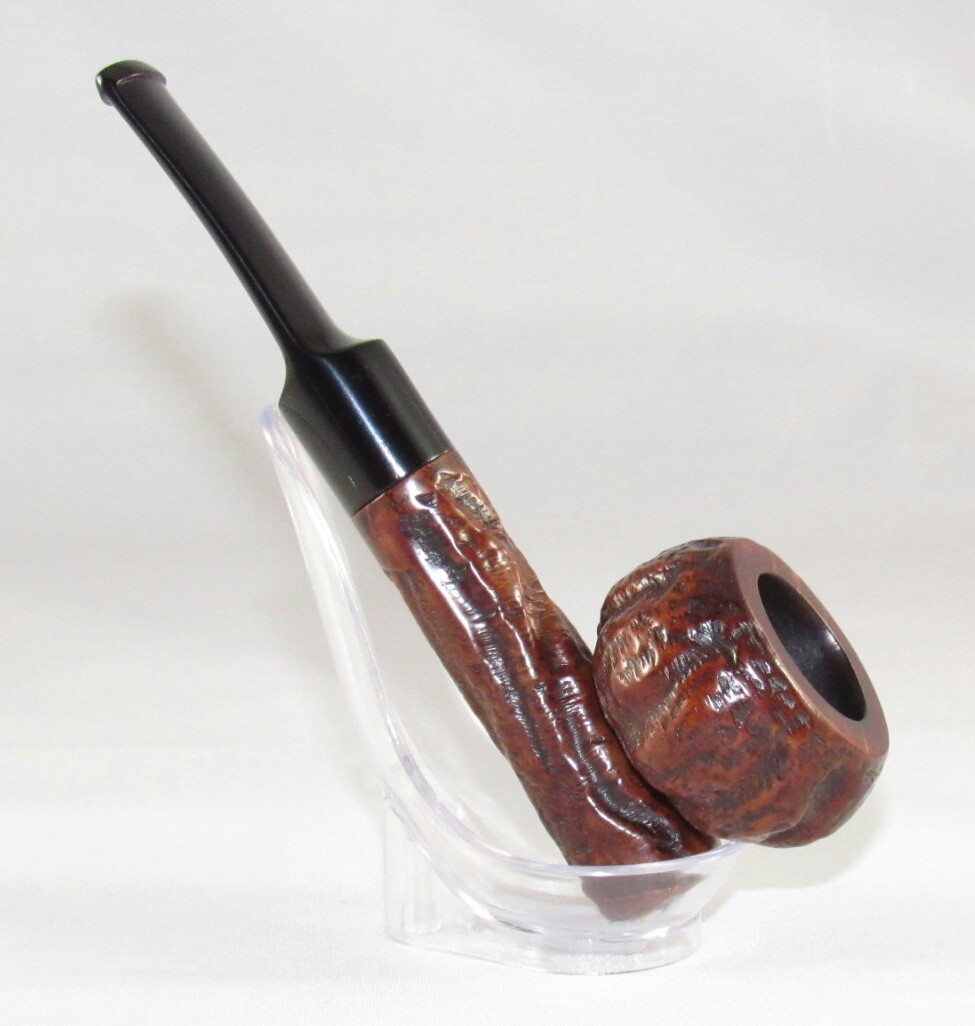
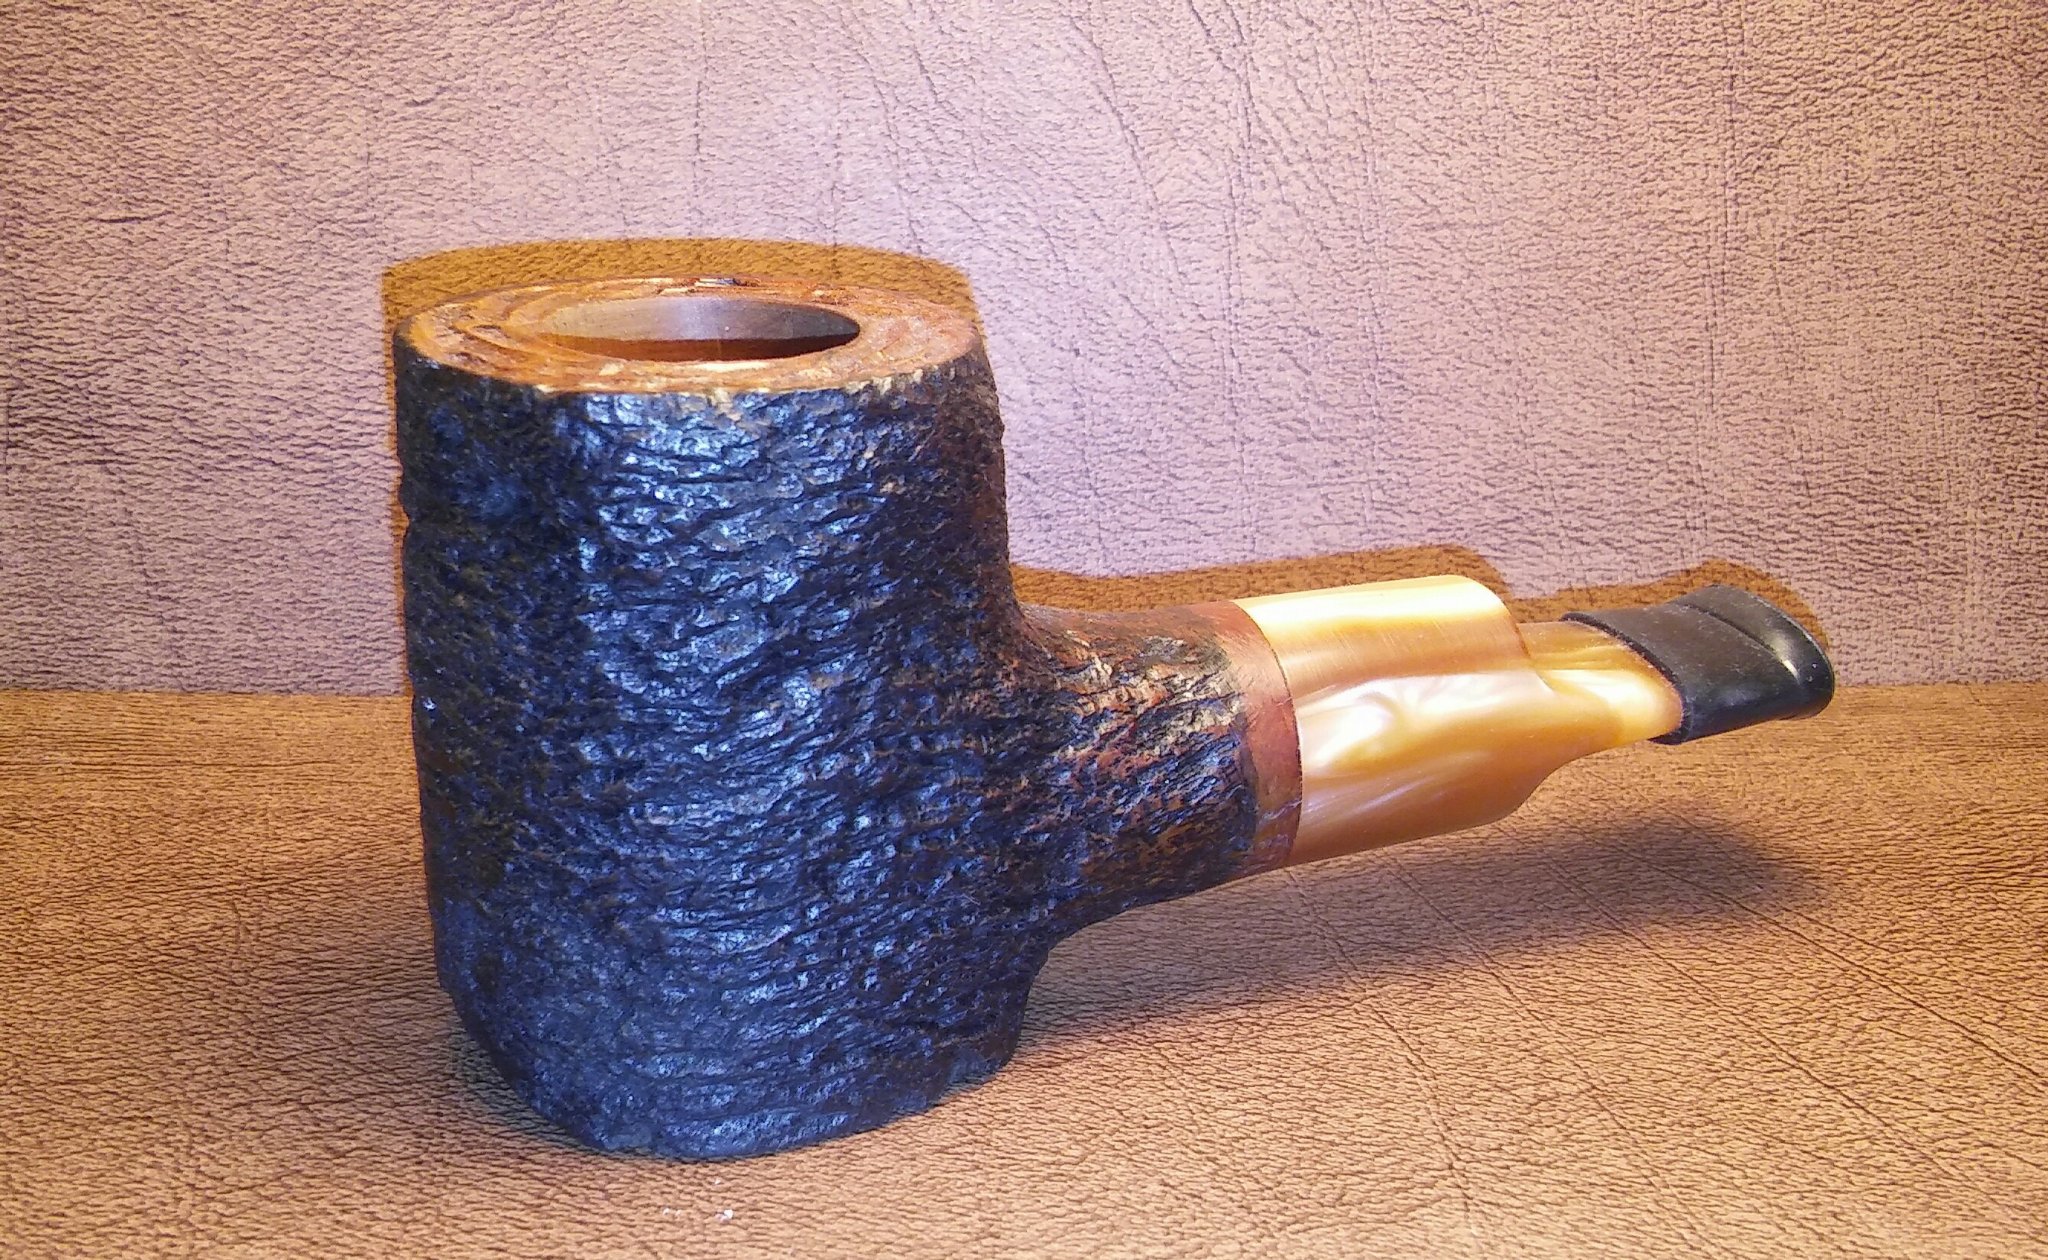
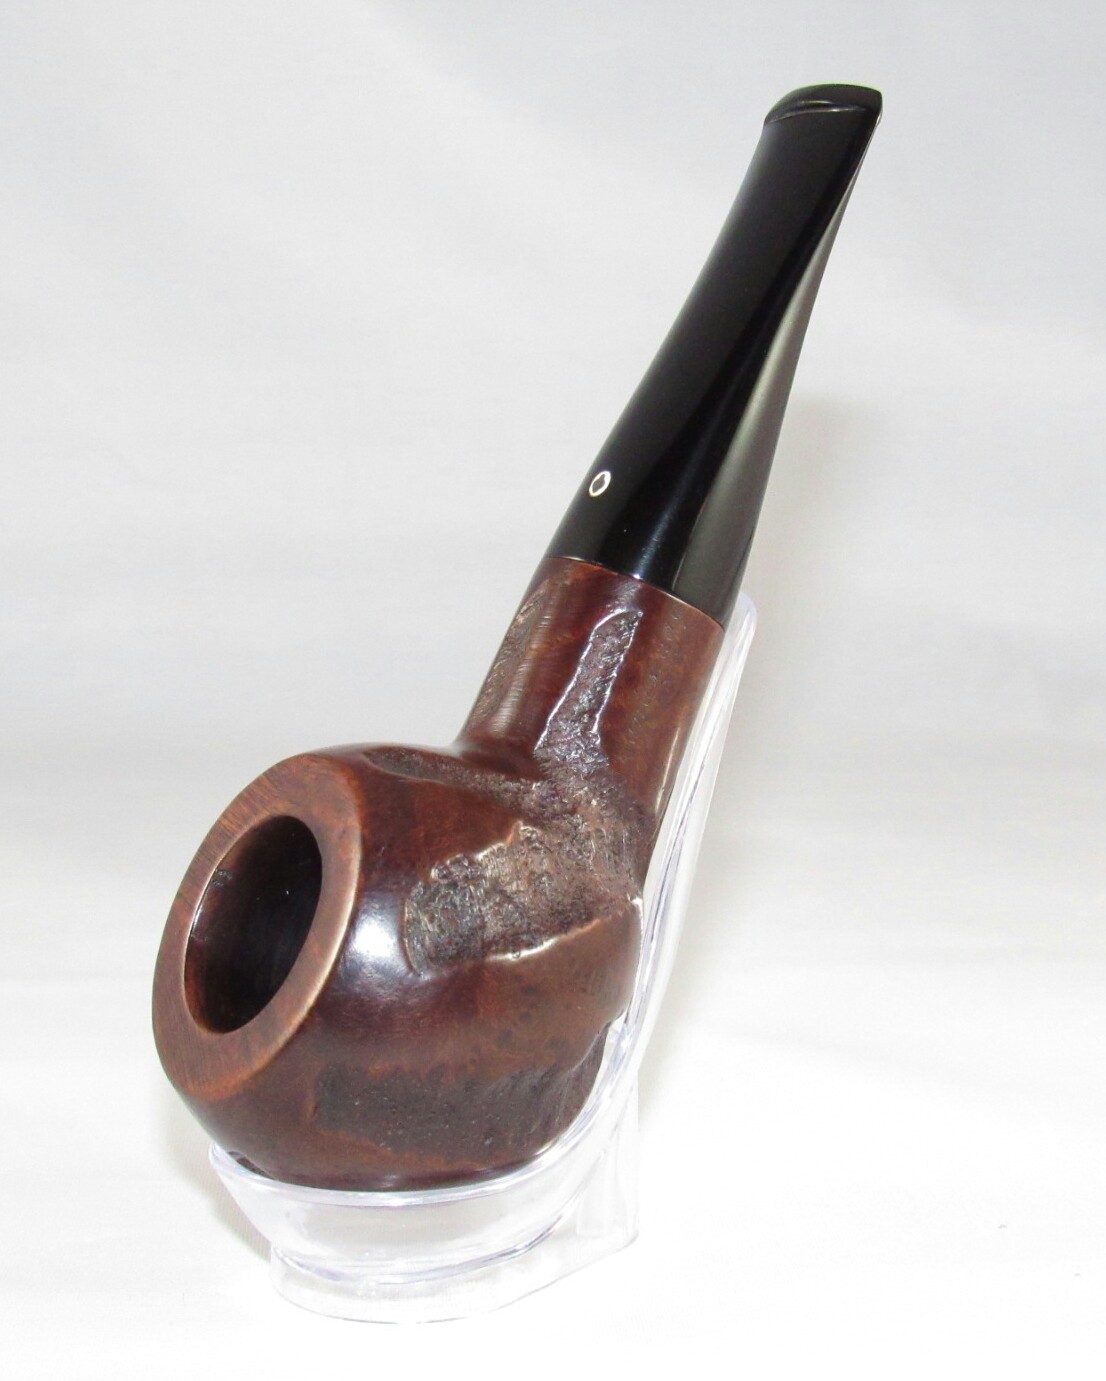
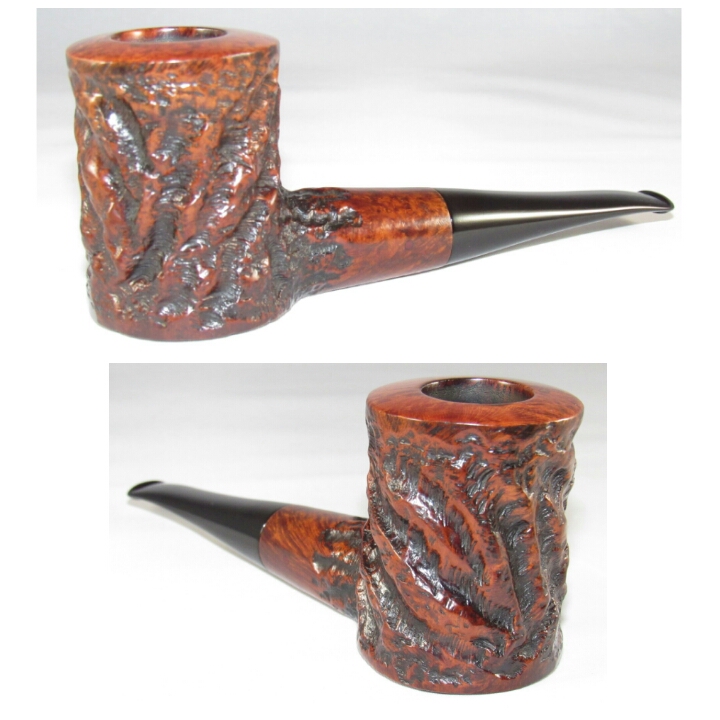
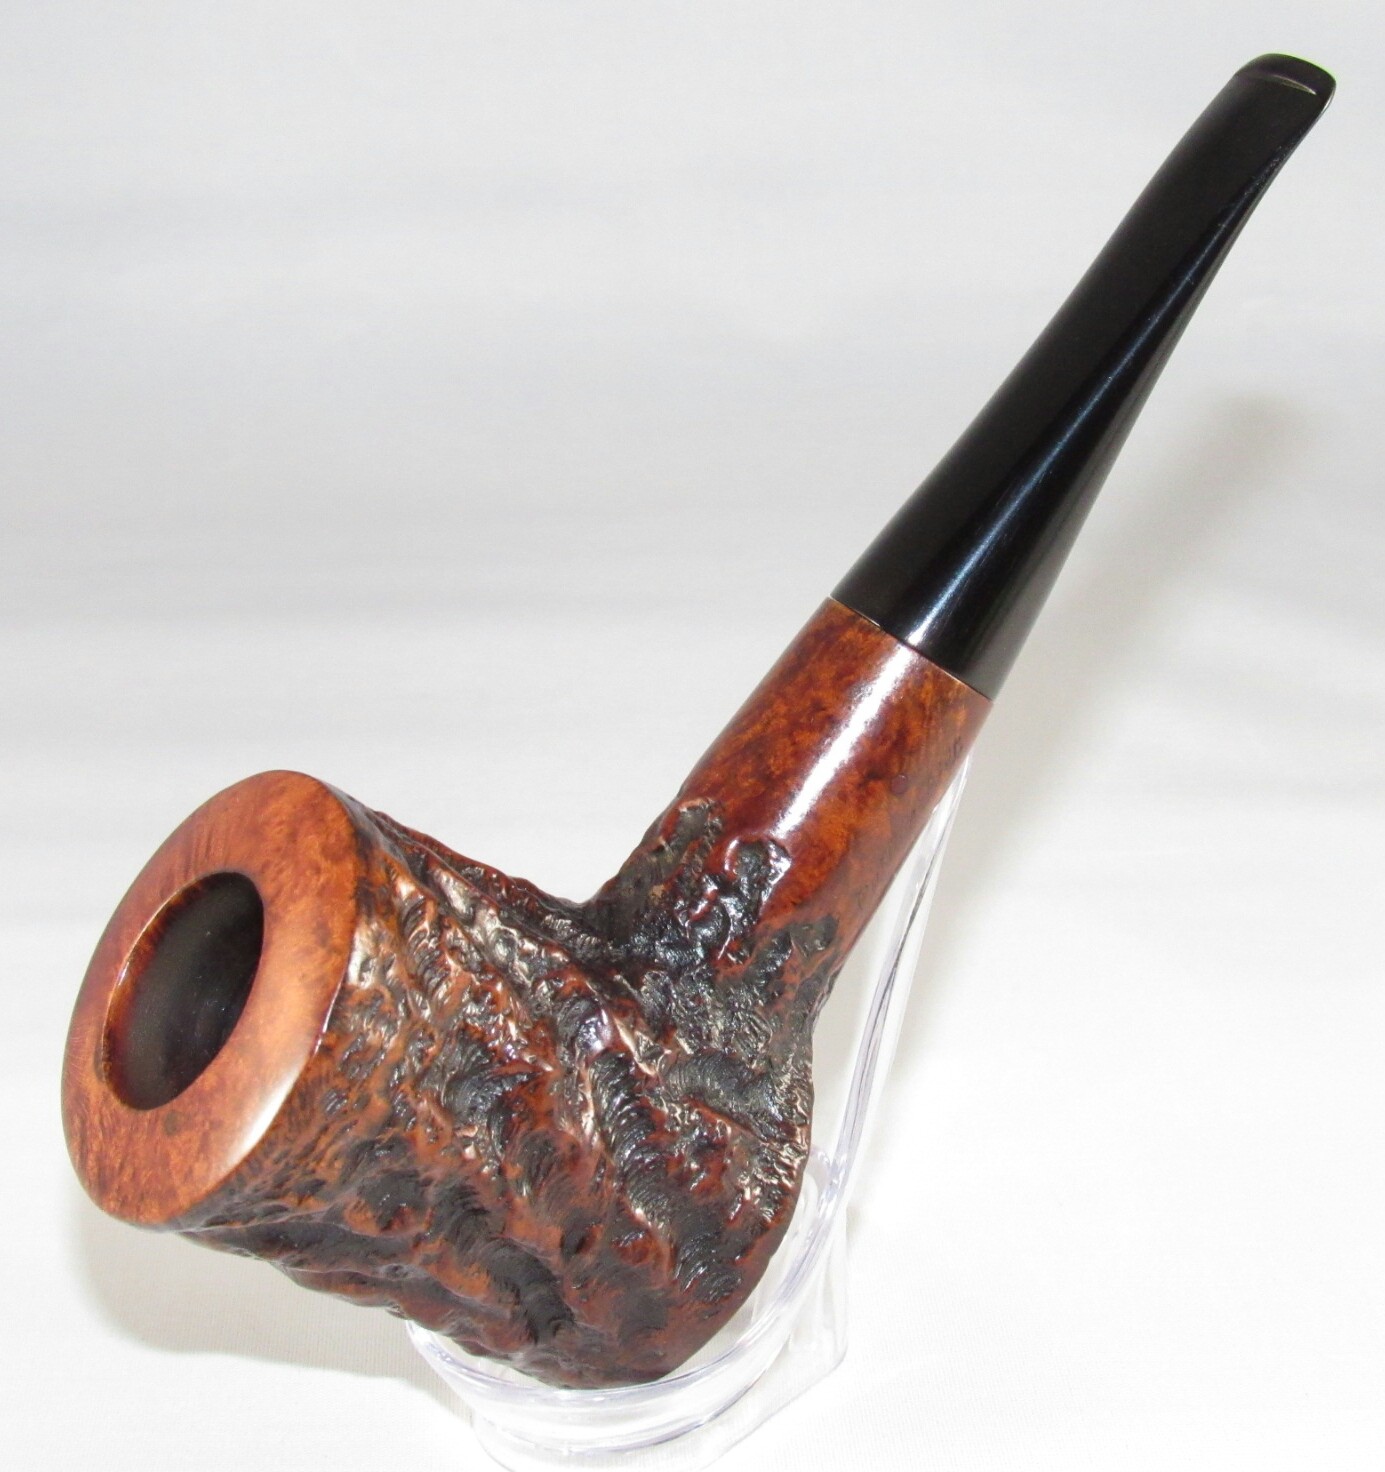
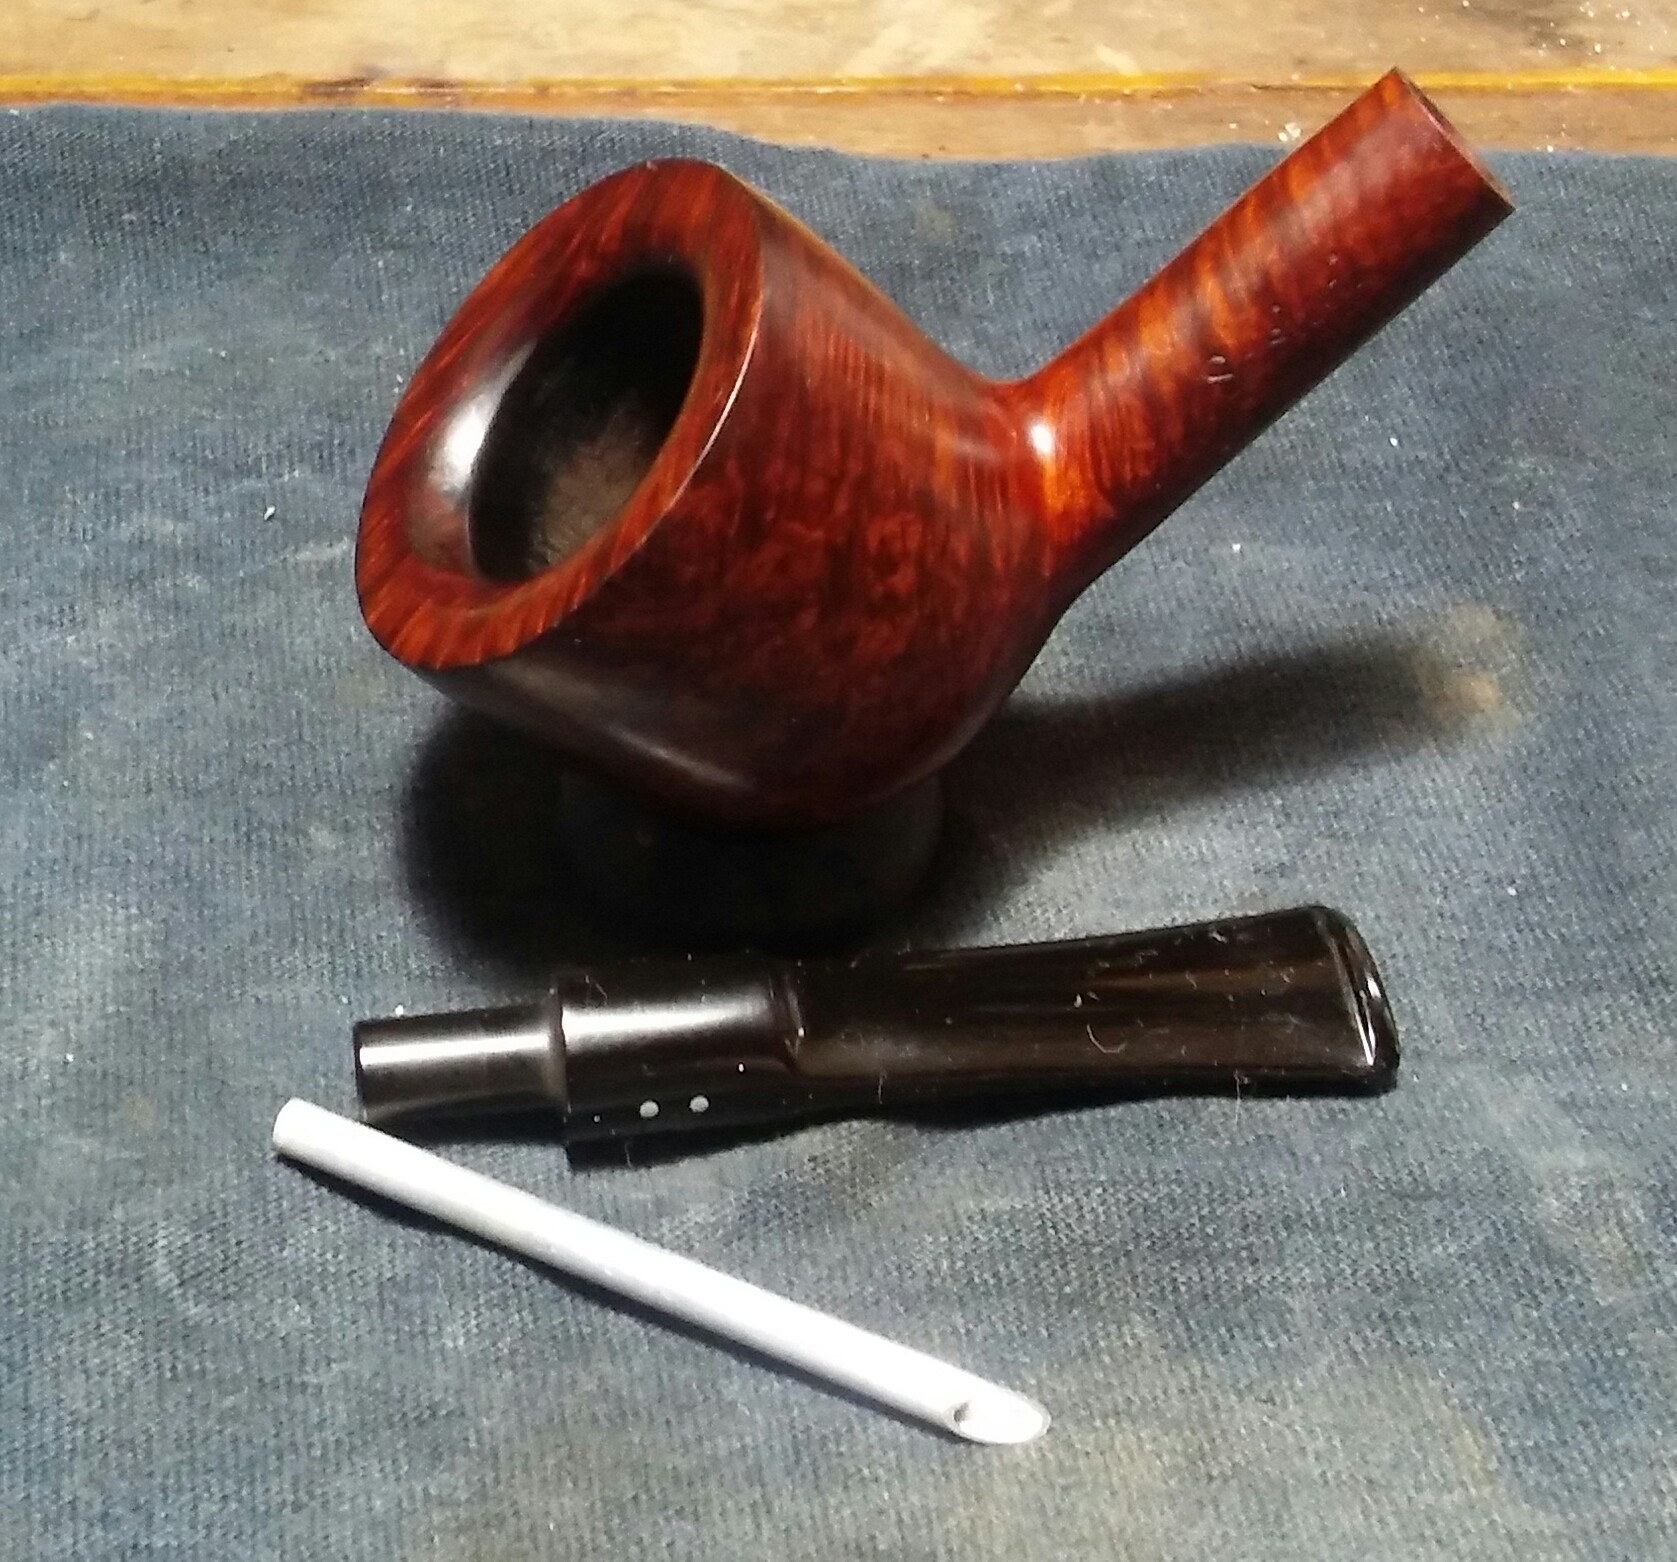
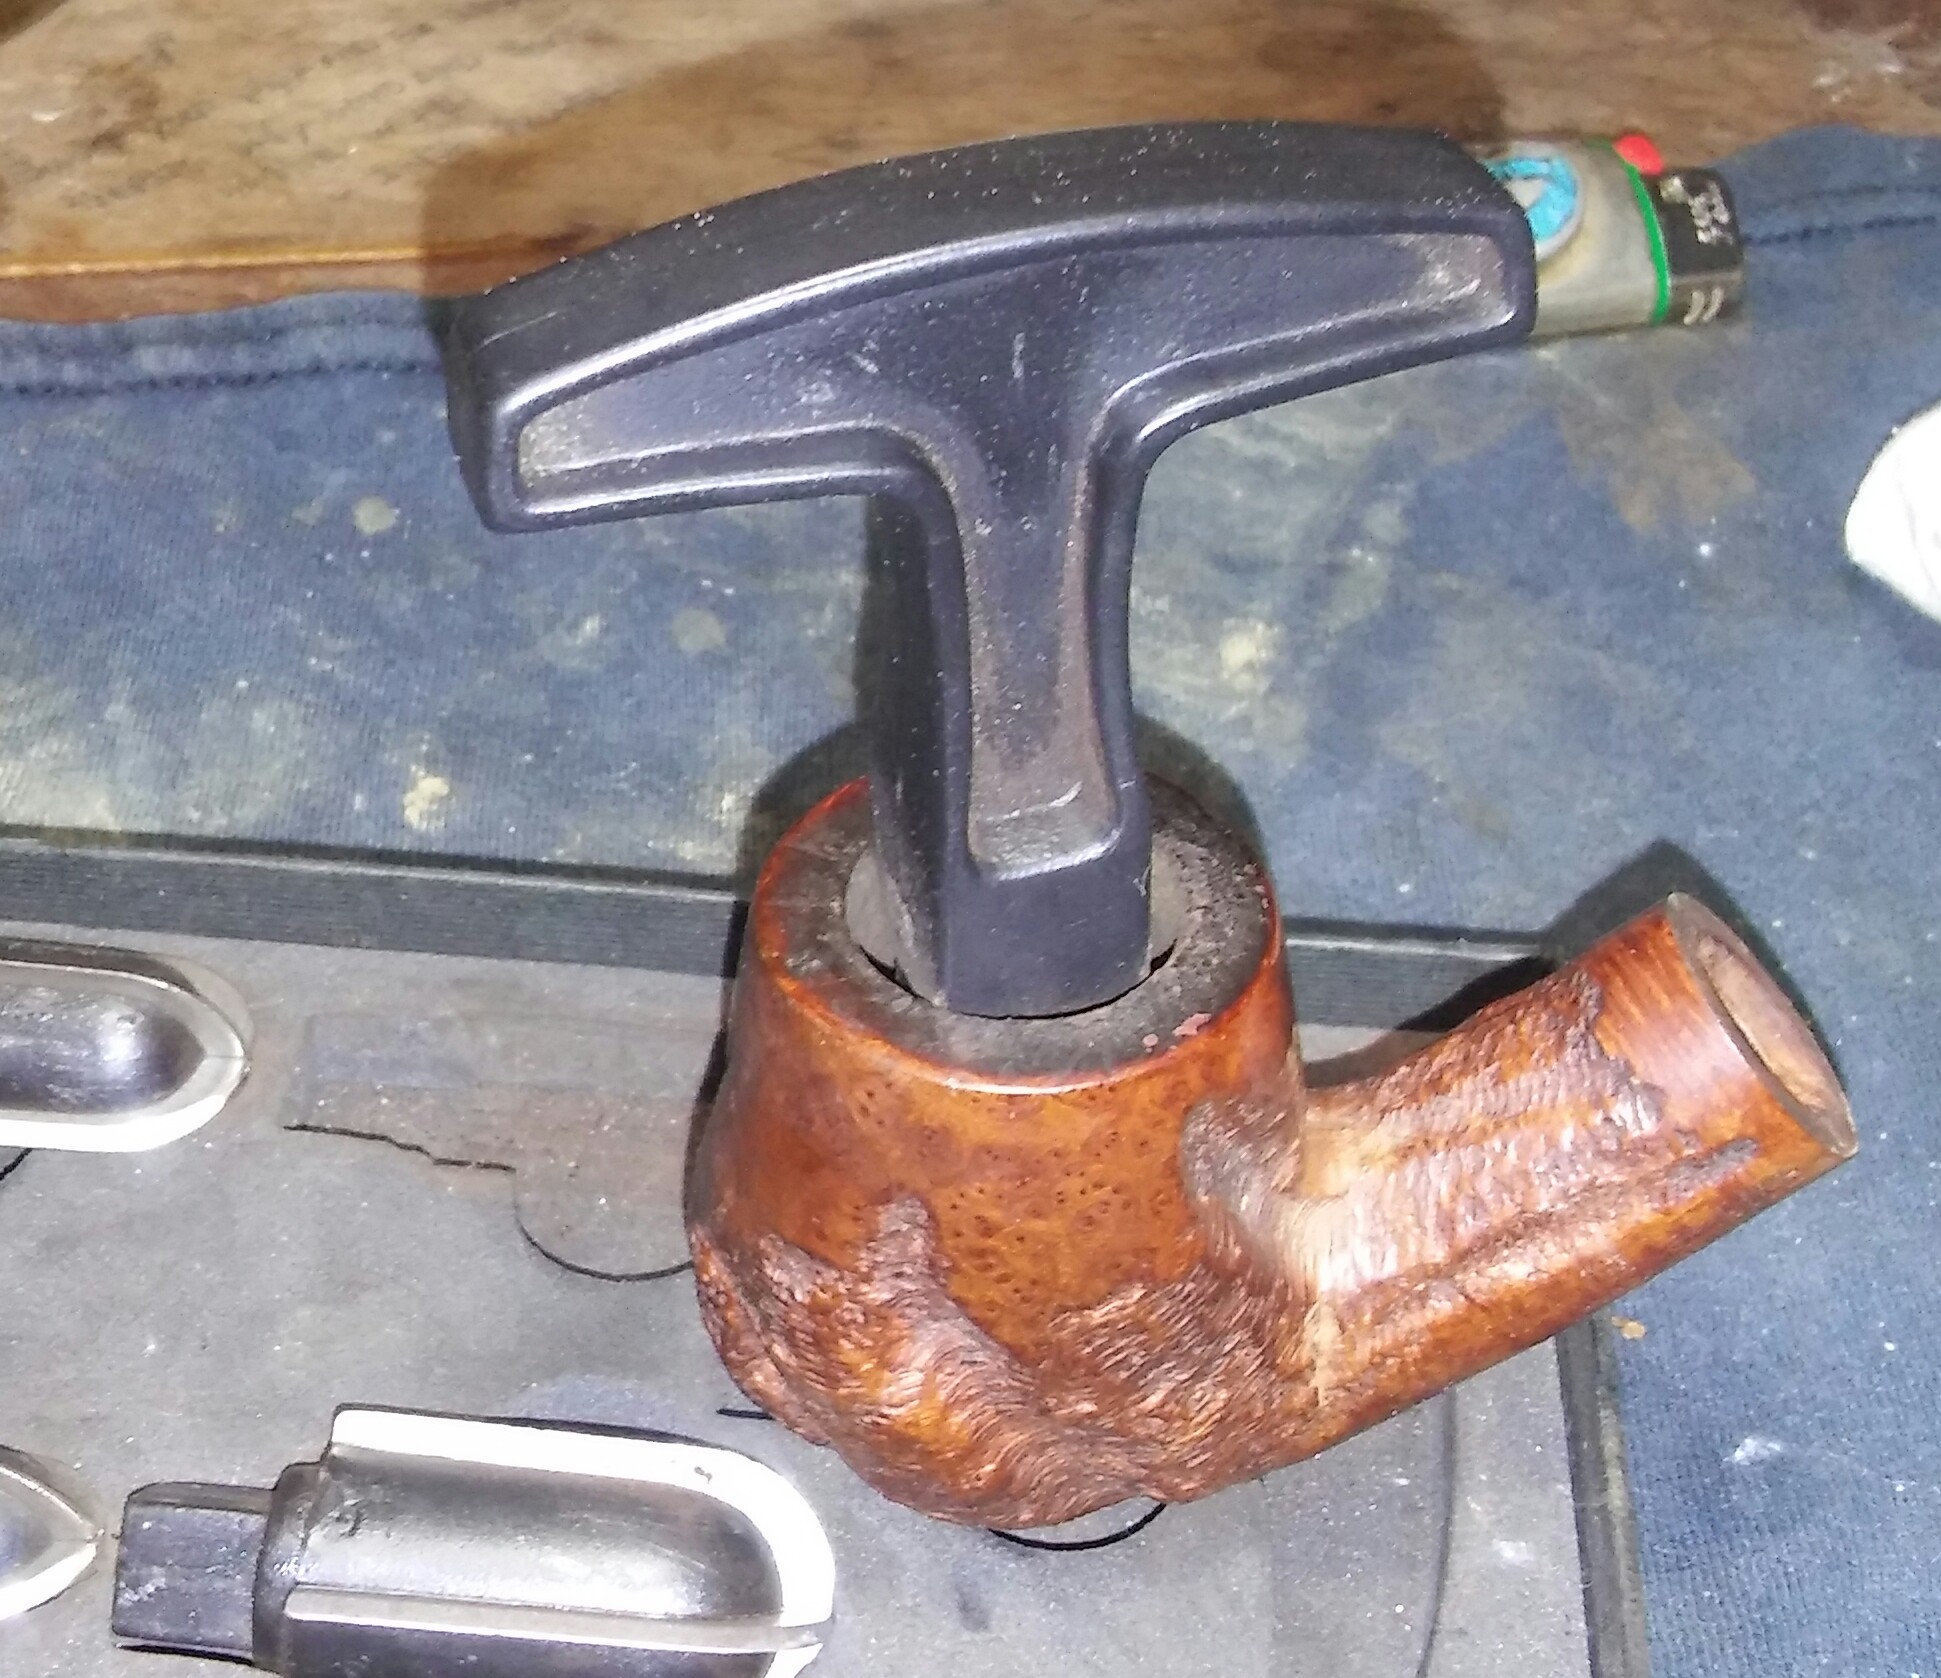
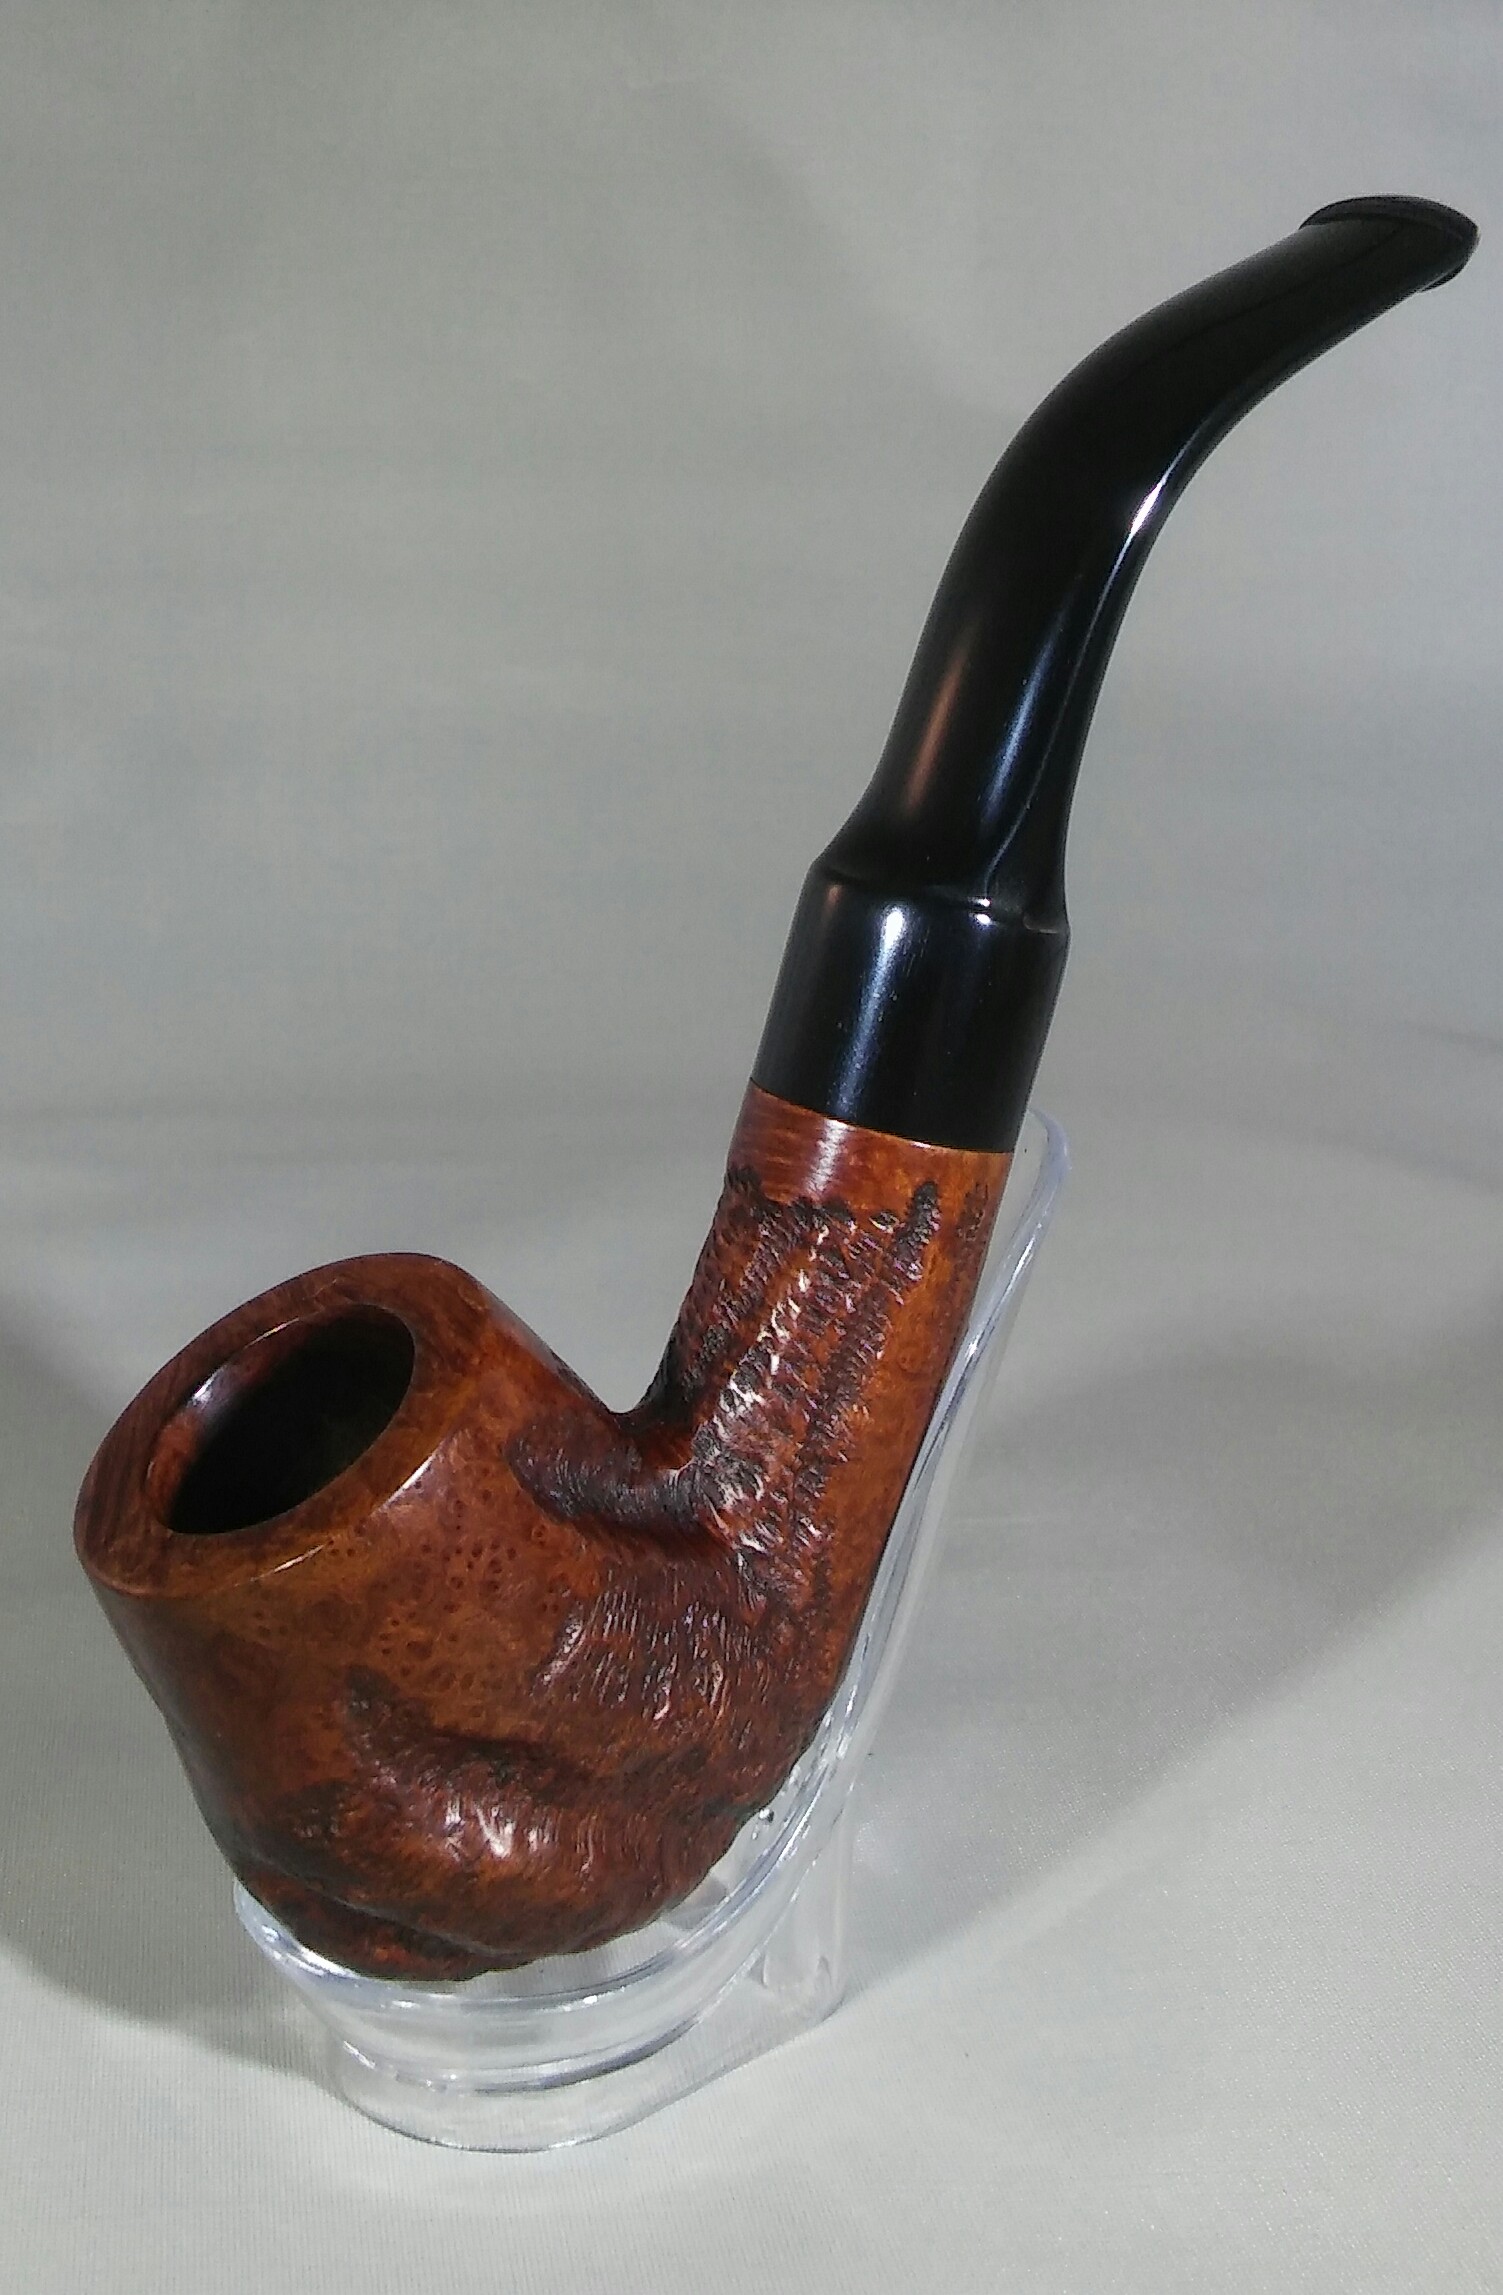
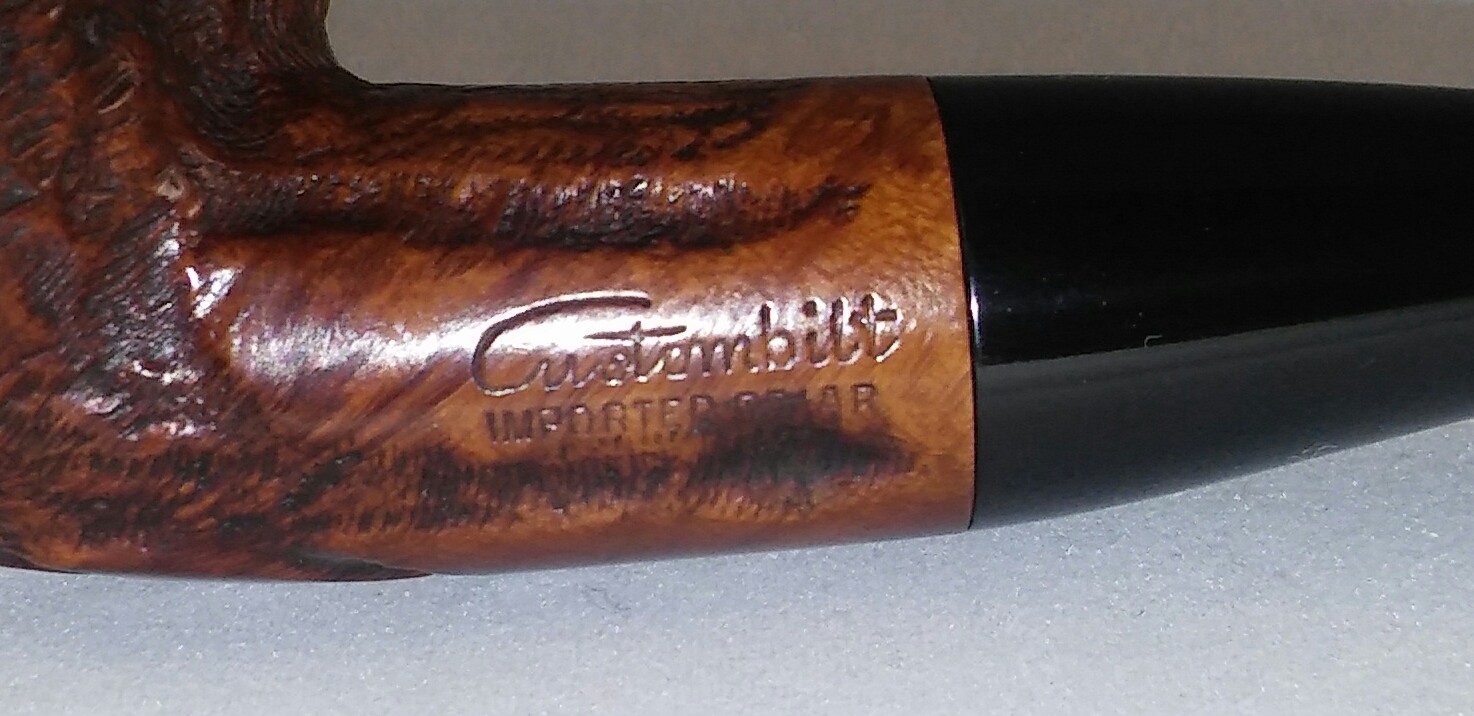
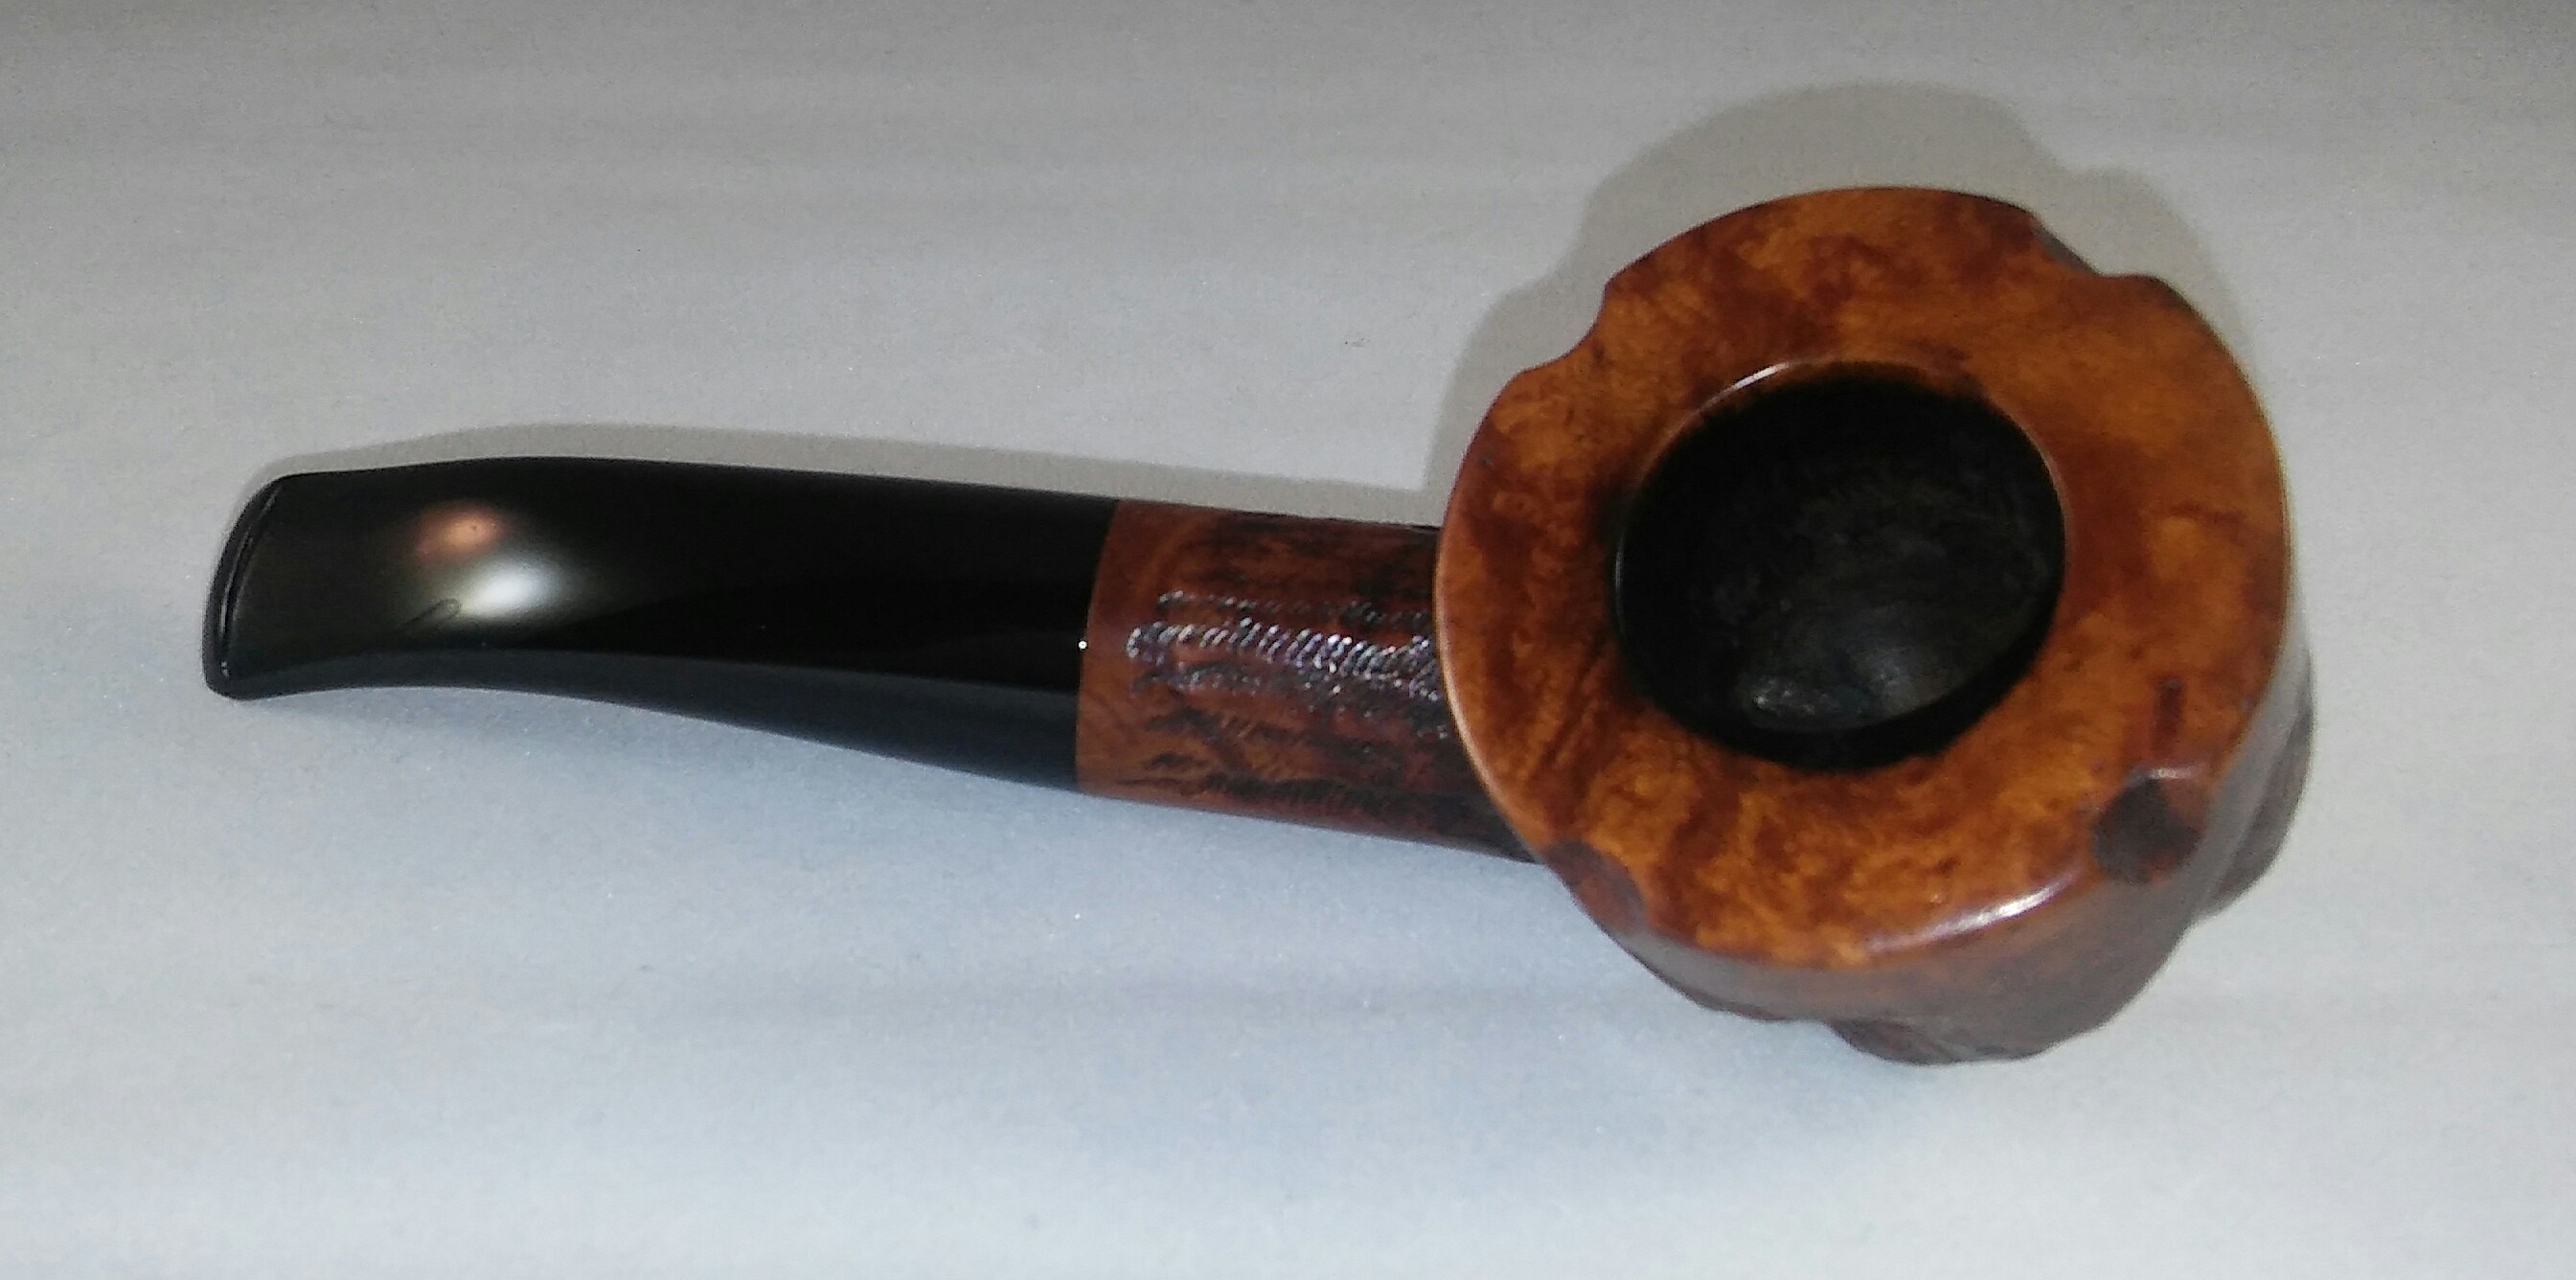
Peterson’s DeLuxe 608S
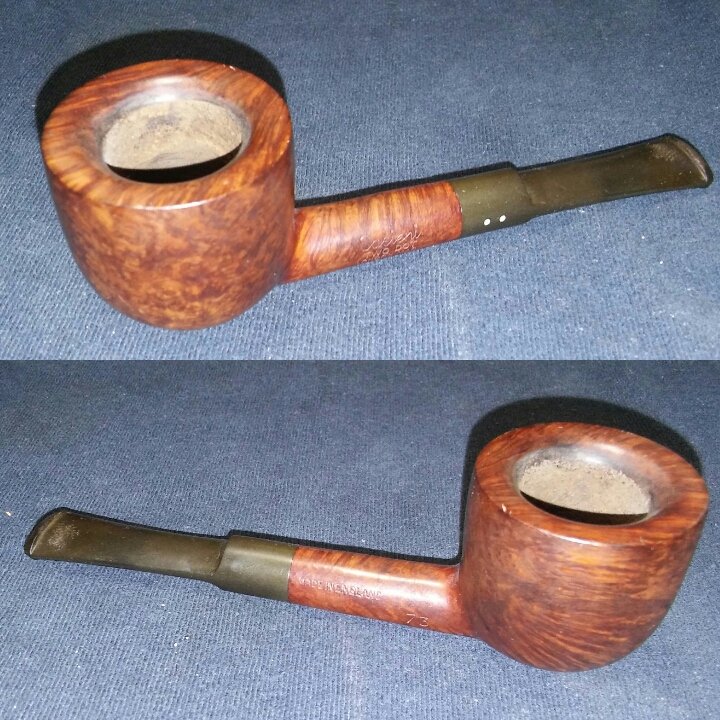
My pipe refurbishing companion, shes in need of some TLC herself. I will admit when I’m working on a pipe I have a bad habit of puffing away like theres no tomorrow, the P lip seems to helps in this area as not to cause tongue bite. The flat, saddle, P lip bit is also comfortable clenched in jaw for hours on end. She was picked up as an estate and has been in service for myself going on six years. While refurbishing my last pipe it dawned on me that my little DeLuxe hasn’t been cleaned property by me ever, my skills have changed much since its cleaning almost six years ago and I thought now would be a good time to do right by her and give her a good once over.
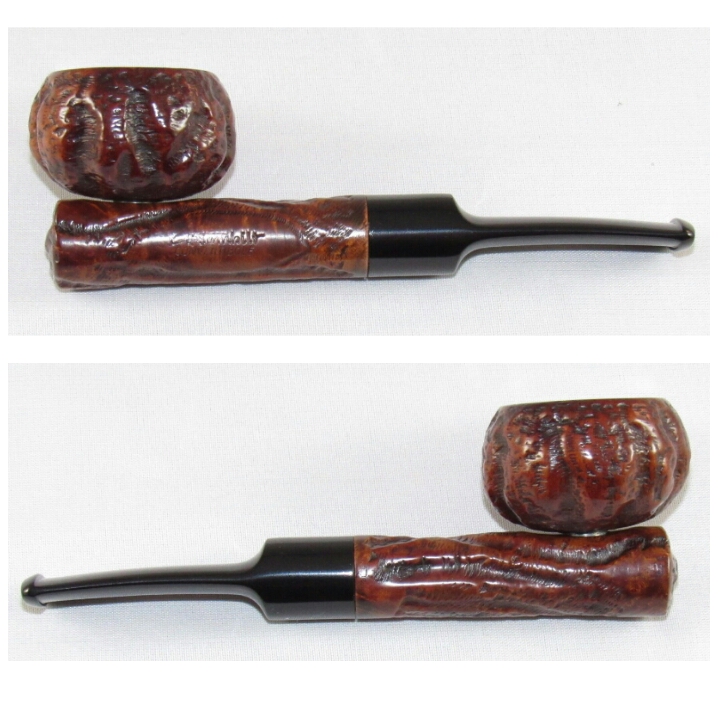
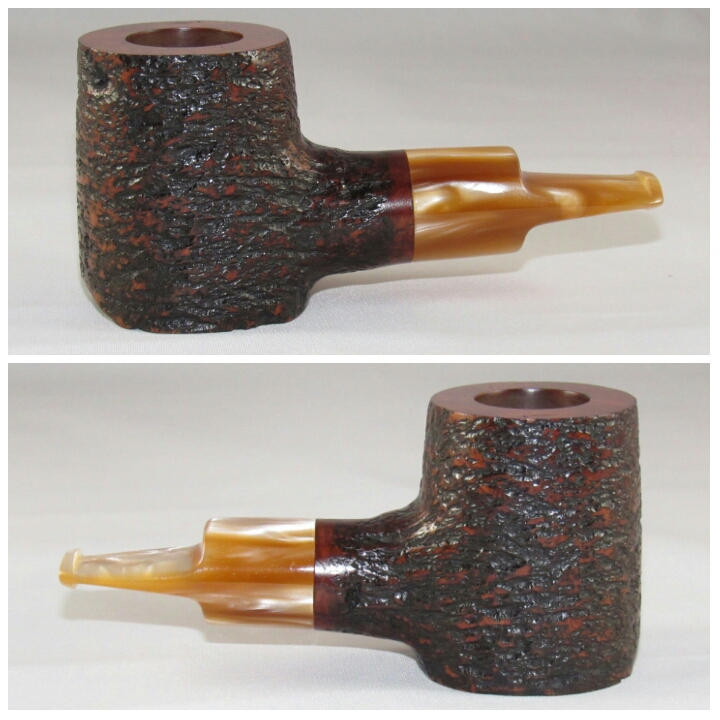
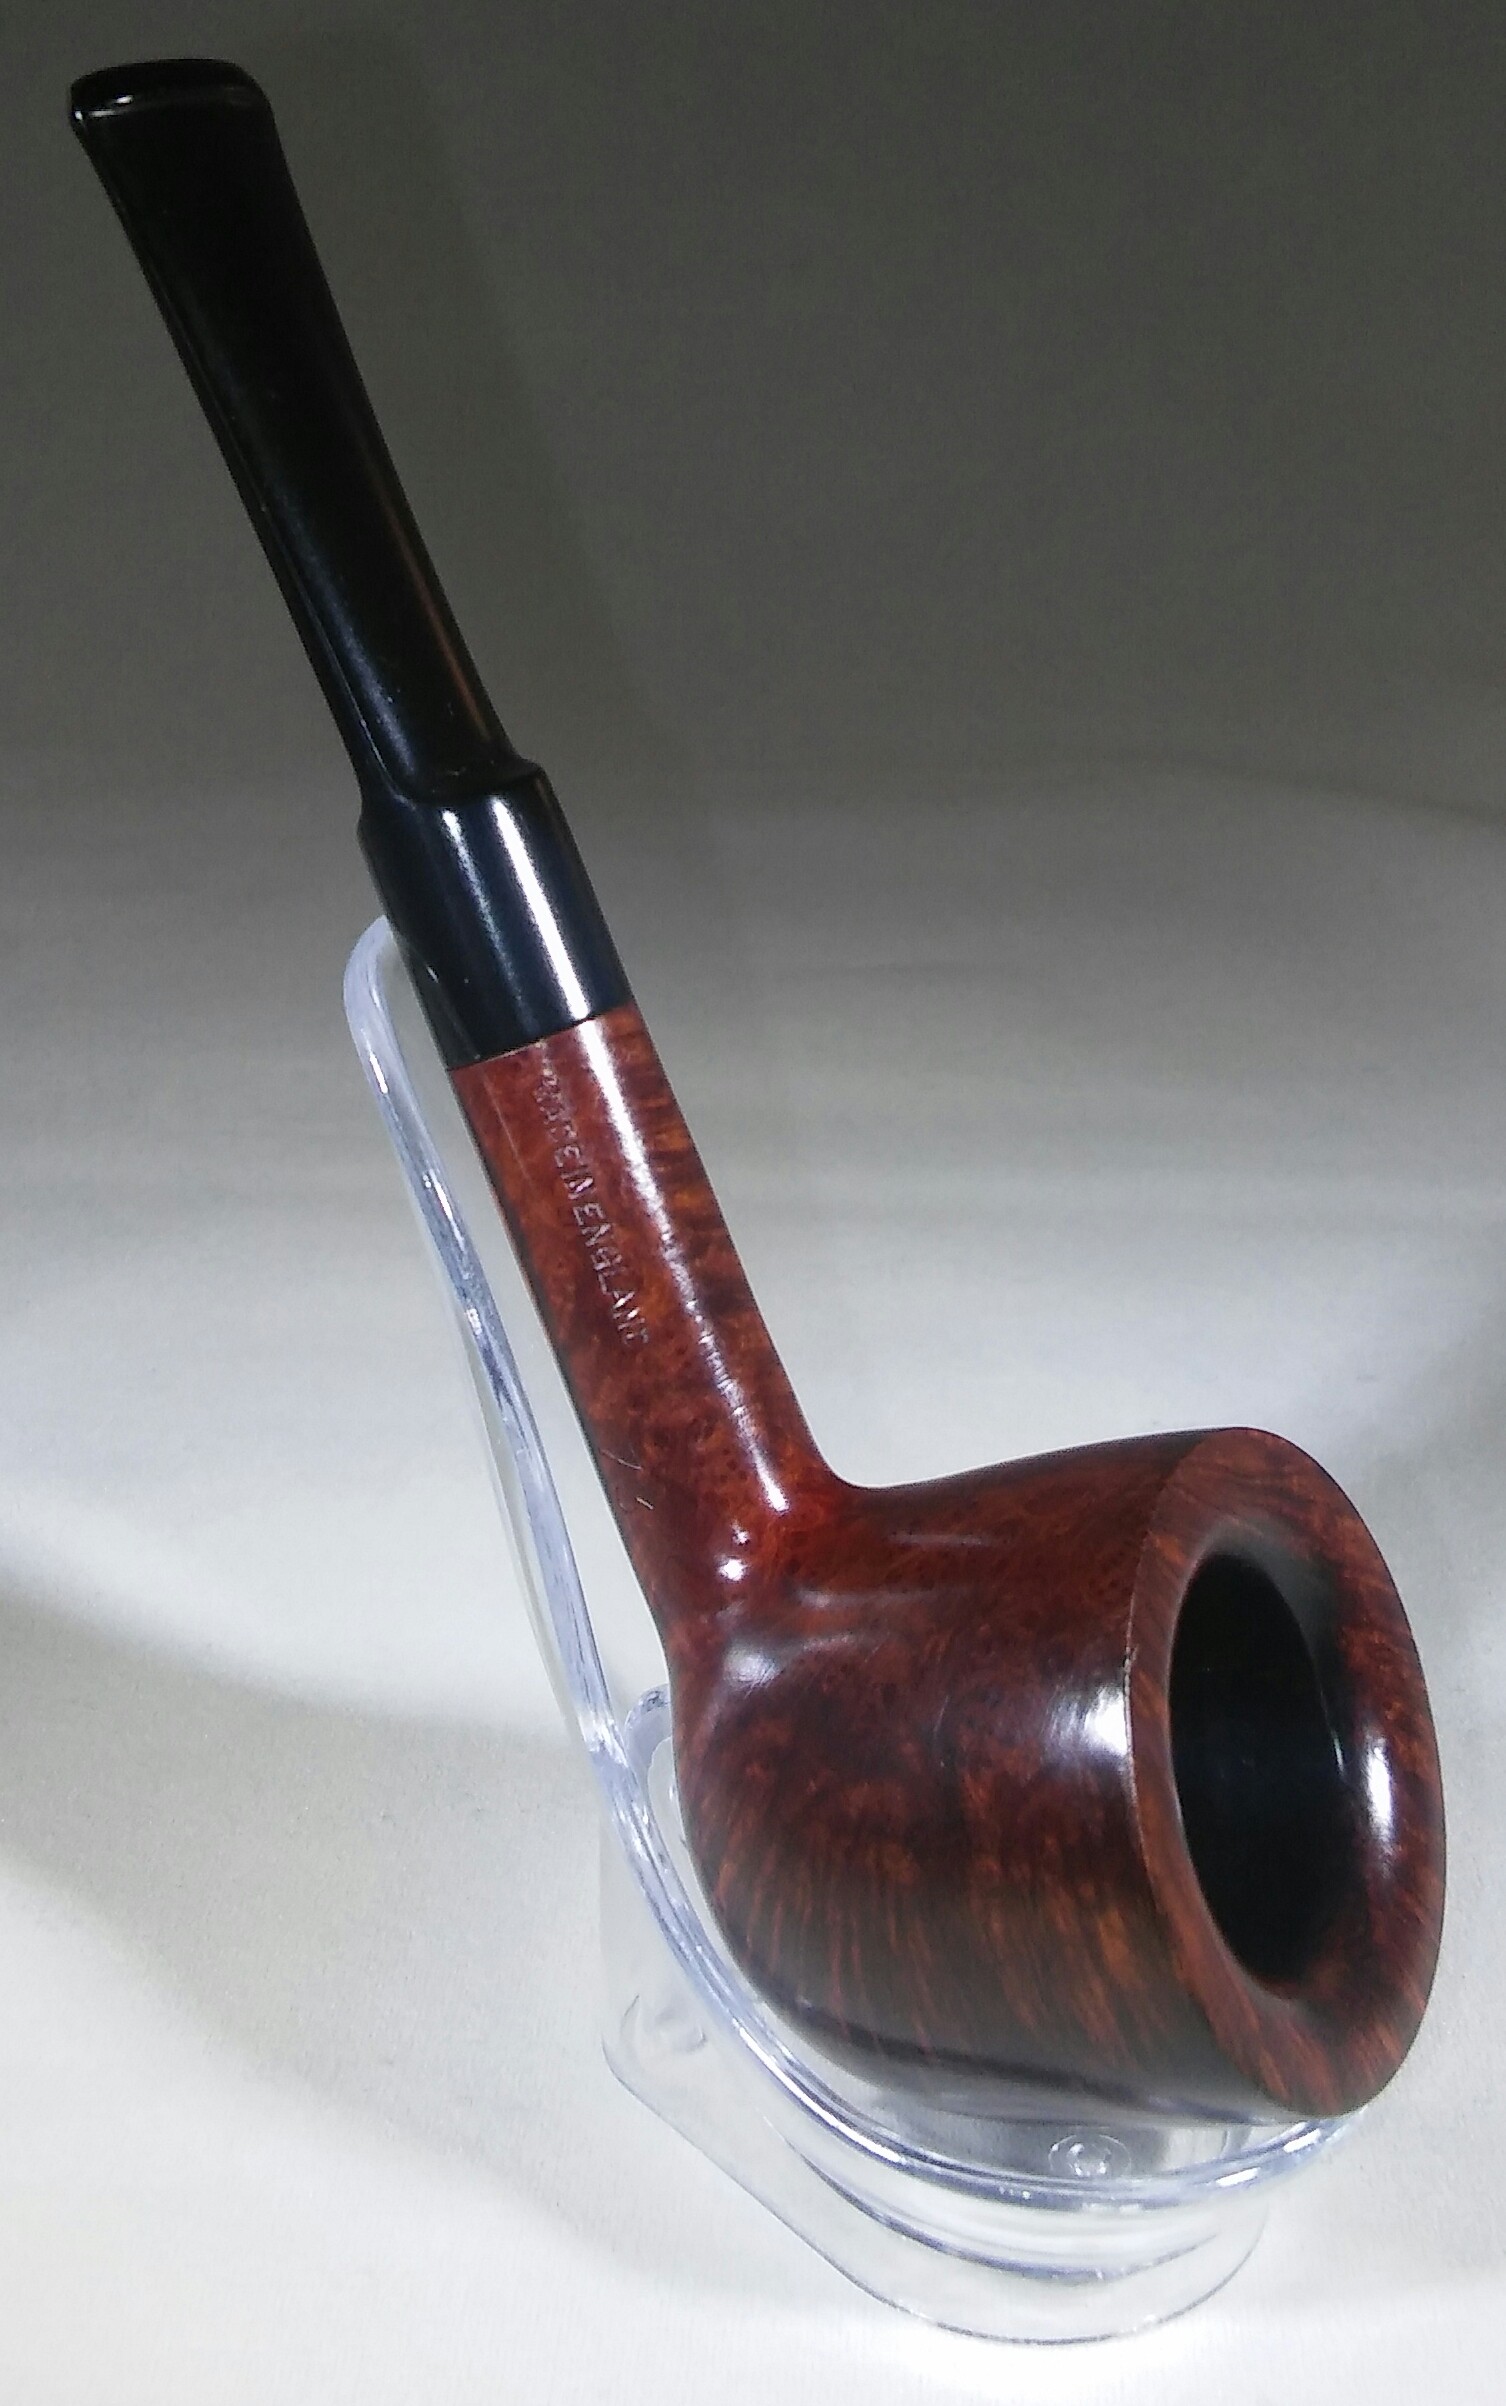
My DeLuxe
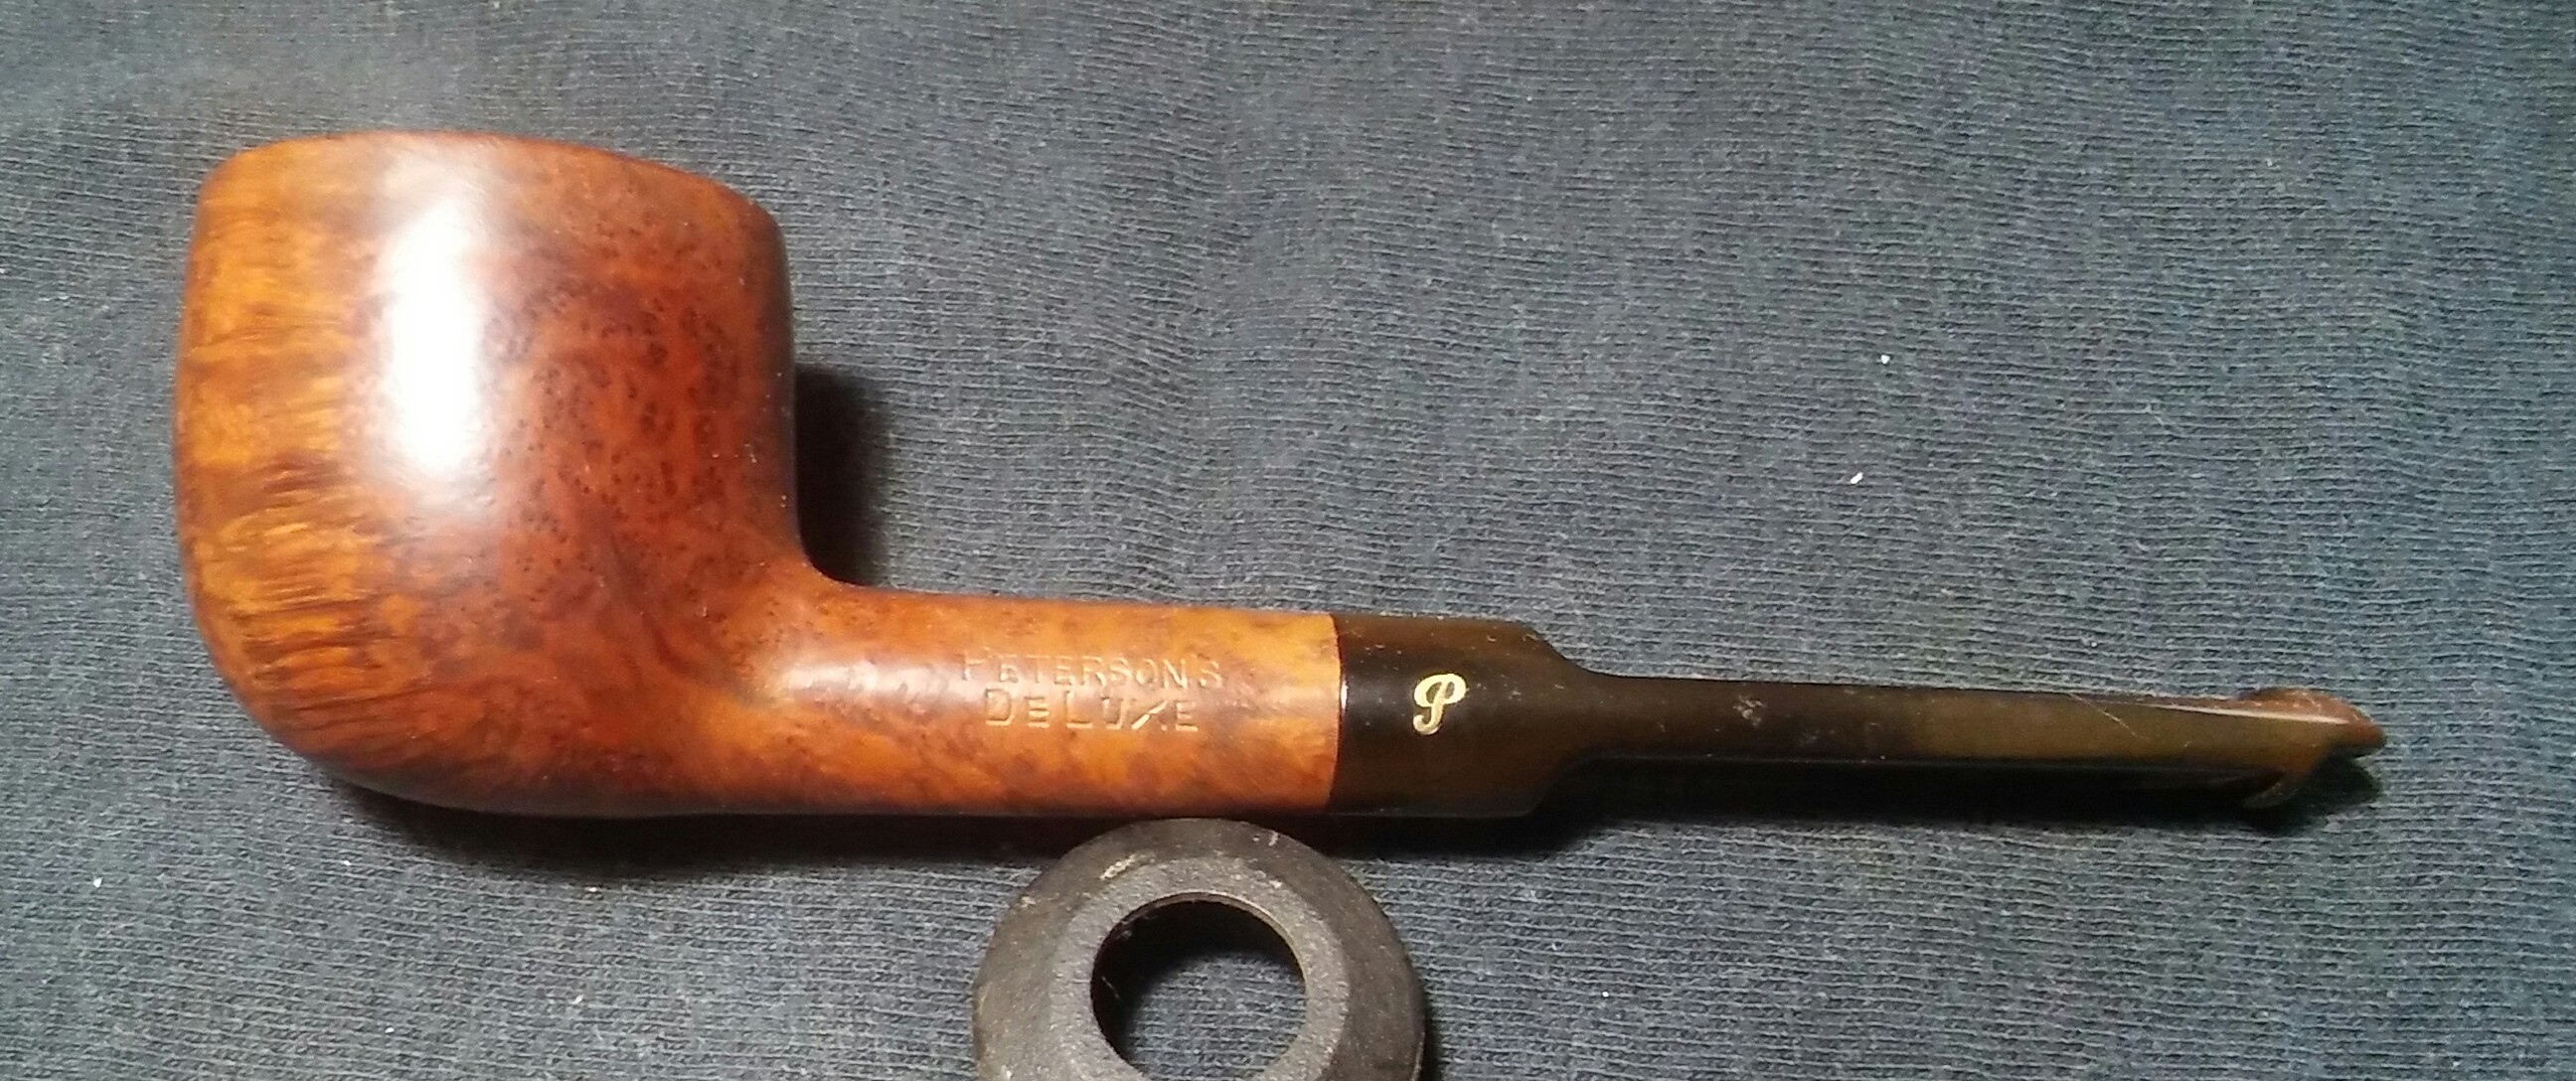


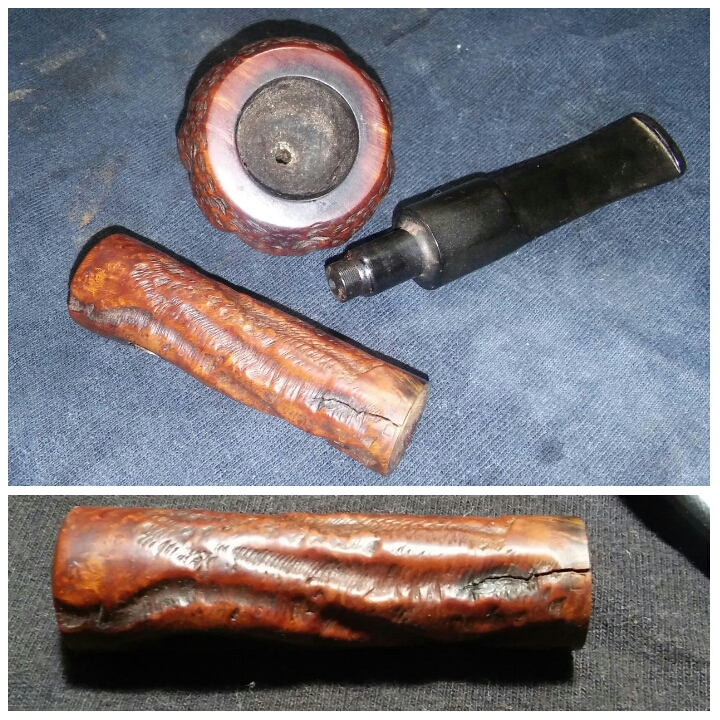
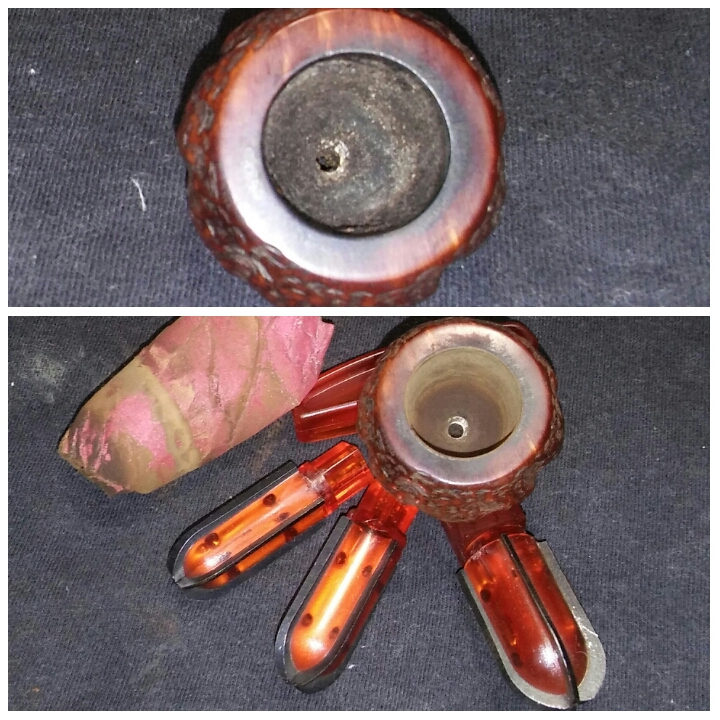
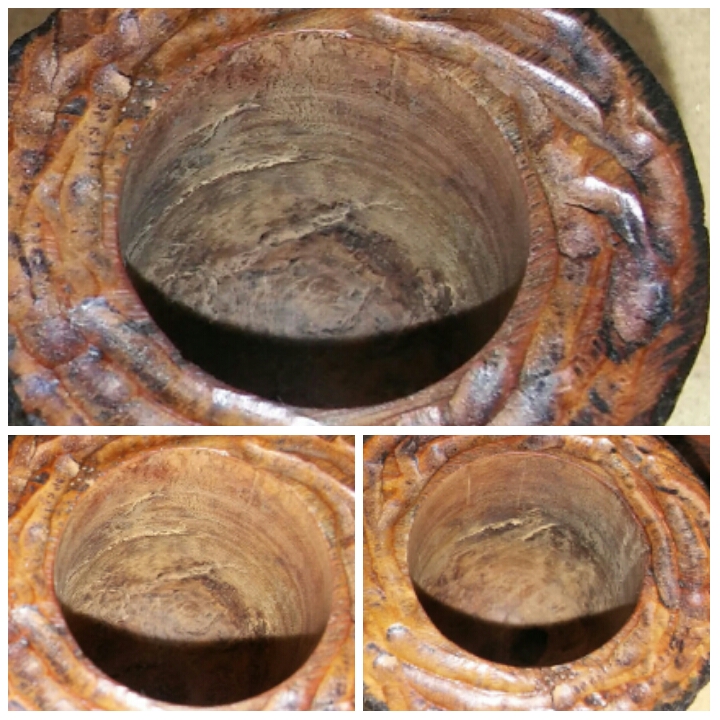
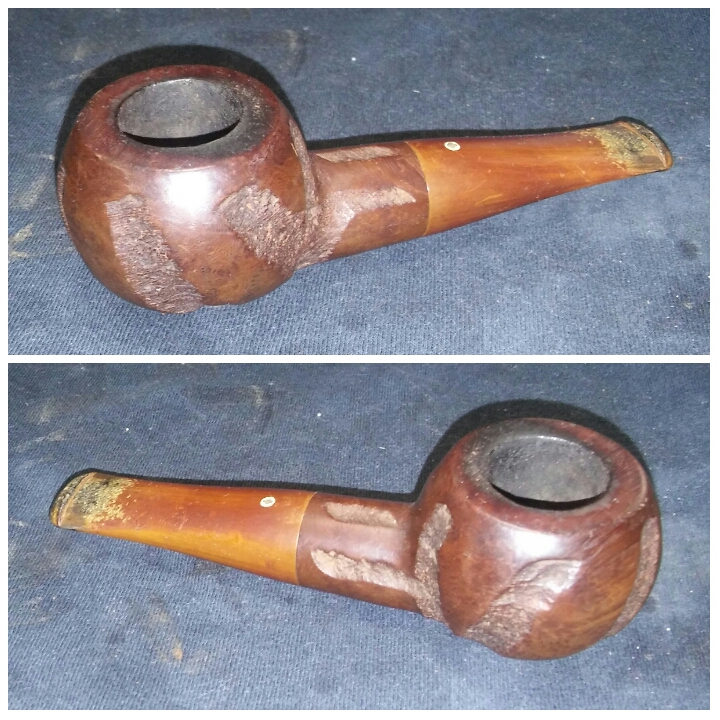
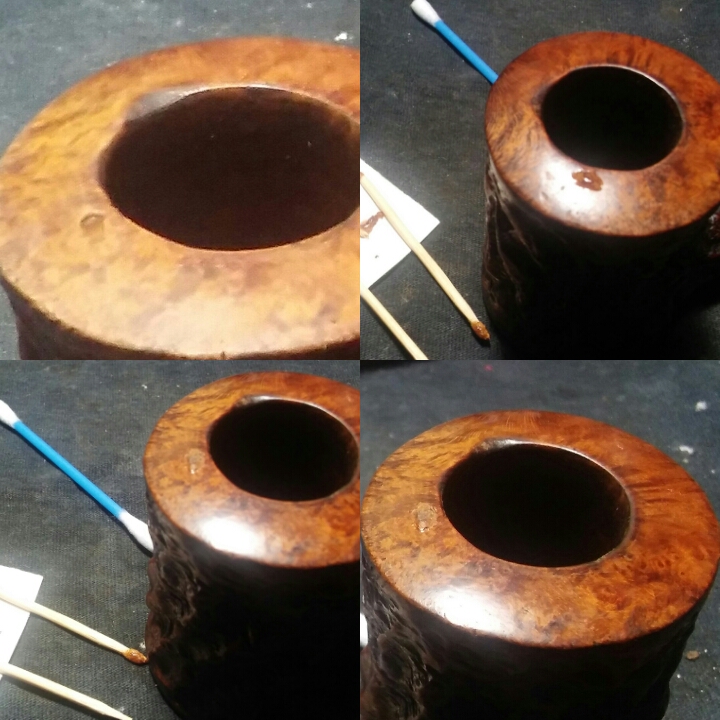
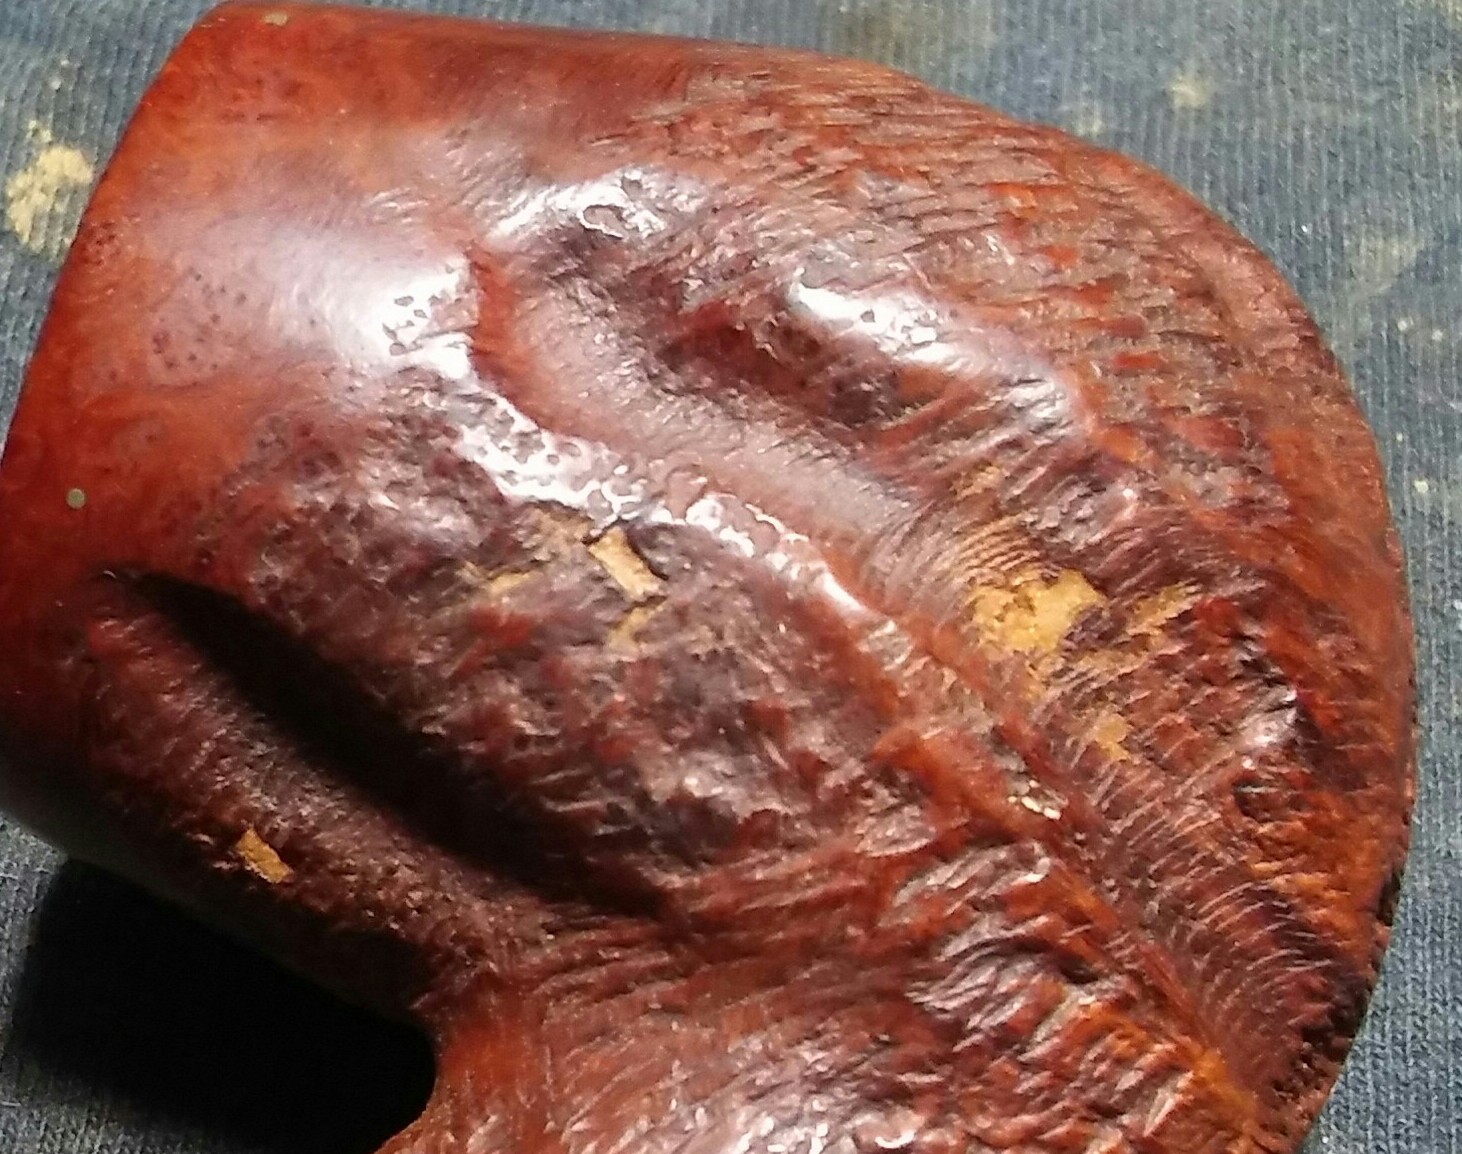
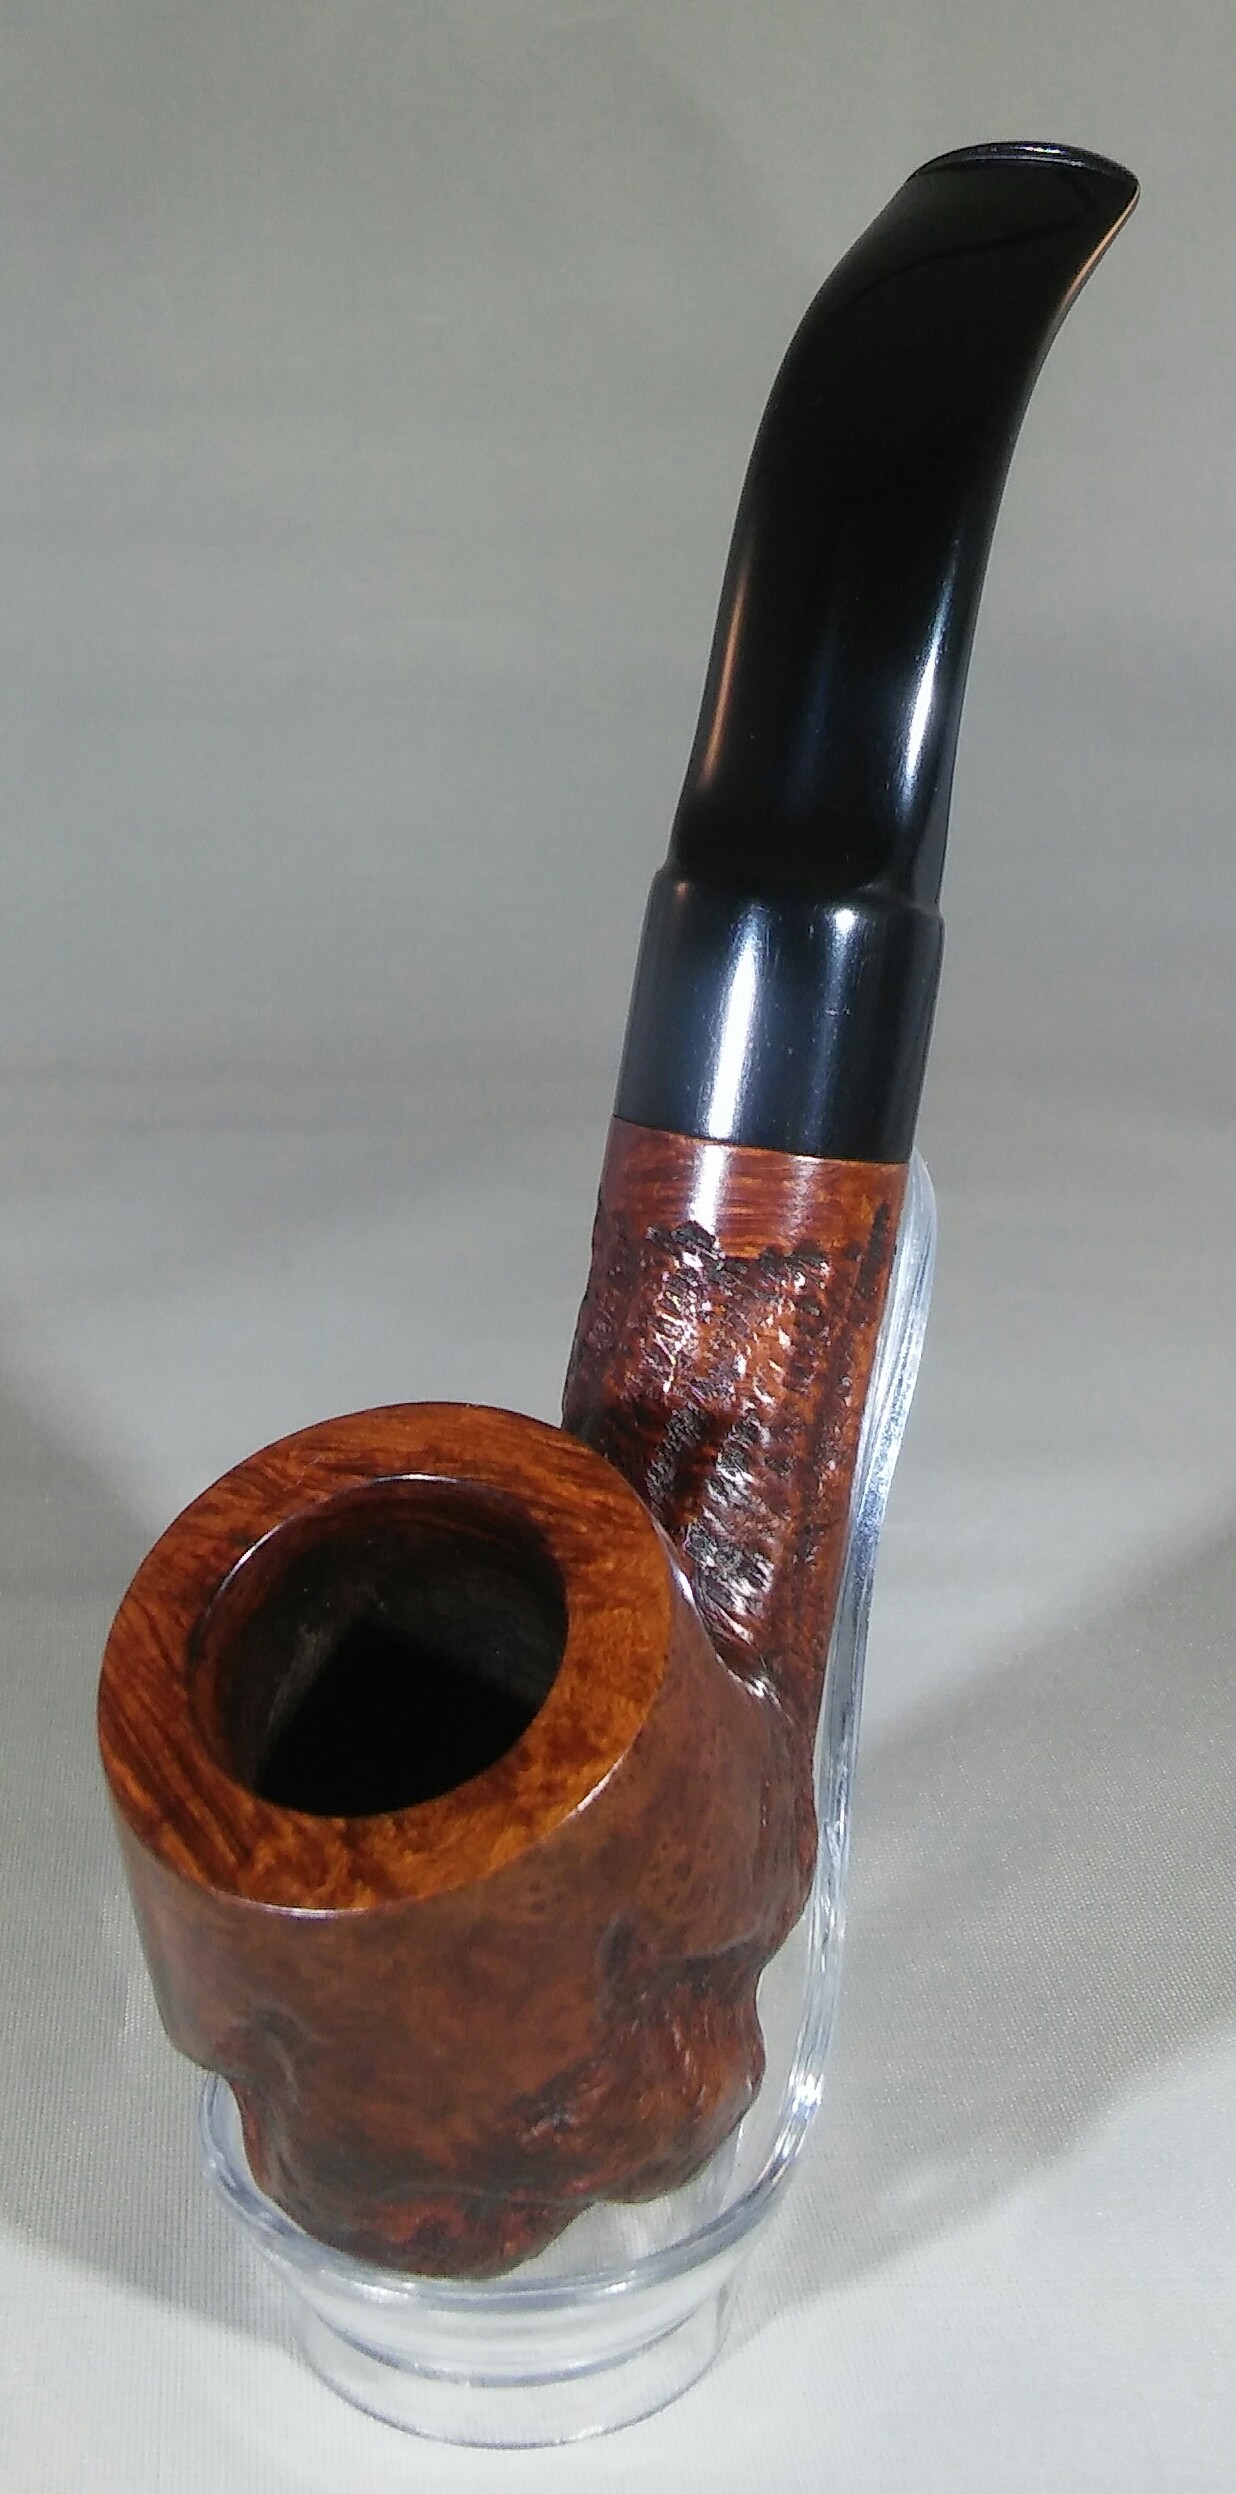
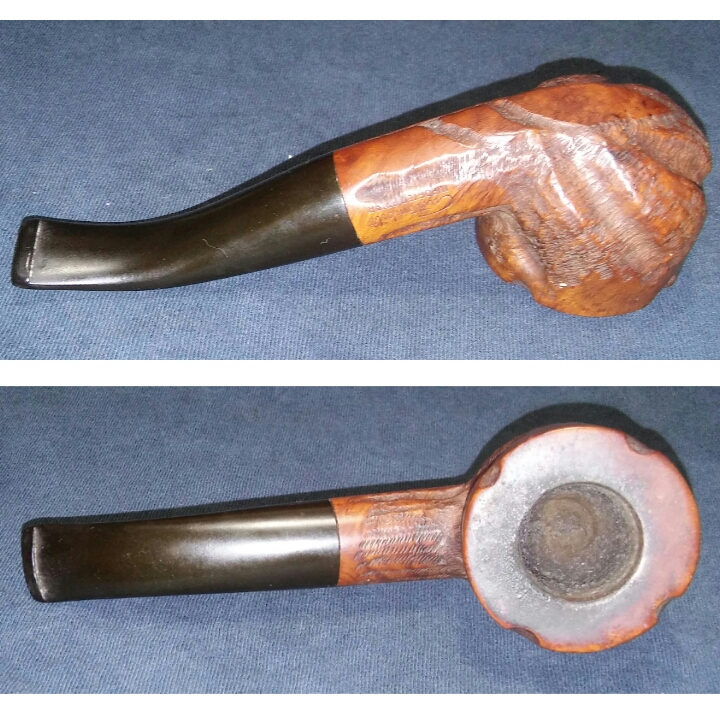
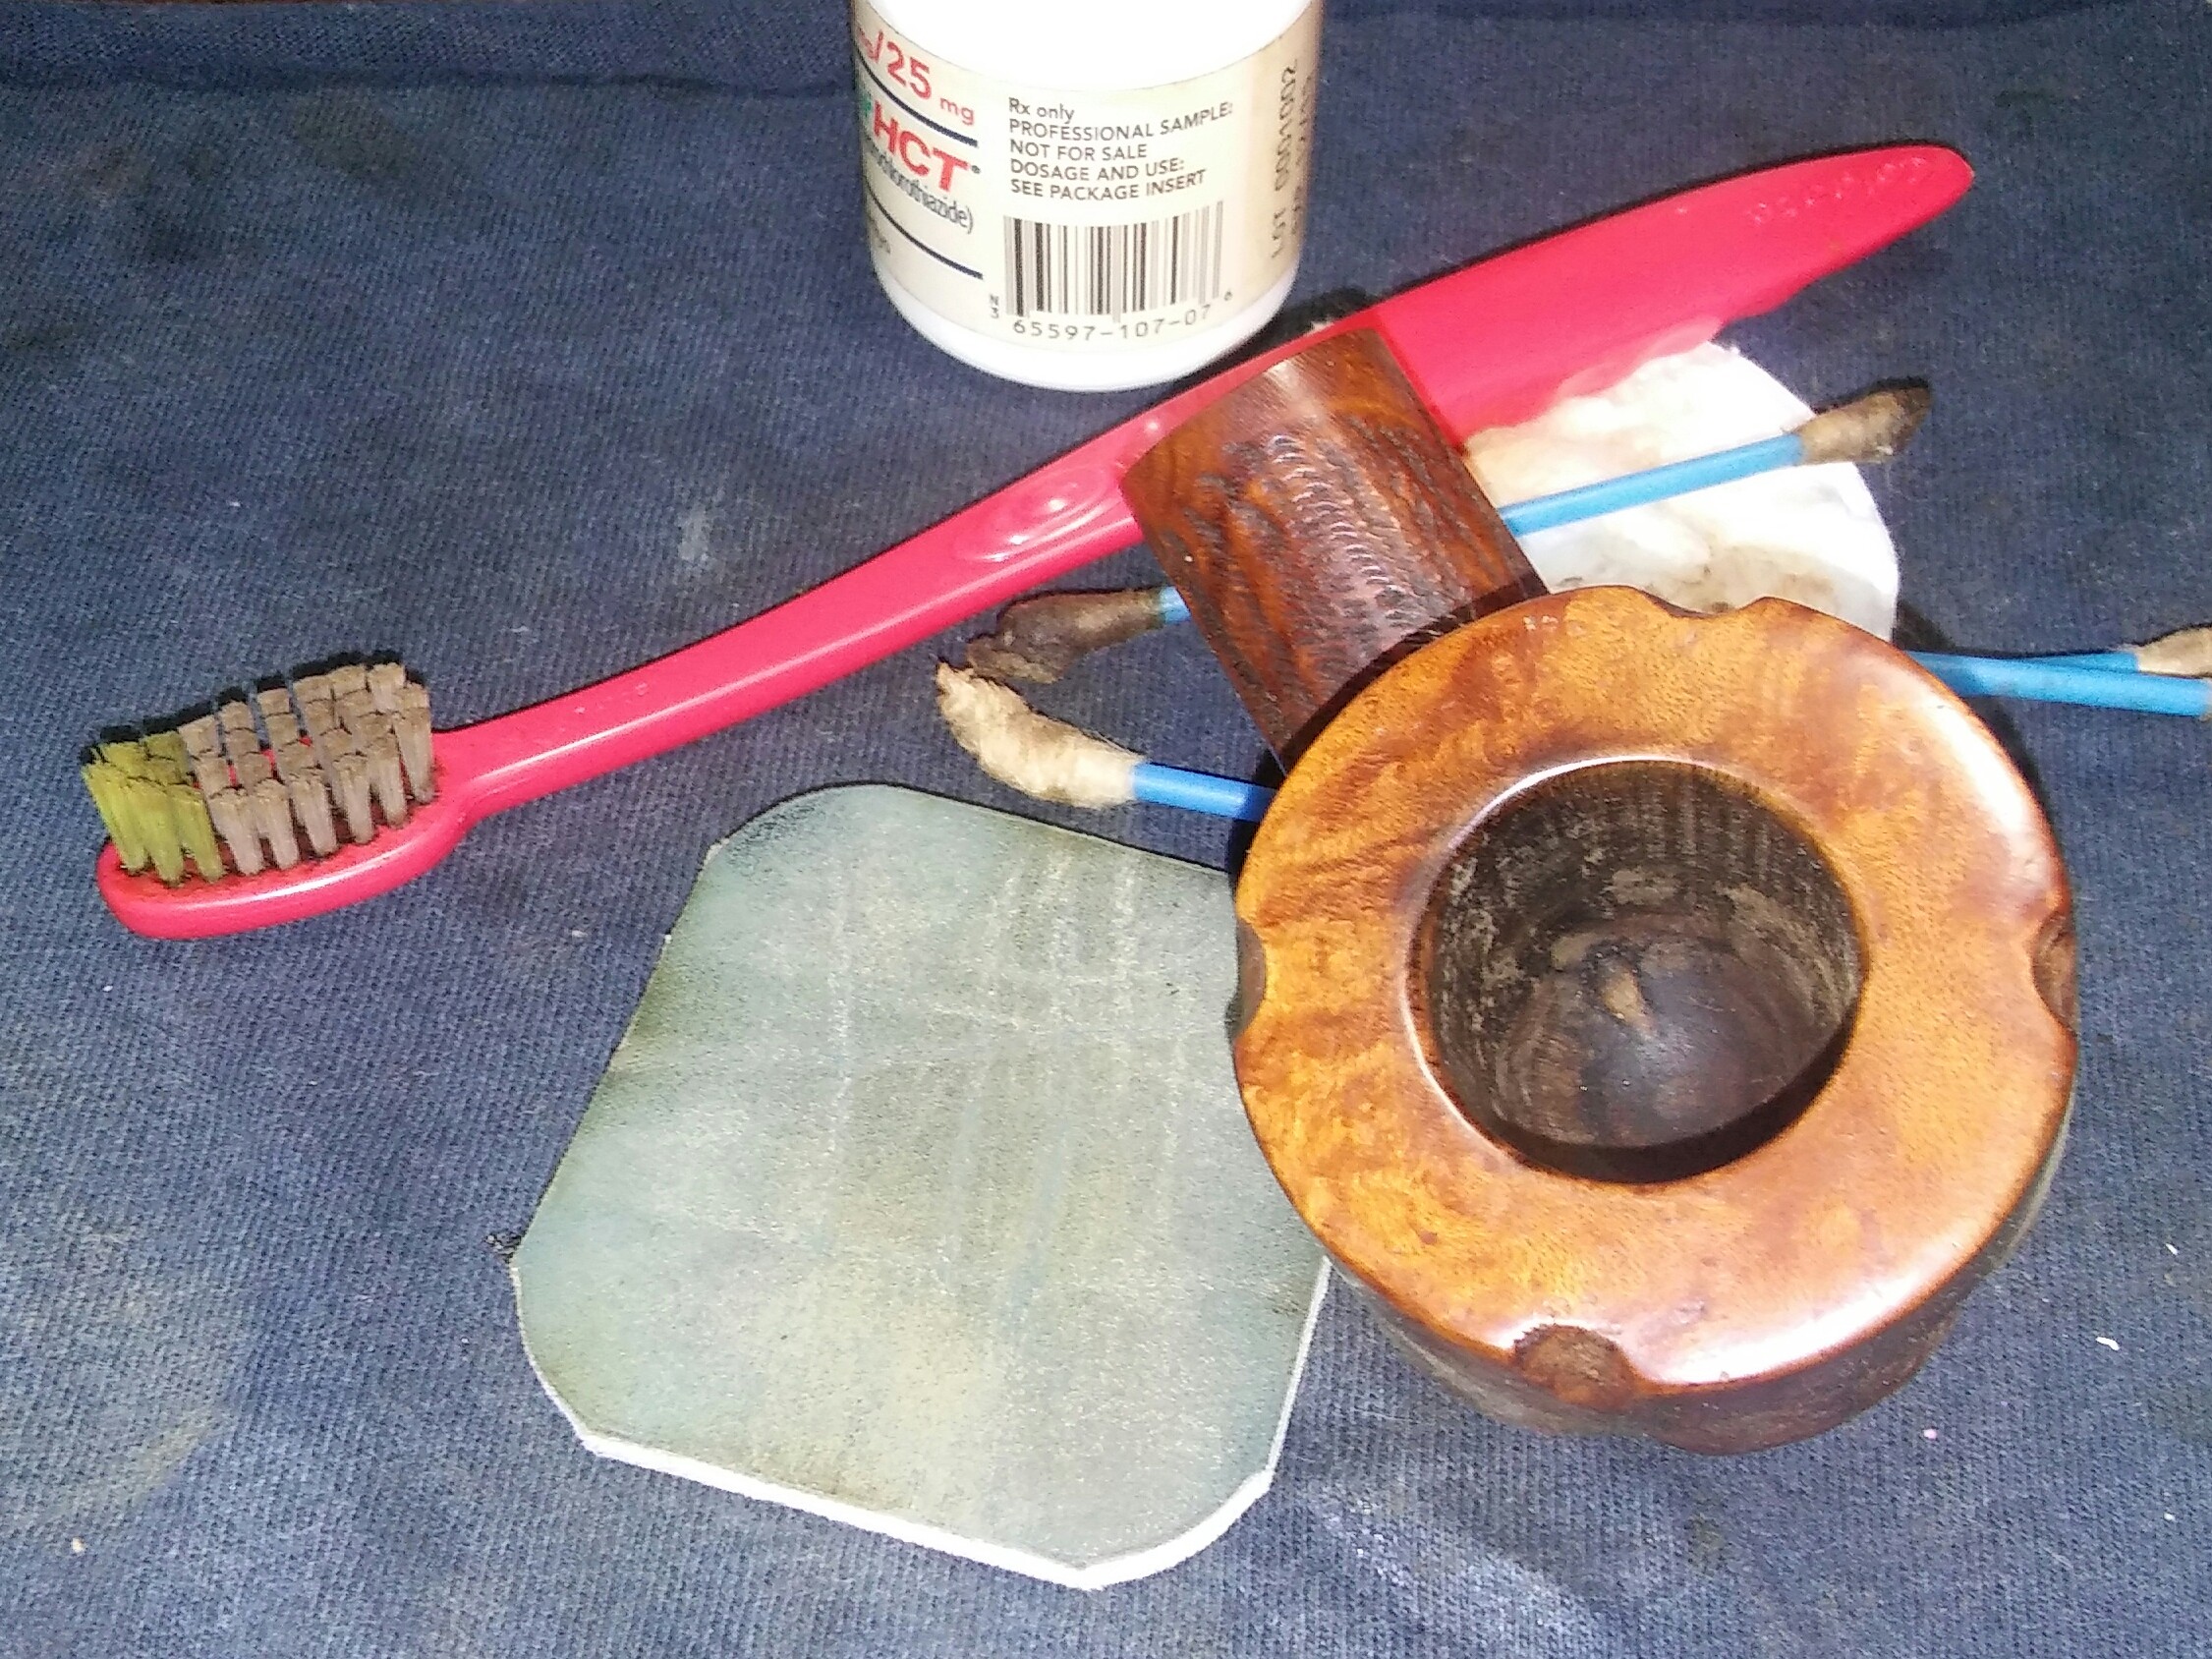
I’m a little embarrassed with the upkeep of one of my favorites or lack their of but this is the only pipe in my possession that has been overlooked, it has always rested on my work desk there in a pinch when needed. Oxidation, rim tar&char and the stain has since faded .
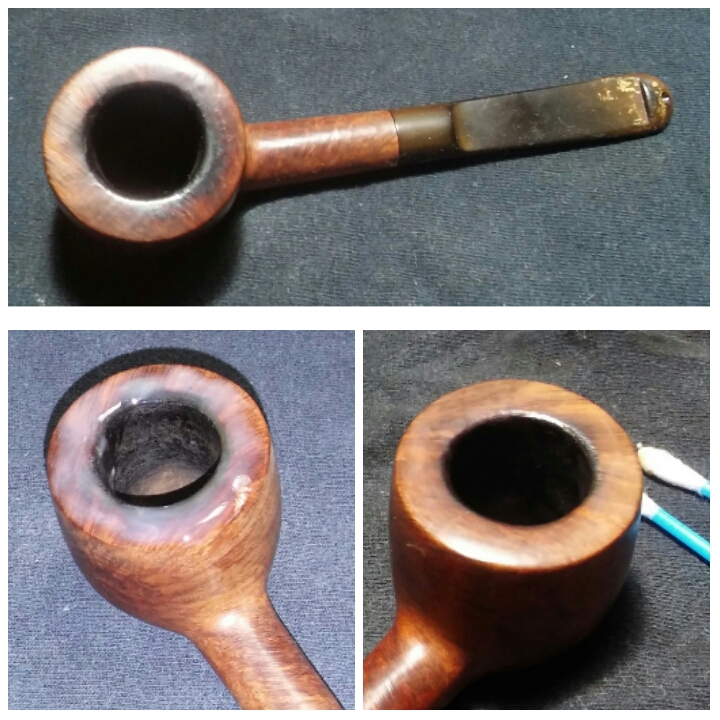
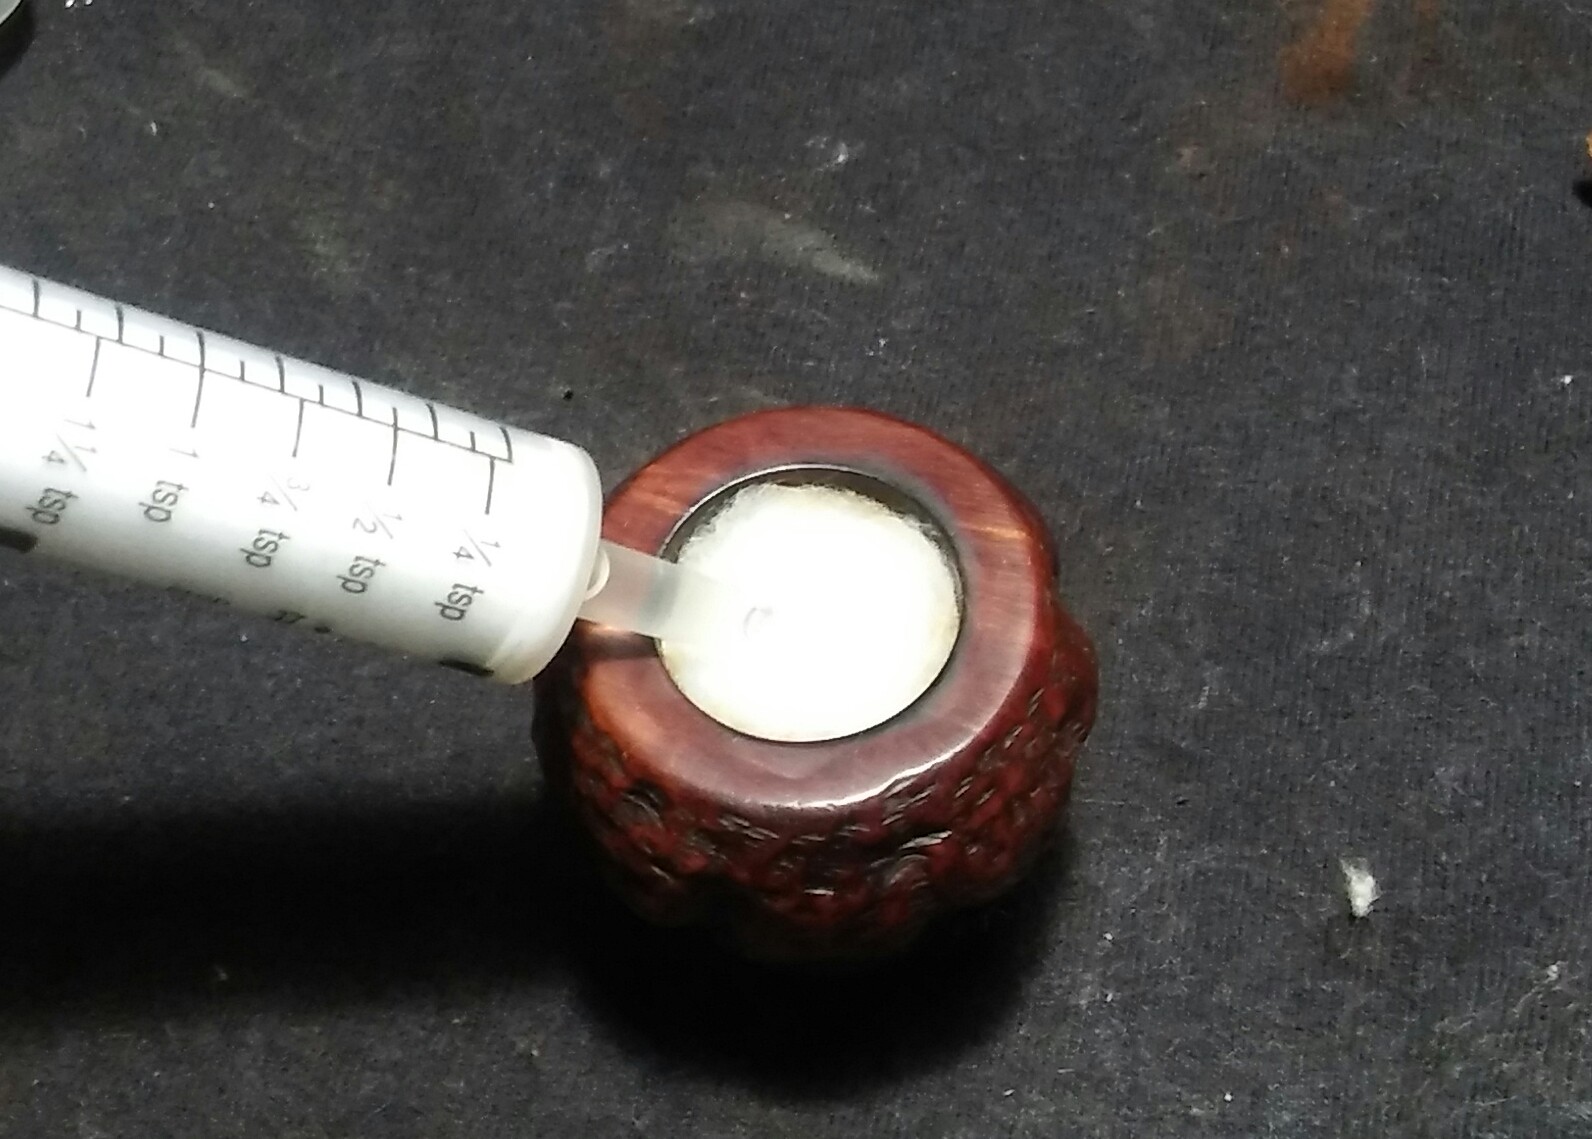
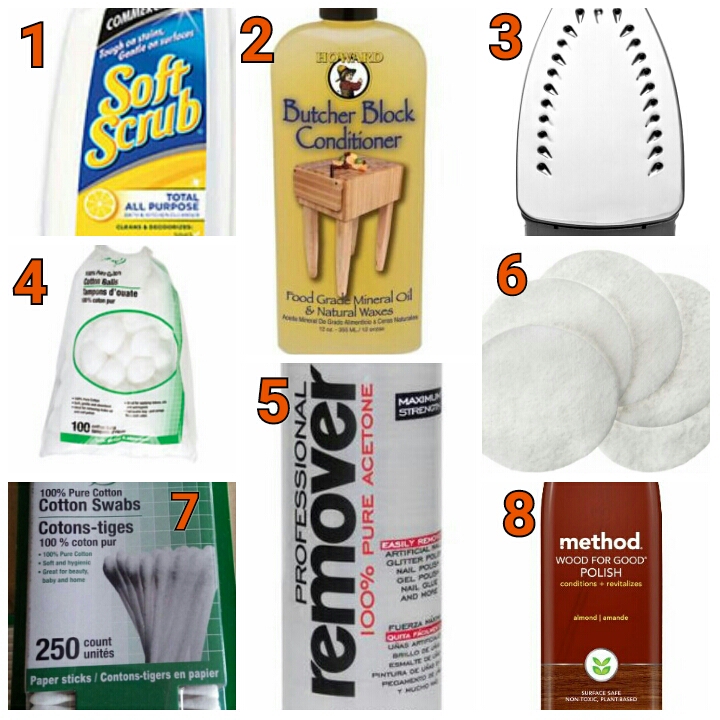
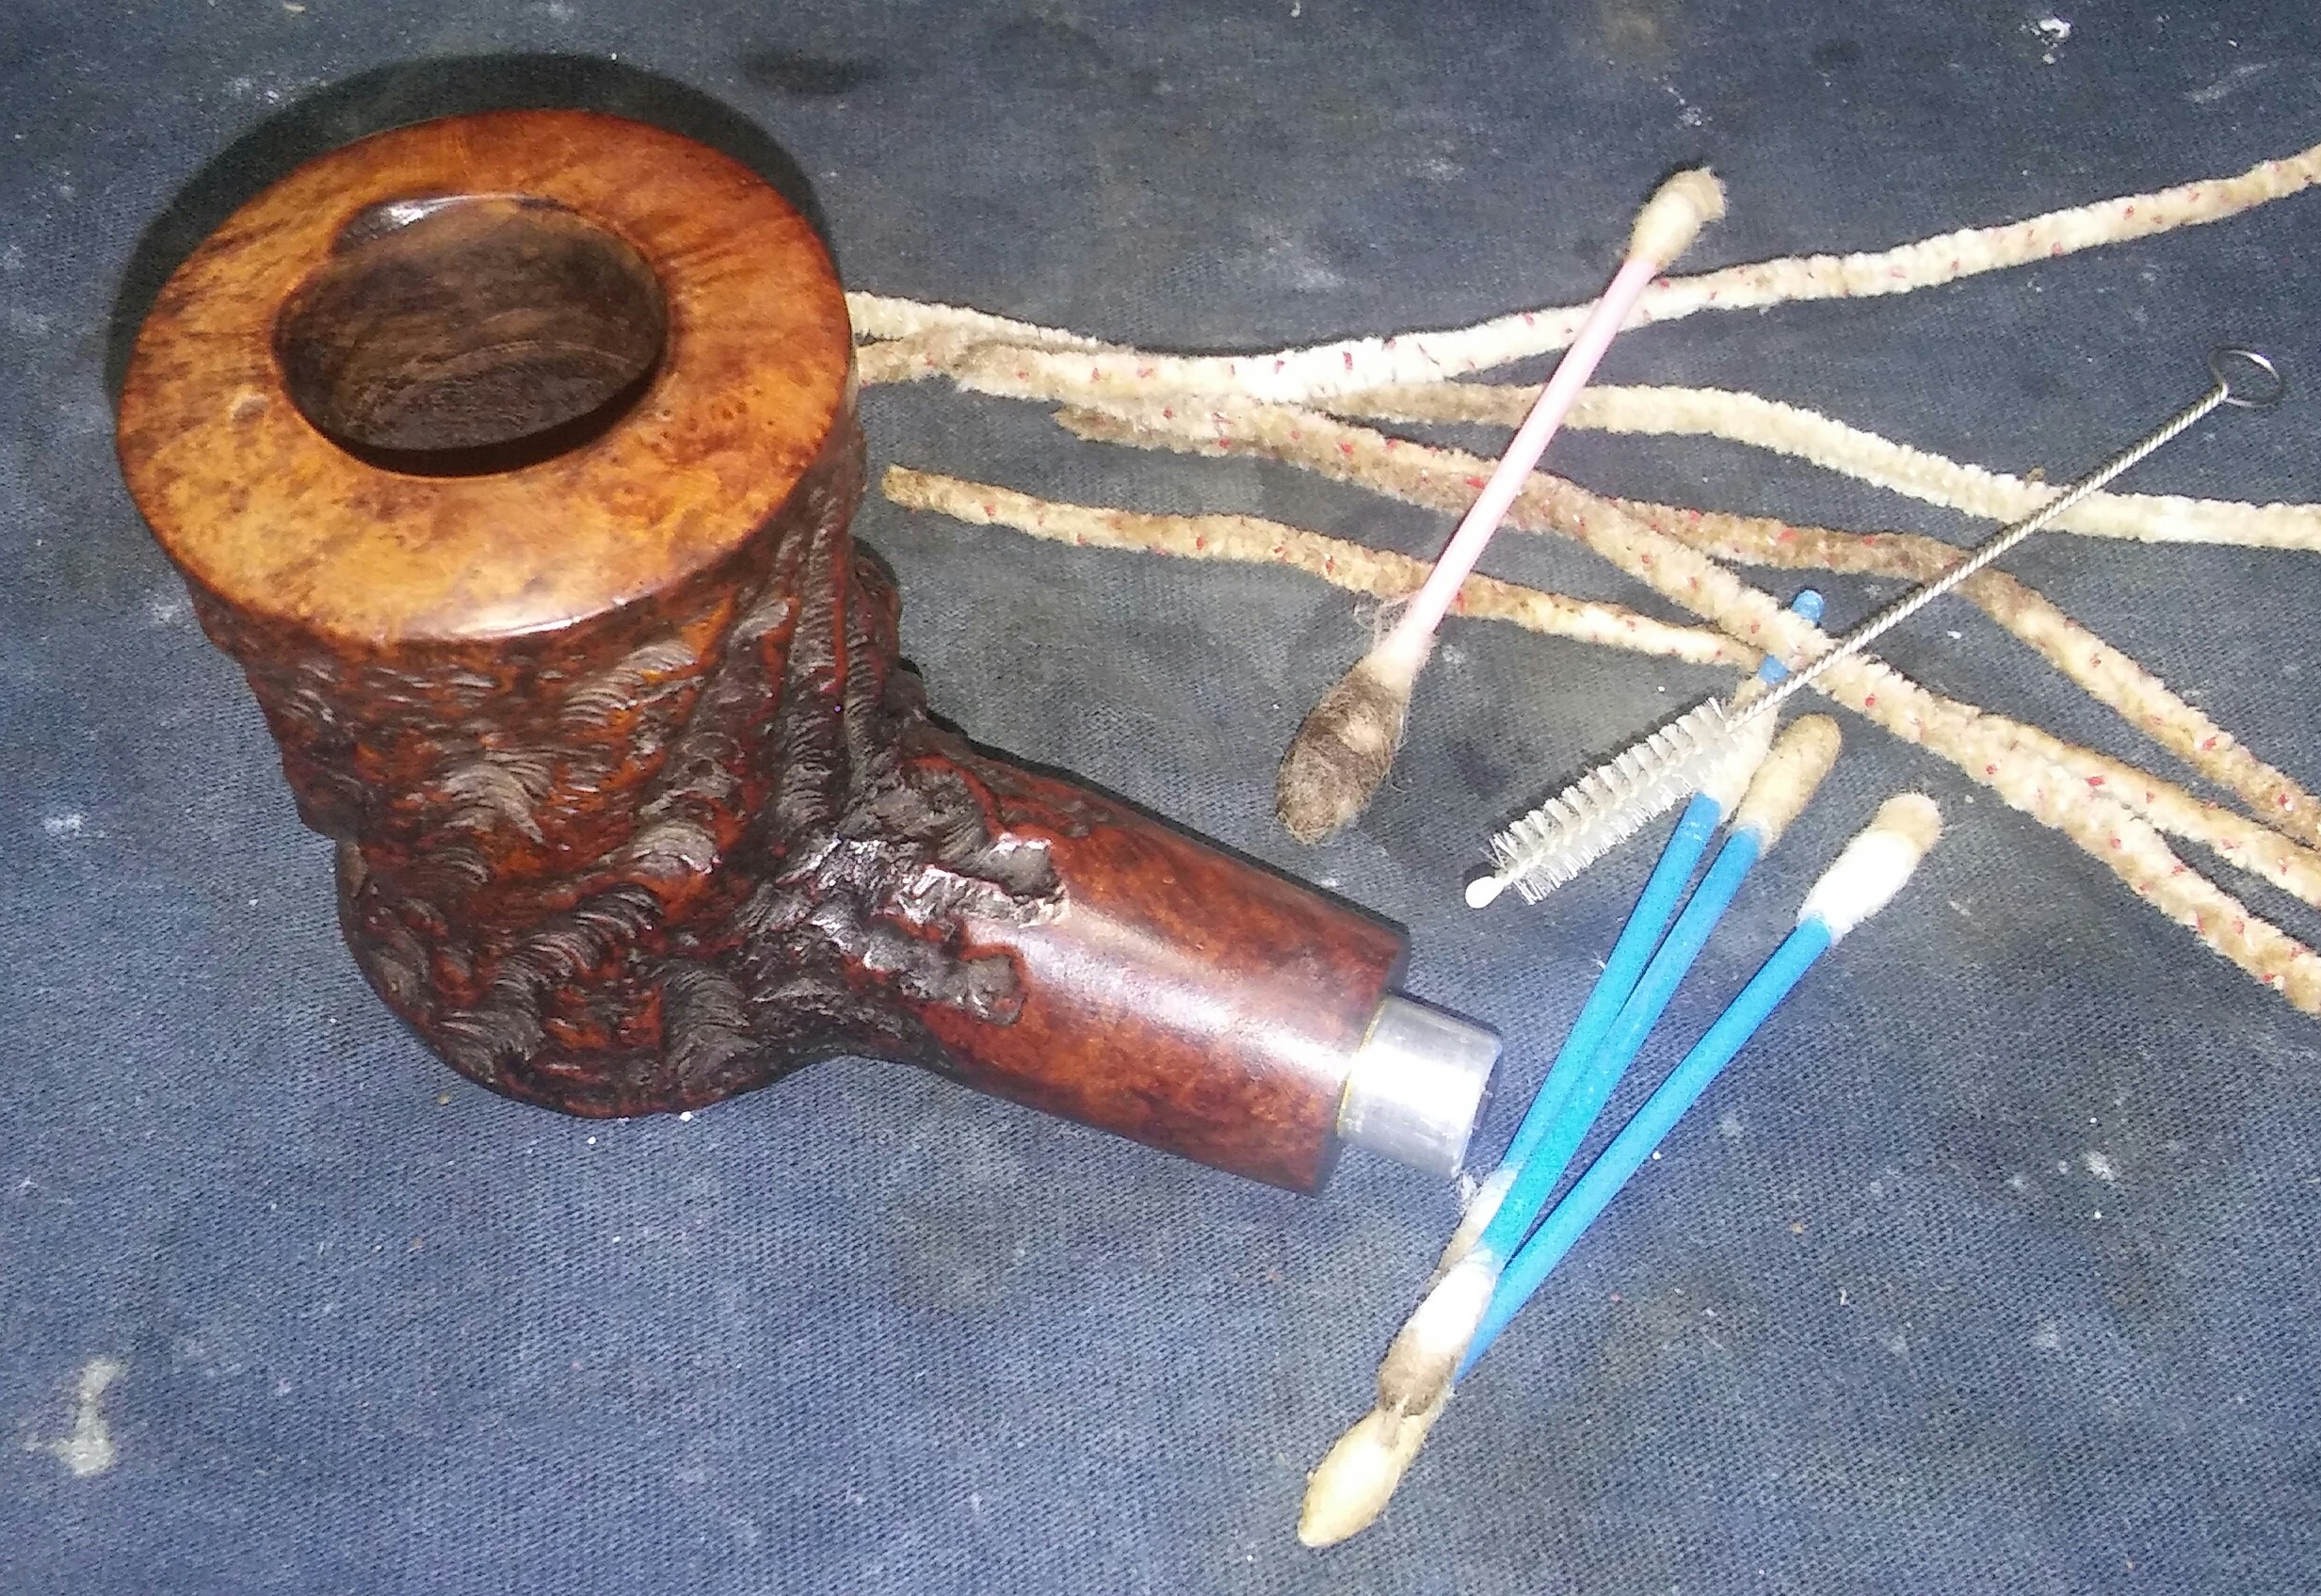
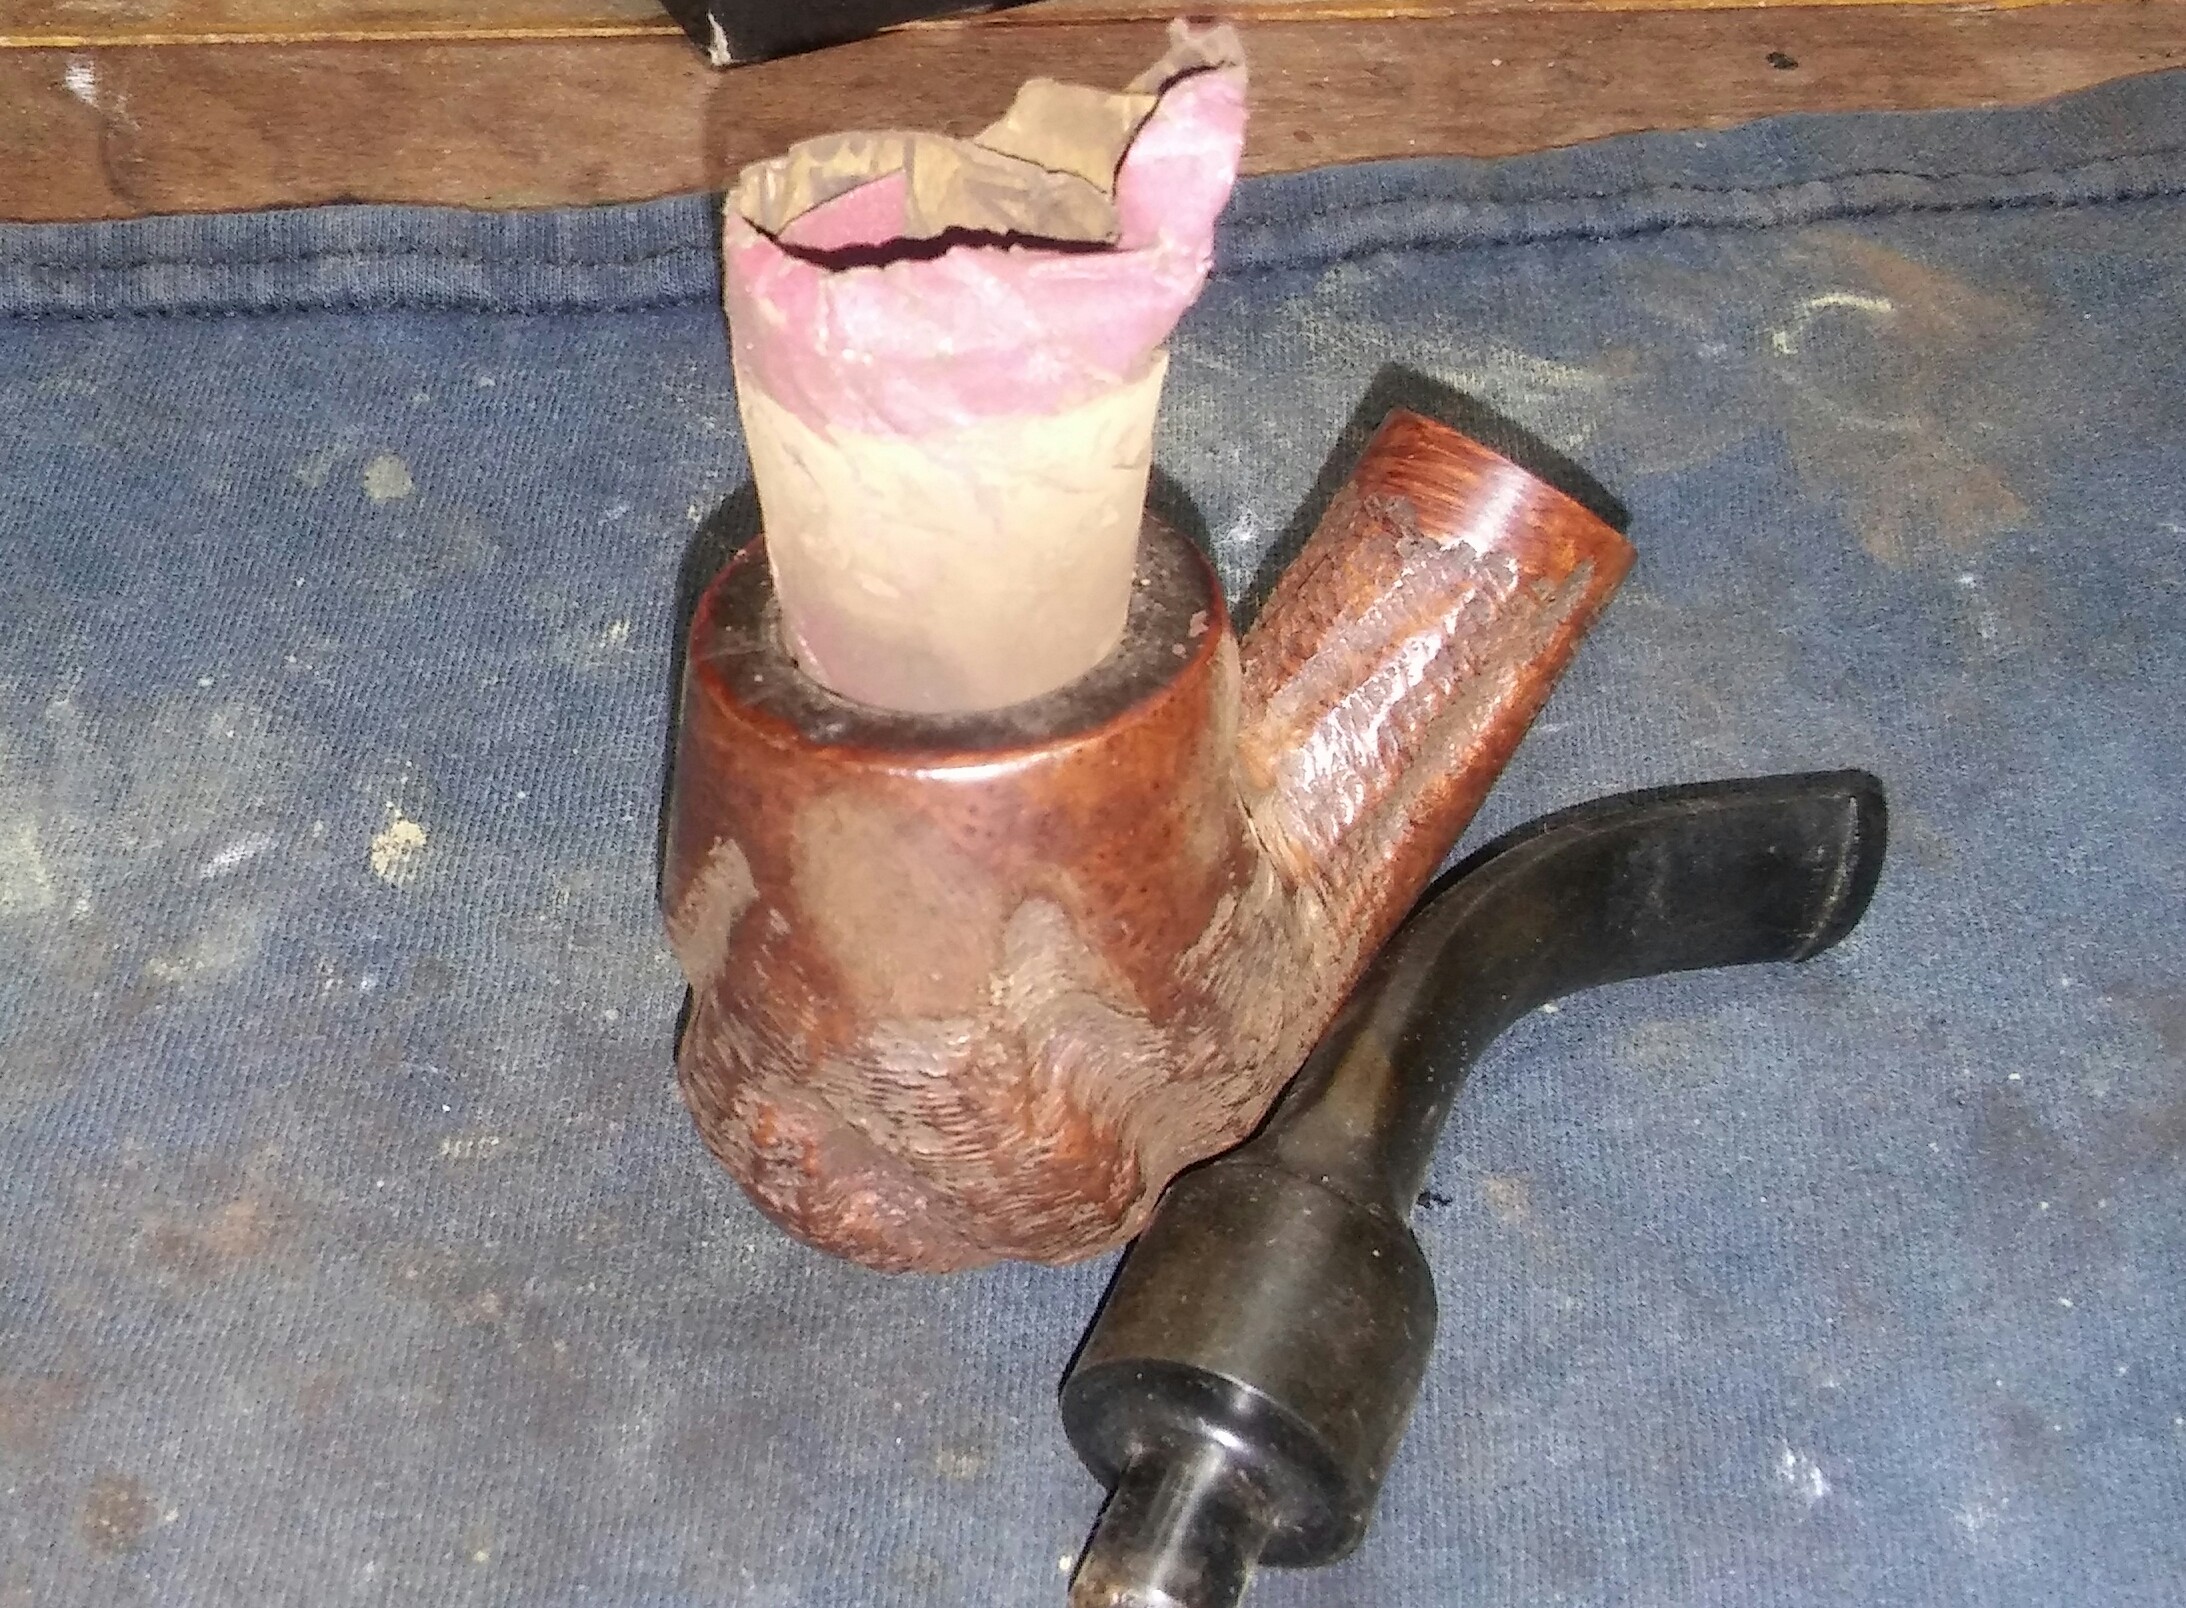
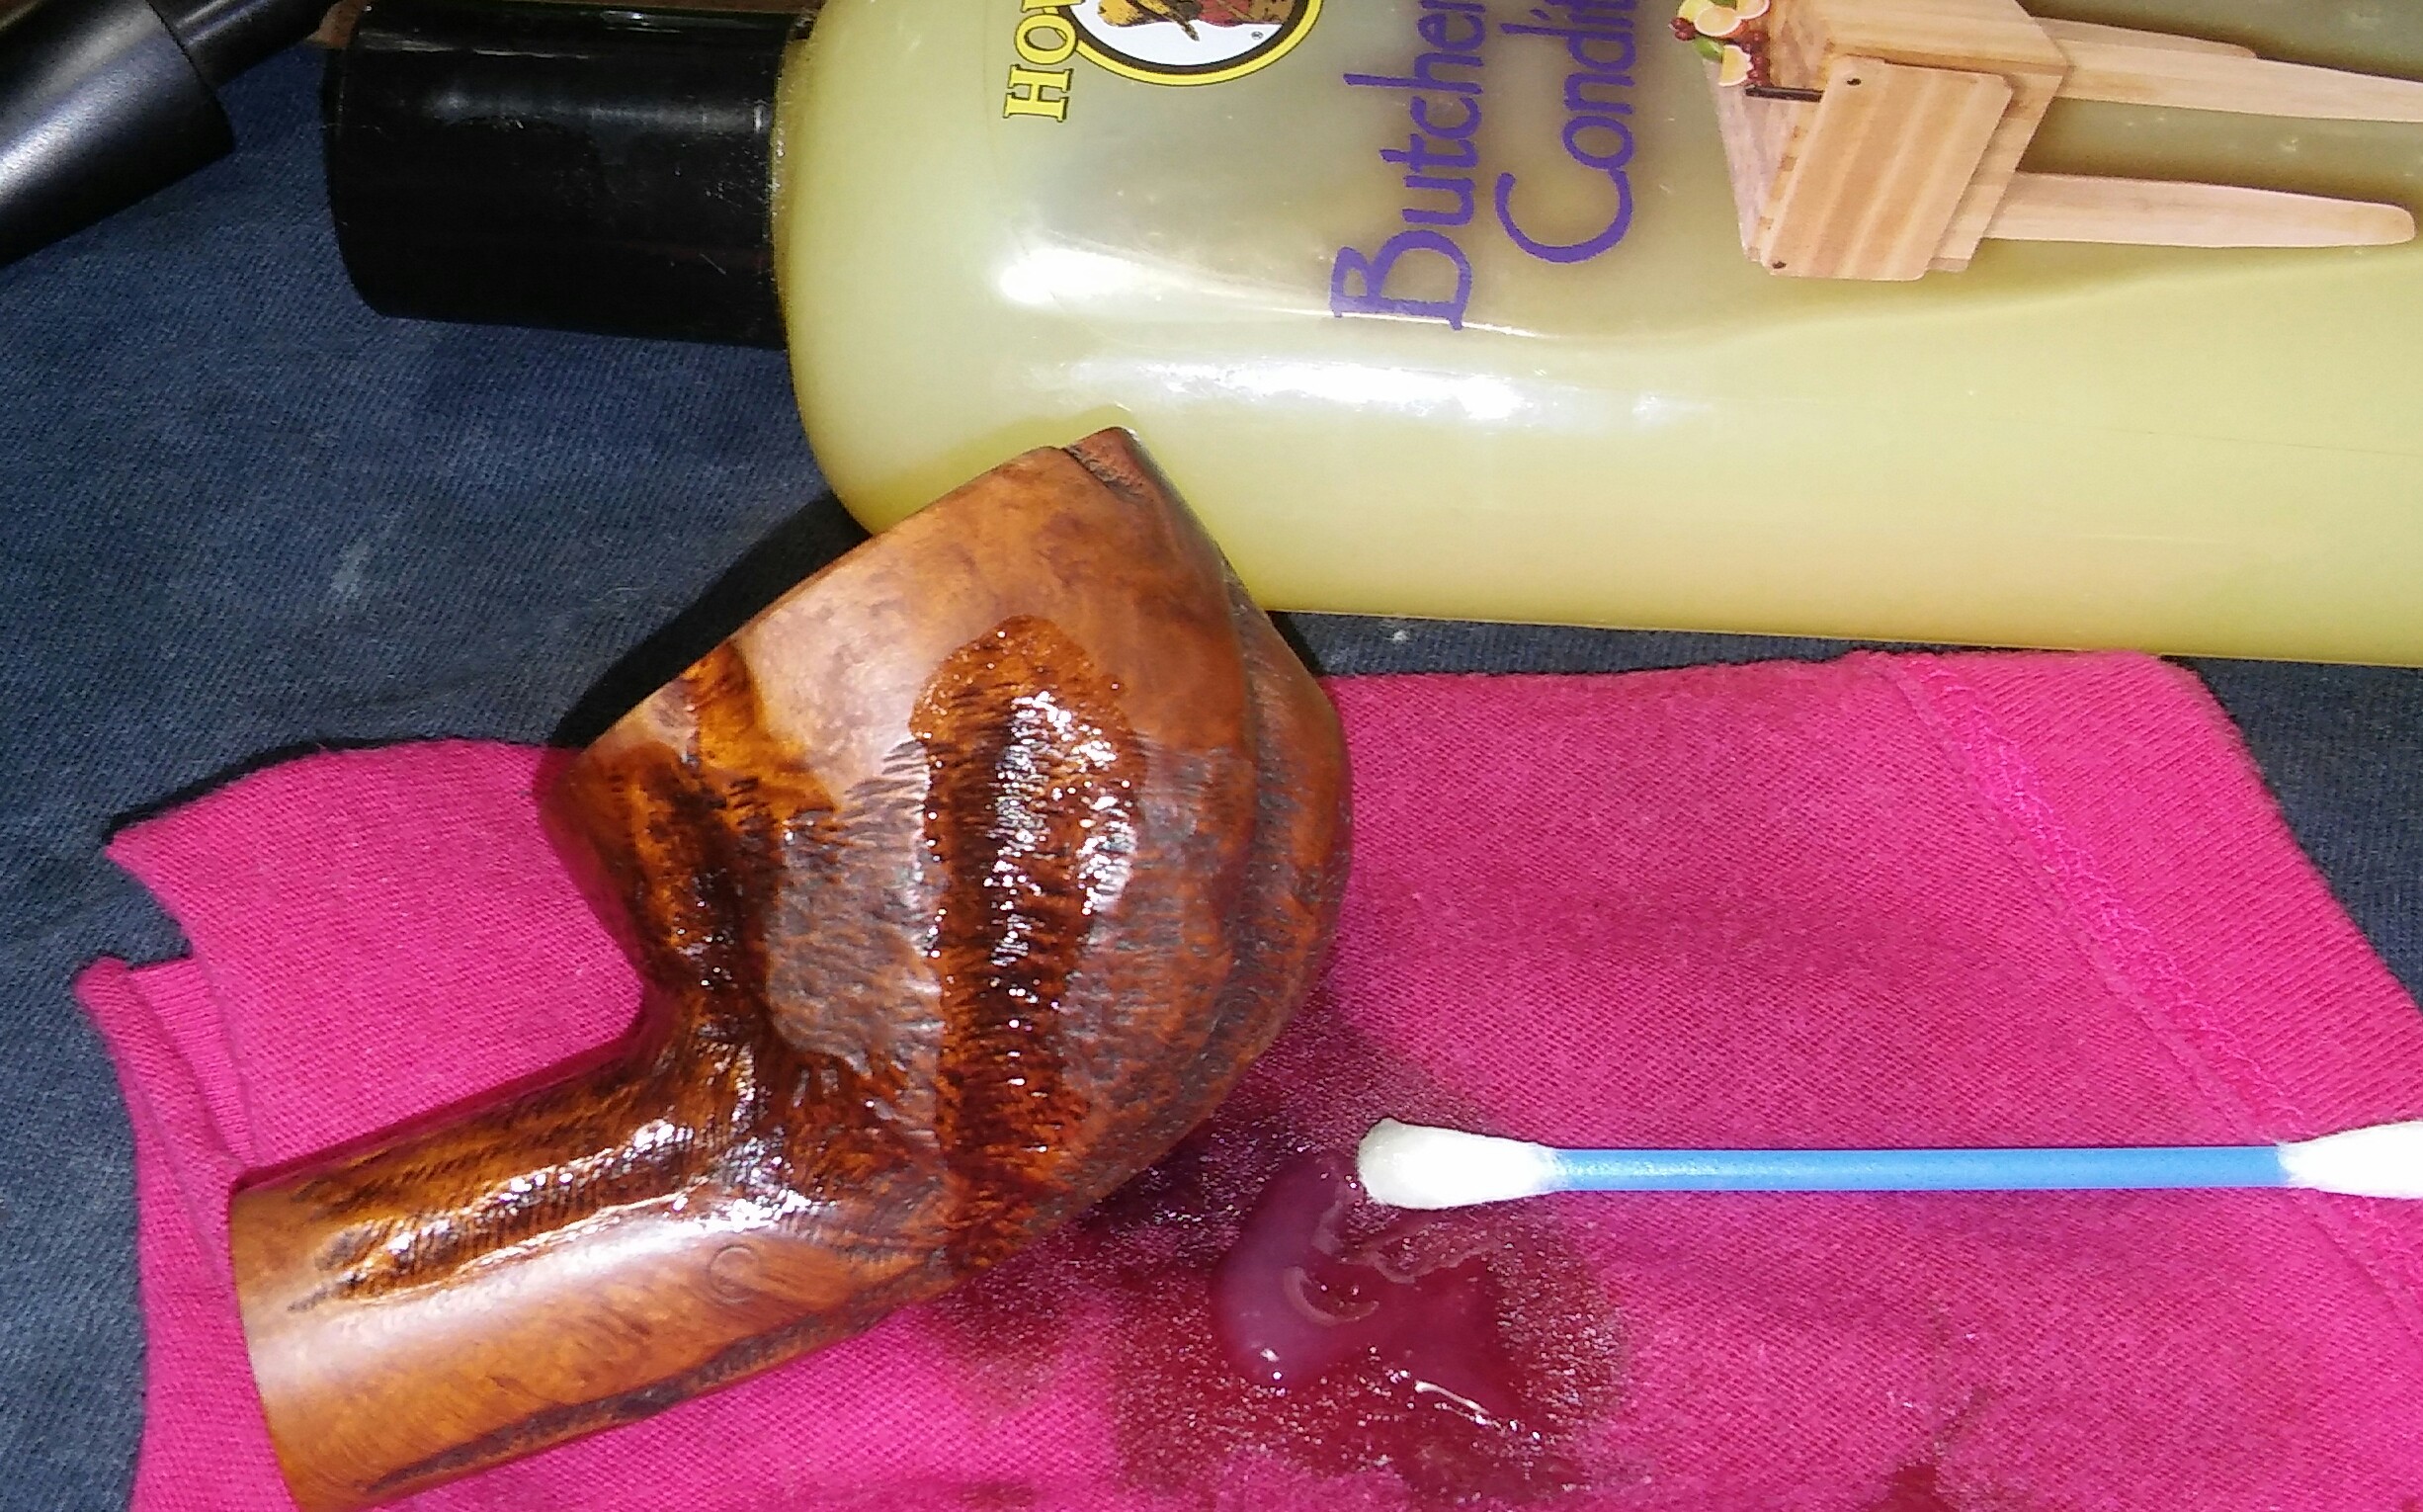
I started with the rim tar/oils there was no need to ream, I wipe my chamber clean after each smoke, what cake has built I’m keeping. I applied Method Wood For Good Polish to the rim build up with a Q-tip and allowed it to penetrate the tars and oils for a few minutes, removing the debris with a Q-tip.

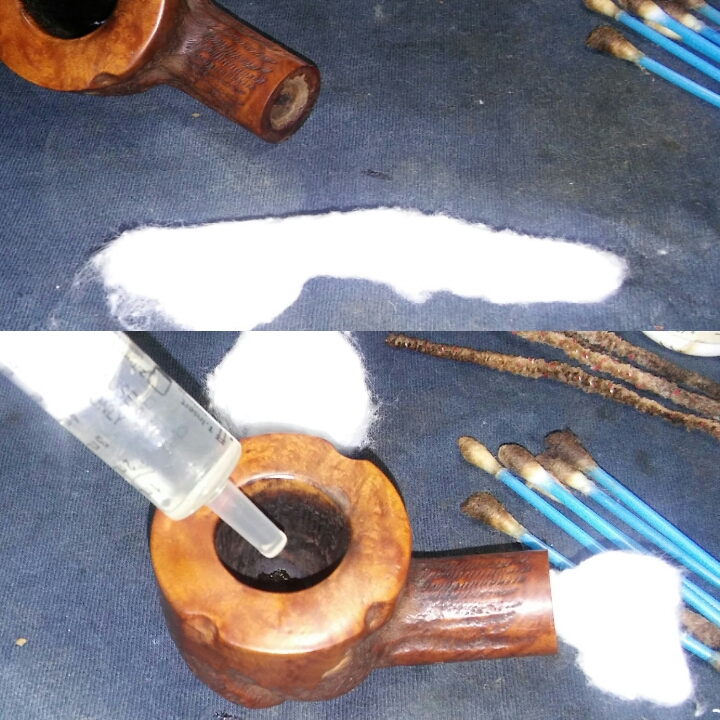
I cleaned the internals of the stummel and stem with EverClear ,Q-tips and stiff/soft pipe cleaners working until the pipe cleaners came out as they went in.

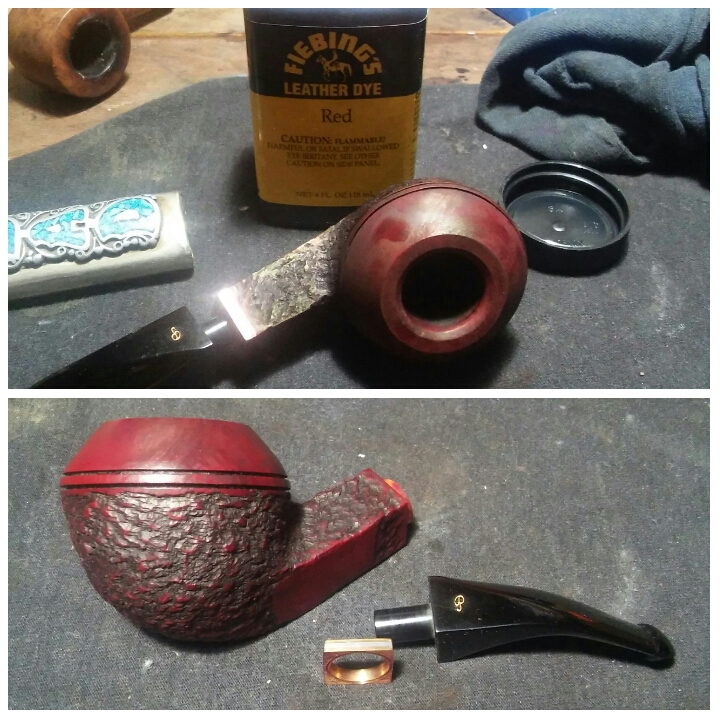
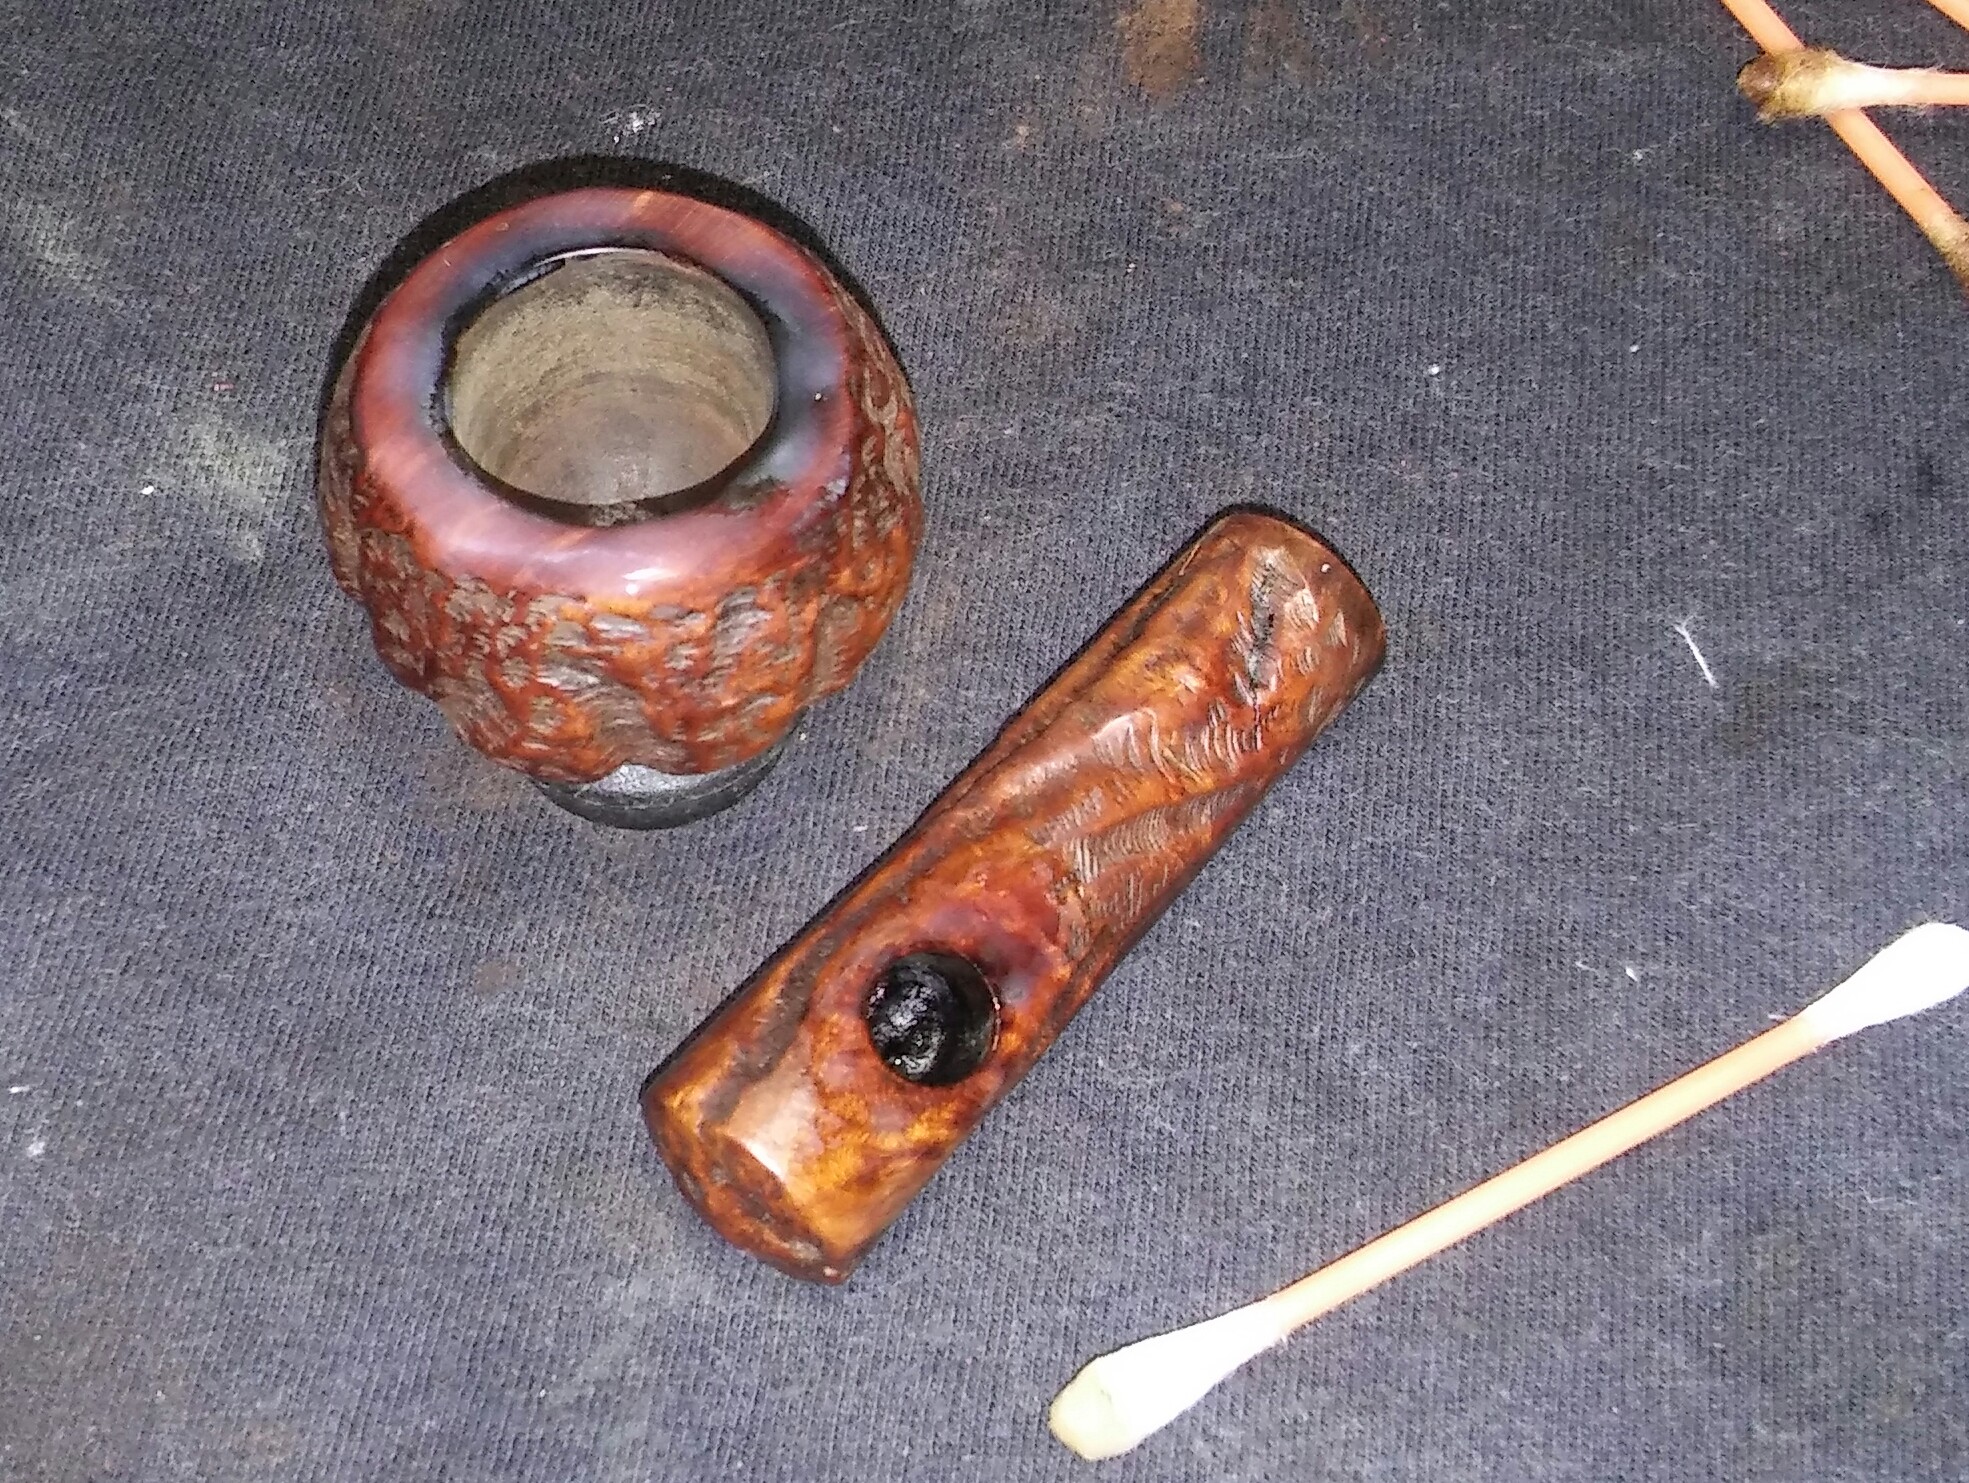
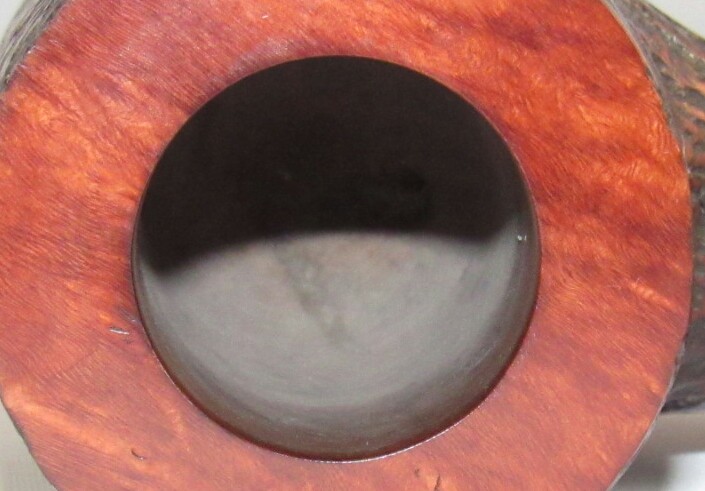
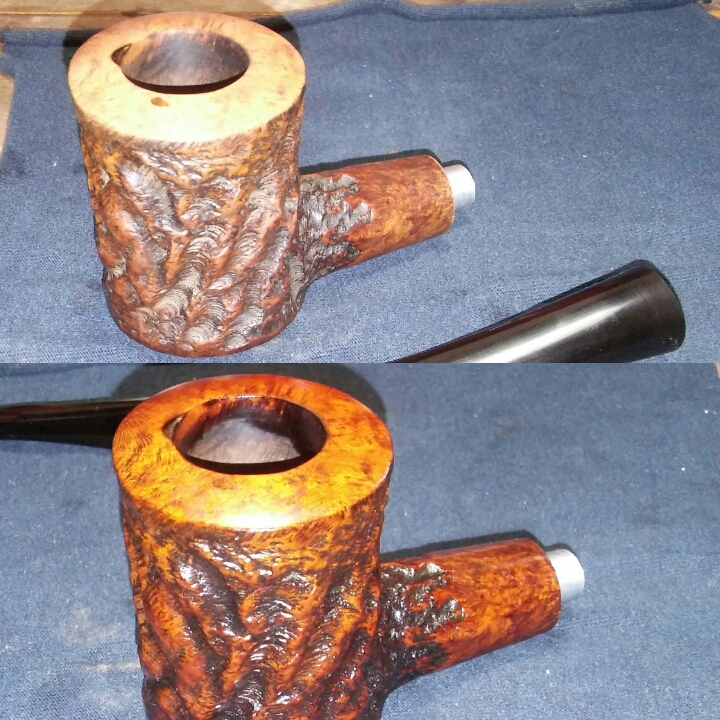
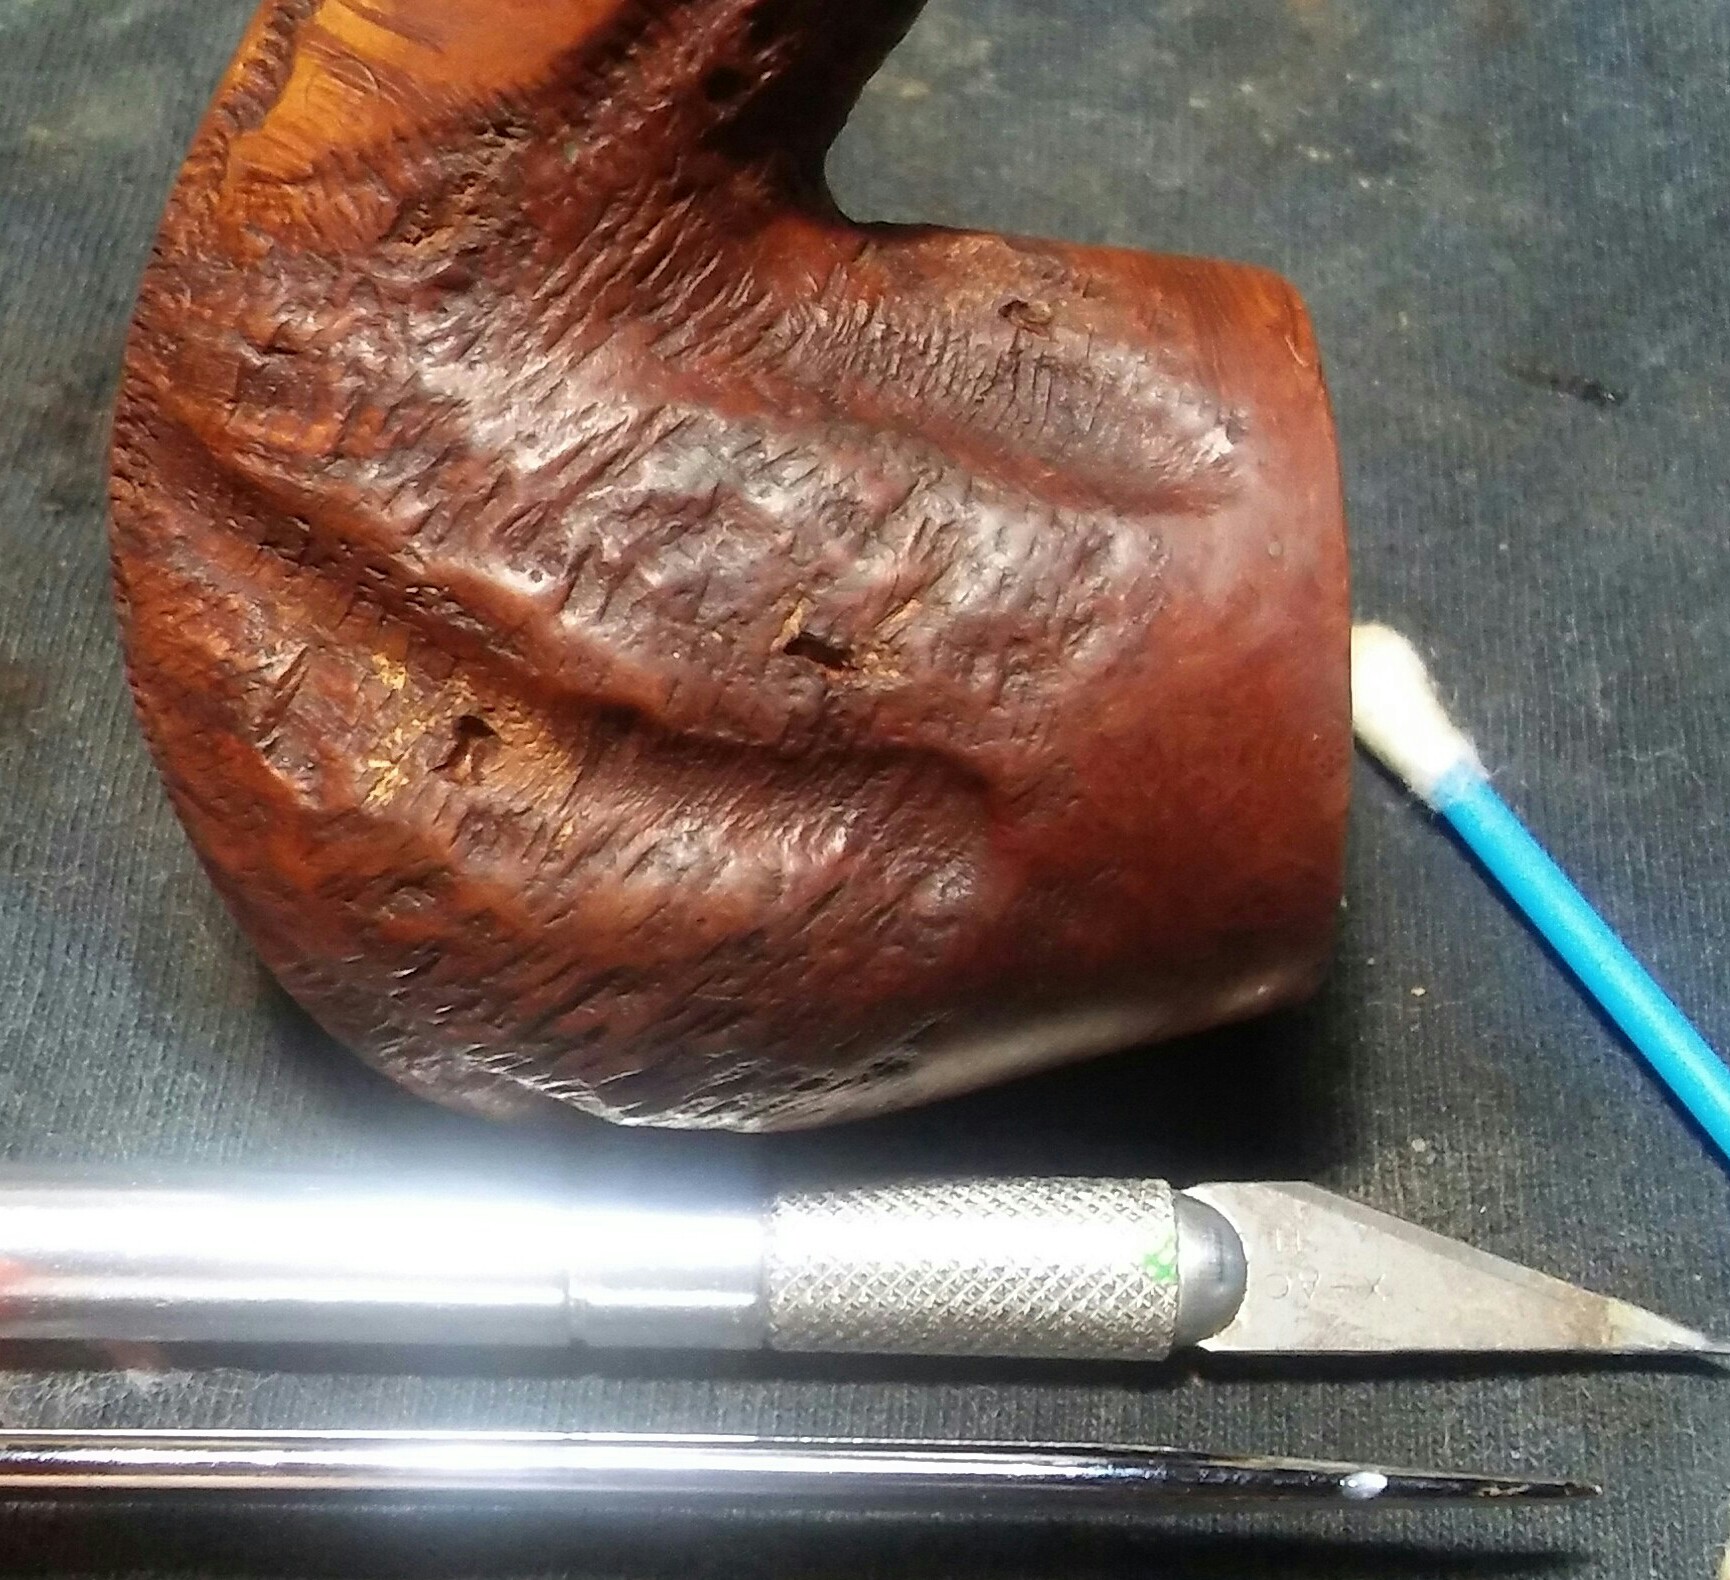
The stain was faded and dull it would have to be re-stained. I gave the stummel a good wipe down with an alcohol dampened makeup pad, removing the worn stain and oils from handling.

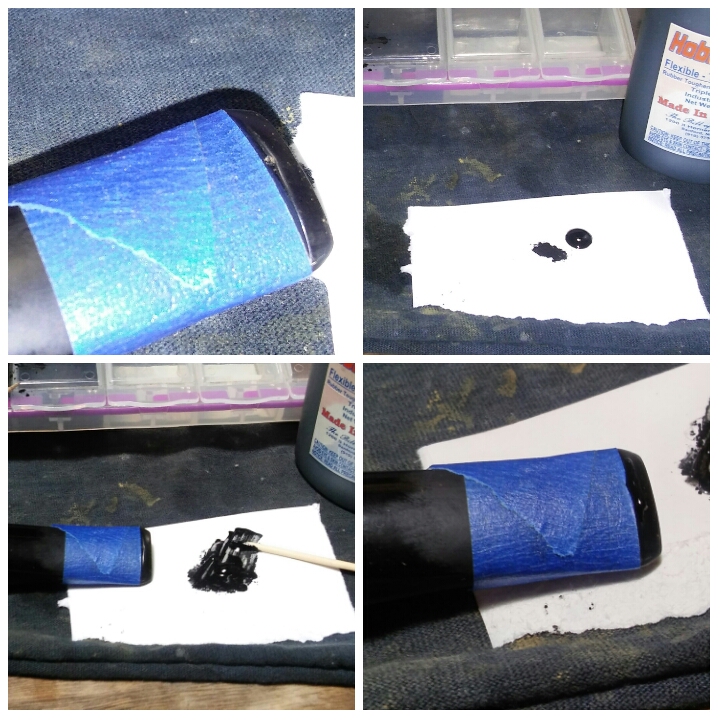
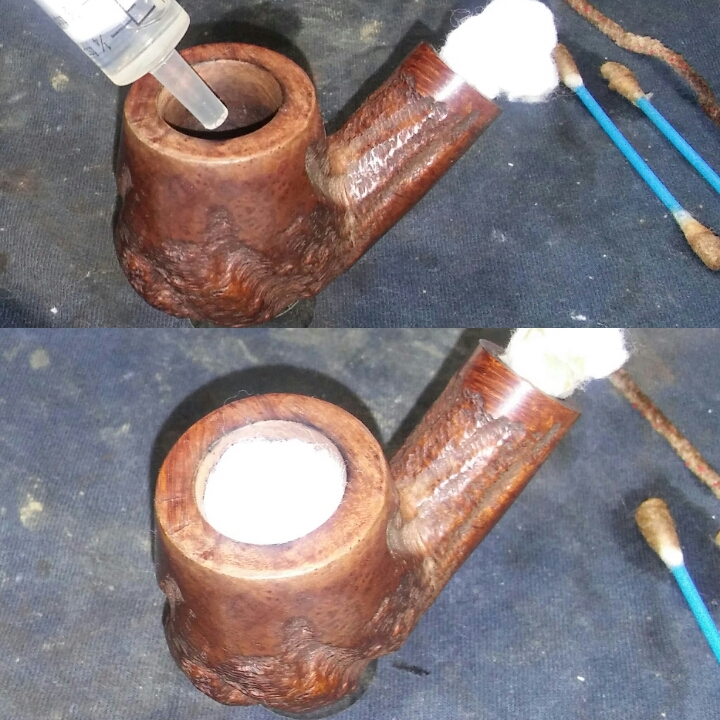
I would re-stain with Fiebings leather dye. I mixed a little EverClear,a little red dye and dark brown together.

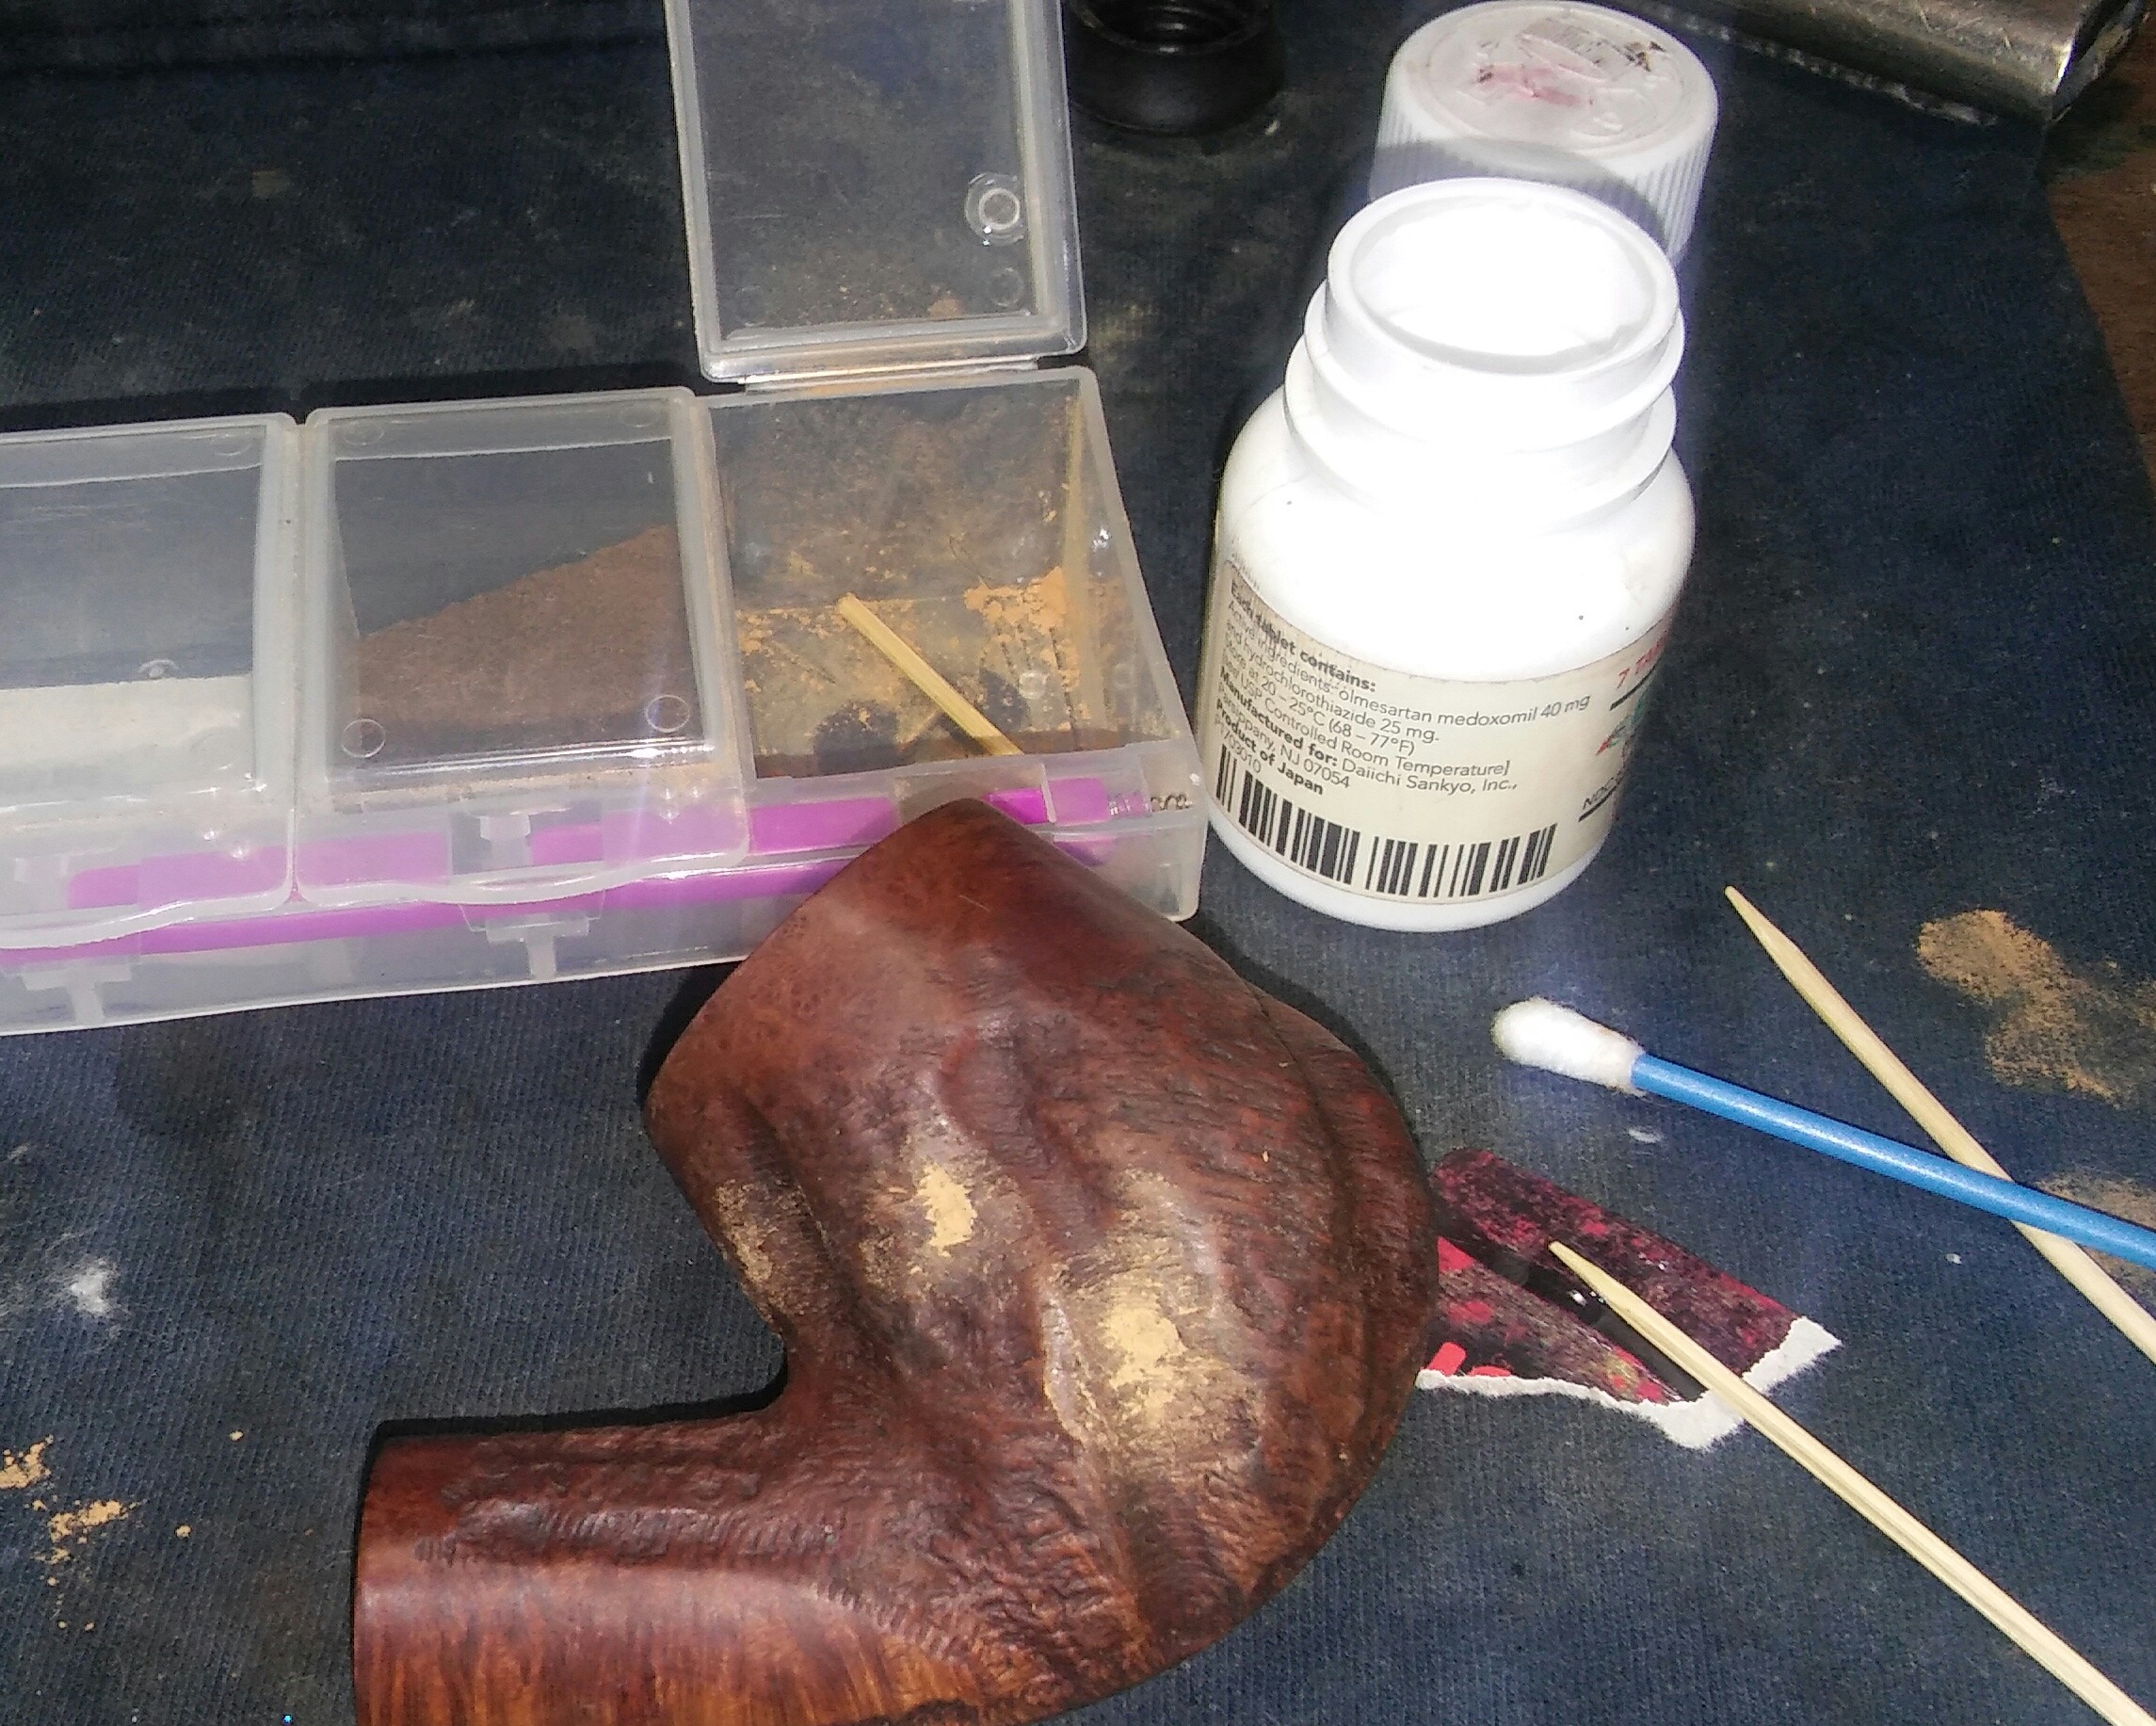
I inserted a Bic pen end into the mortise so I could apply the stain, using an old homemade brush I applied a generous amount of the mixed stain , being careful not to get in the chamber. I then hit it with a Bic Lighter to set the stain, removing the excess with a alcohol dampened rag. I now left it aside to dry while I worked on the stem.

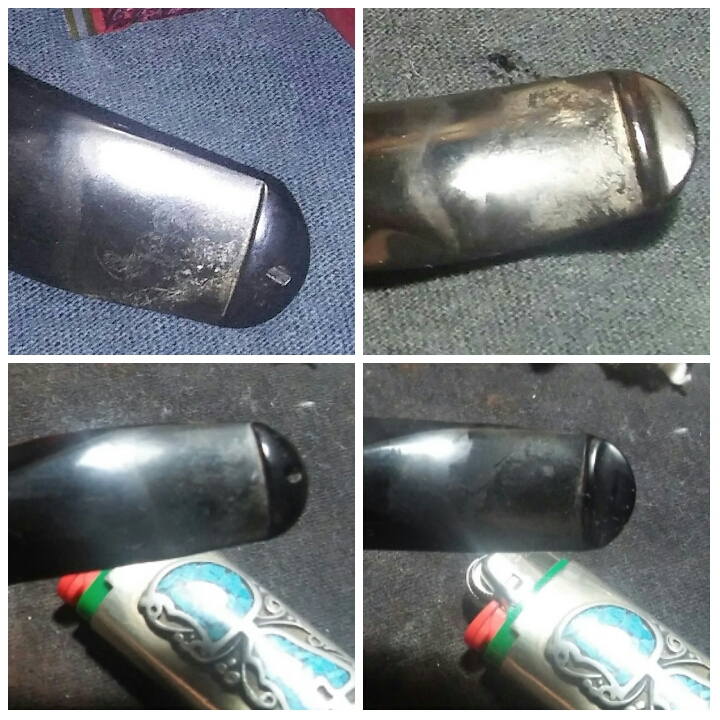
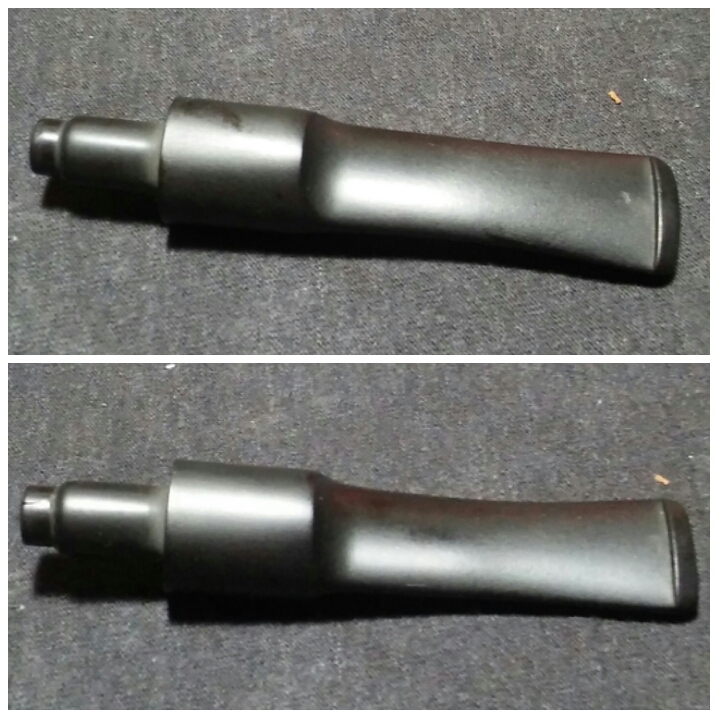
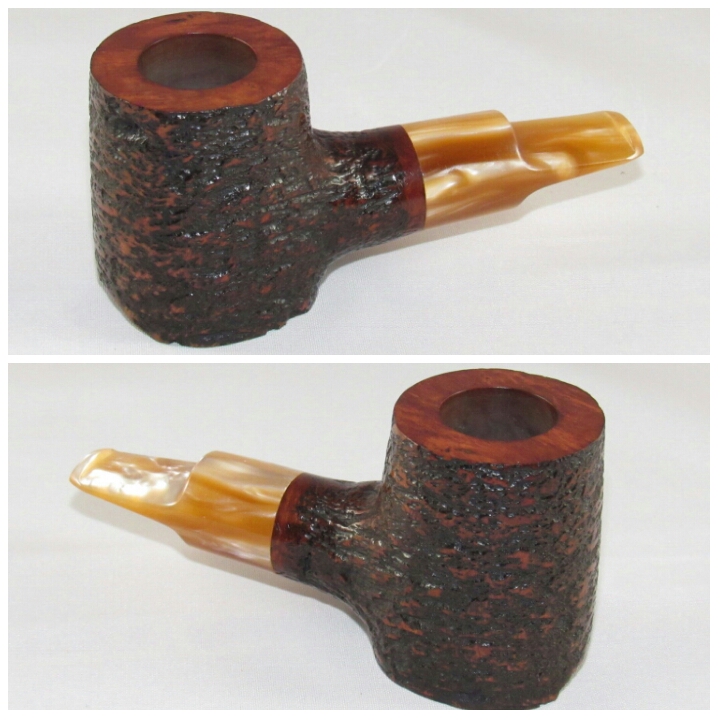
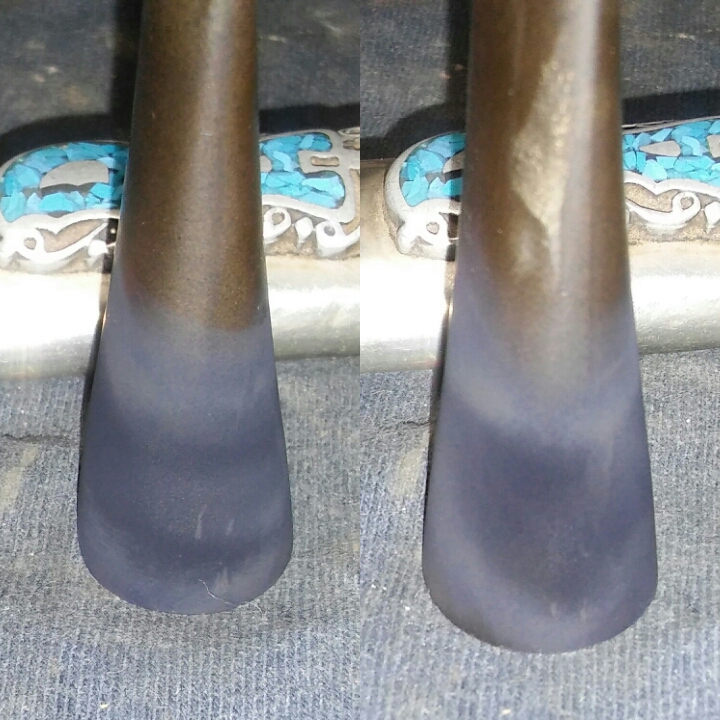
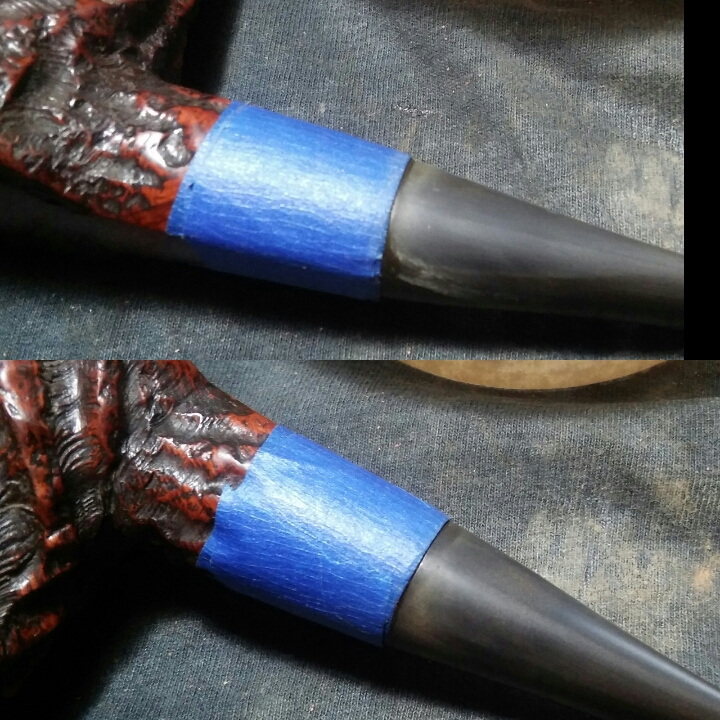
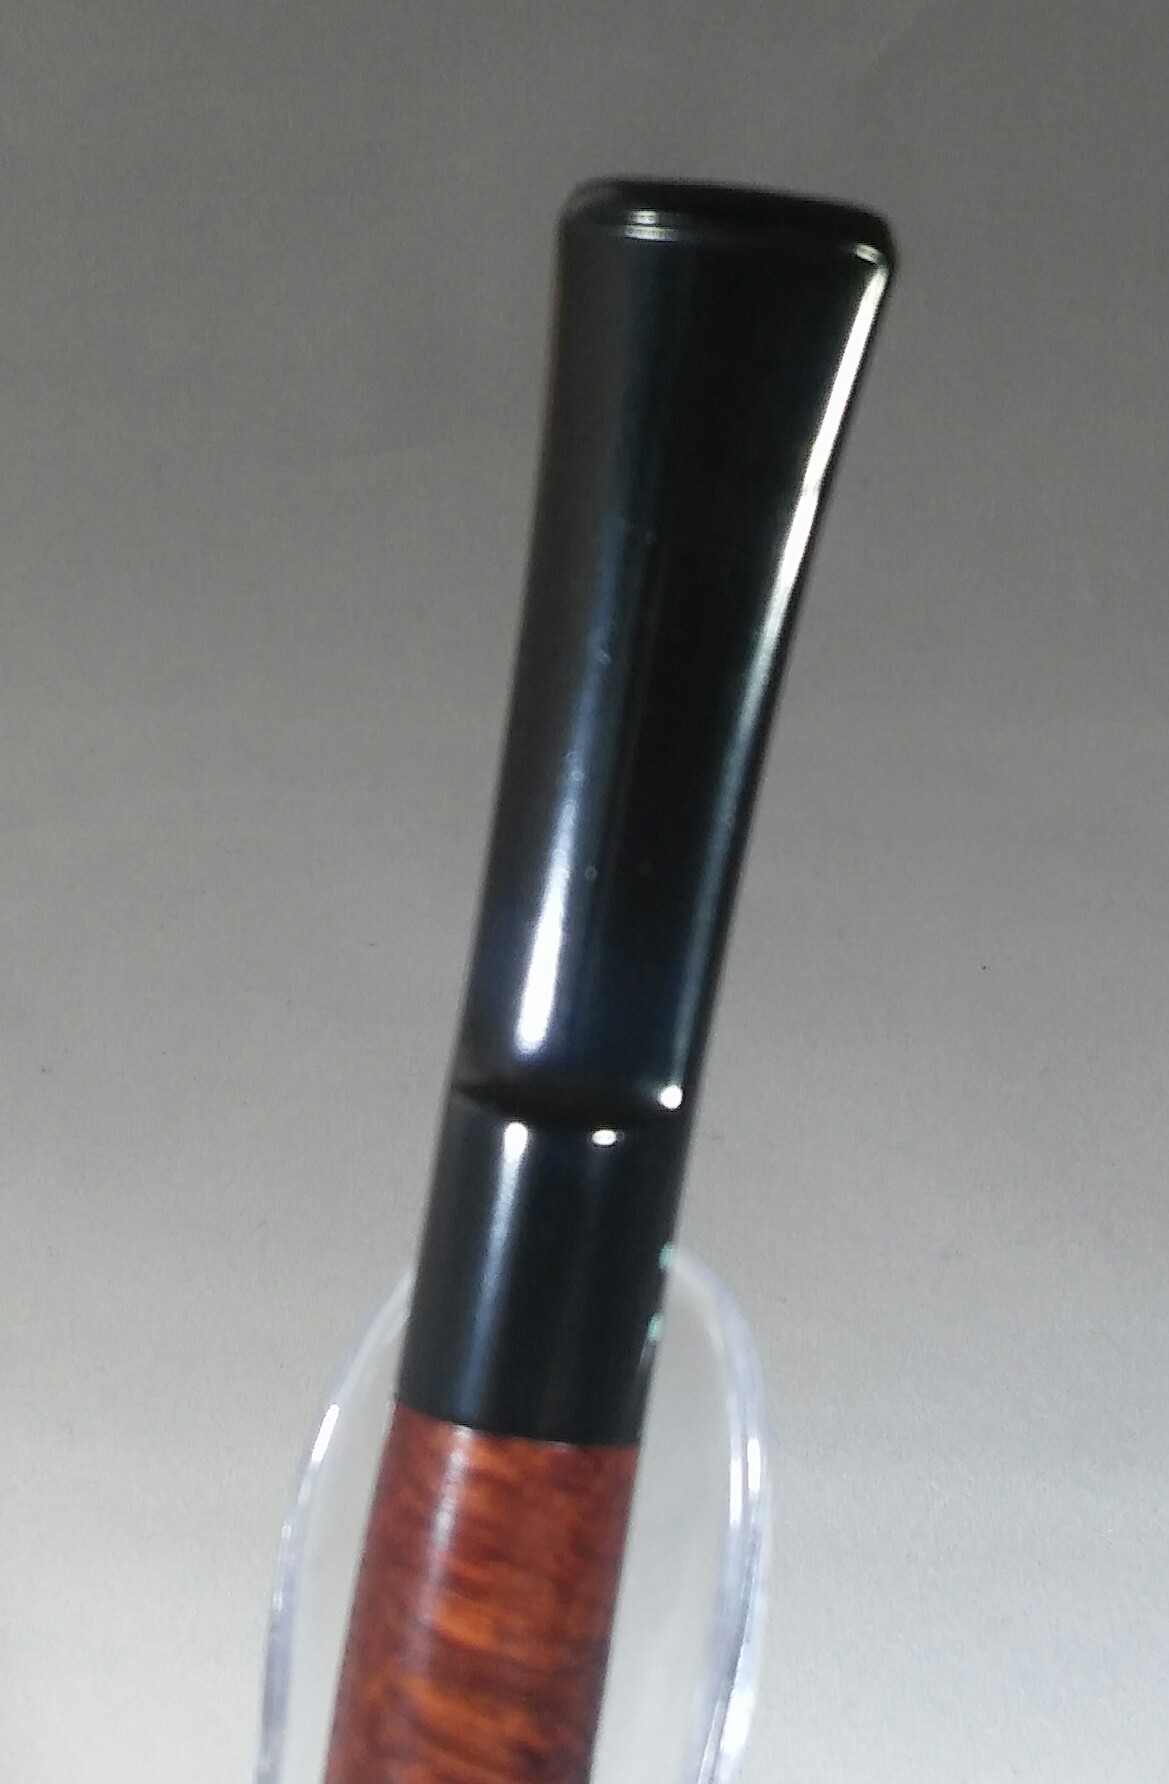
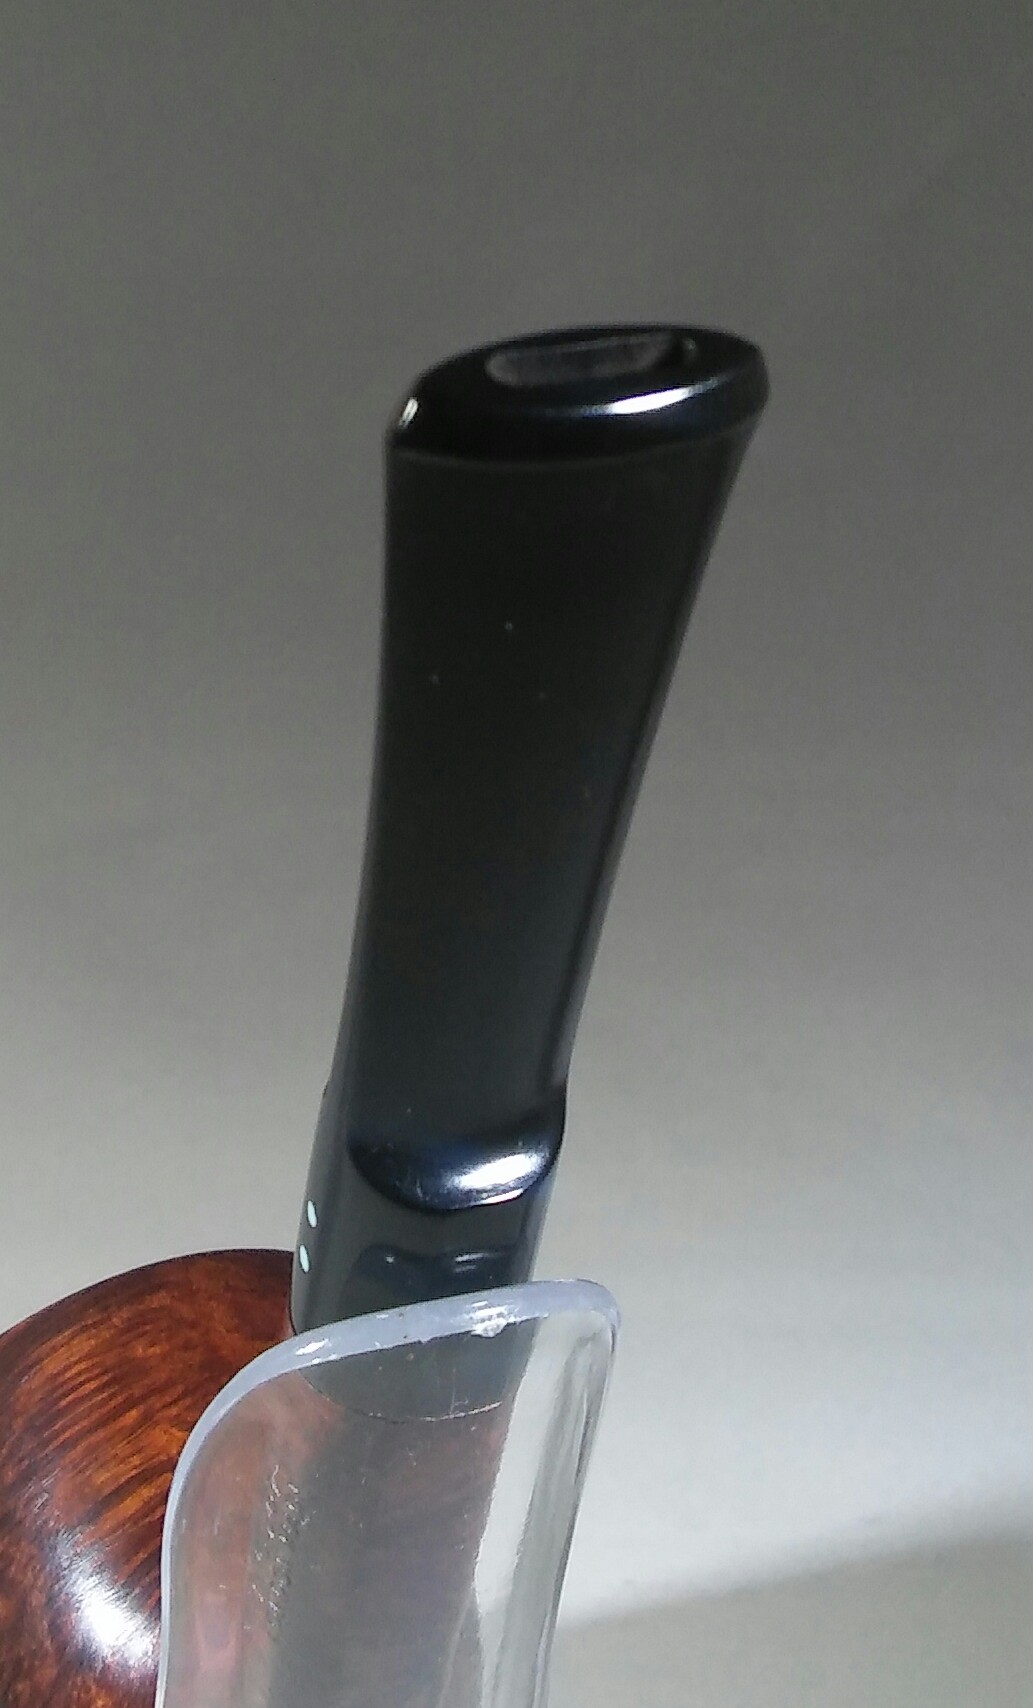
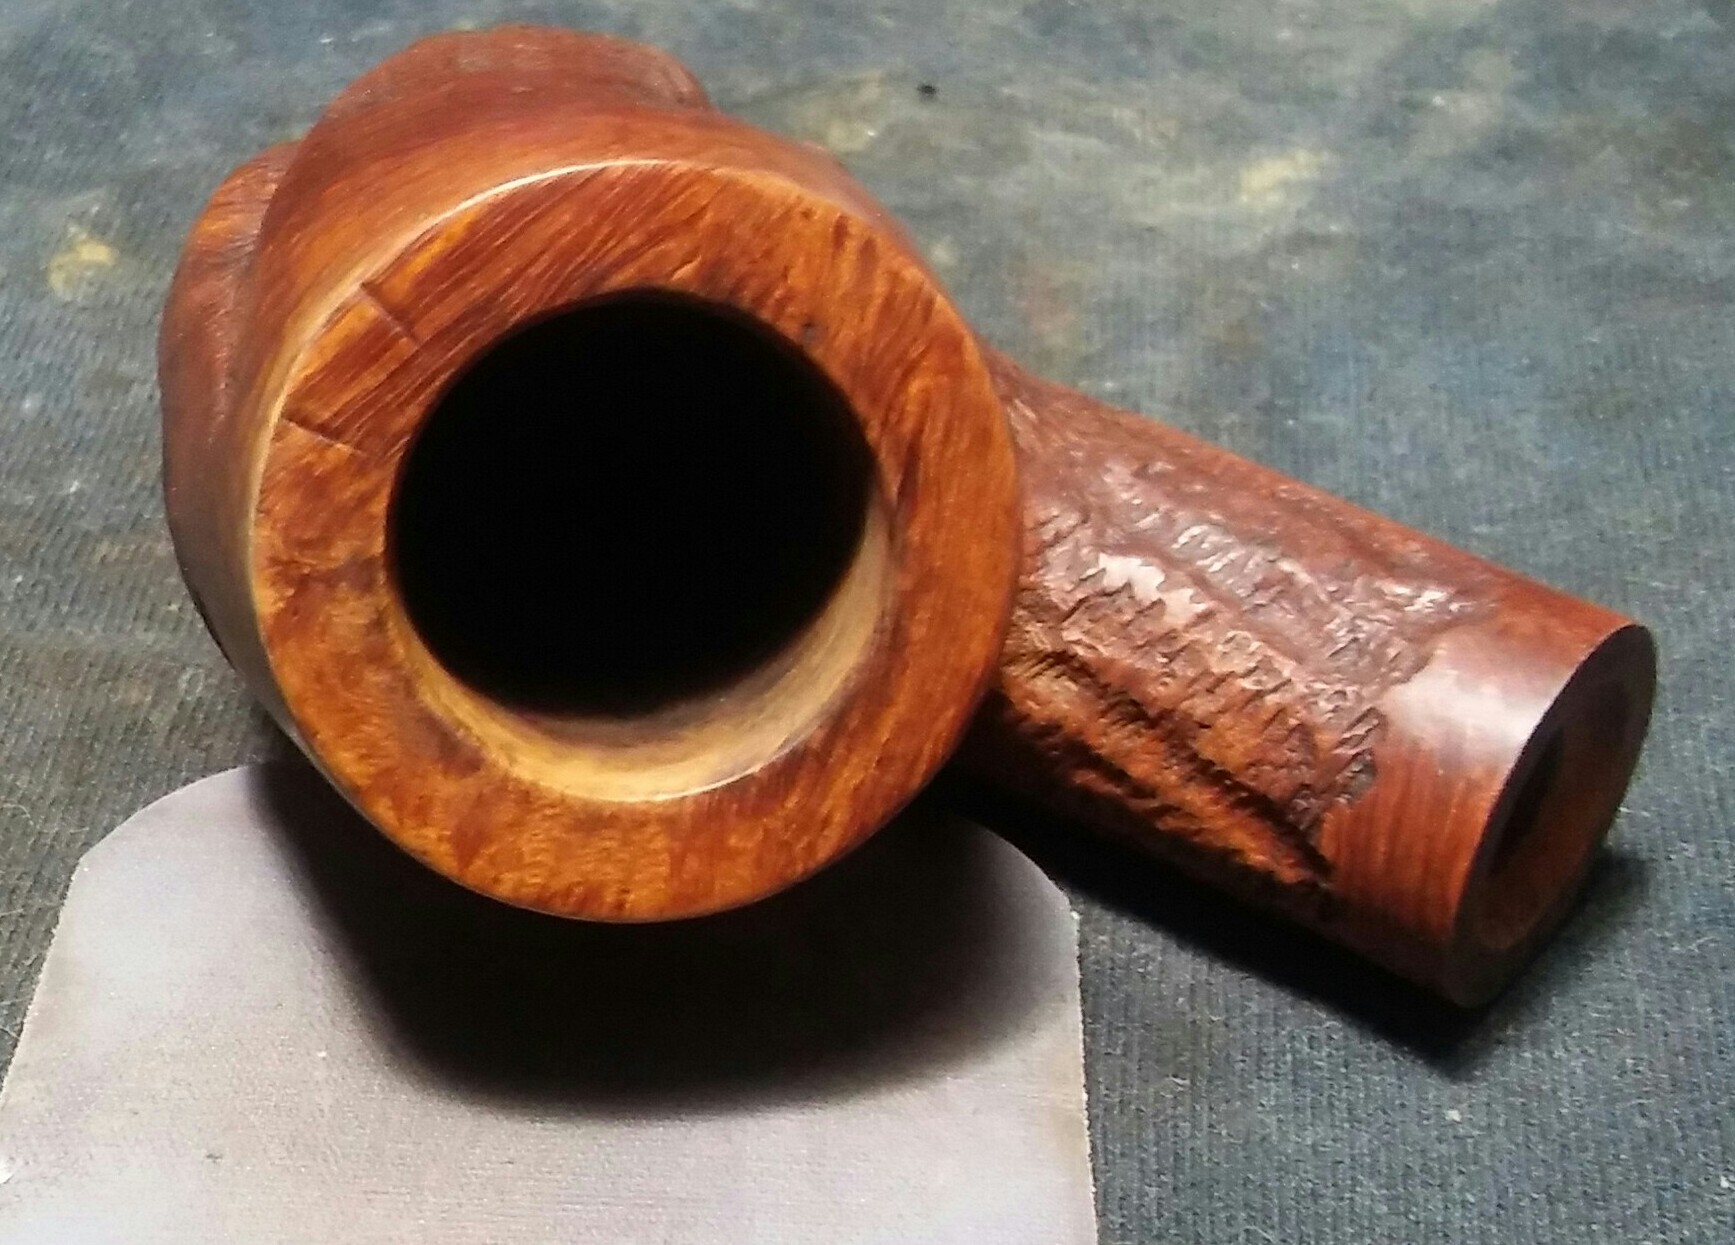
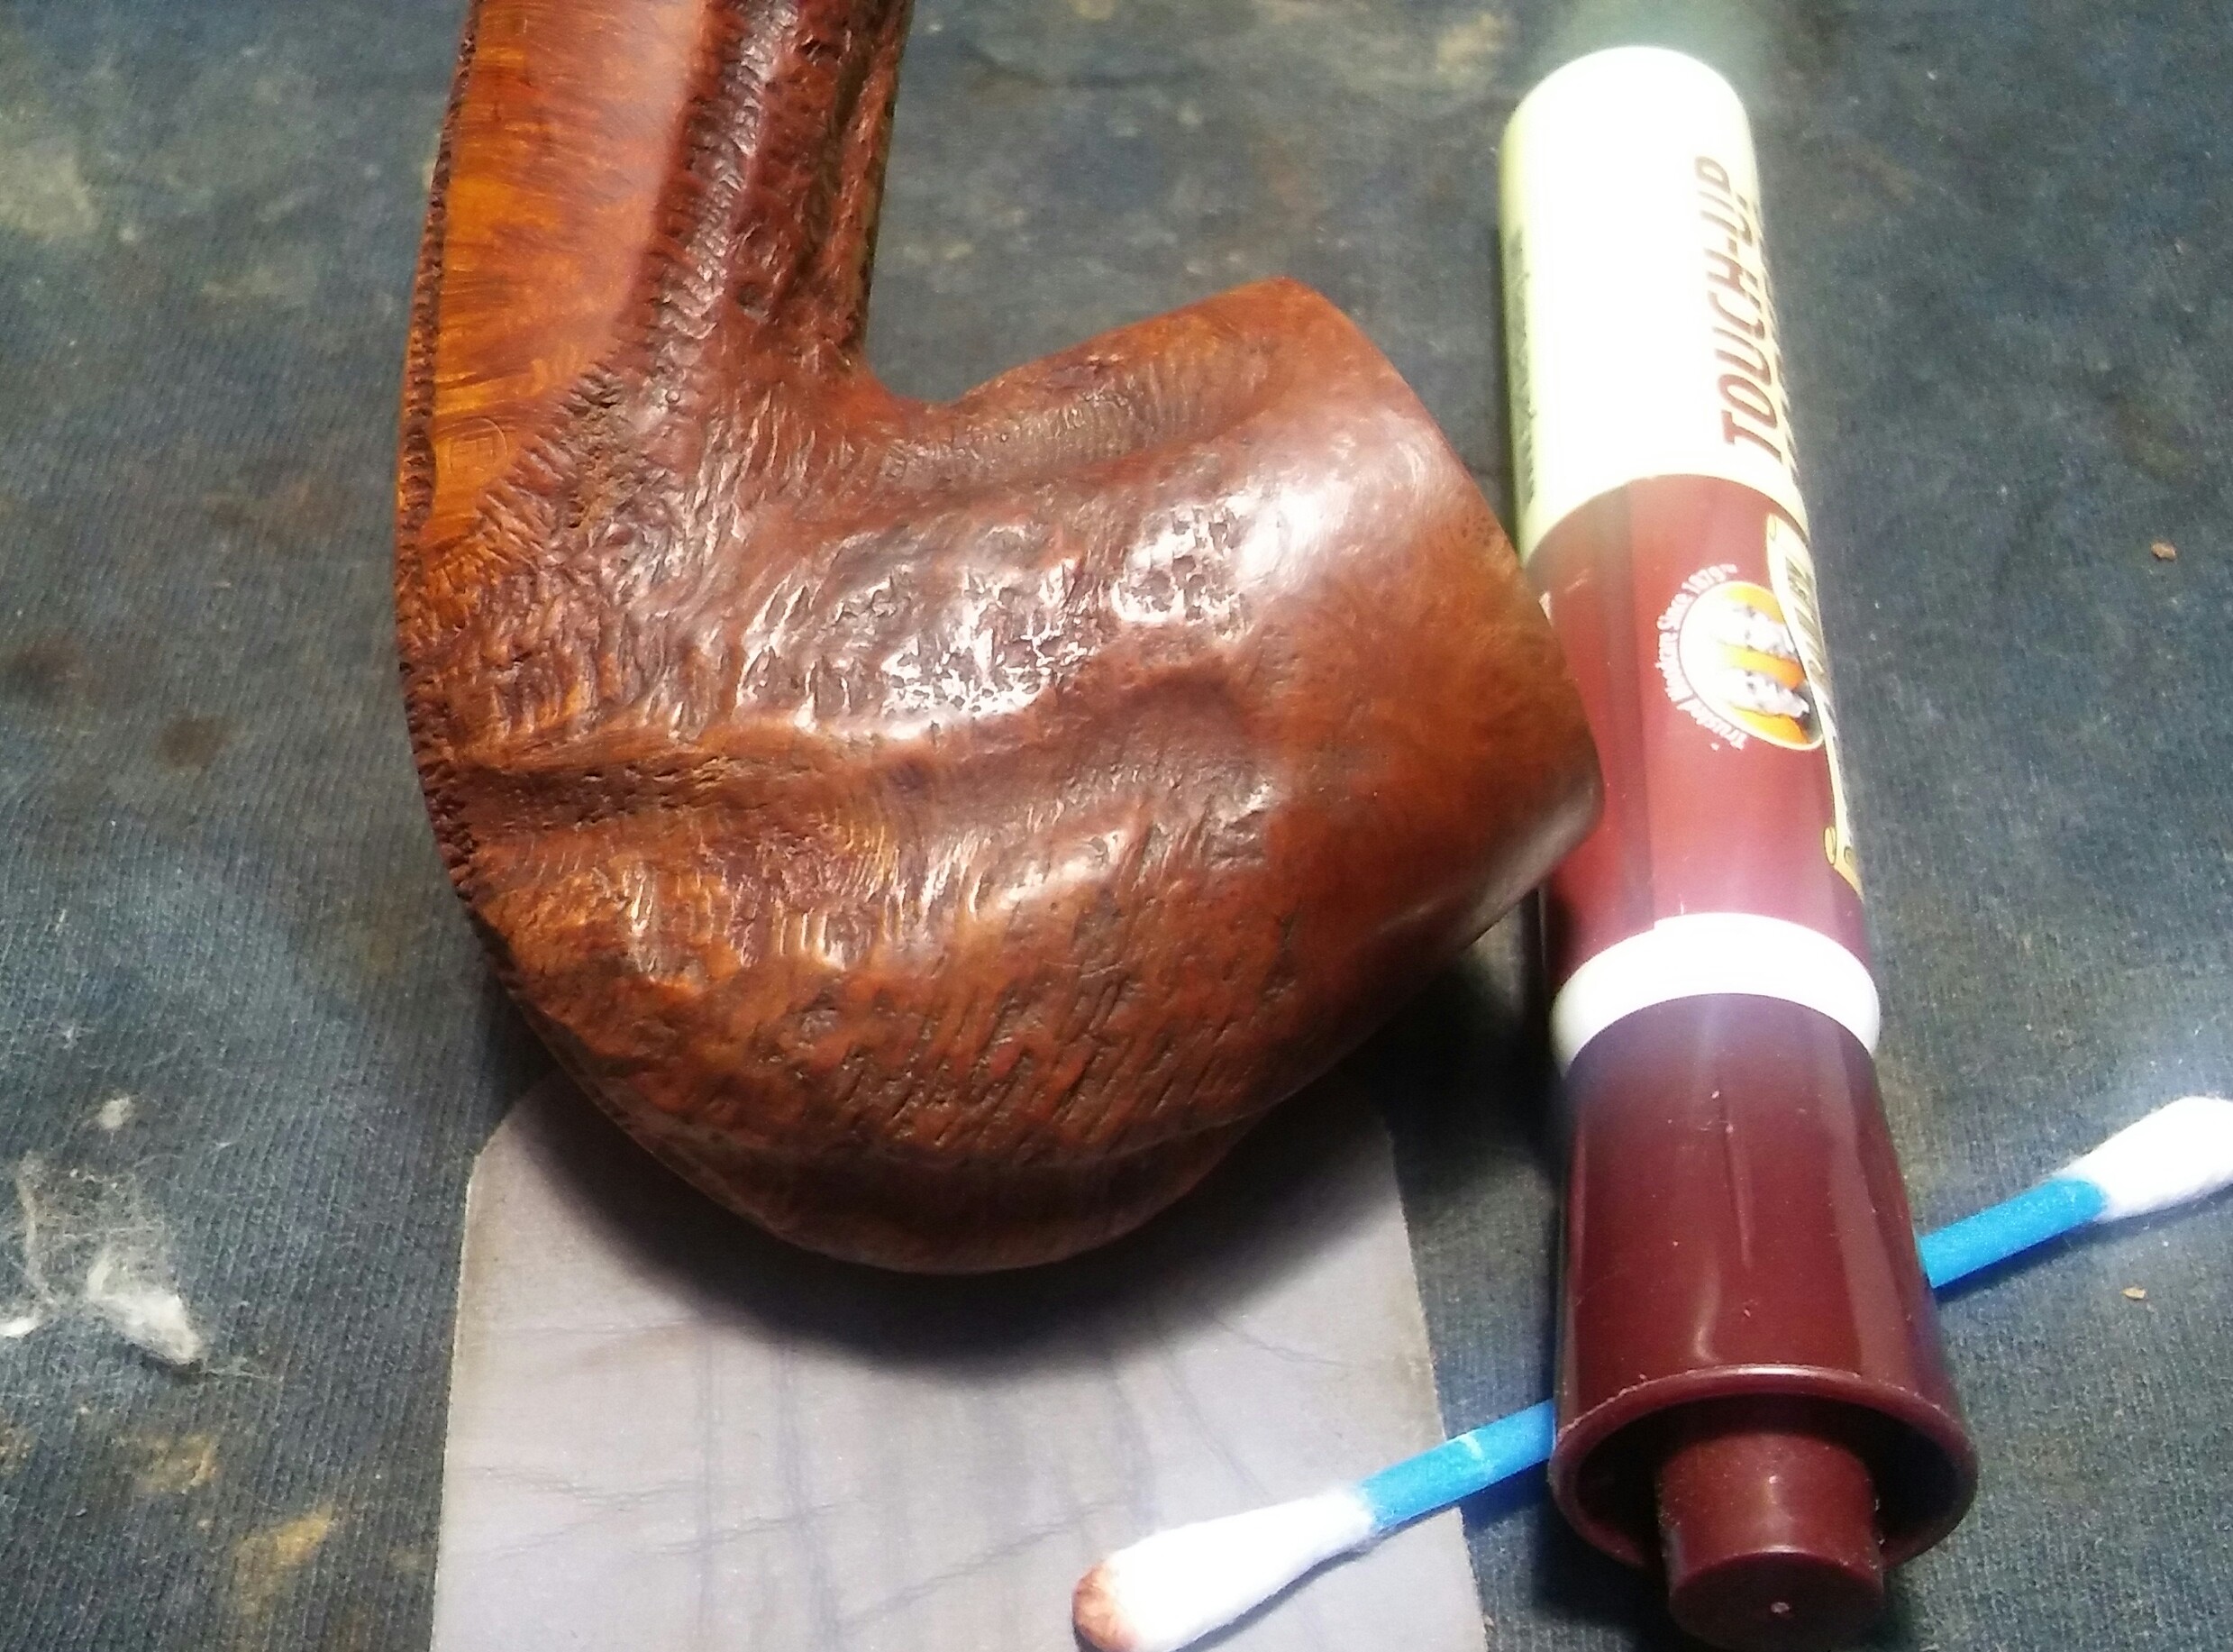
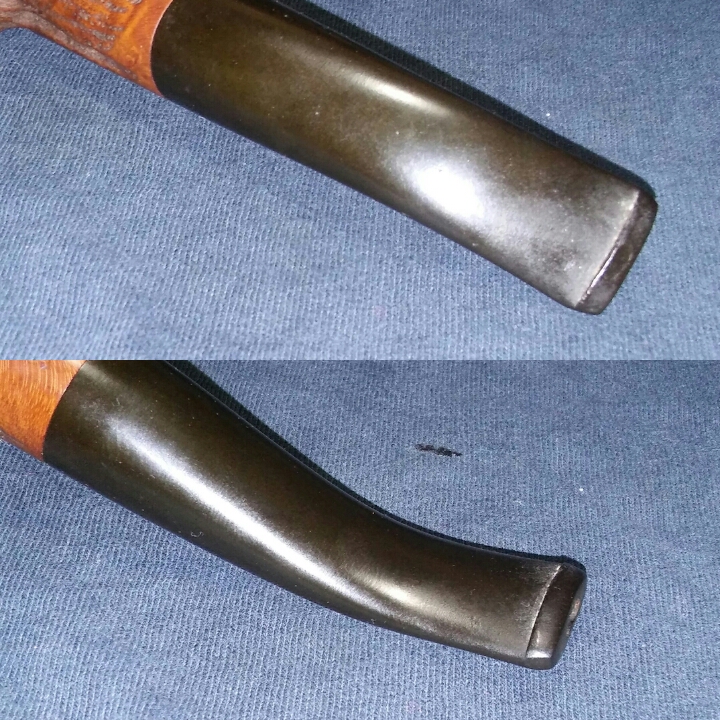
The stem was oxidized and had a little chatter, I applied non-bleach Soft Scrub to the stem with a children’s toothbrush and left it aside topenetrate the oxidation. Once the Soft Scrub turns from white to a brownish color its time to introduce the old elbow grease and scrub vigorously with a rag until the oxidation is removed, finished up with a damp Magic Eraser to remove the leftover oxidation.

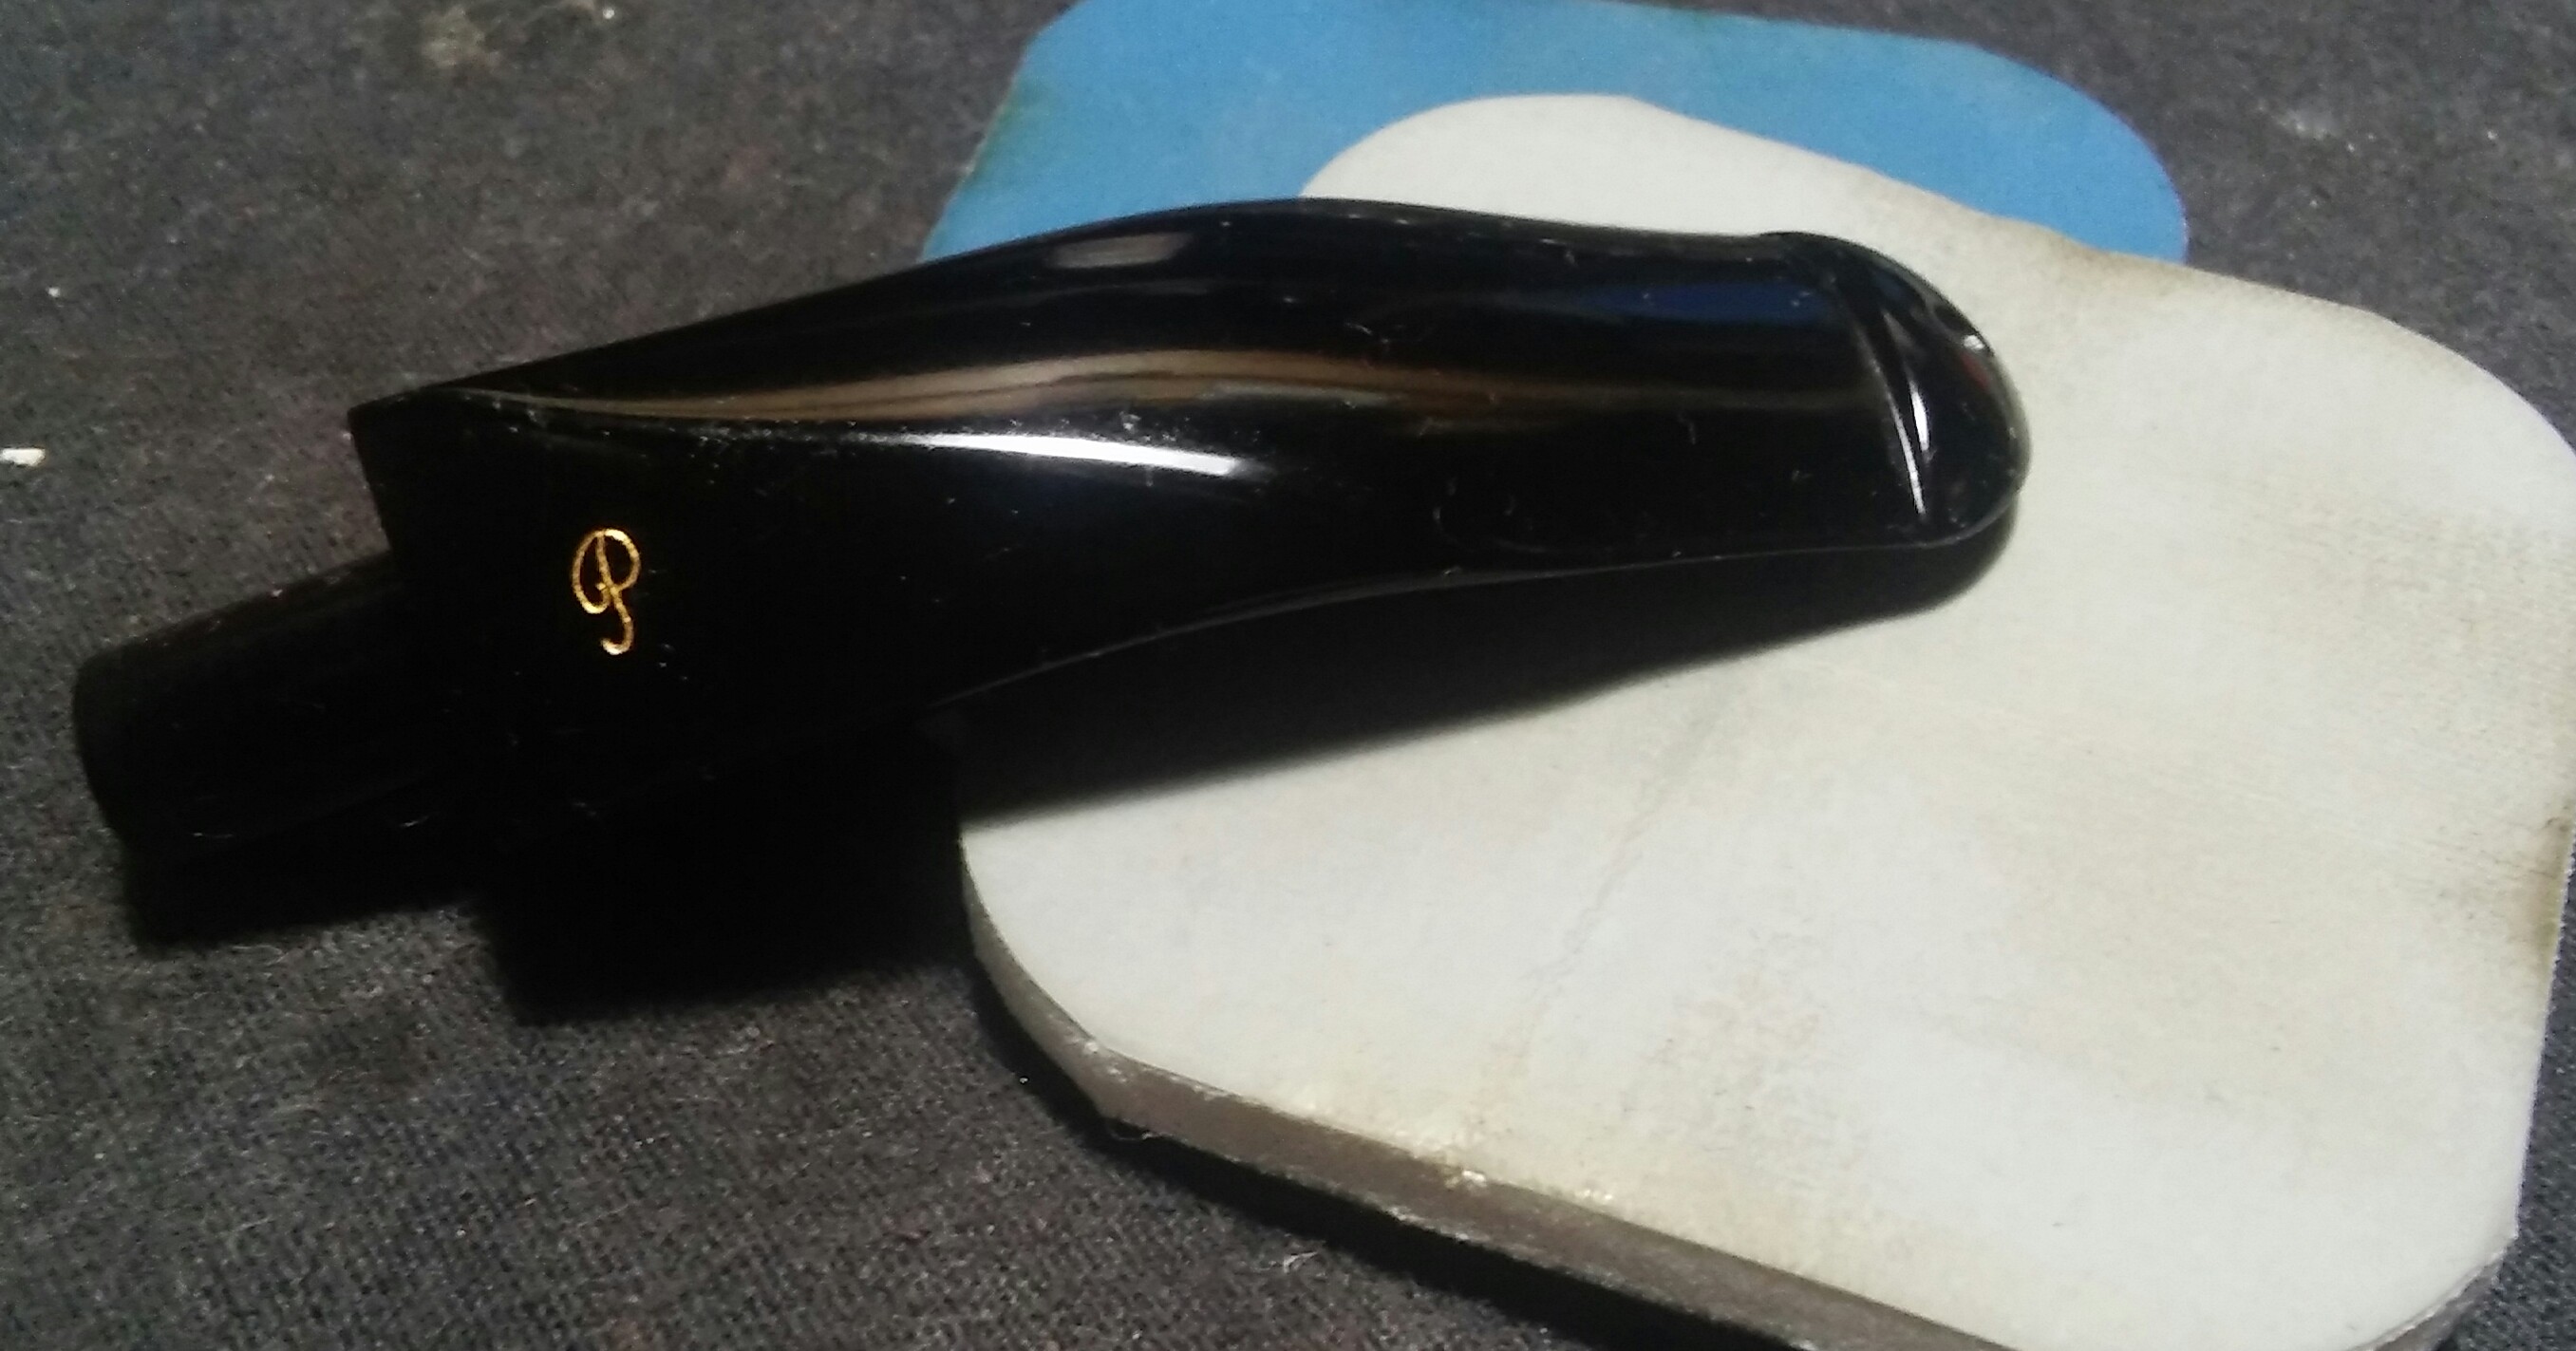
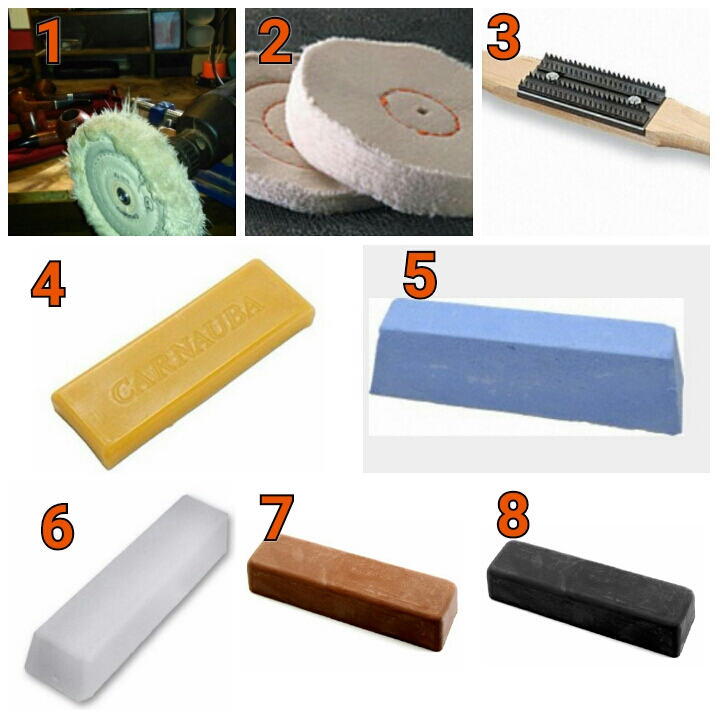
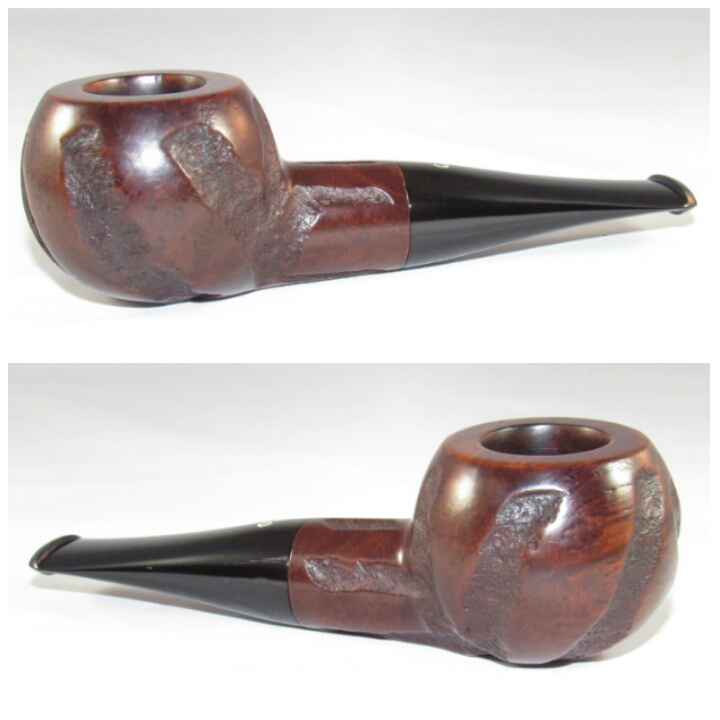
I removed the chatter with 1000 grit sandpaper wet, I then ran the stem through the various grits of sandpaper and micro-mesh , 1500mesh, 1800mesh, 2000 paper and 2400mesh wet and 3200-12000 dry. With the stem polished and stummel stained and dry she was ready for the buffer.
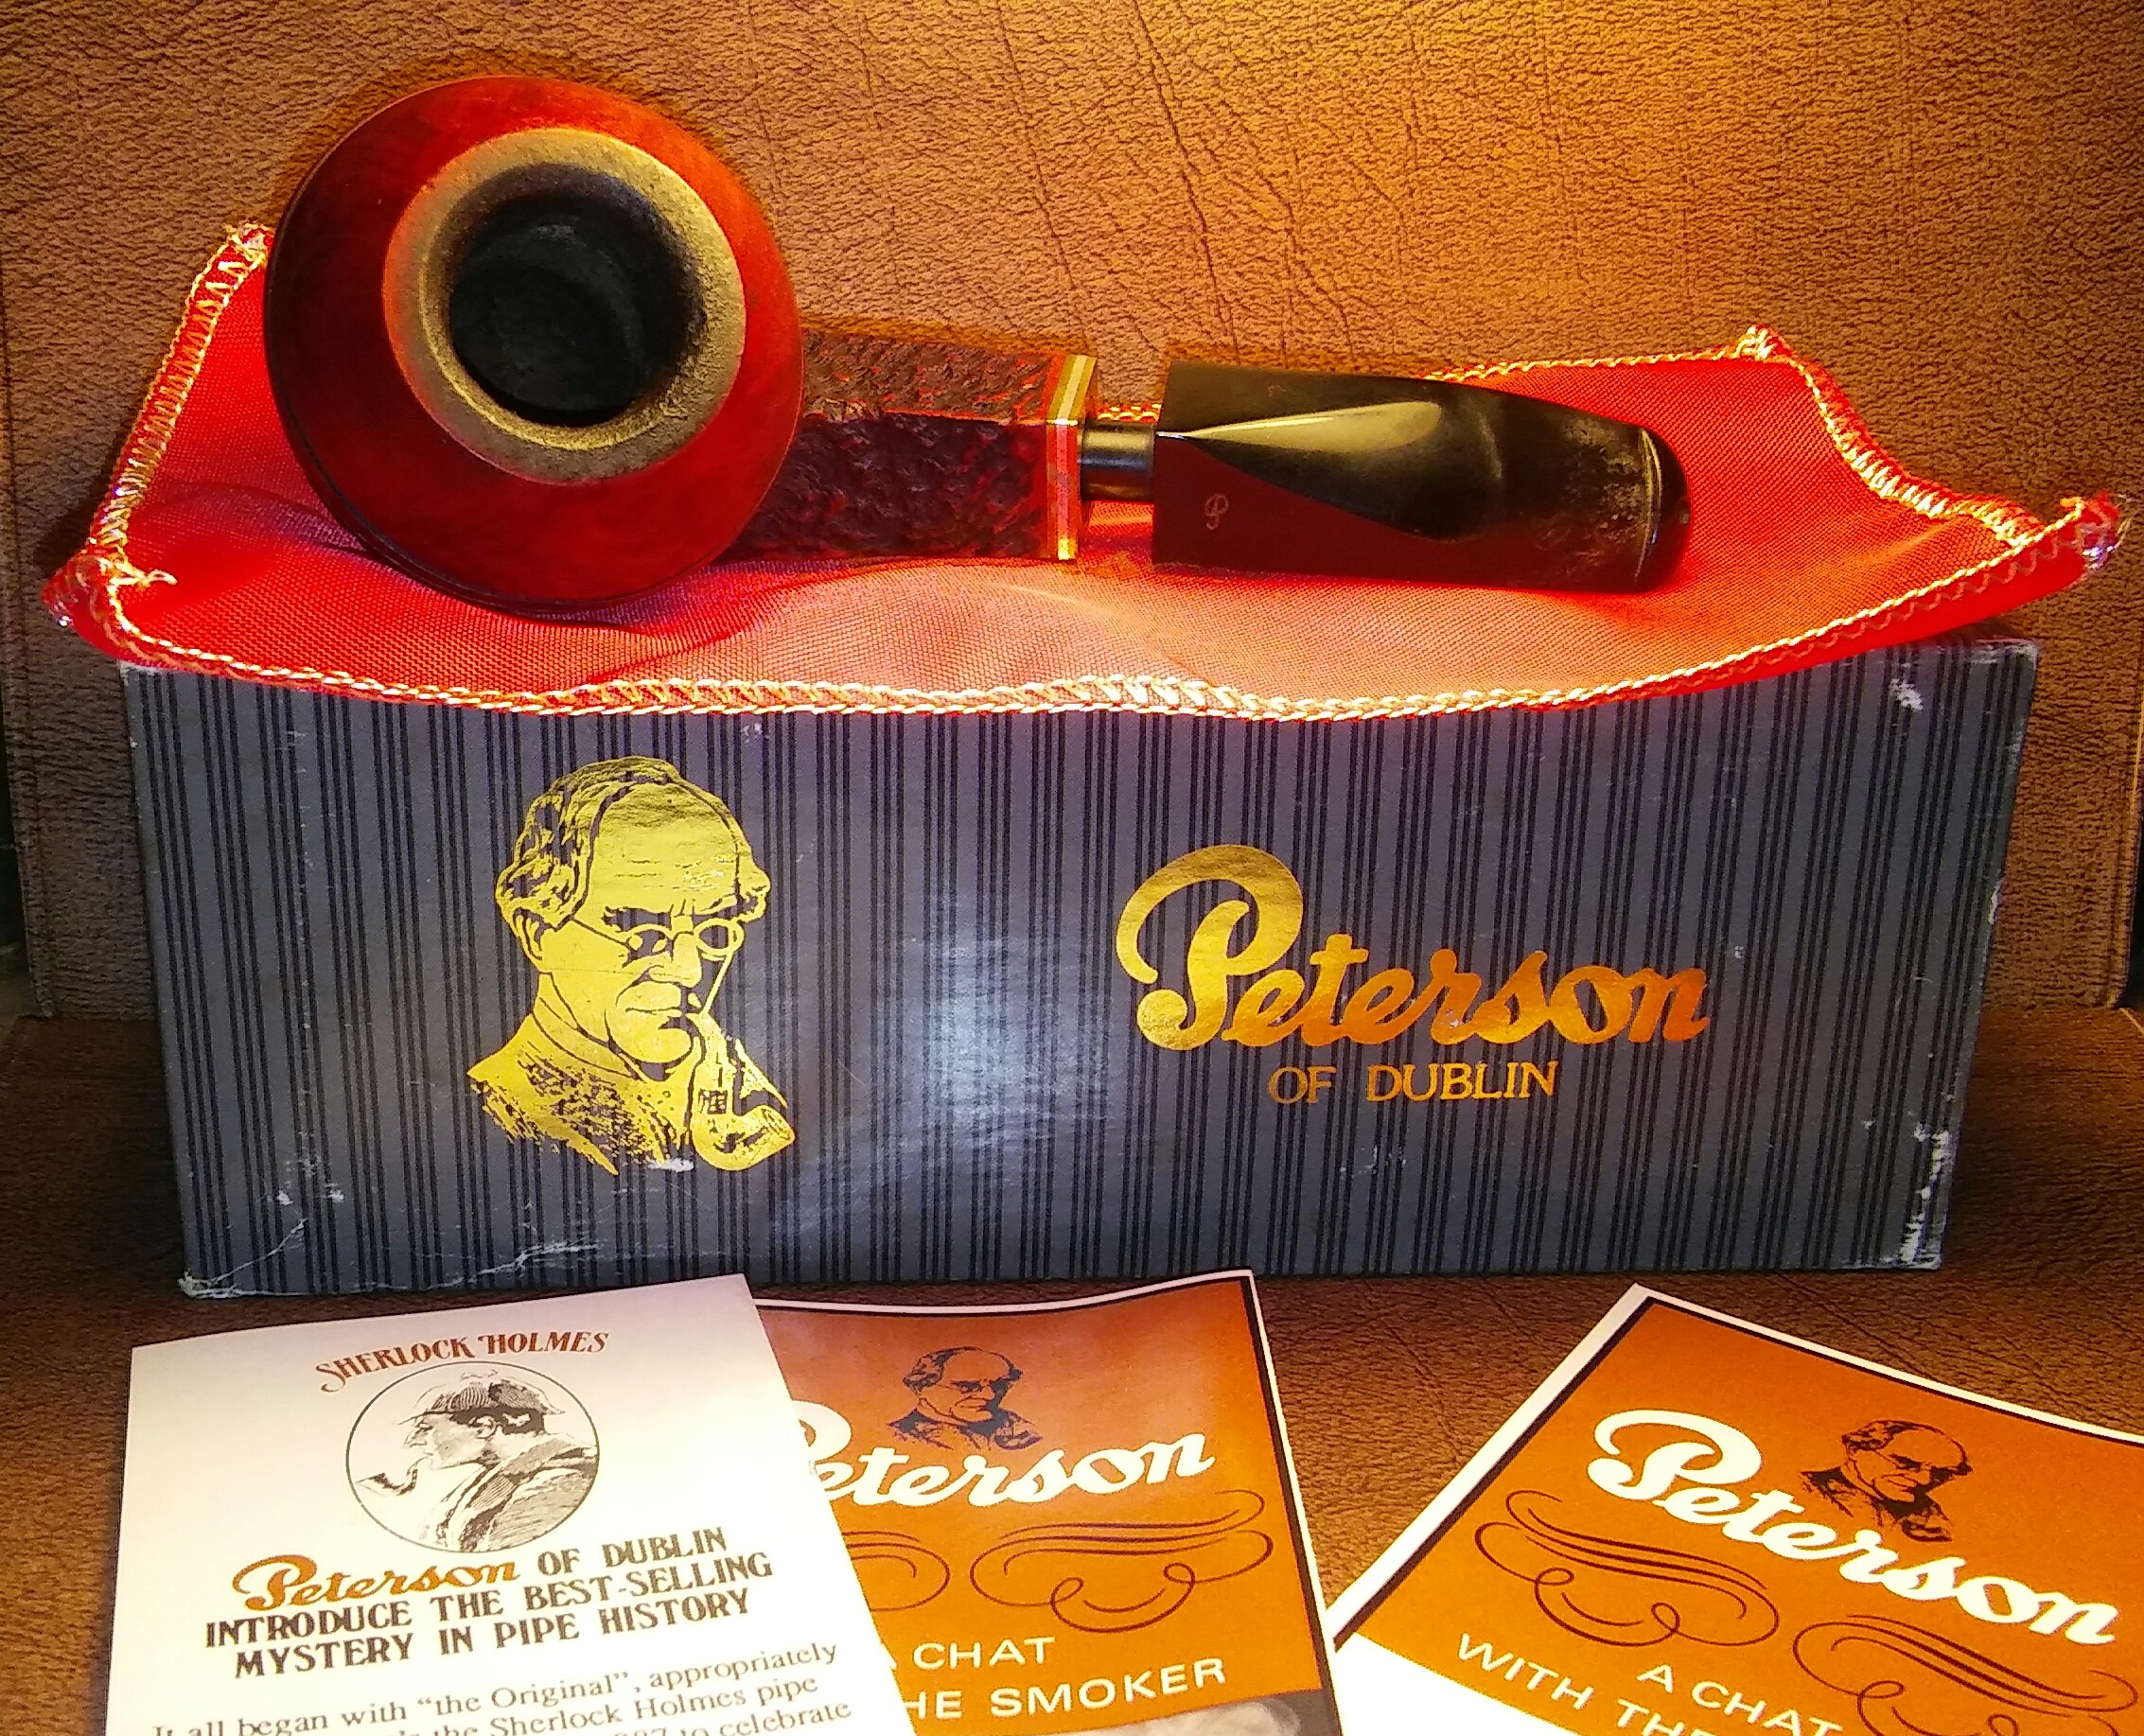
Complete.
She’s ready for six more years and a bowl of Royal Yacht.


Finished her up on the wheel with white diamond, a few coats of carnauba and a microfiber hand buffing ,Buffing the stem with blue compound.
Thanks For Taking A Look.


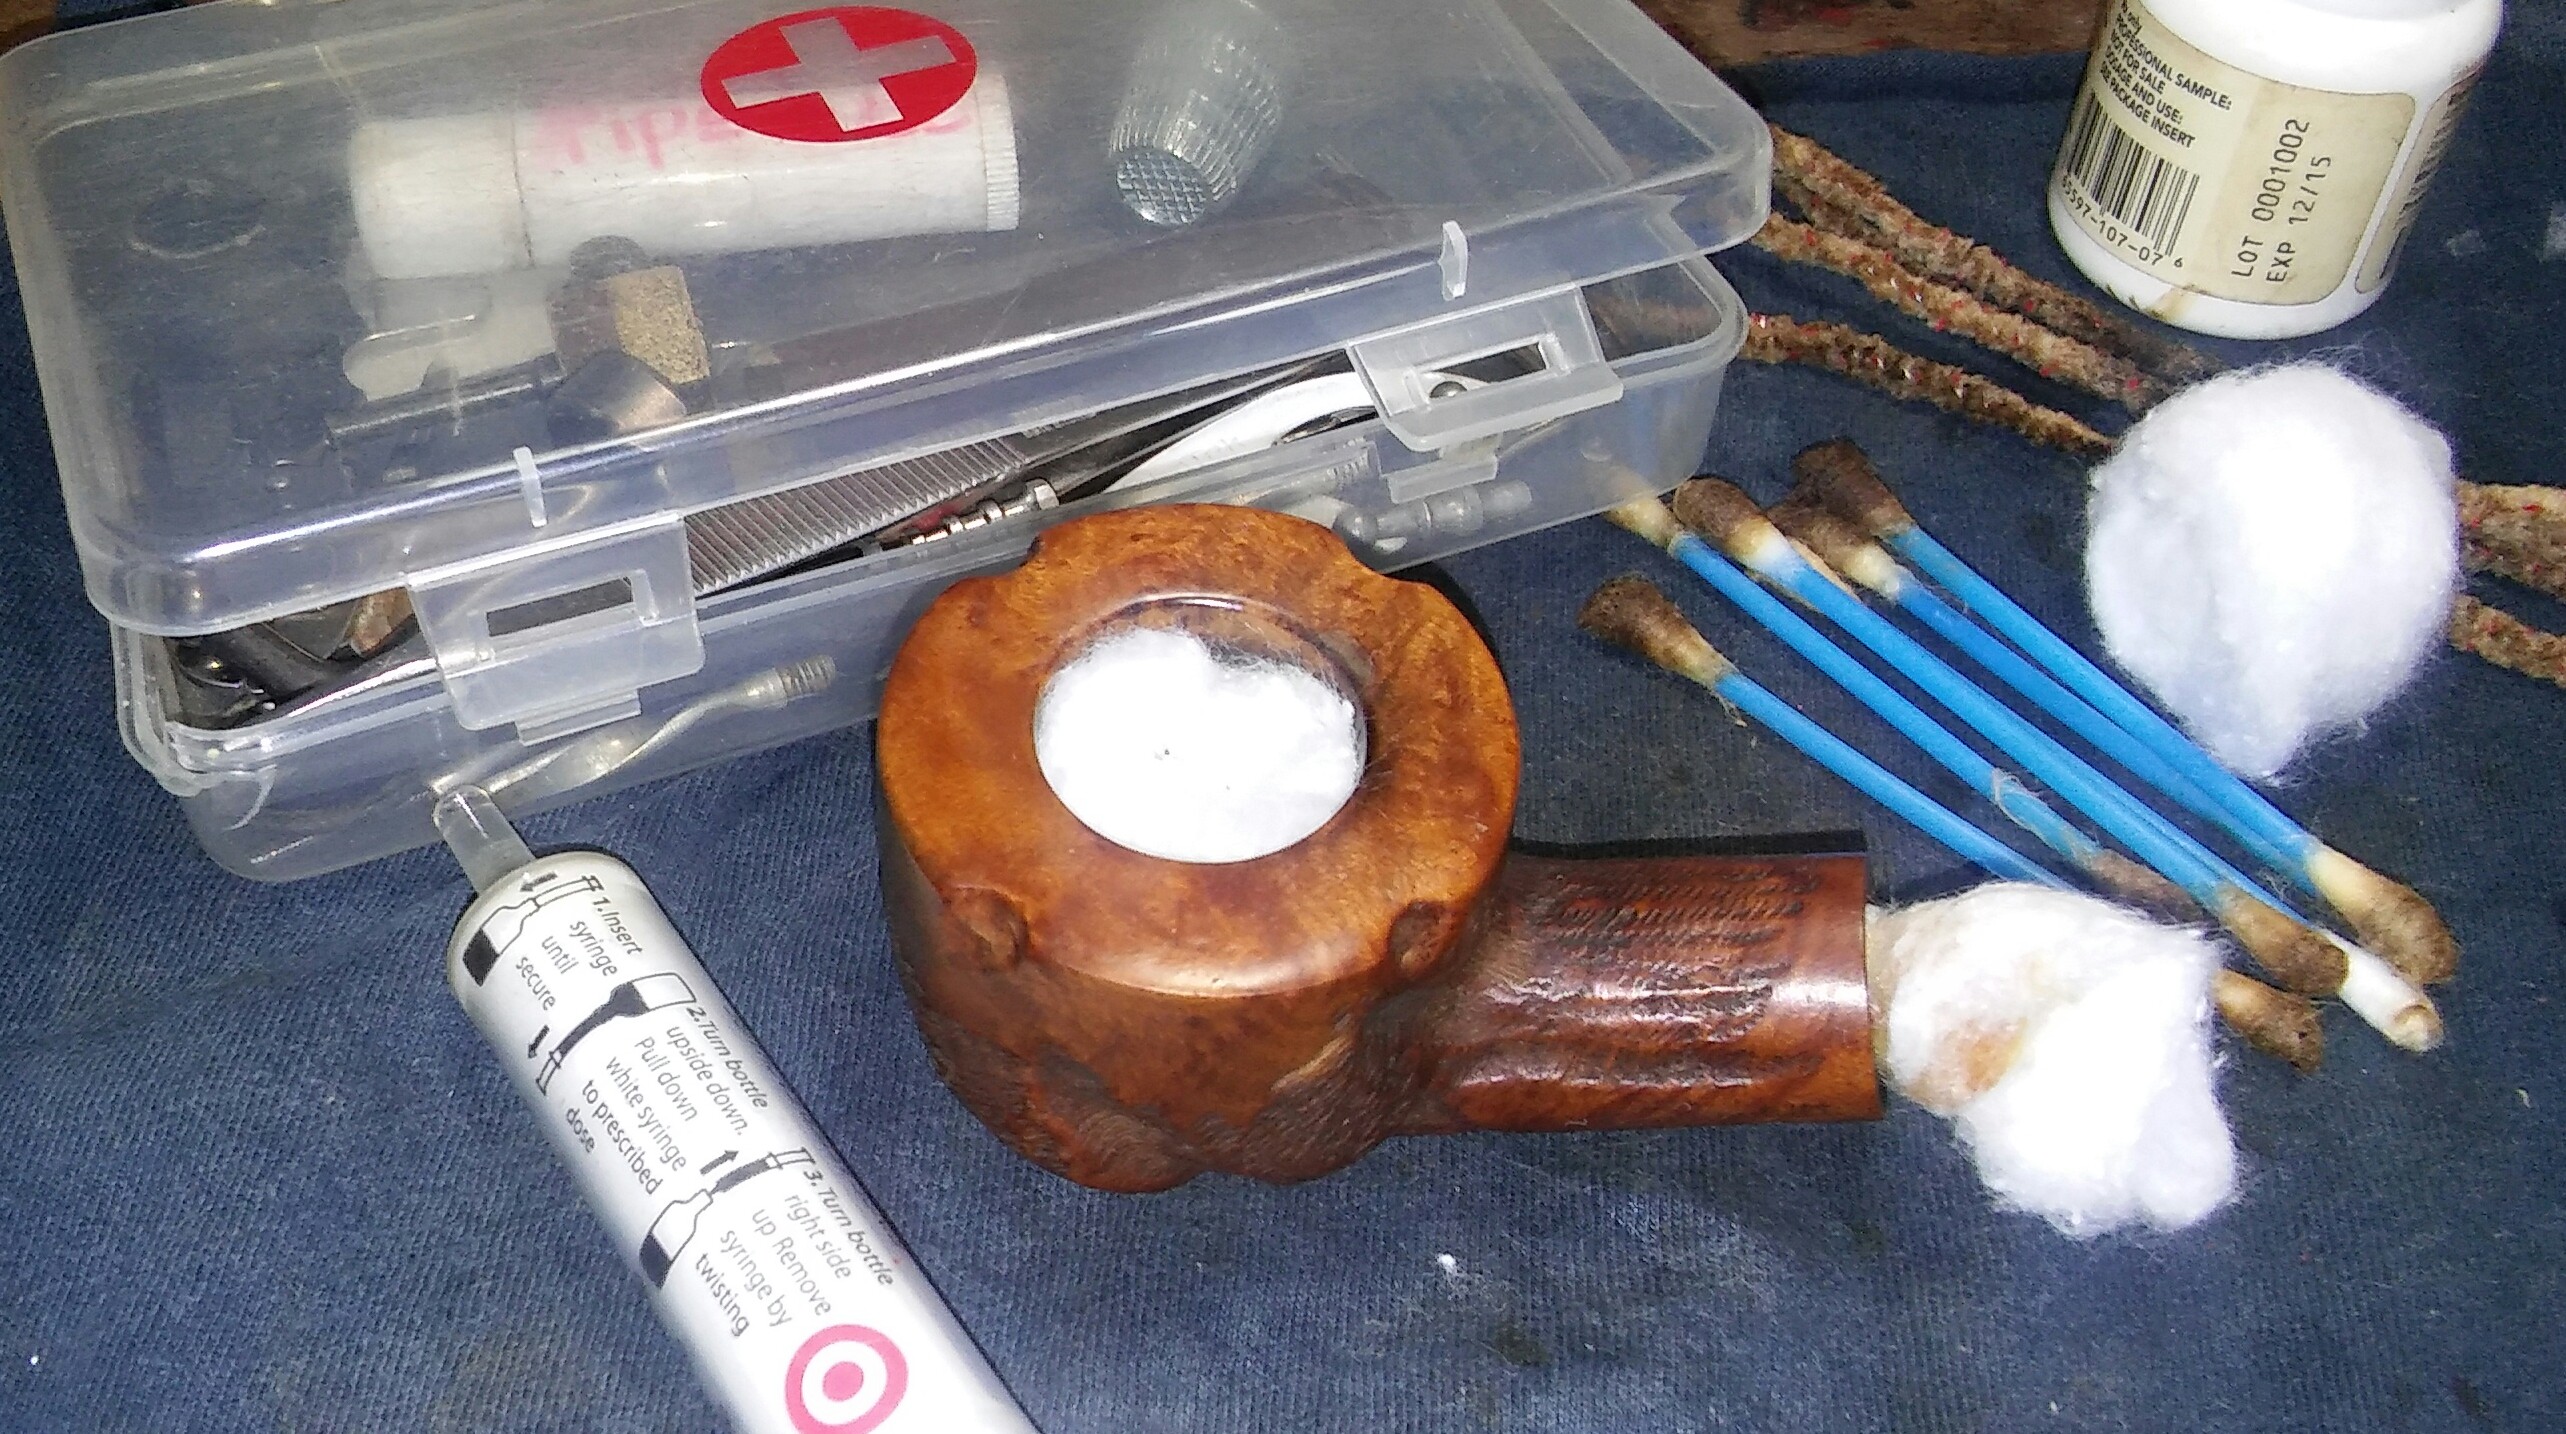


Recently I received a question on my supplies. Everyone who’s into estate pipe refurbishing has his or her own list of tools and products ,these are the products and tools I reach for in the restoration of my pipes. I try to keep things as cheap as possible. I didn’t list prices as they have changed some since my purchasing them. Also my equipment was purchased over a five year period as it was needed it was added.